I used https://make.powerapps.com to add a Warranty table to Microsoft Dynamics 365 Sales.
I added the customization to my Sales Customizations solution.
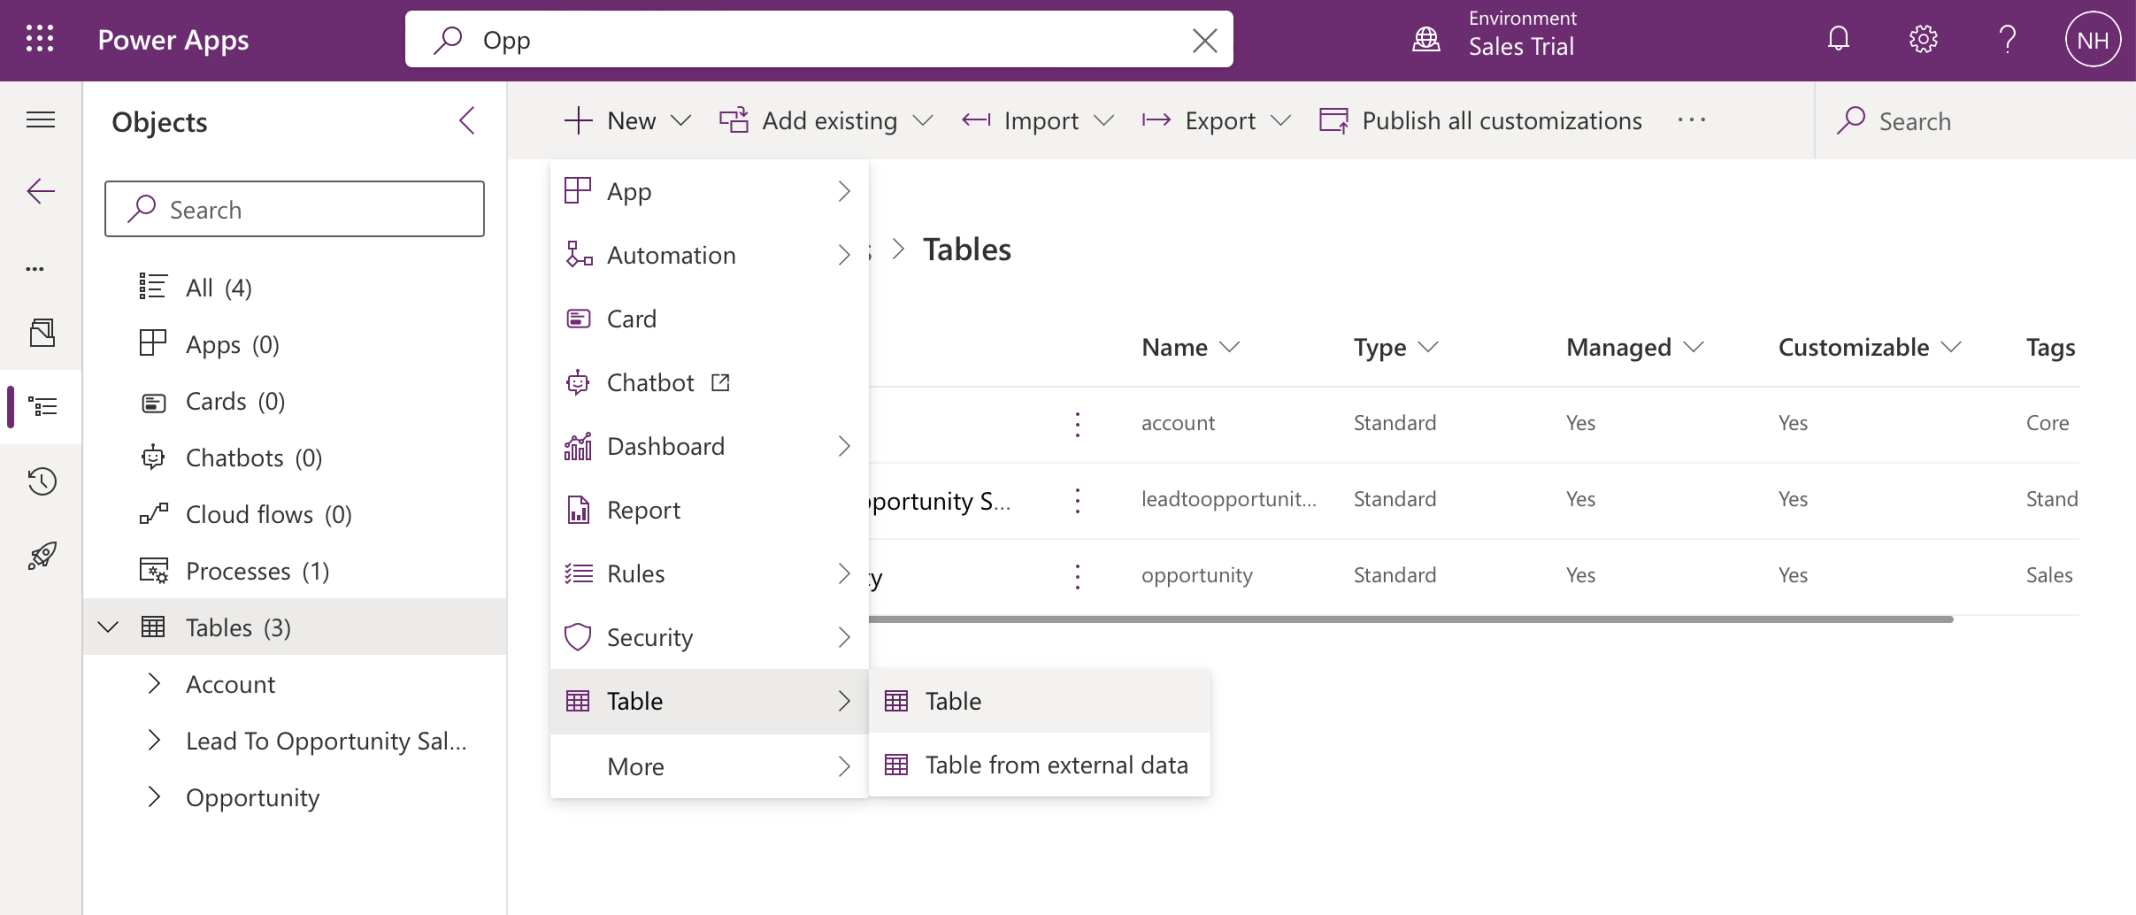
I wanted to add a new table
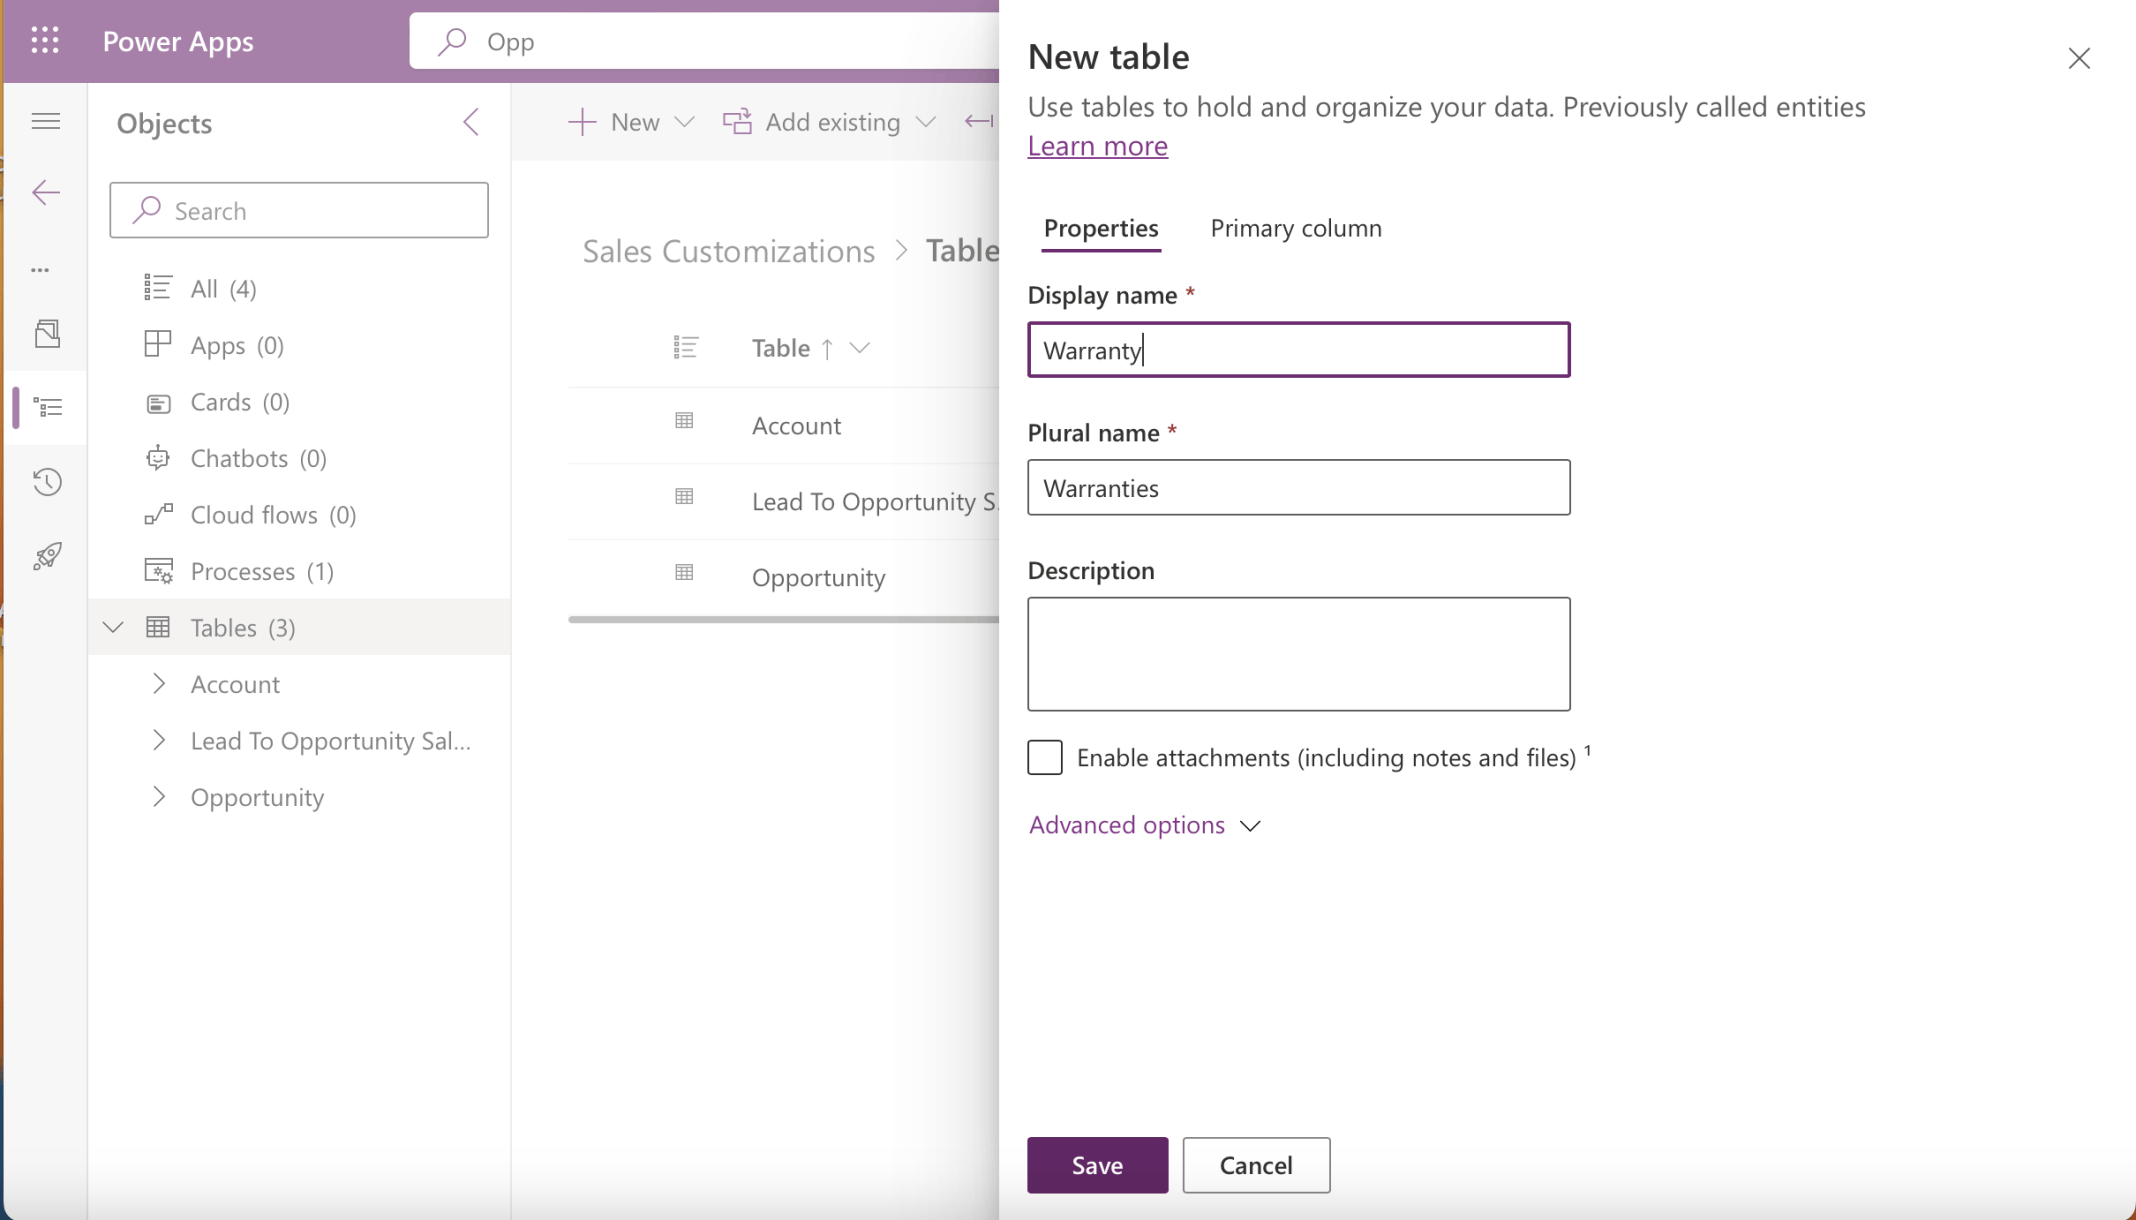
I added a Warranty table
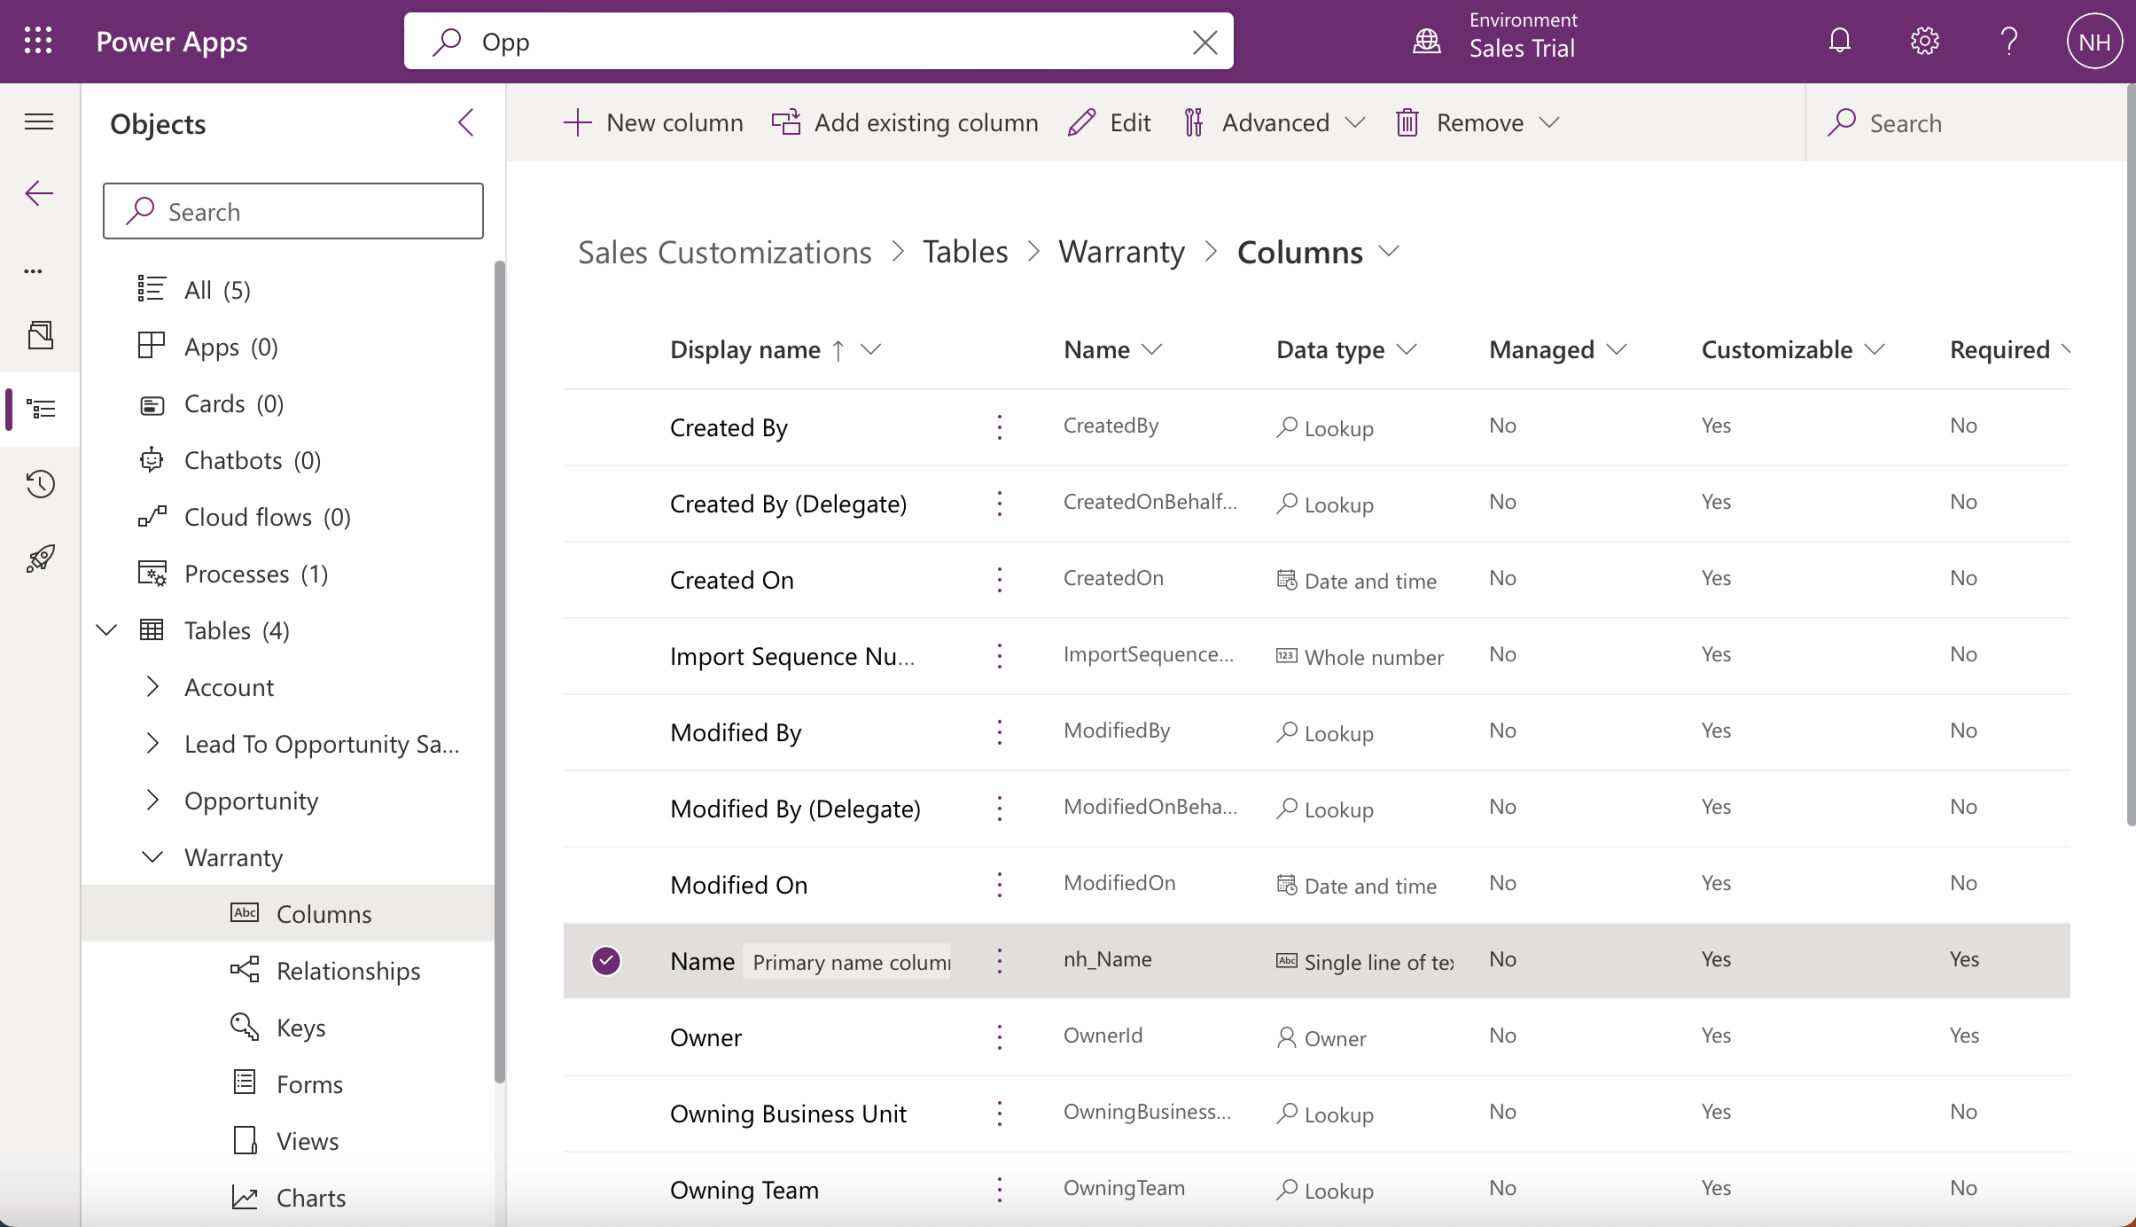
By default the name column is required single line of text
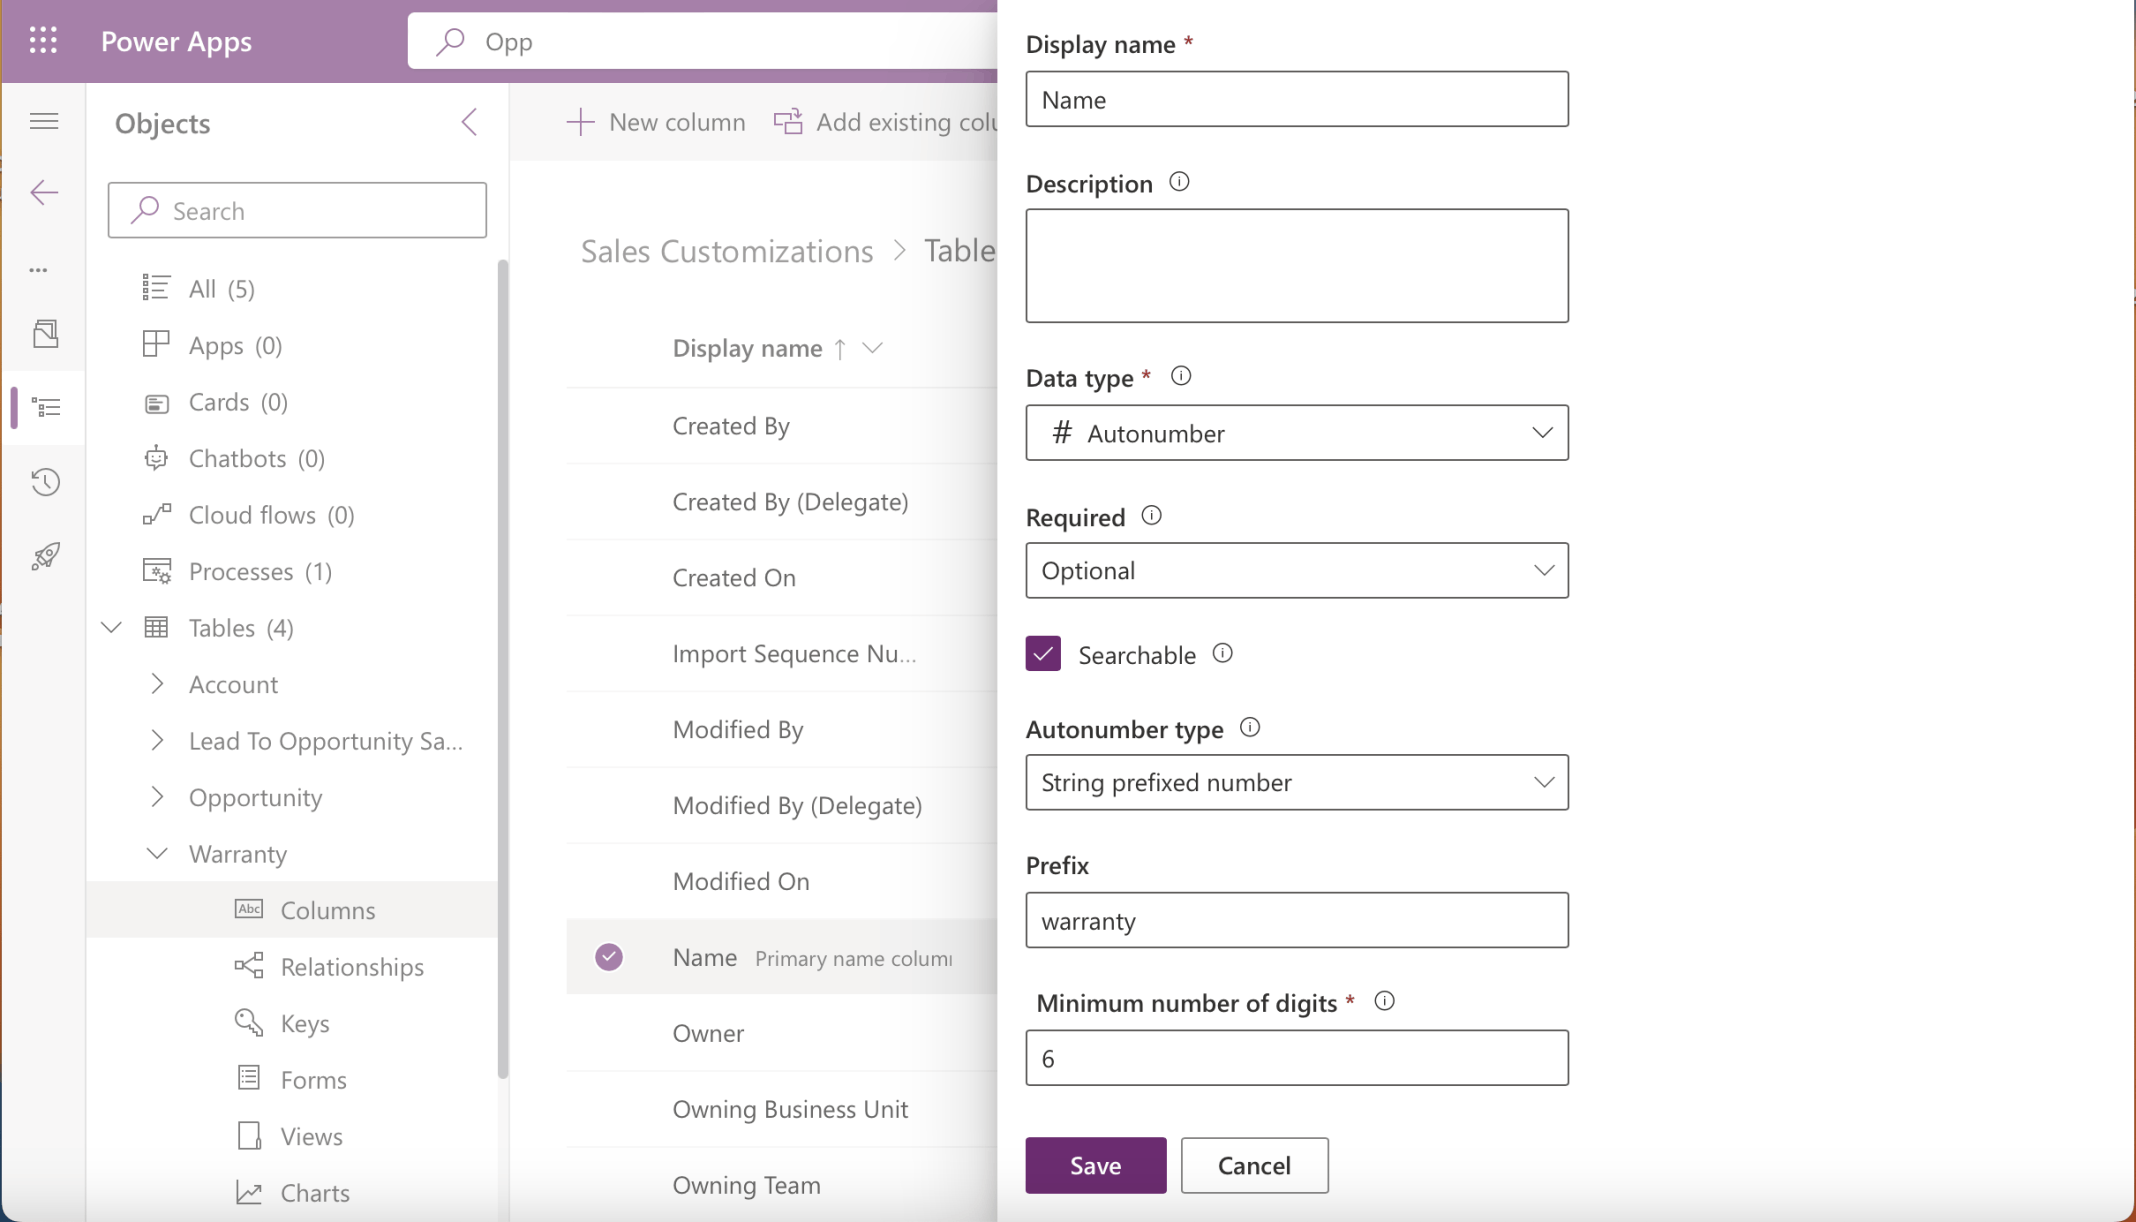
I updated the name column to be an autonumber
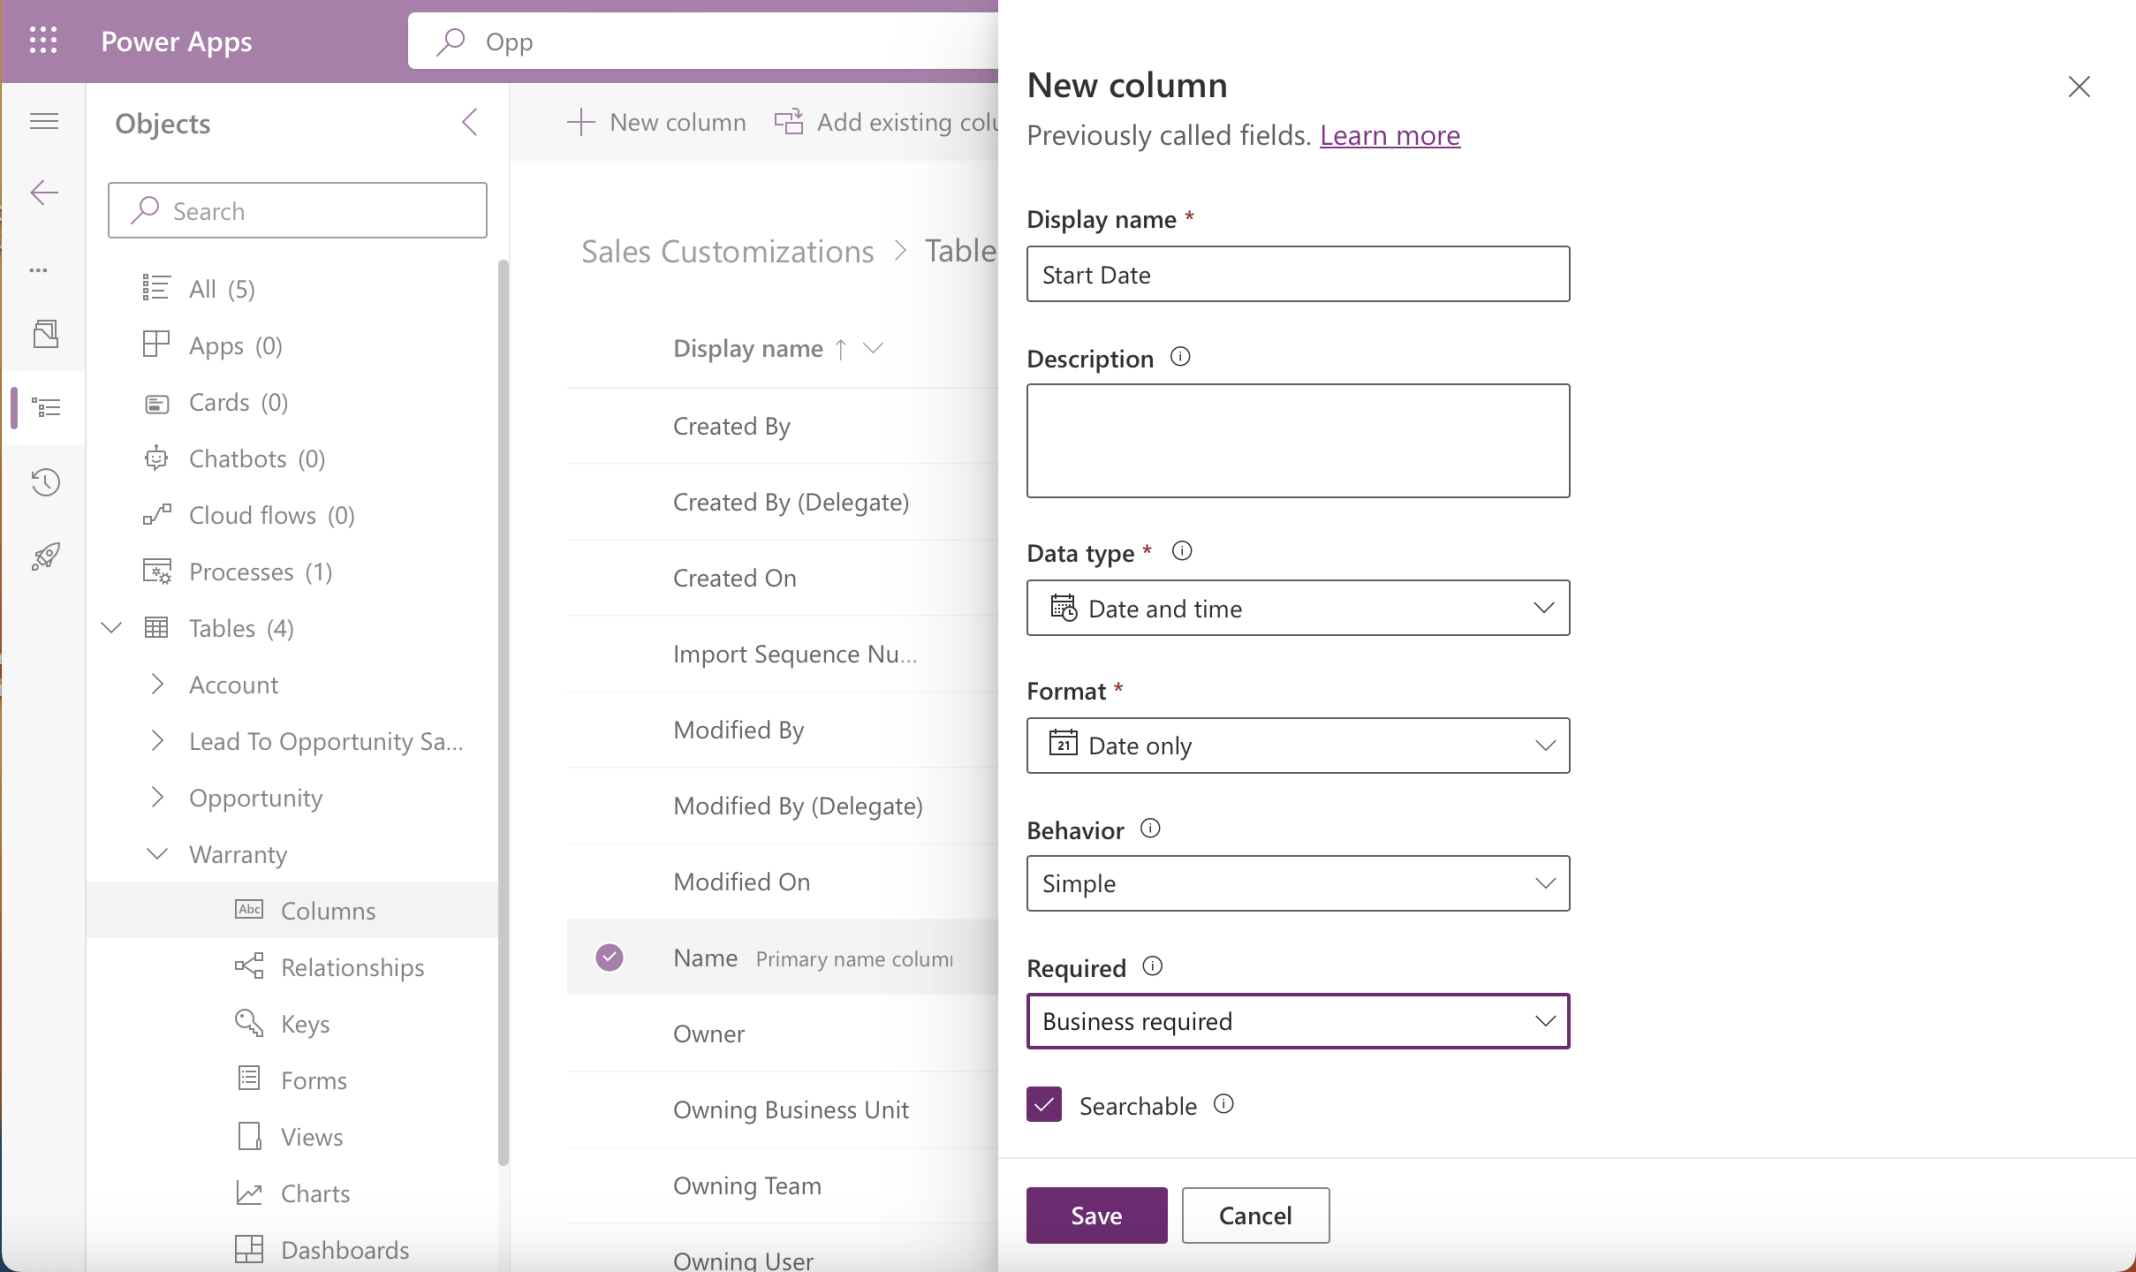
I added a required Start Date column
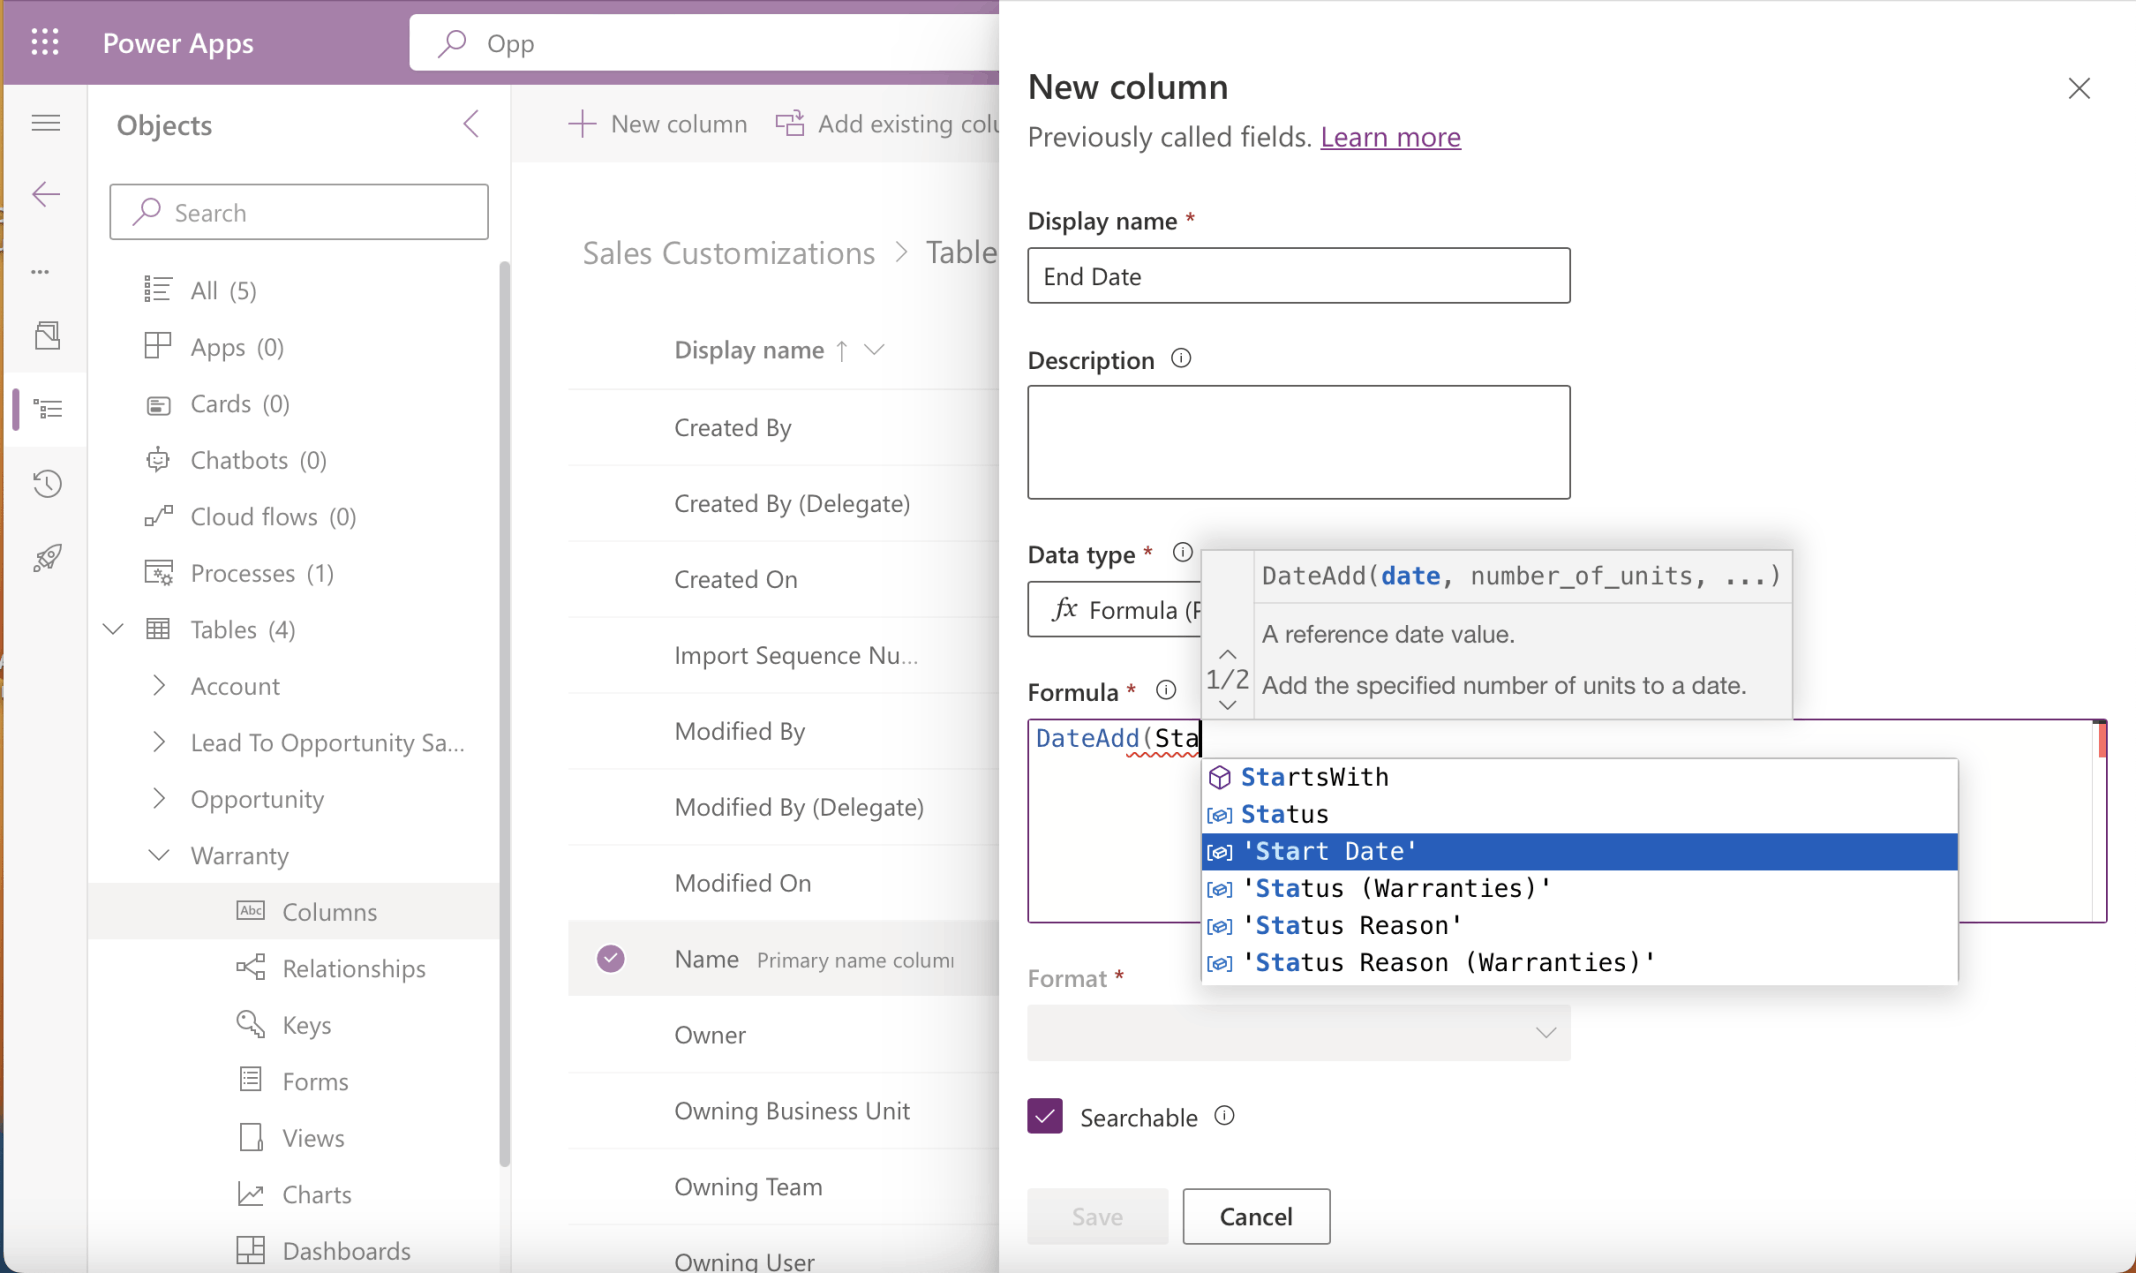
I added an End Date formula column
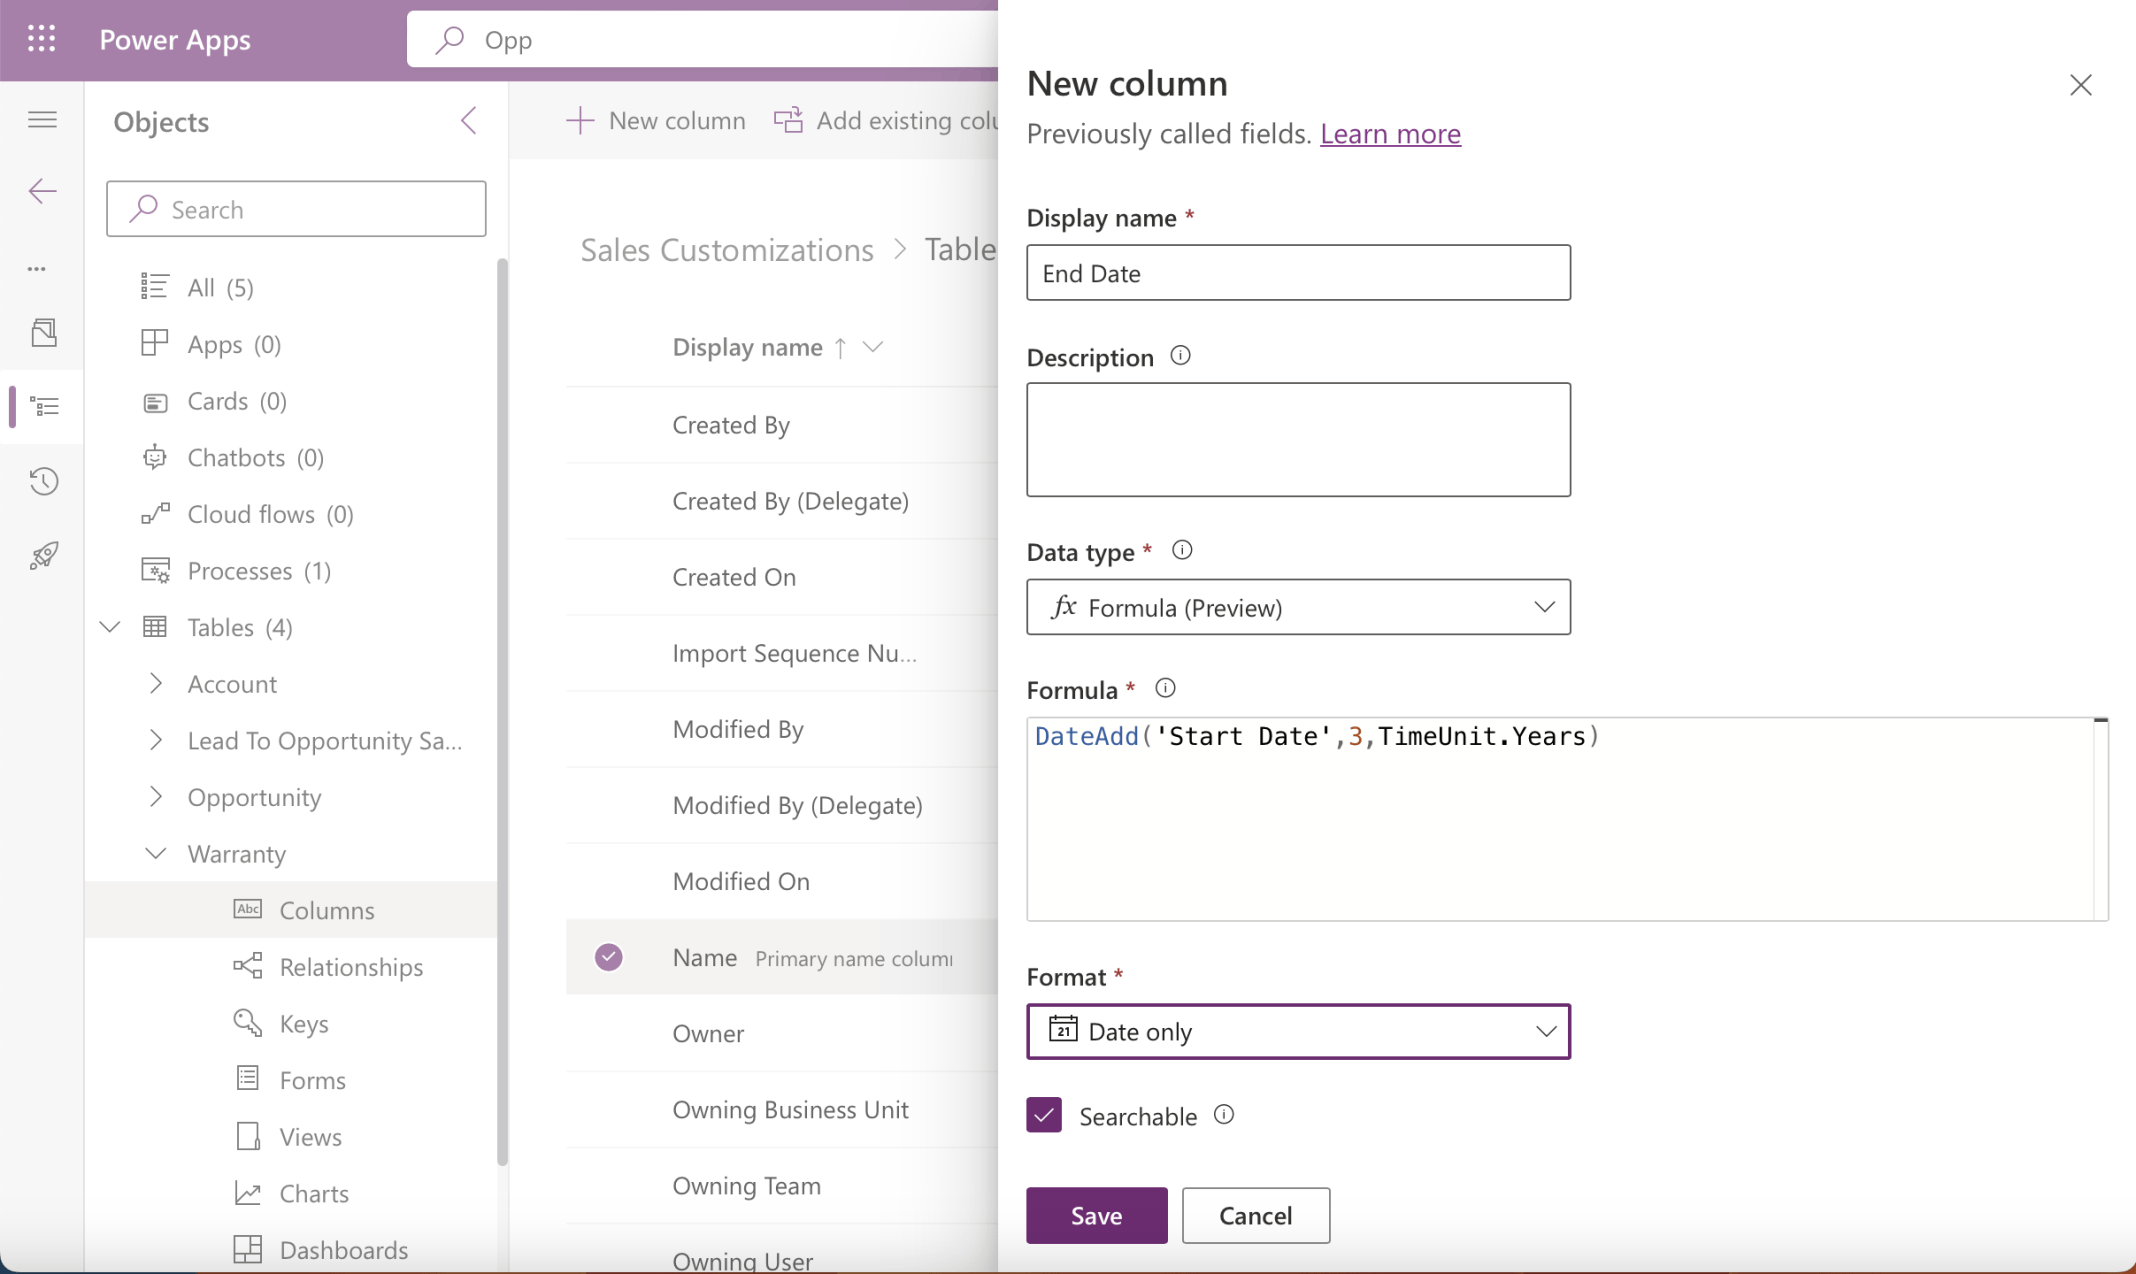
End Date would be calculated to be 3 years after the Start Date
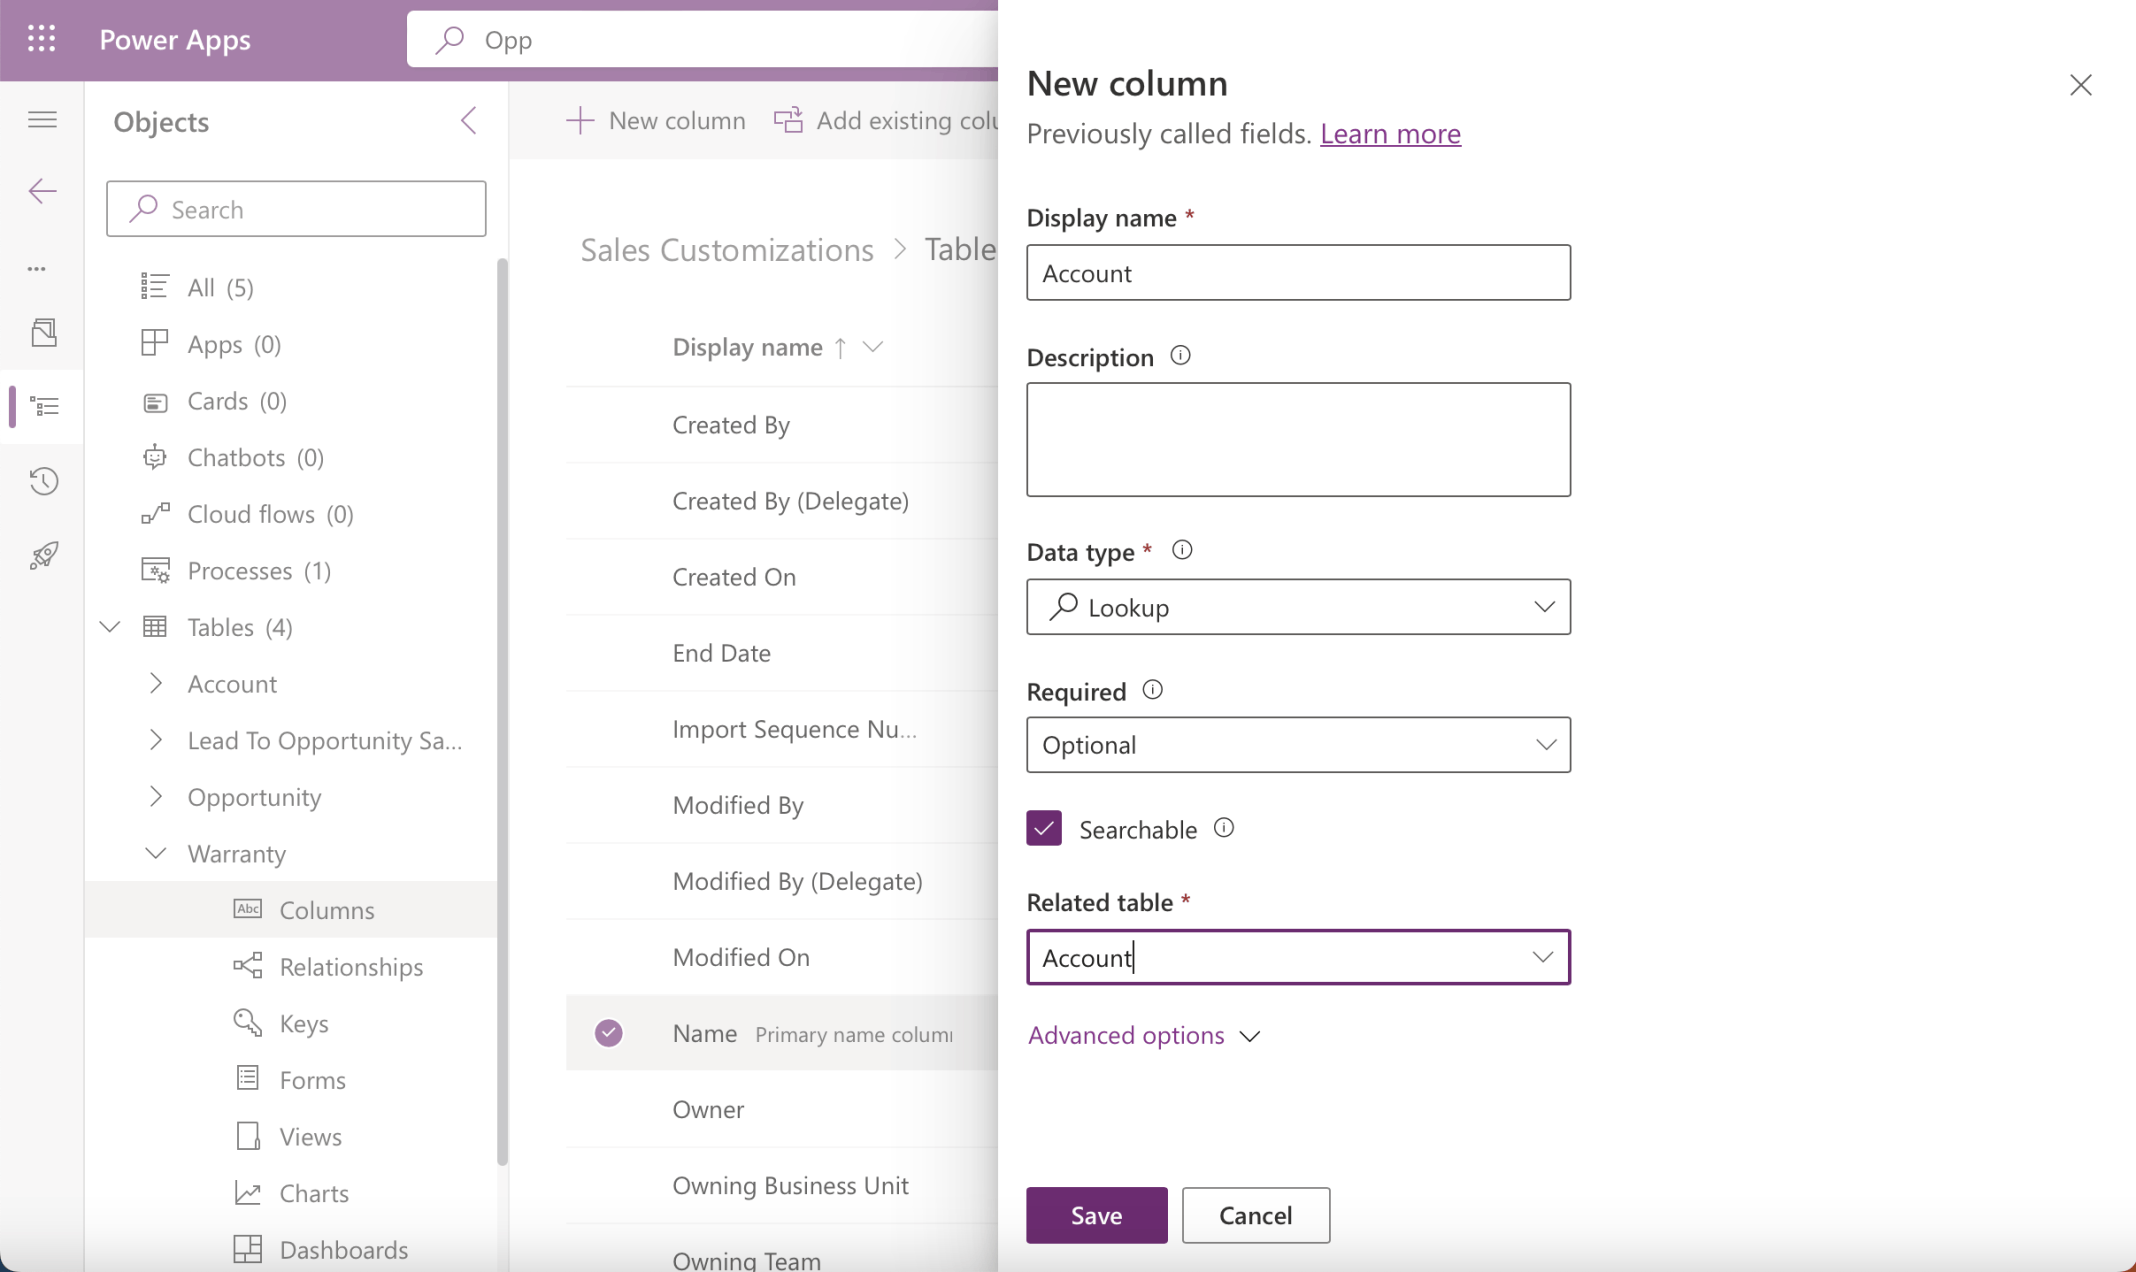
I added an Account (record) Lookup Column
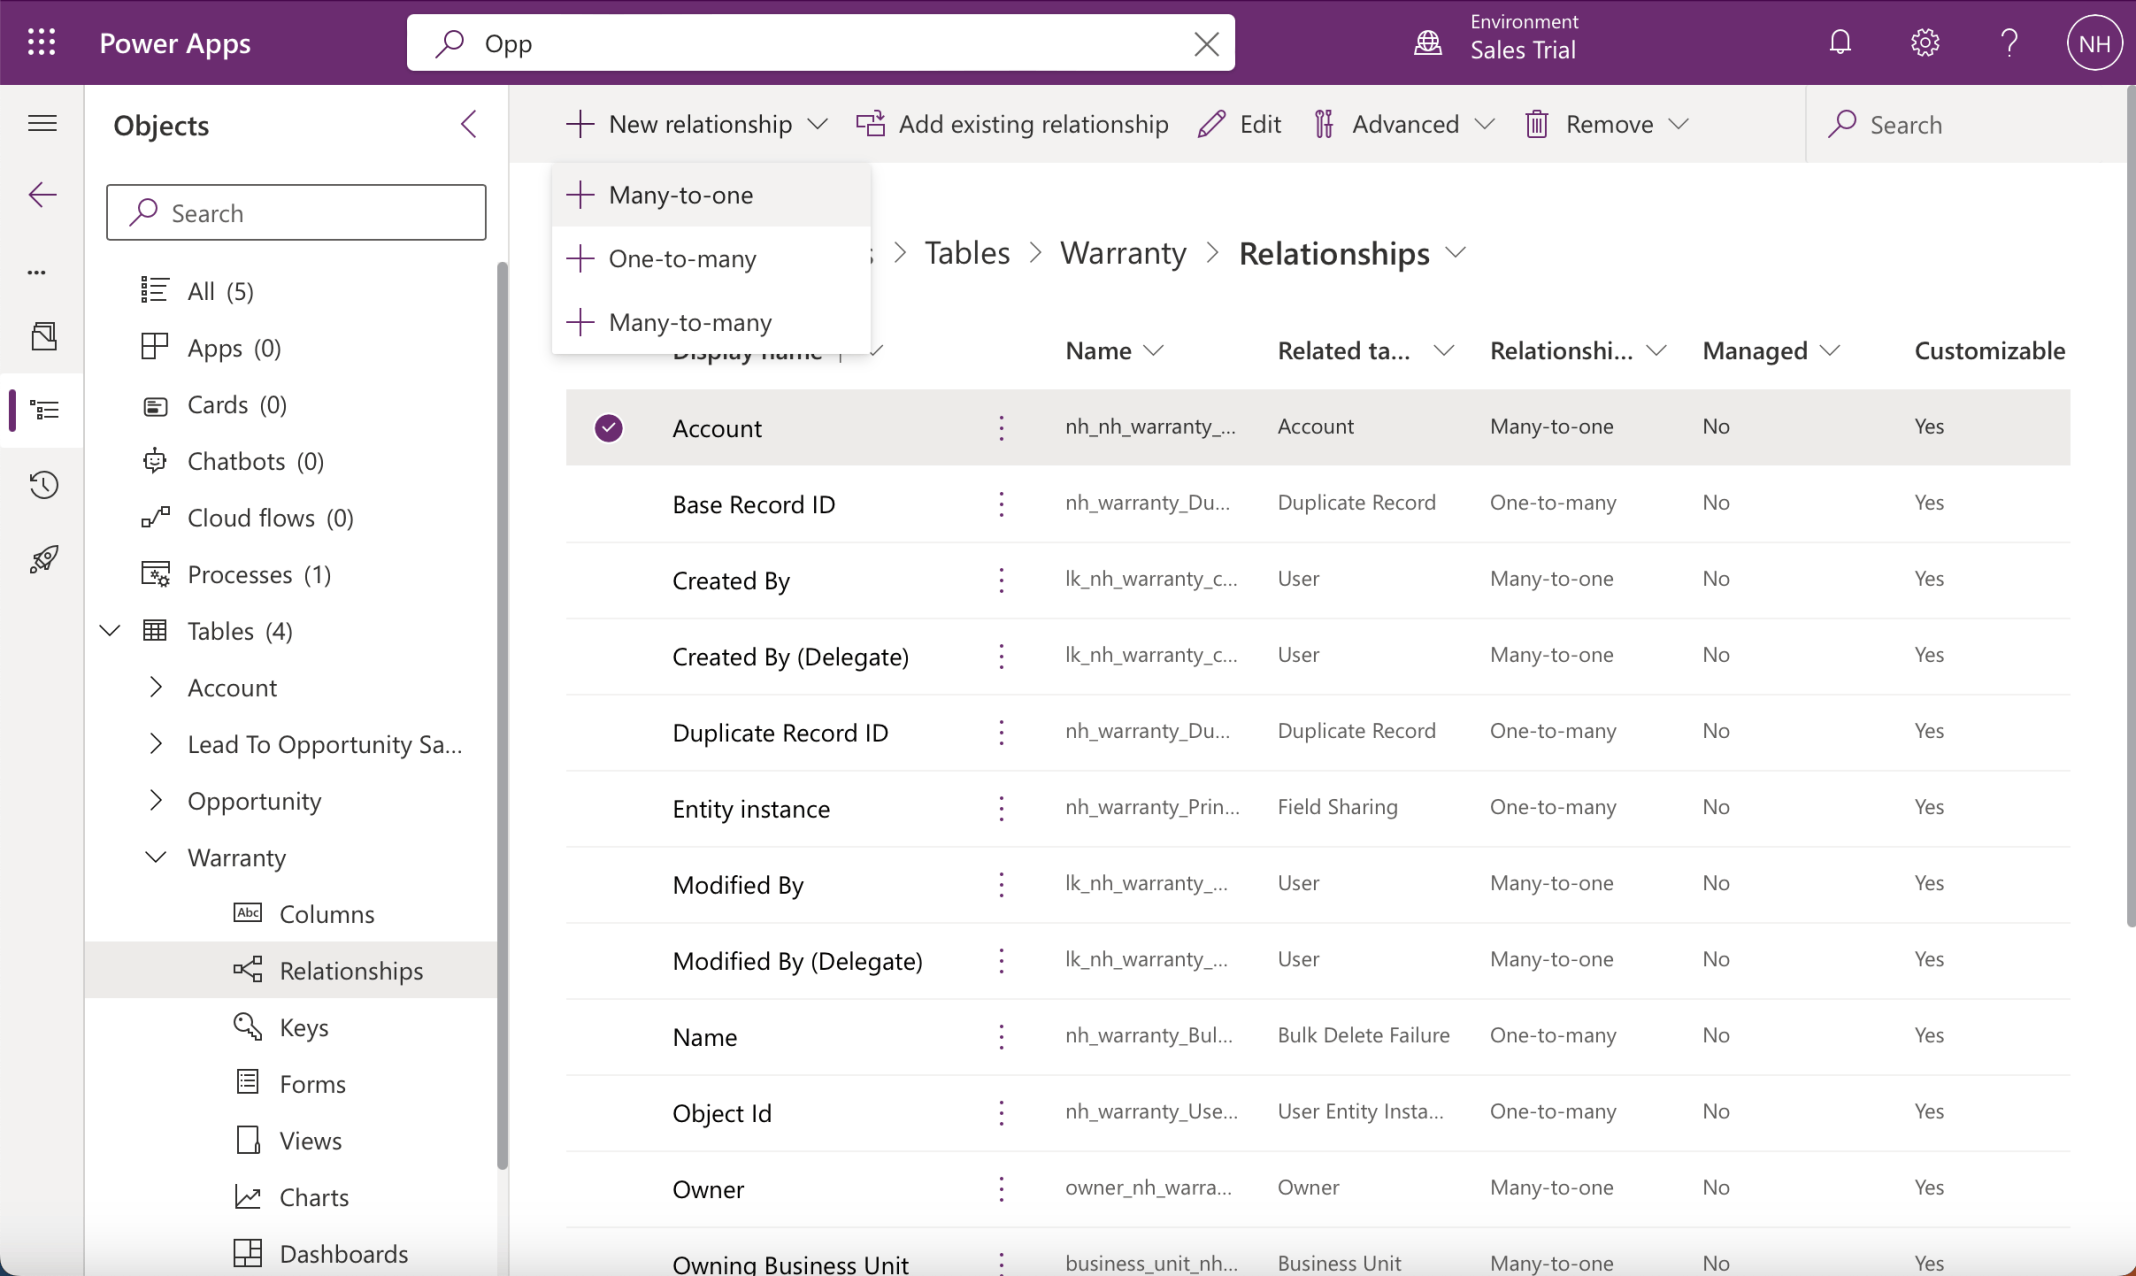
Adding the Account Lookup column creates a new Many-to-one relationship
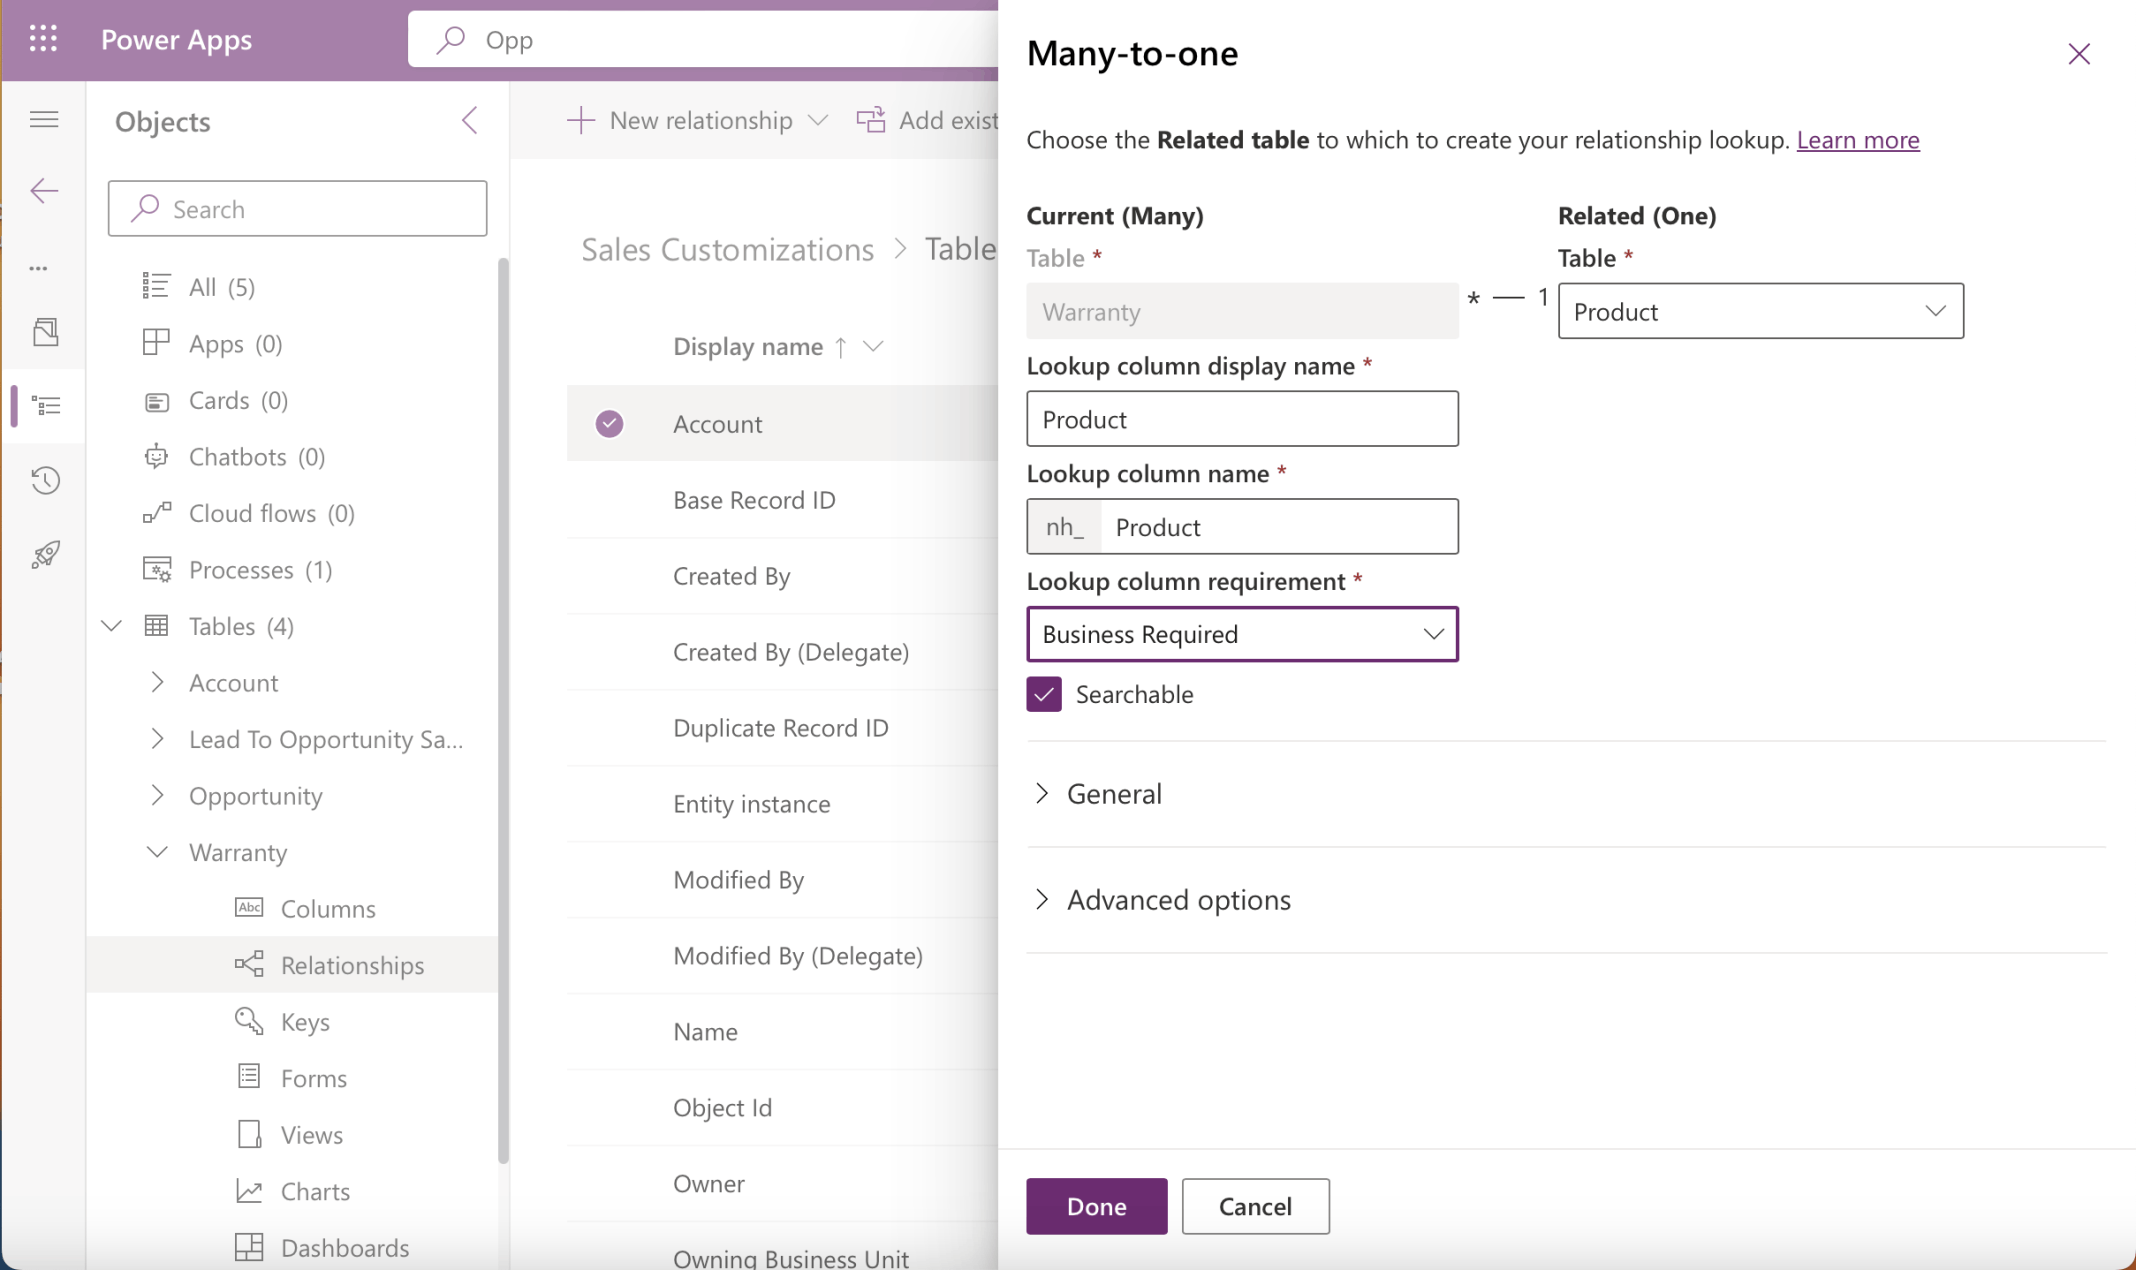
I added a Many-to-one relationship (Column) for Product (record)
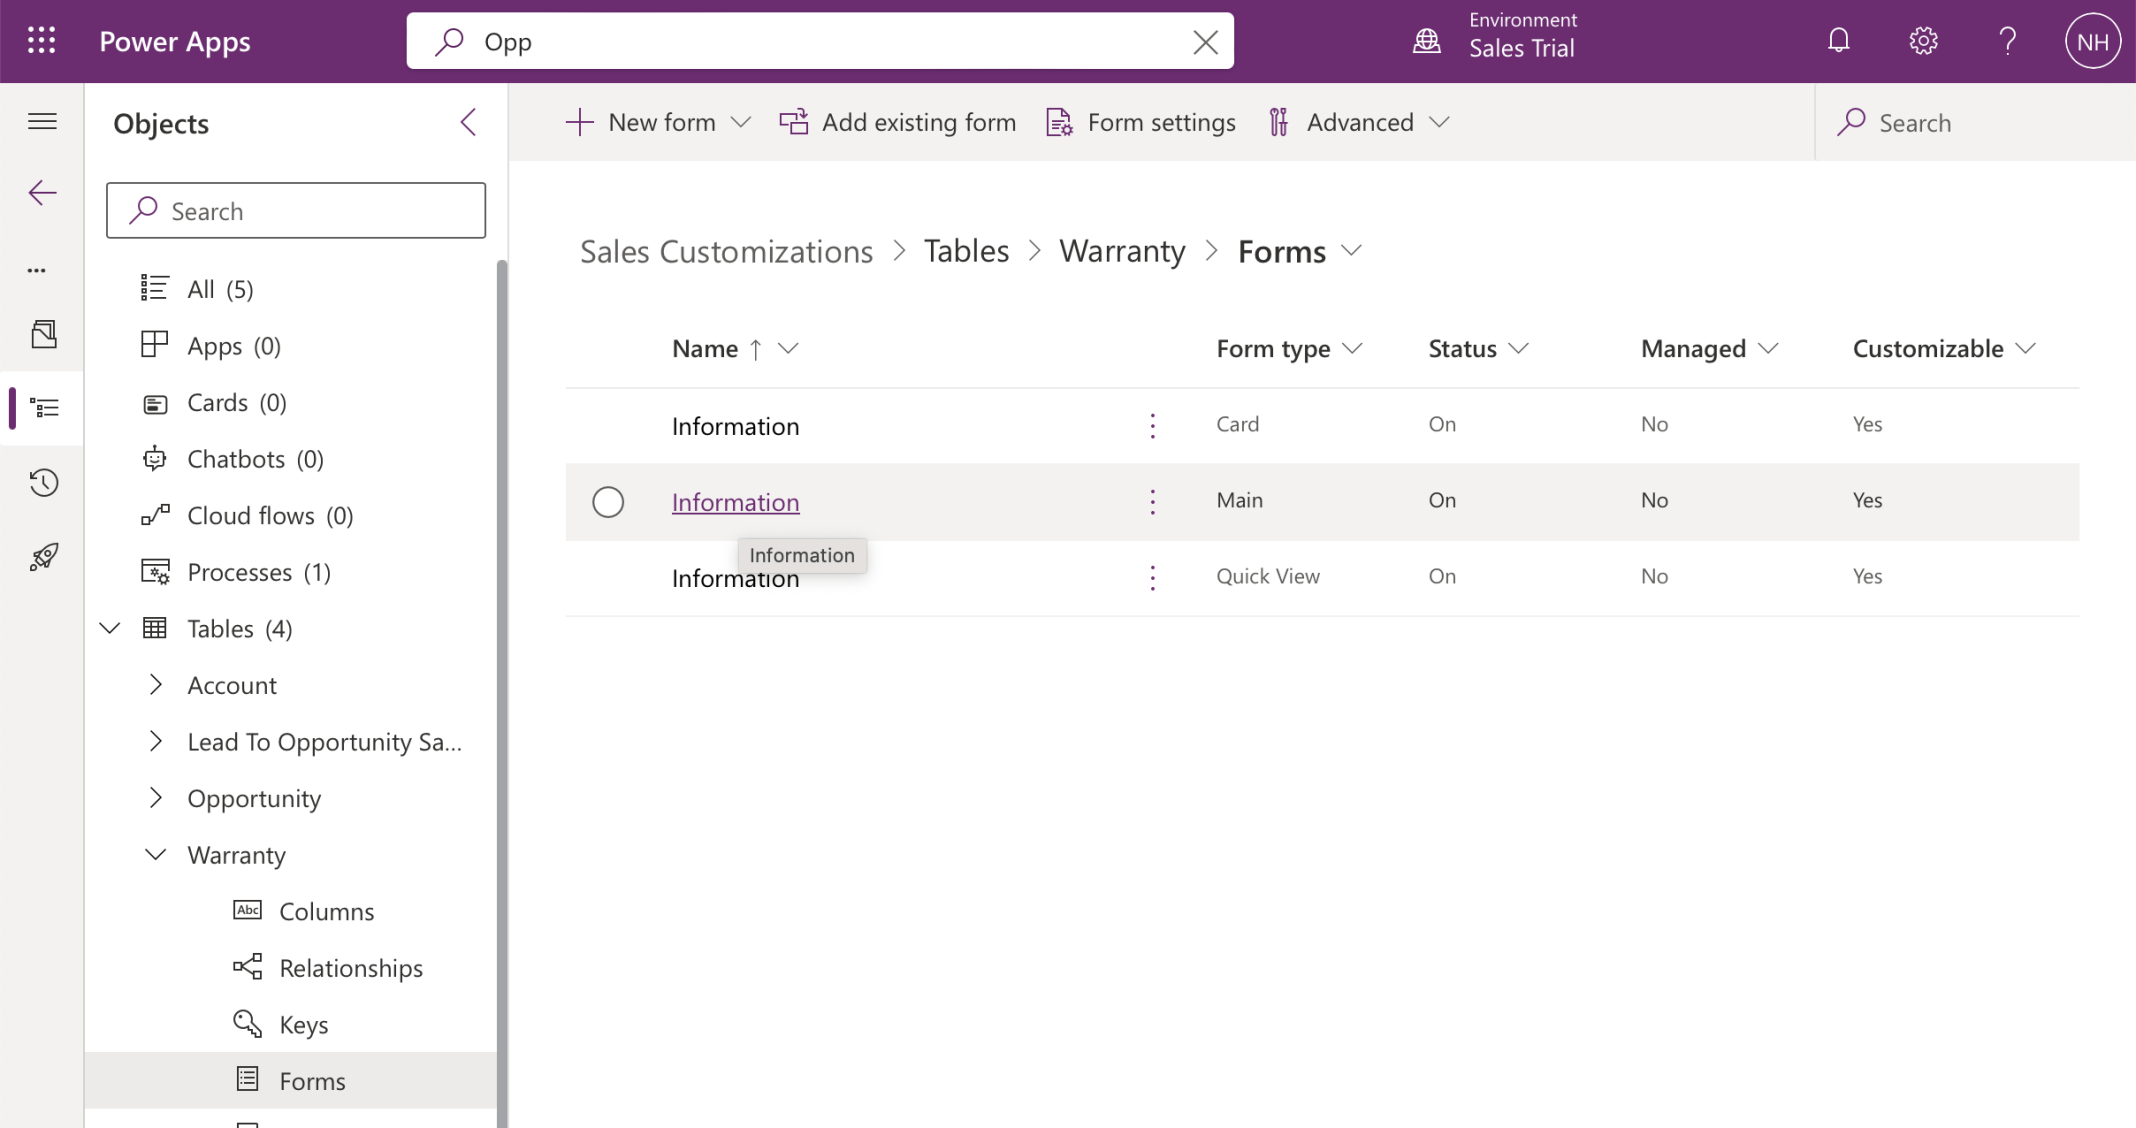
I updated the Main Warranty form
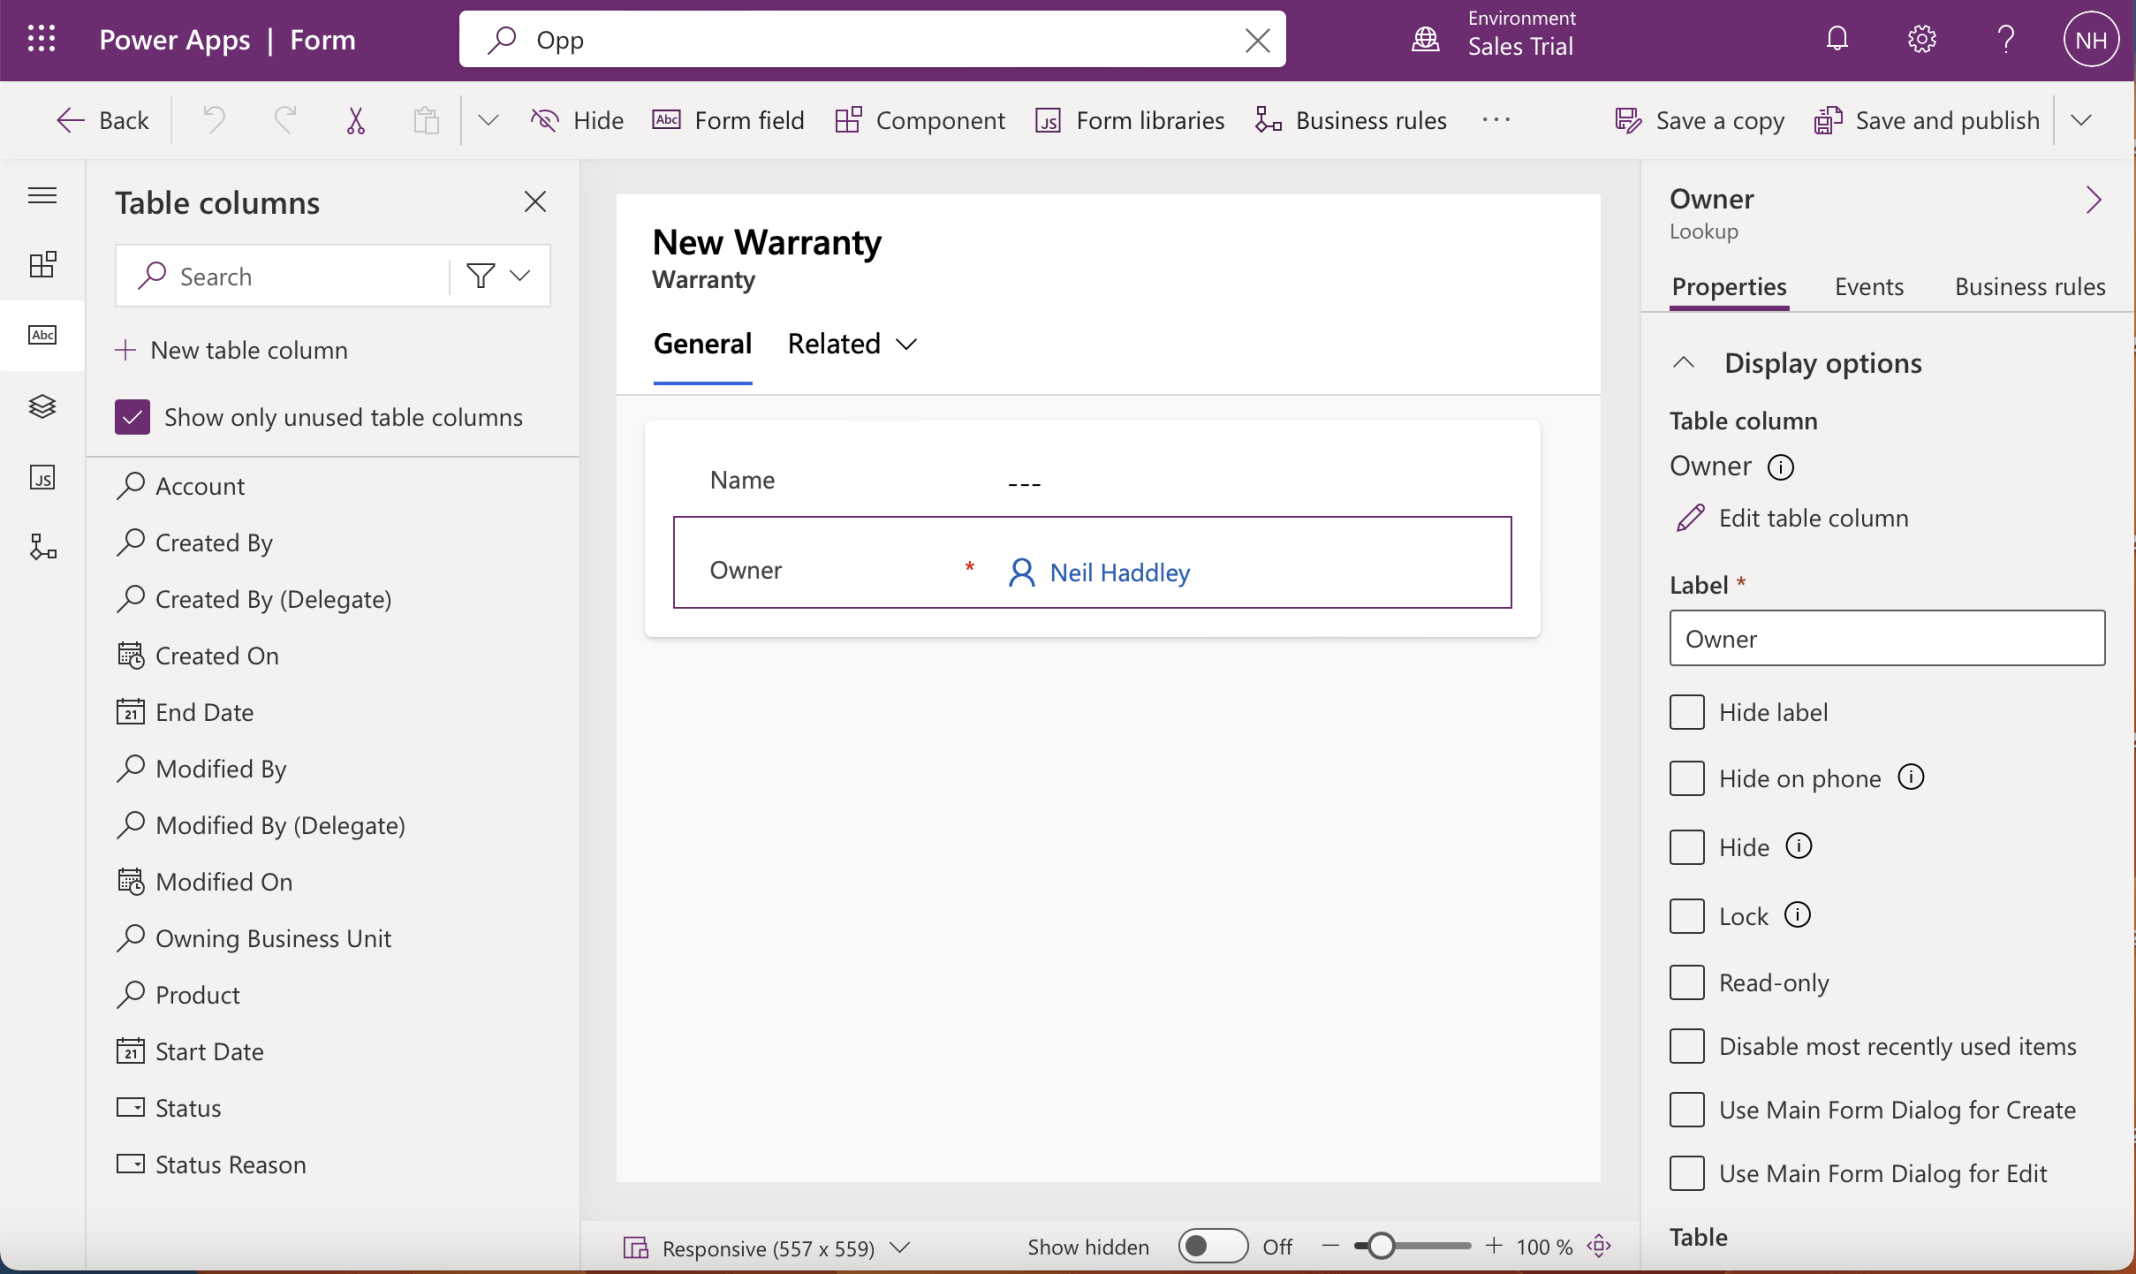
Initially the Main form only included the Name and Owner columns
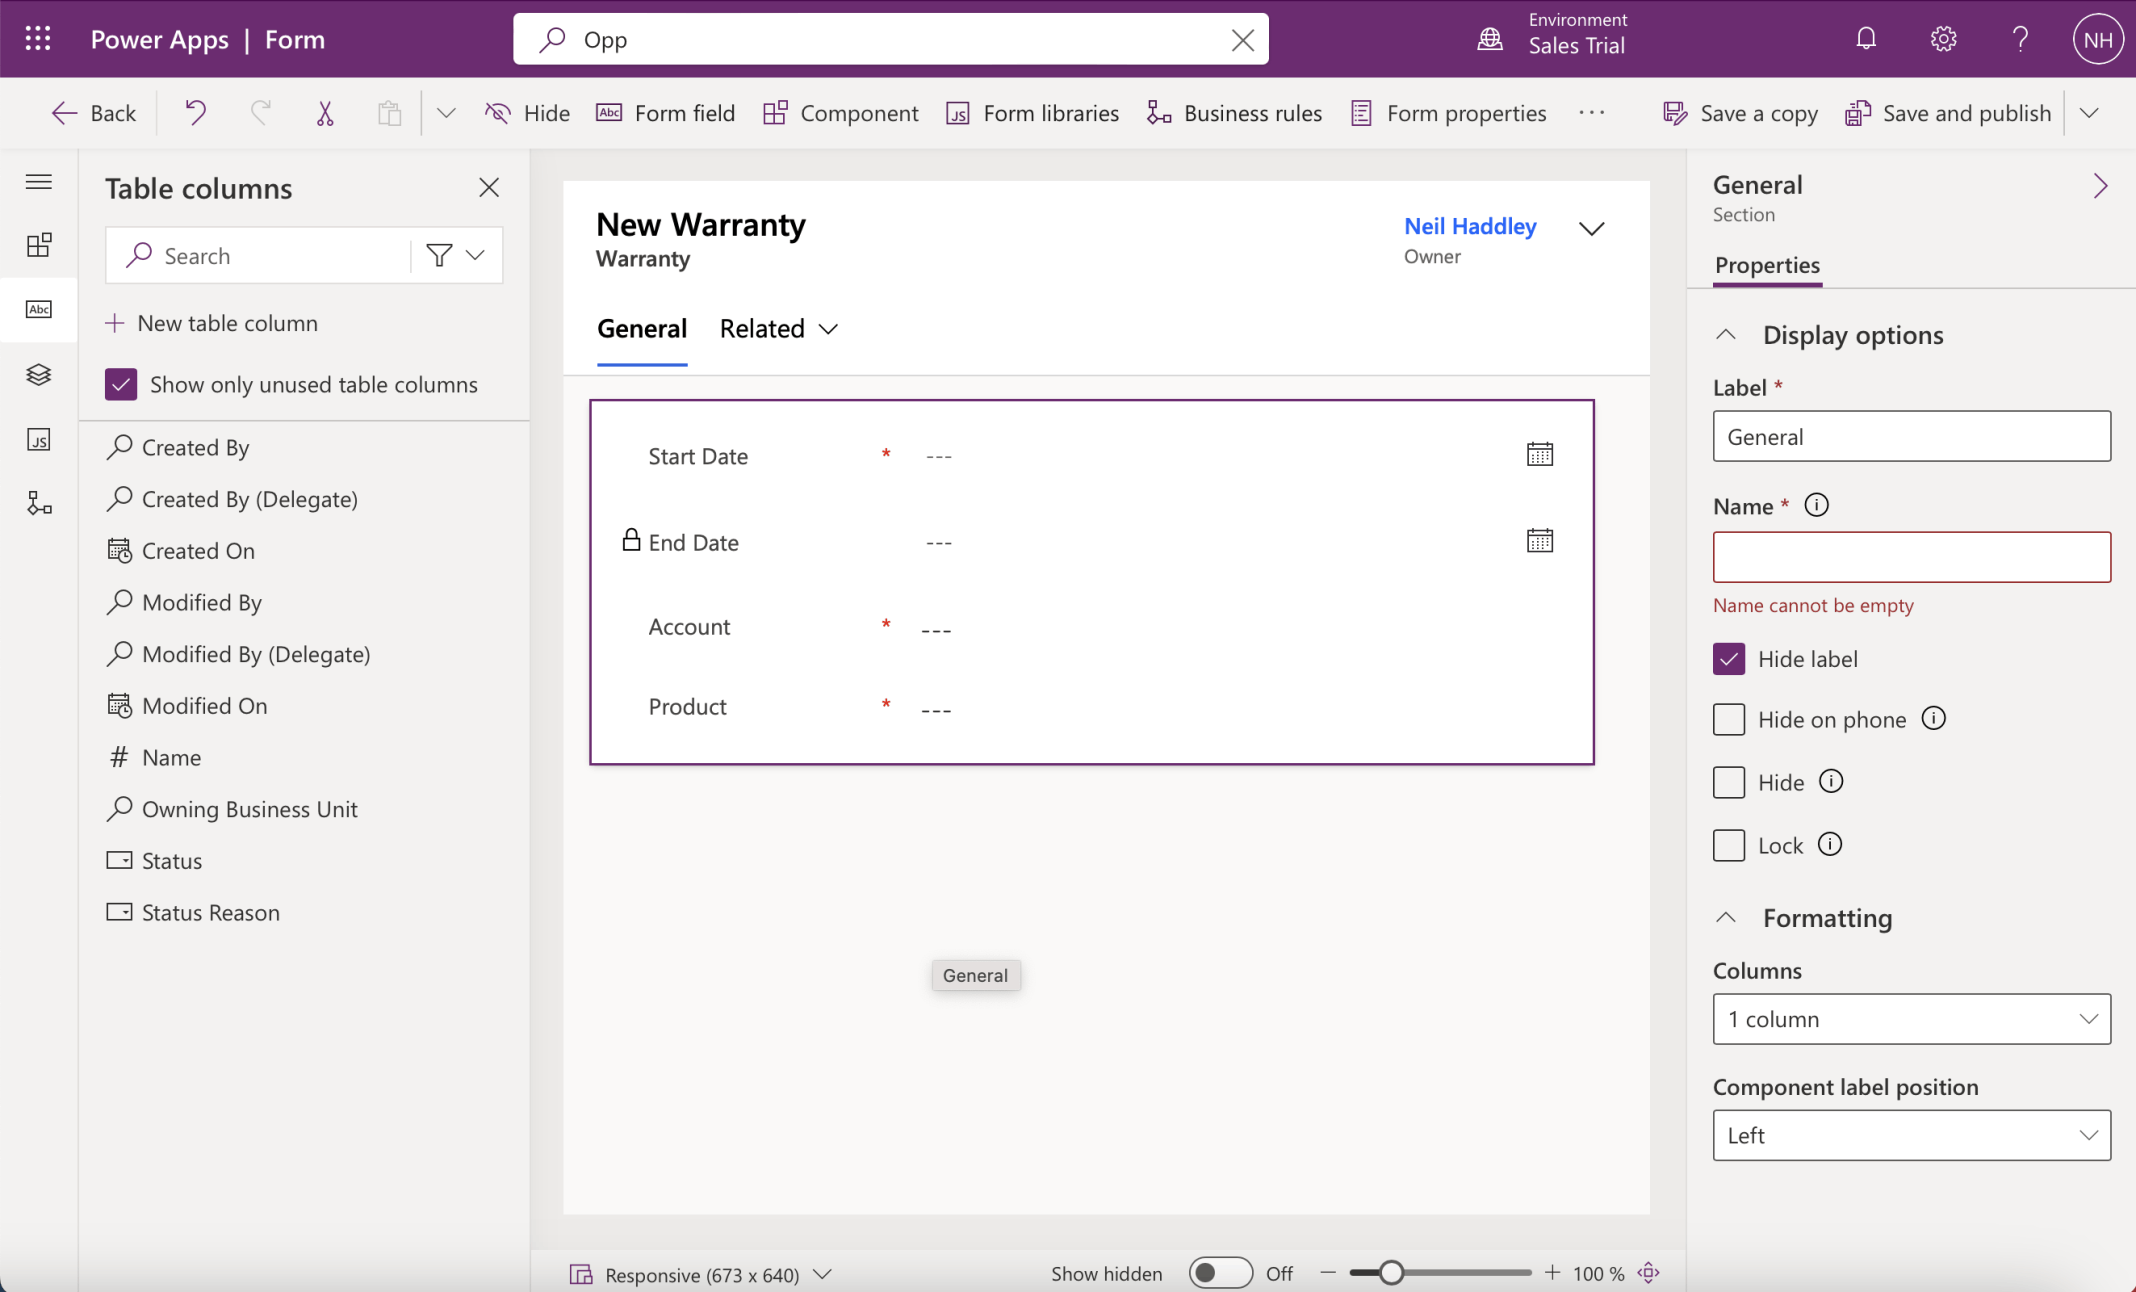
I moved the Owner Column to the form header and removed the Name column. I added the Start Date, End Date, Account and Product Columns
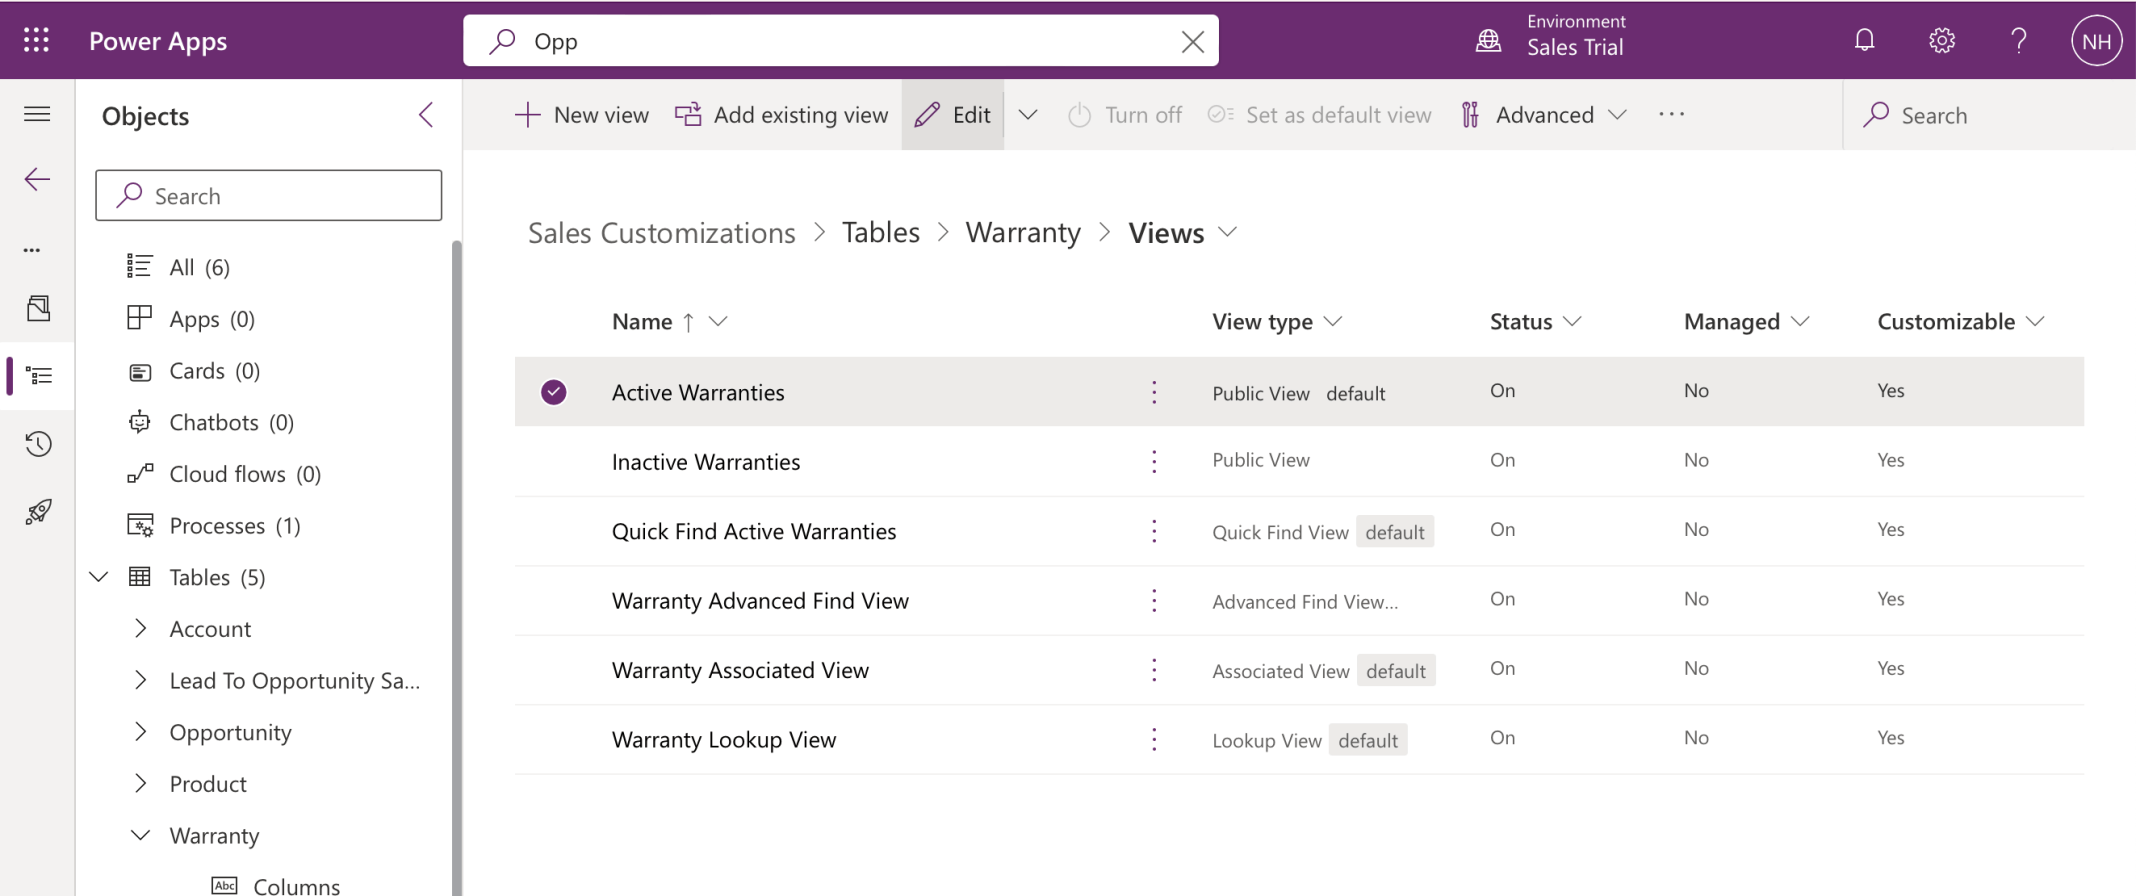
I updated the Active Warranties view
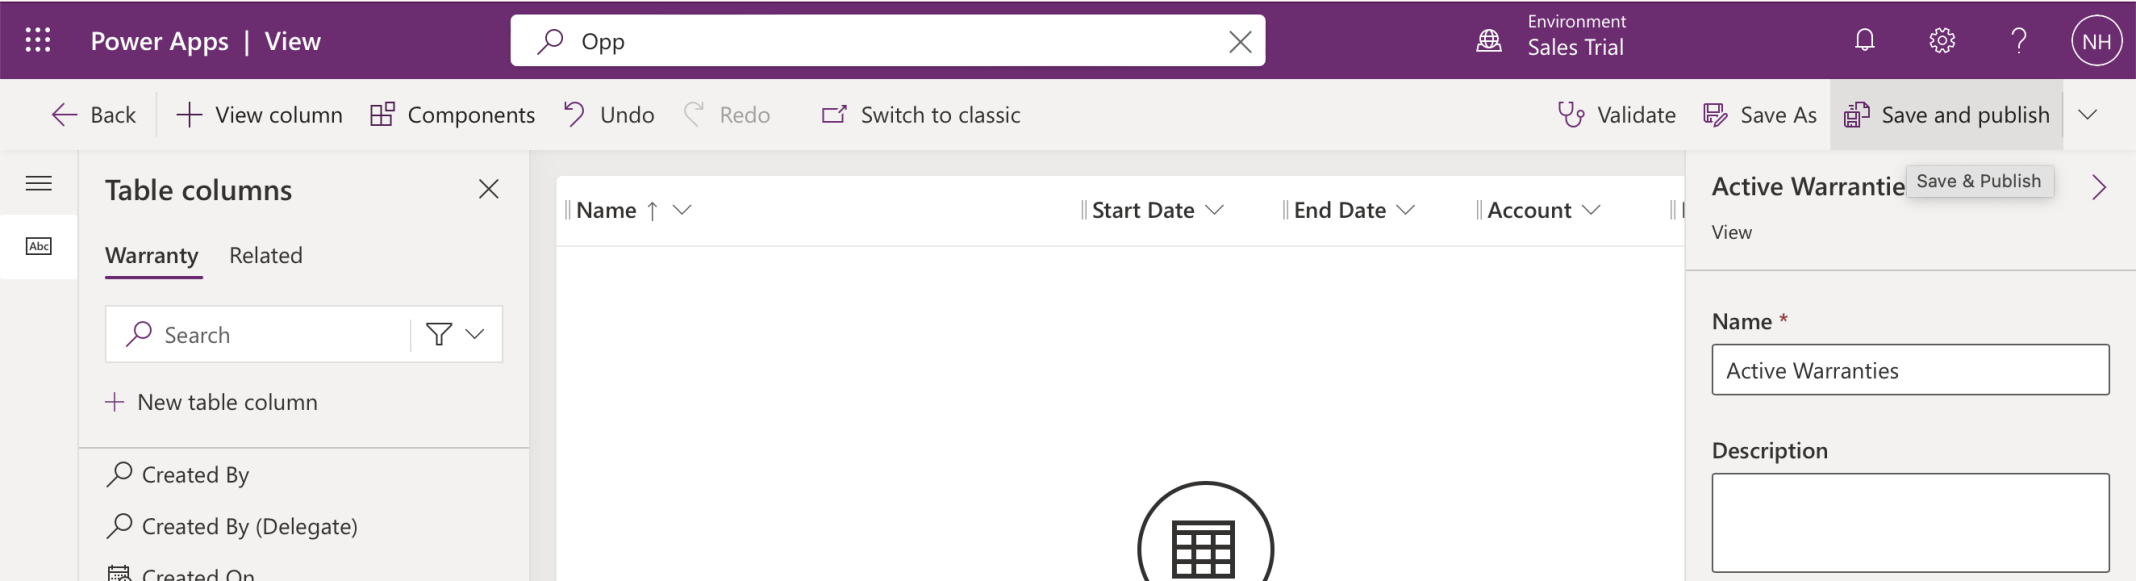
I added the Start Date, End Date, Account and Product Columns to the view
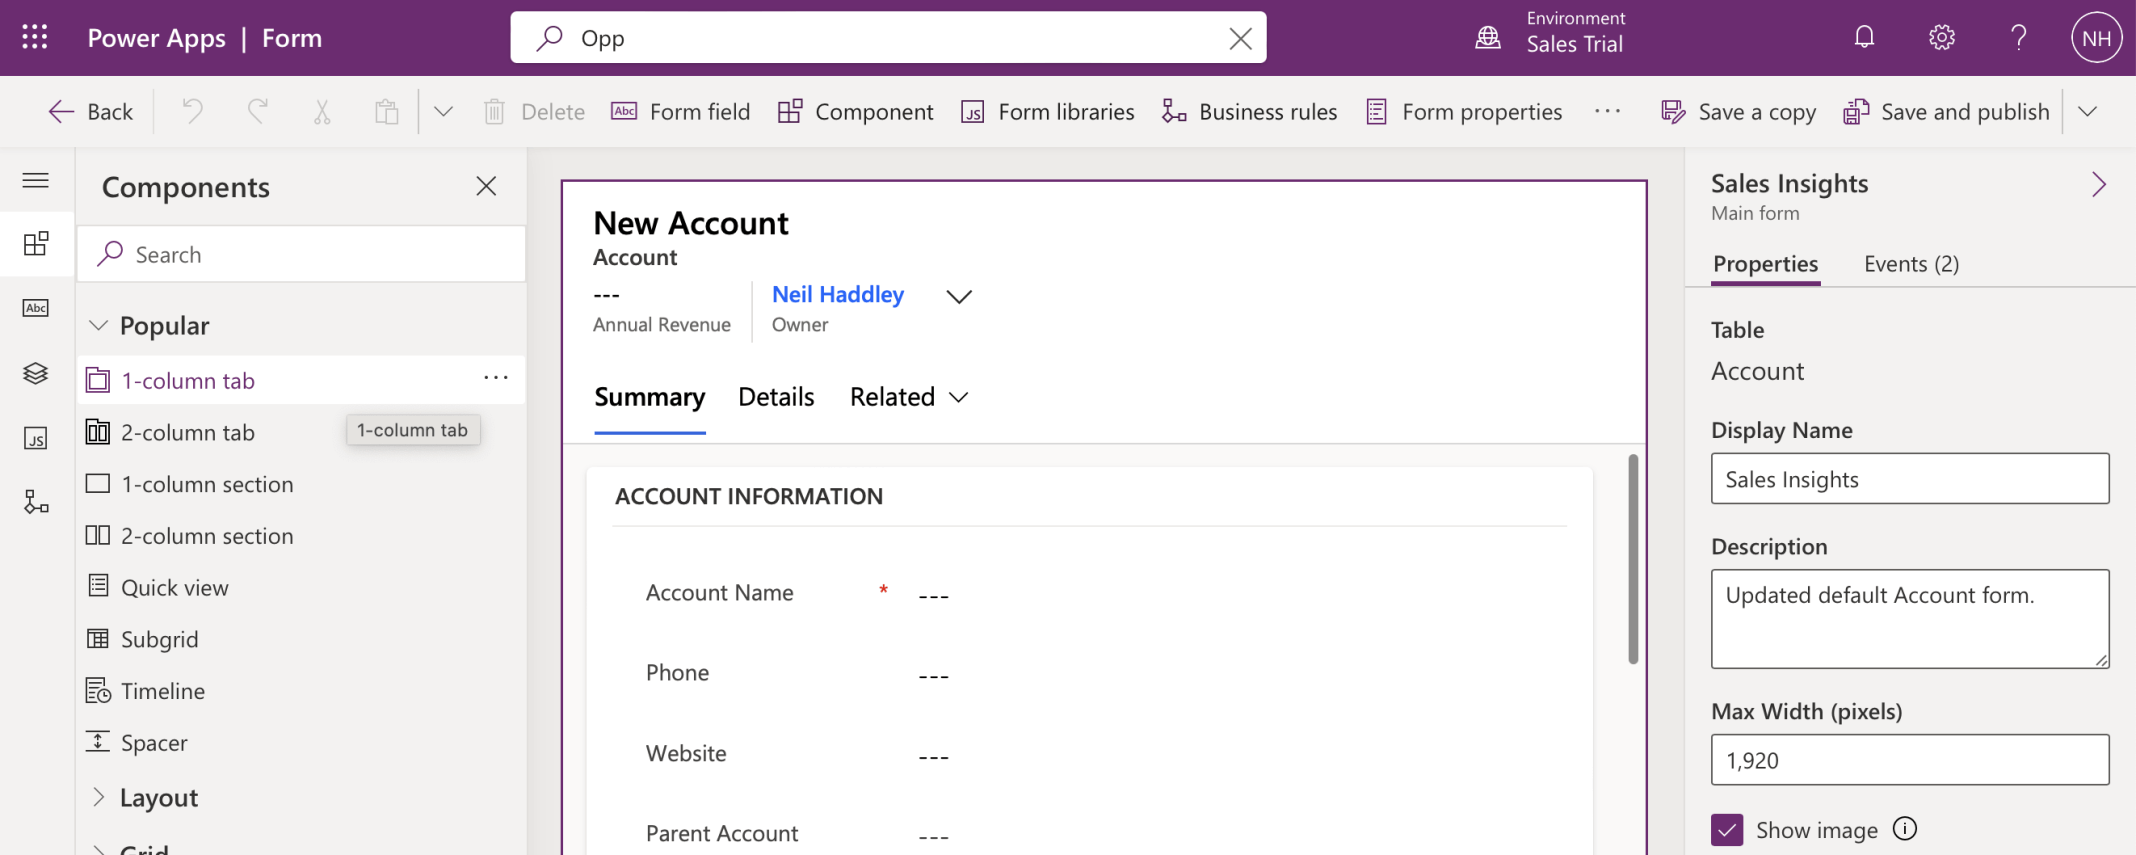
I added a 1-column tab to the Account table's Main form
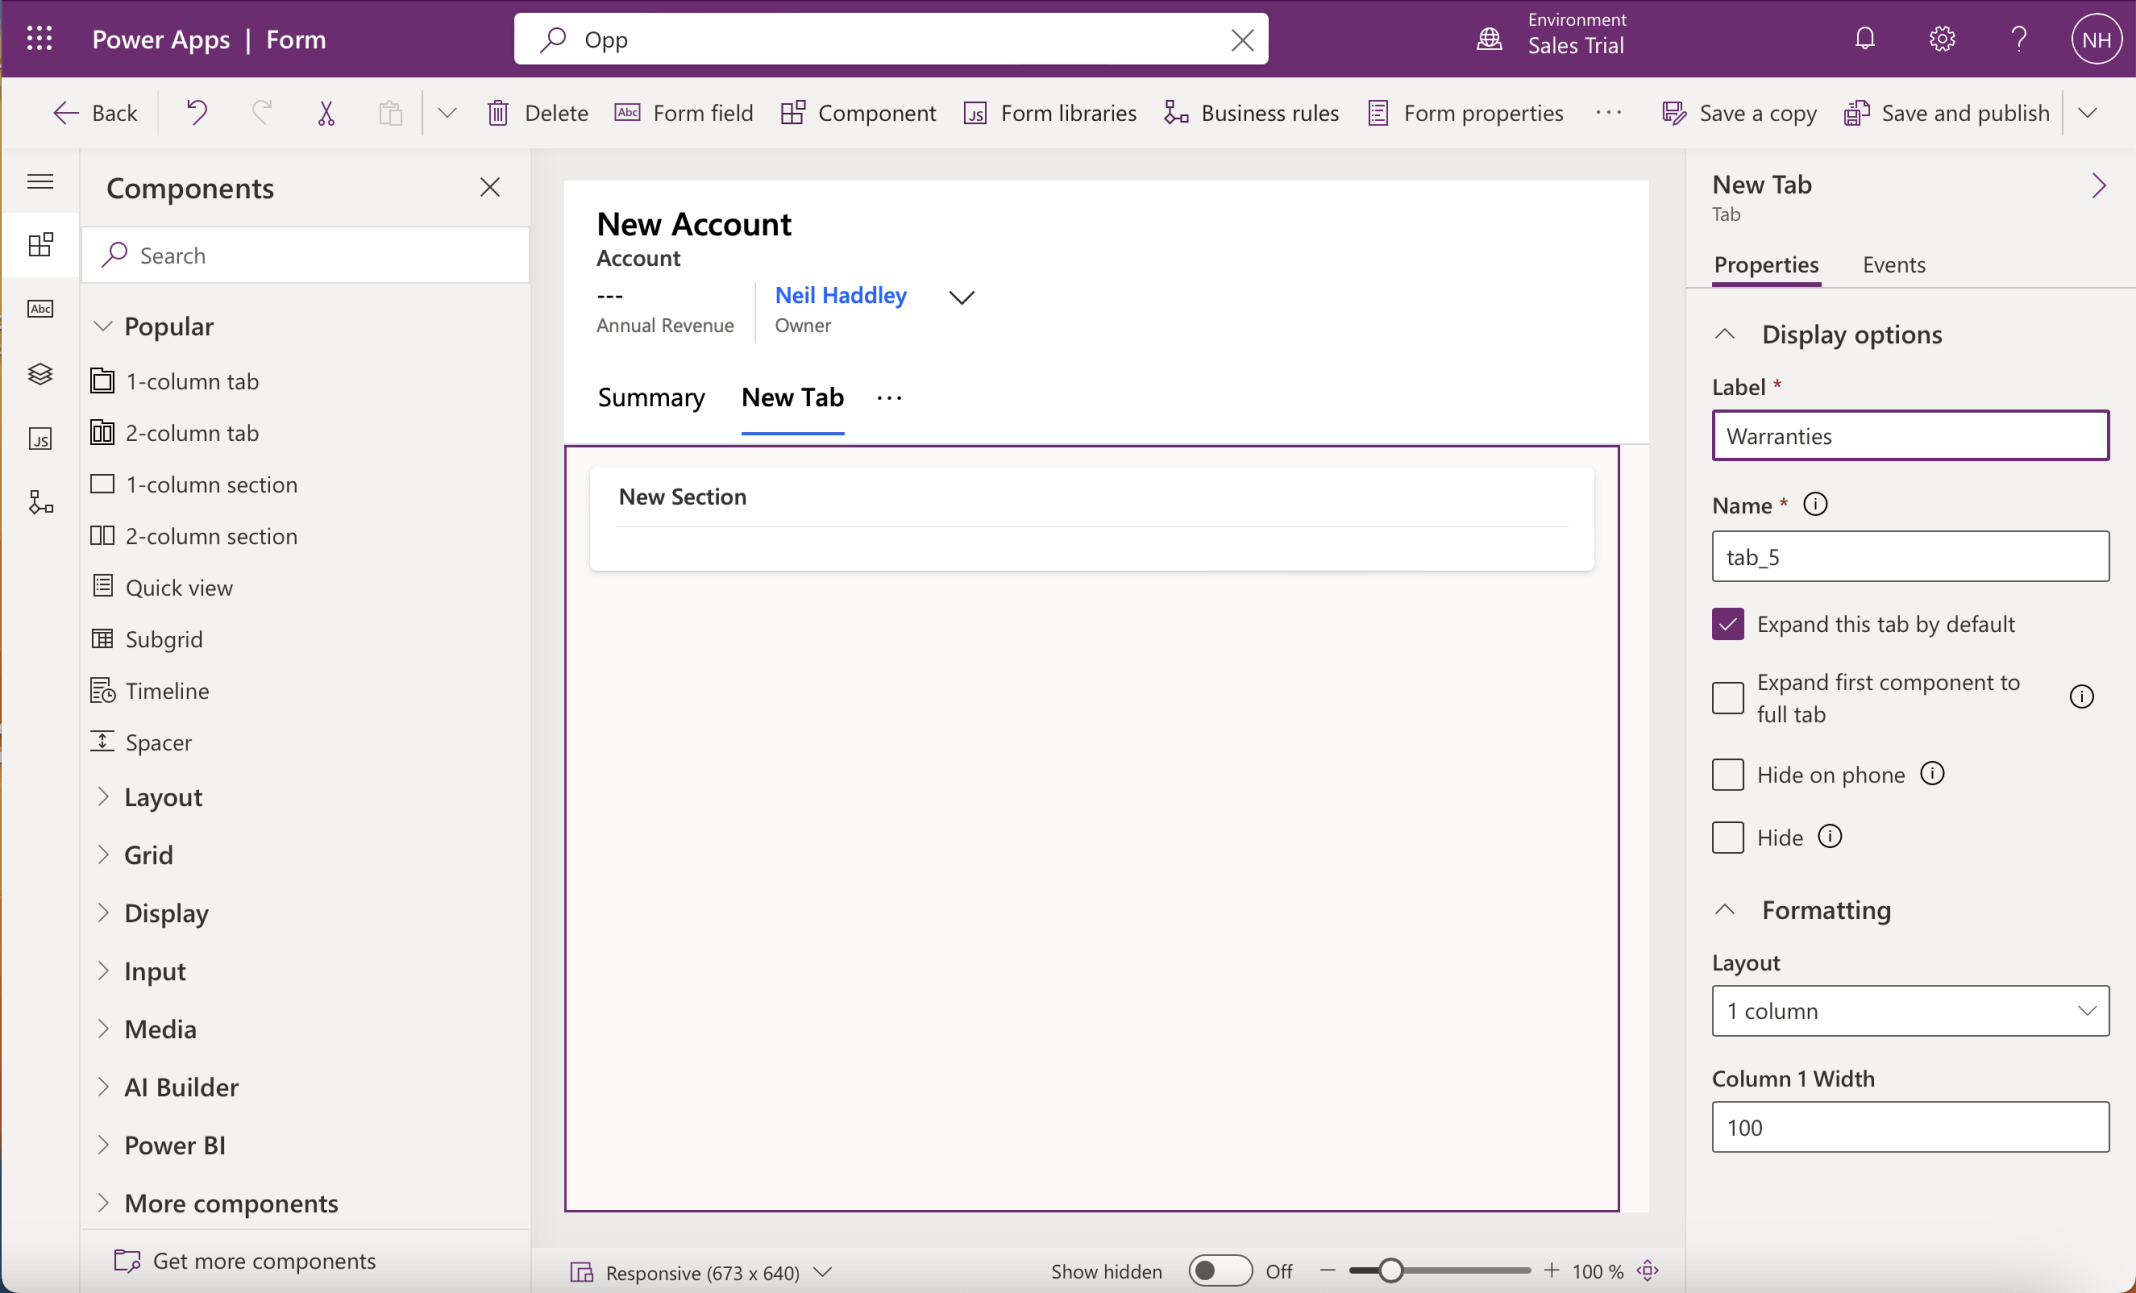
I renamed the new tab "Warranties"
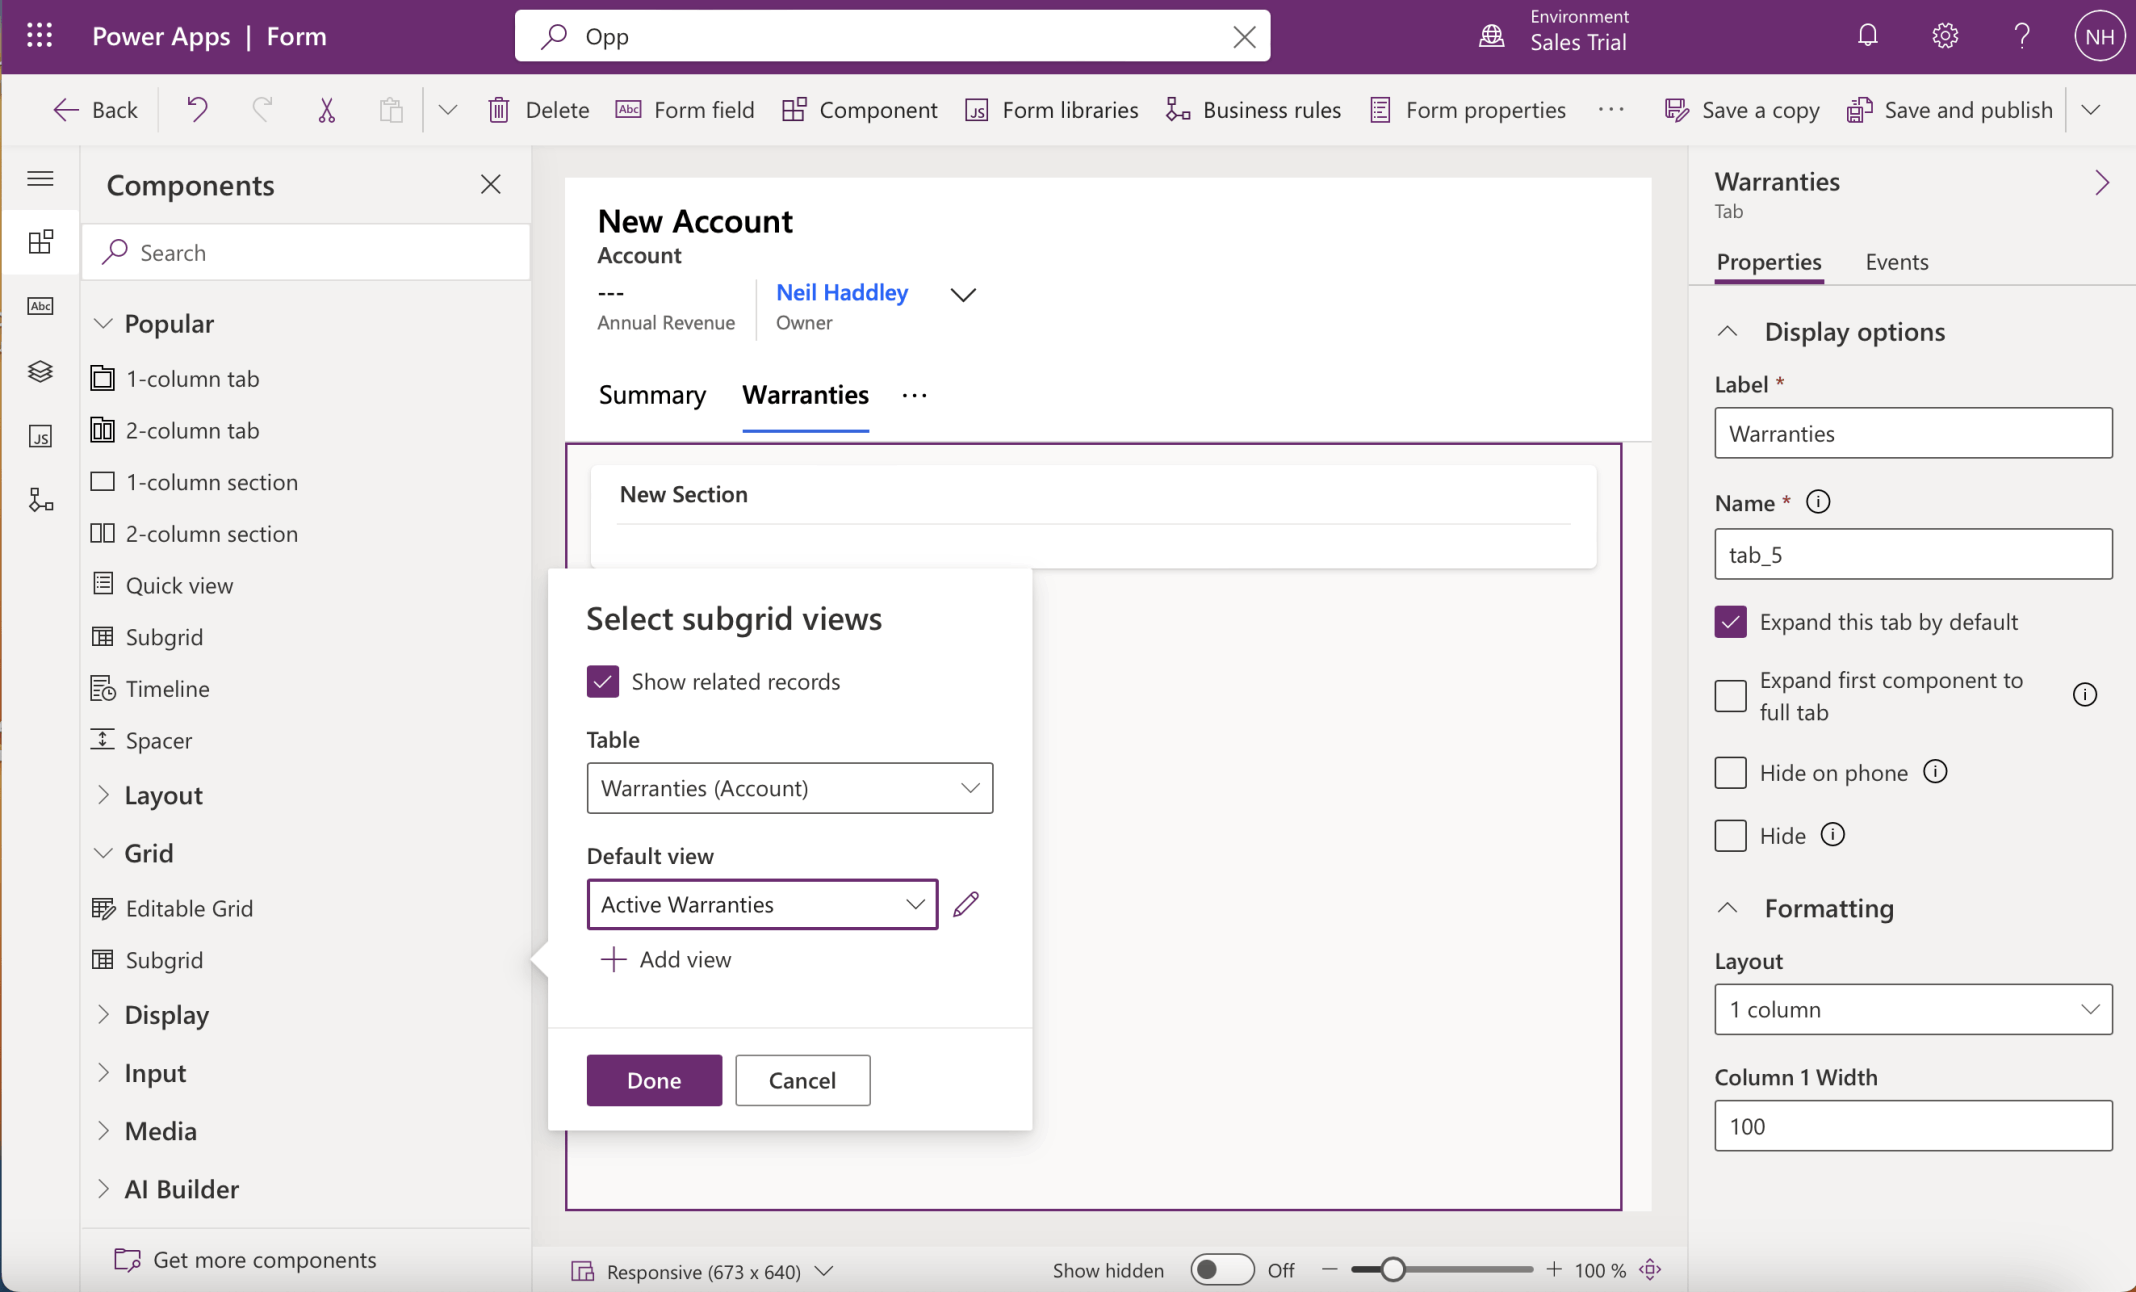
I added a subgrid to the new tab
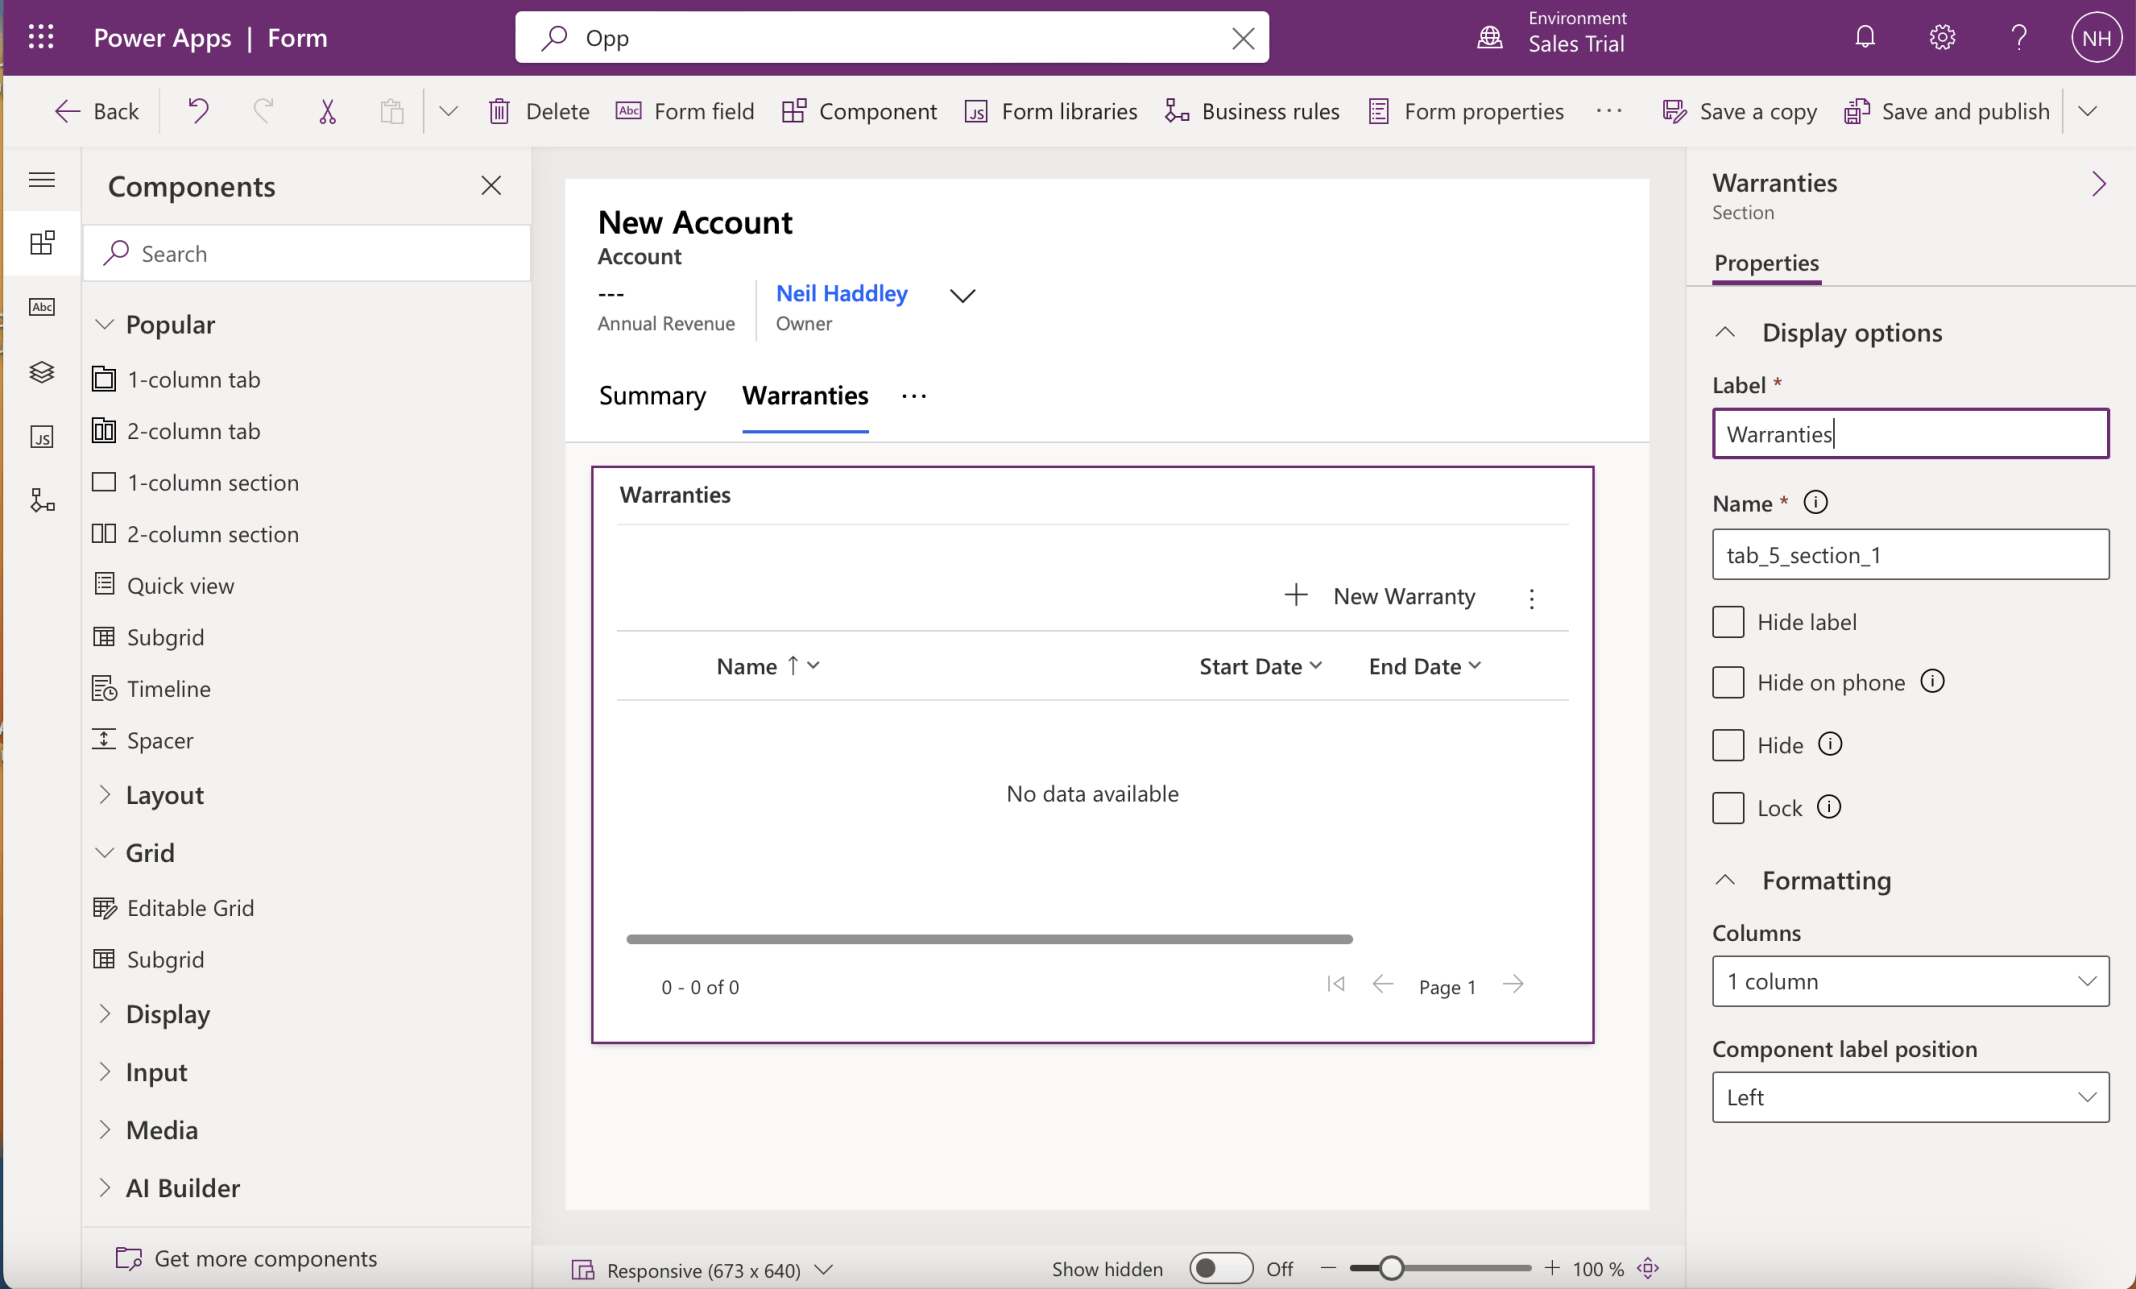
I updated the Labels

I Saved and Published my changes
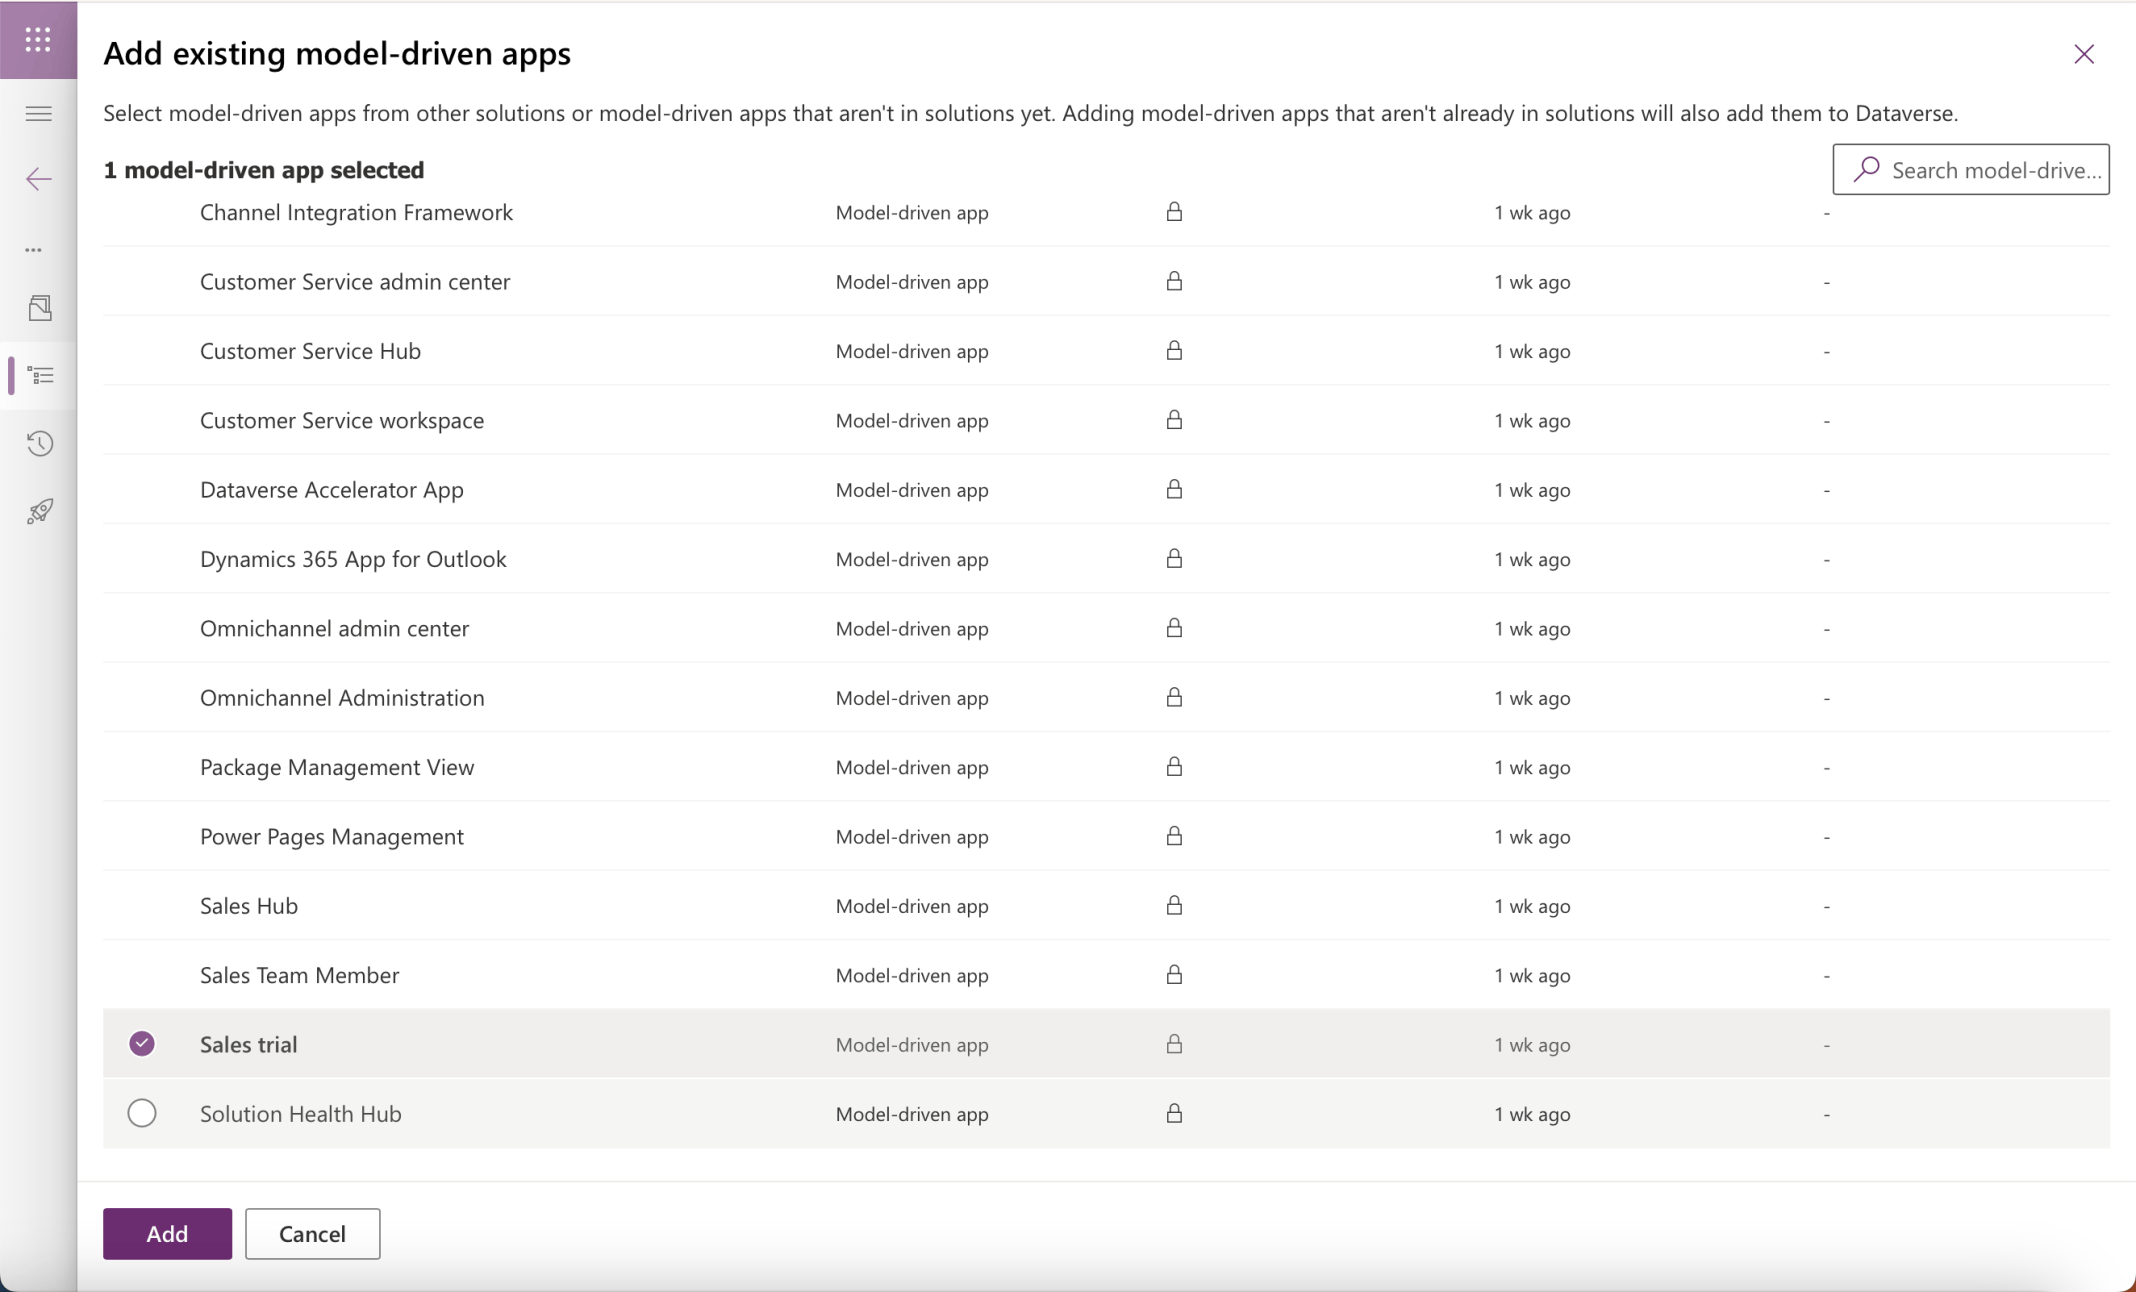
I added the Sales Trial app to the Sales Customizations solution
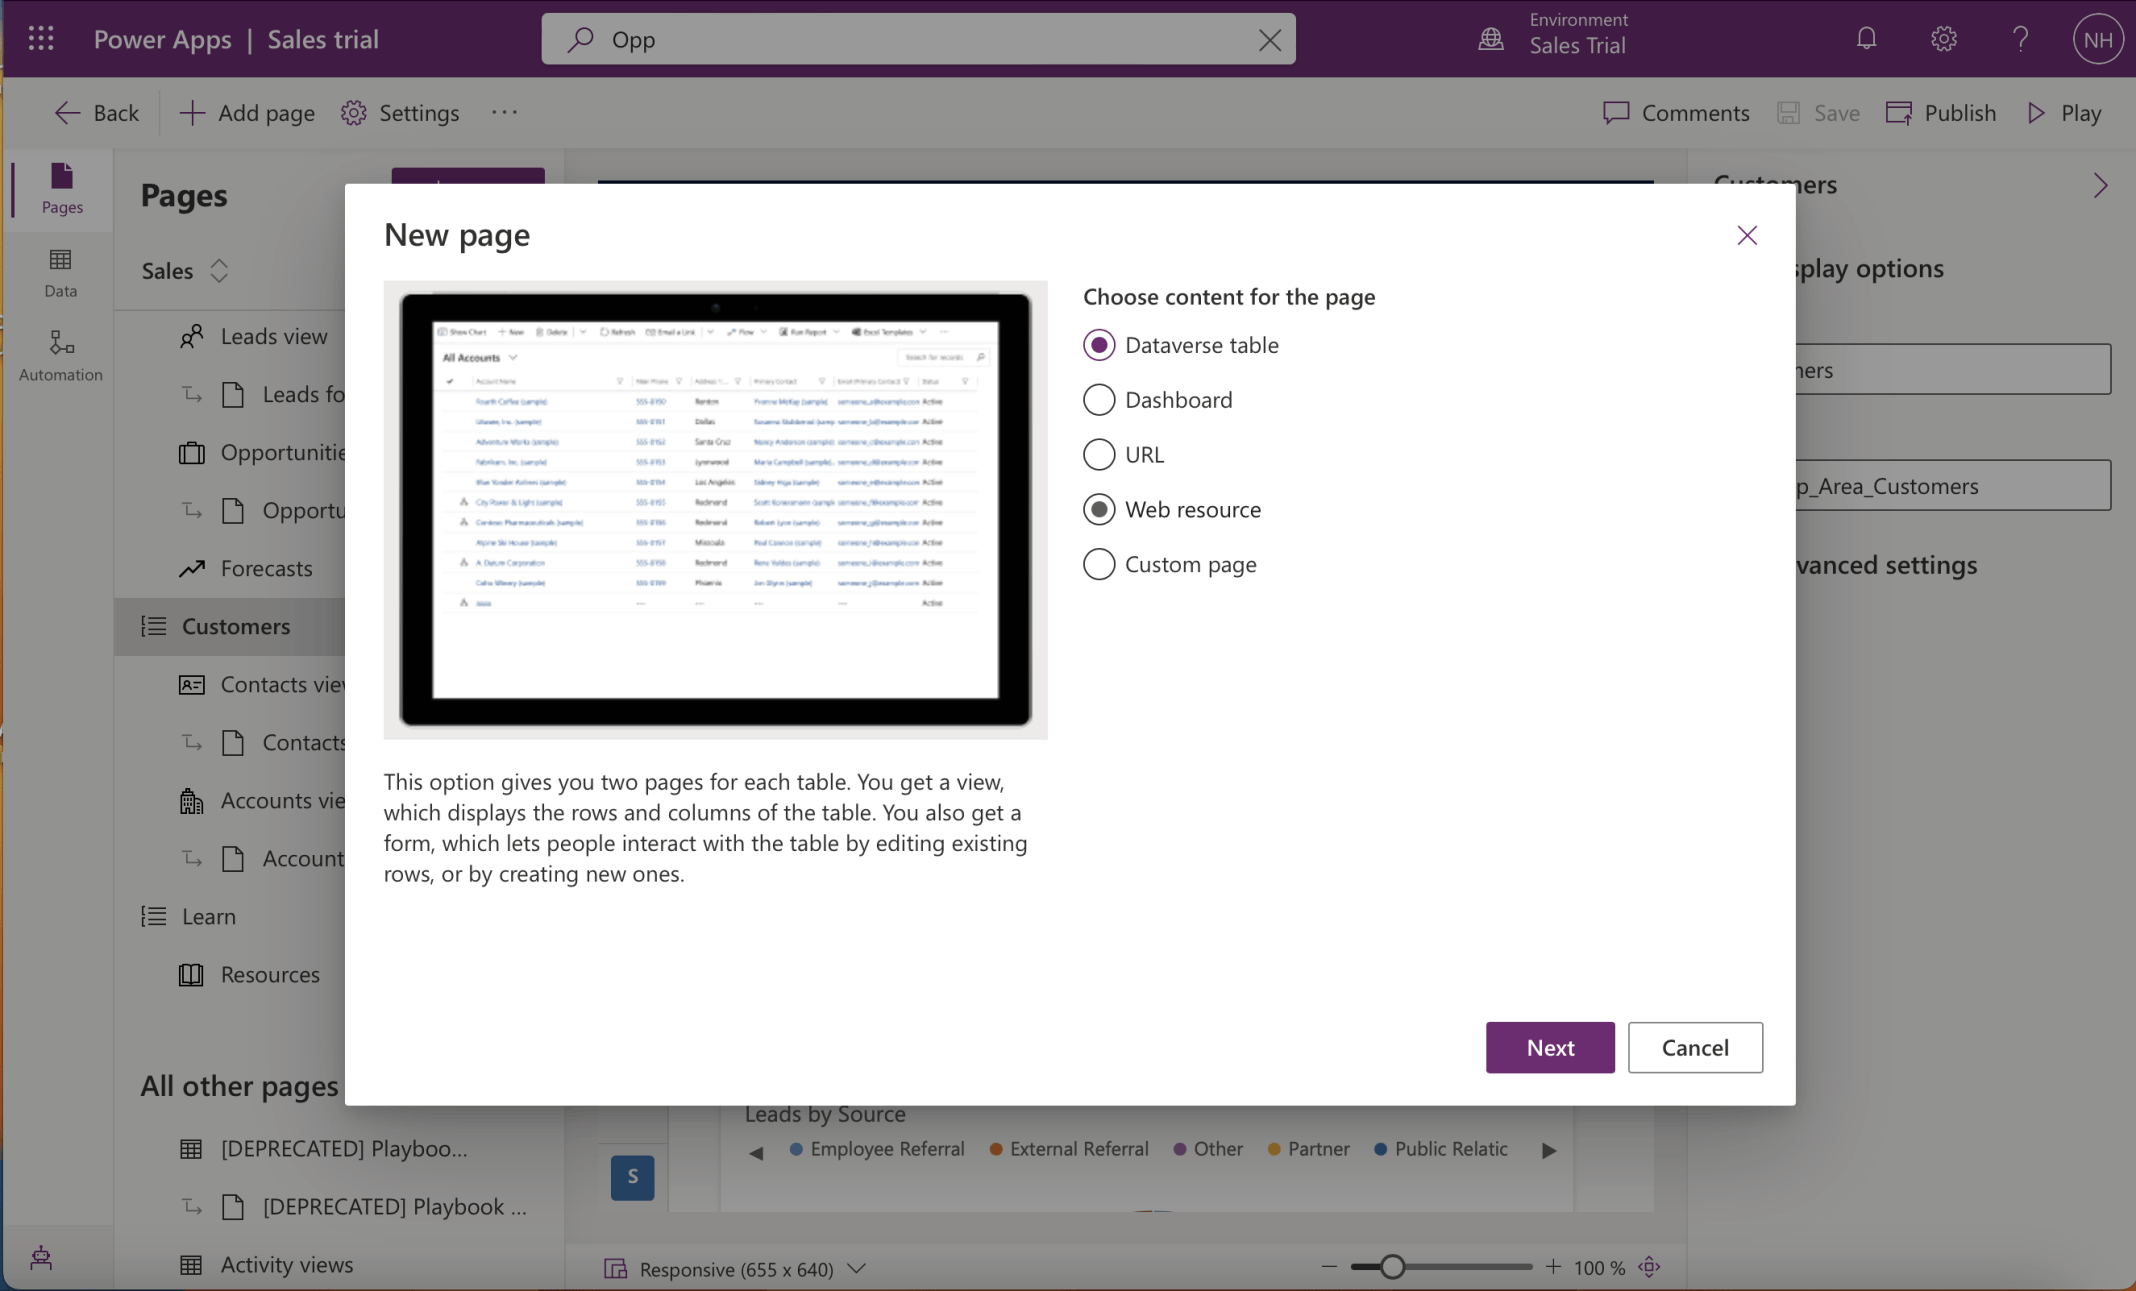
I added a Dataverse table page
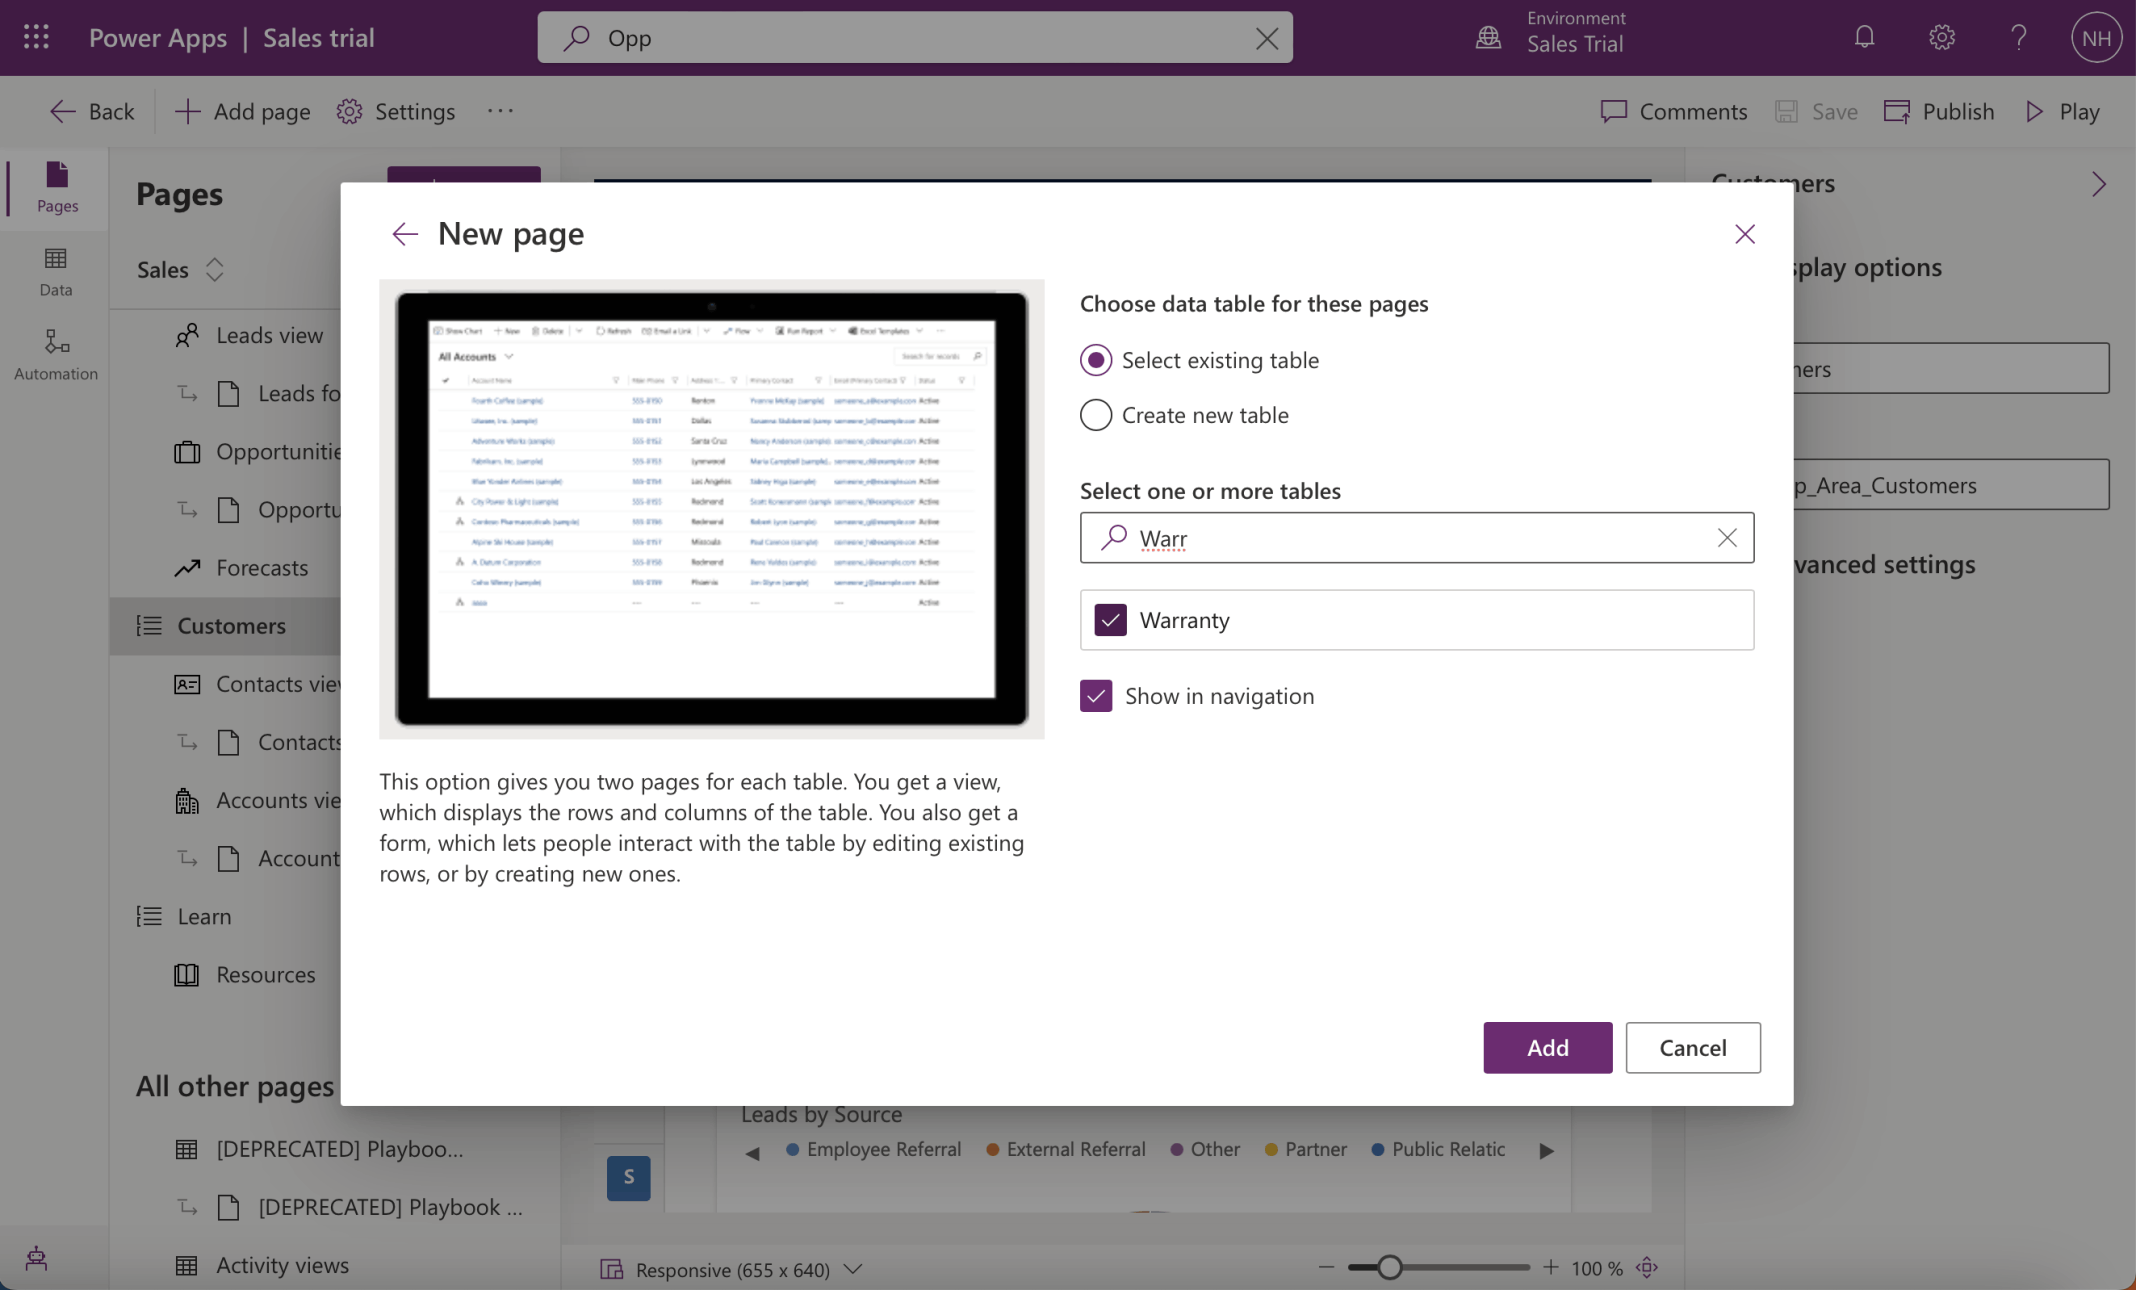
I selected the Warranty table
I published my changes
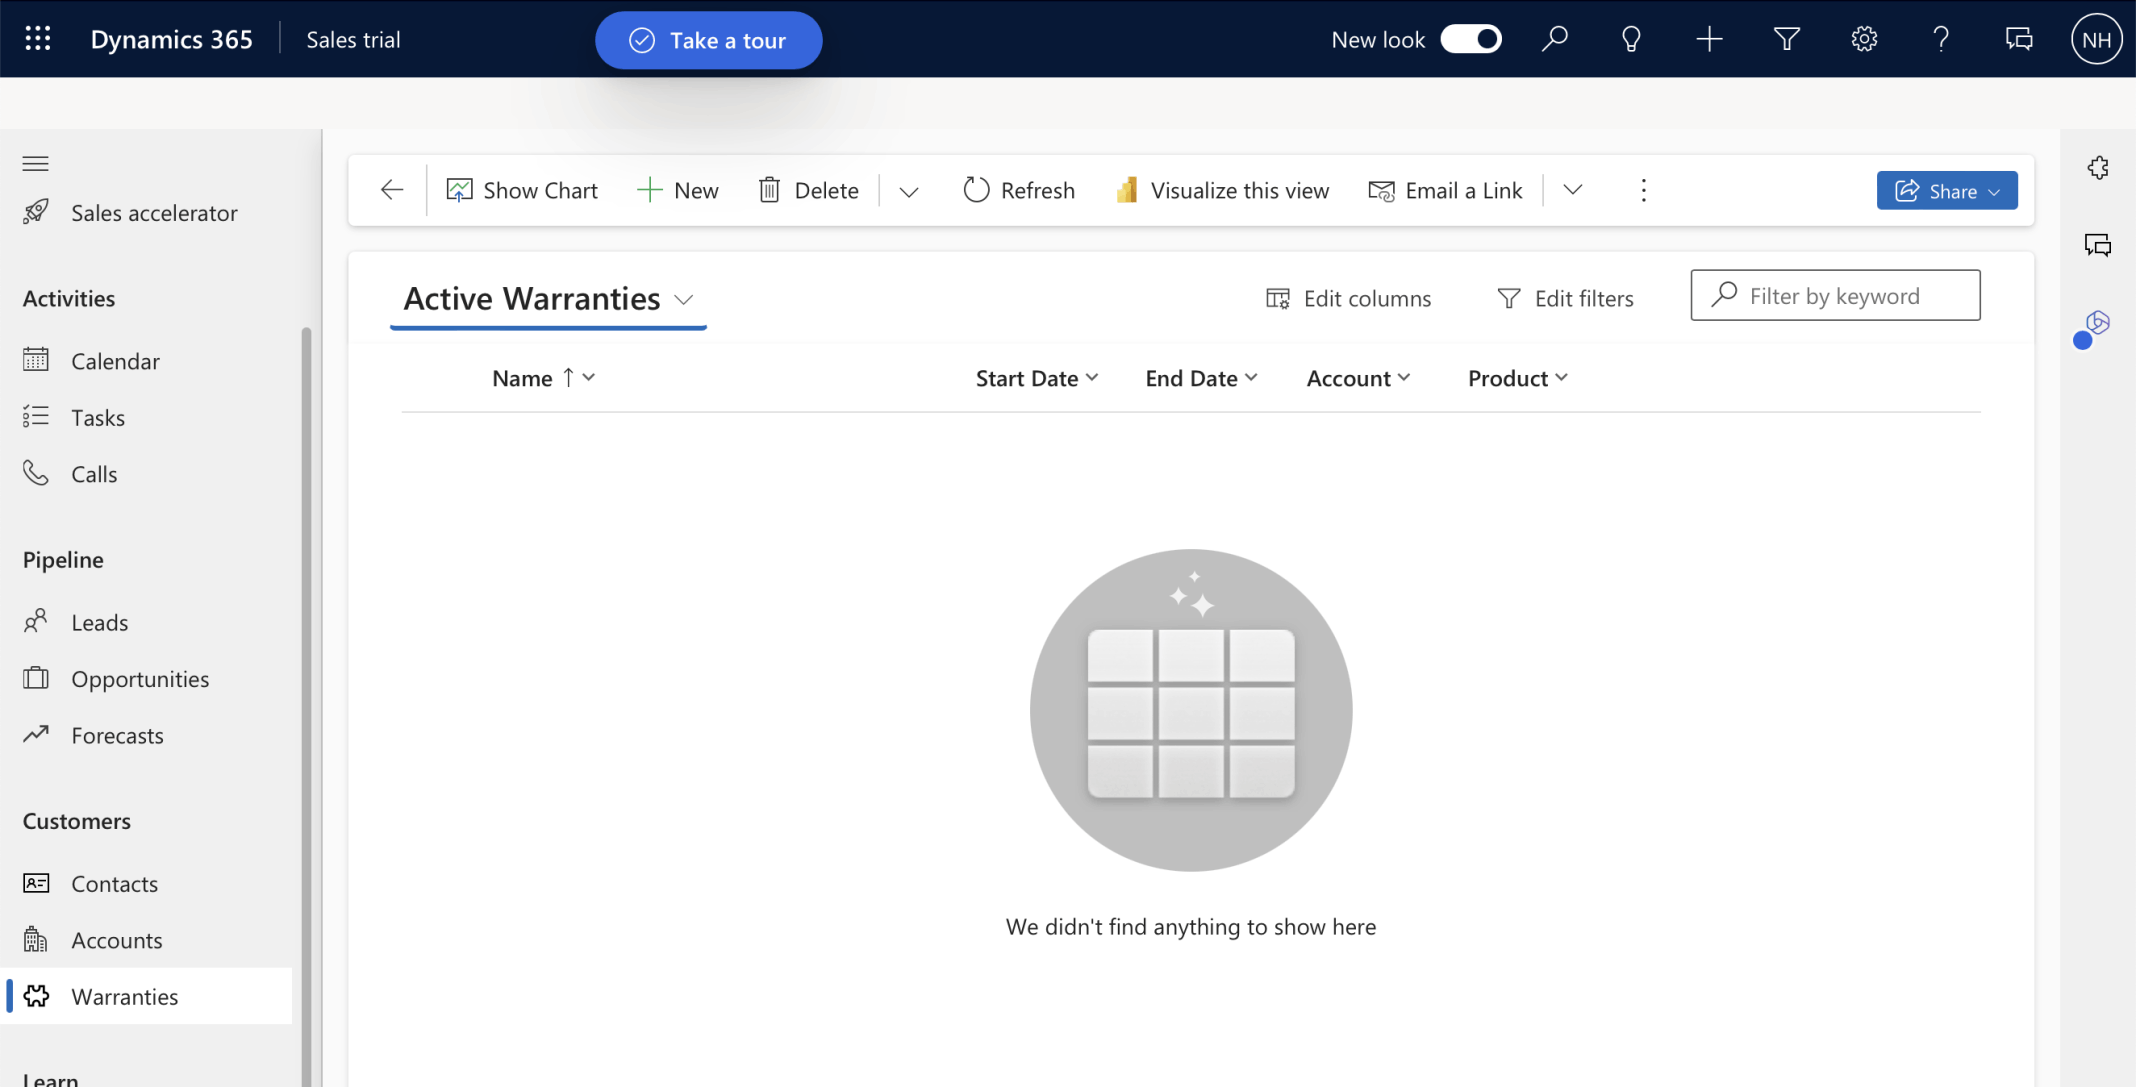
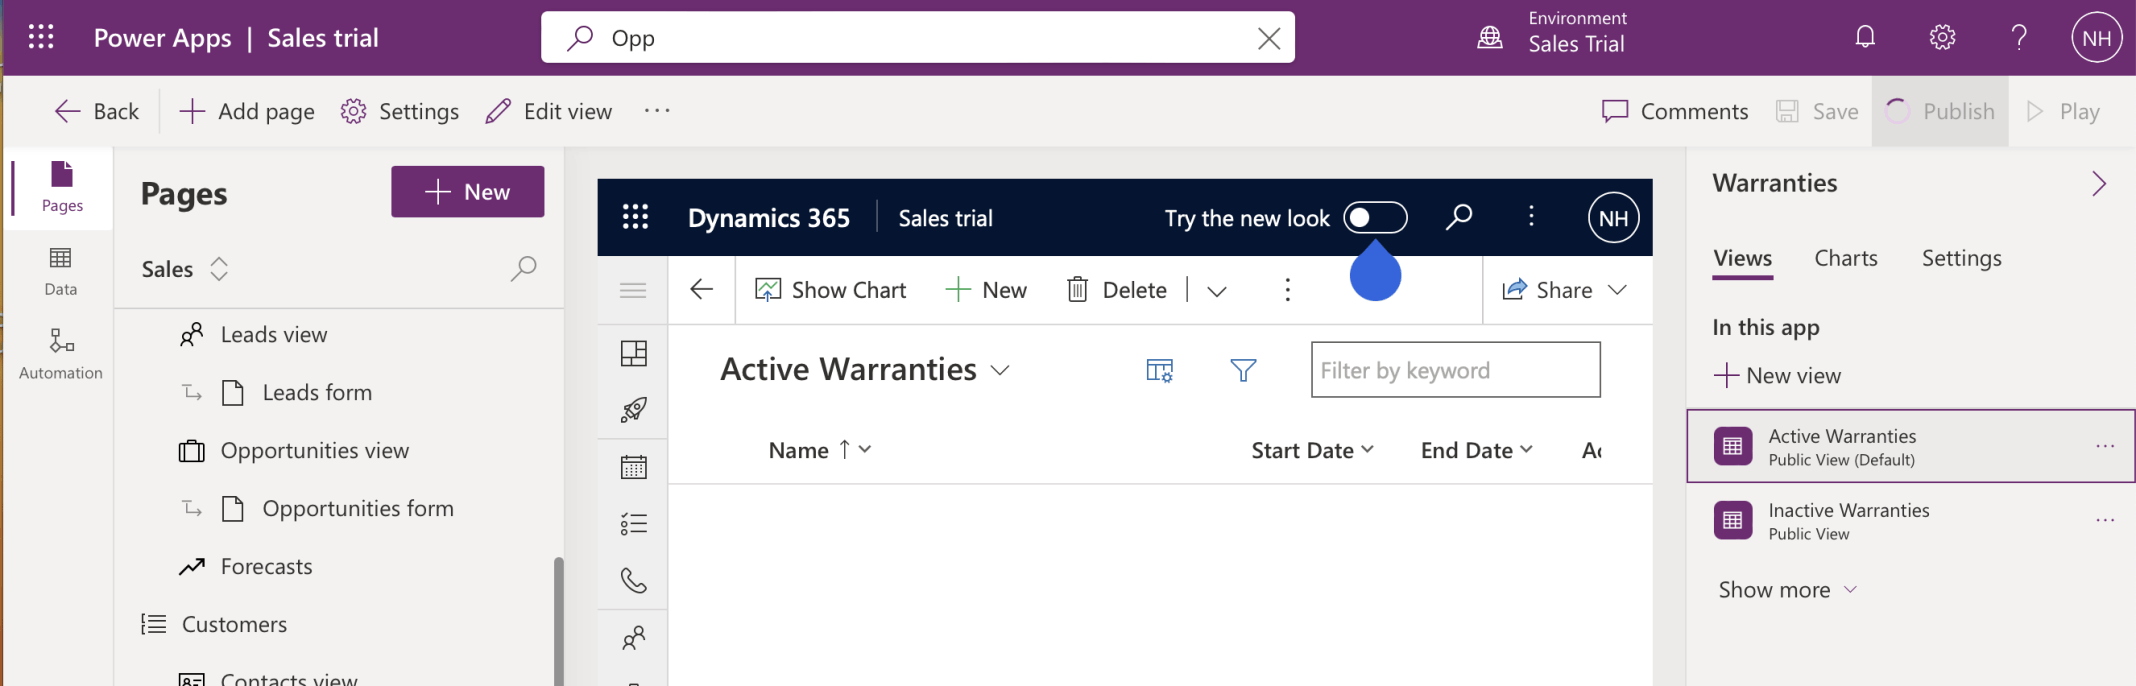
The Sales Trial app now included a Warranties page
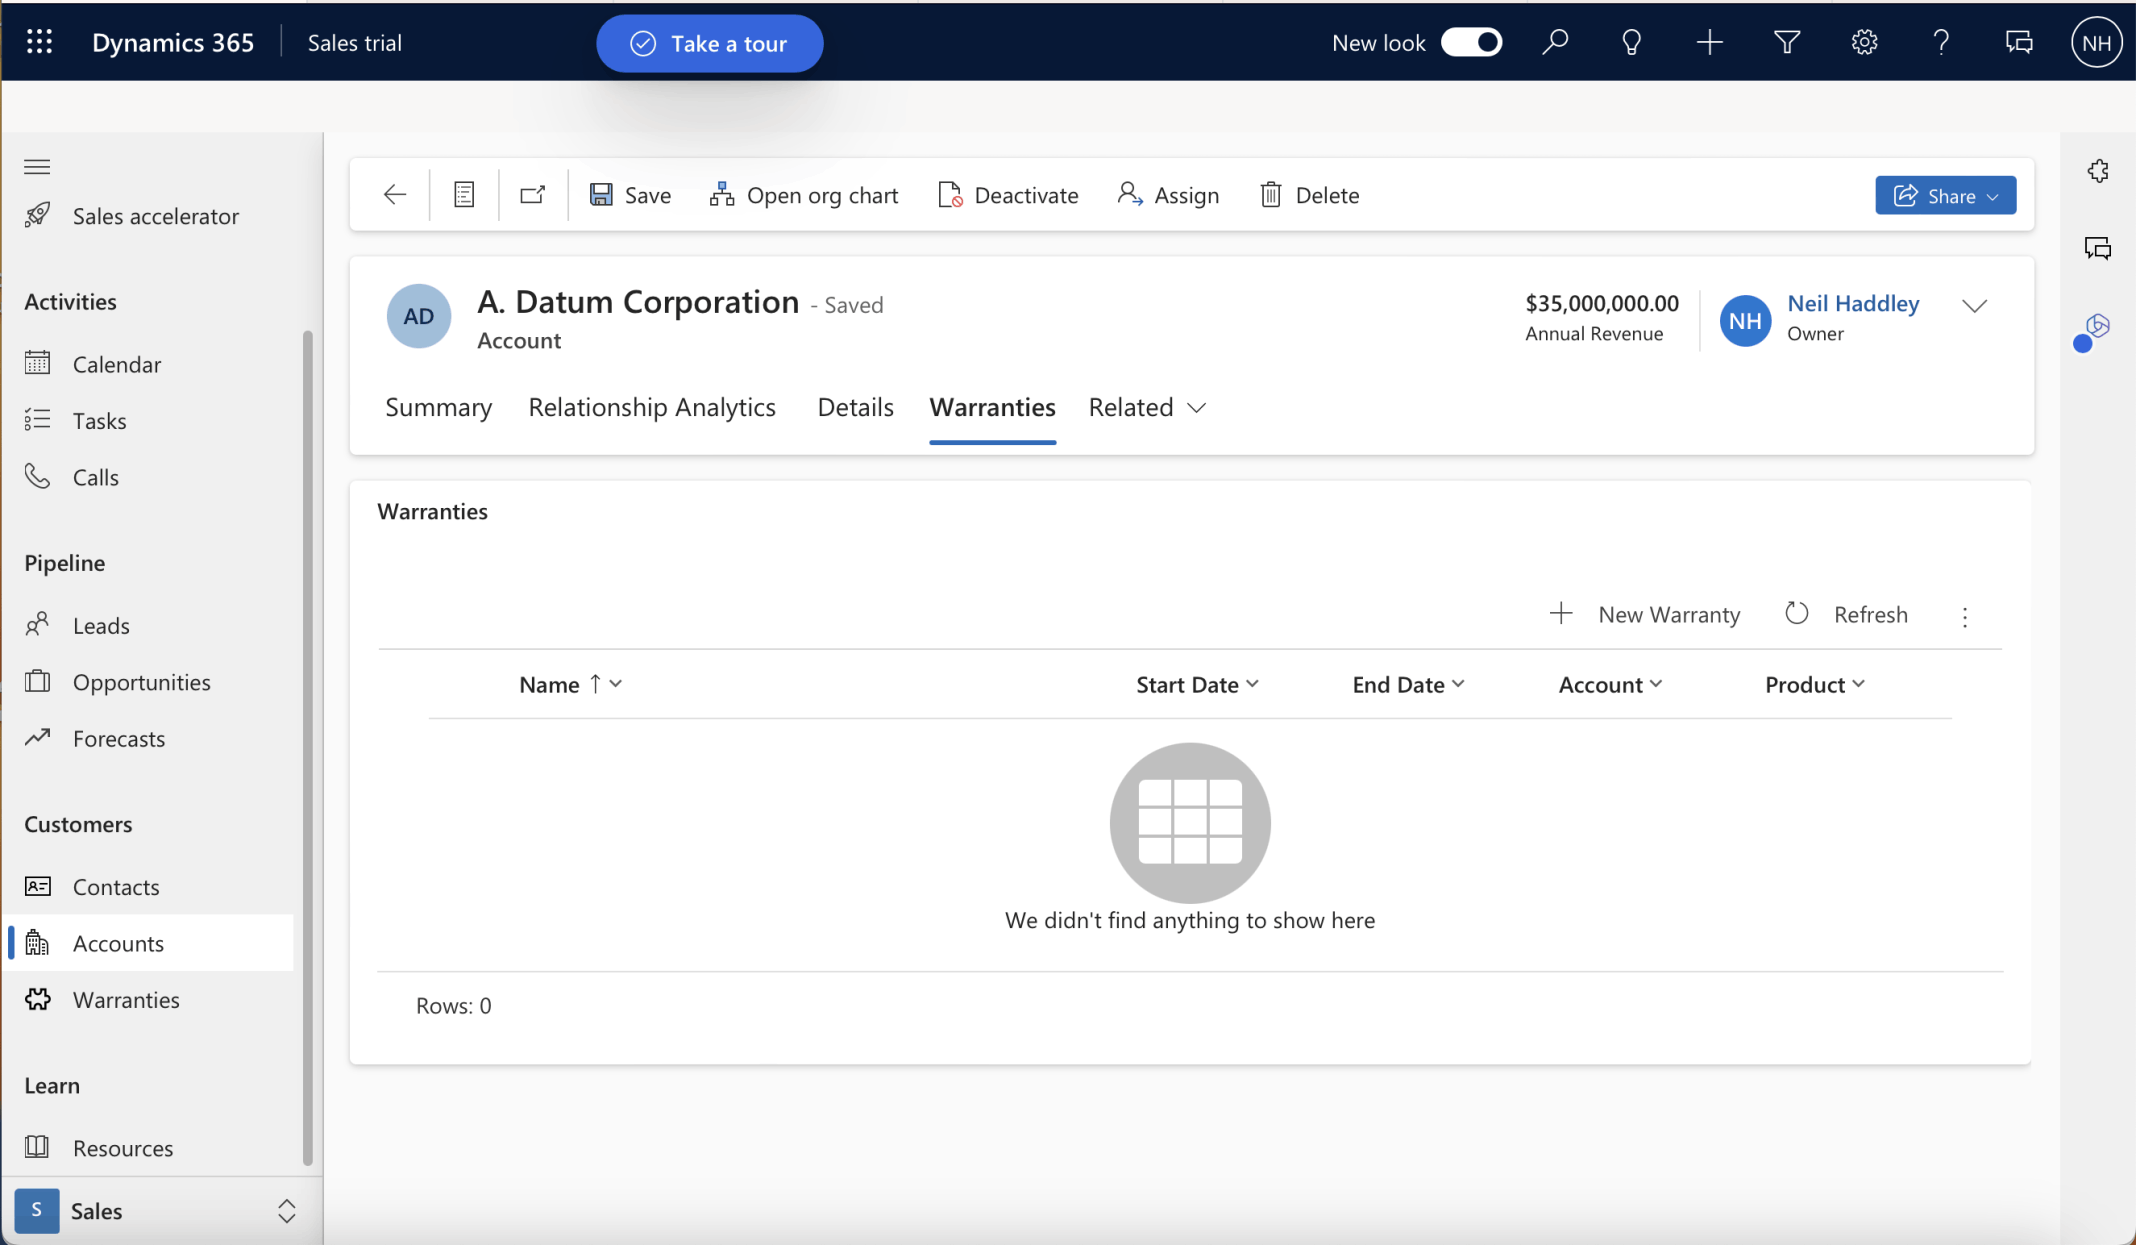
The Accounts page includes a Warranties tab
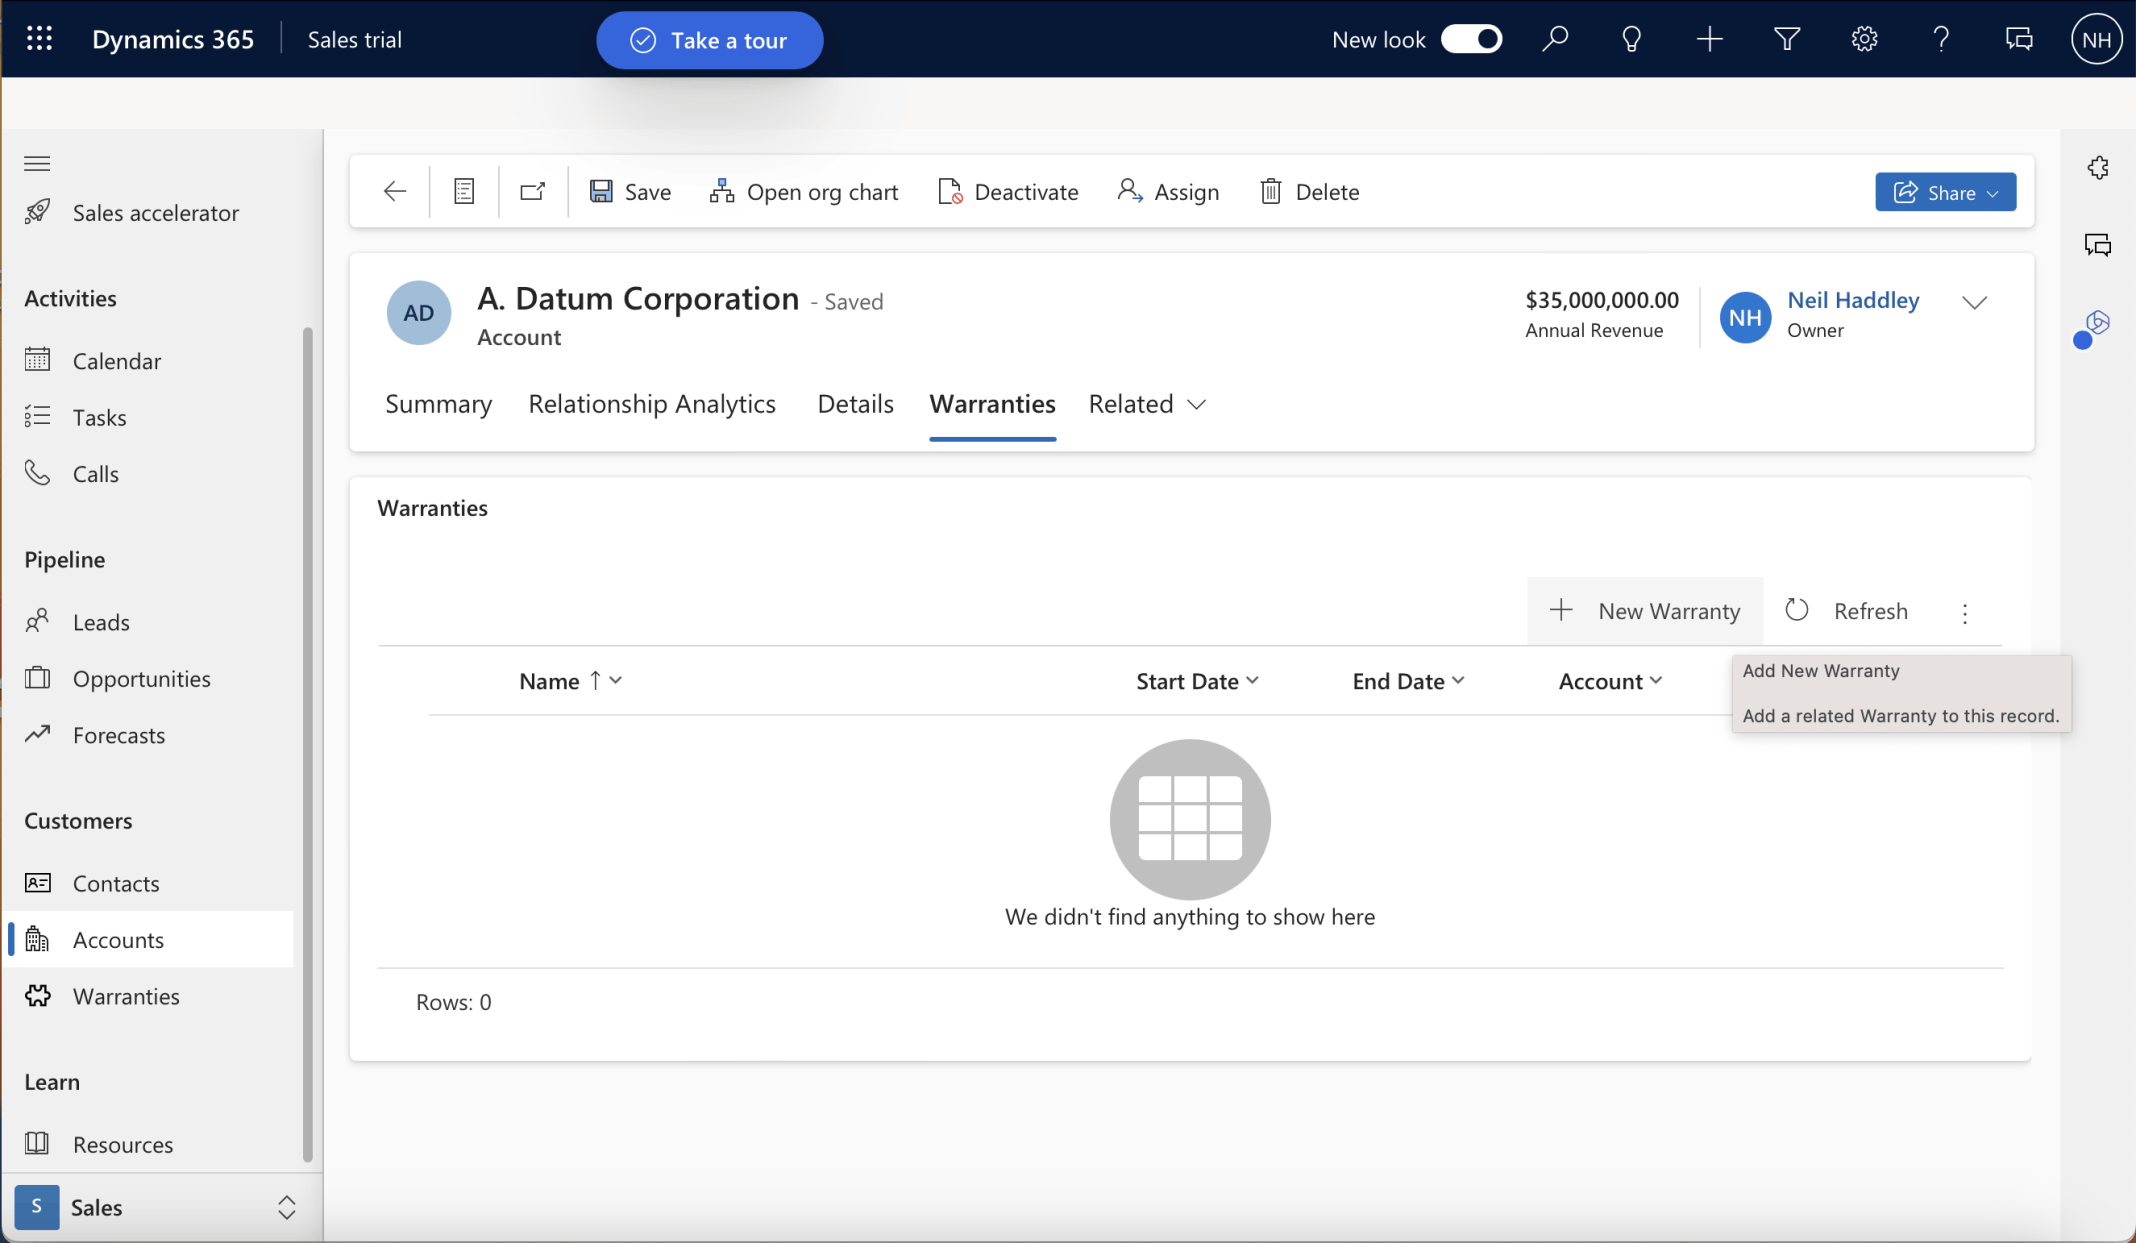
I can create a new Warranty (for the current Account) using the + New Warranty button
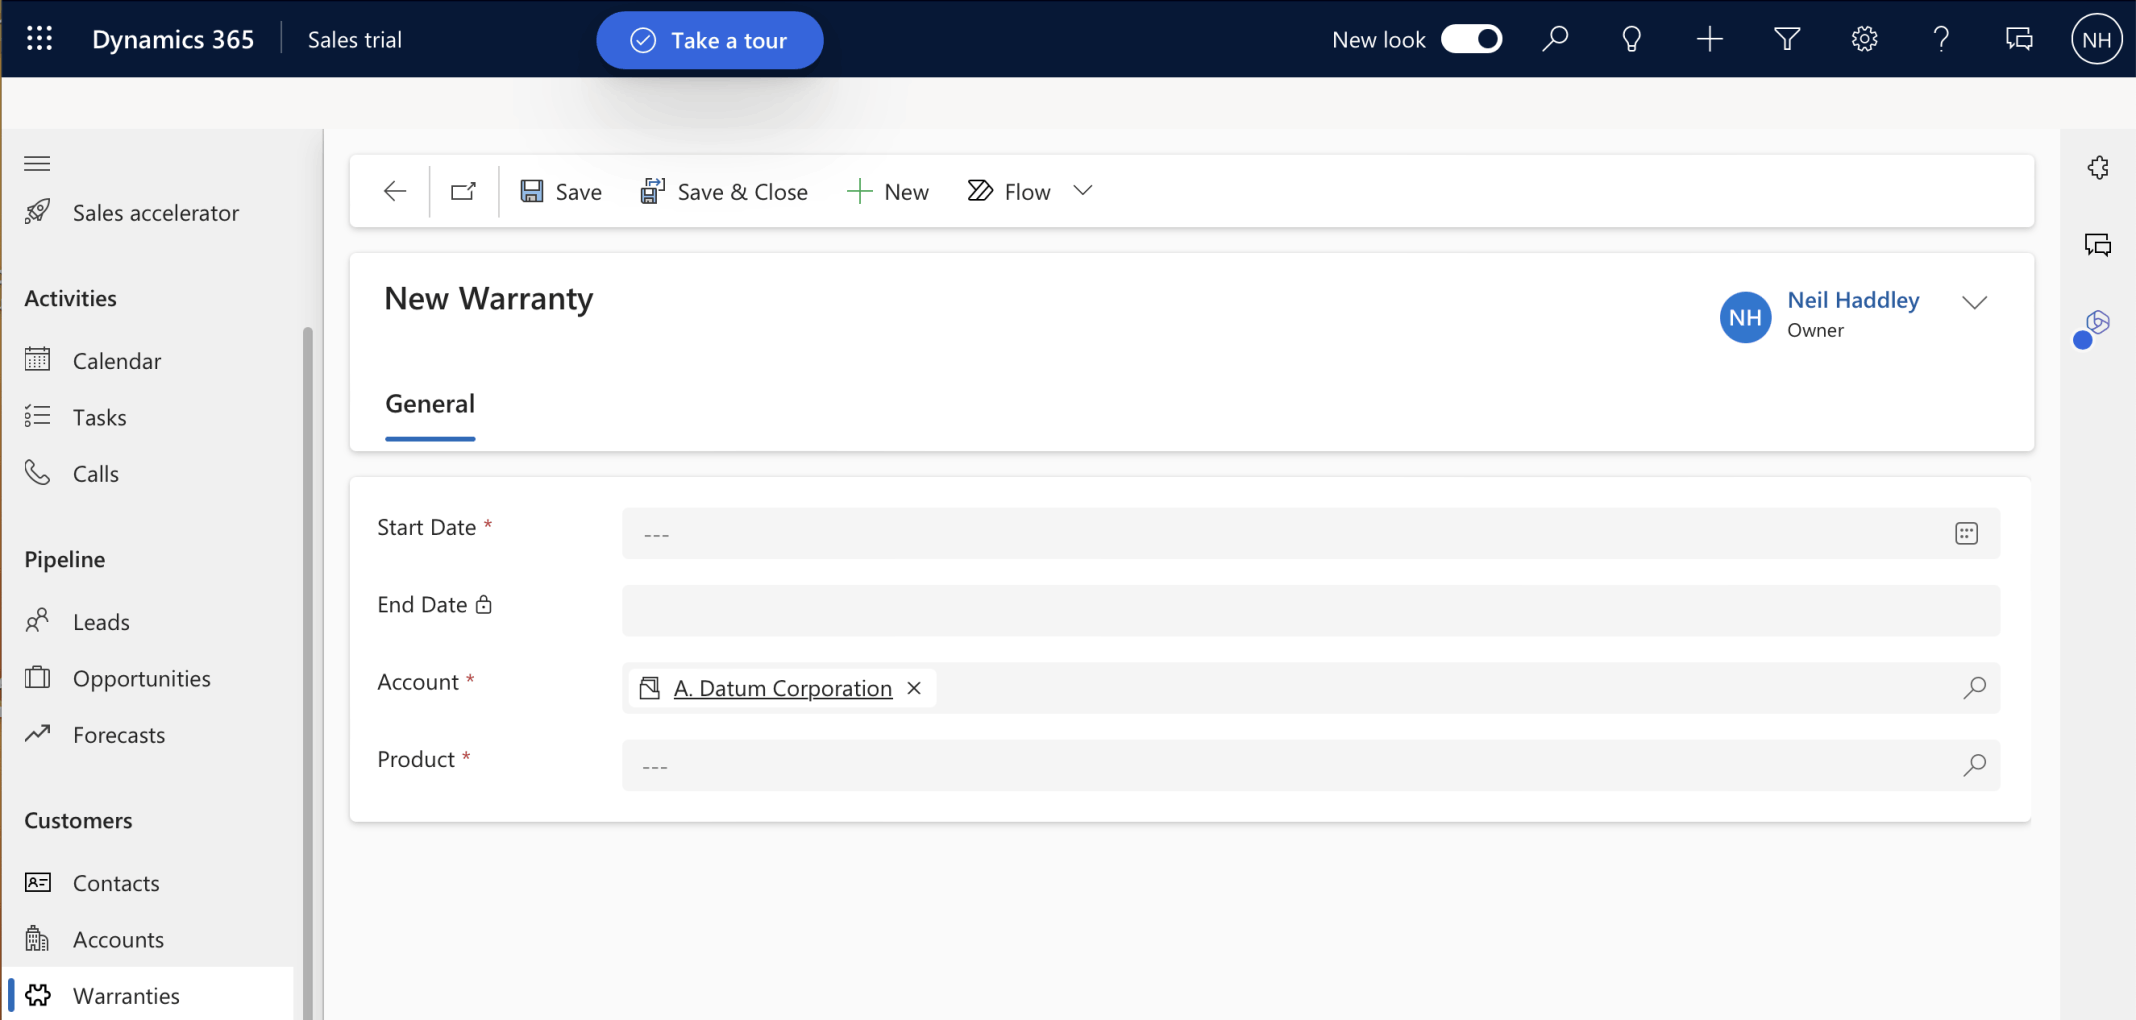
The Account is automatically filled in
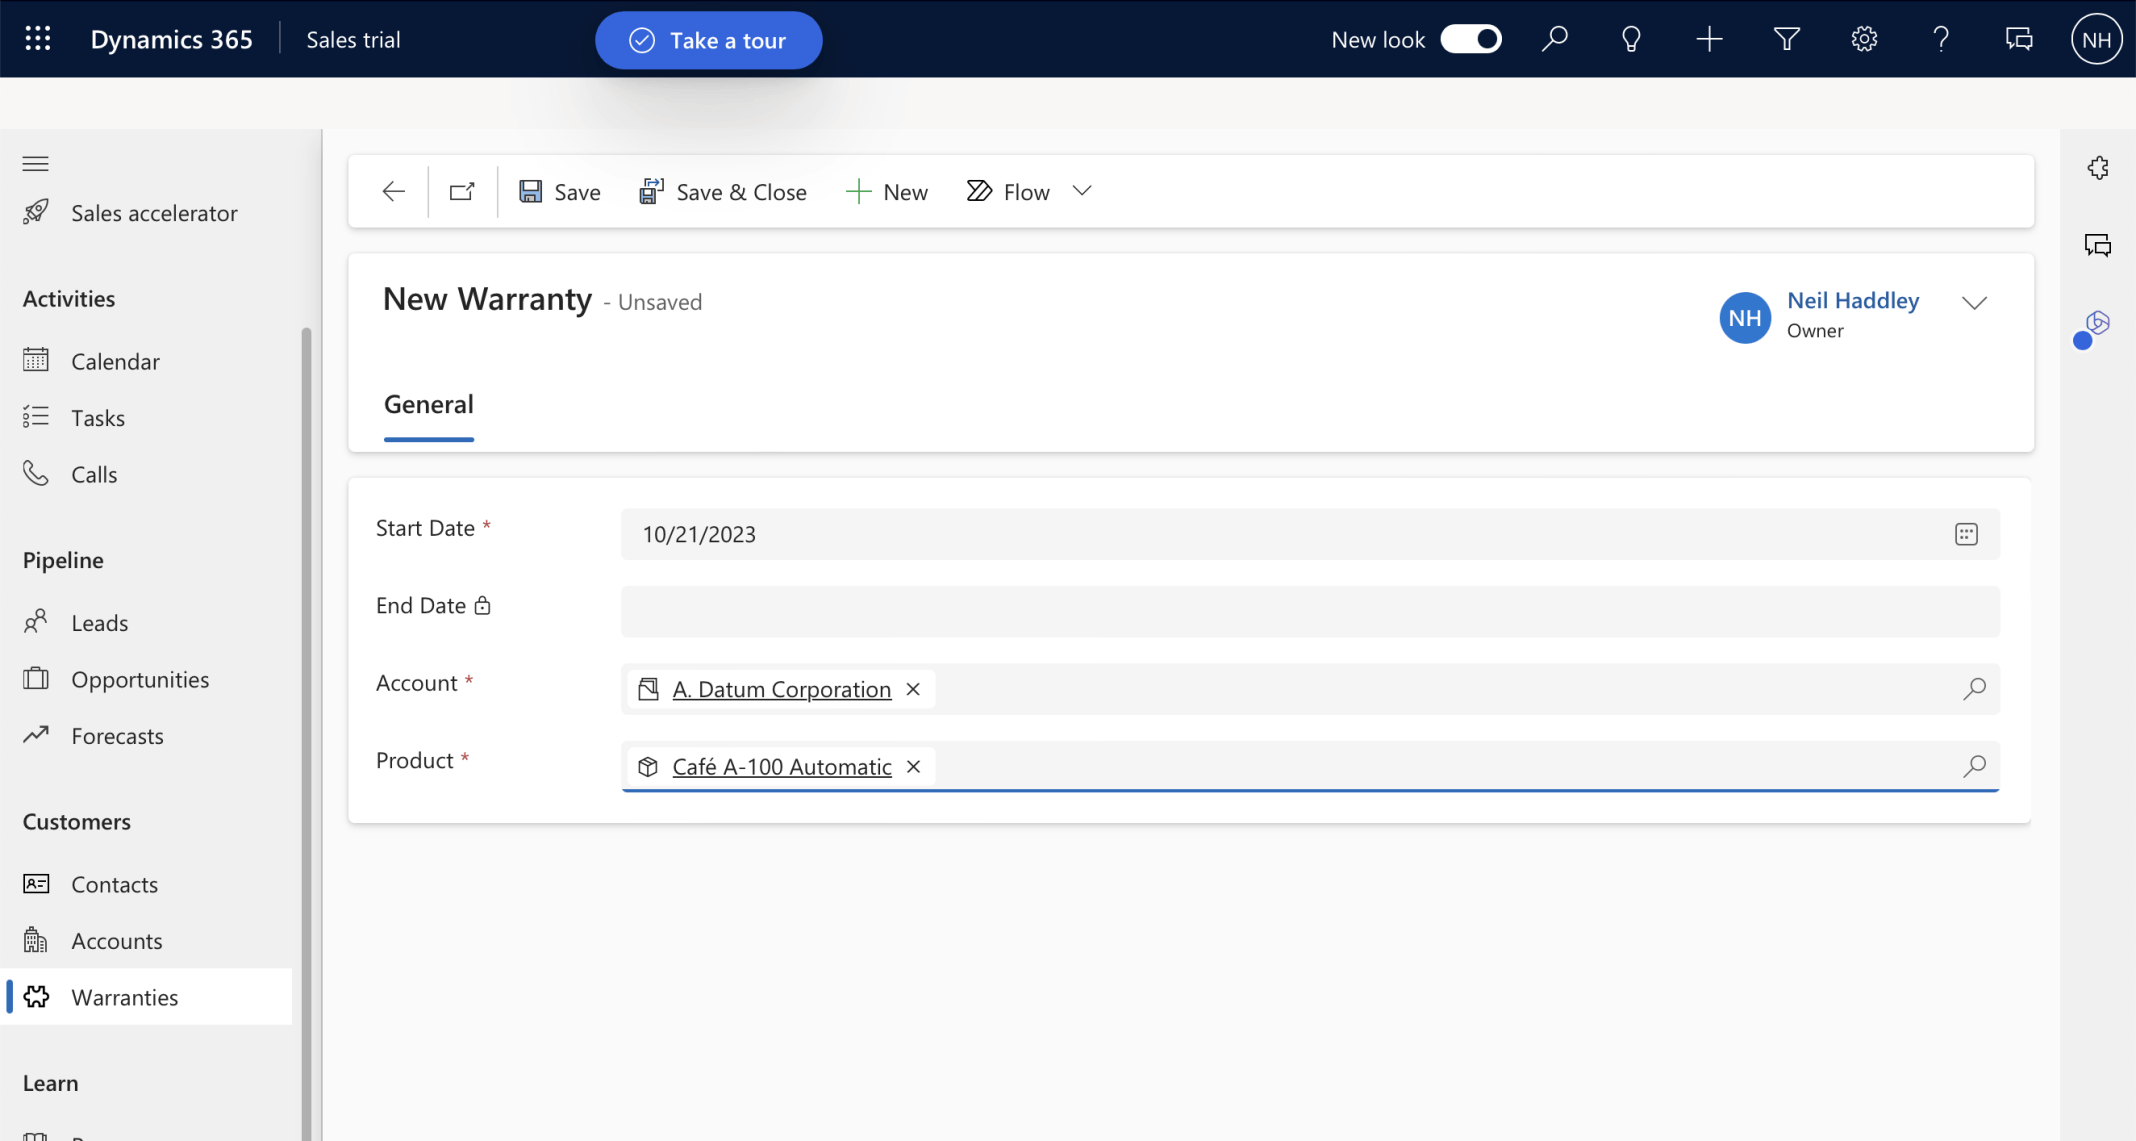
I entered the Start Date, selected a Product and clicked the Save button
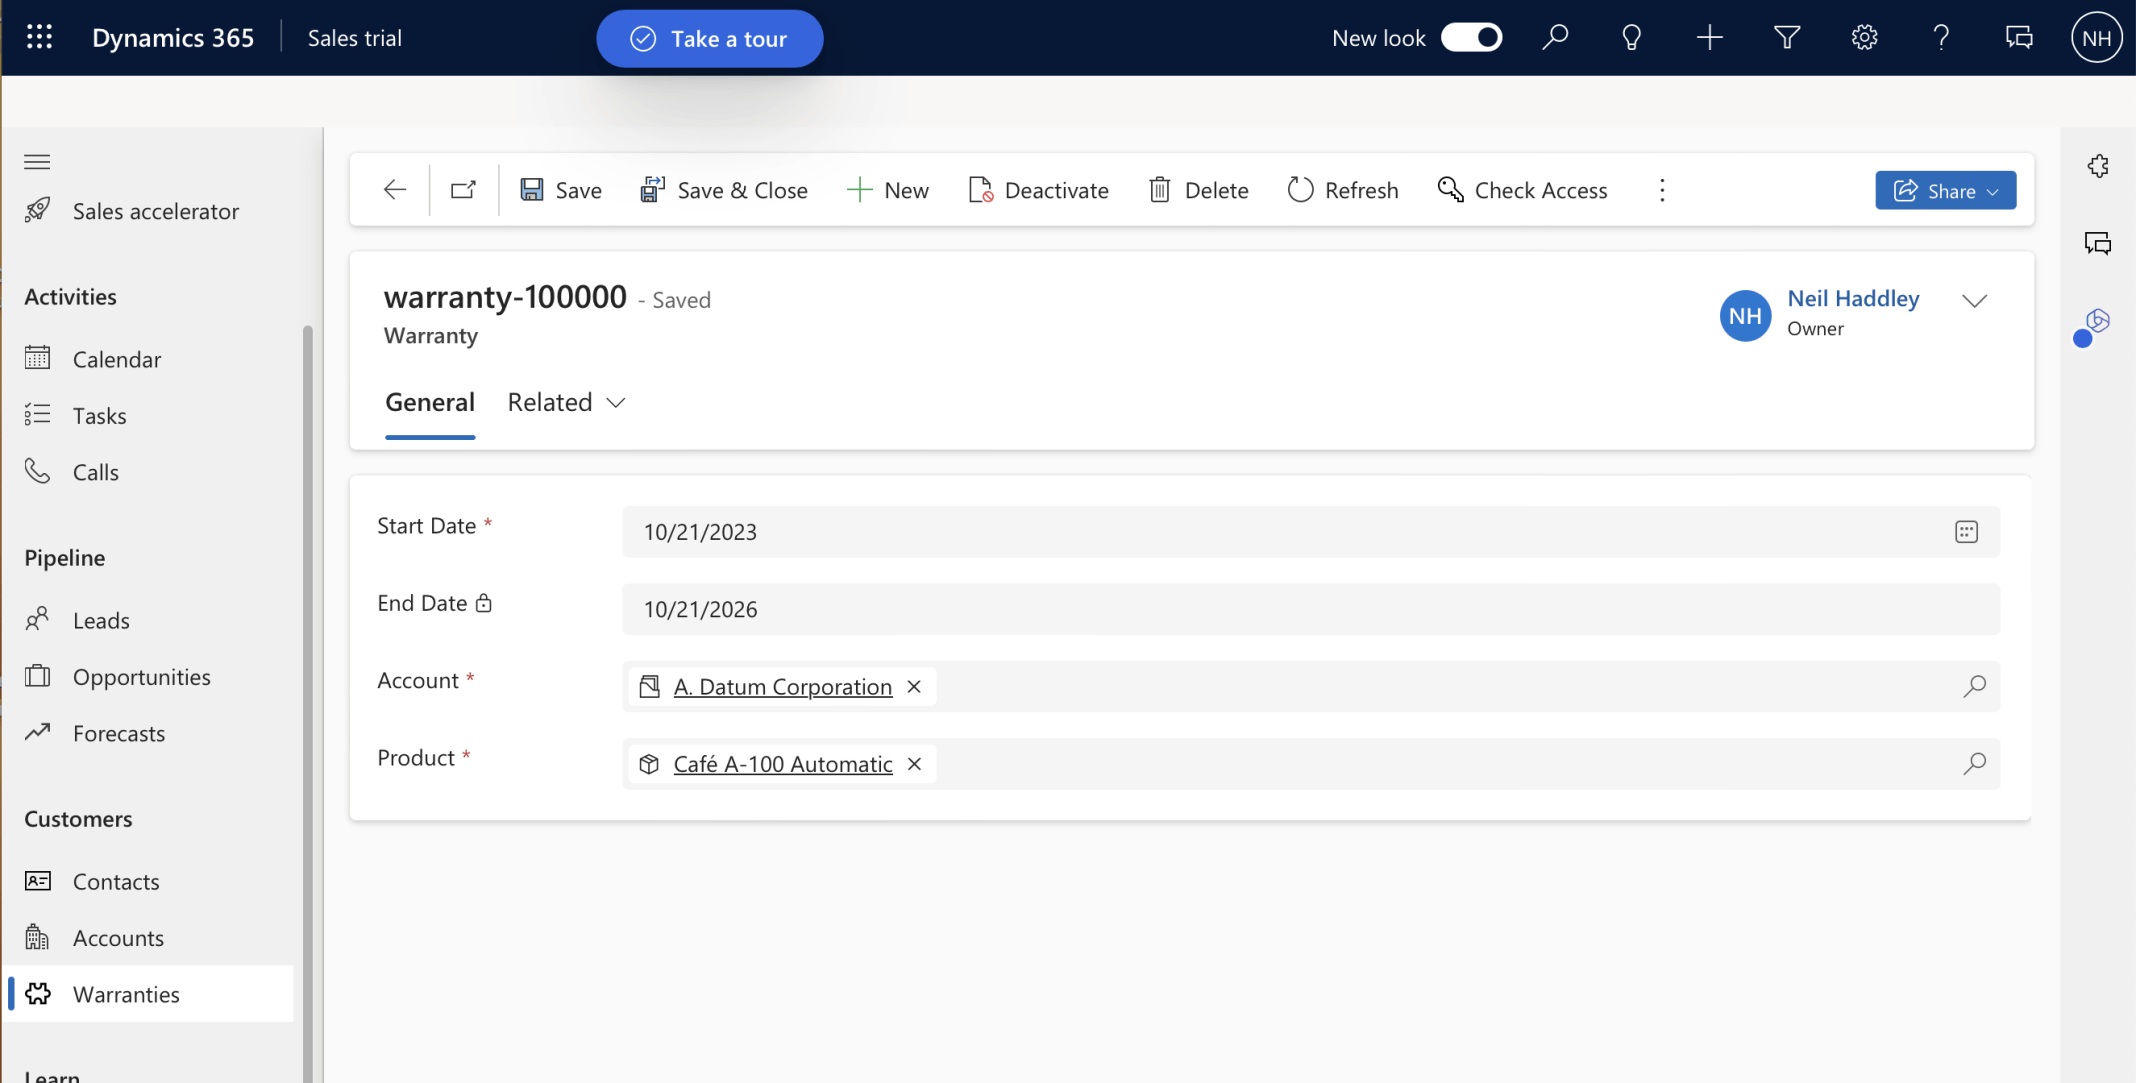
The new record is saved with the name "warranty-100000"
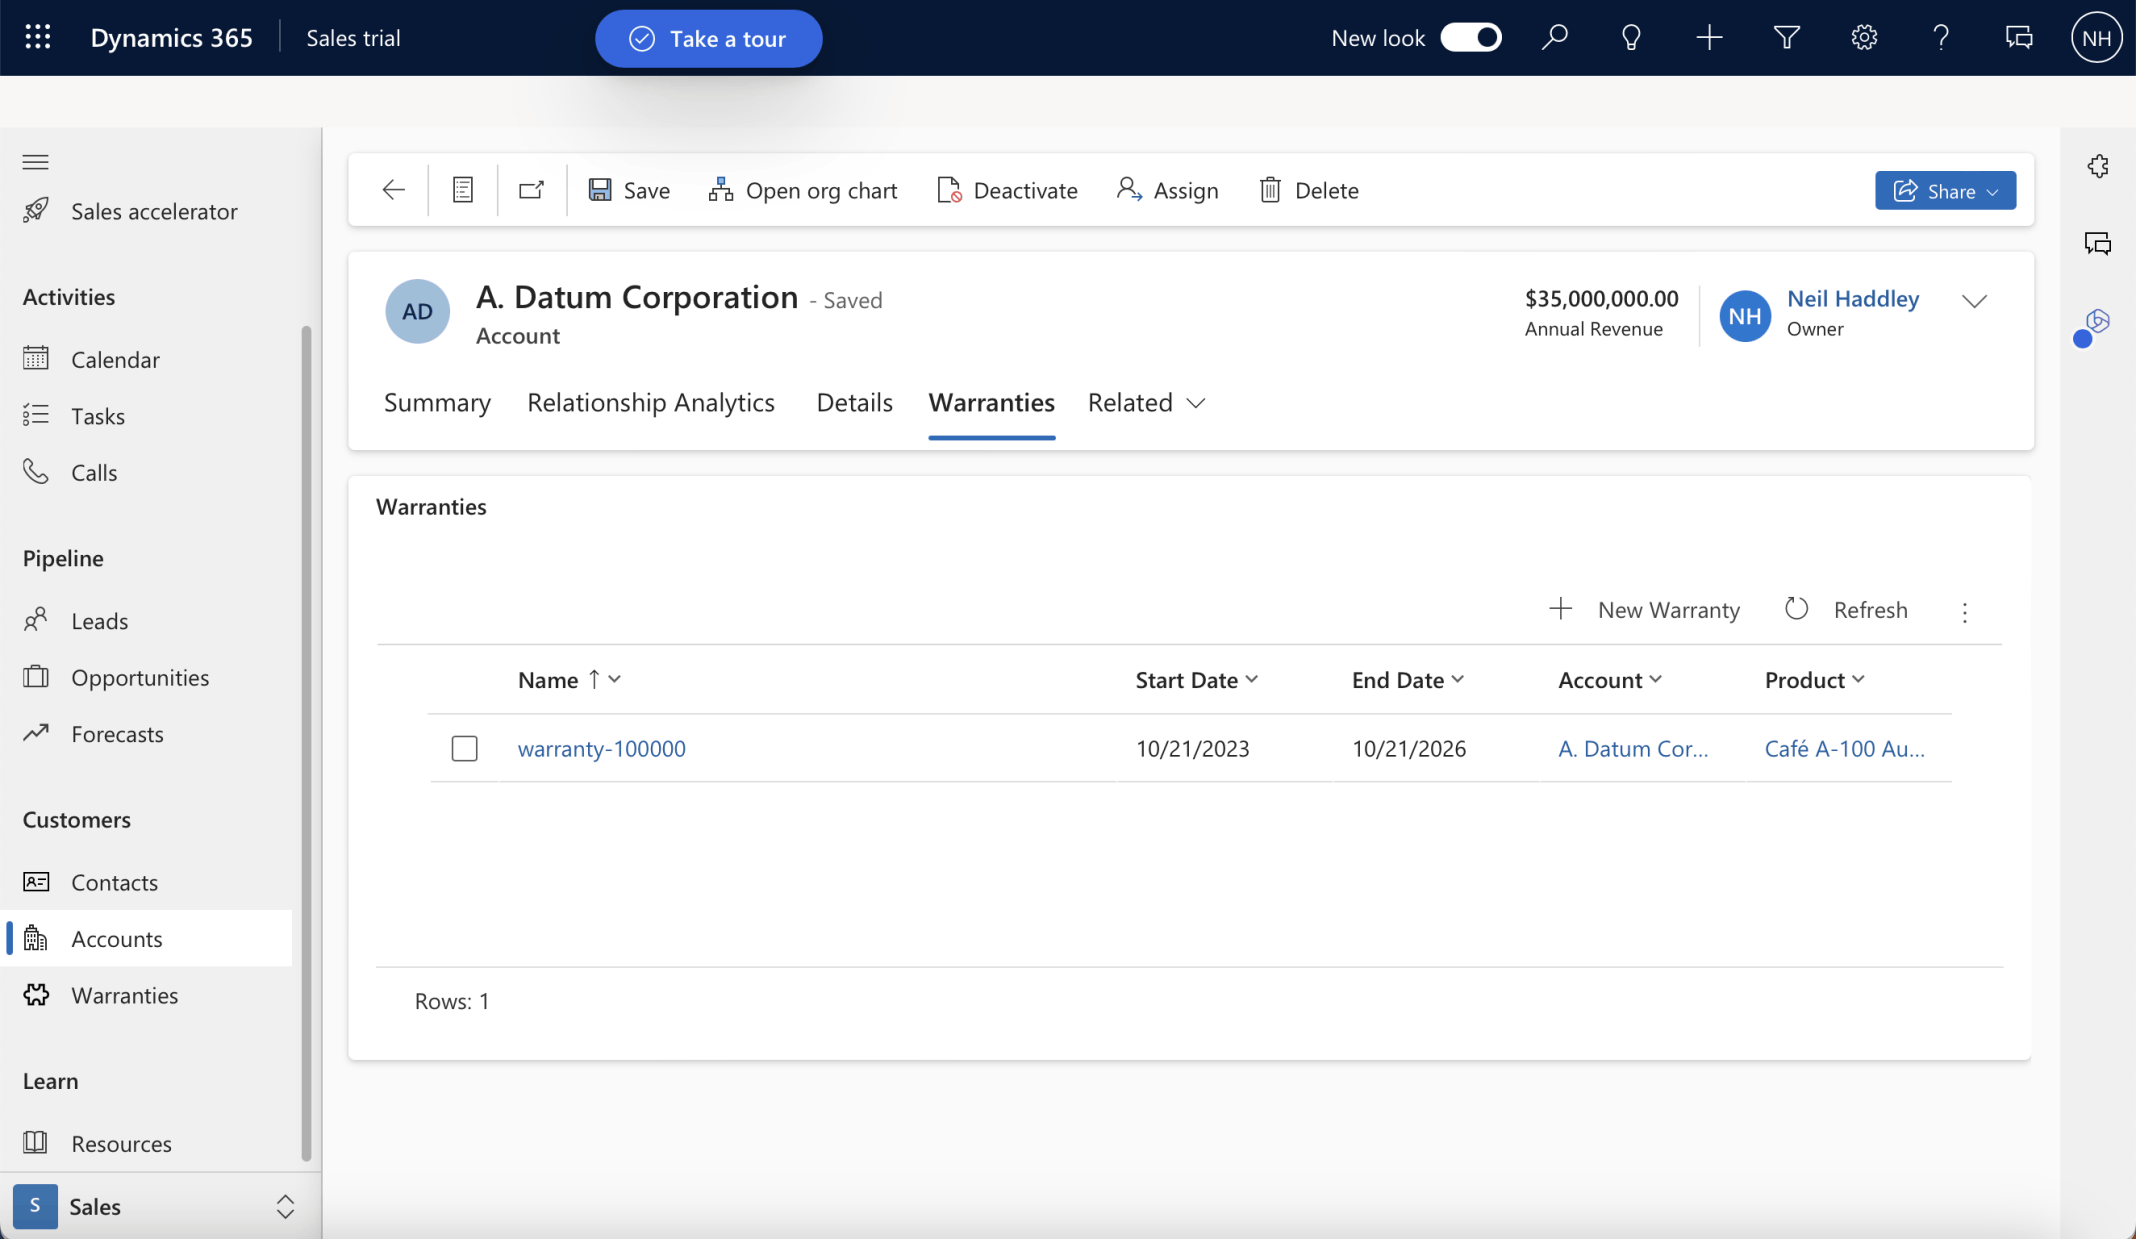
The Warranty is shown in the subgrid
