With the Raspberry Pi Imager tool, the process of writing a standard operating system image onto a microSD card is easy.
Taking advantage of the Imager's advanced features, I customized the connectivity settings, allowing me to remotely access the Raspberry Pi immediately after powering it on for the first time.
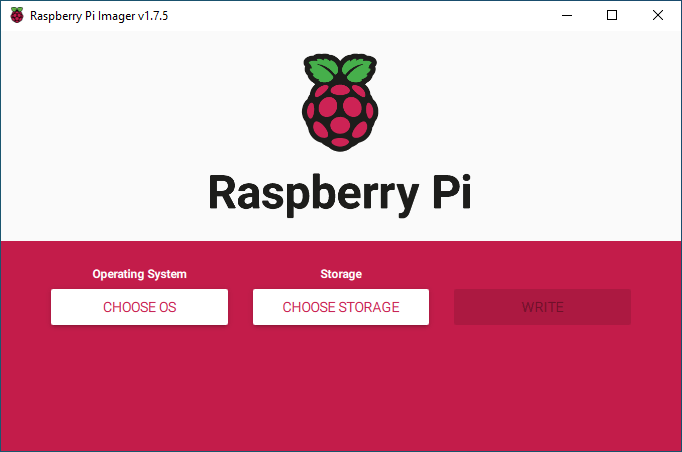
Imager
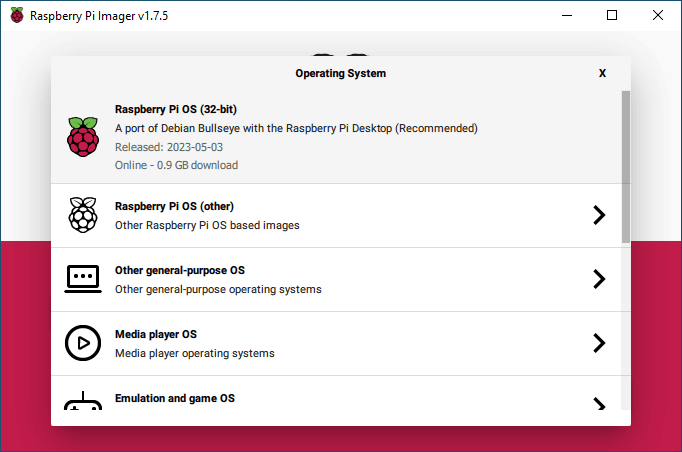
Raspberry Pi OS (32-bit)
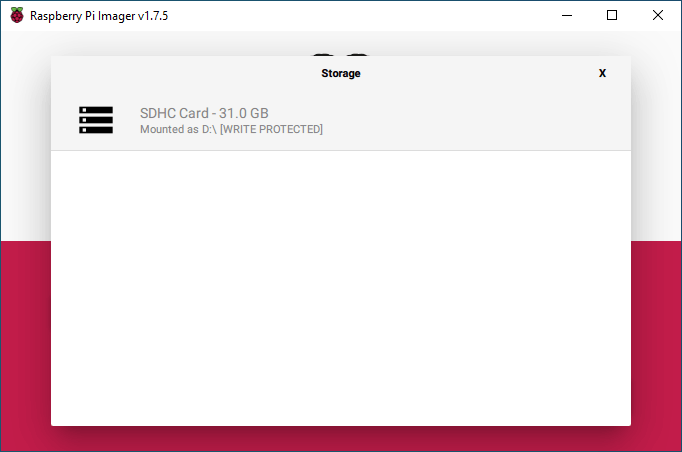
SD Card
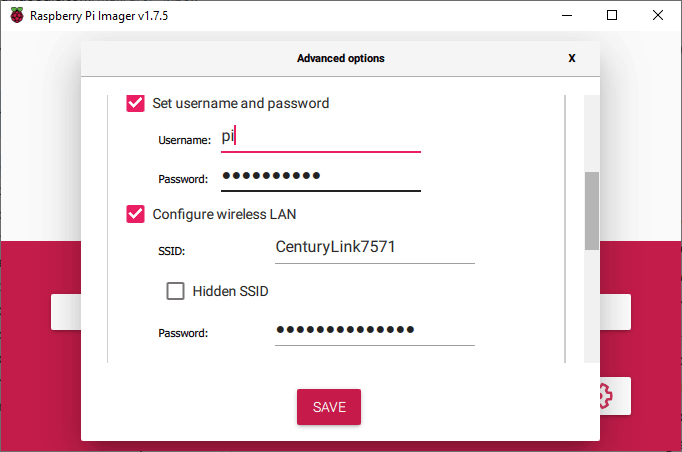
I used 'pi' as the admin username
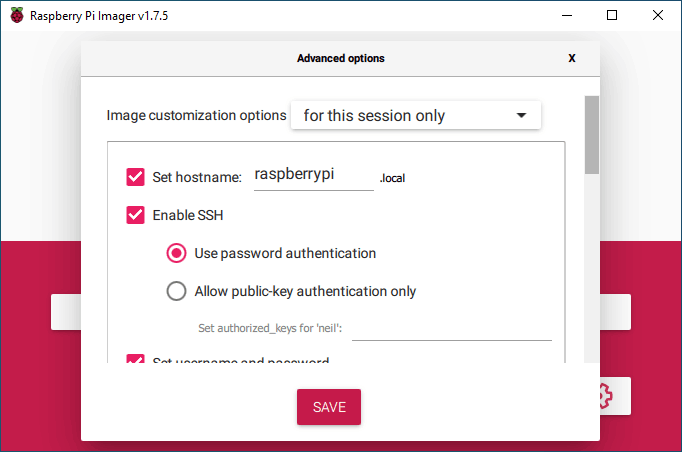
I provide a hostname and enabled SSH (remote terminal access)
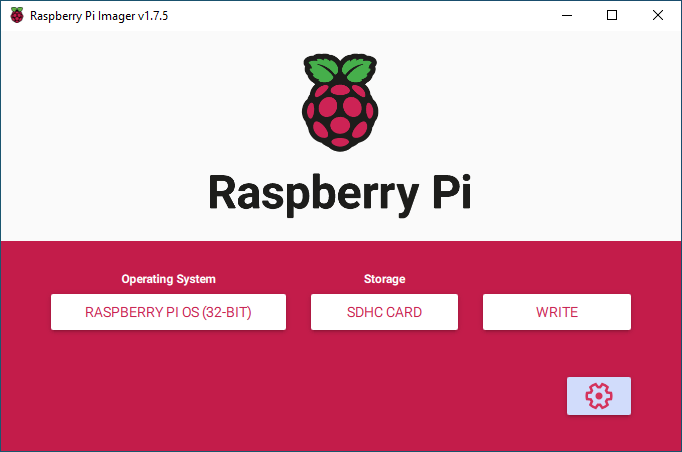
I pressed the WRITE button
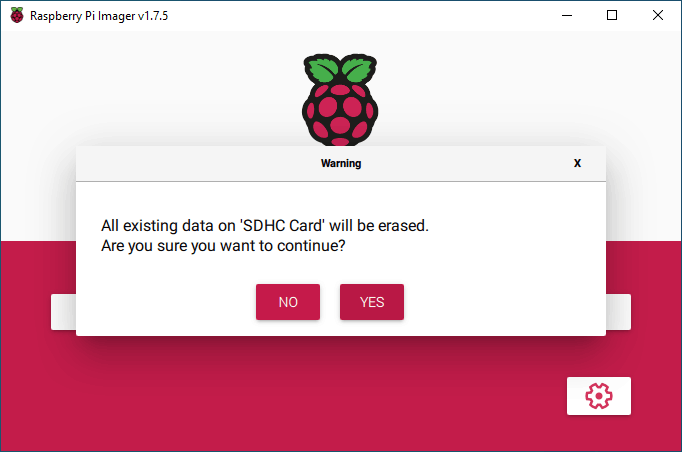
I did want to erase the SD Card
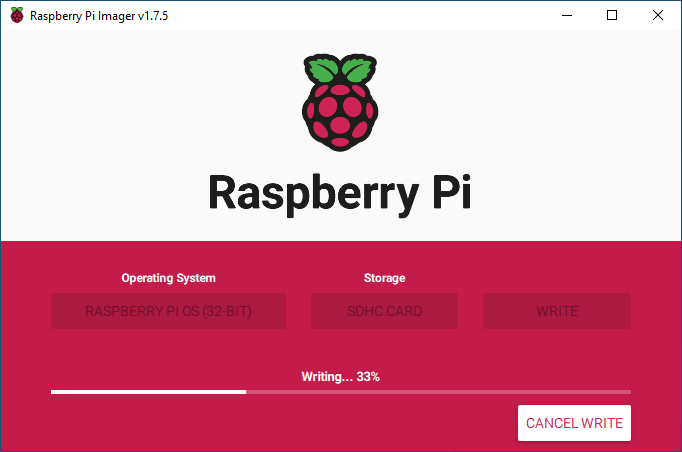
The writing process took some time...
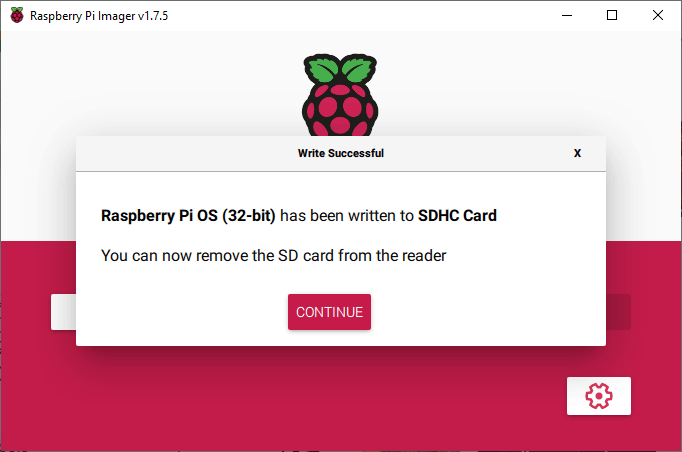
Finished
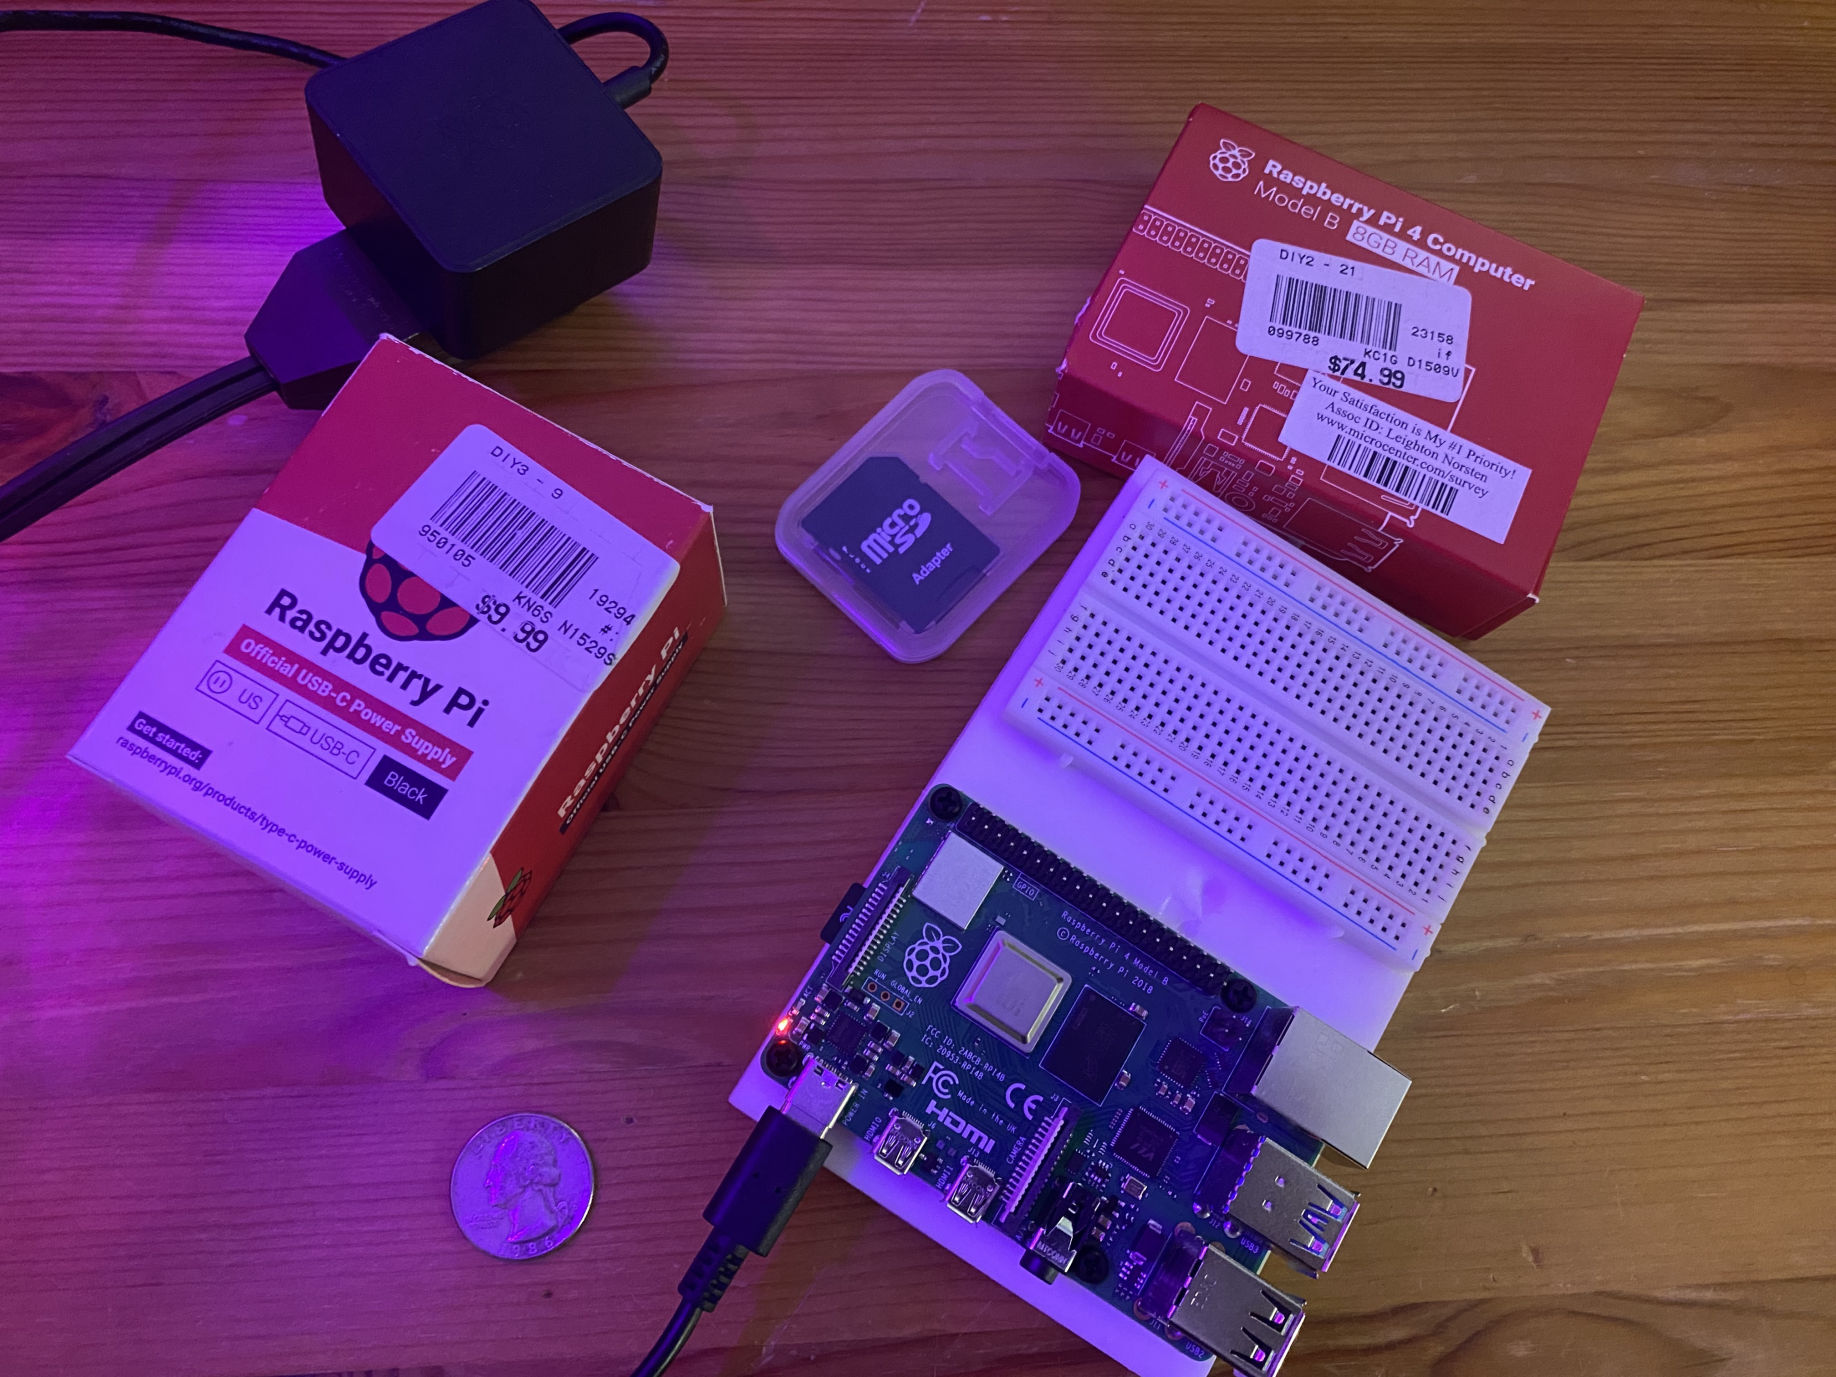
I put the Micro SD Card into the Raspberry Pi and plugged in the power
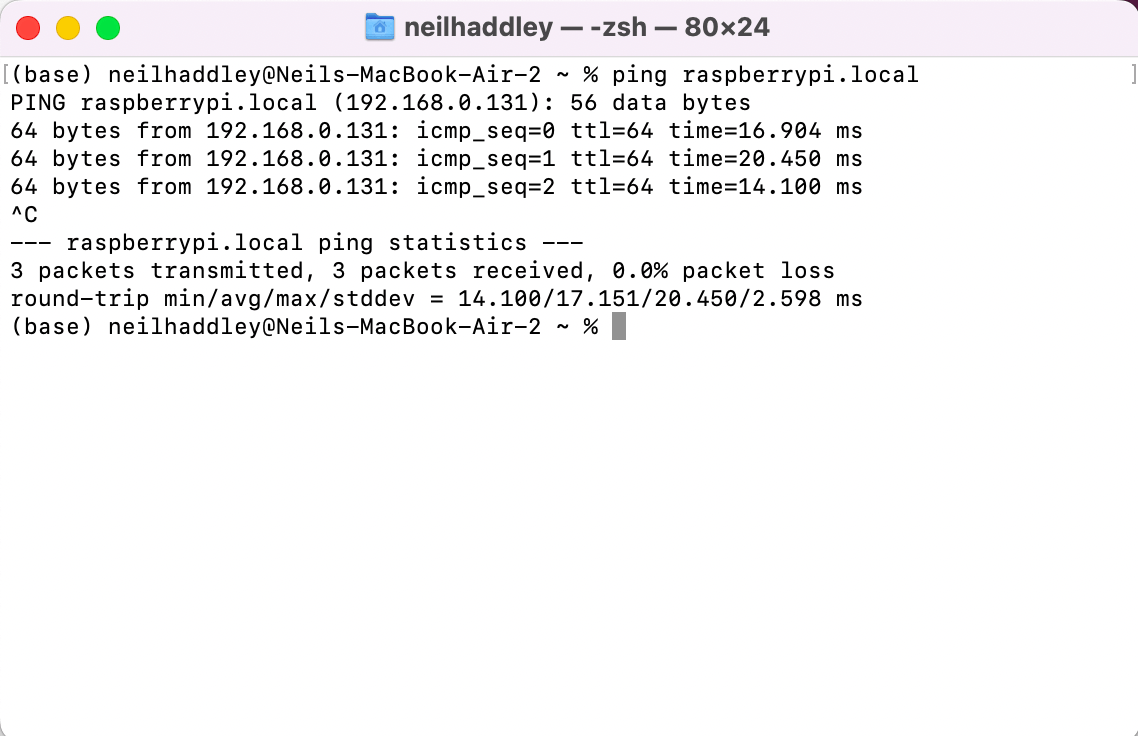
I used ping to check that the Raspberry Pi was connected to the network
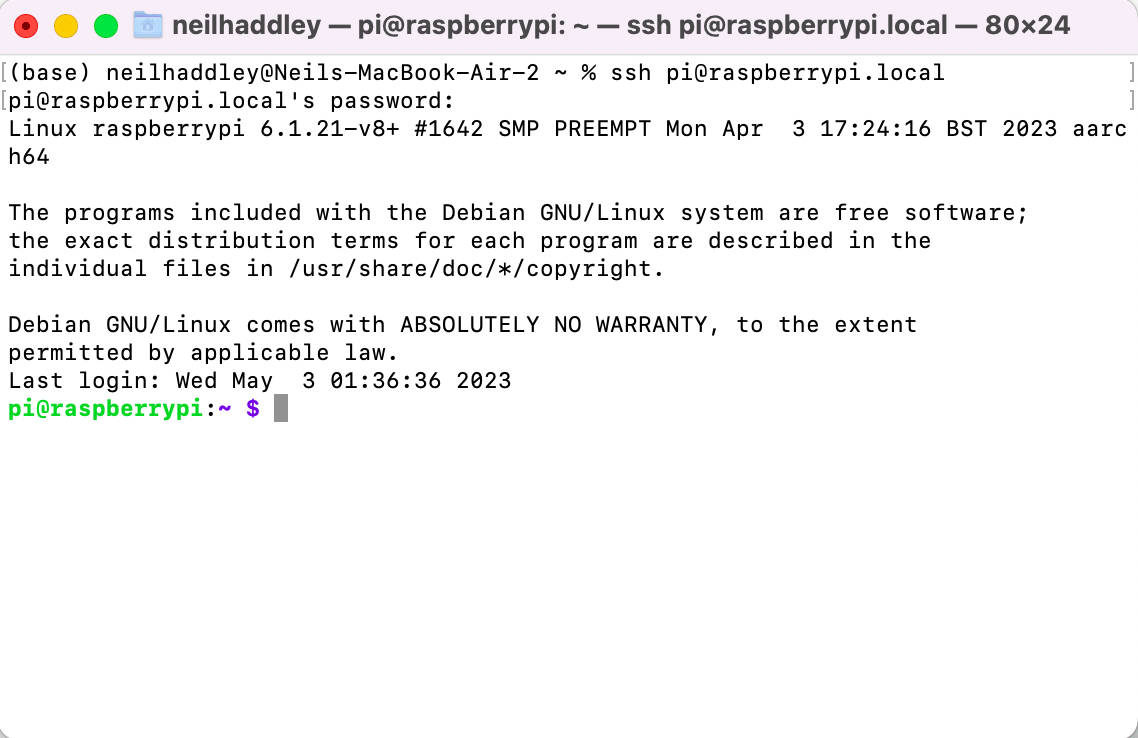
I connected to the Raspberry Pi using SSH
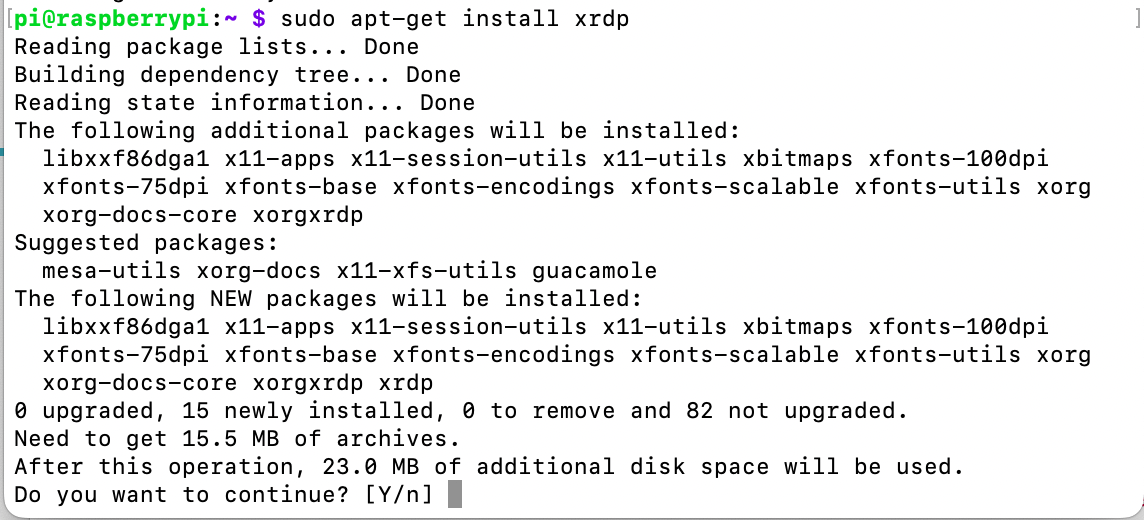
sudo apt-get install xrdp
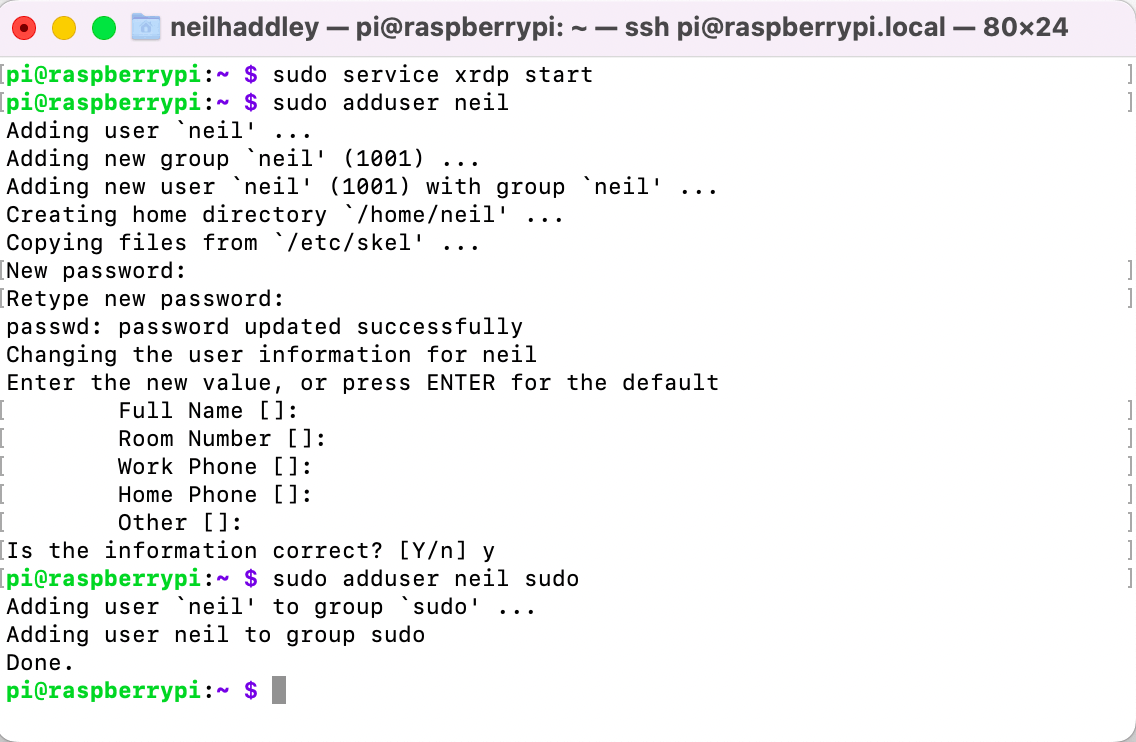
I added a new administrative account "neil"
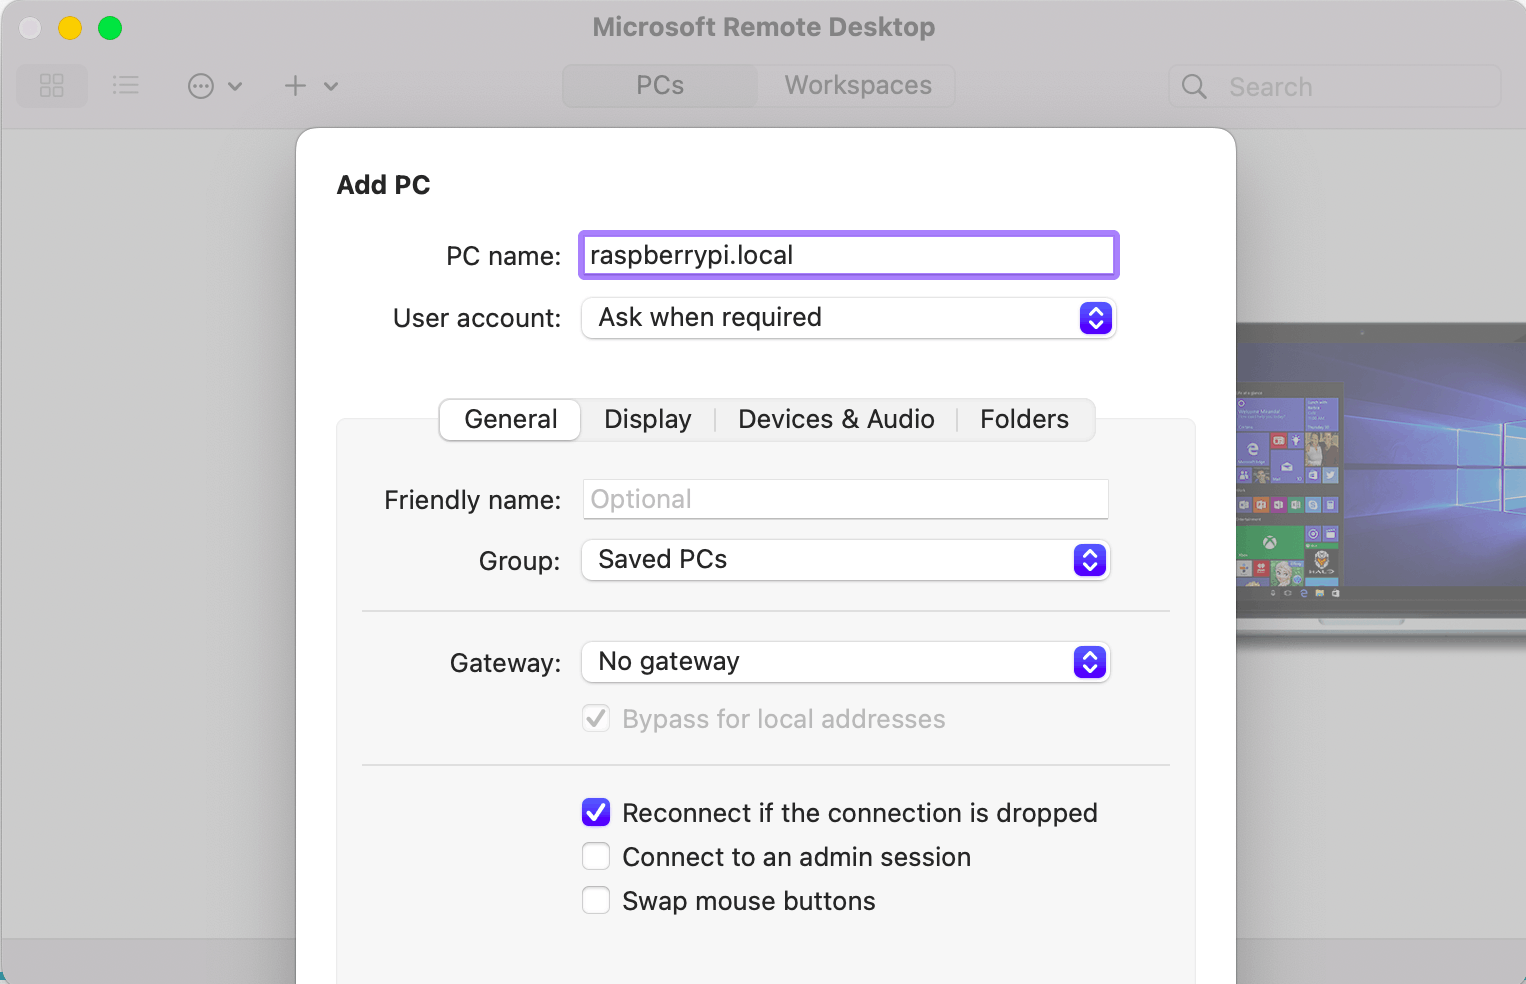
Microsoft Remote Desktop Client (for MacOS)
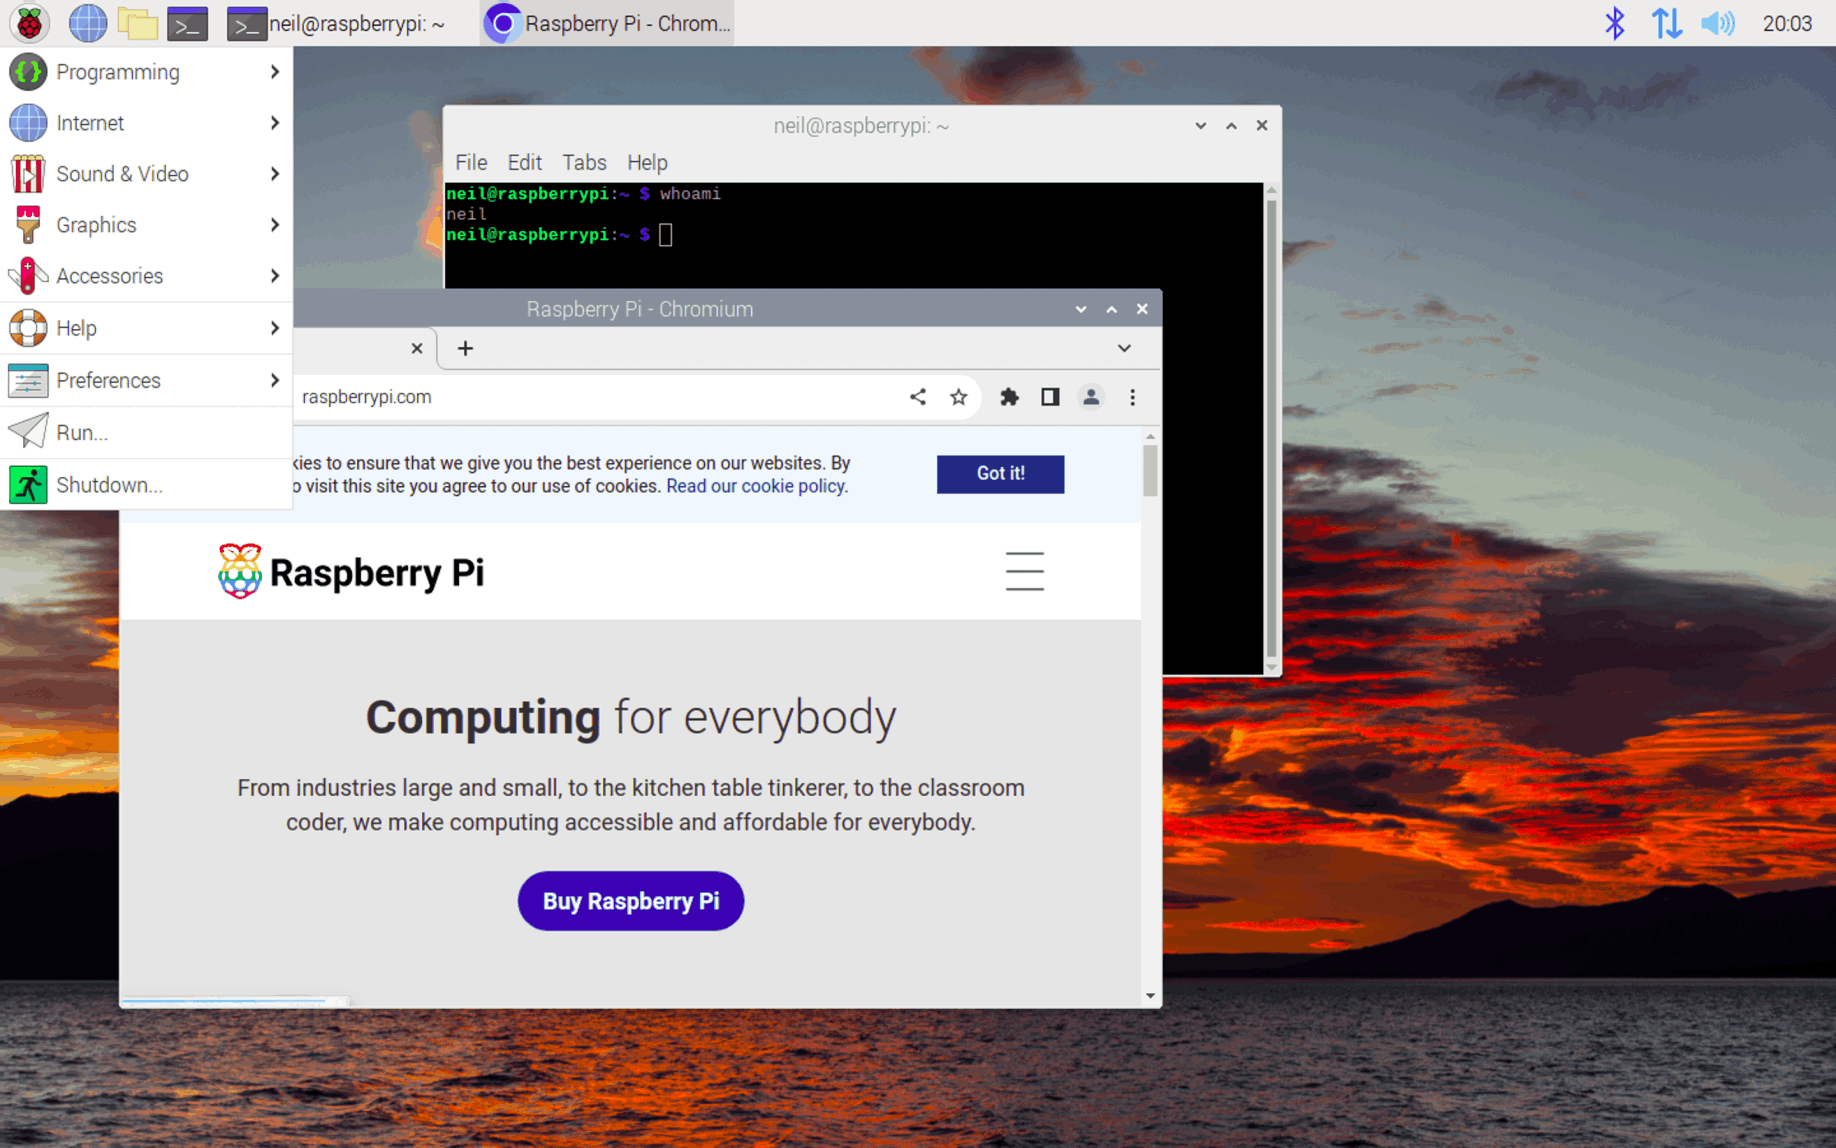
Connected to raspberrypi.local as neil