Claude Code (Part 8)
Neil Haddley • February 1, 2026
Vibe Coding
AI isn't just a helper for me—it’s a core part of my development toolkit. By using tools like Claude Code and ChatGPT to write, debug, and understand code in Python, JavaScript, C#, Business Central AL, and C++, I’ve turned AI into a versatile collaborator across every language I work with.
One way to think about it is as a pair programmer — a virtual coding partner that never tires. This isn't about automating the developer away; it's about augmenting their capabilities.
Building a LISP Notebook
To demonstrate this, I built a Scheme-like LISP interpreter with a Jupyter-style notebook UI, entirely in vanilla HTML/CSS/JS with no dependencies — guided by Claude Code from first prompt to deployed app.
Planning the build
I started by asking Claude what it needed to know:
PROMPT
1I would like to create a web page LISP Interpreter. Do you have any questions?
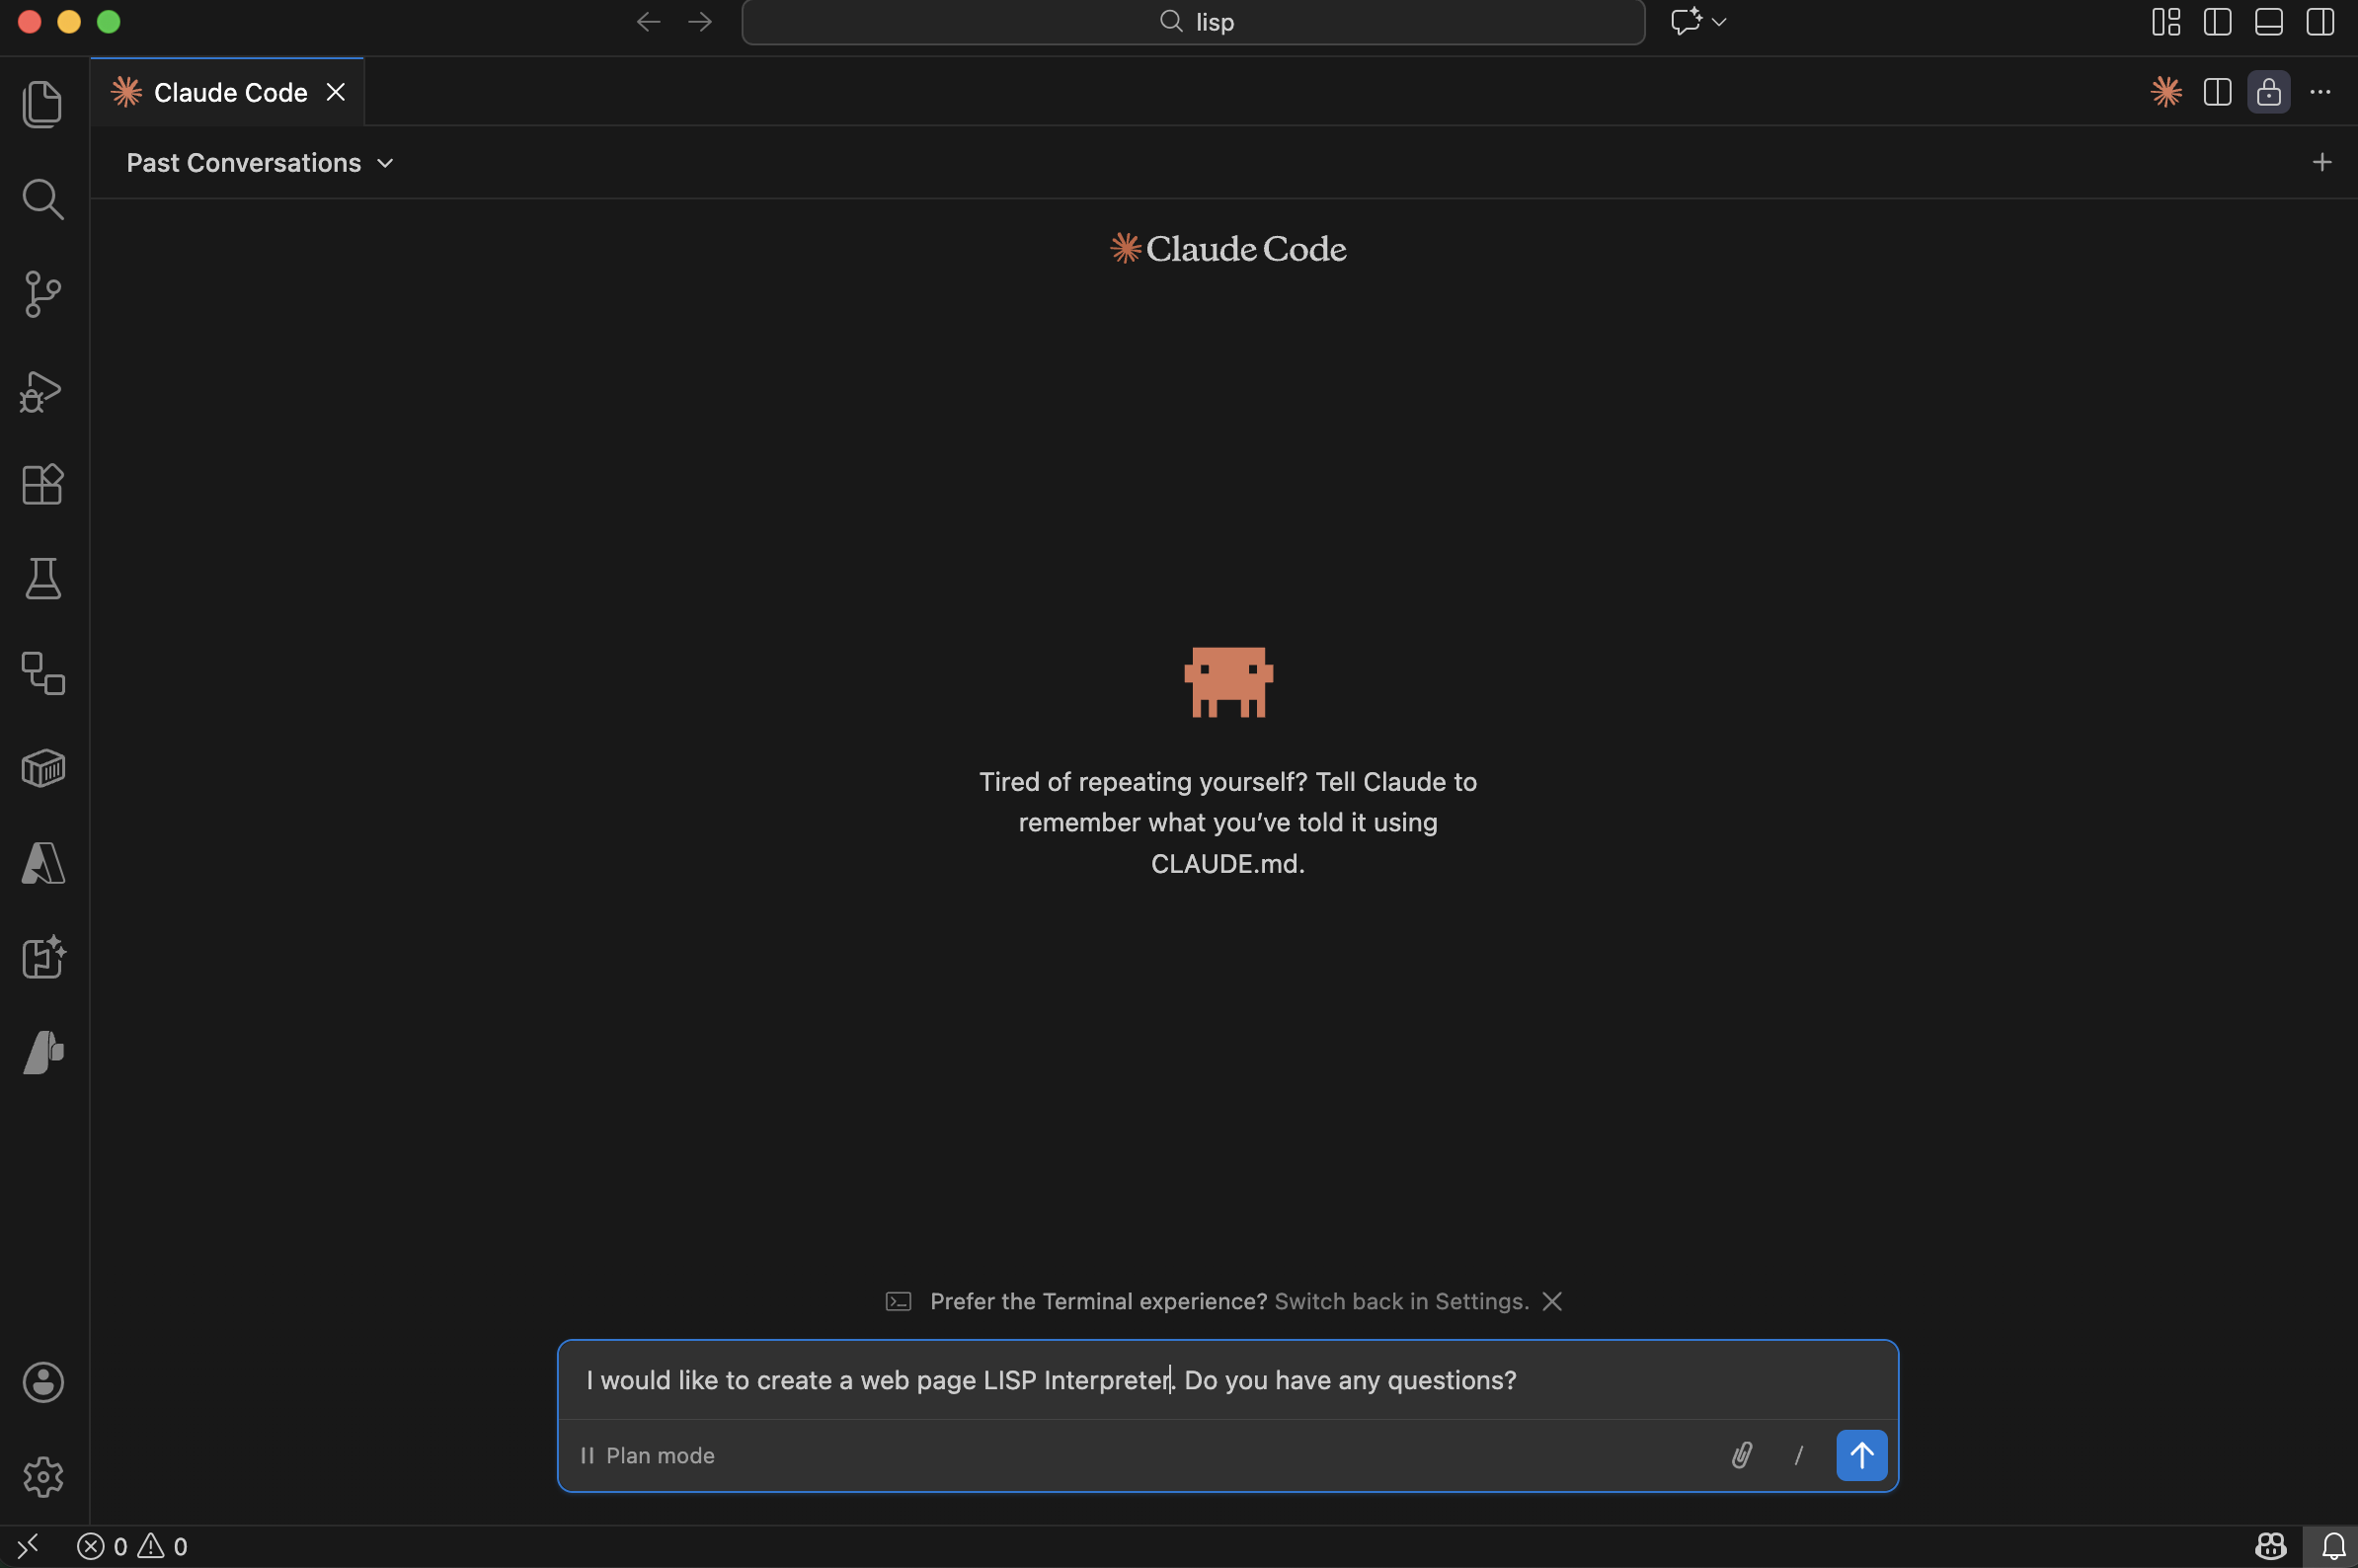
I described the project and asked Claude if it had questions
Claude asked a series of clarifying questions to nail down the design:

Claude asked whether to use a Scheme-like dialect
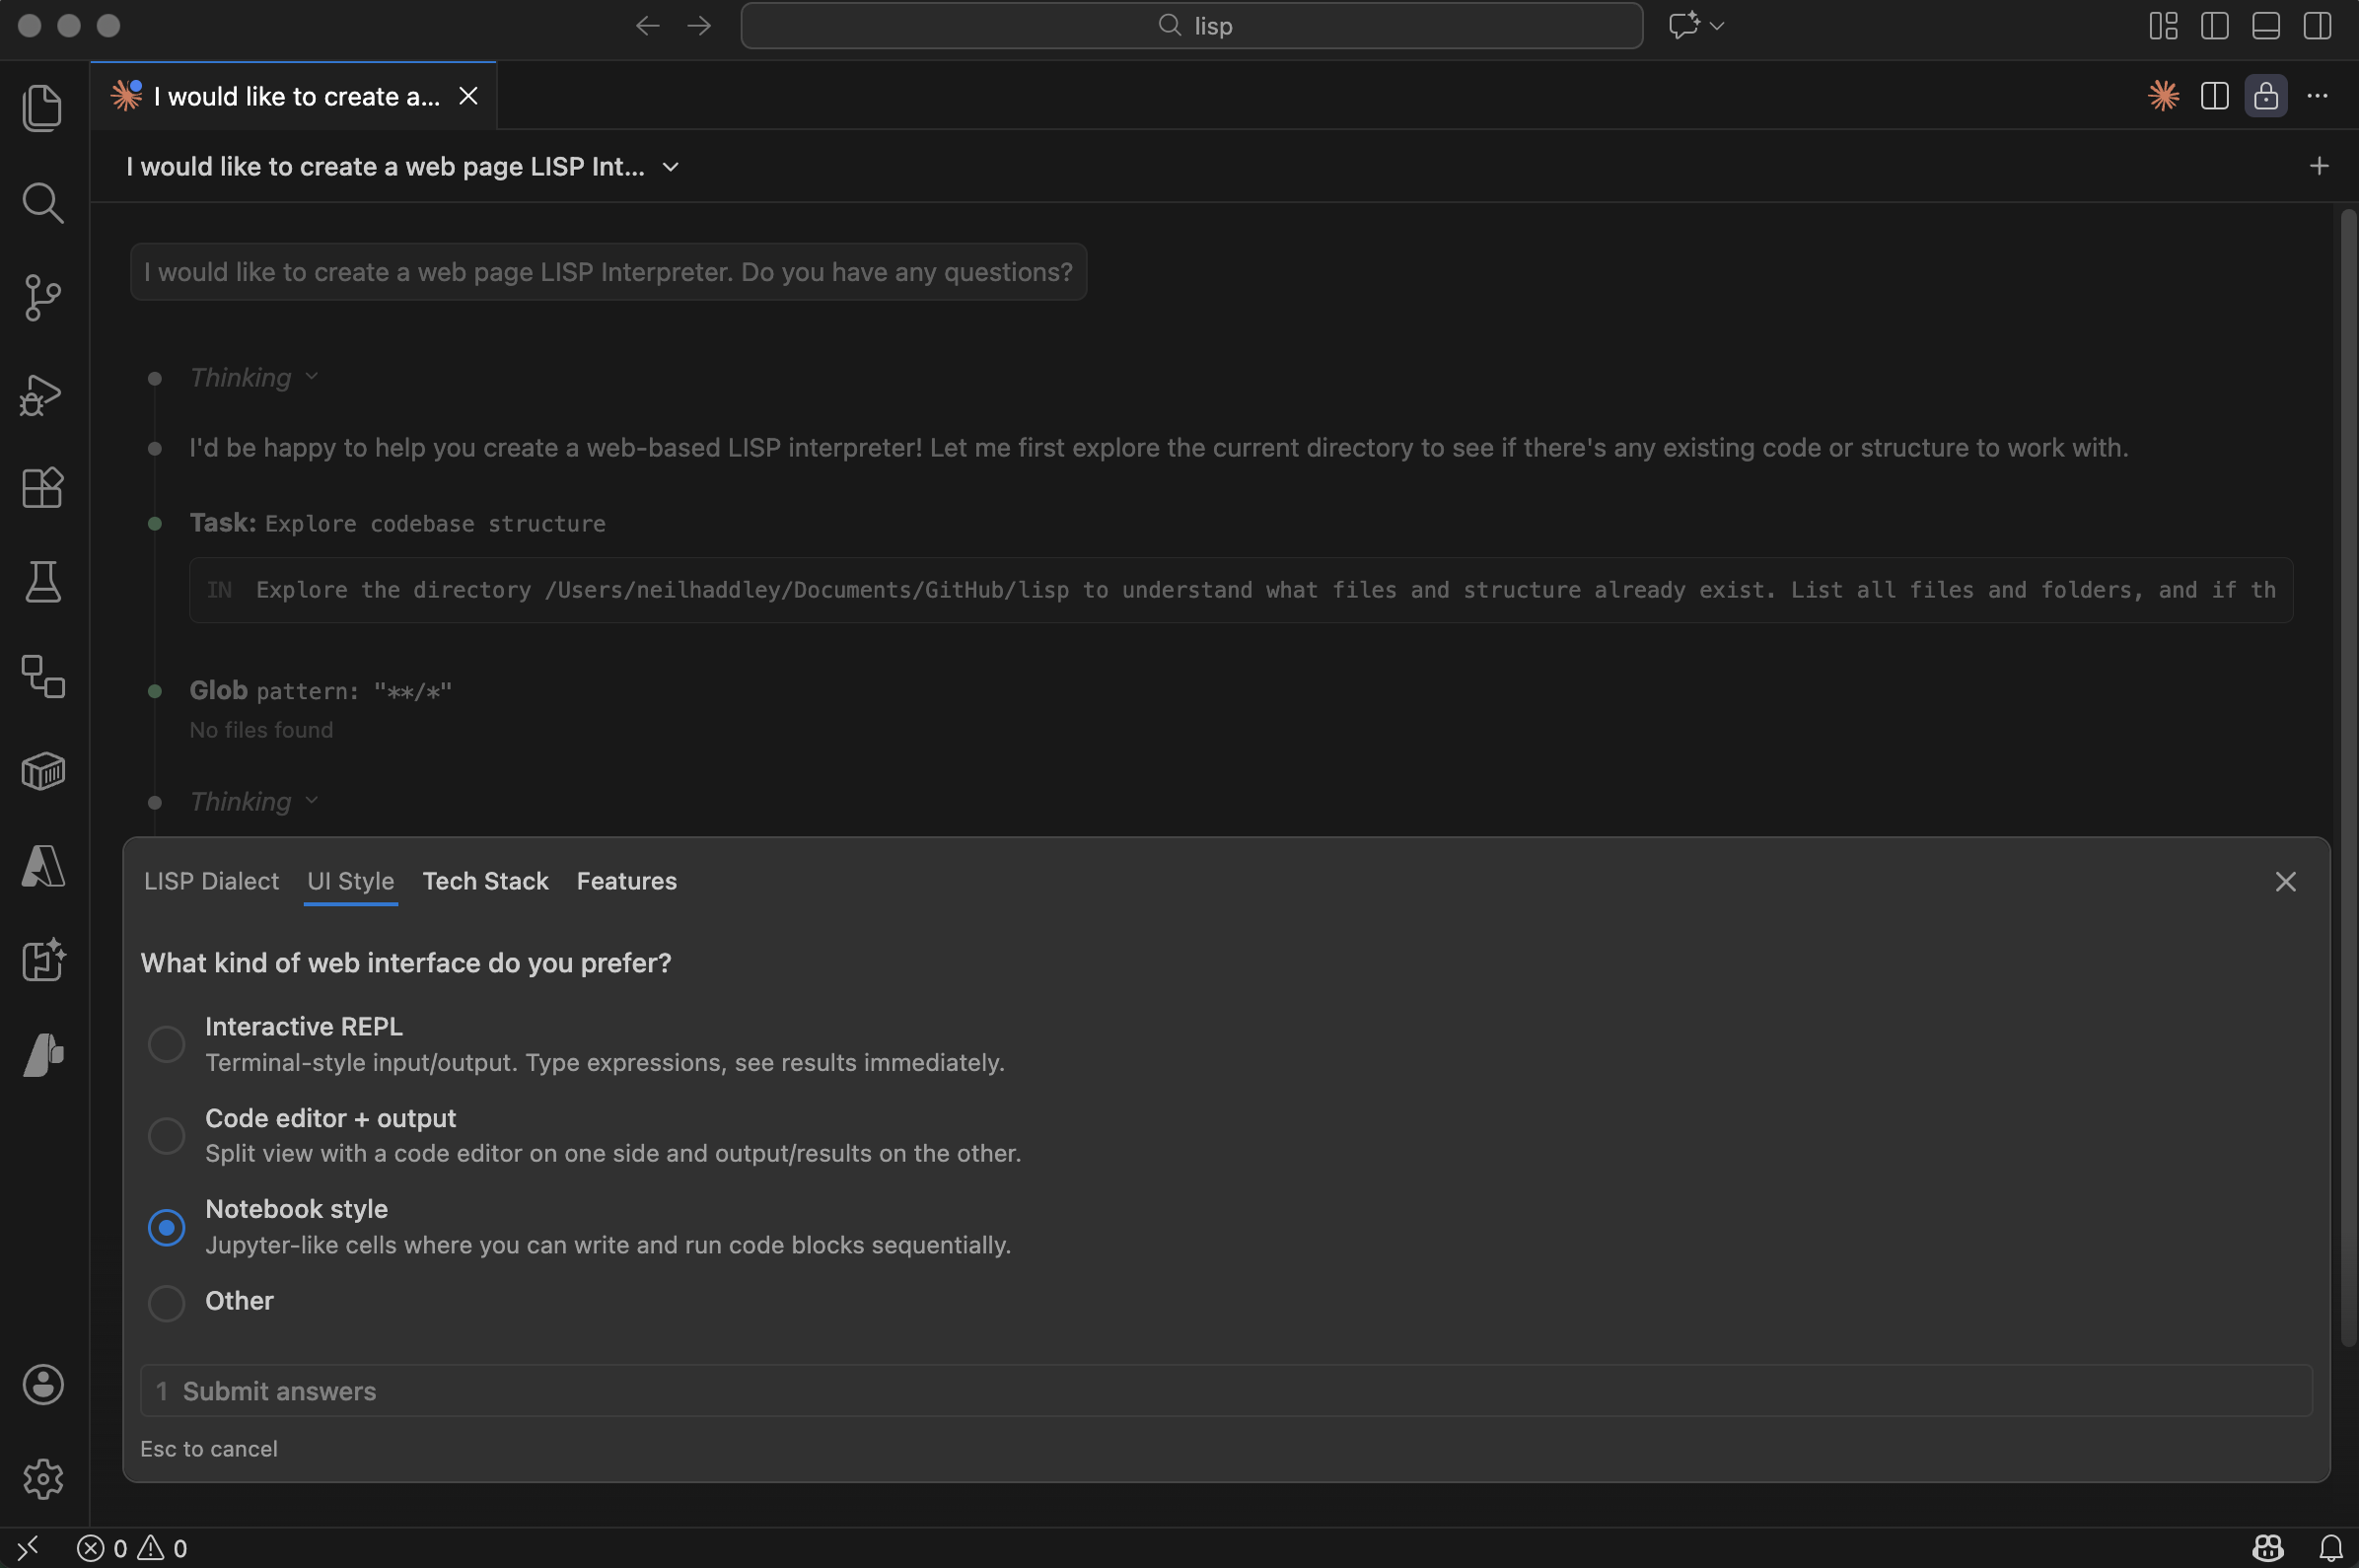
Claude asked whether to use a notebook-style UI
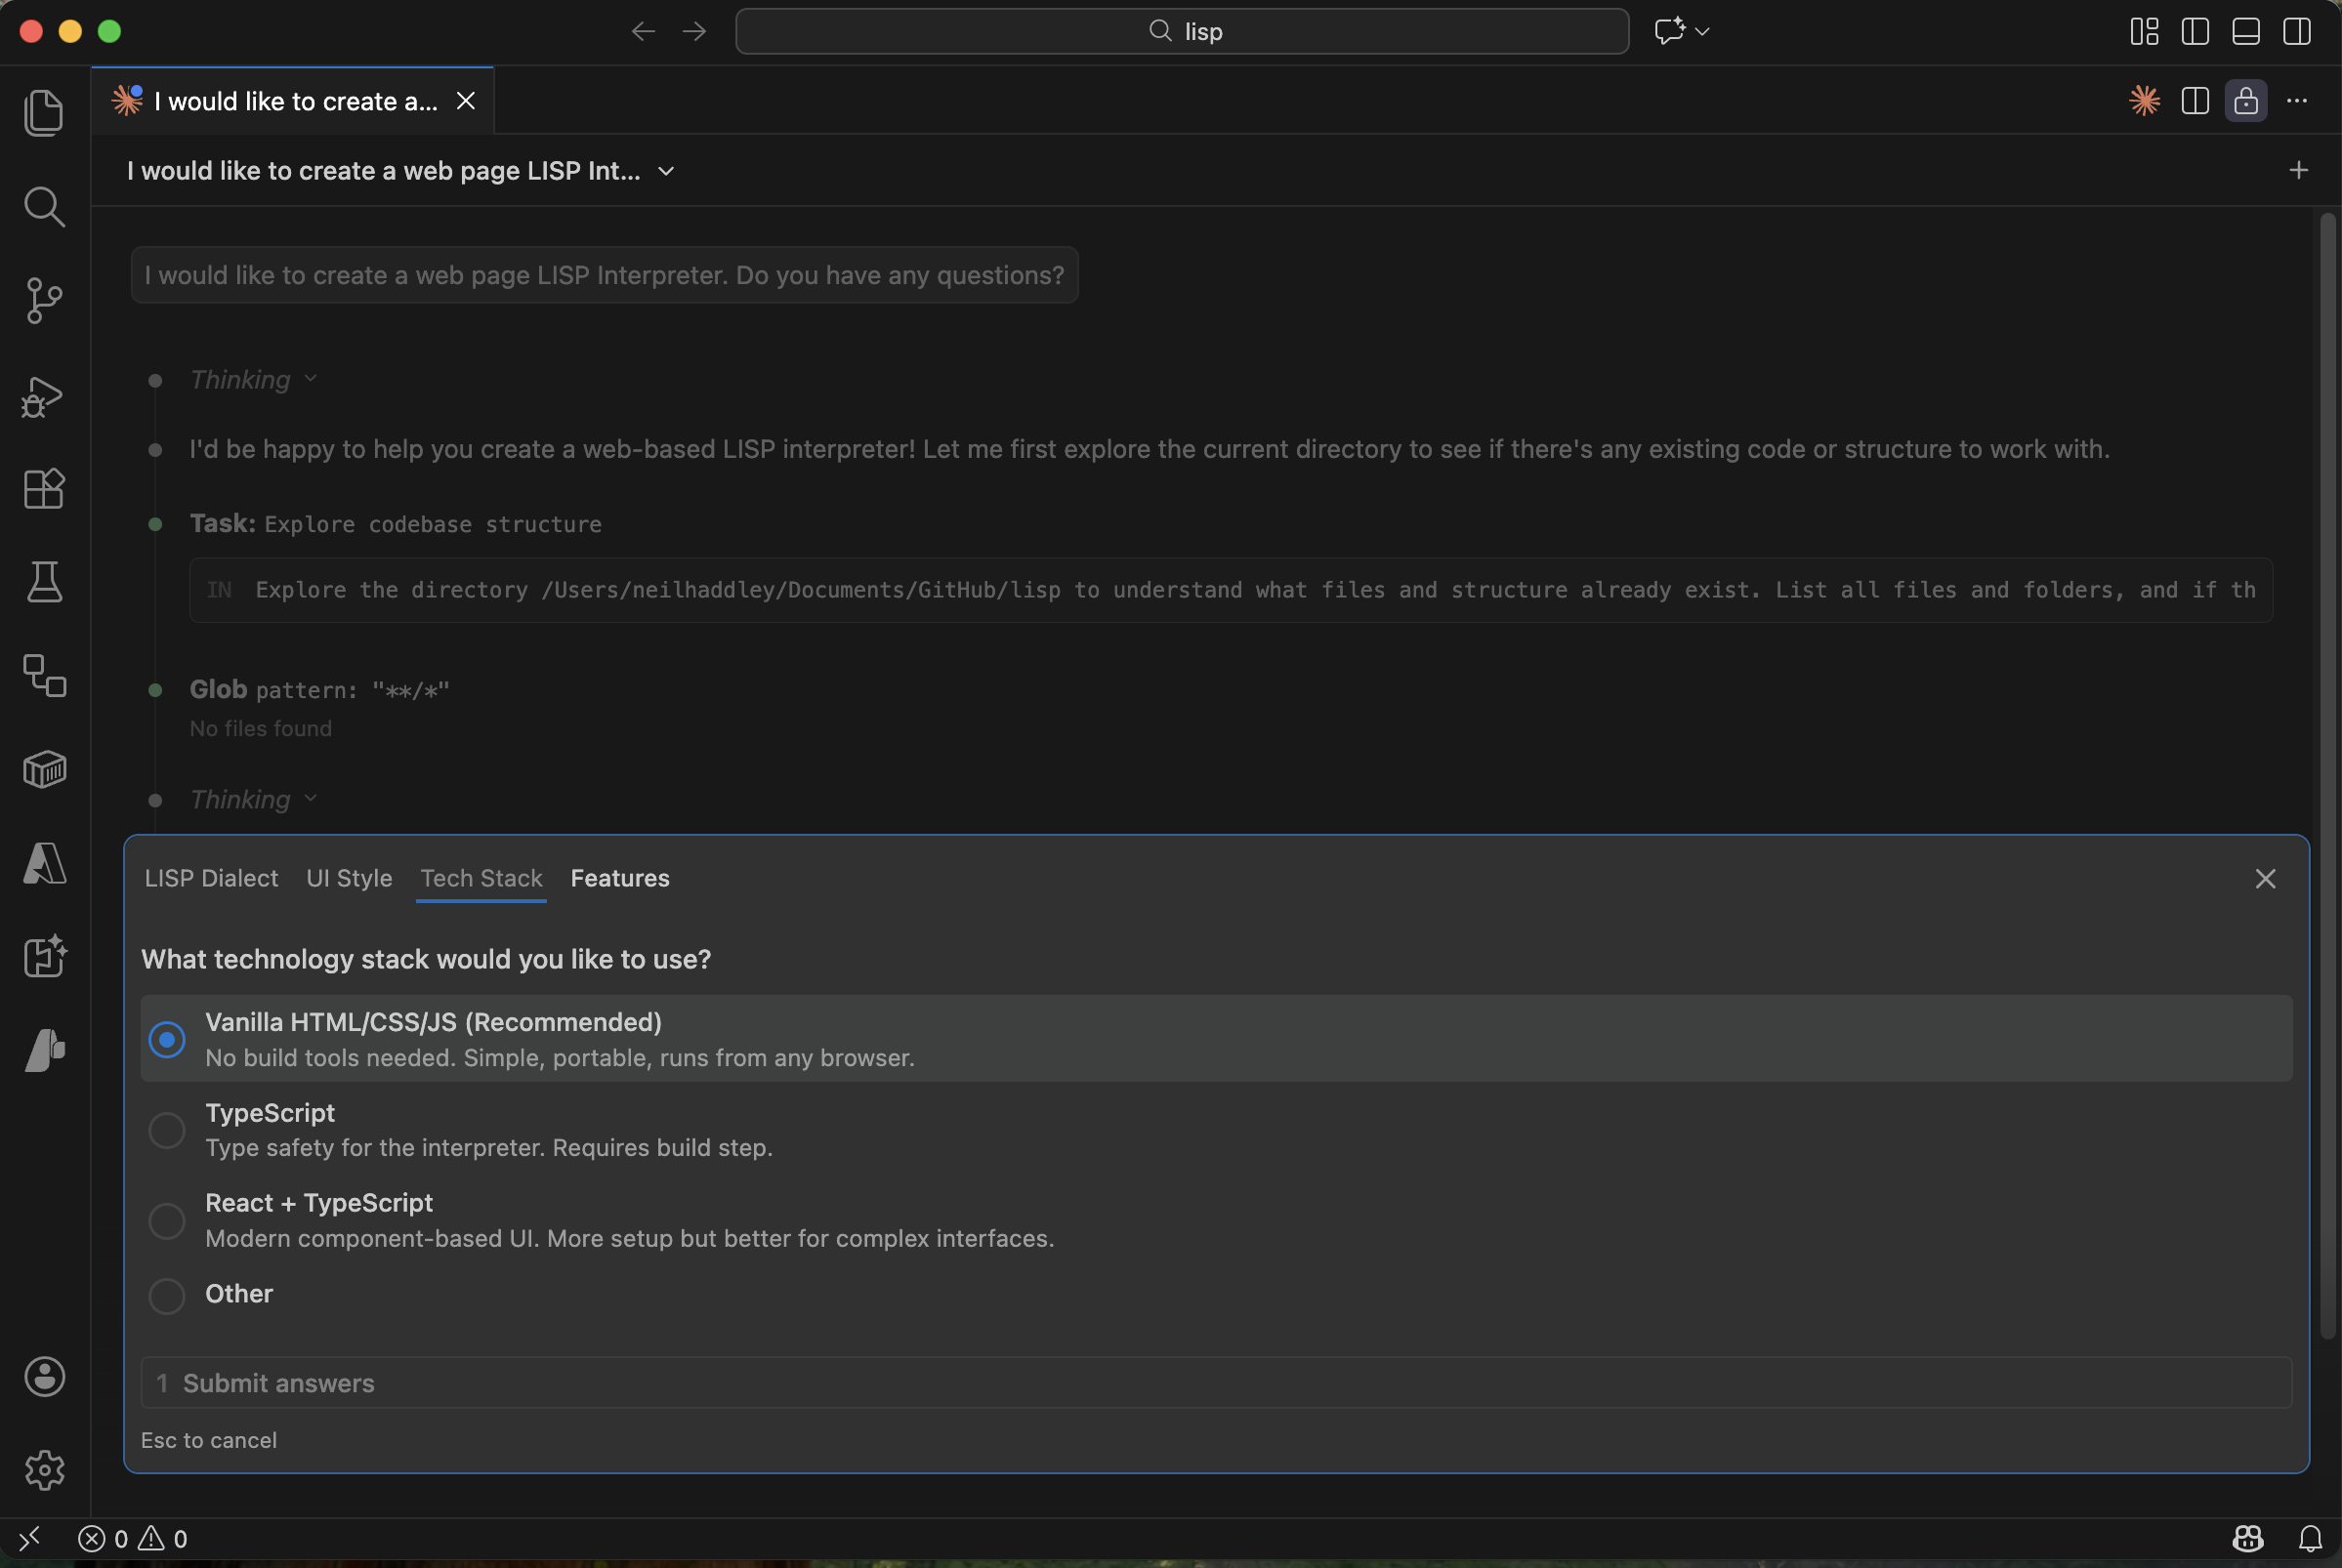
Claude asked whether to use vanilla HTML/CSS/JS with no frameworks
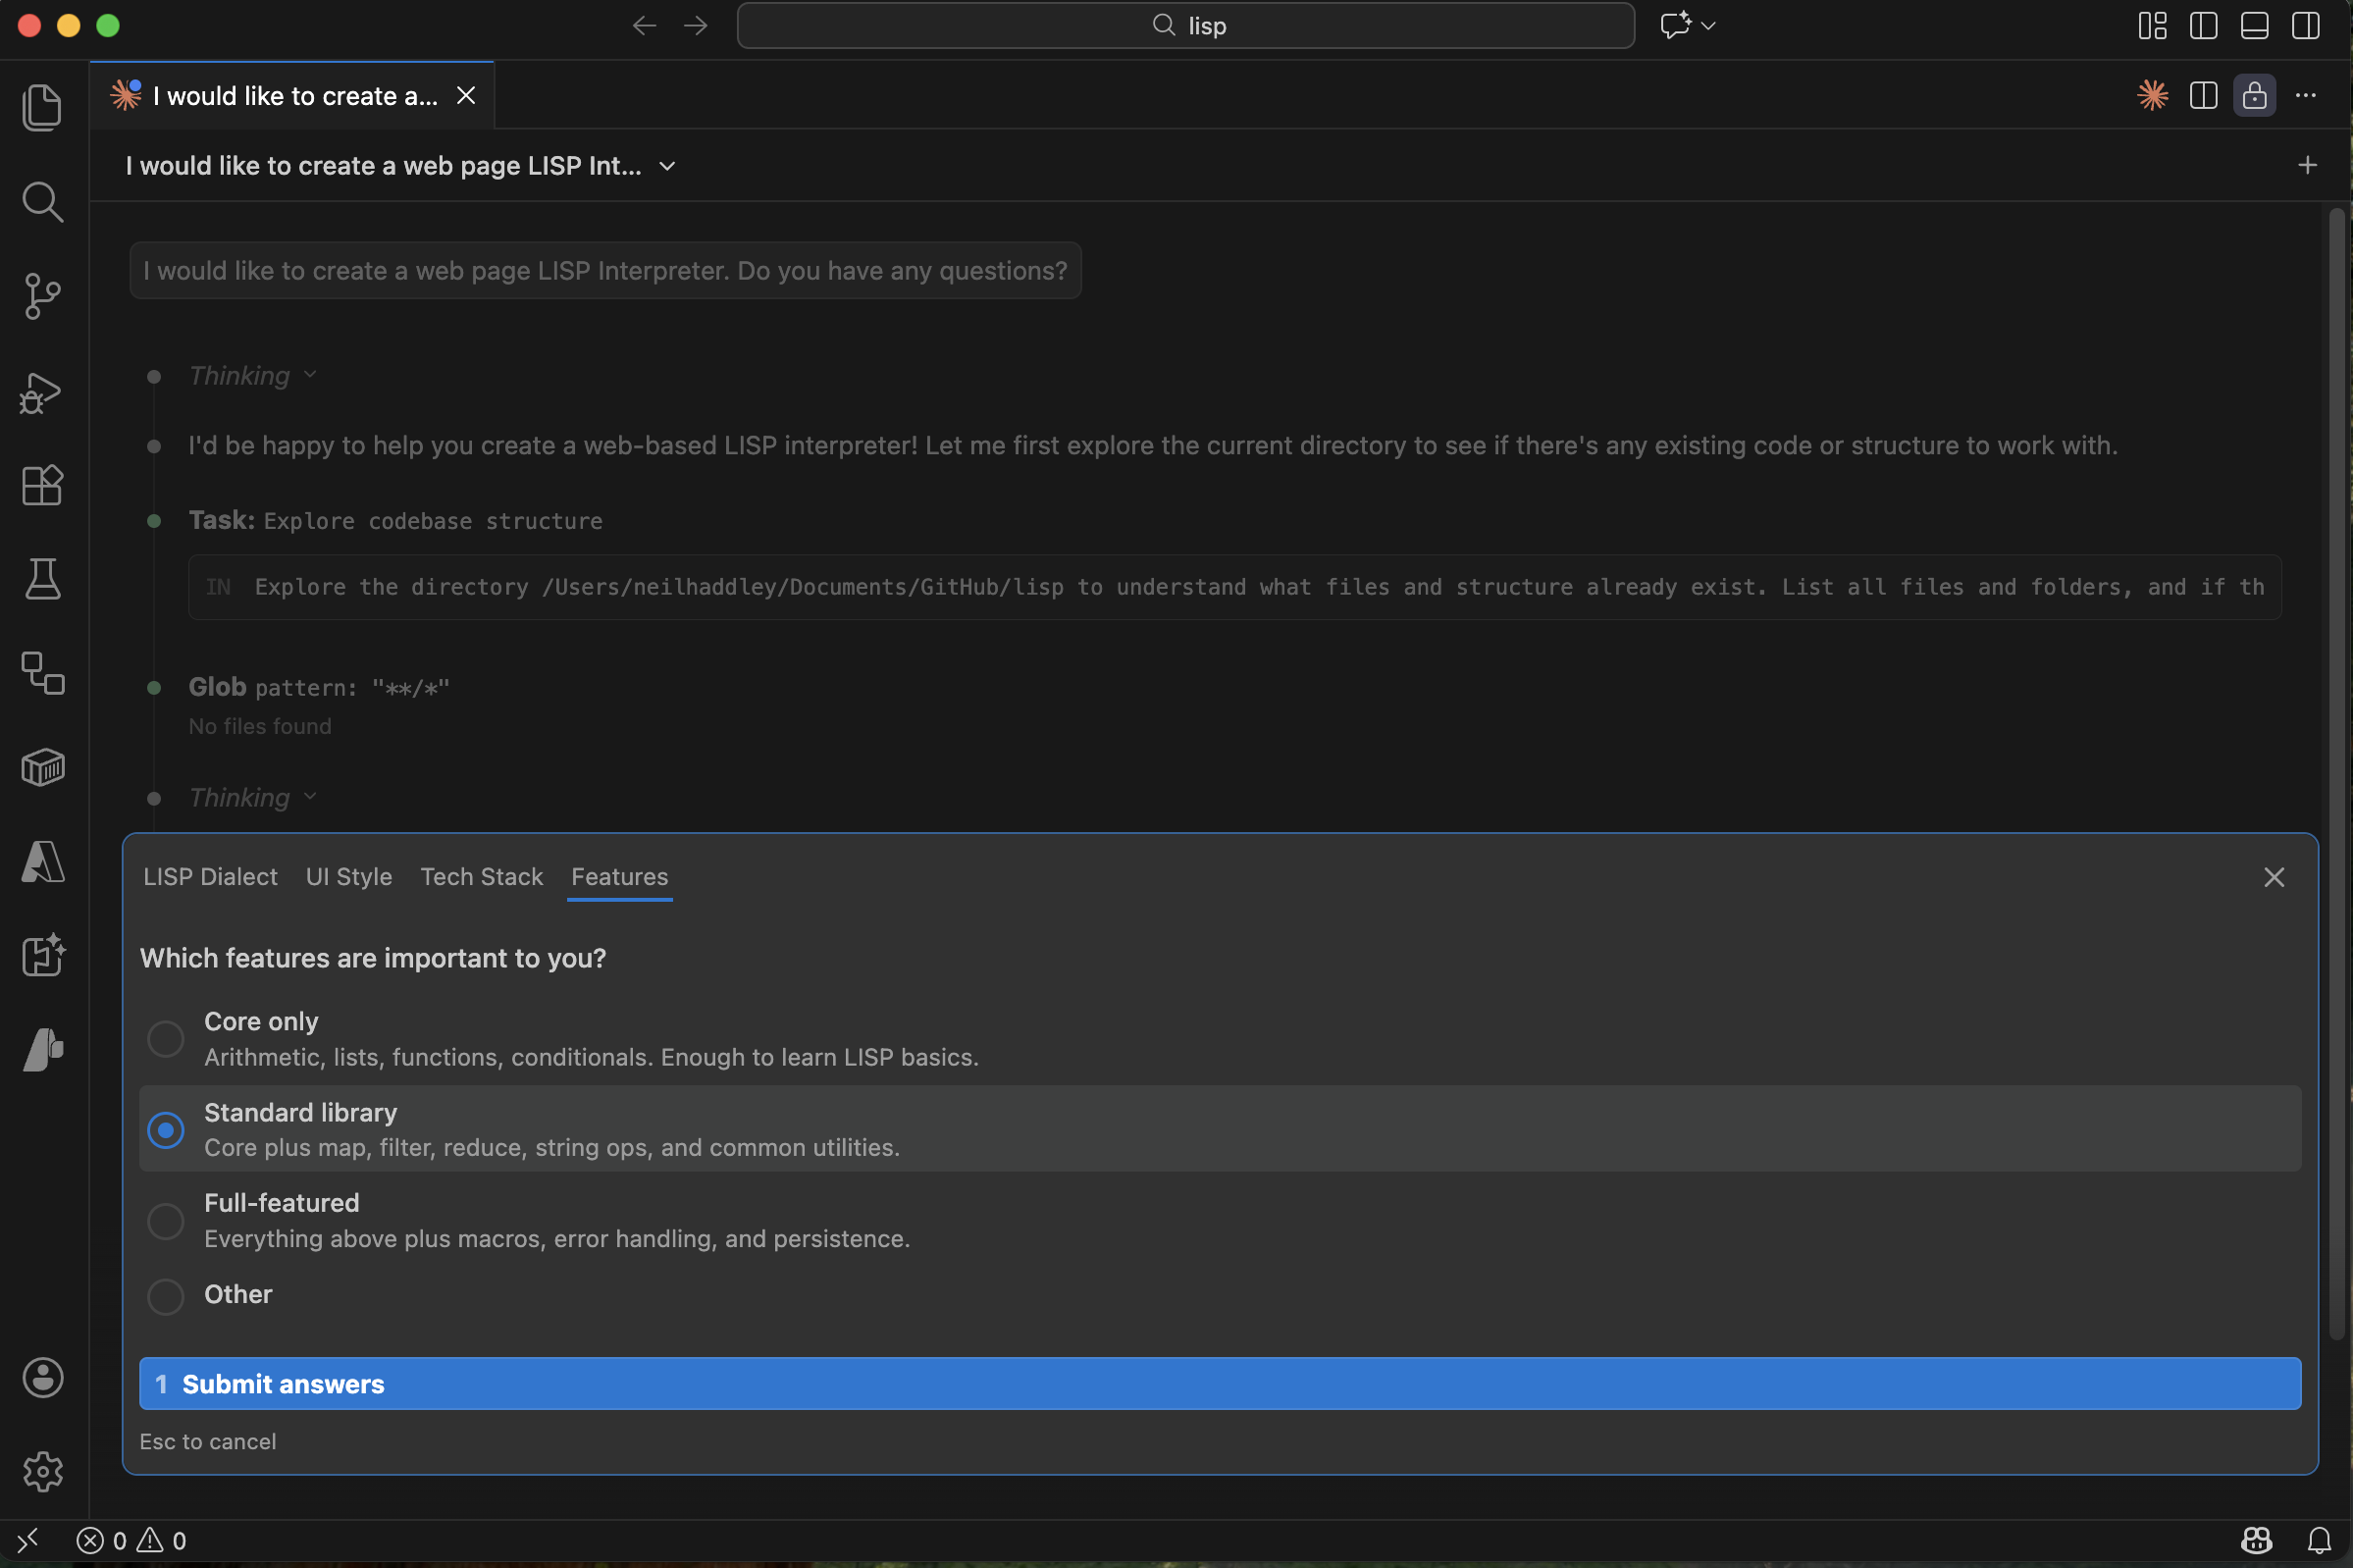
Claude asked which standard library functions to include
With the requirements settled, Claude researched the best approach:
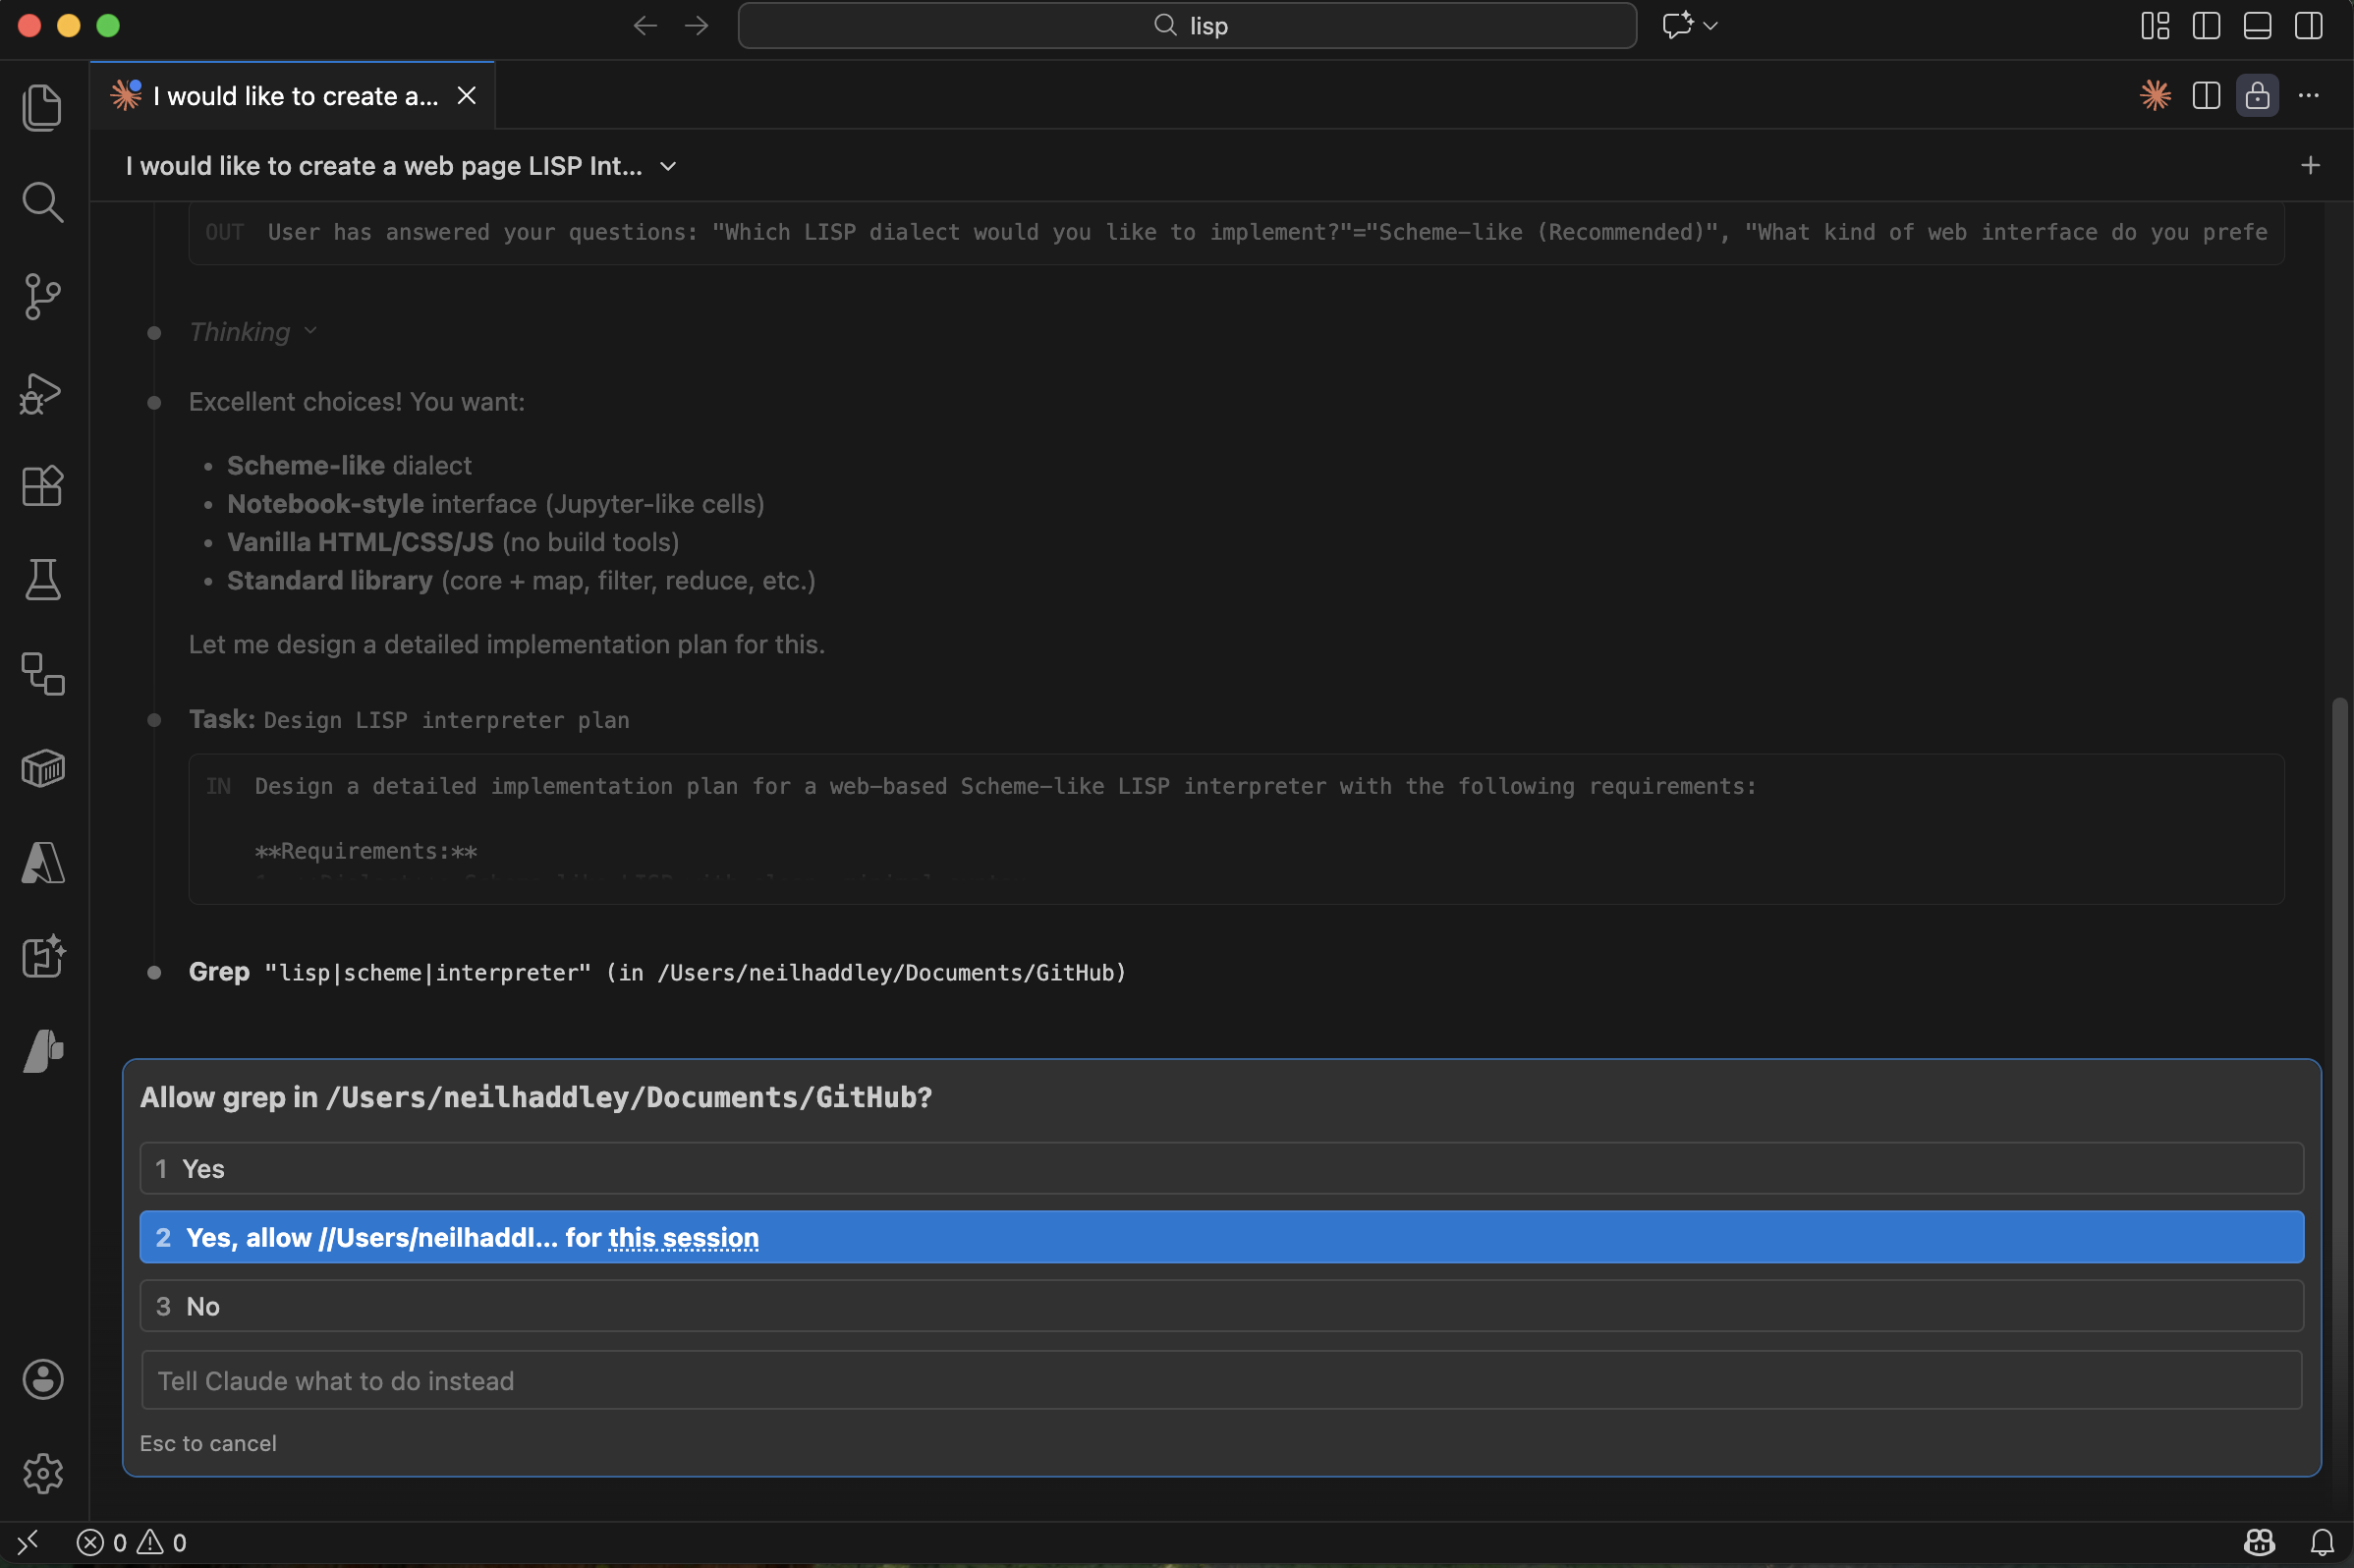
Claude asked permission to search for reference implementations
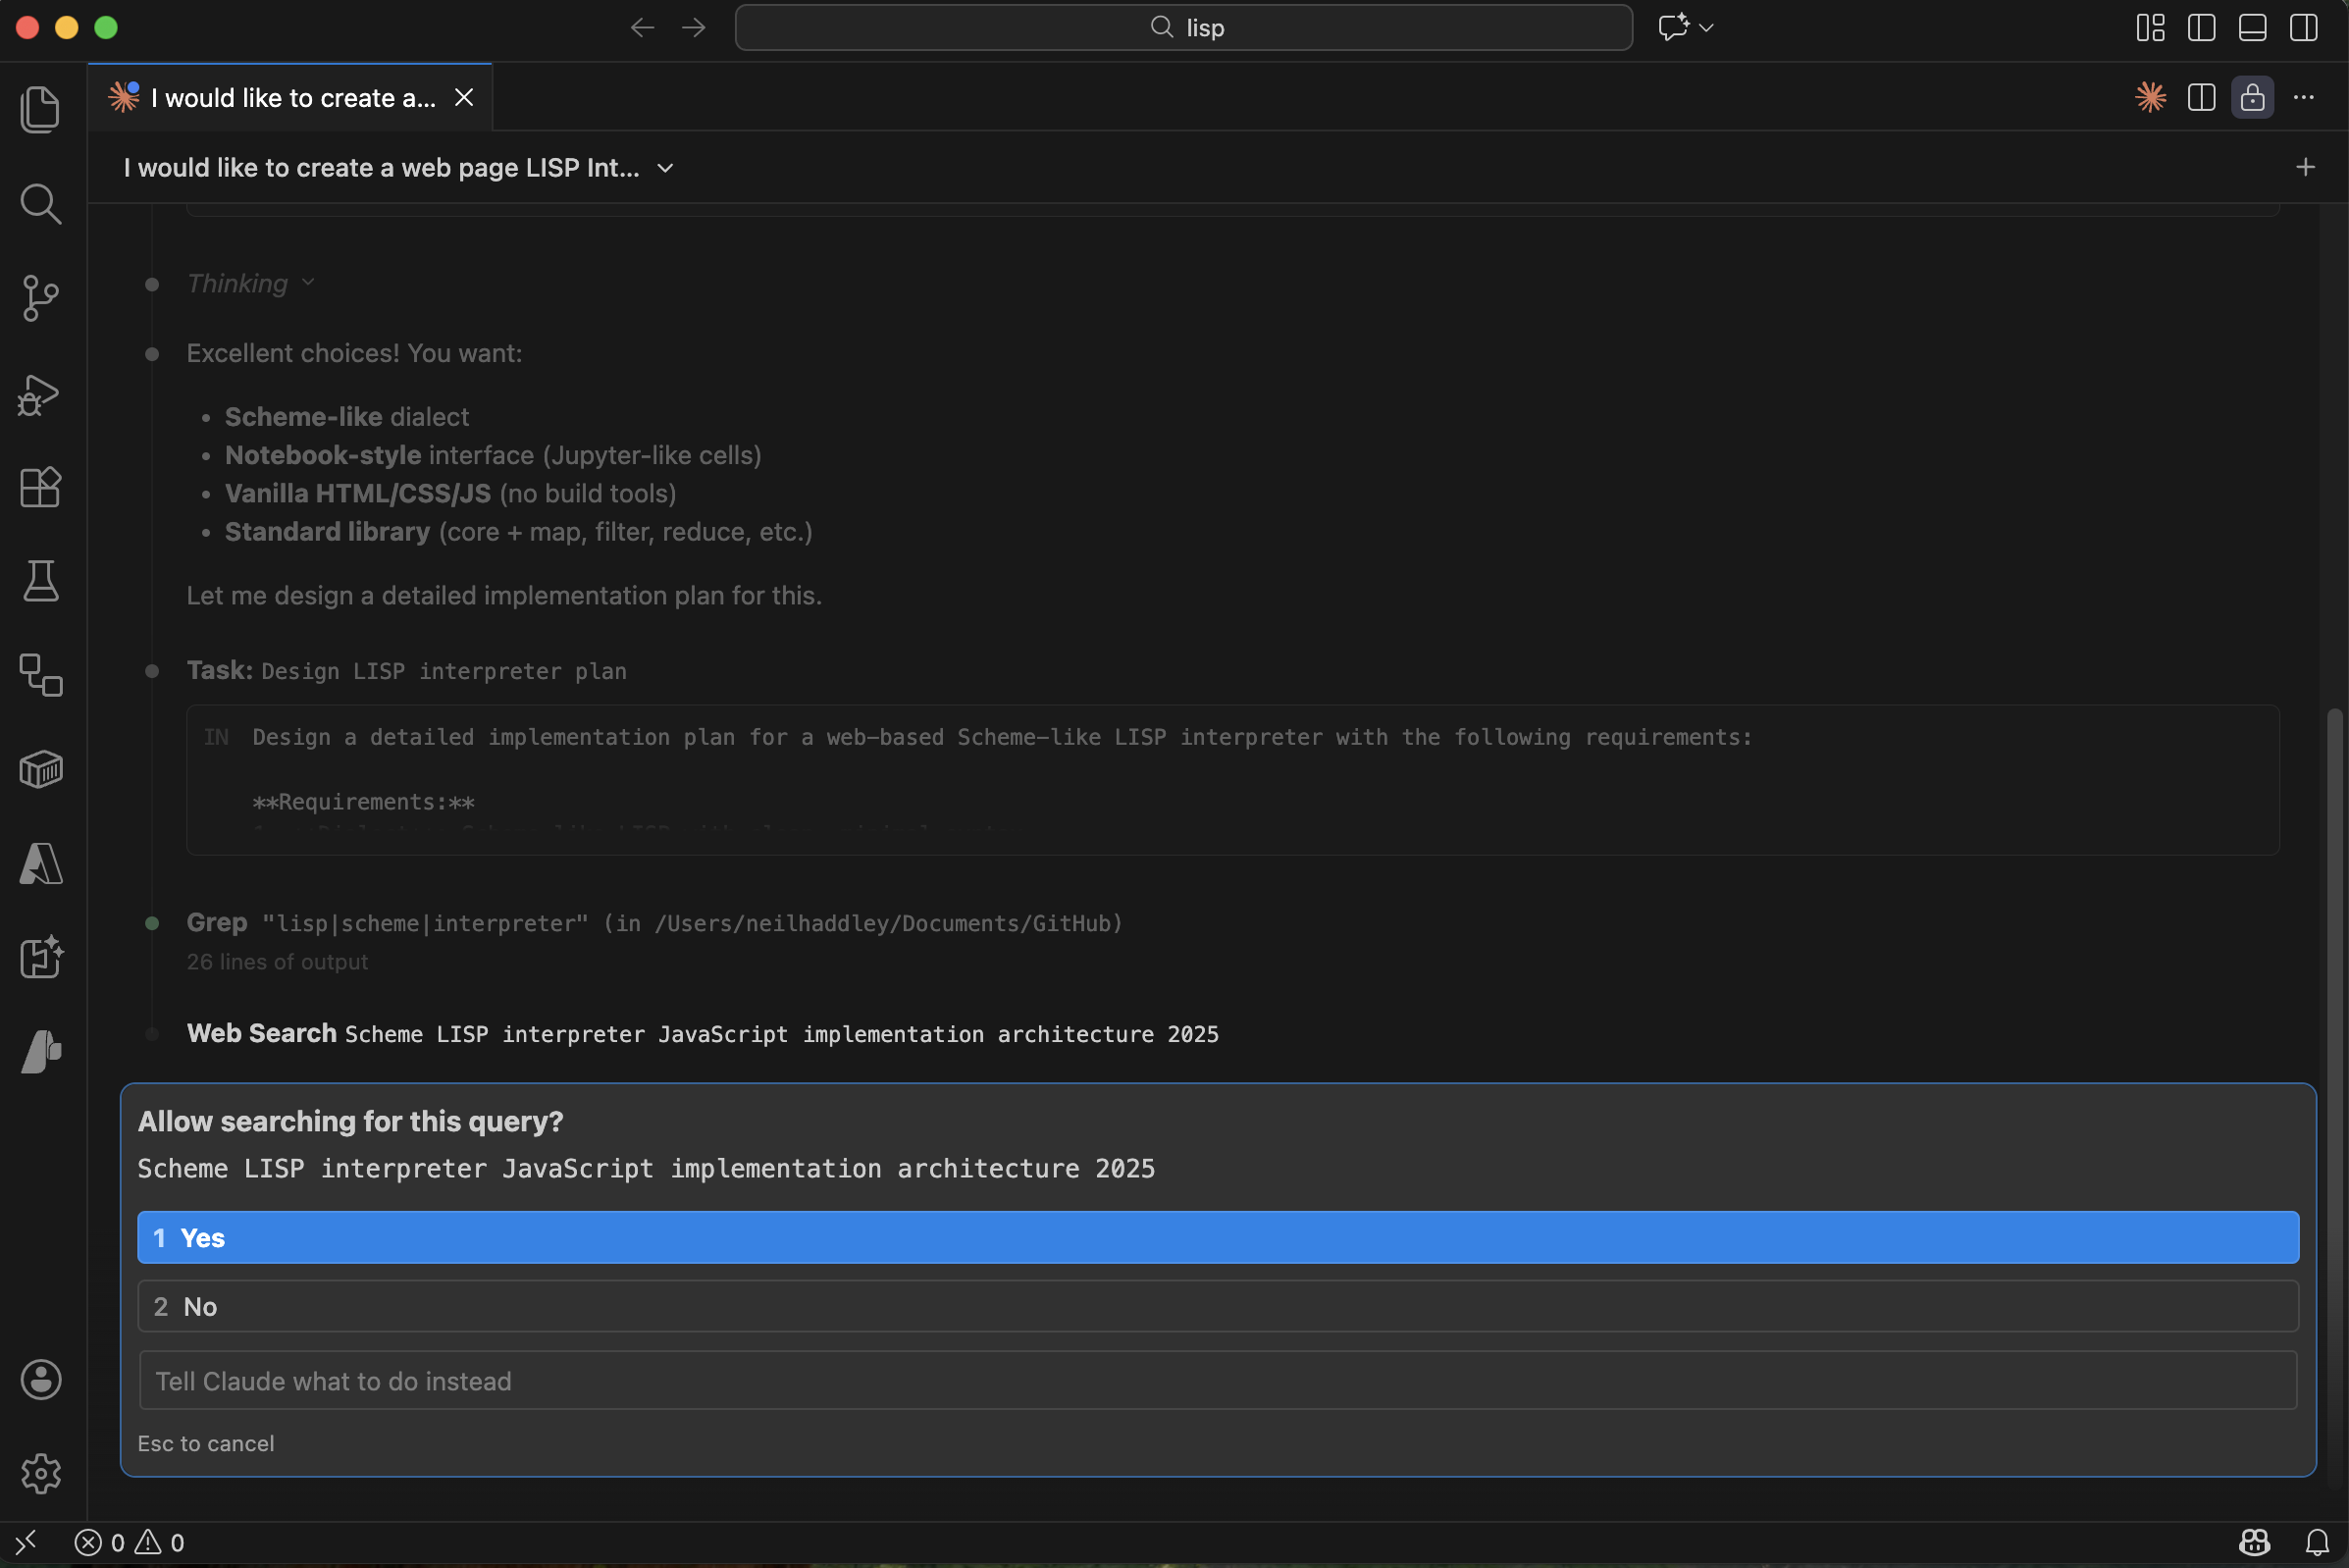
Claude searched for LISP interpreter architecture examples
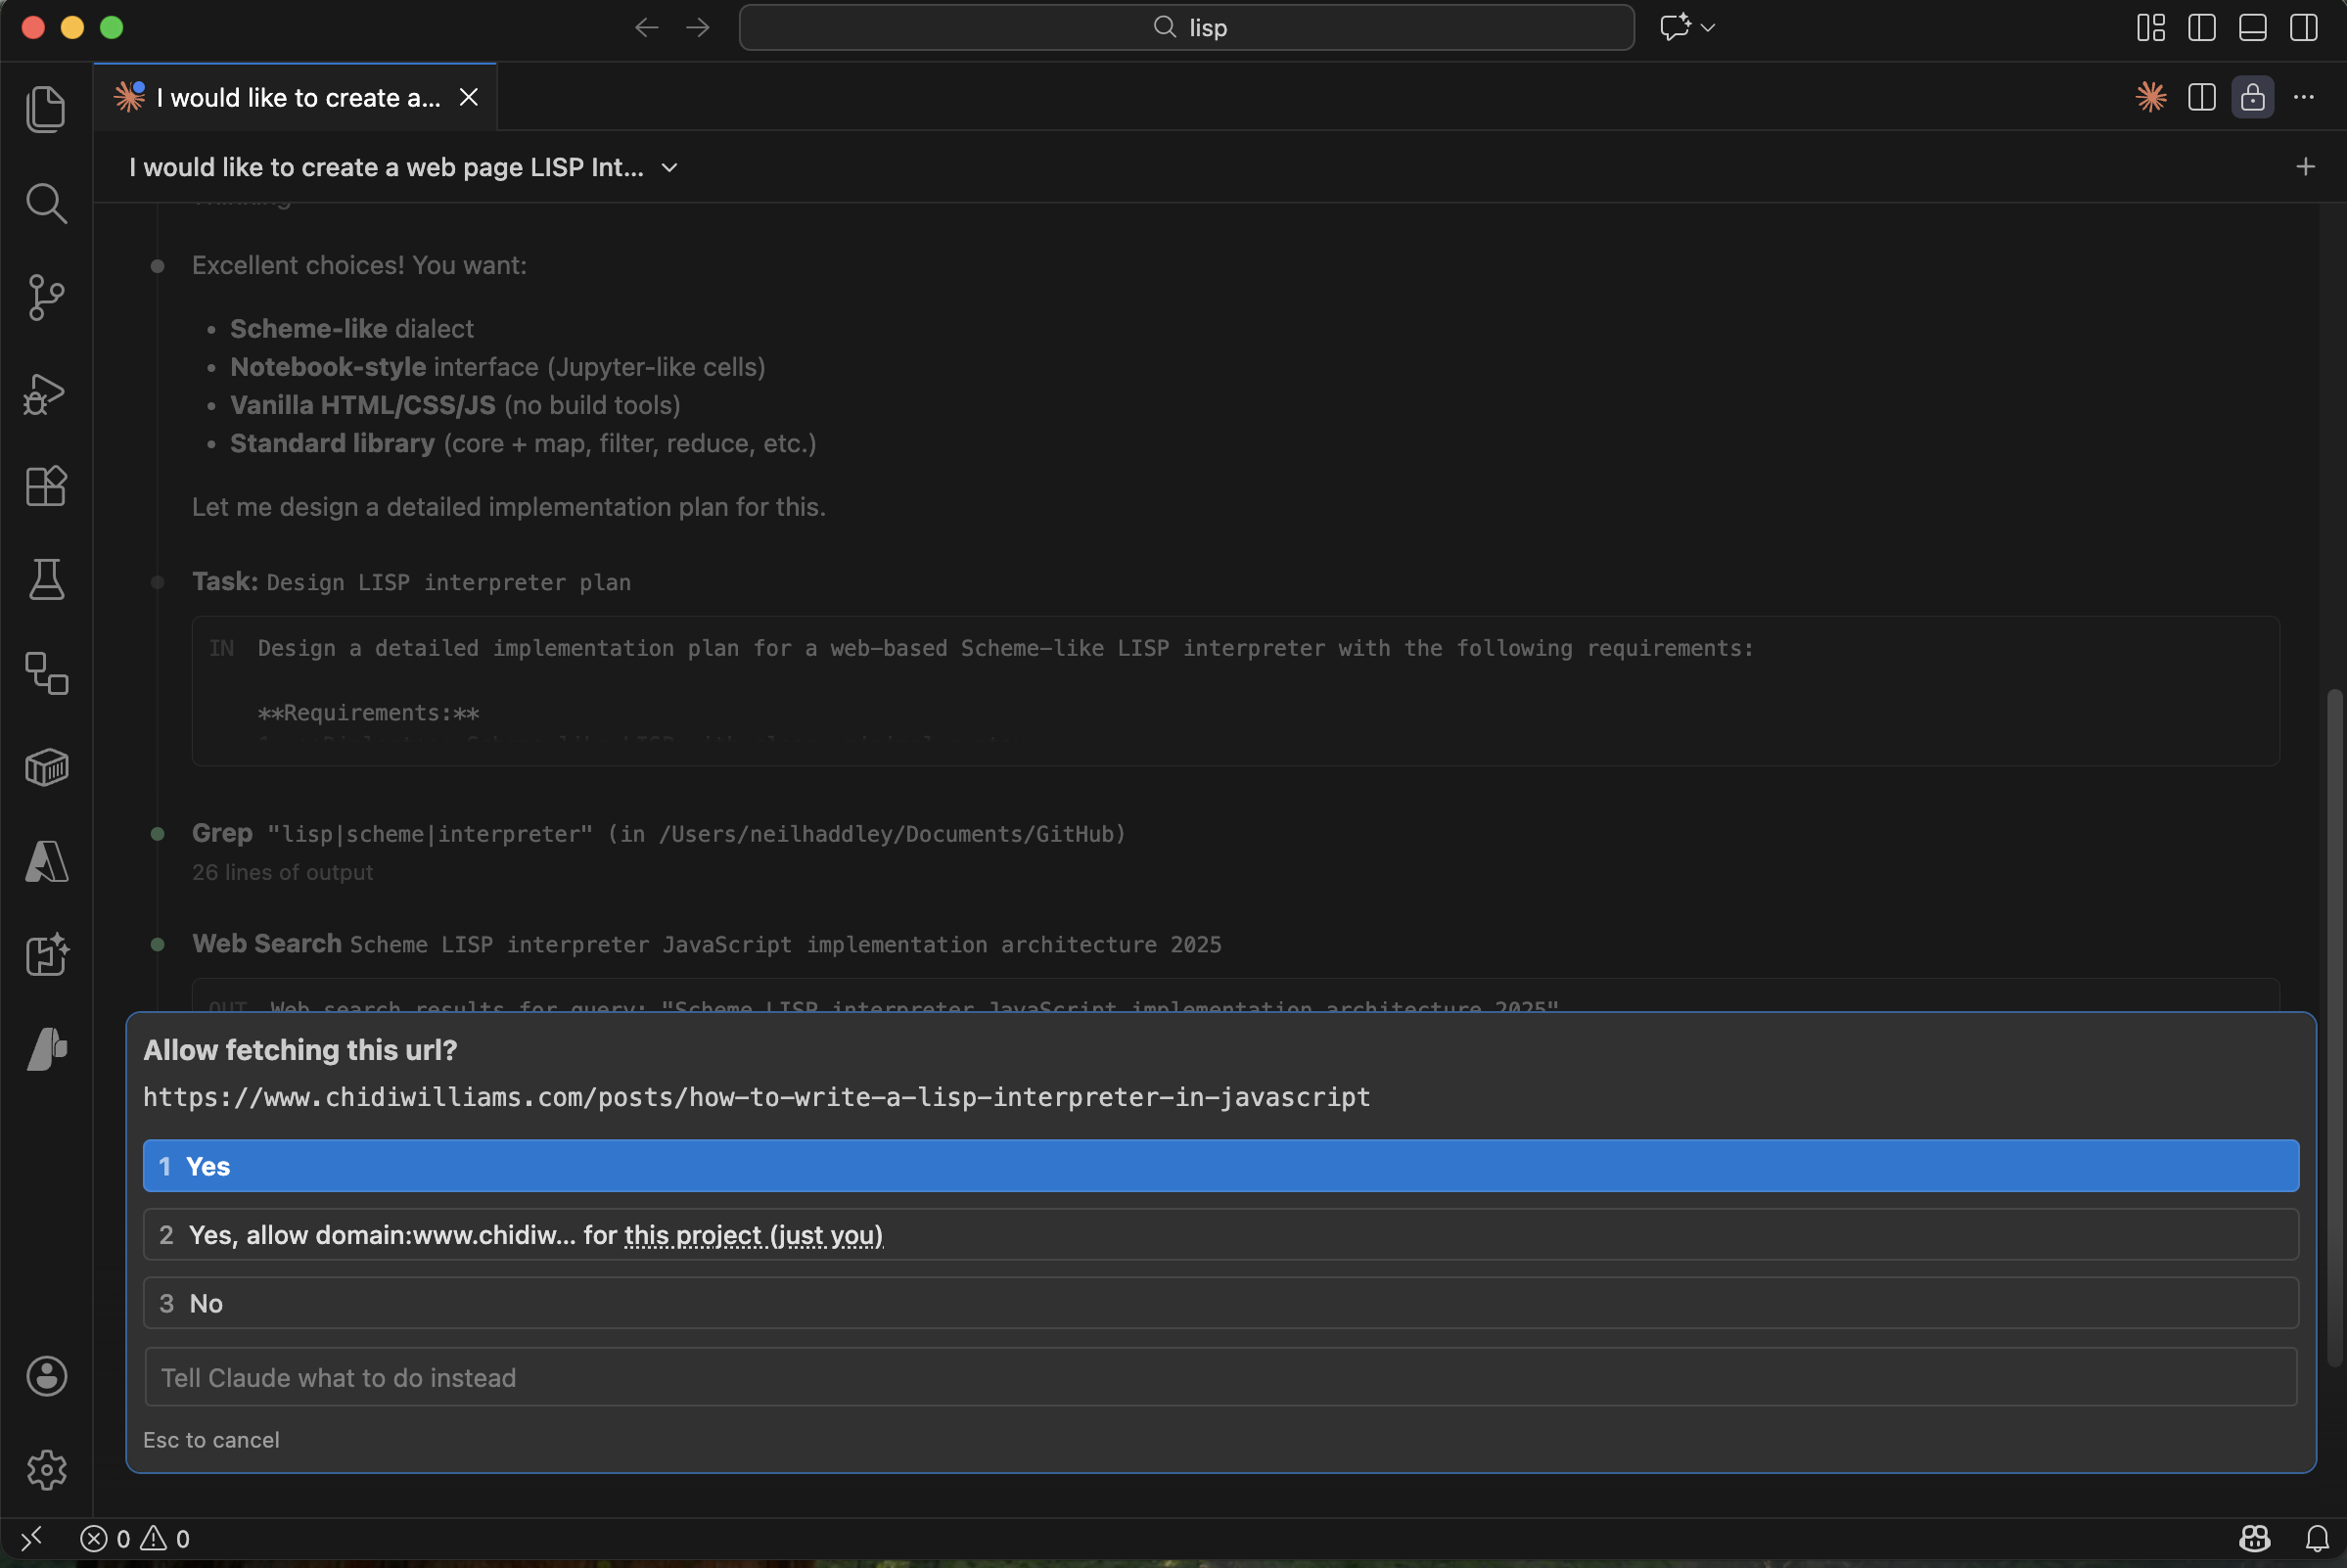
Claude asked permission to fetch a reference article
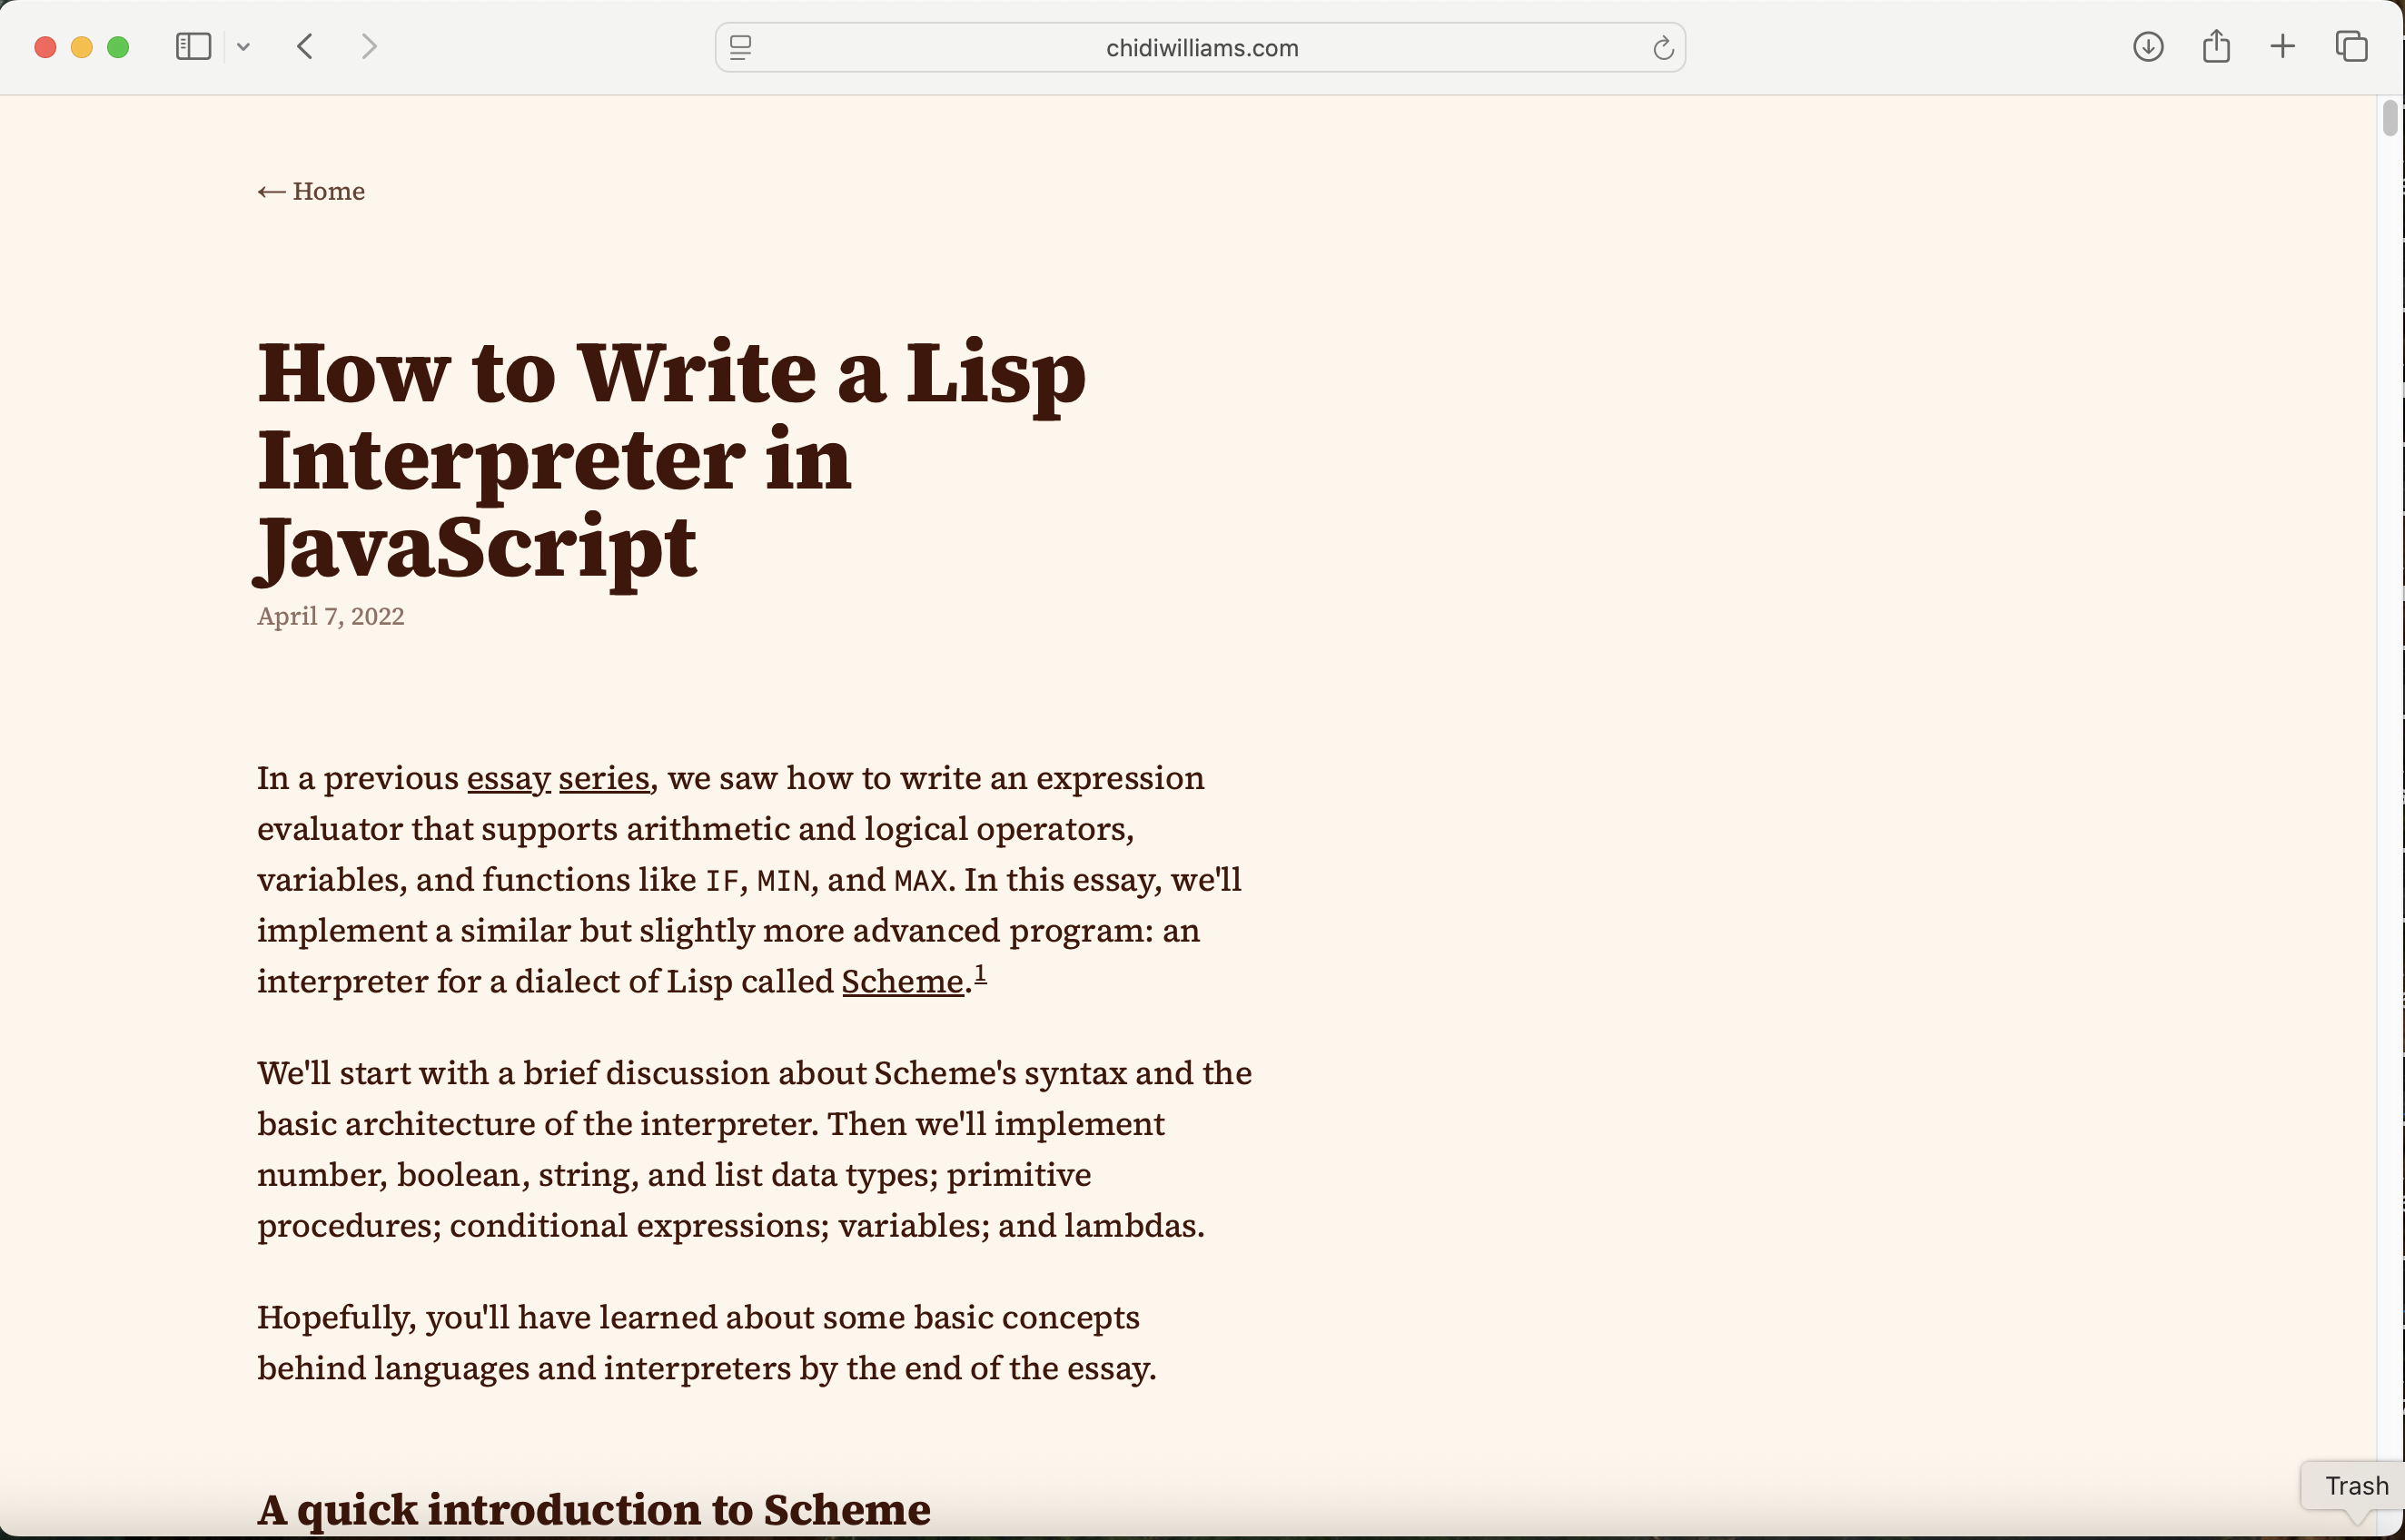
Claude fetched the reference article on writing a LISP interpreter in JavaScript
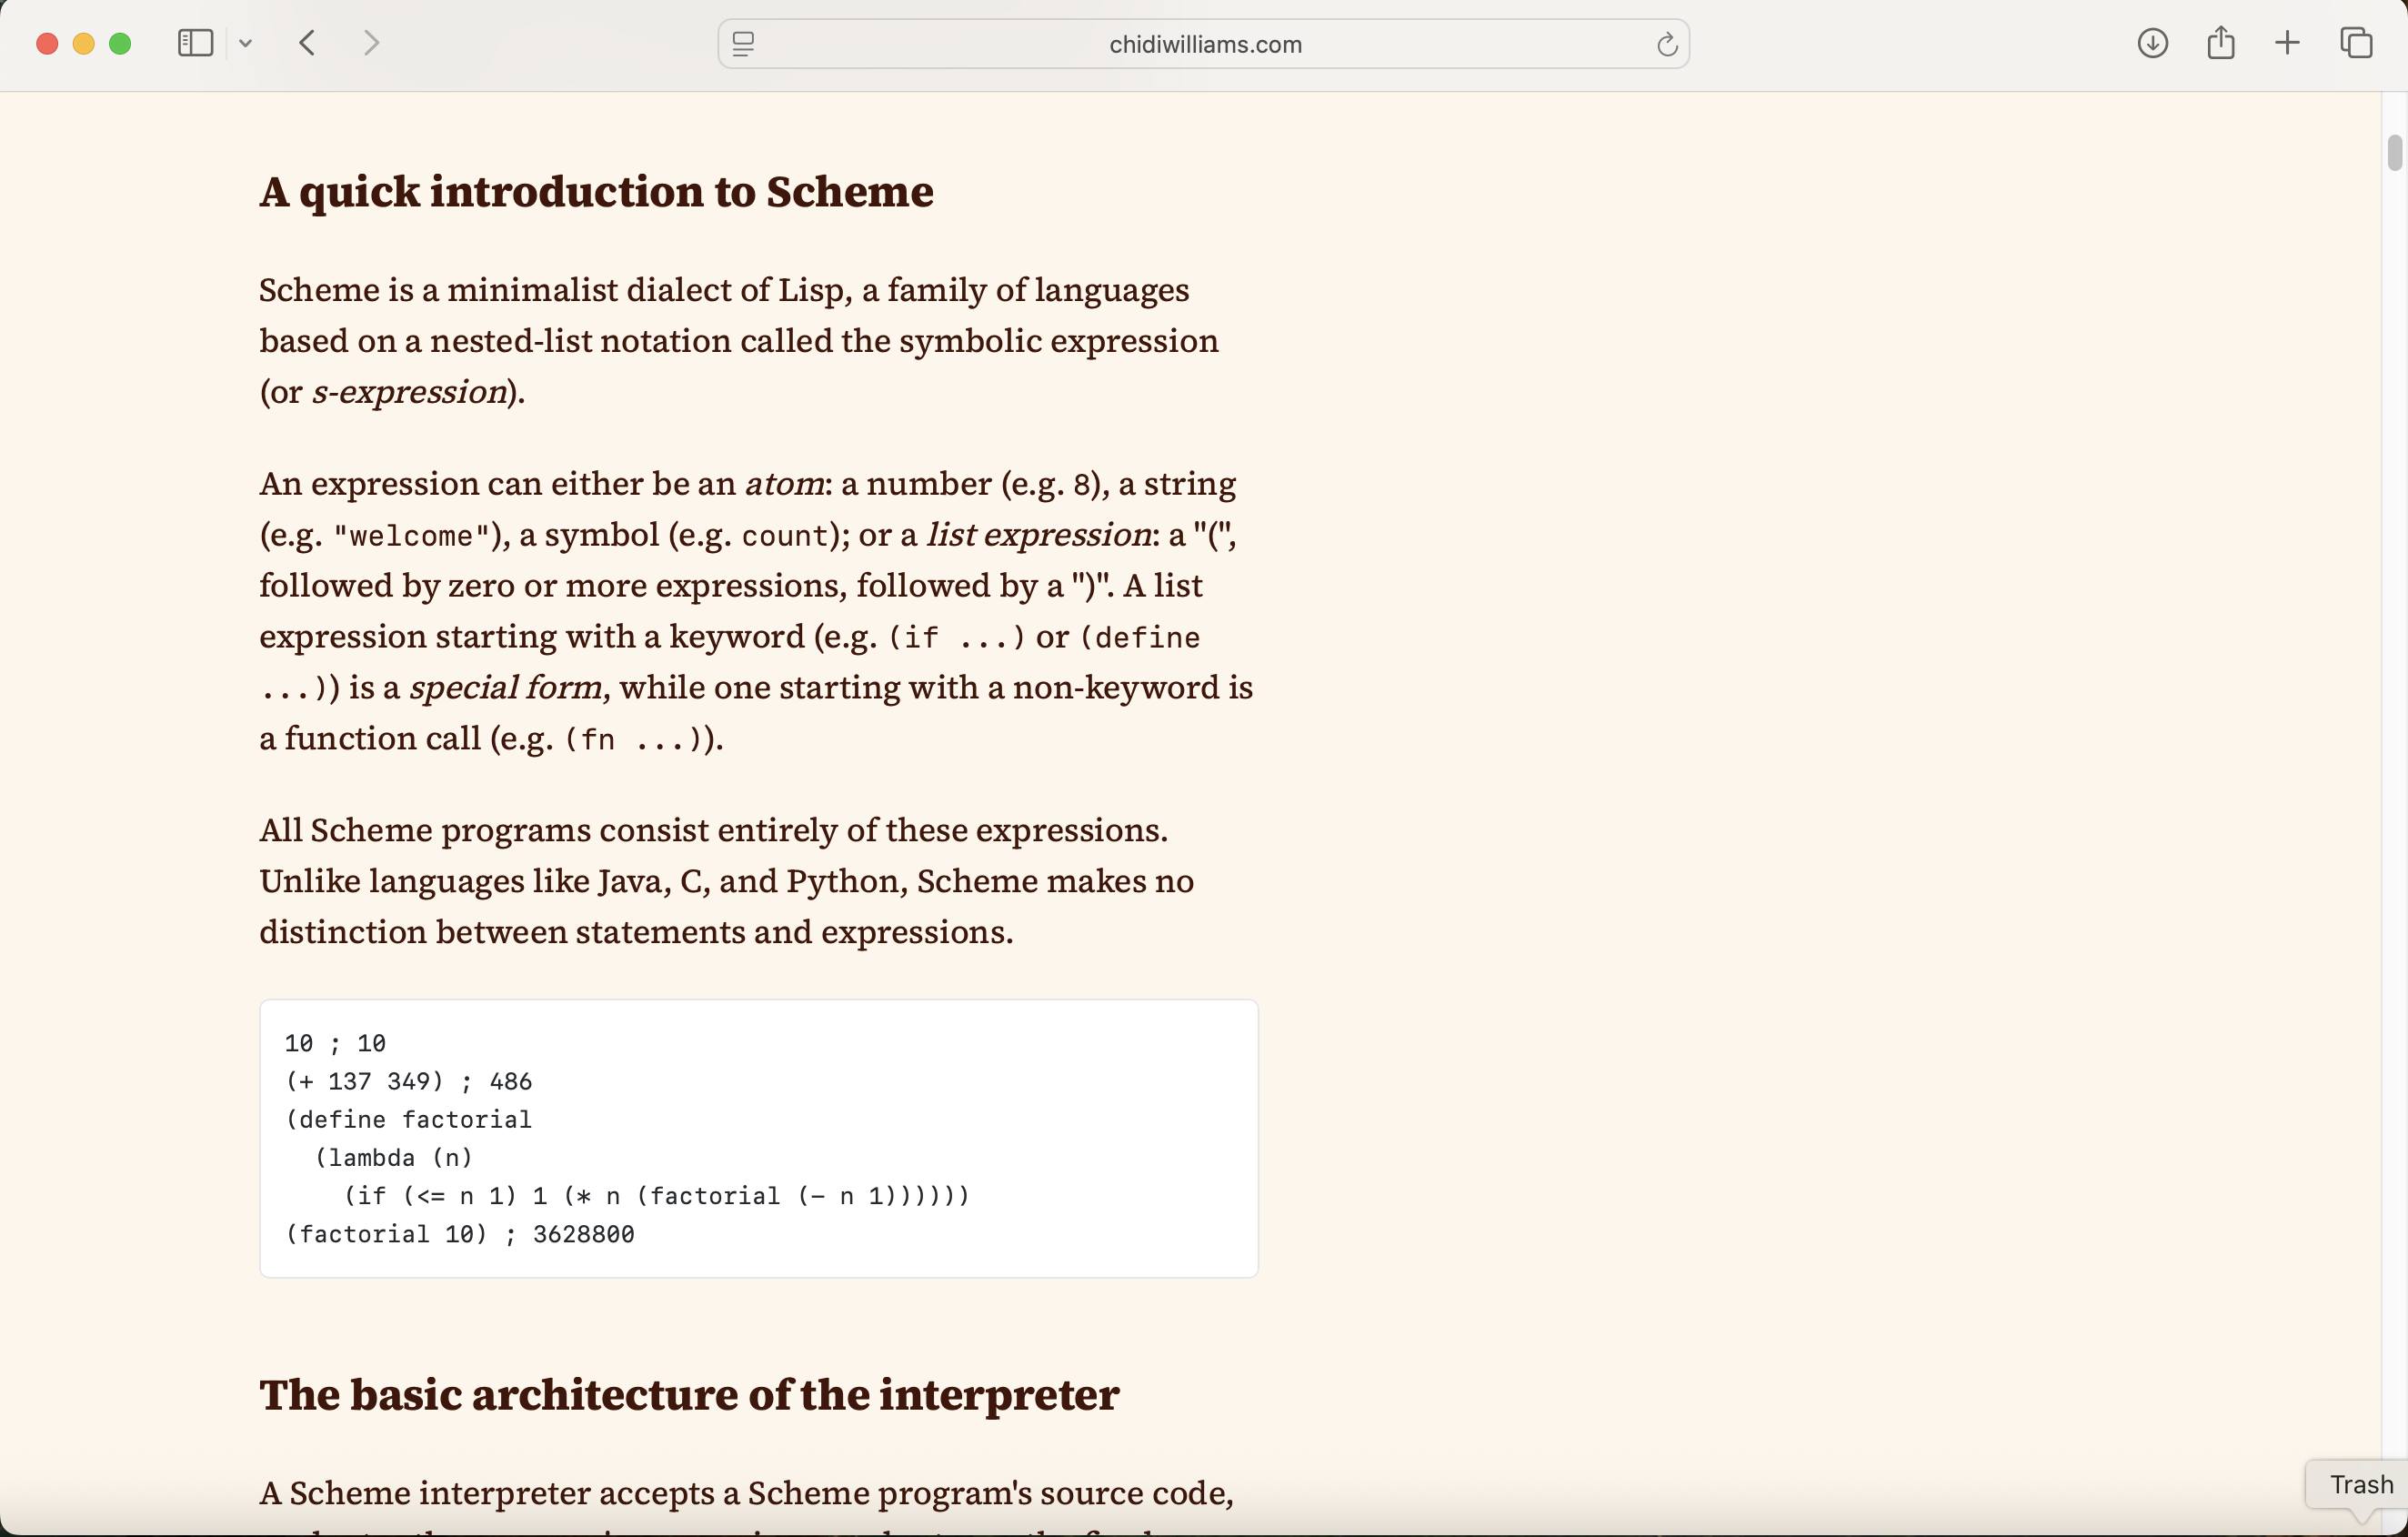
Claude read the introduction to Scheme from the article
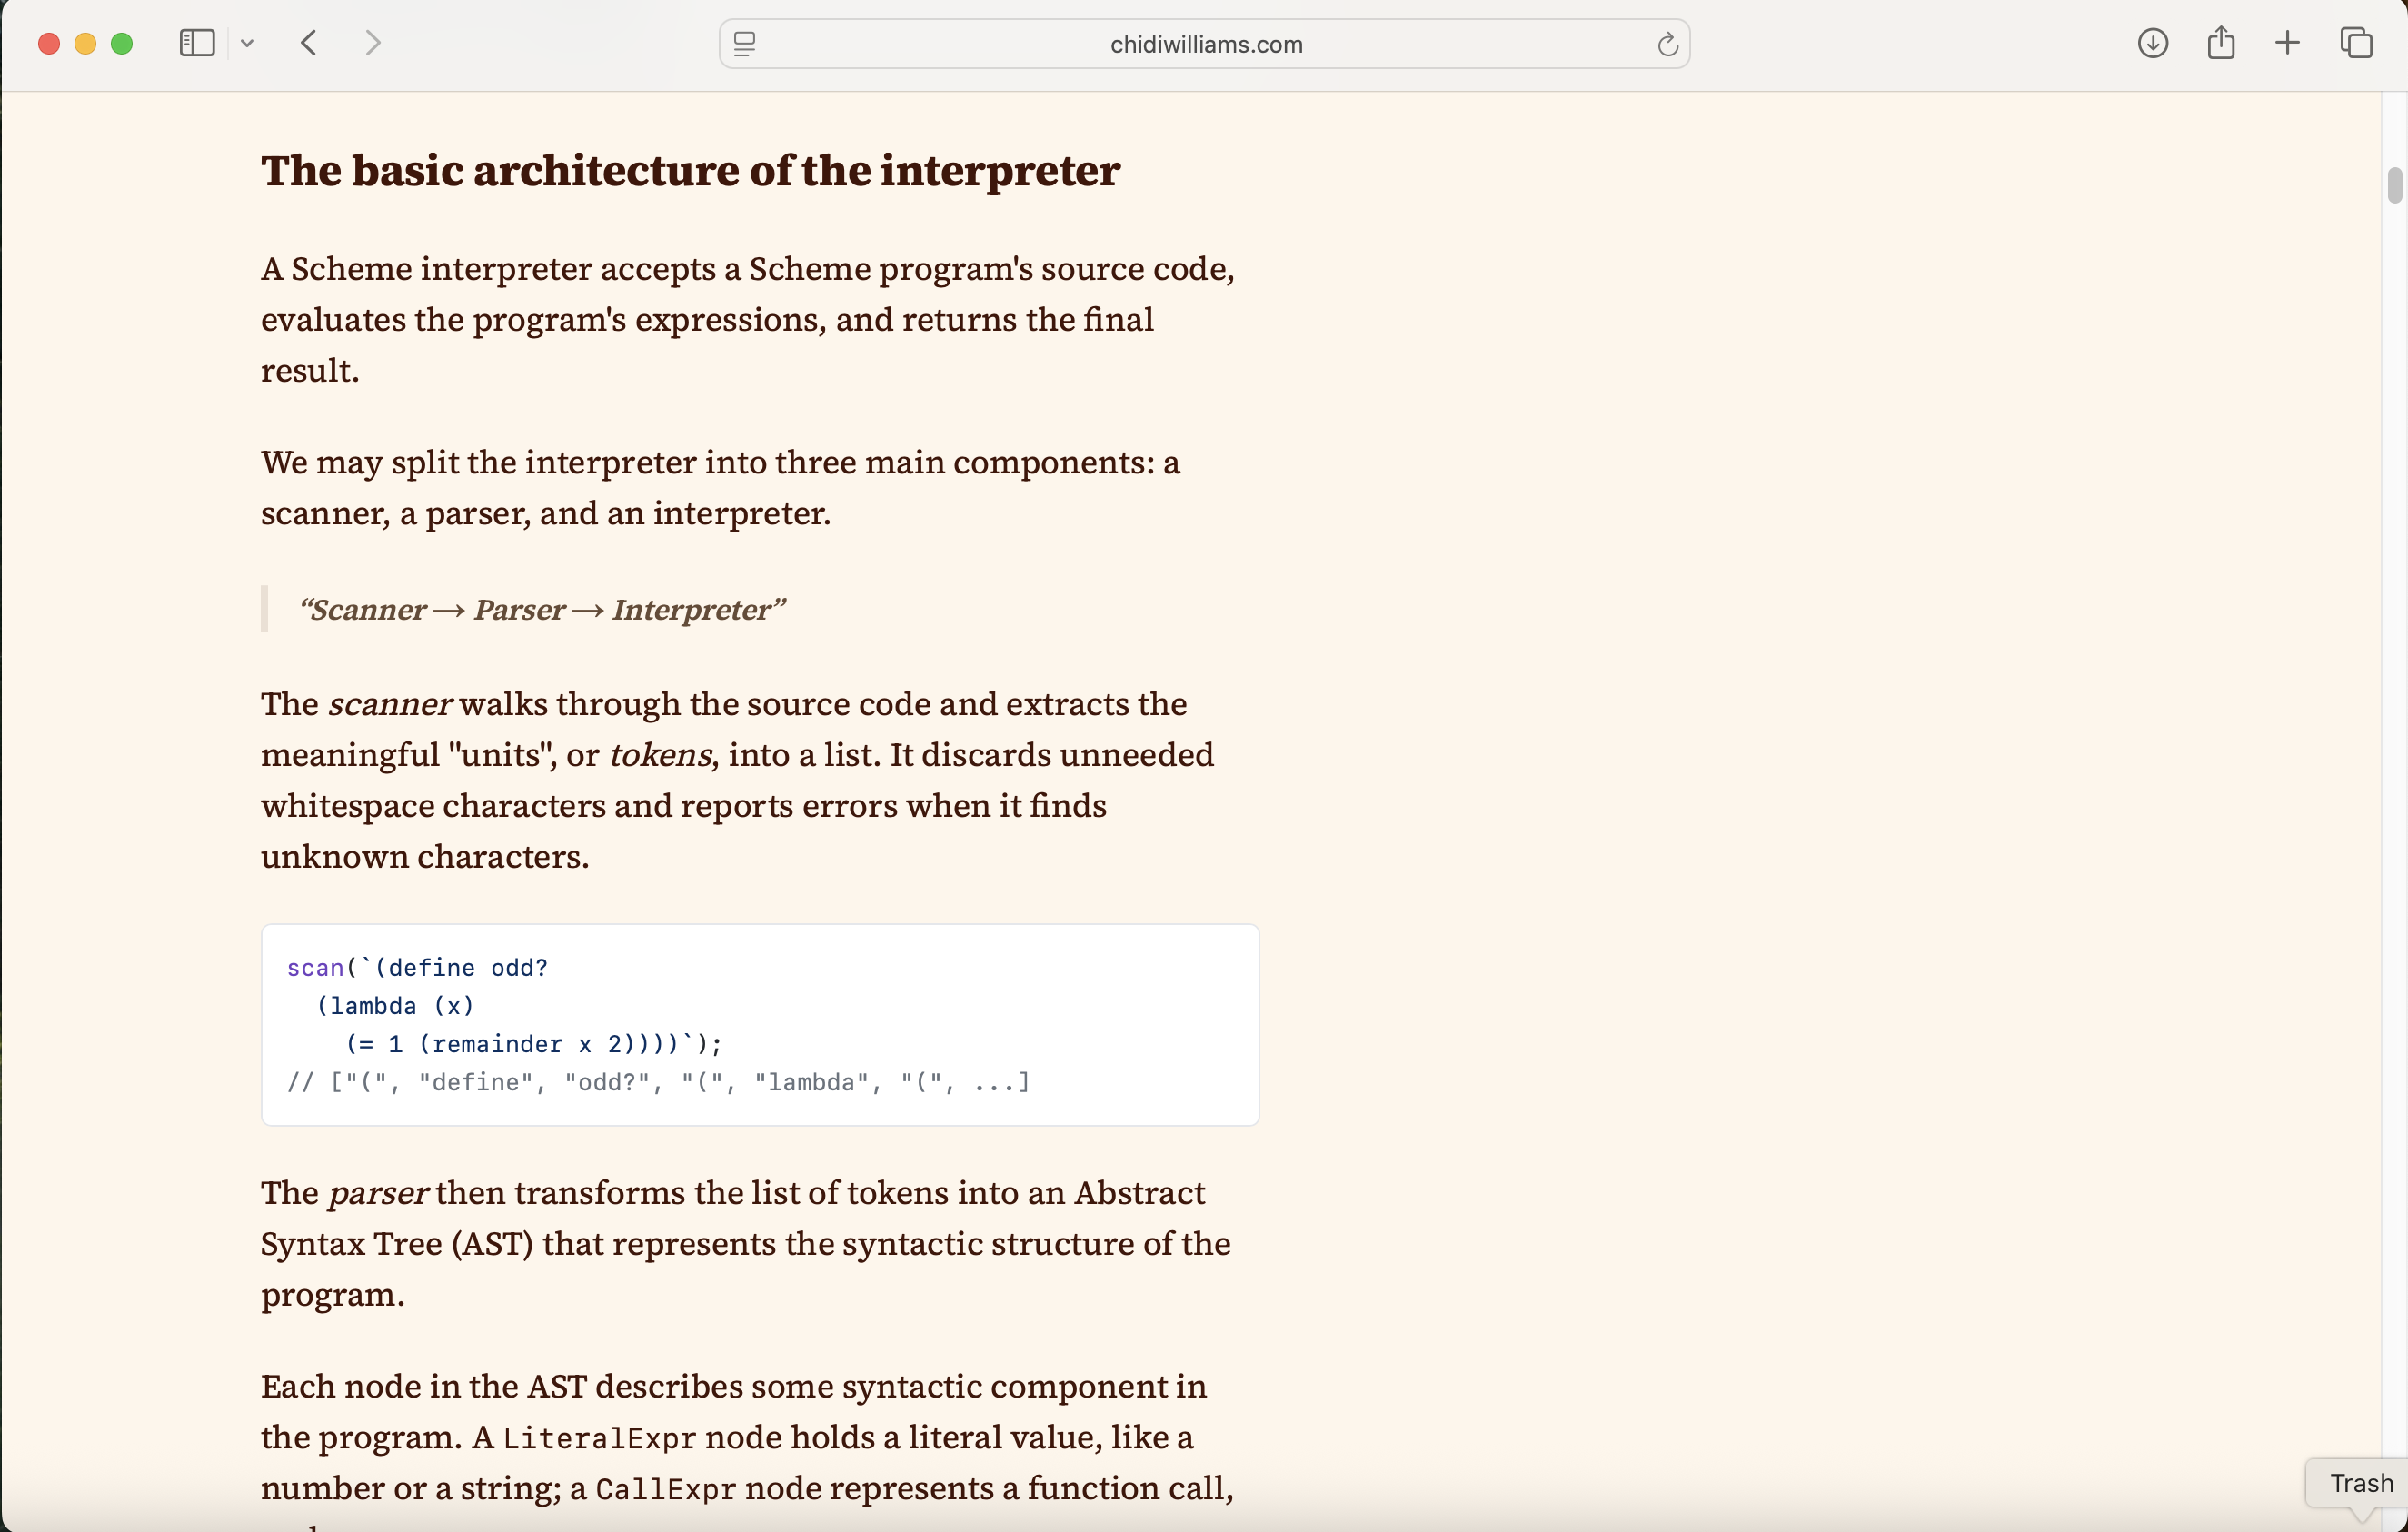
Claude absorbed the basic interpreter architecture
Claude then drafted a full implementation plan:

Claude presented its plan
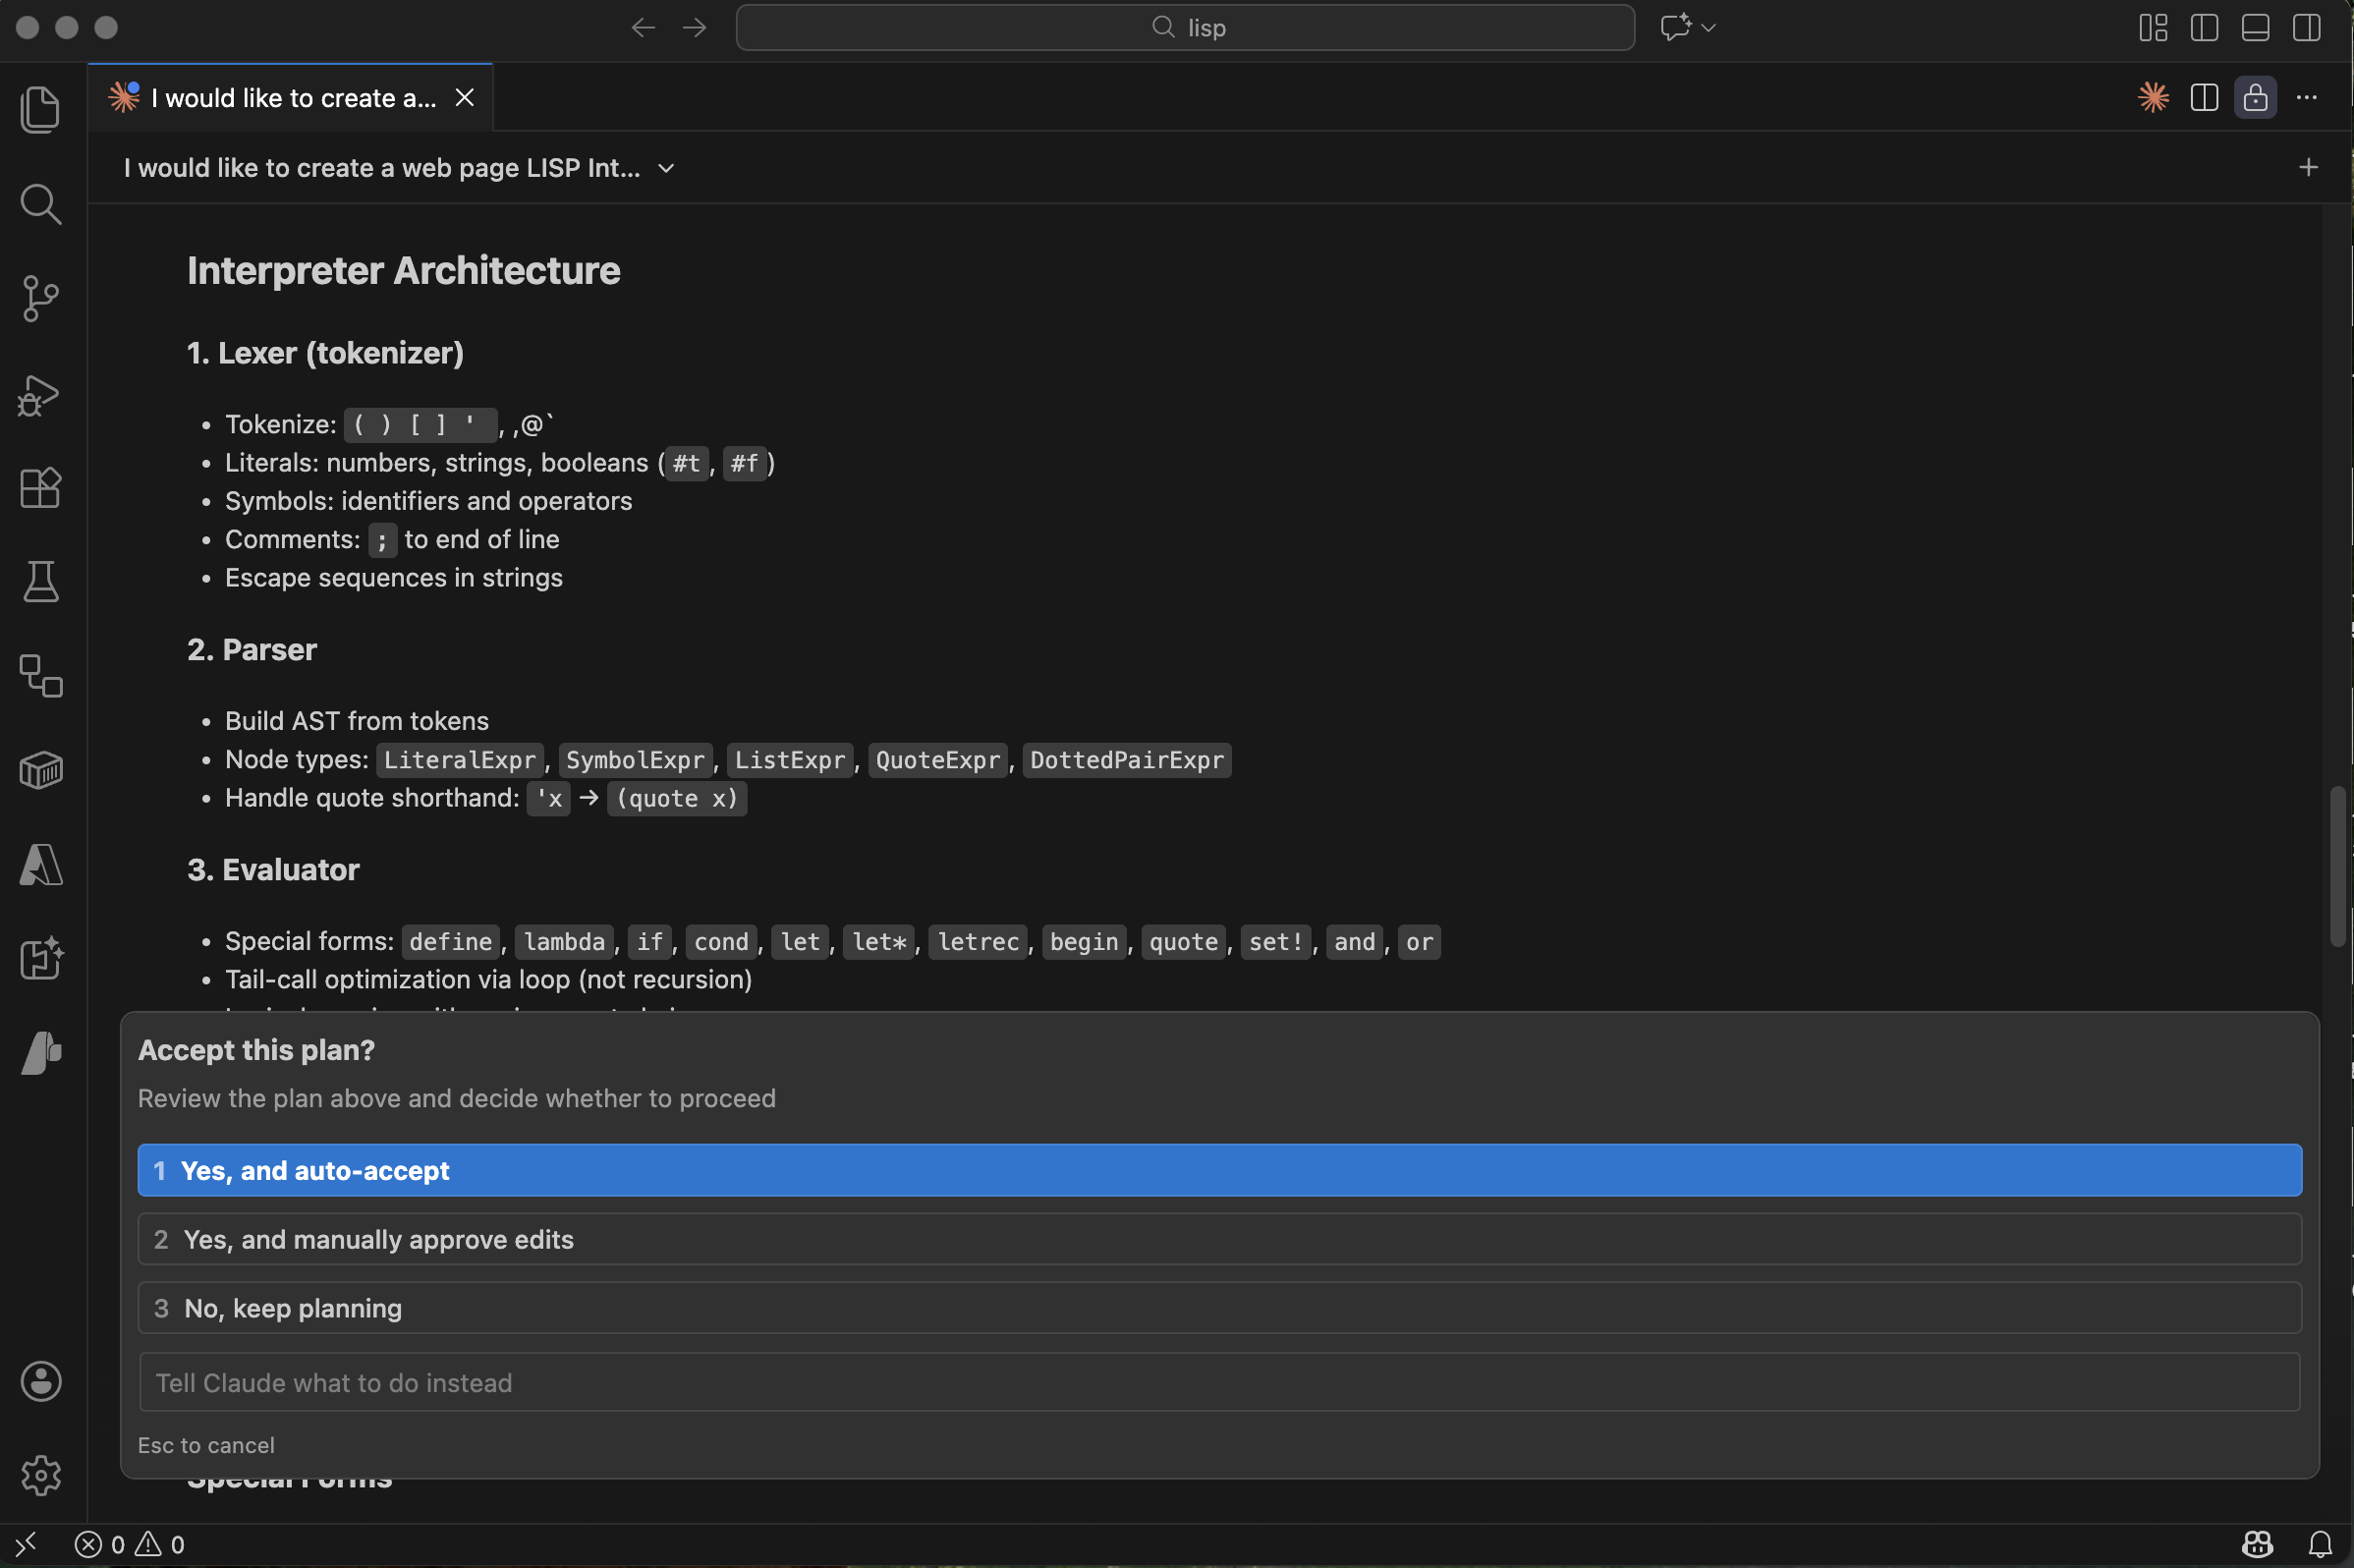
Claude outlined the interpreter architecture — tokeniser, parser, evaluator, environment
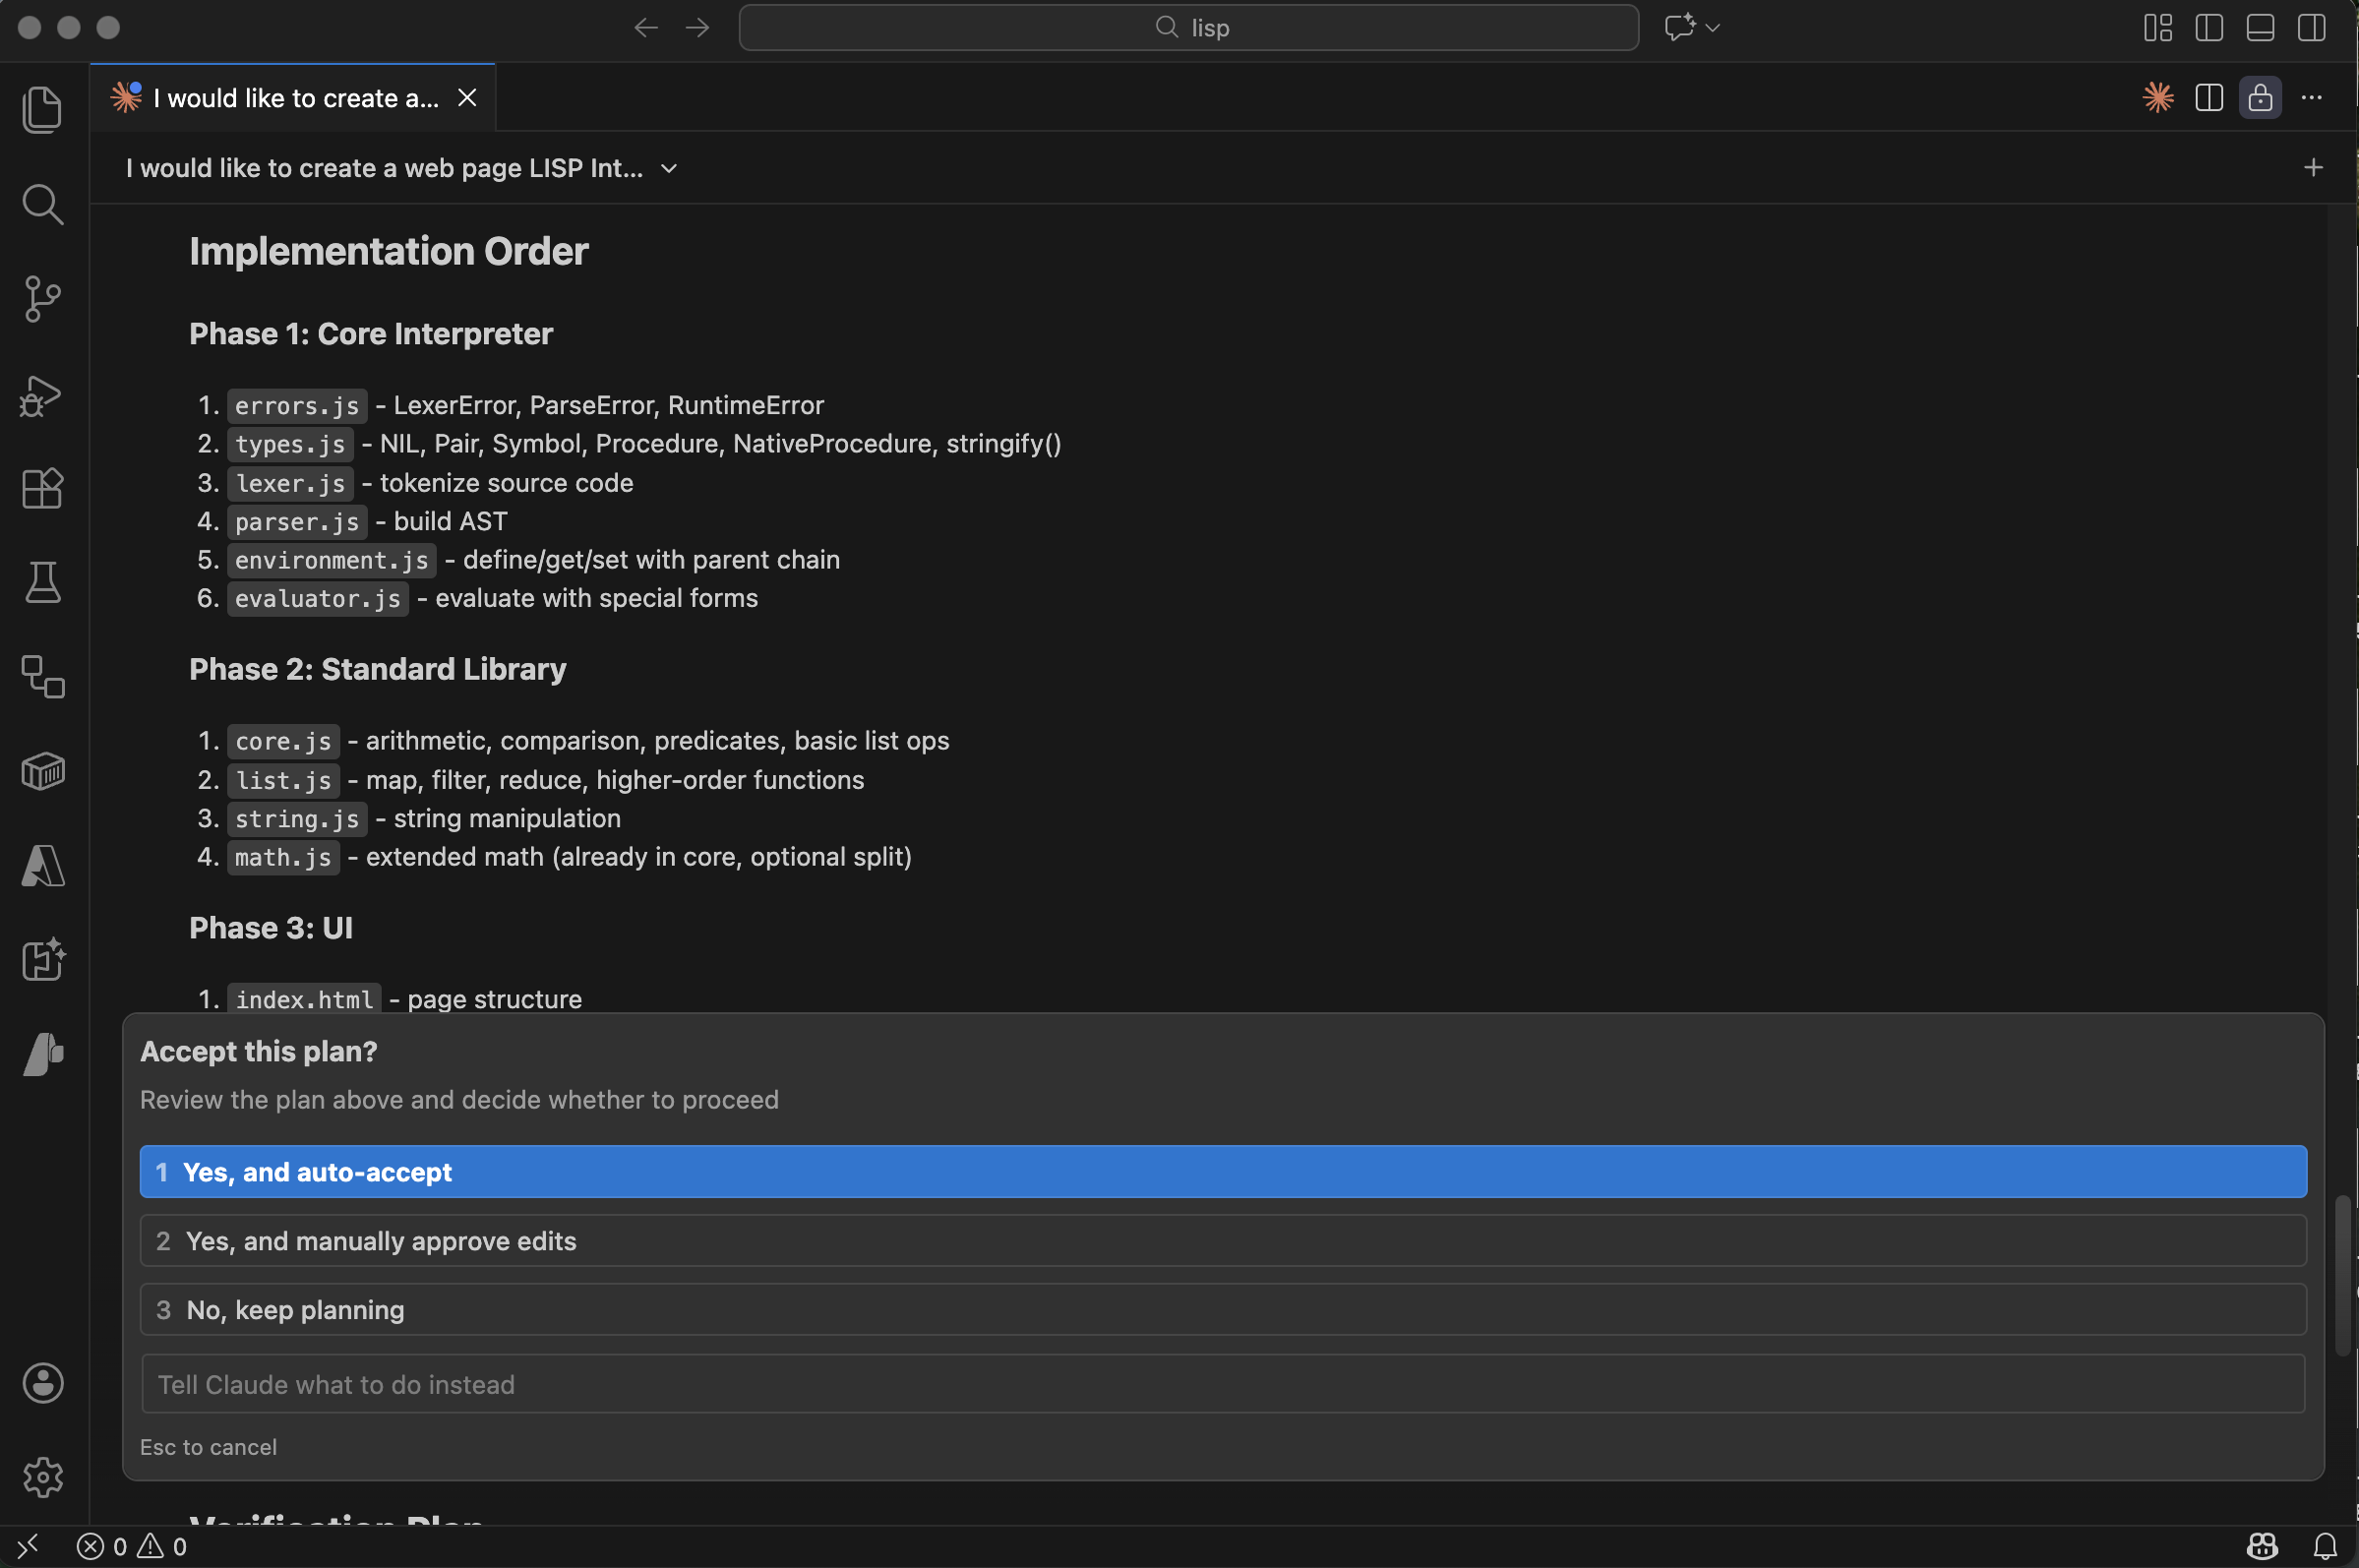
Claude set out the implementation order
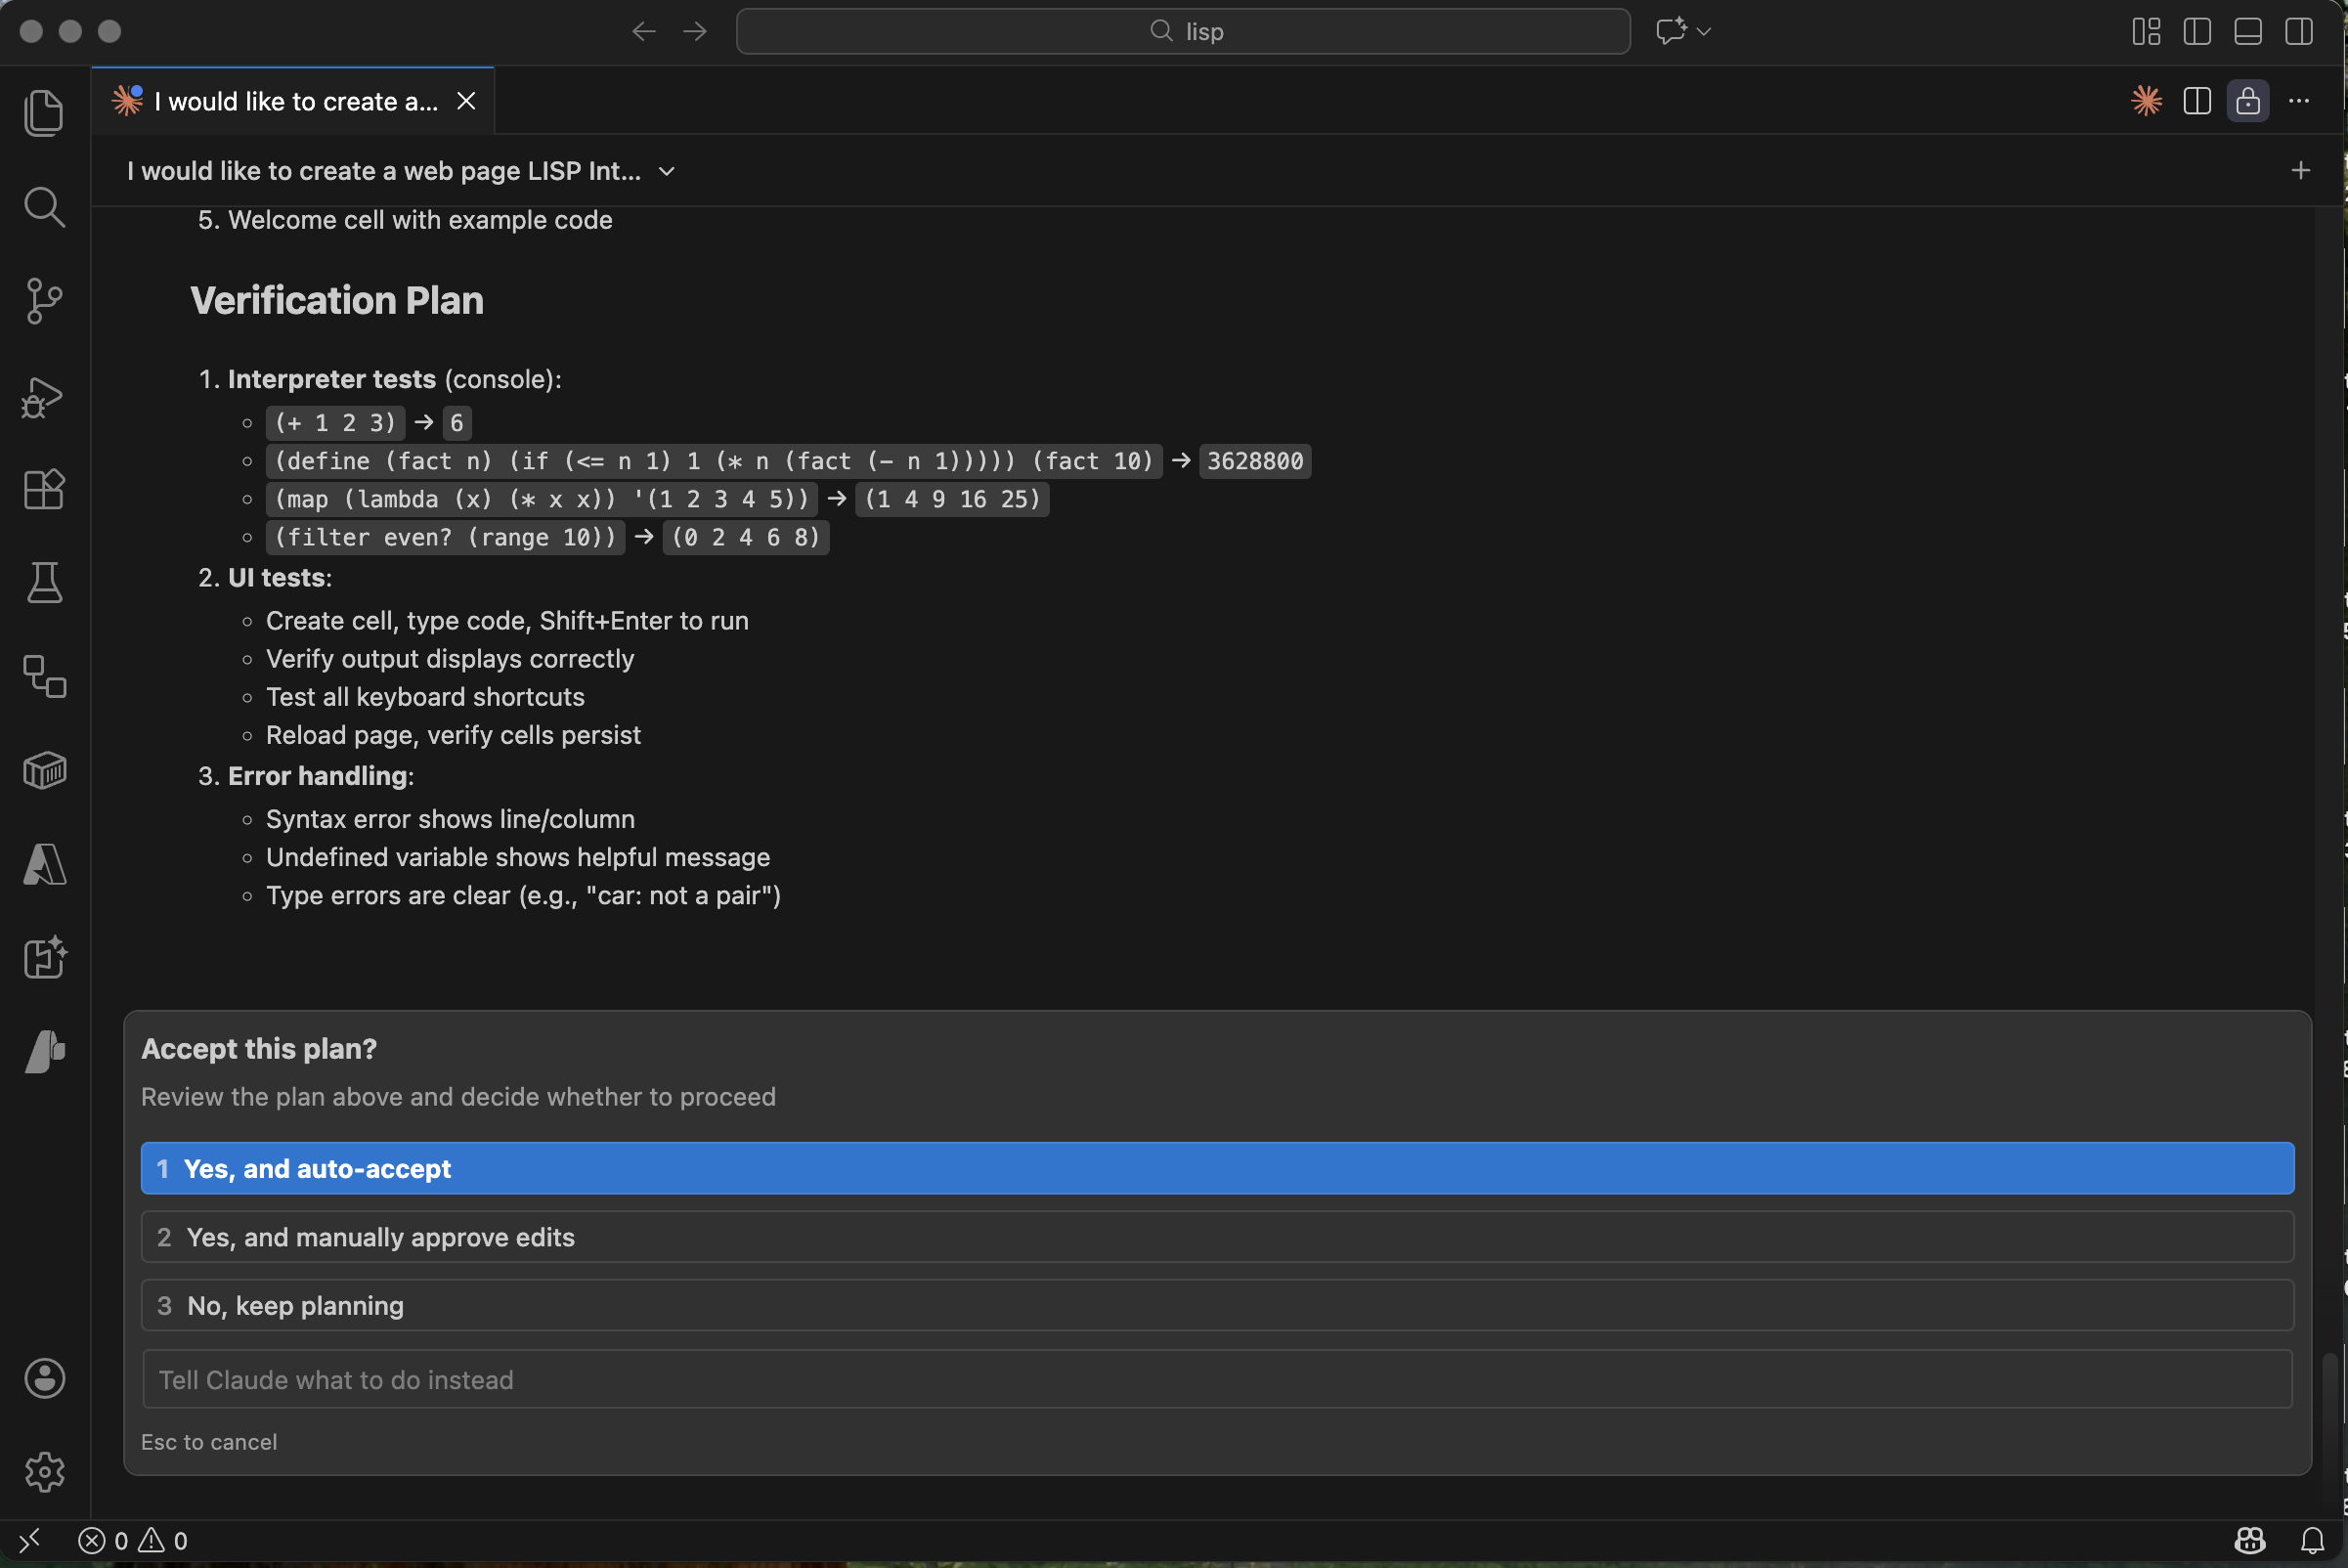
Claude defined a verification plan for each component
Building and running
Claude created the project structure and I opened it with Live Server:
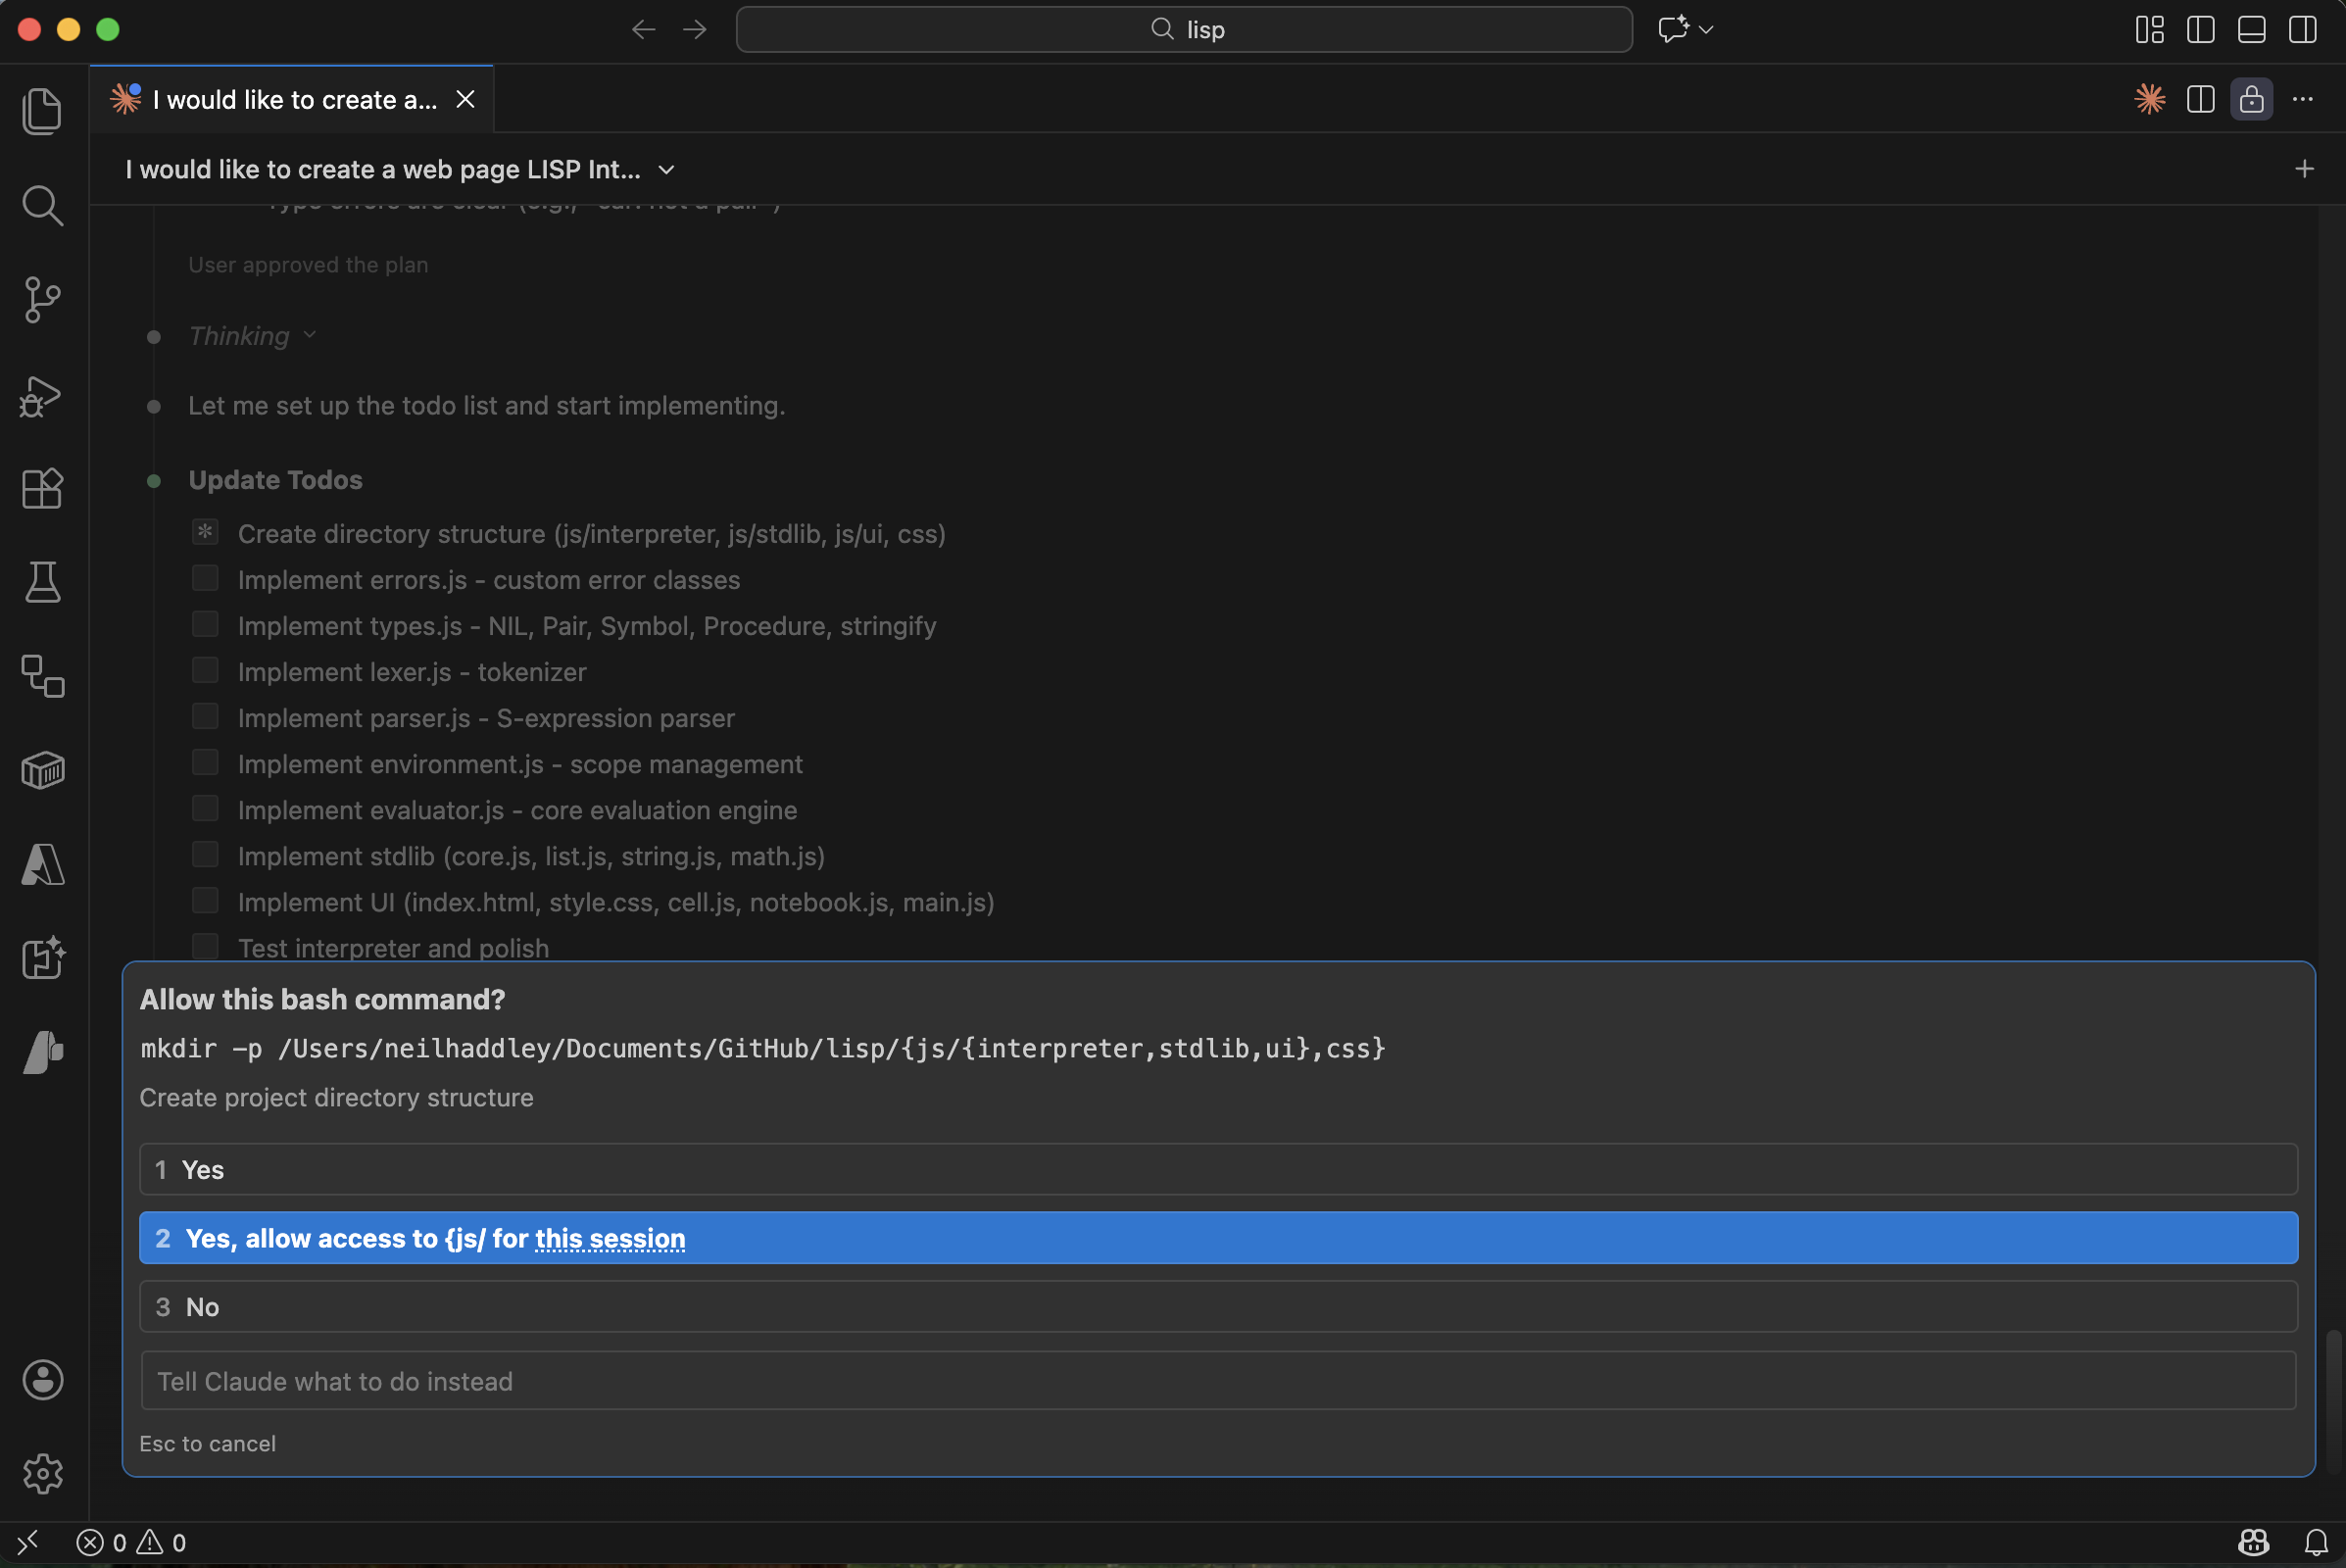
Claude asked permission to create the project directories
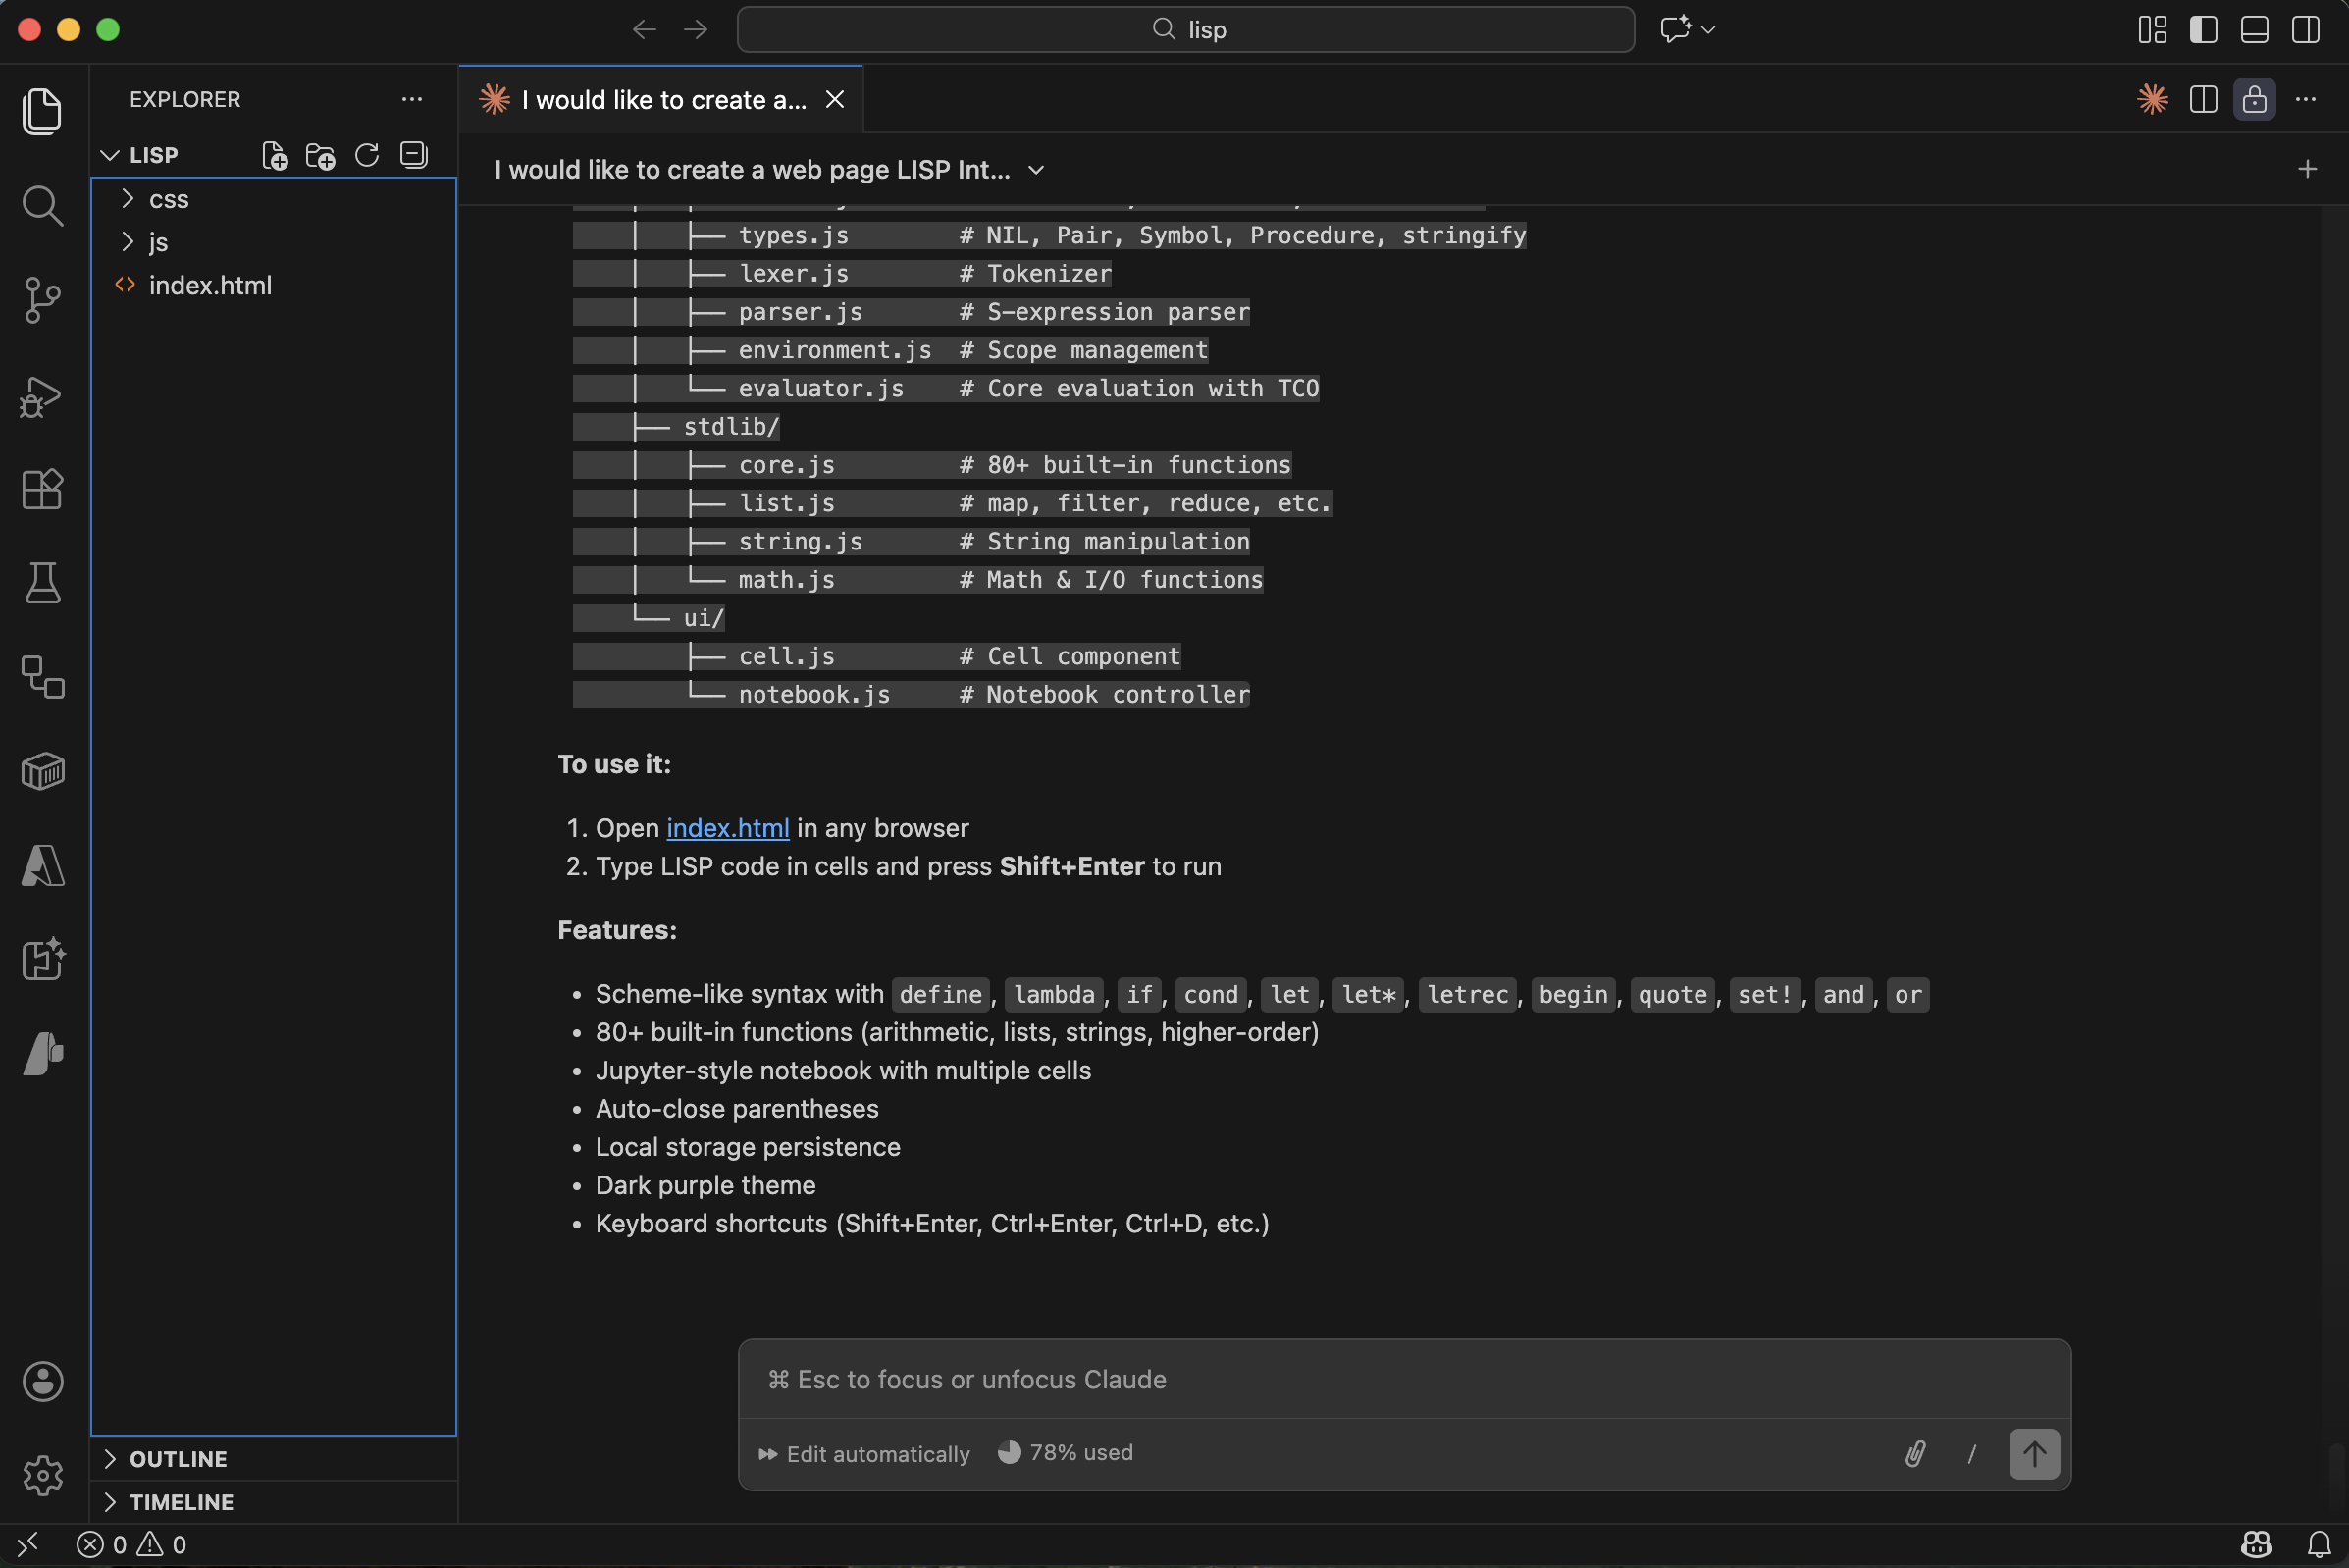
I opened index.html in VS Code

I launched the app with Live Server
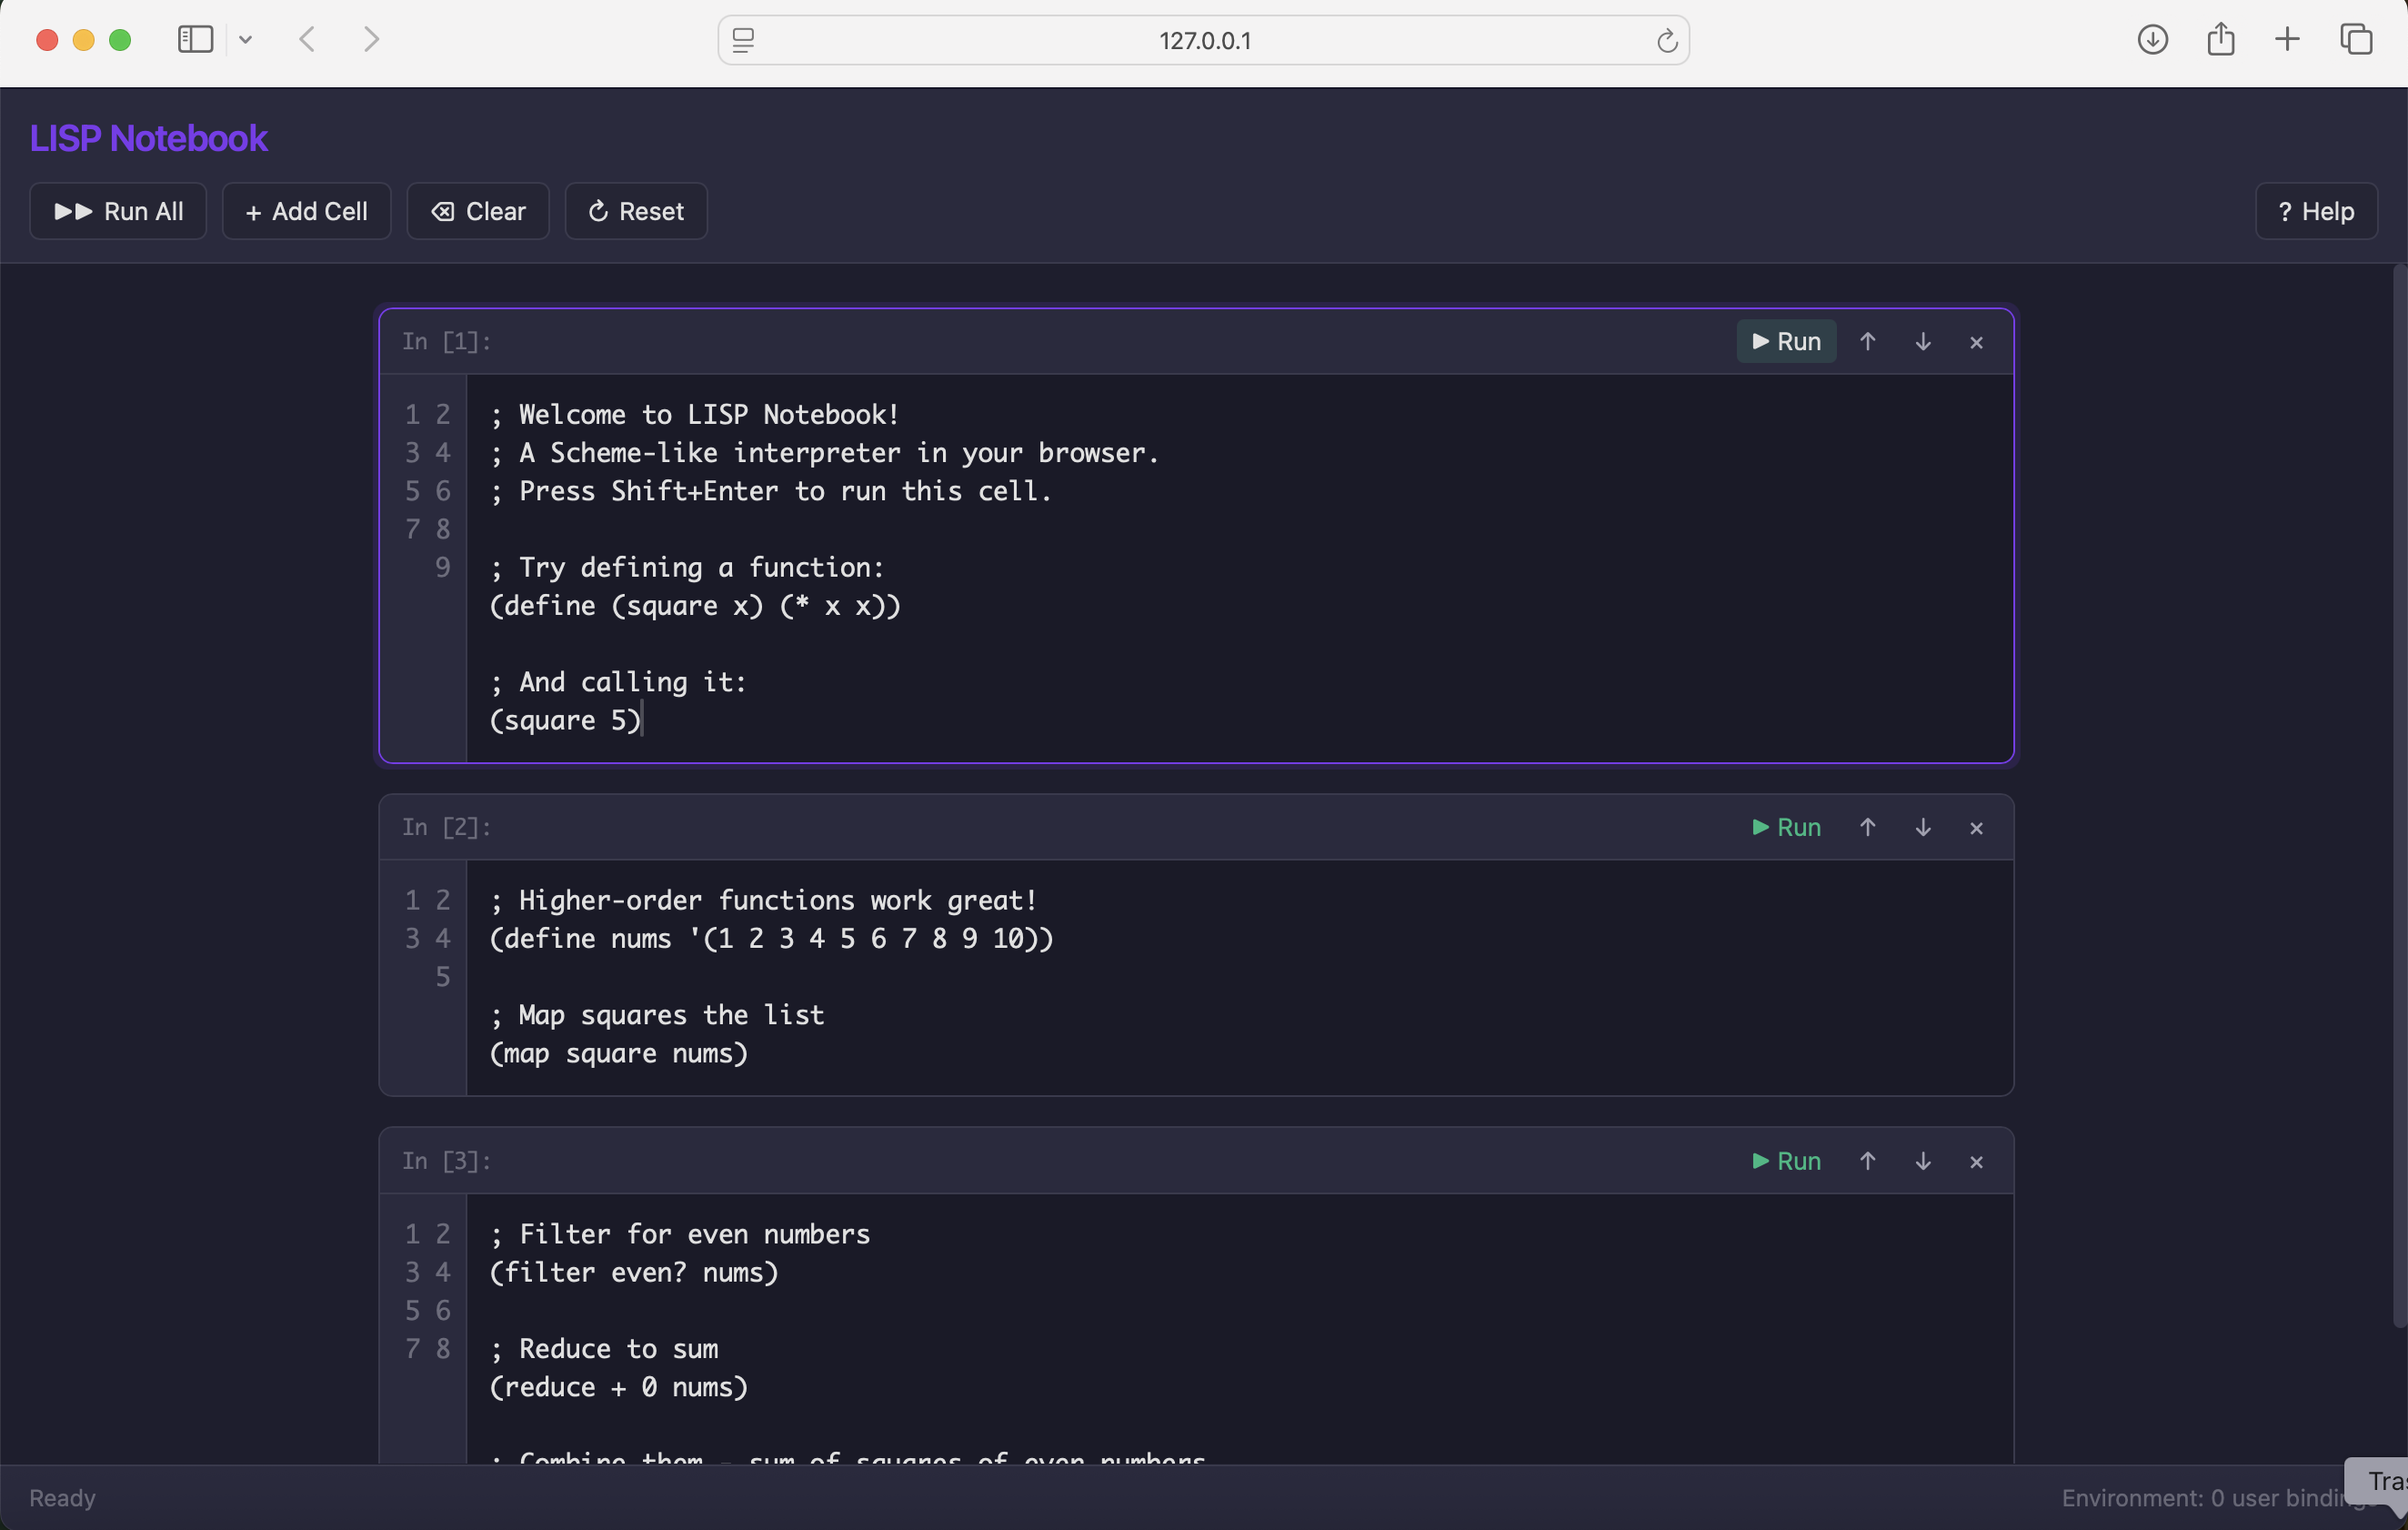
The LISP Notebook was running in the browser
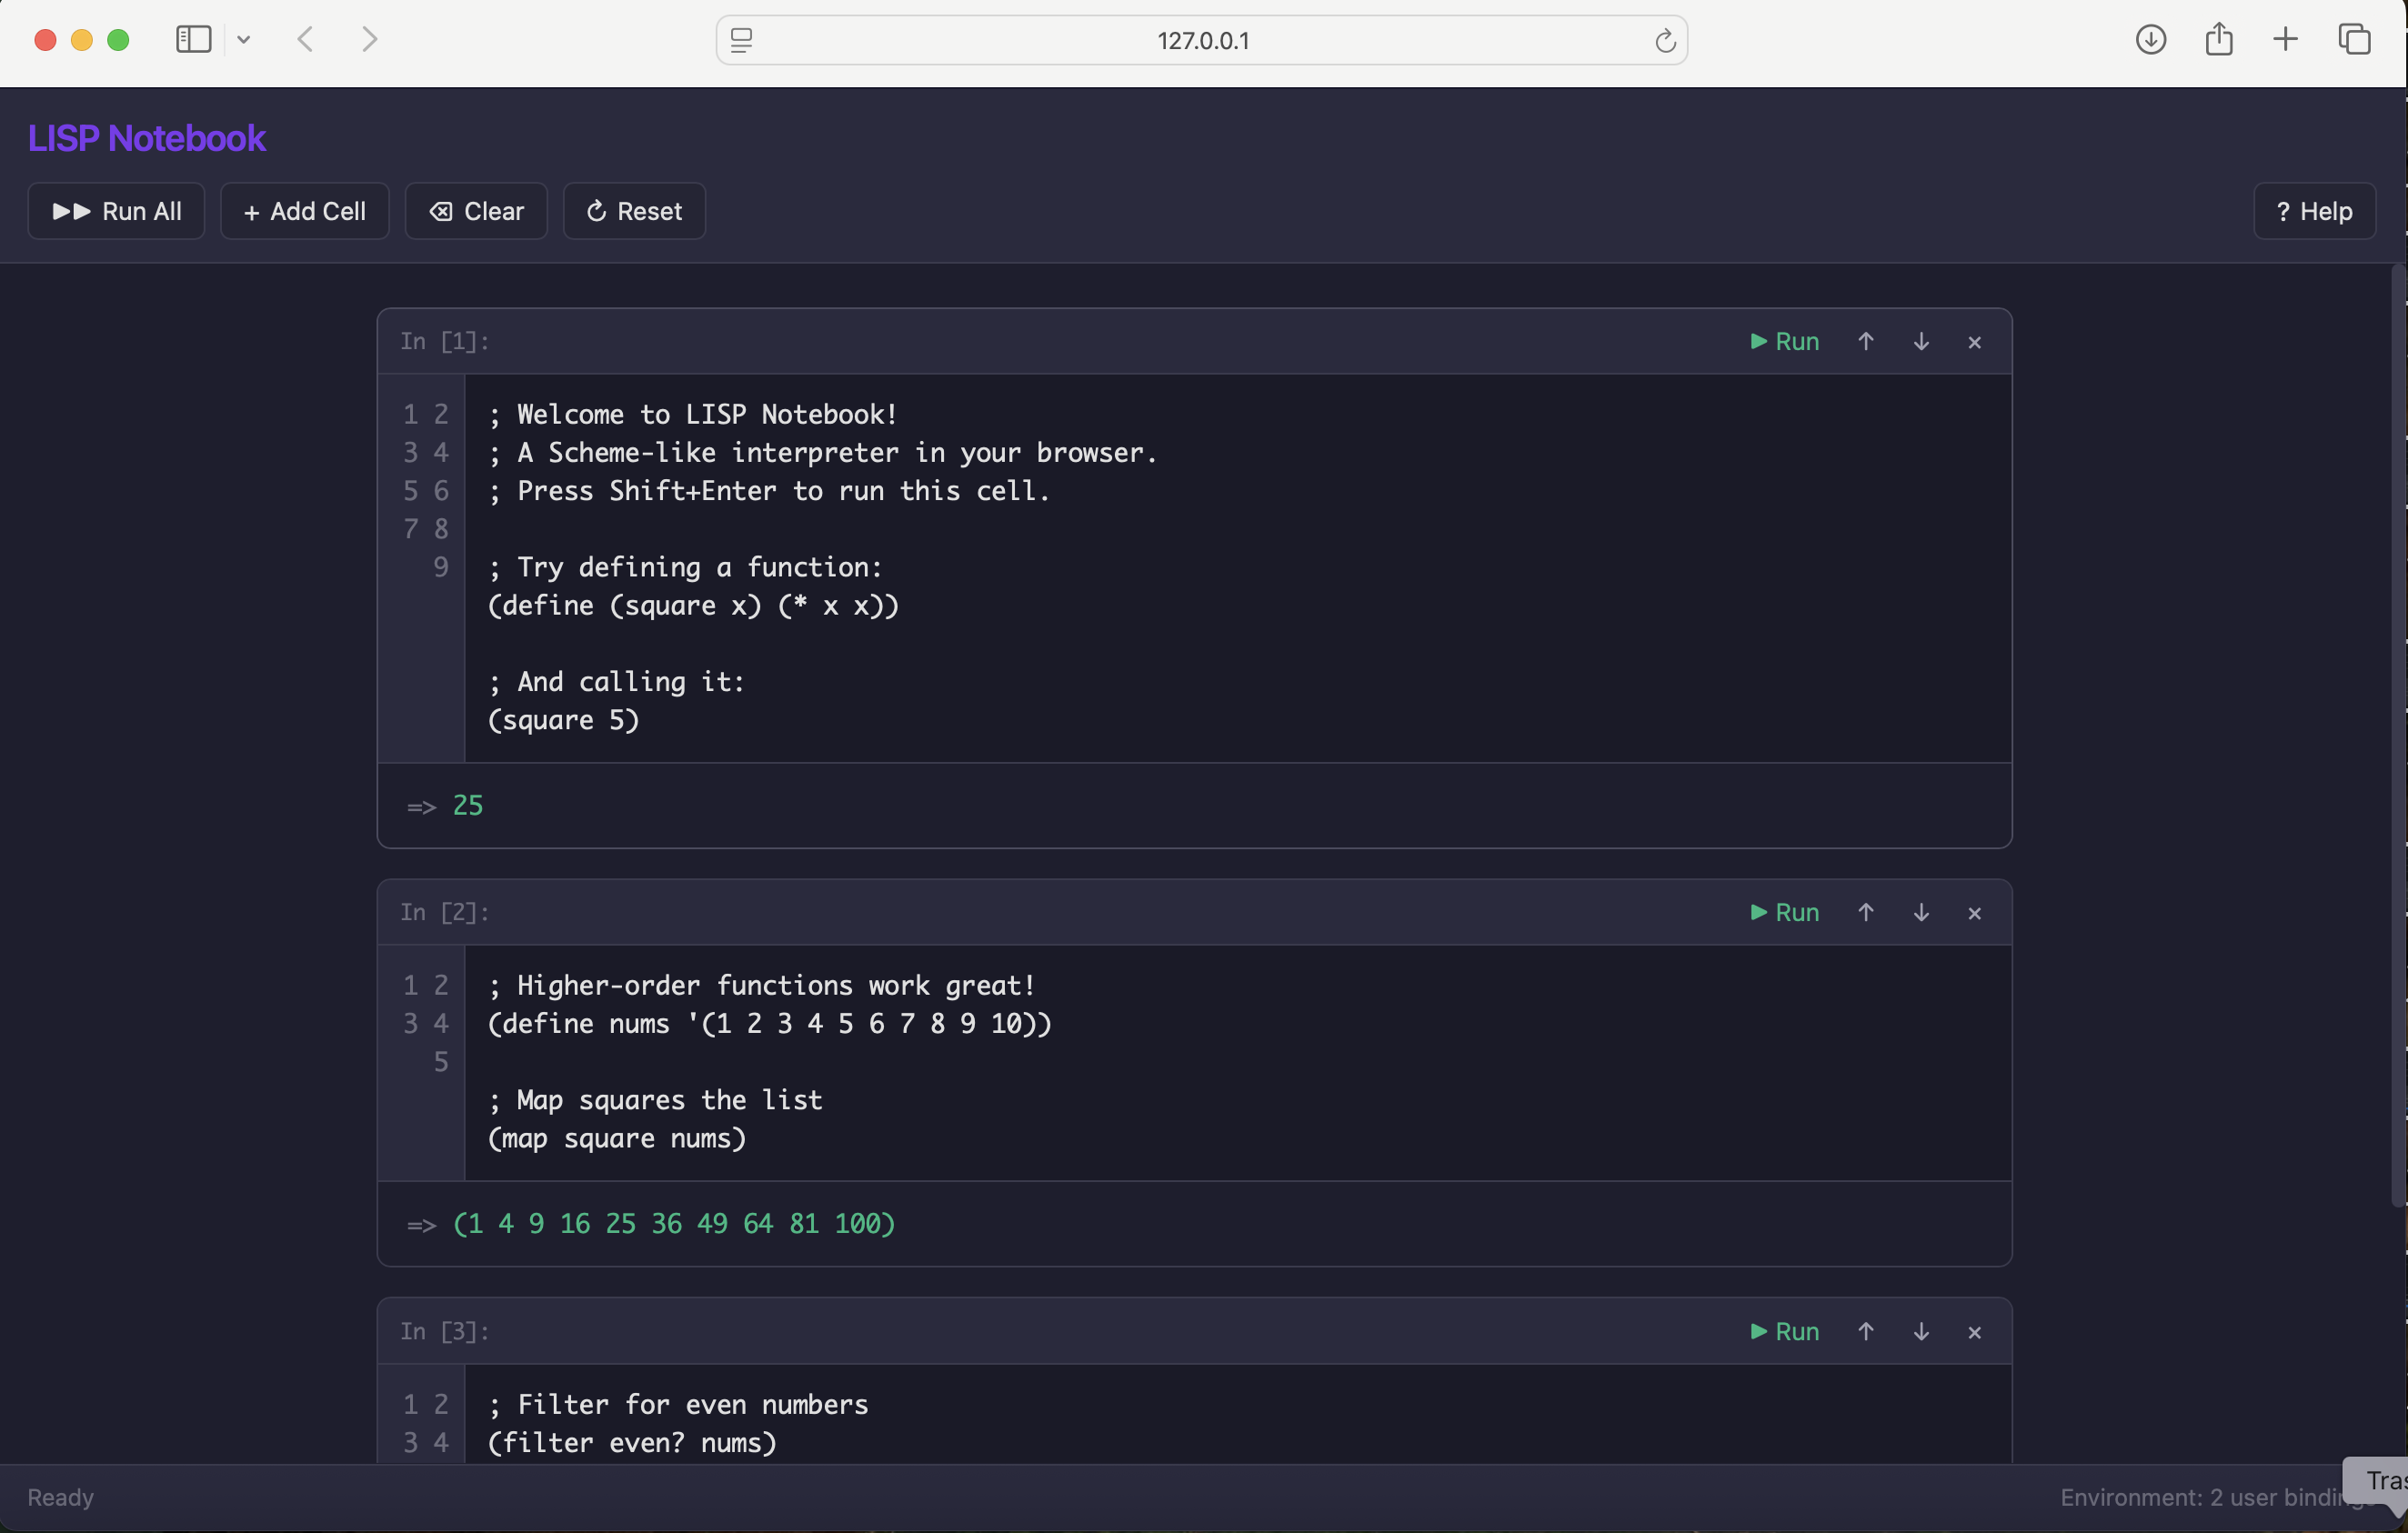
I ran the first expression in the notebook
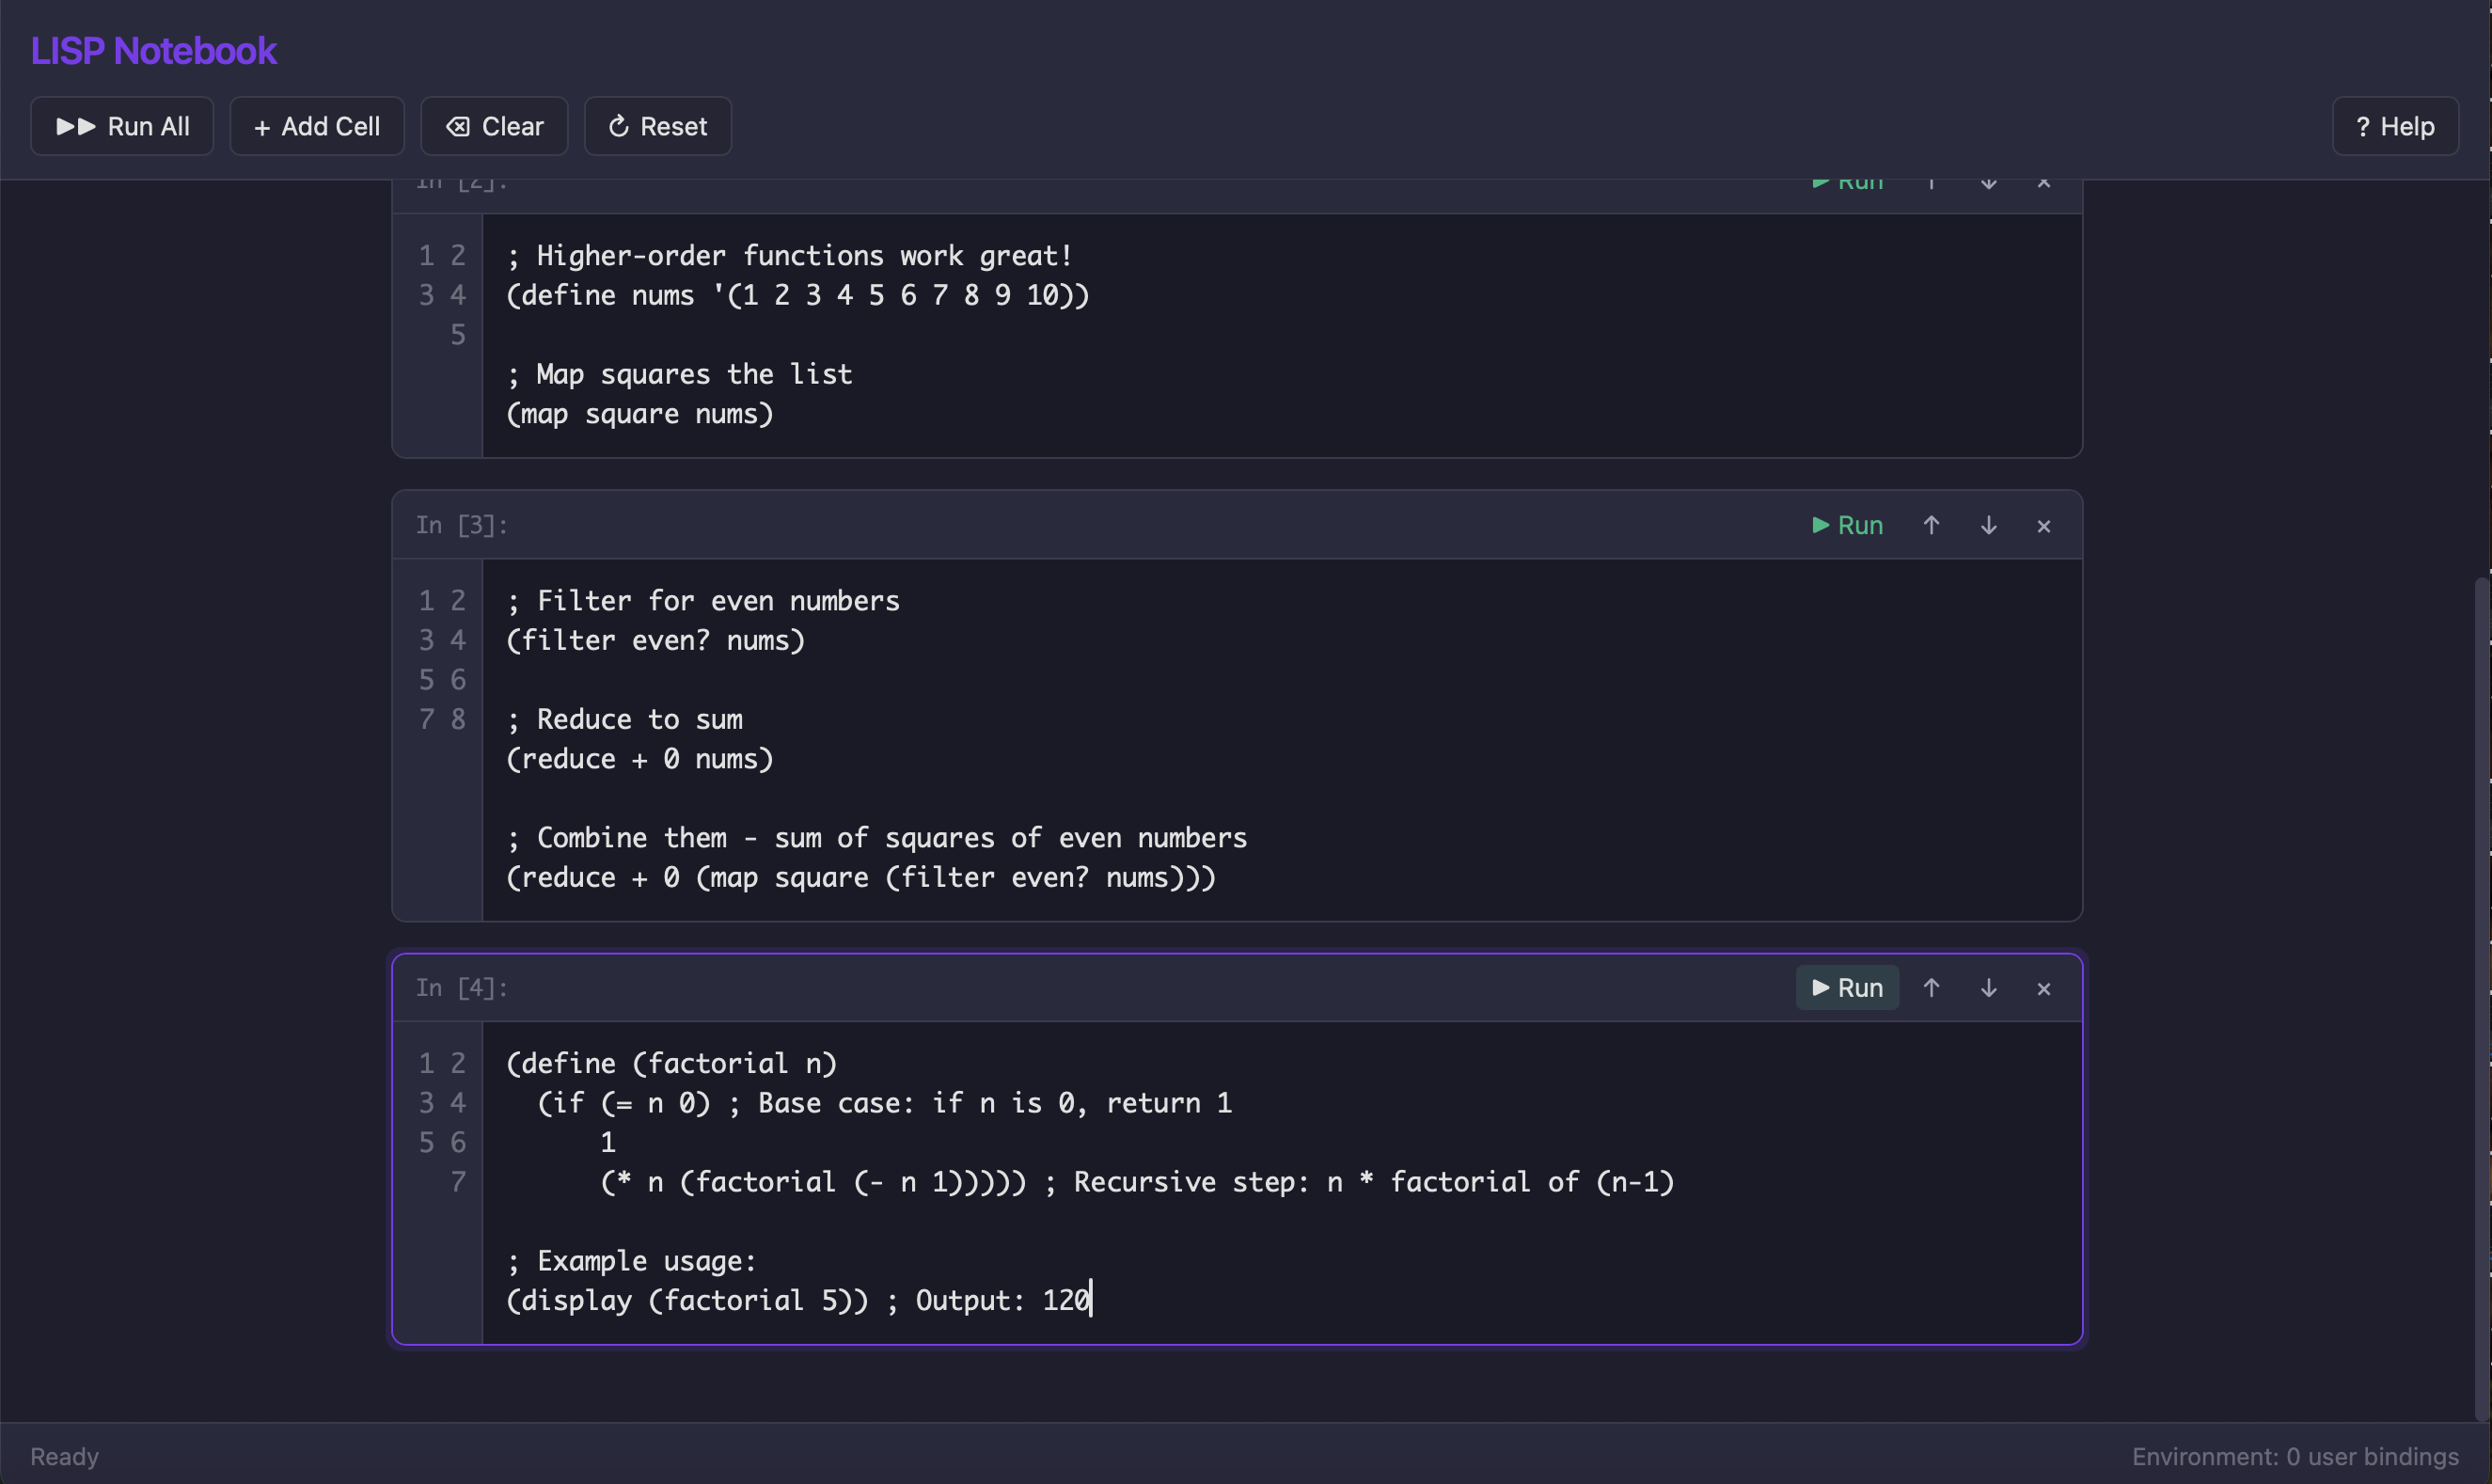
I created a factorial function and it evaluated correctly
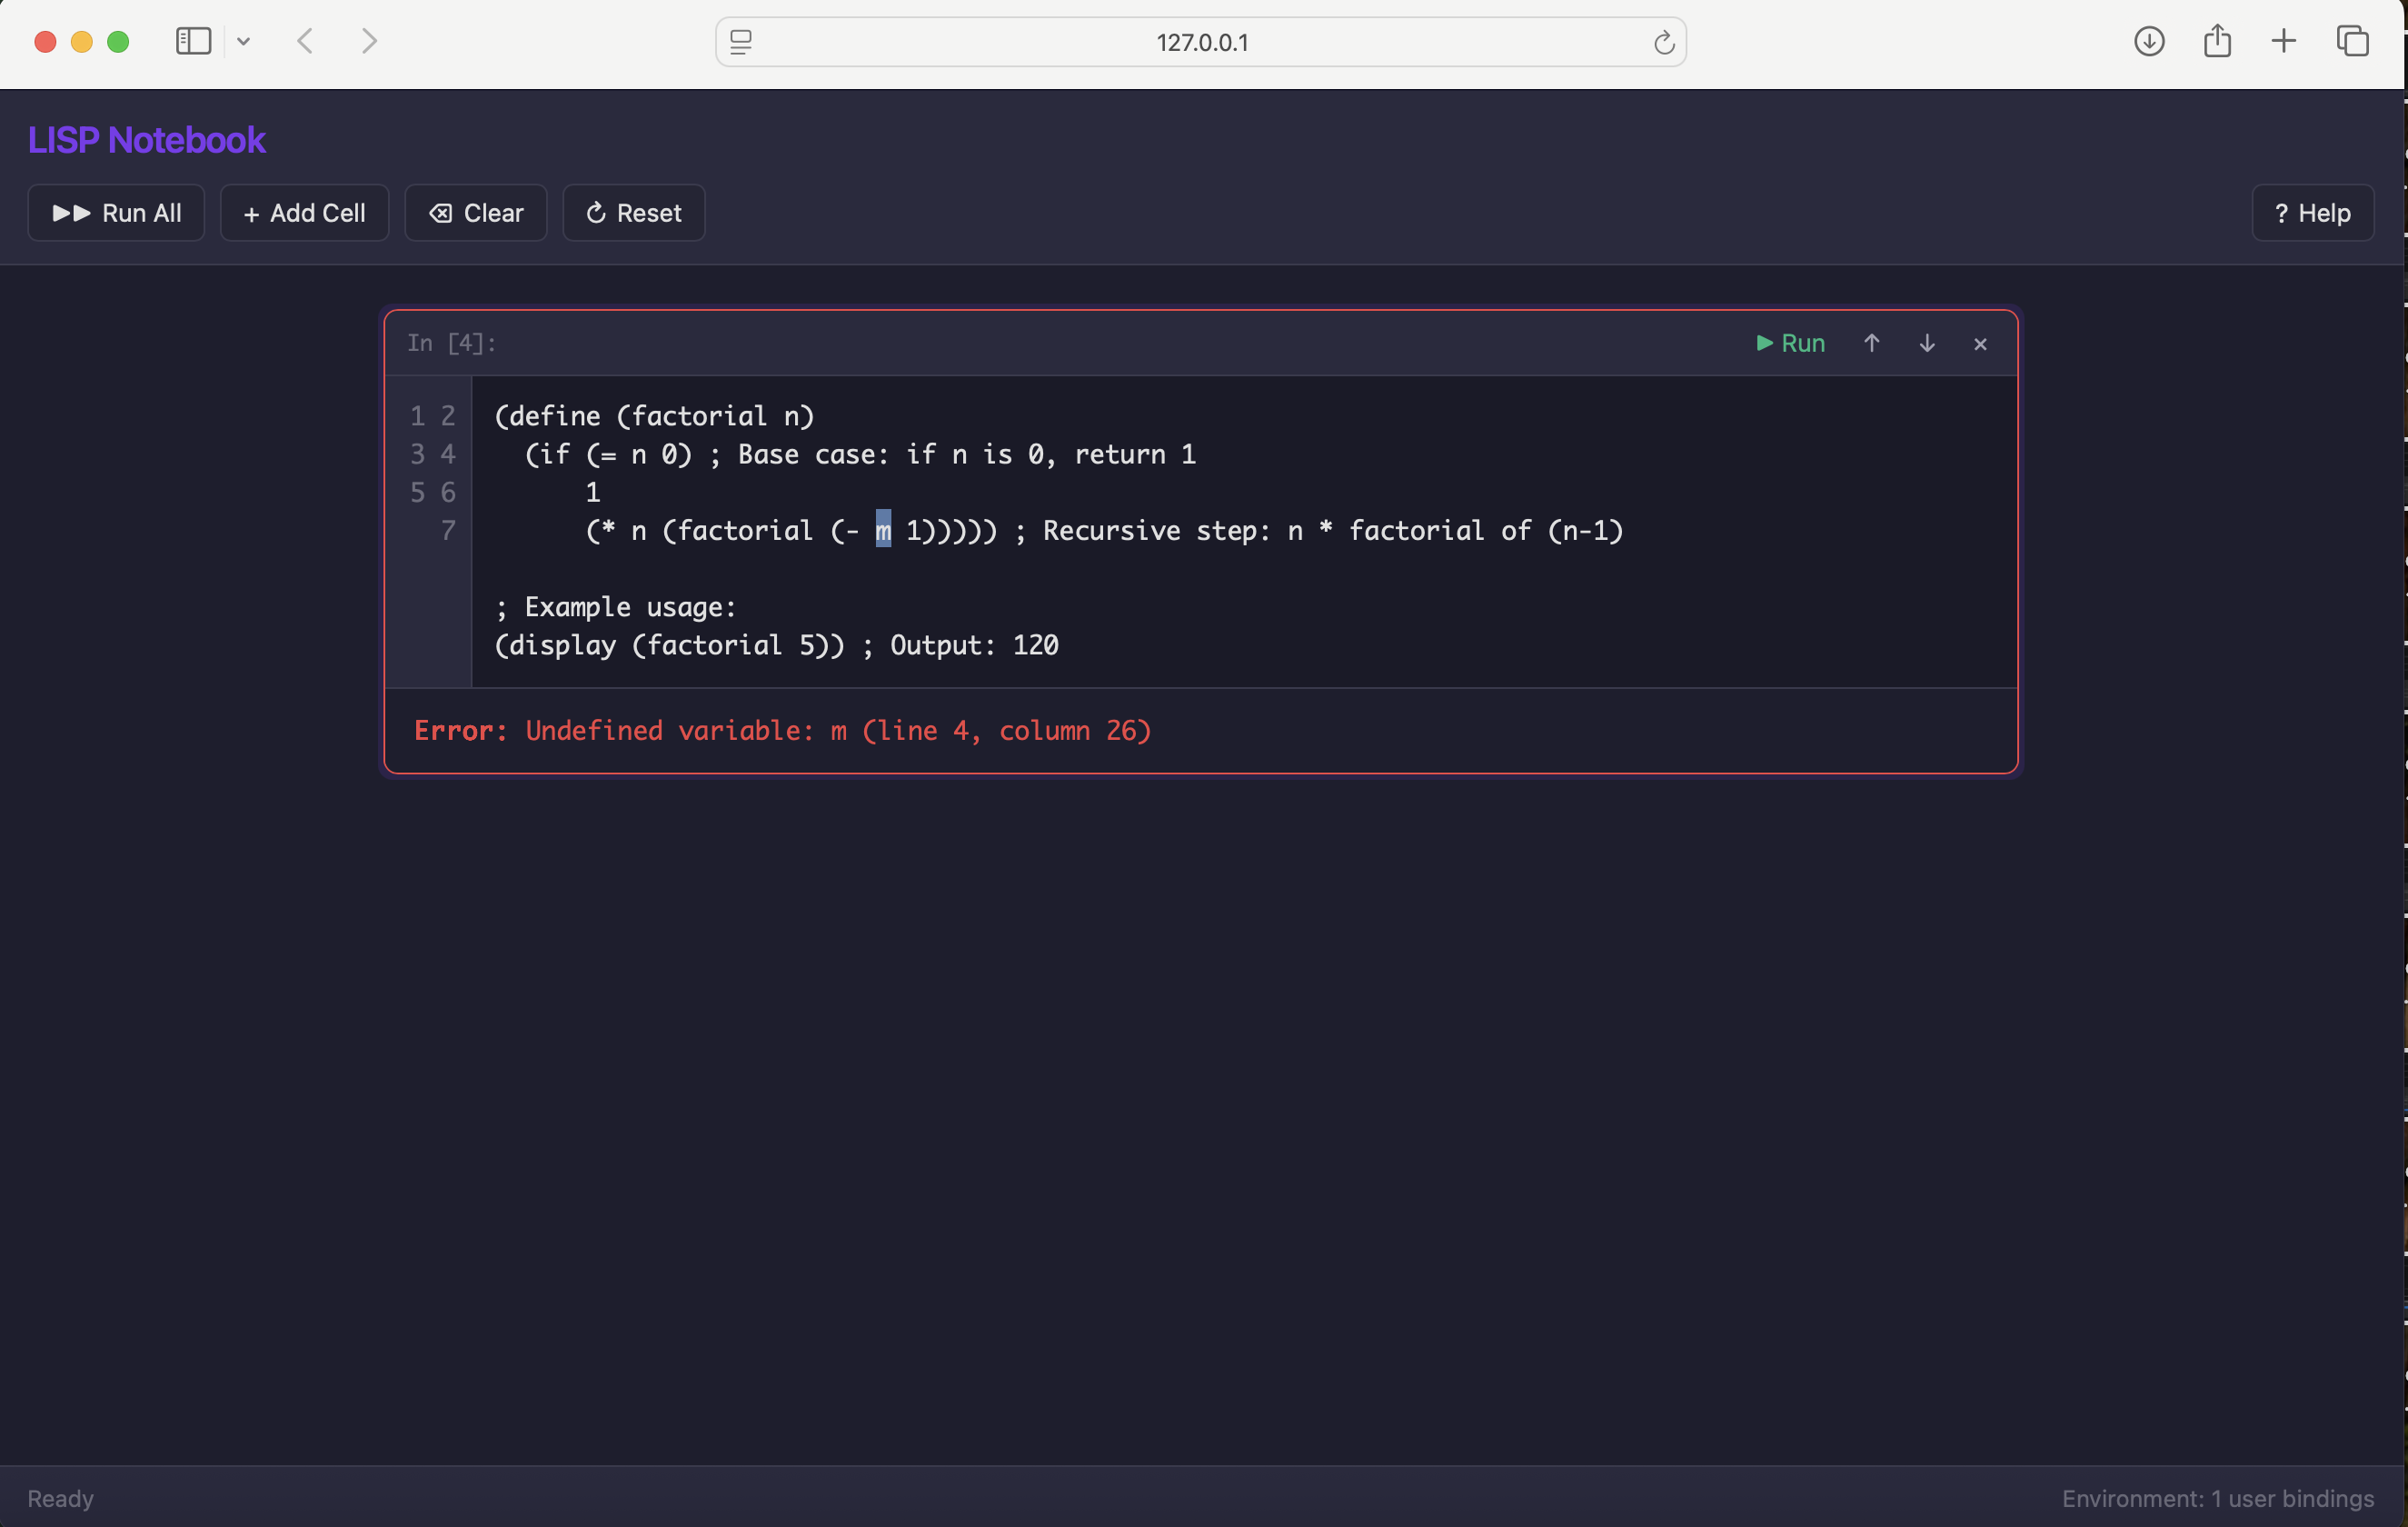
I tested error handling — the interpreter returned a meaningful error message
Adding tests
PROMPT
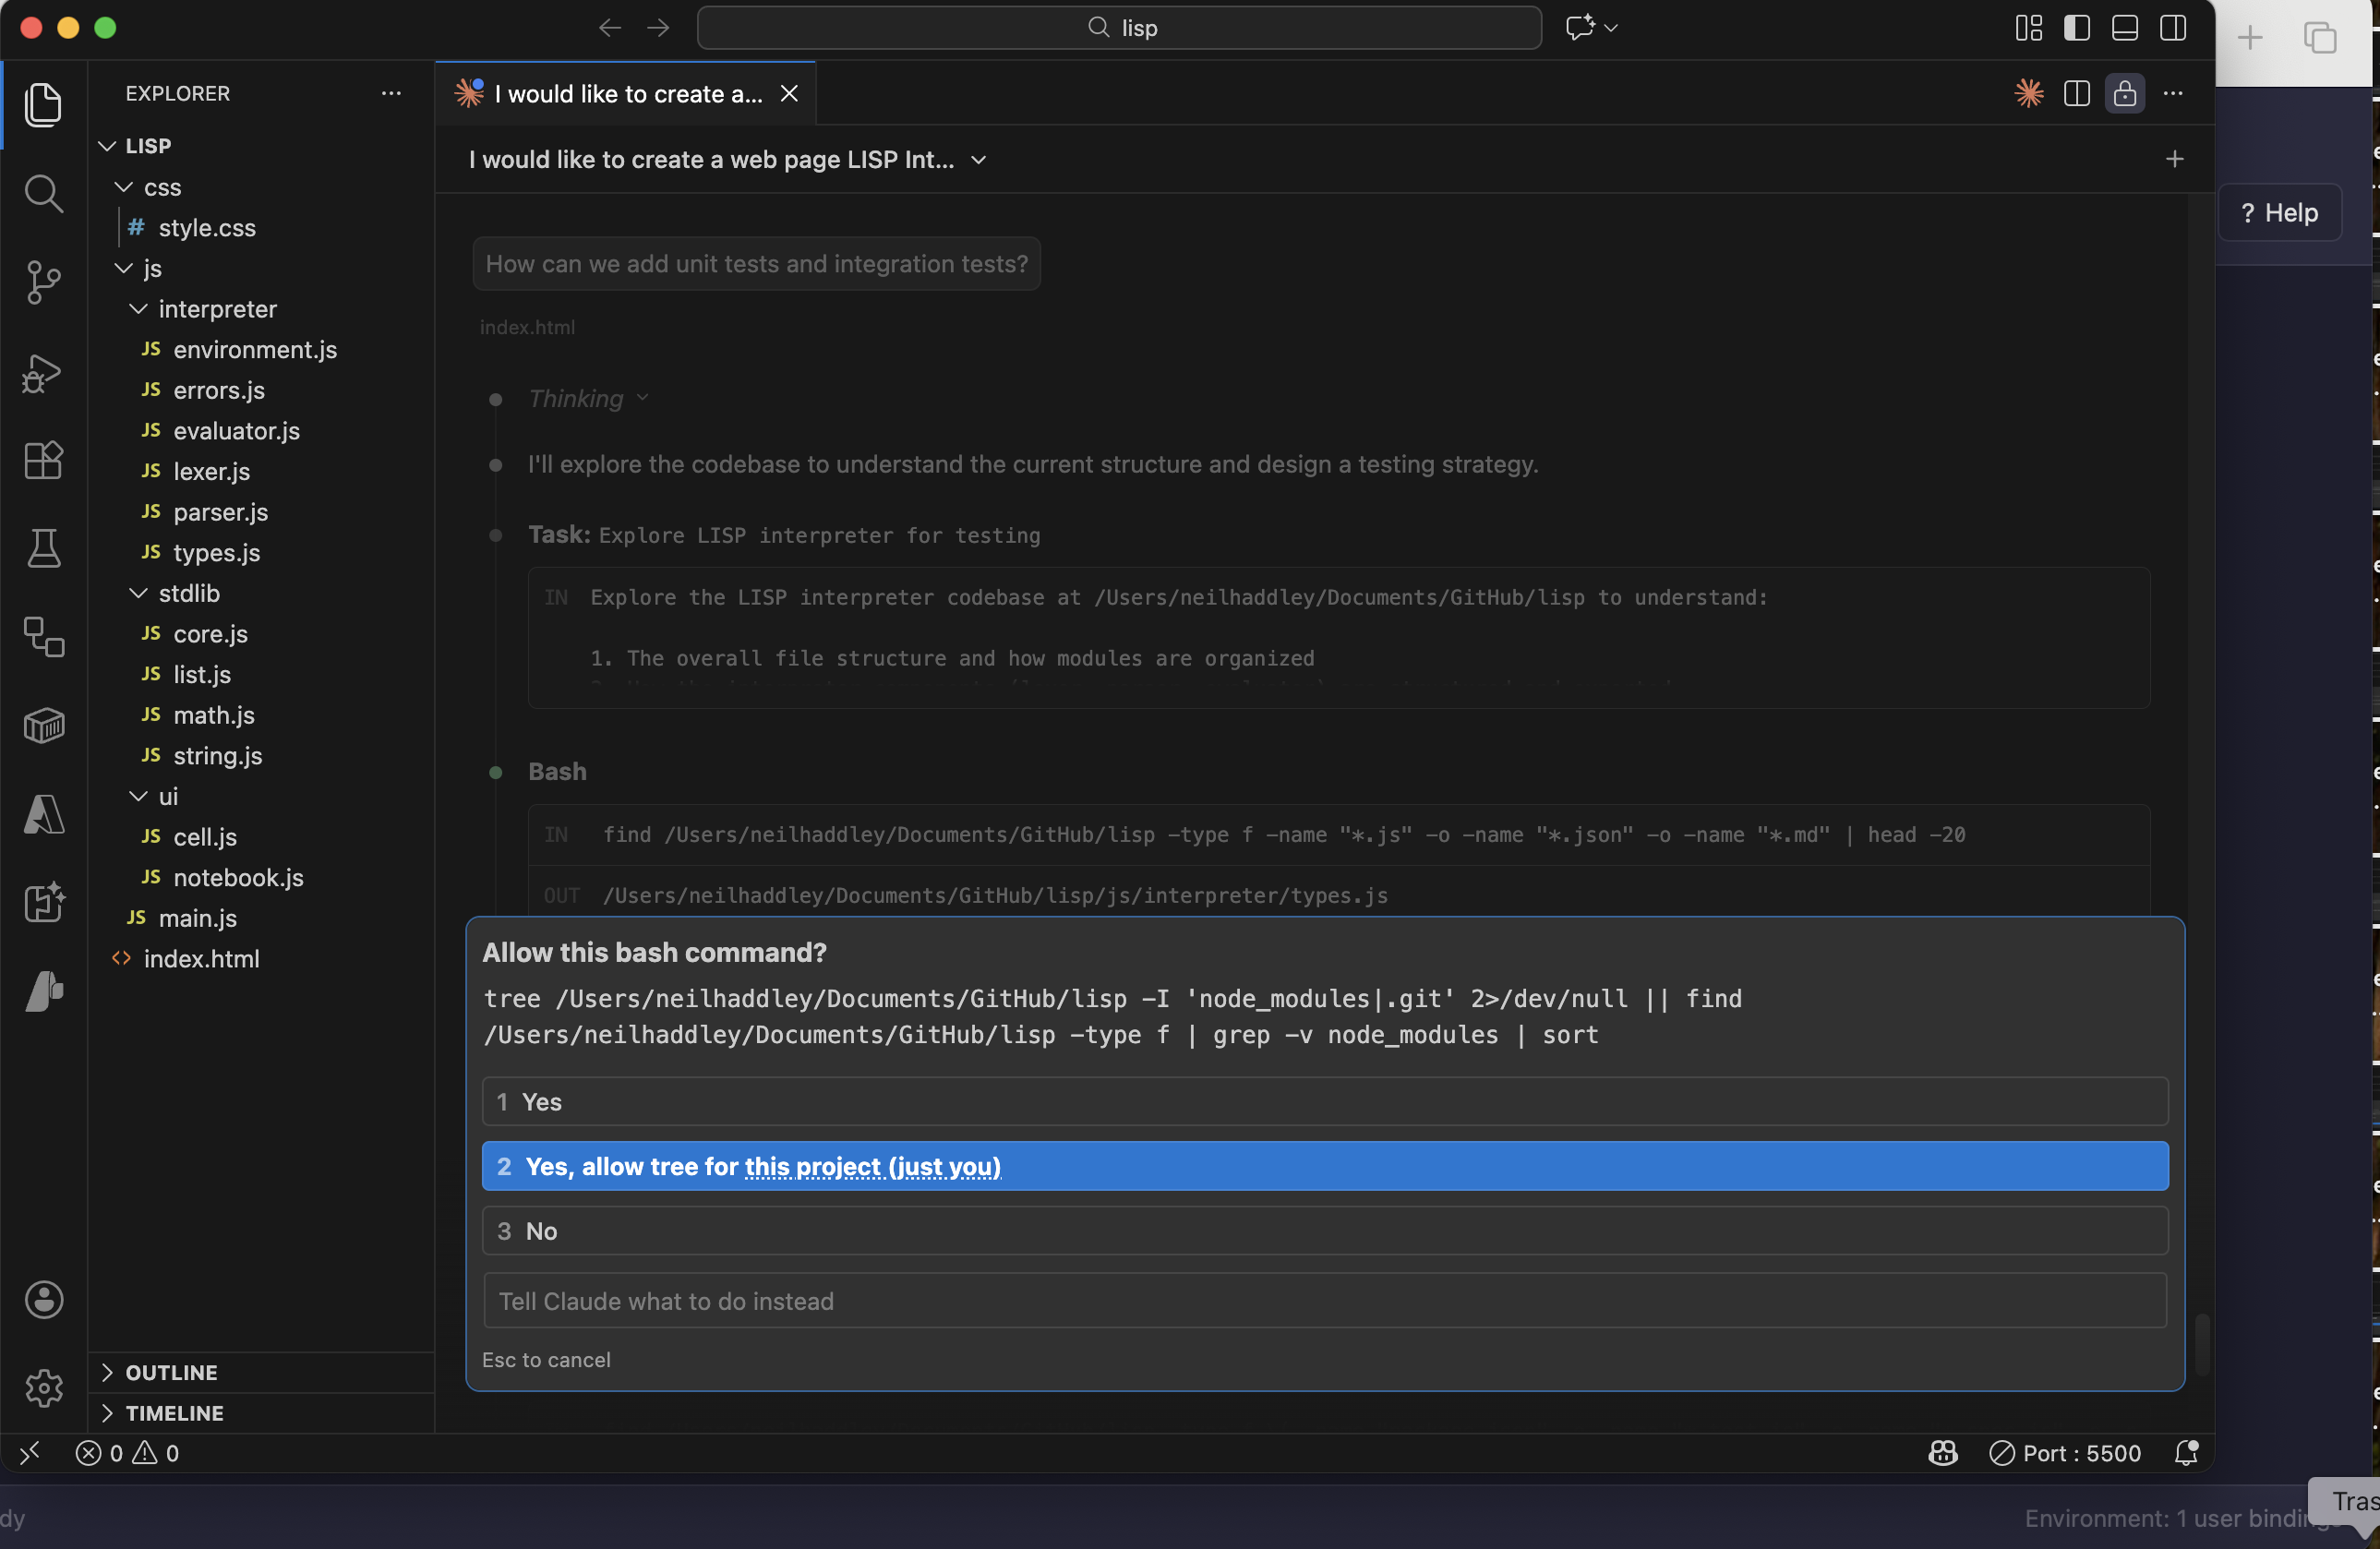
1How can we add unit tests and integration tests?
Claude proposed using Jest and began setting up the test suite:
Claude asked permission to run the npm install command for Jest
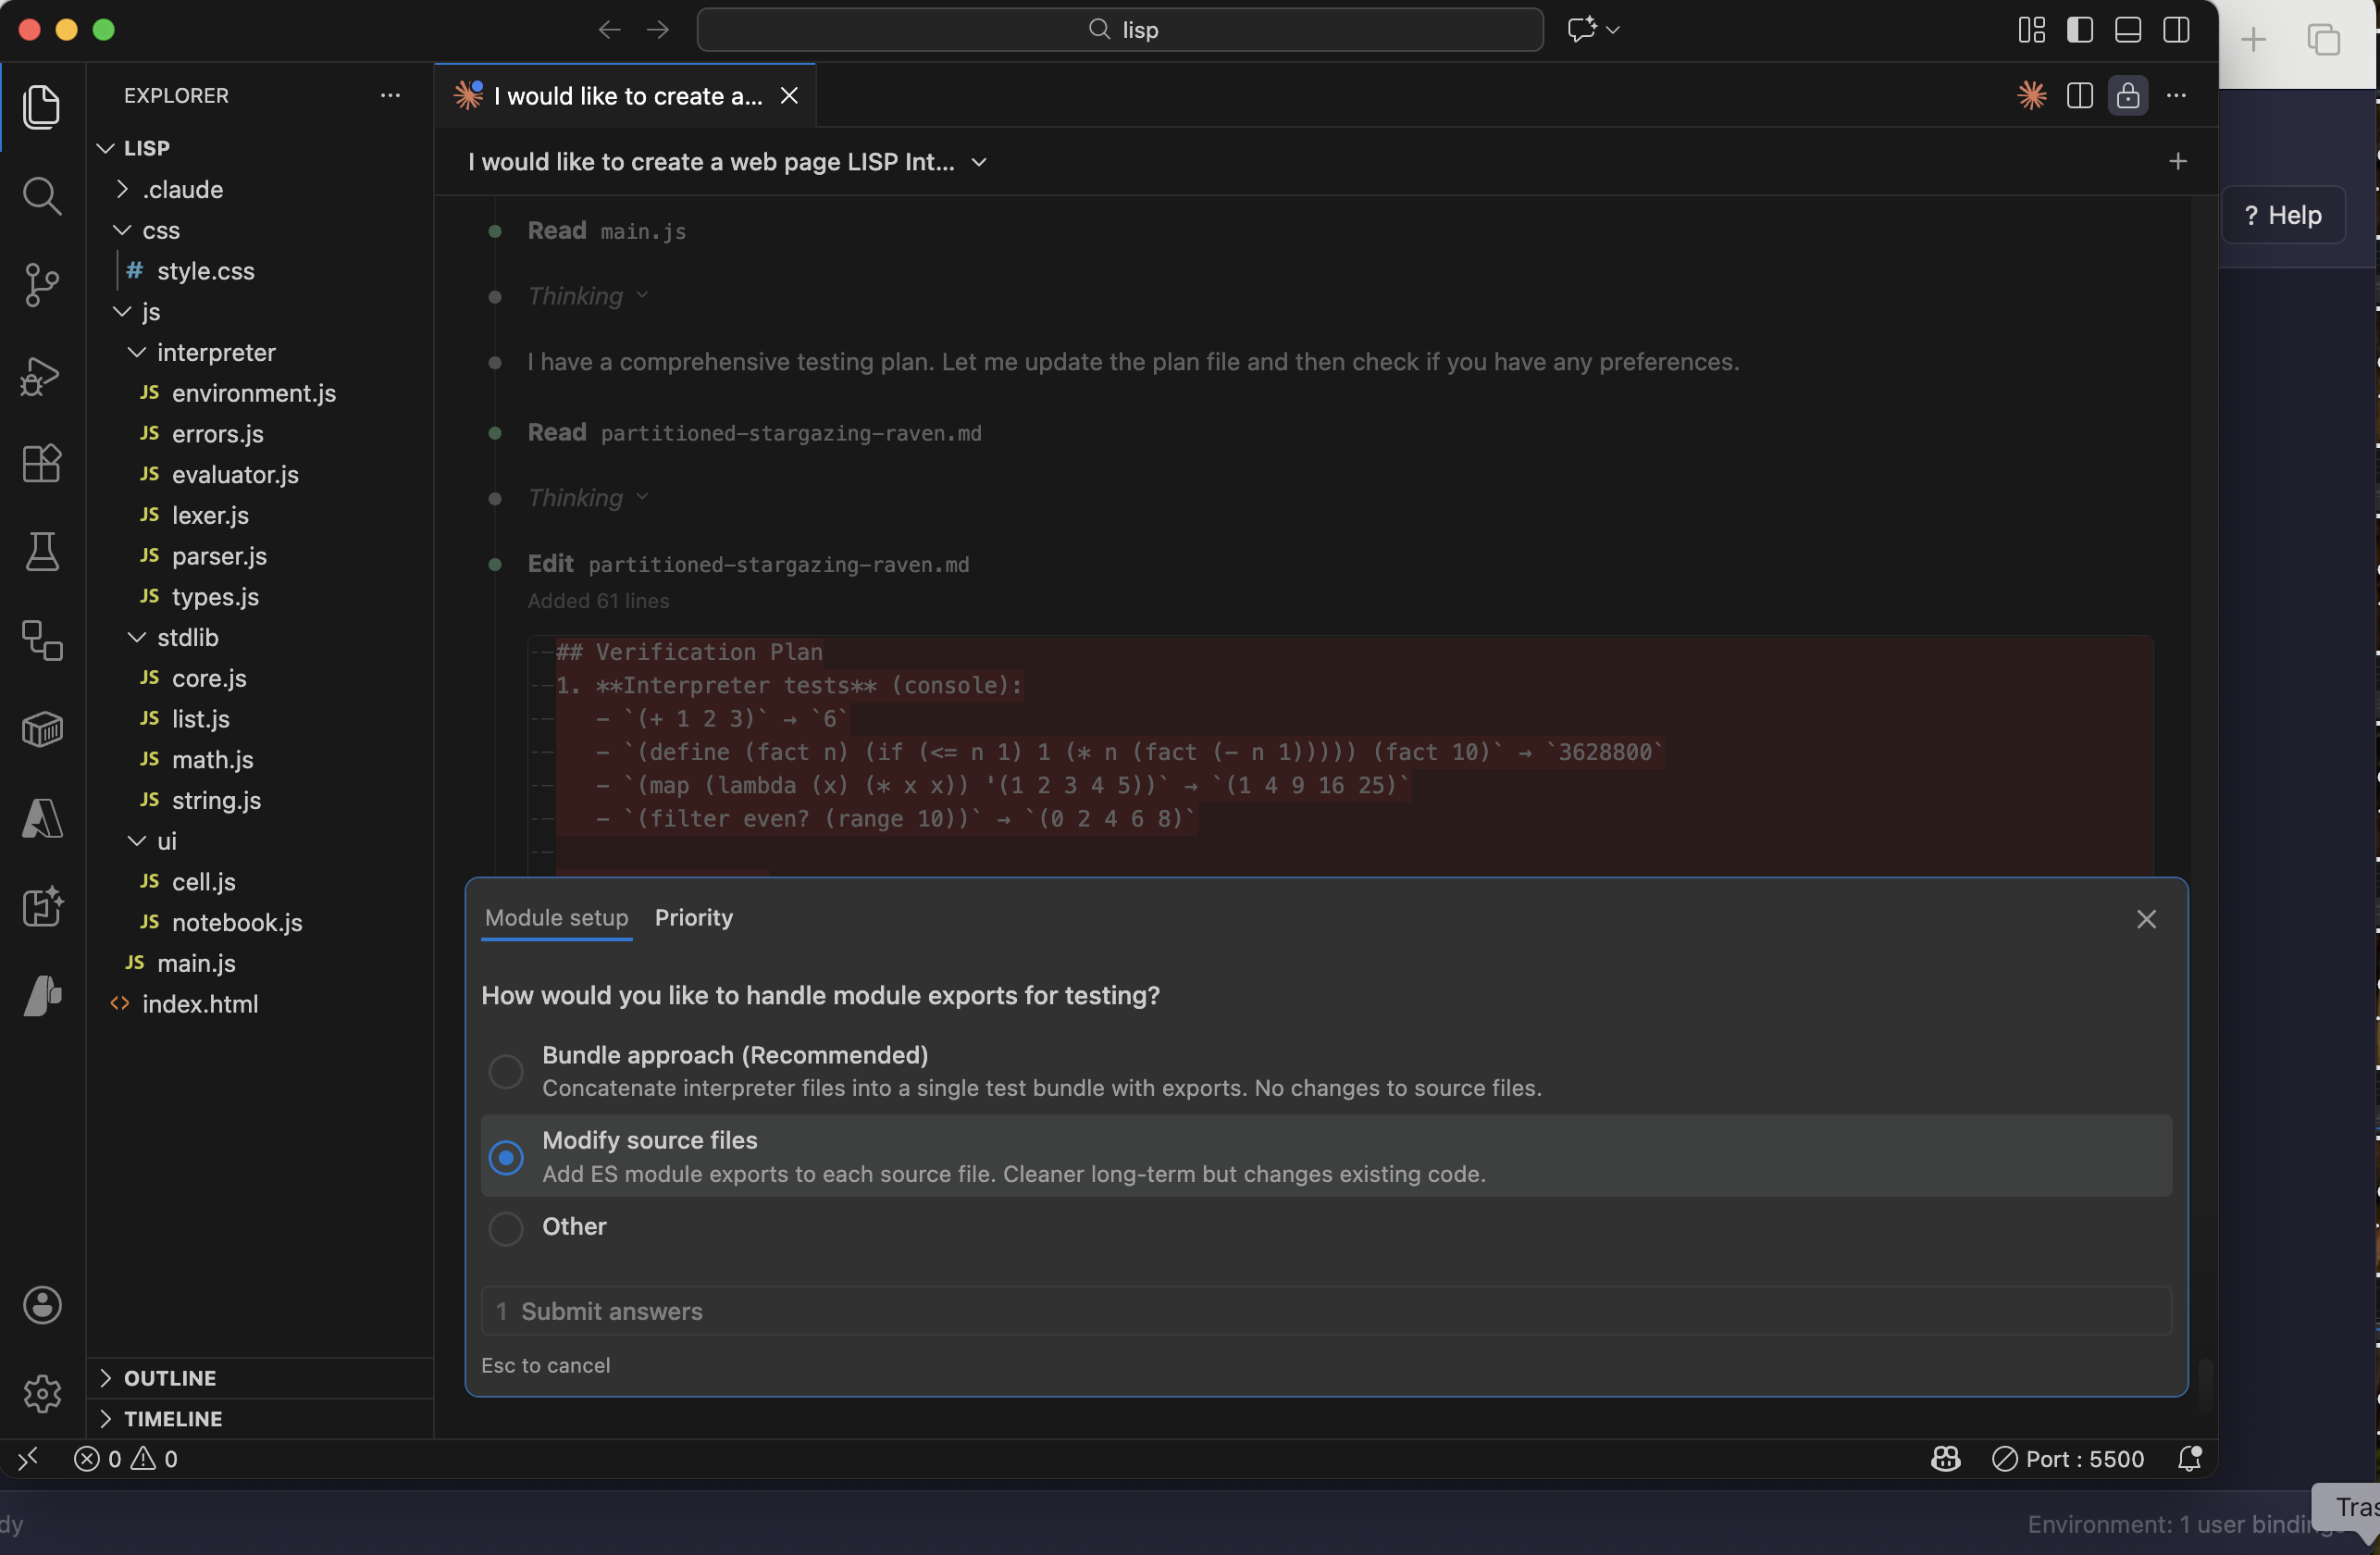
Claude asked permission to modify the source files to make them testable
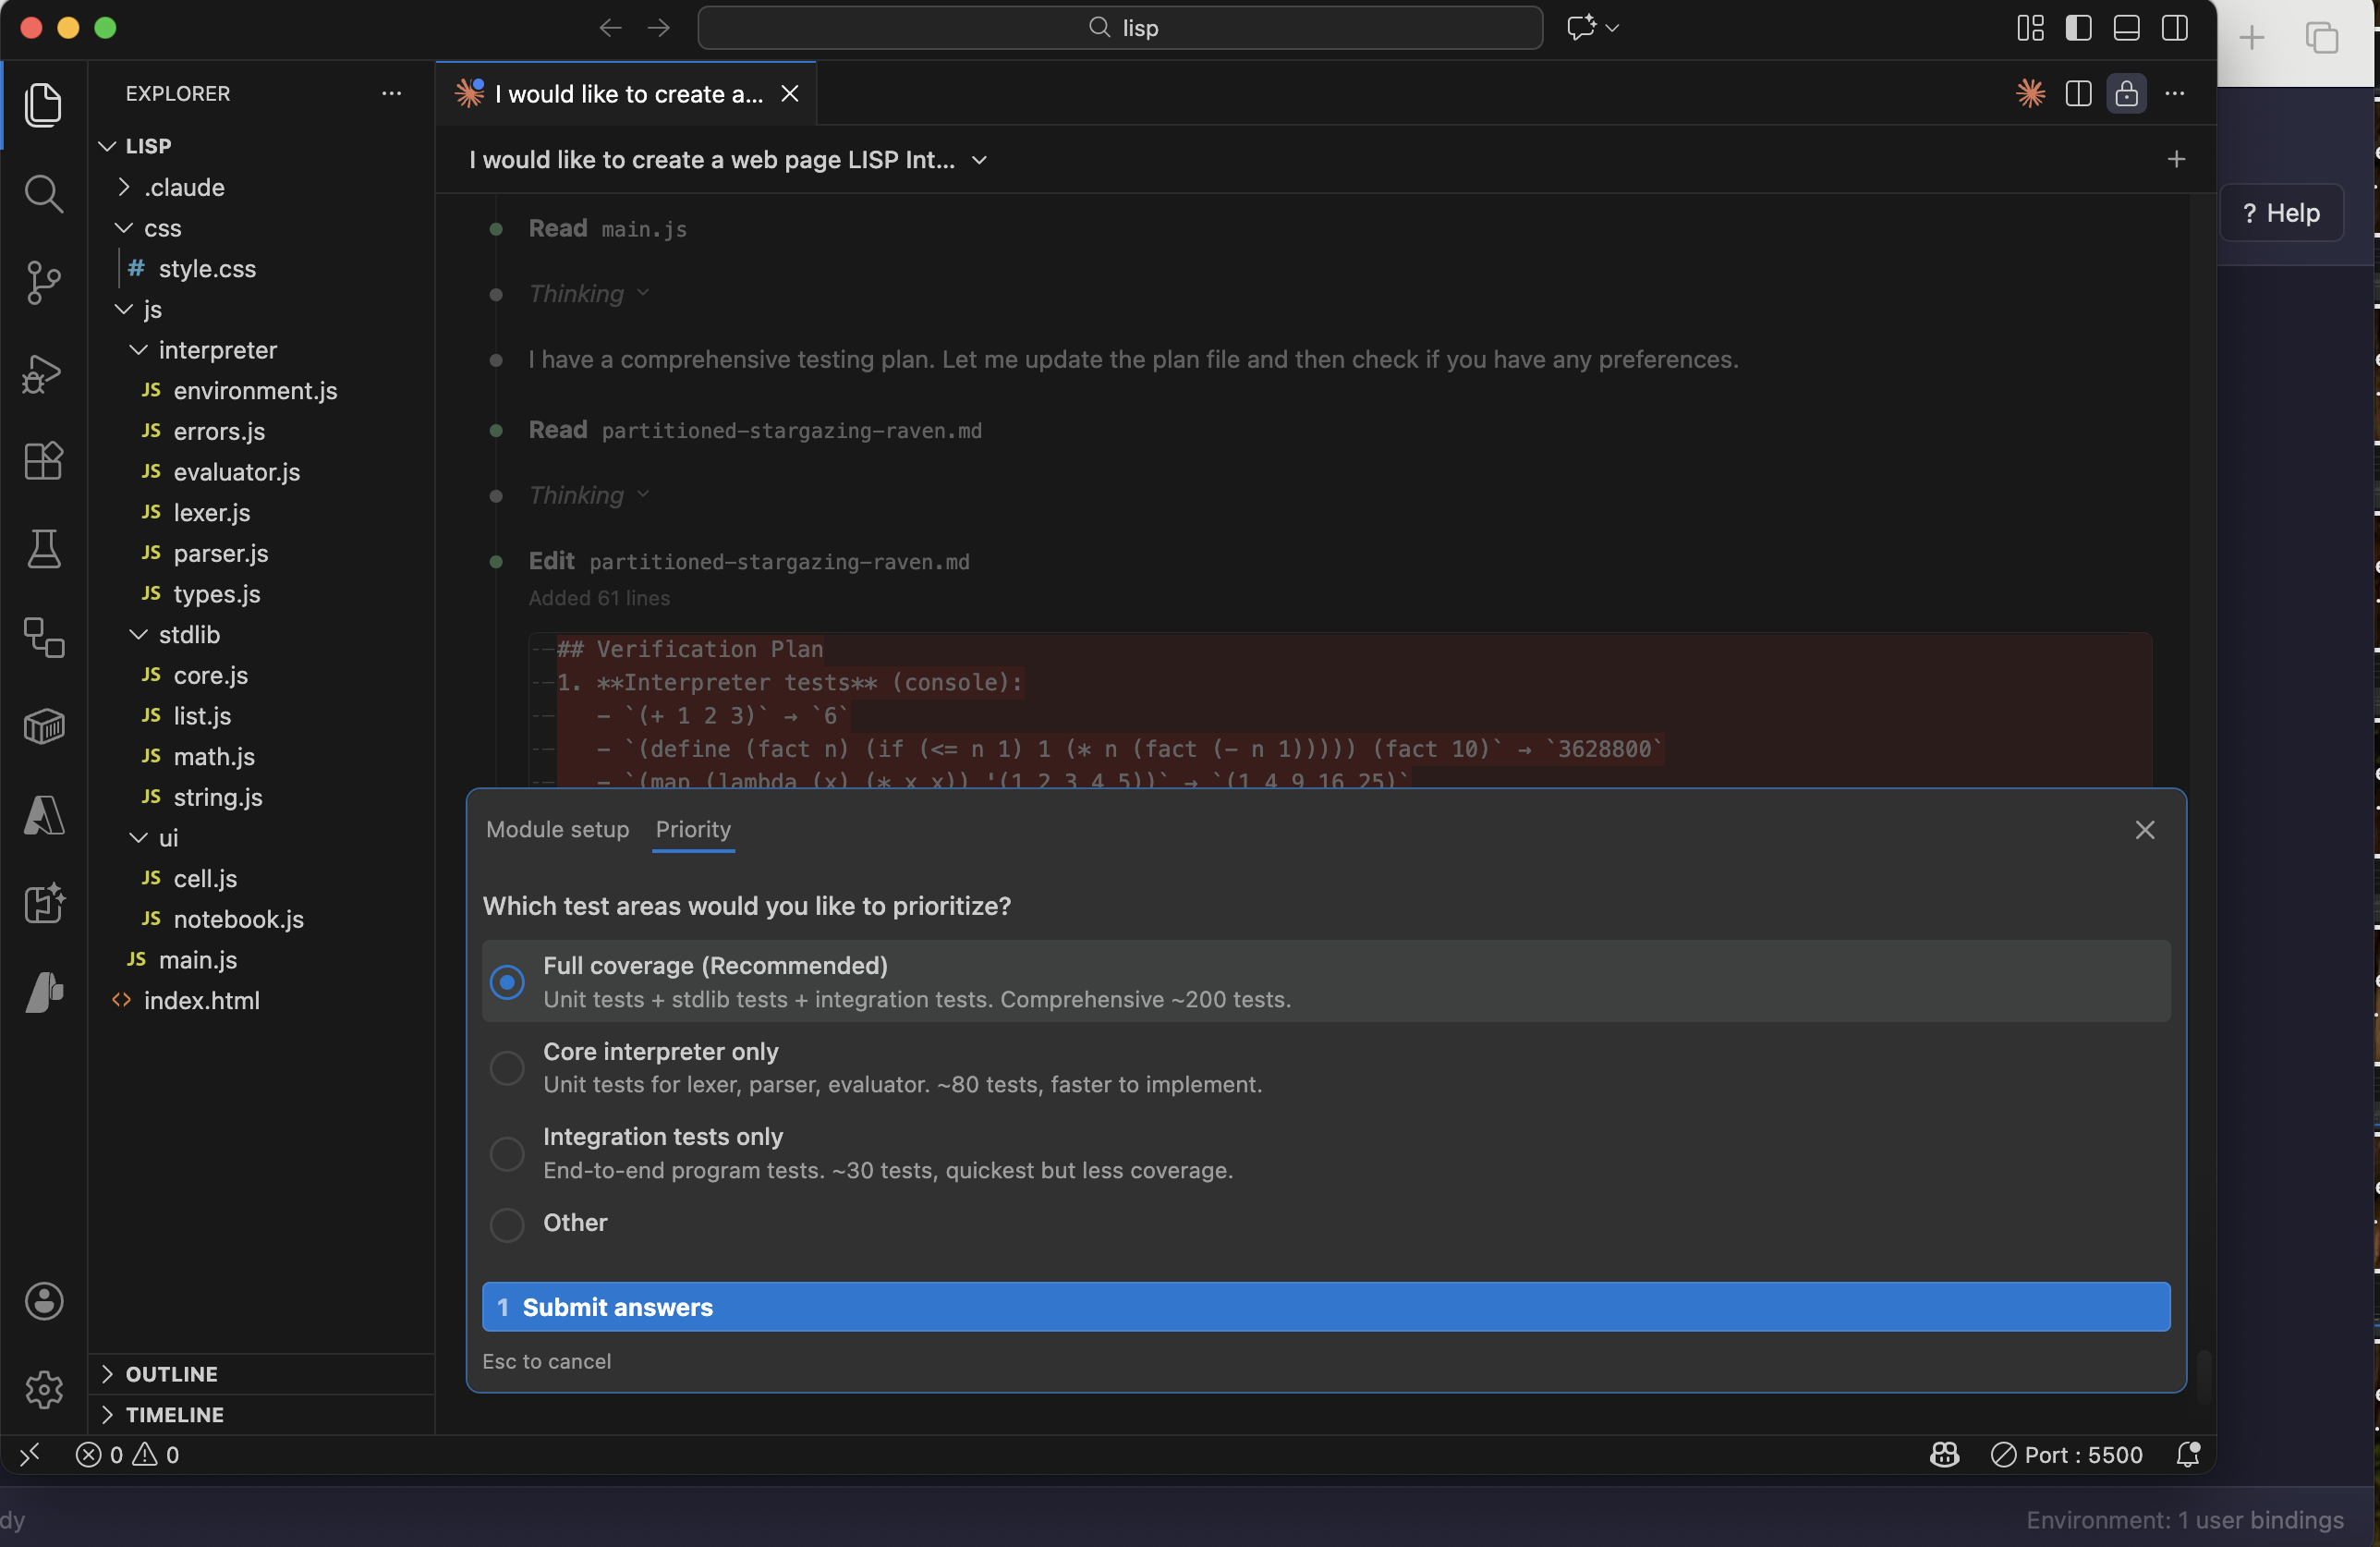
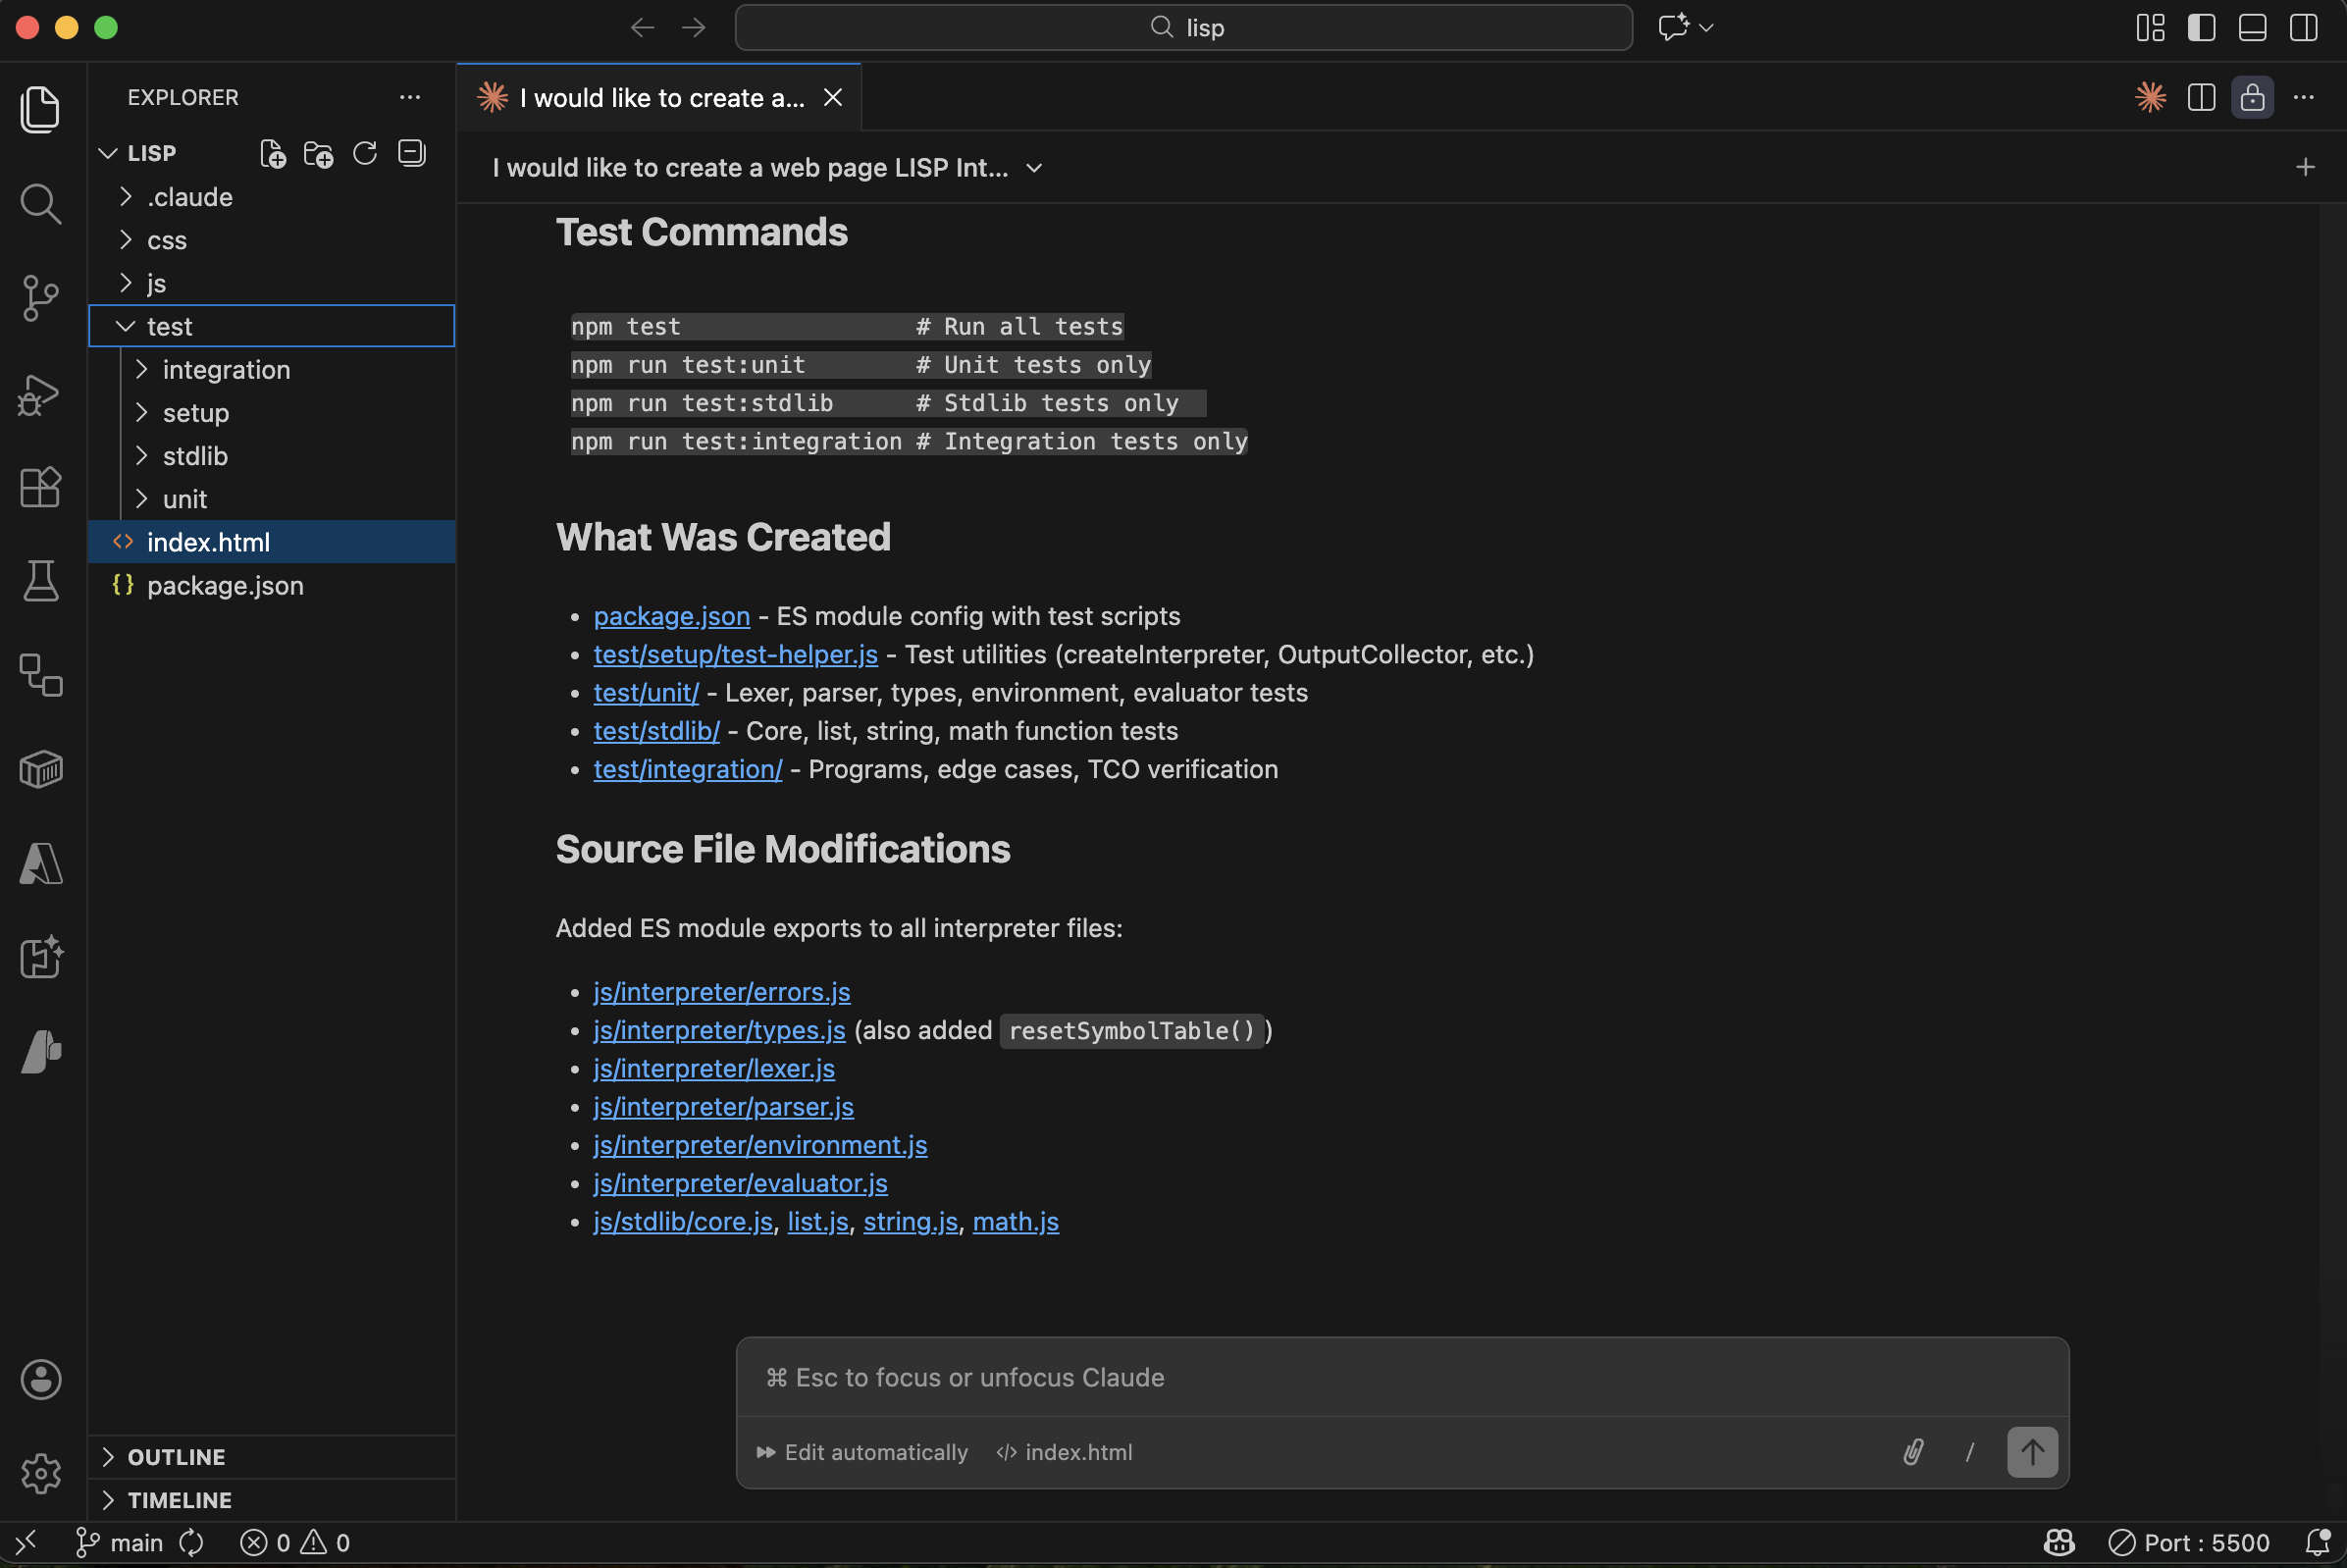
Claude planned full coverage across the tokeniser, parser, and evaluator
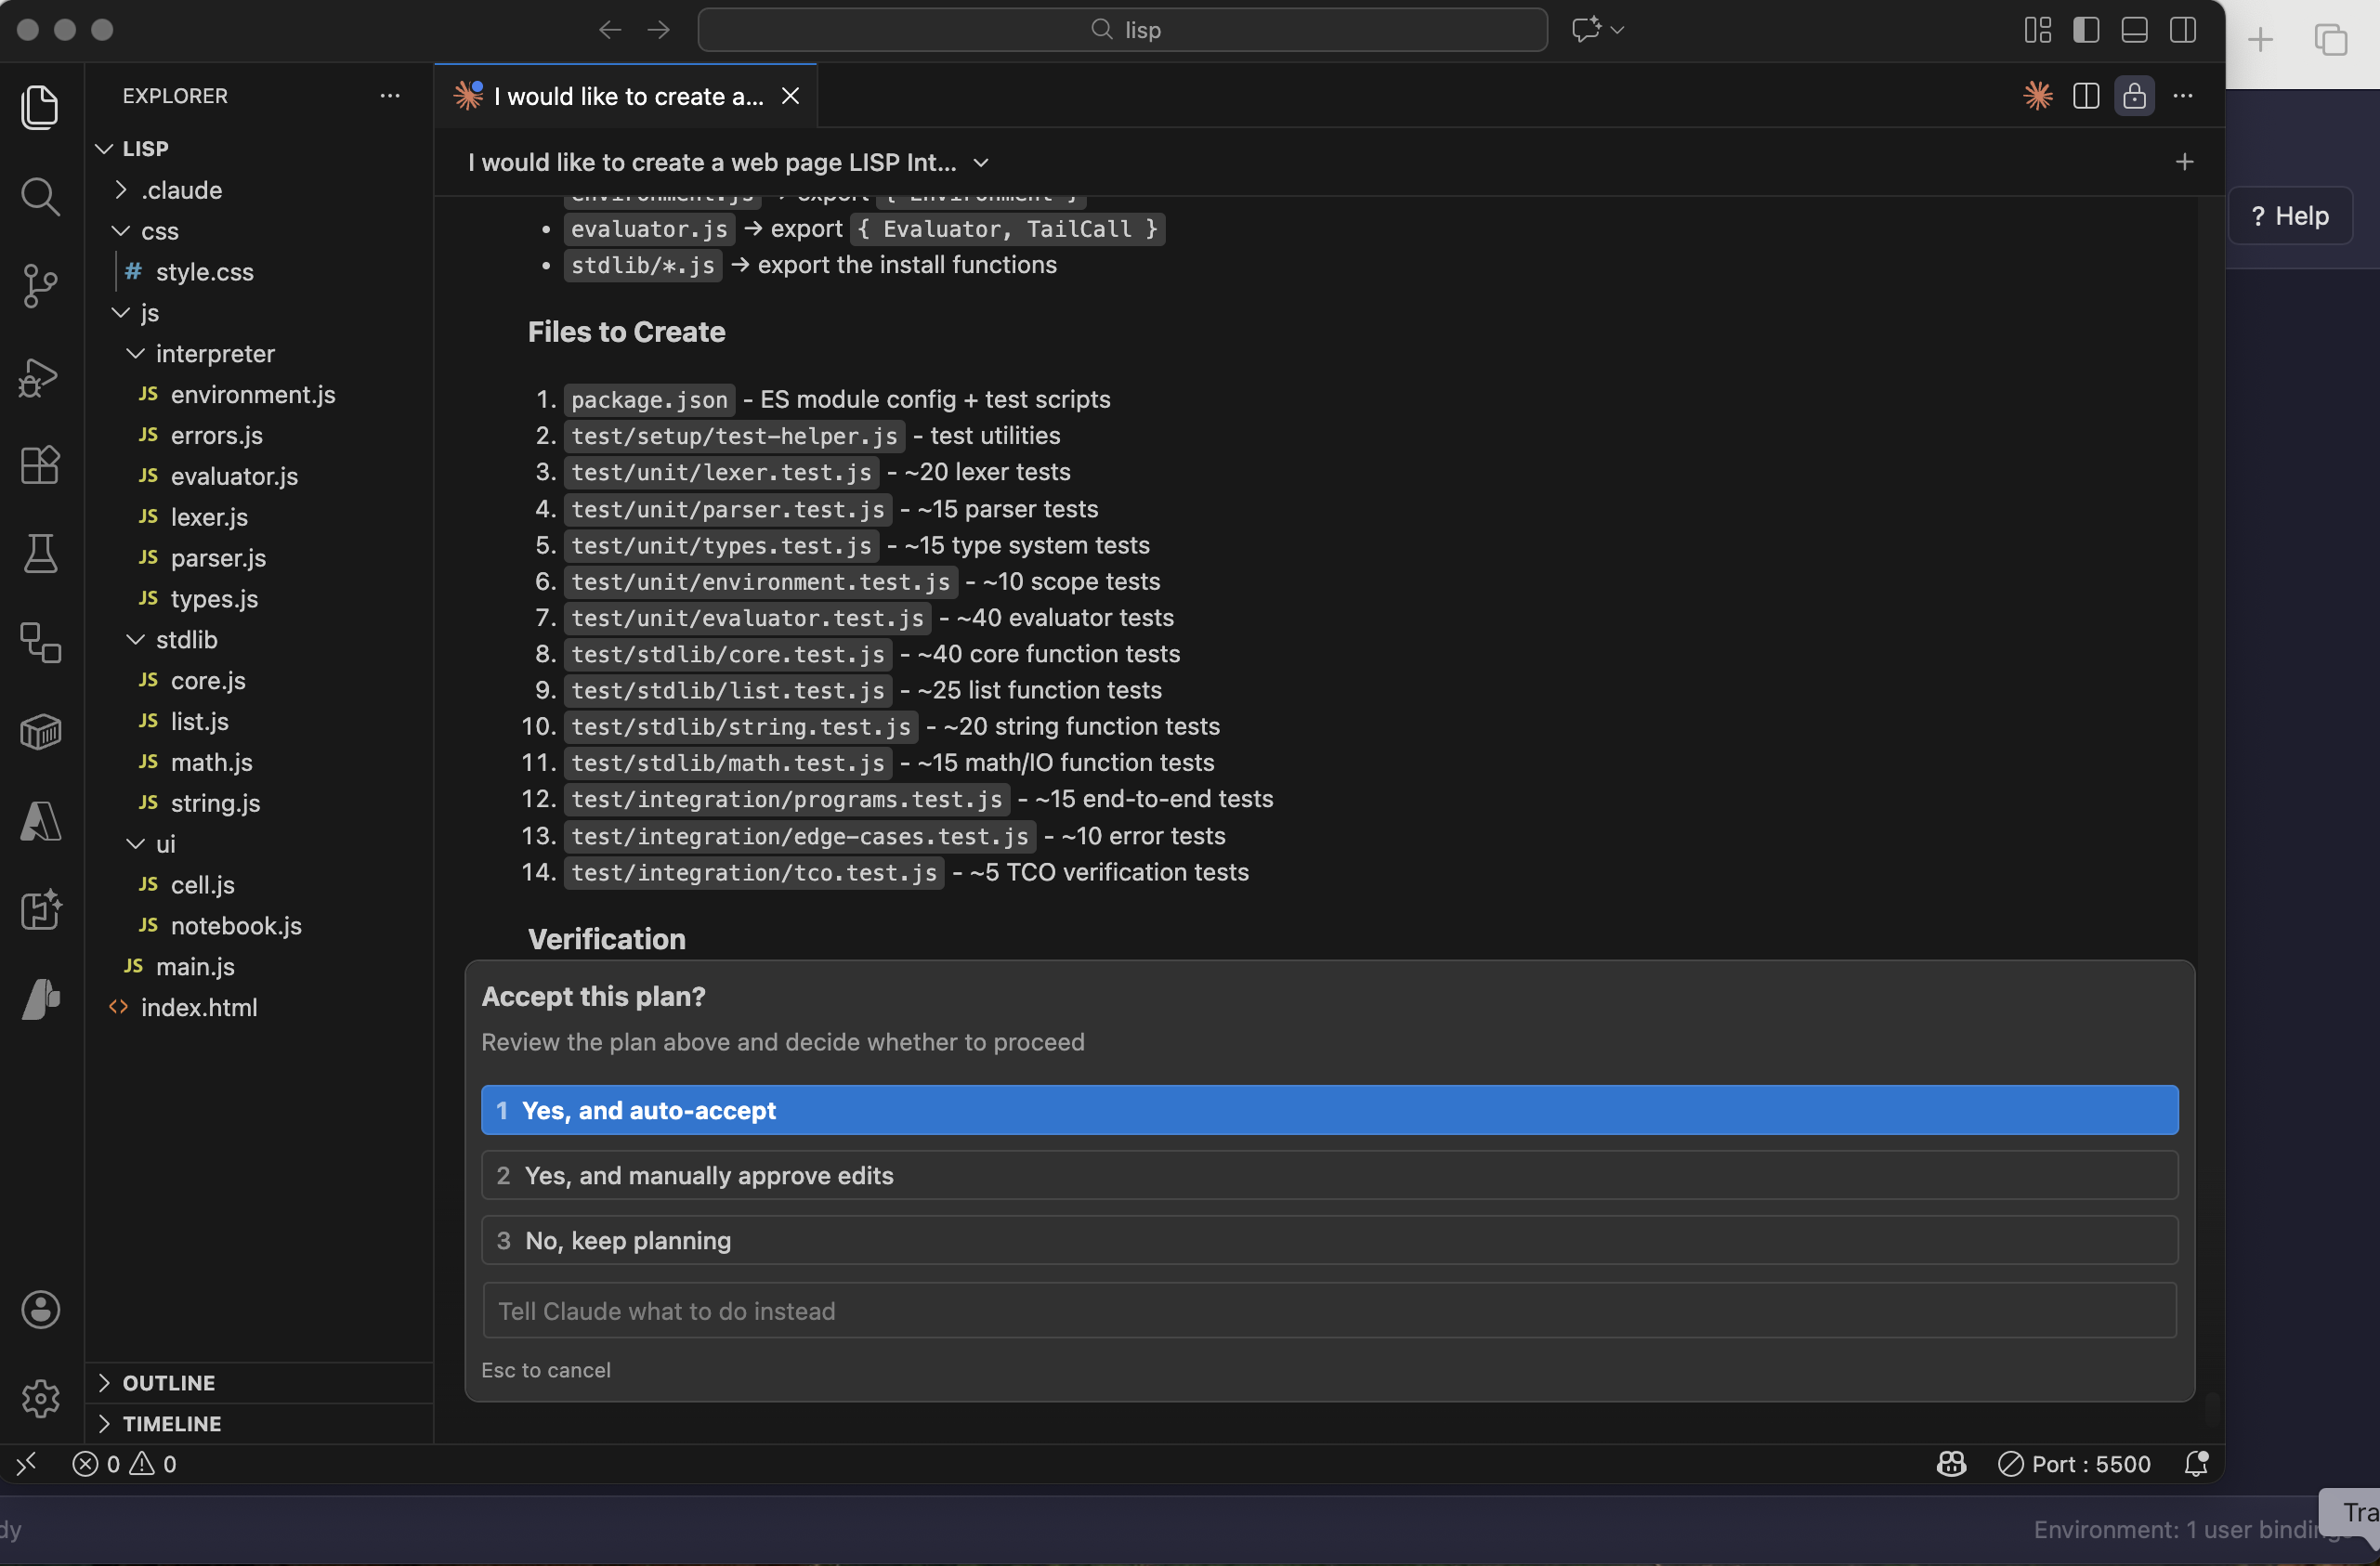
I approved with auto-accept so Claude could write all the test files

Claude edited types.js to export the types needed for testing
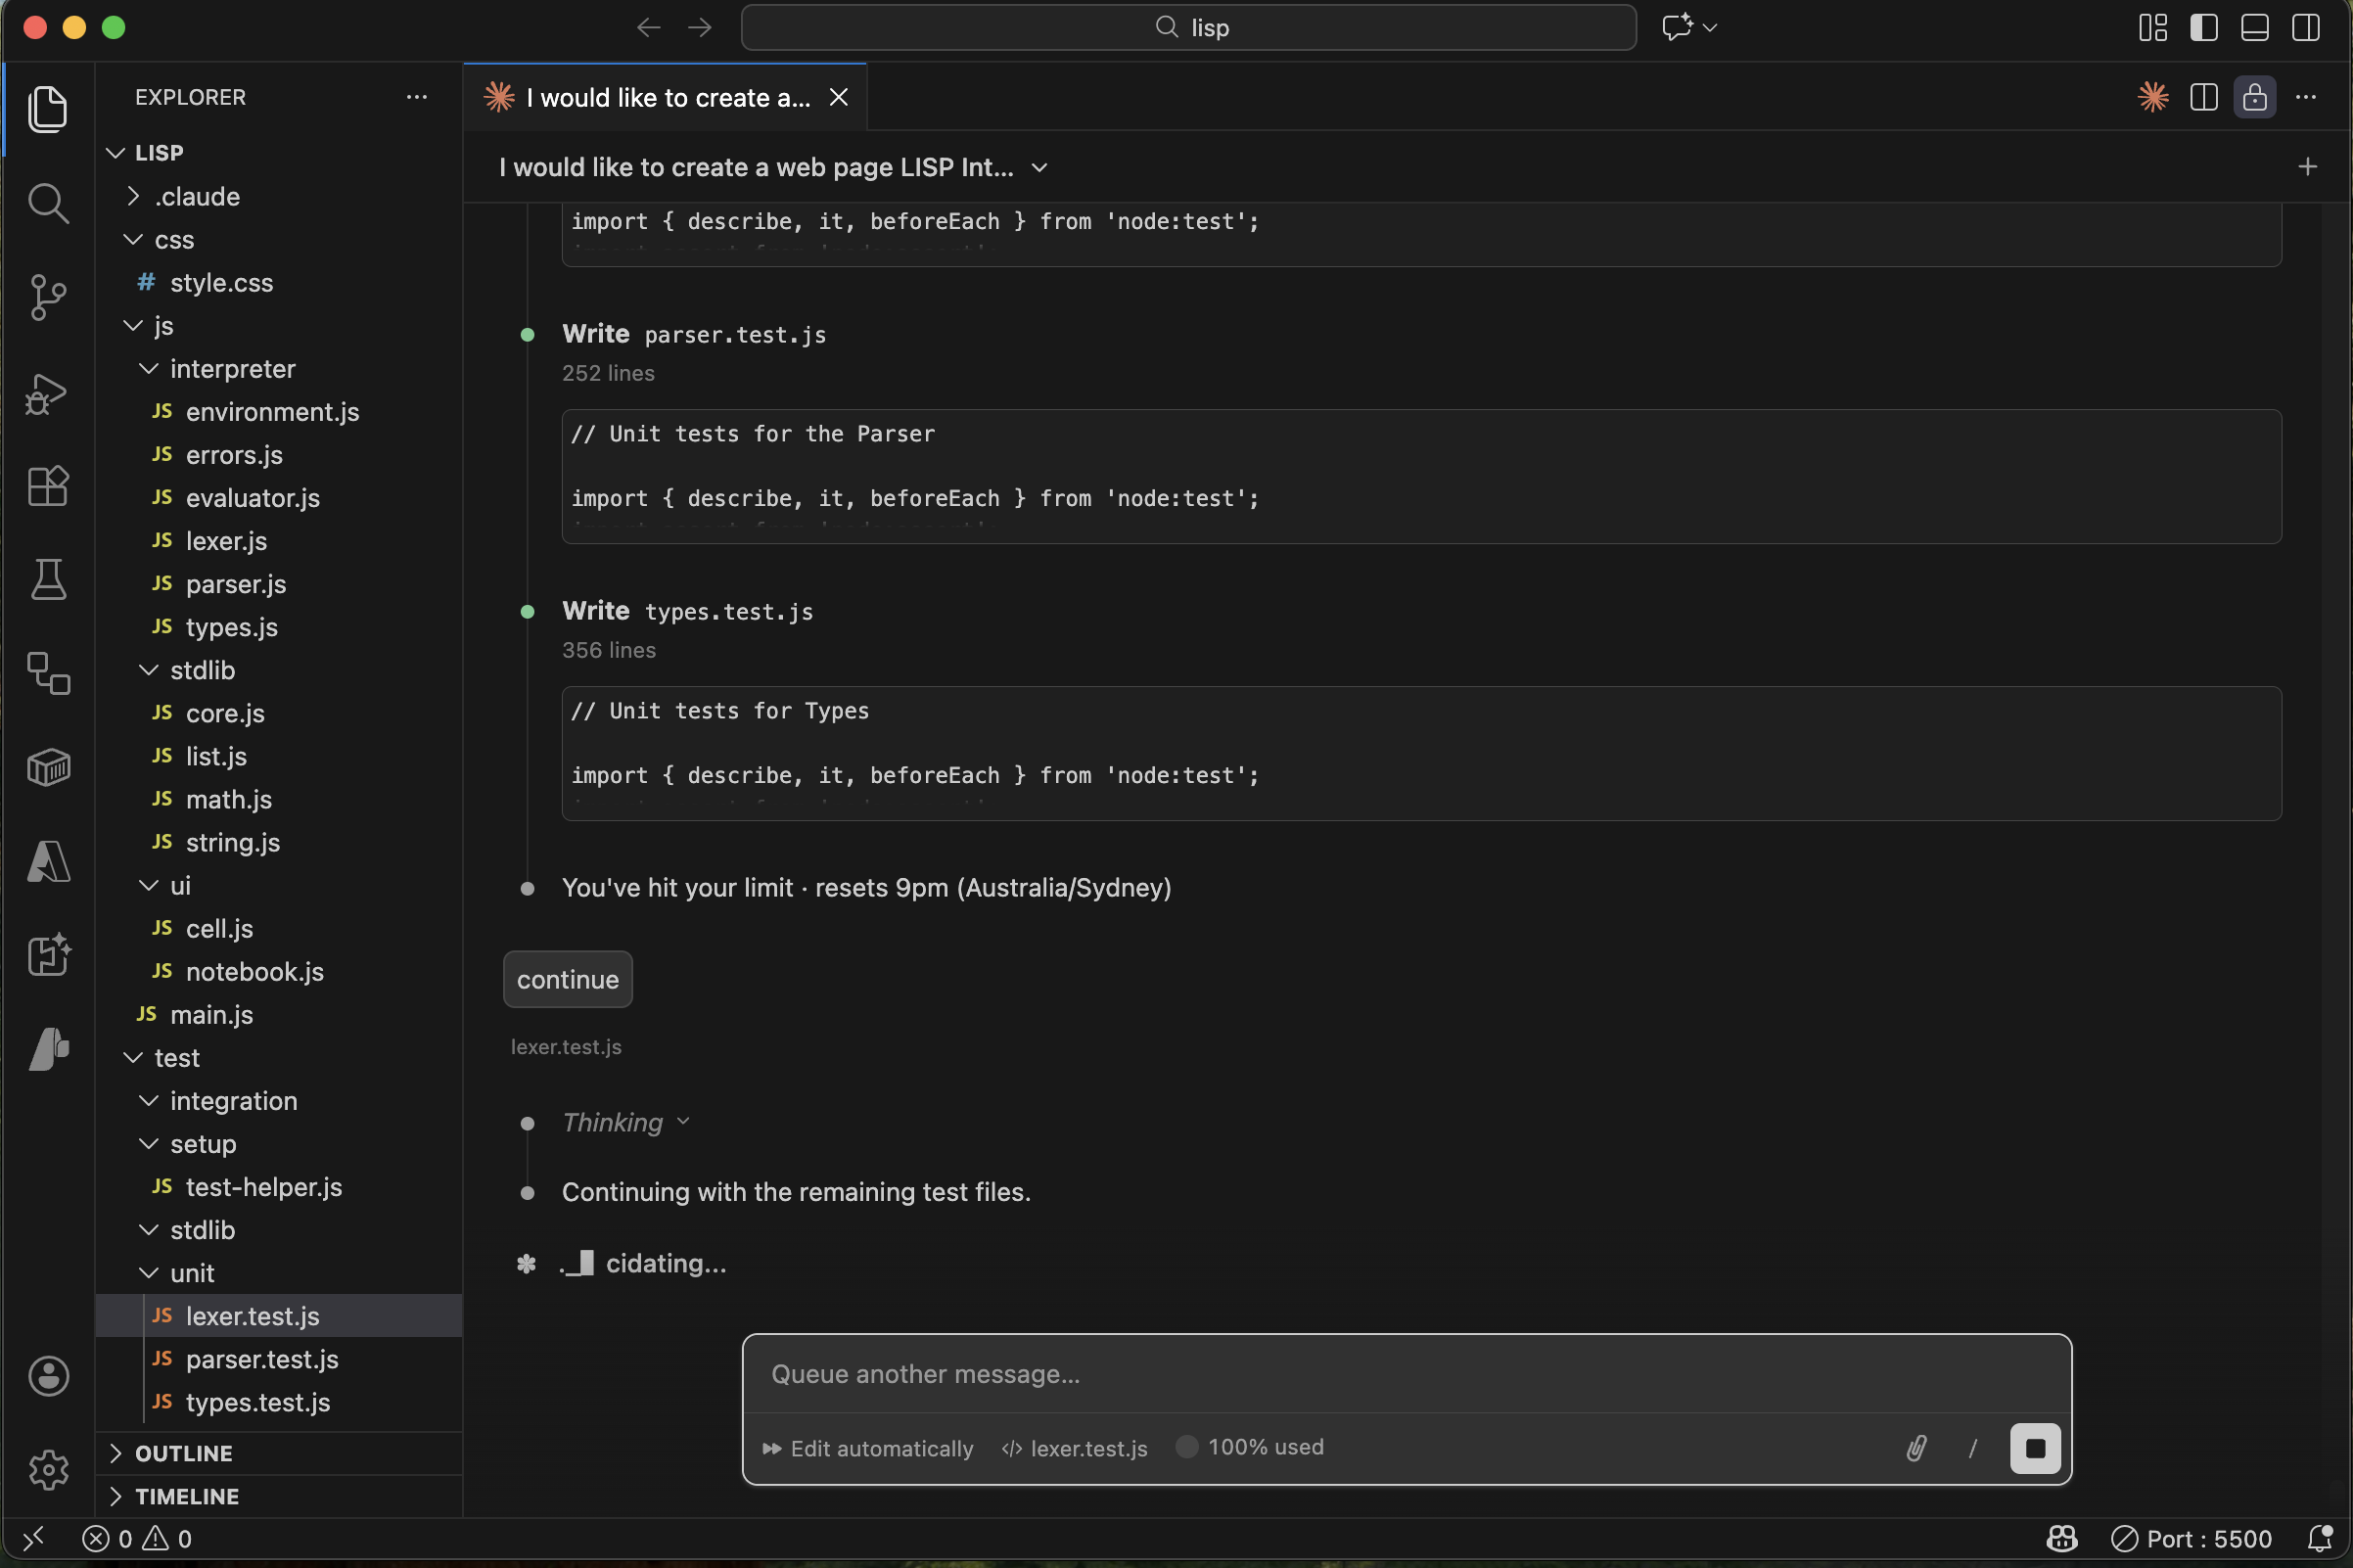
I asked Claude to continue
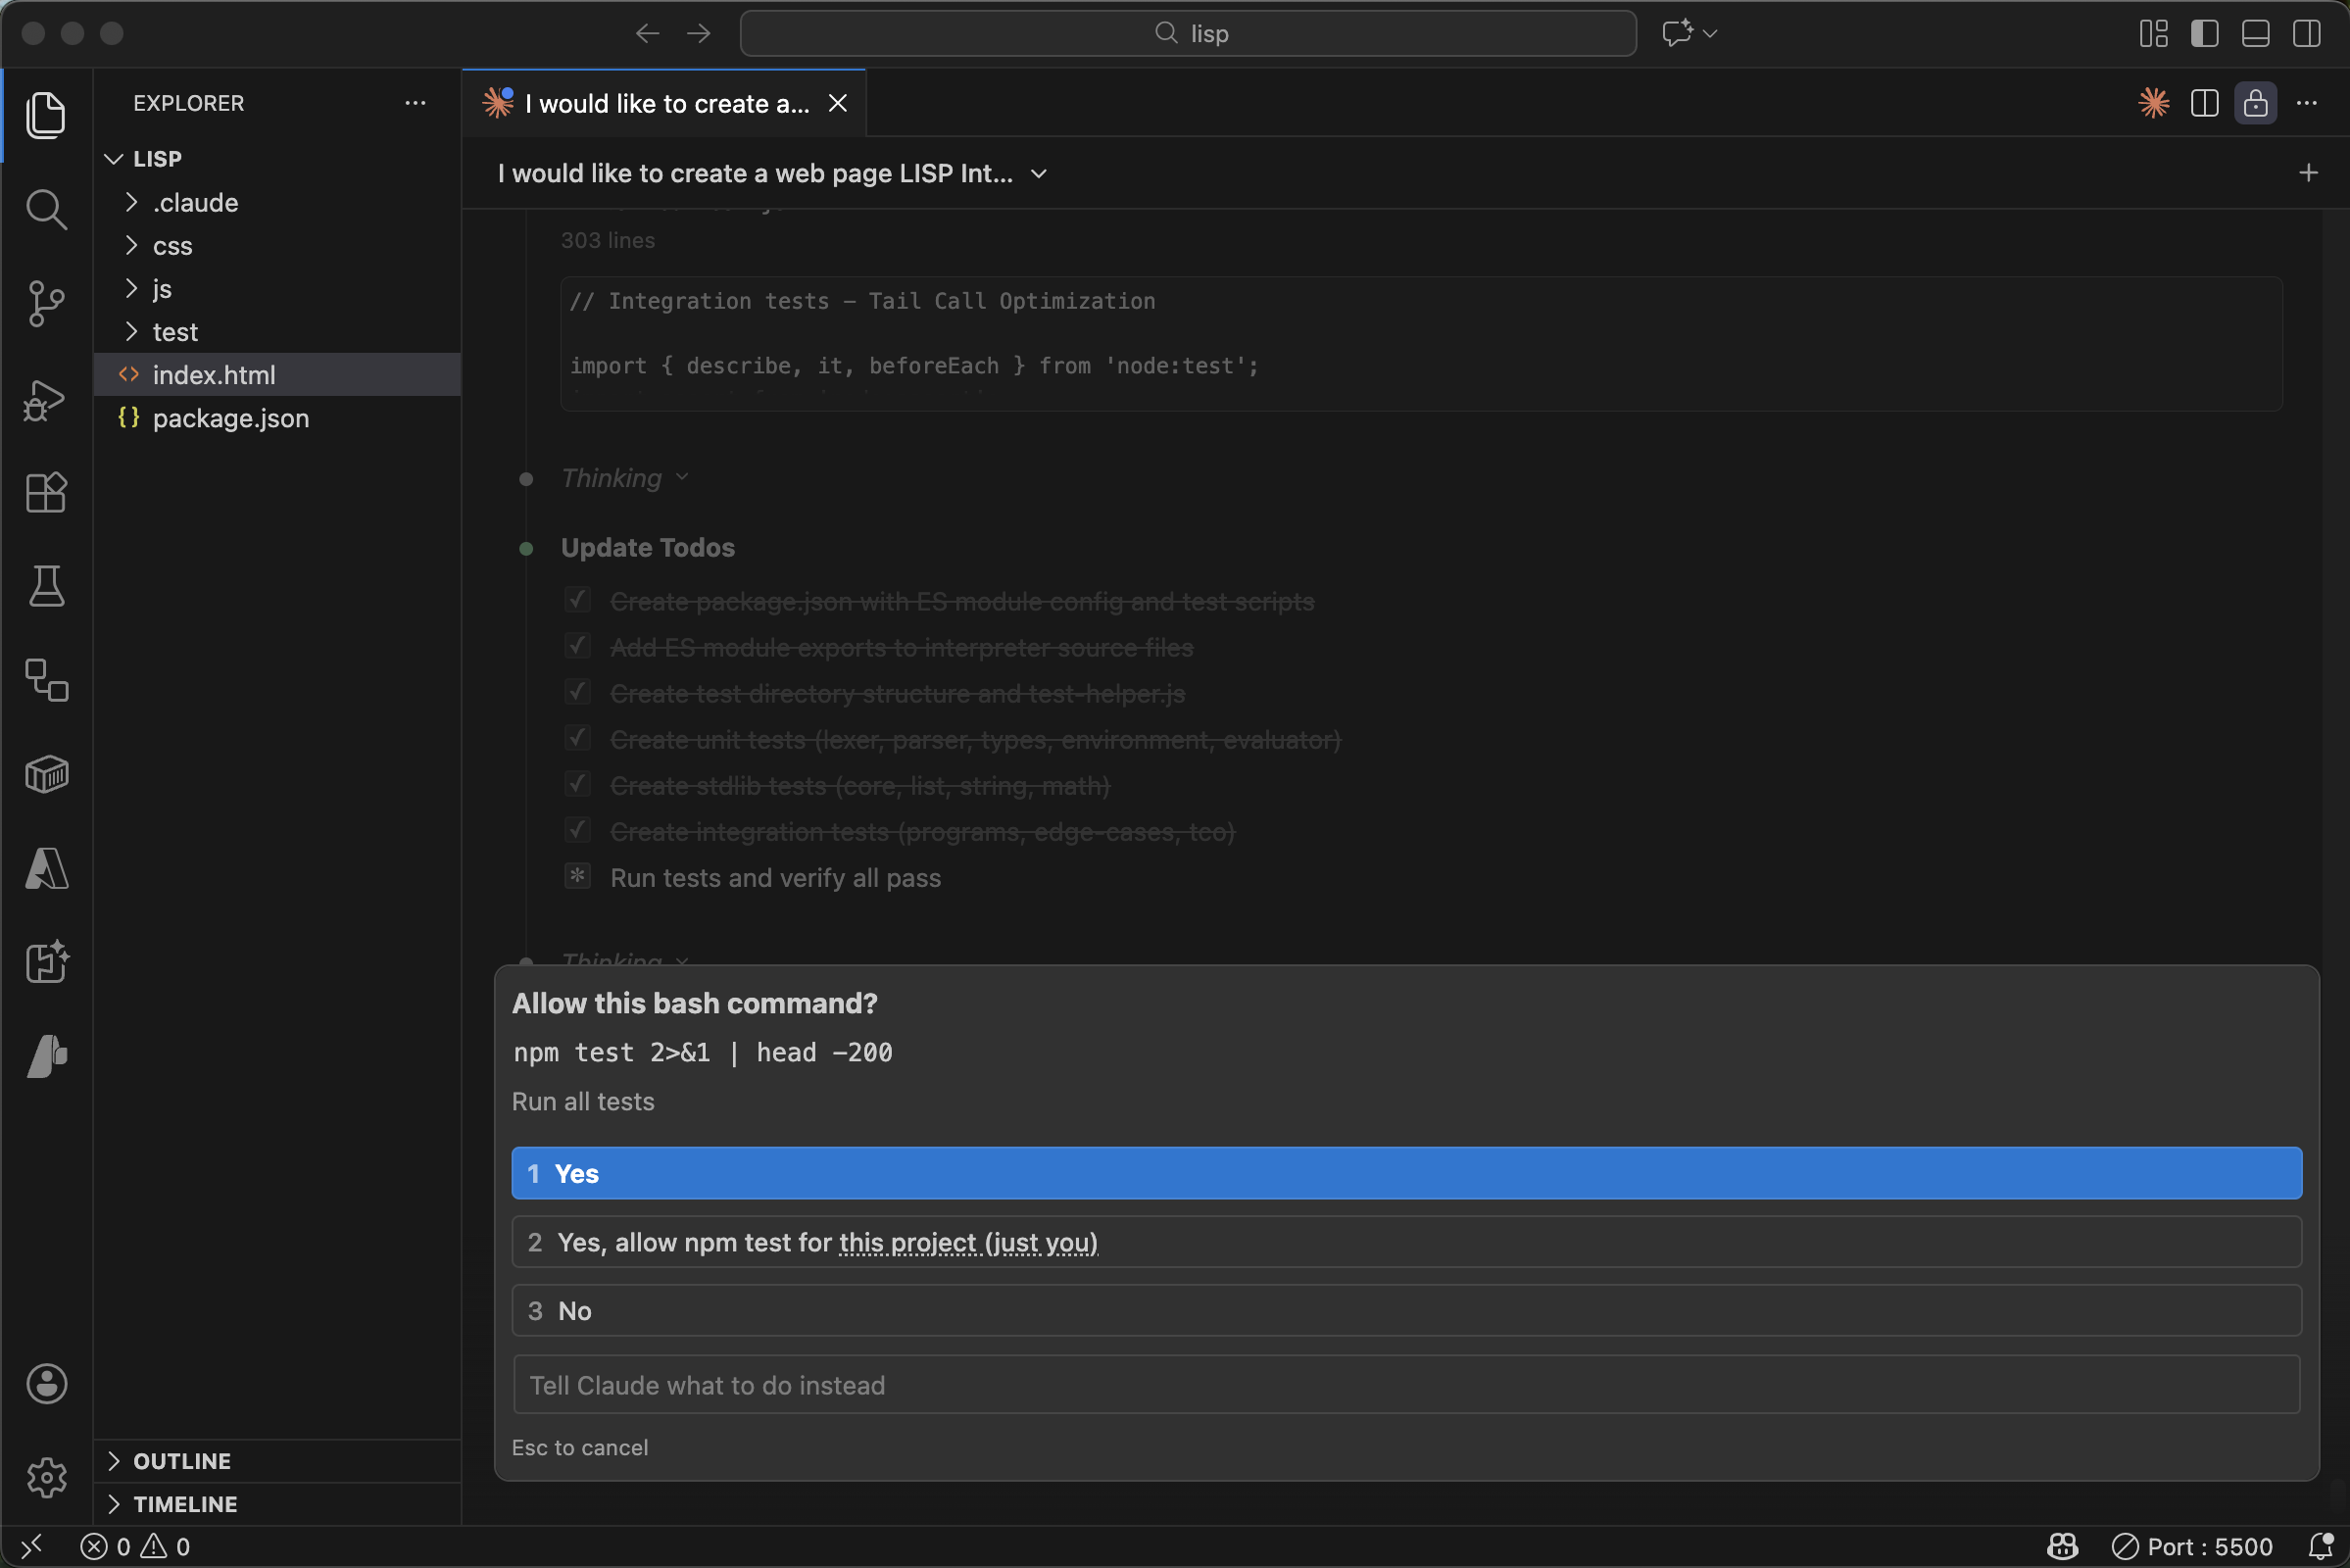
Claude ran npm test
All tests passed
Initialising CLAUDE.md
PROMPT
1/init
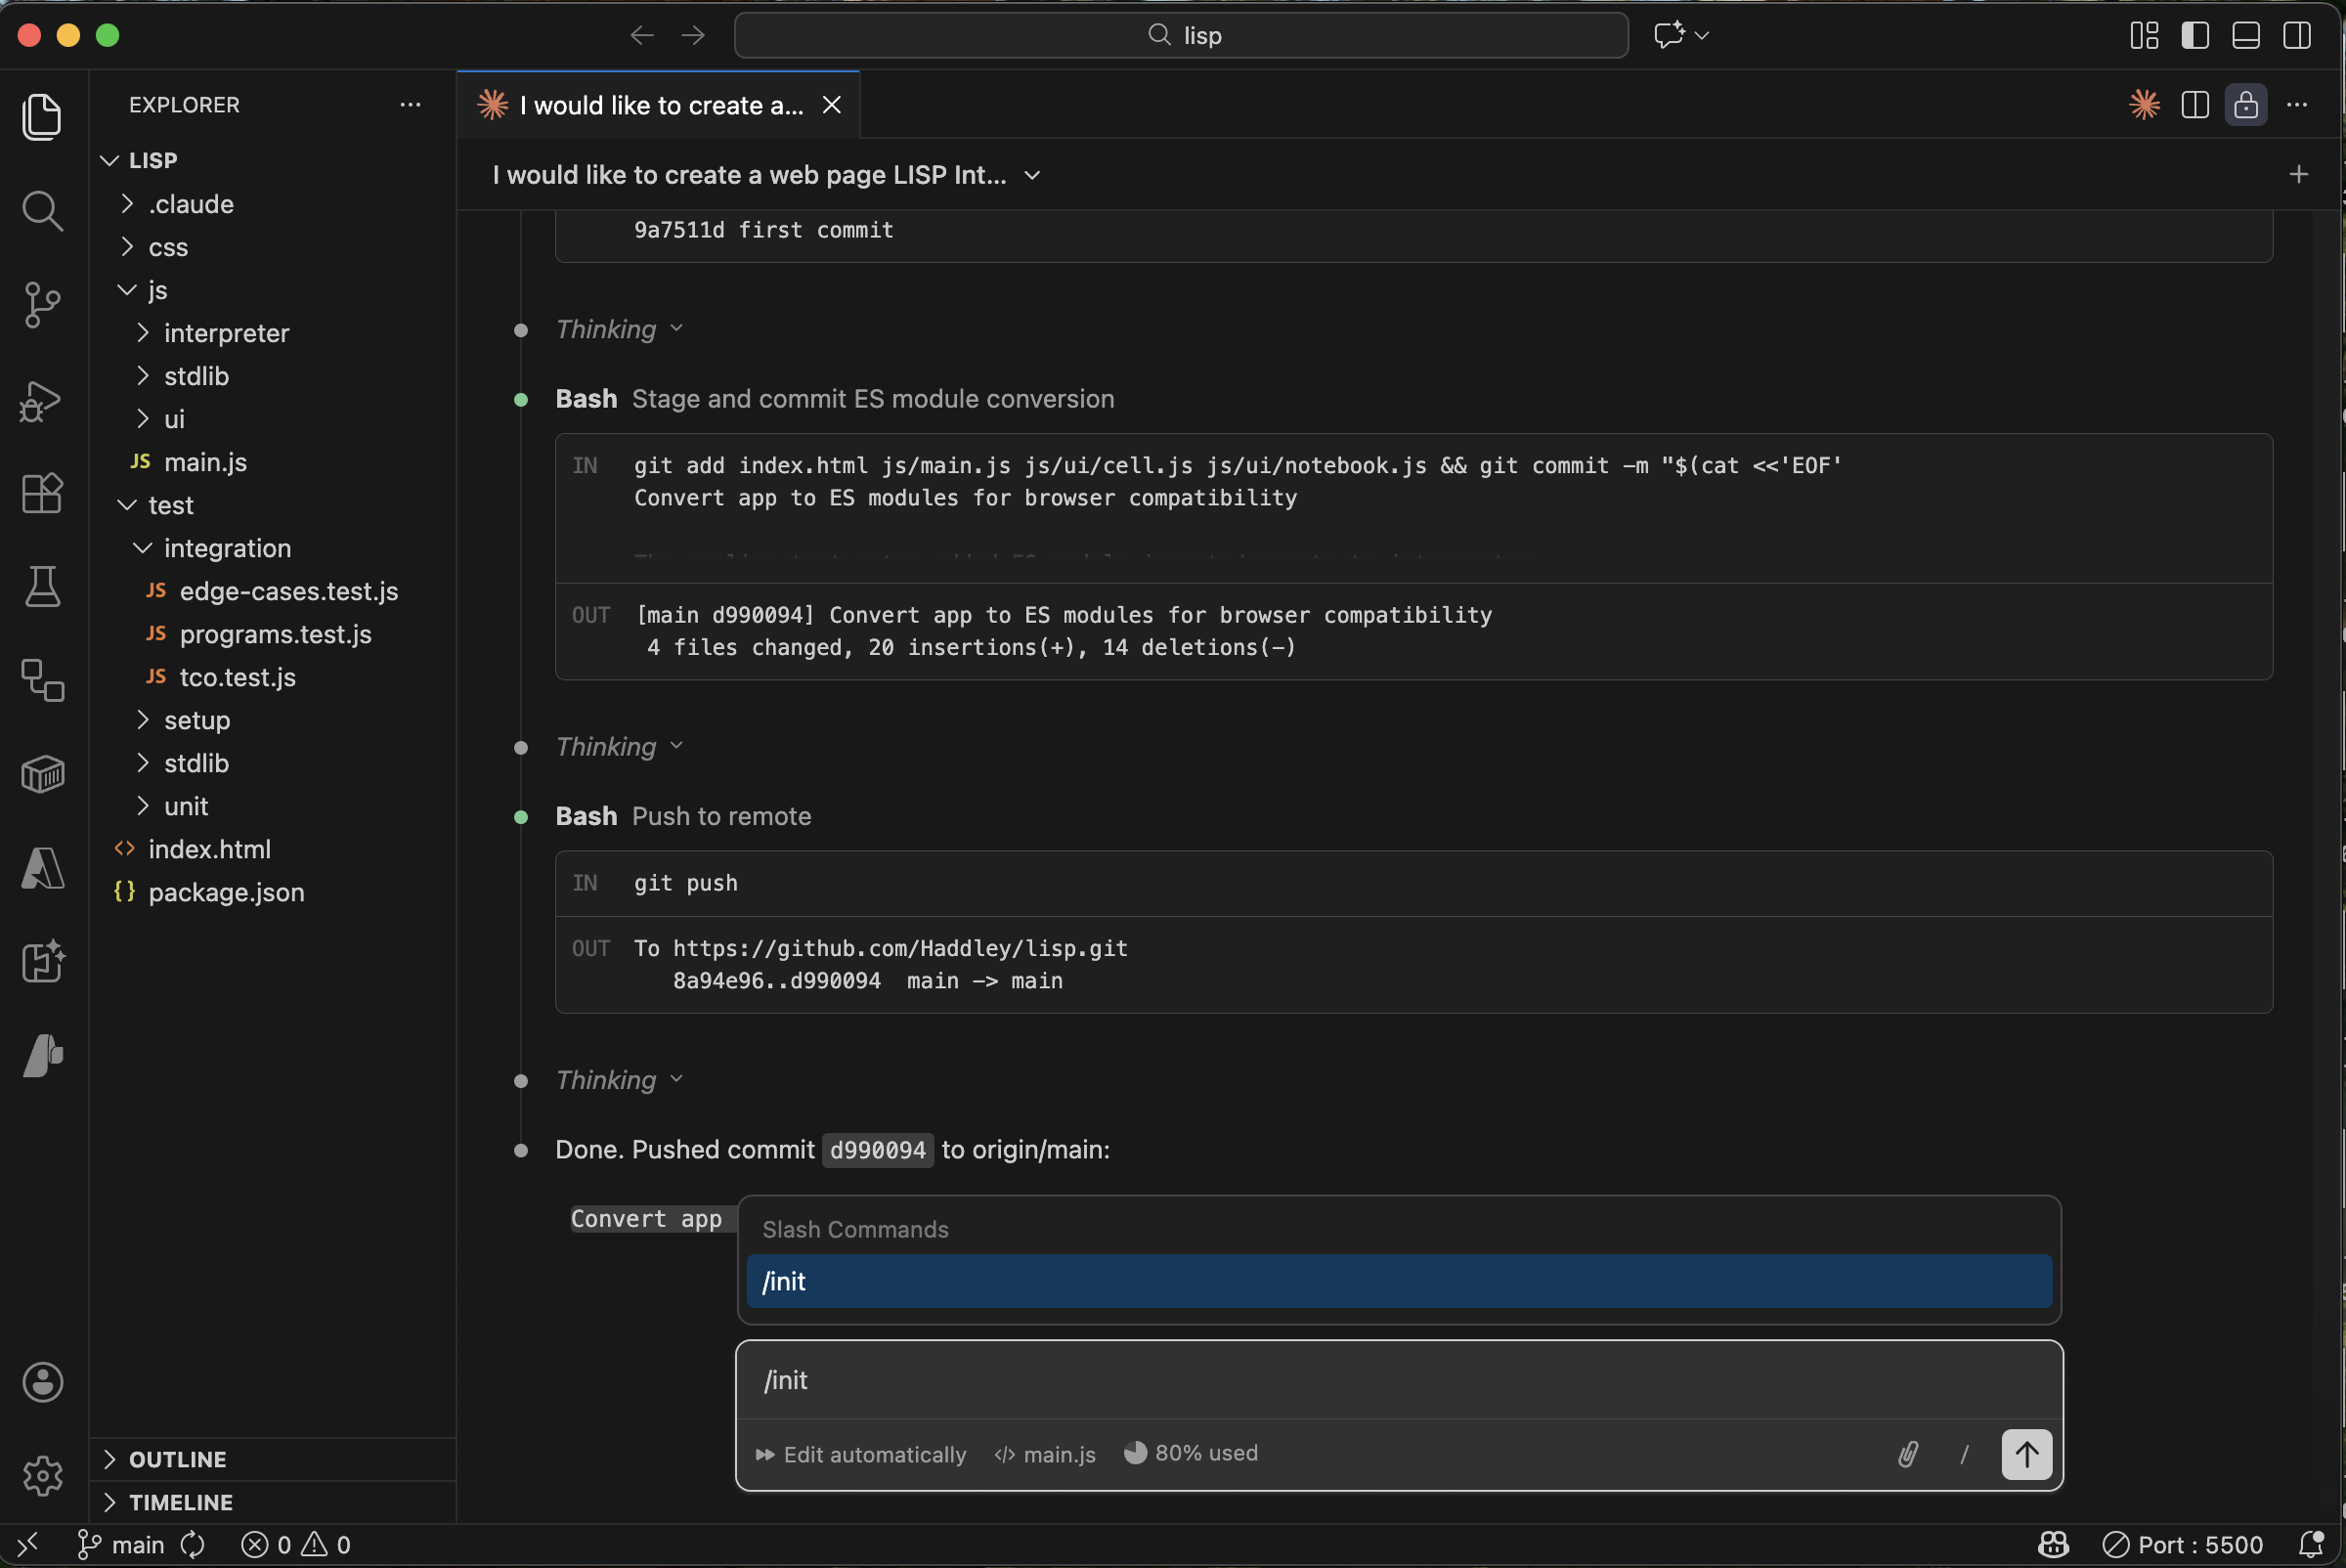
I ran /init to generate a CLAUDE.md for the project
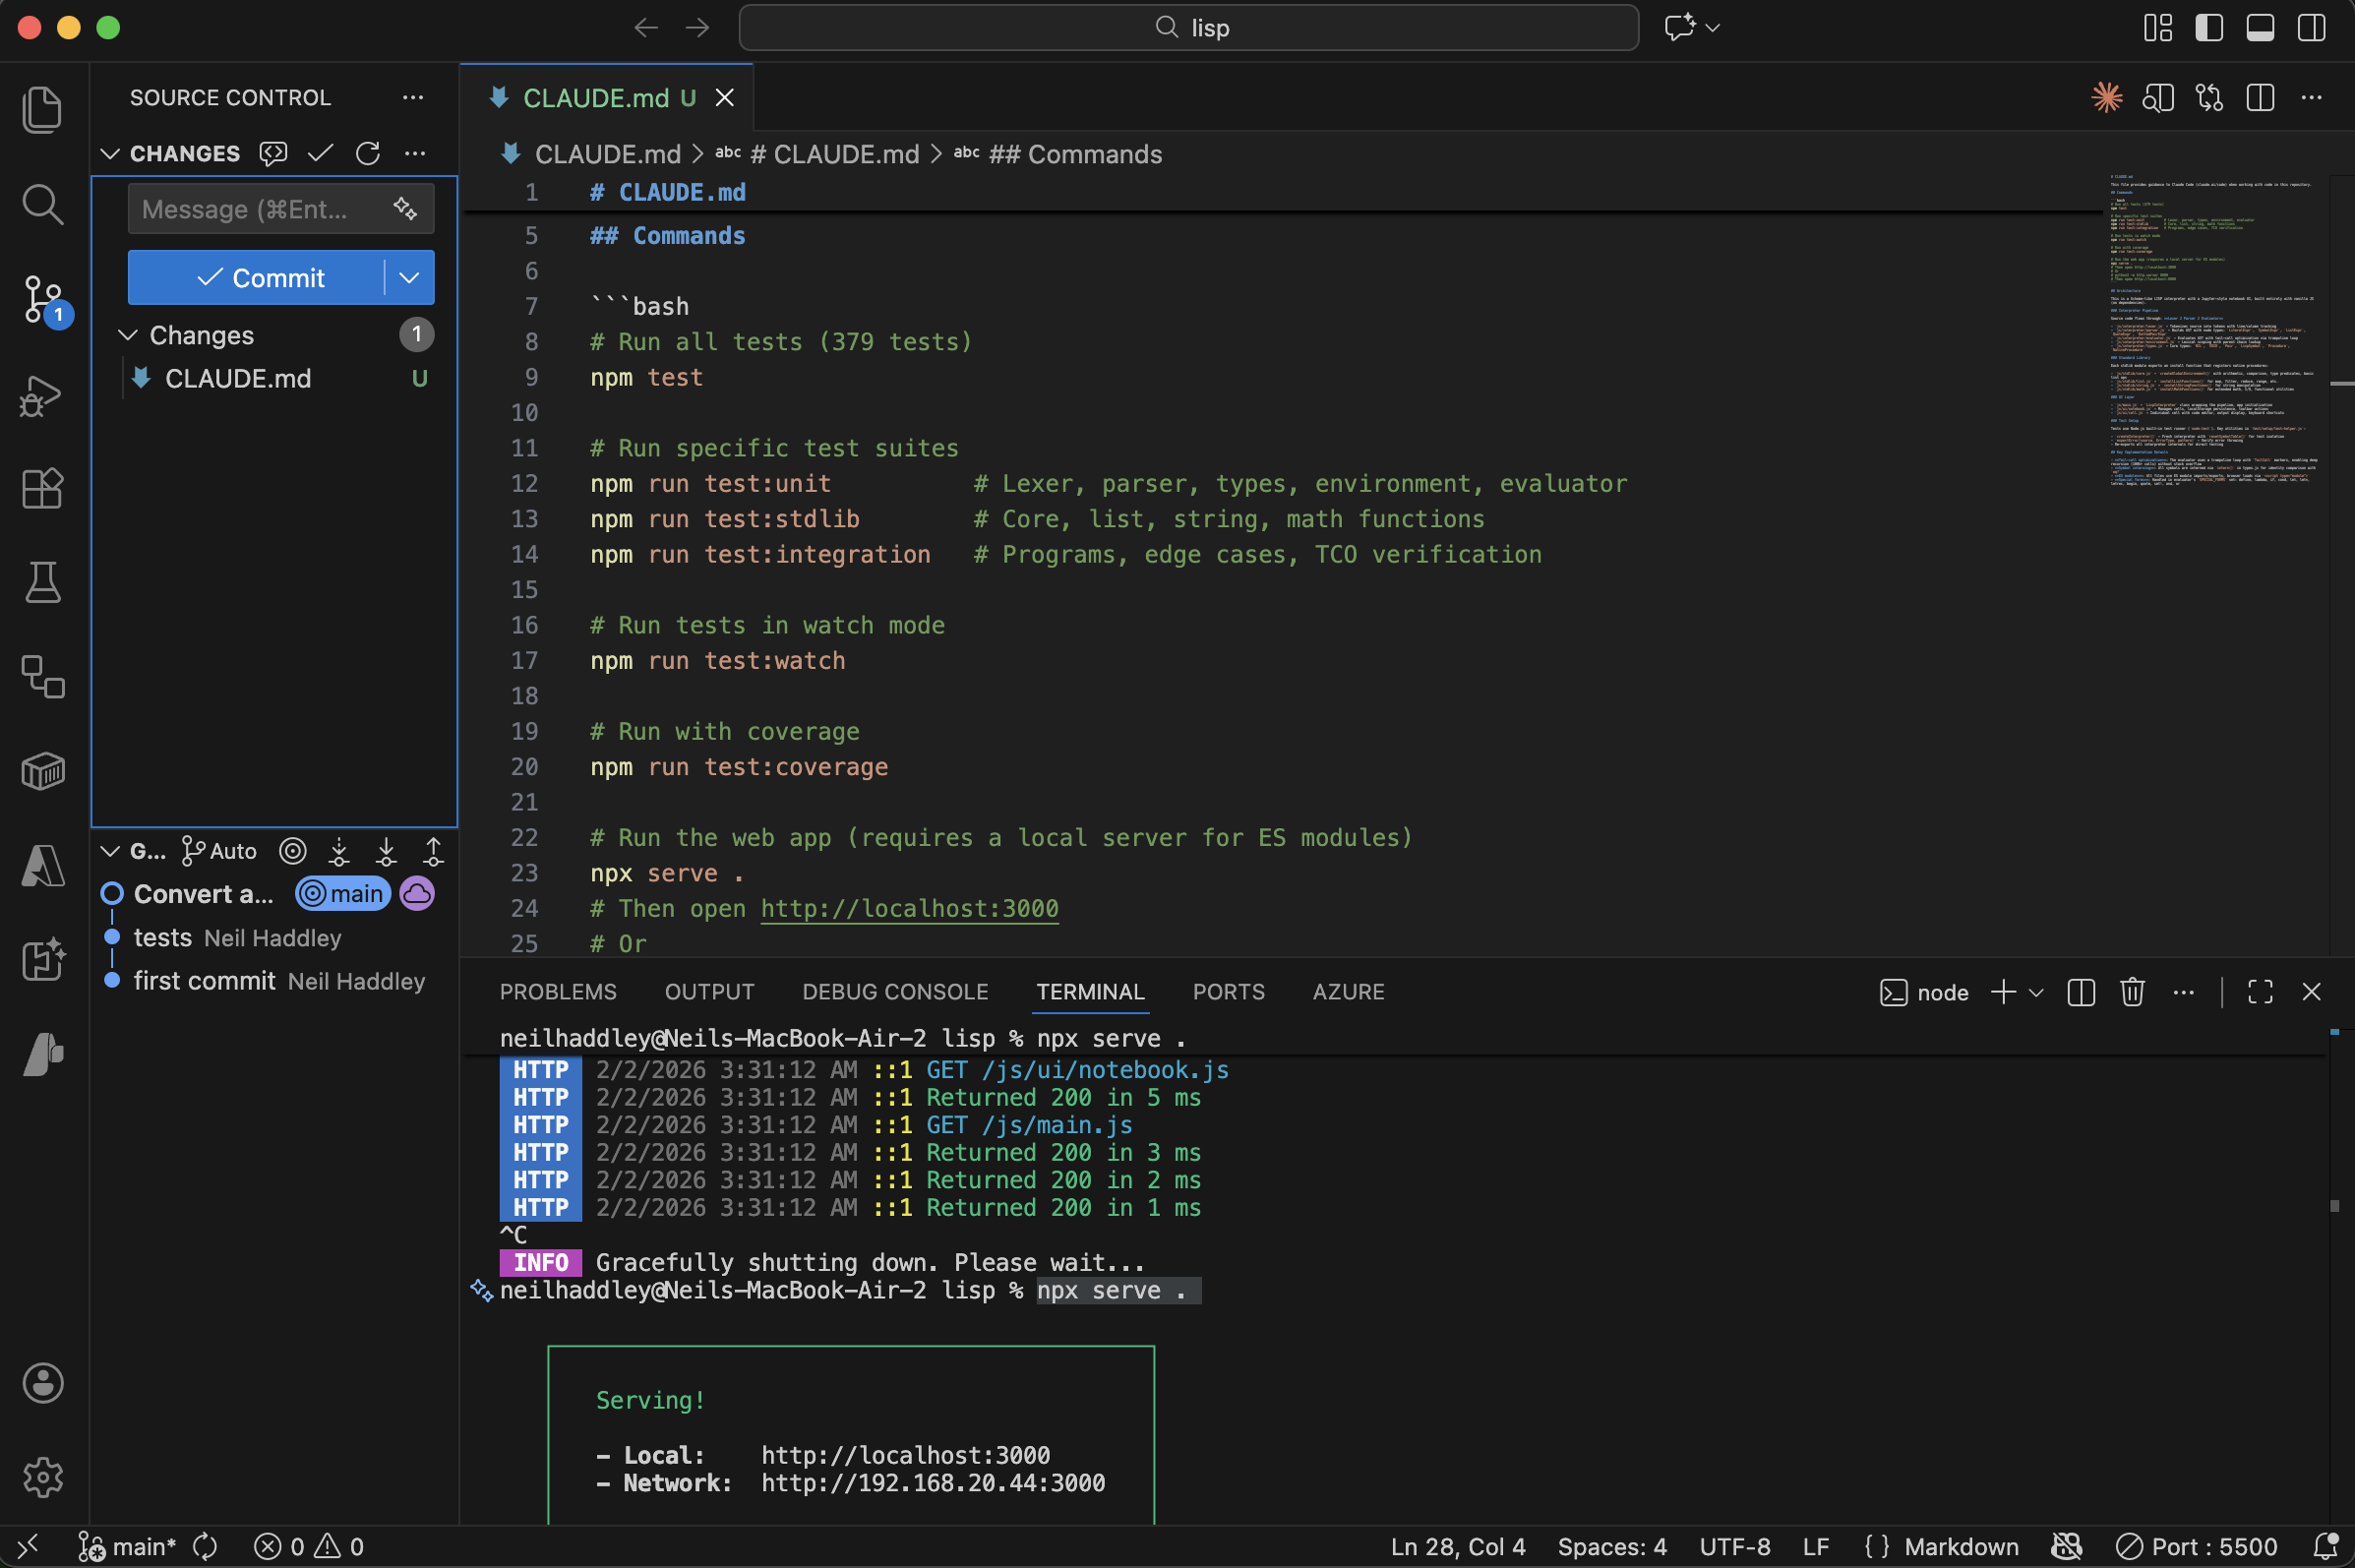
Claude committed CLAUDE.md to the repository
Deploying to Azure
PROMPT
1How do I ensure that this code is deployed to Azure everytime it is pushed to github (assuming that the tests pass)?
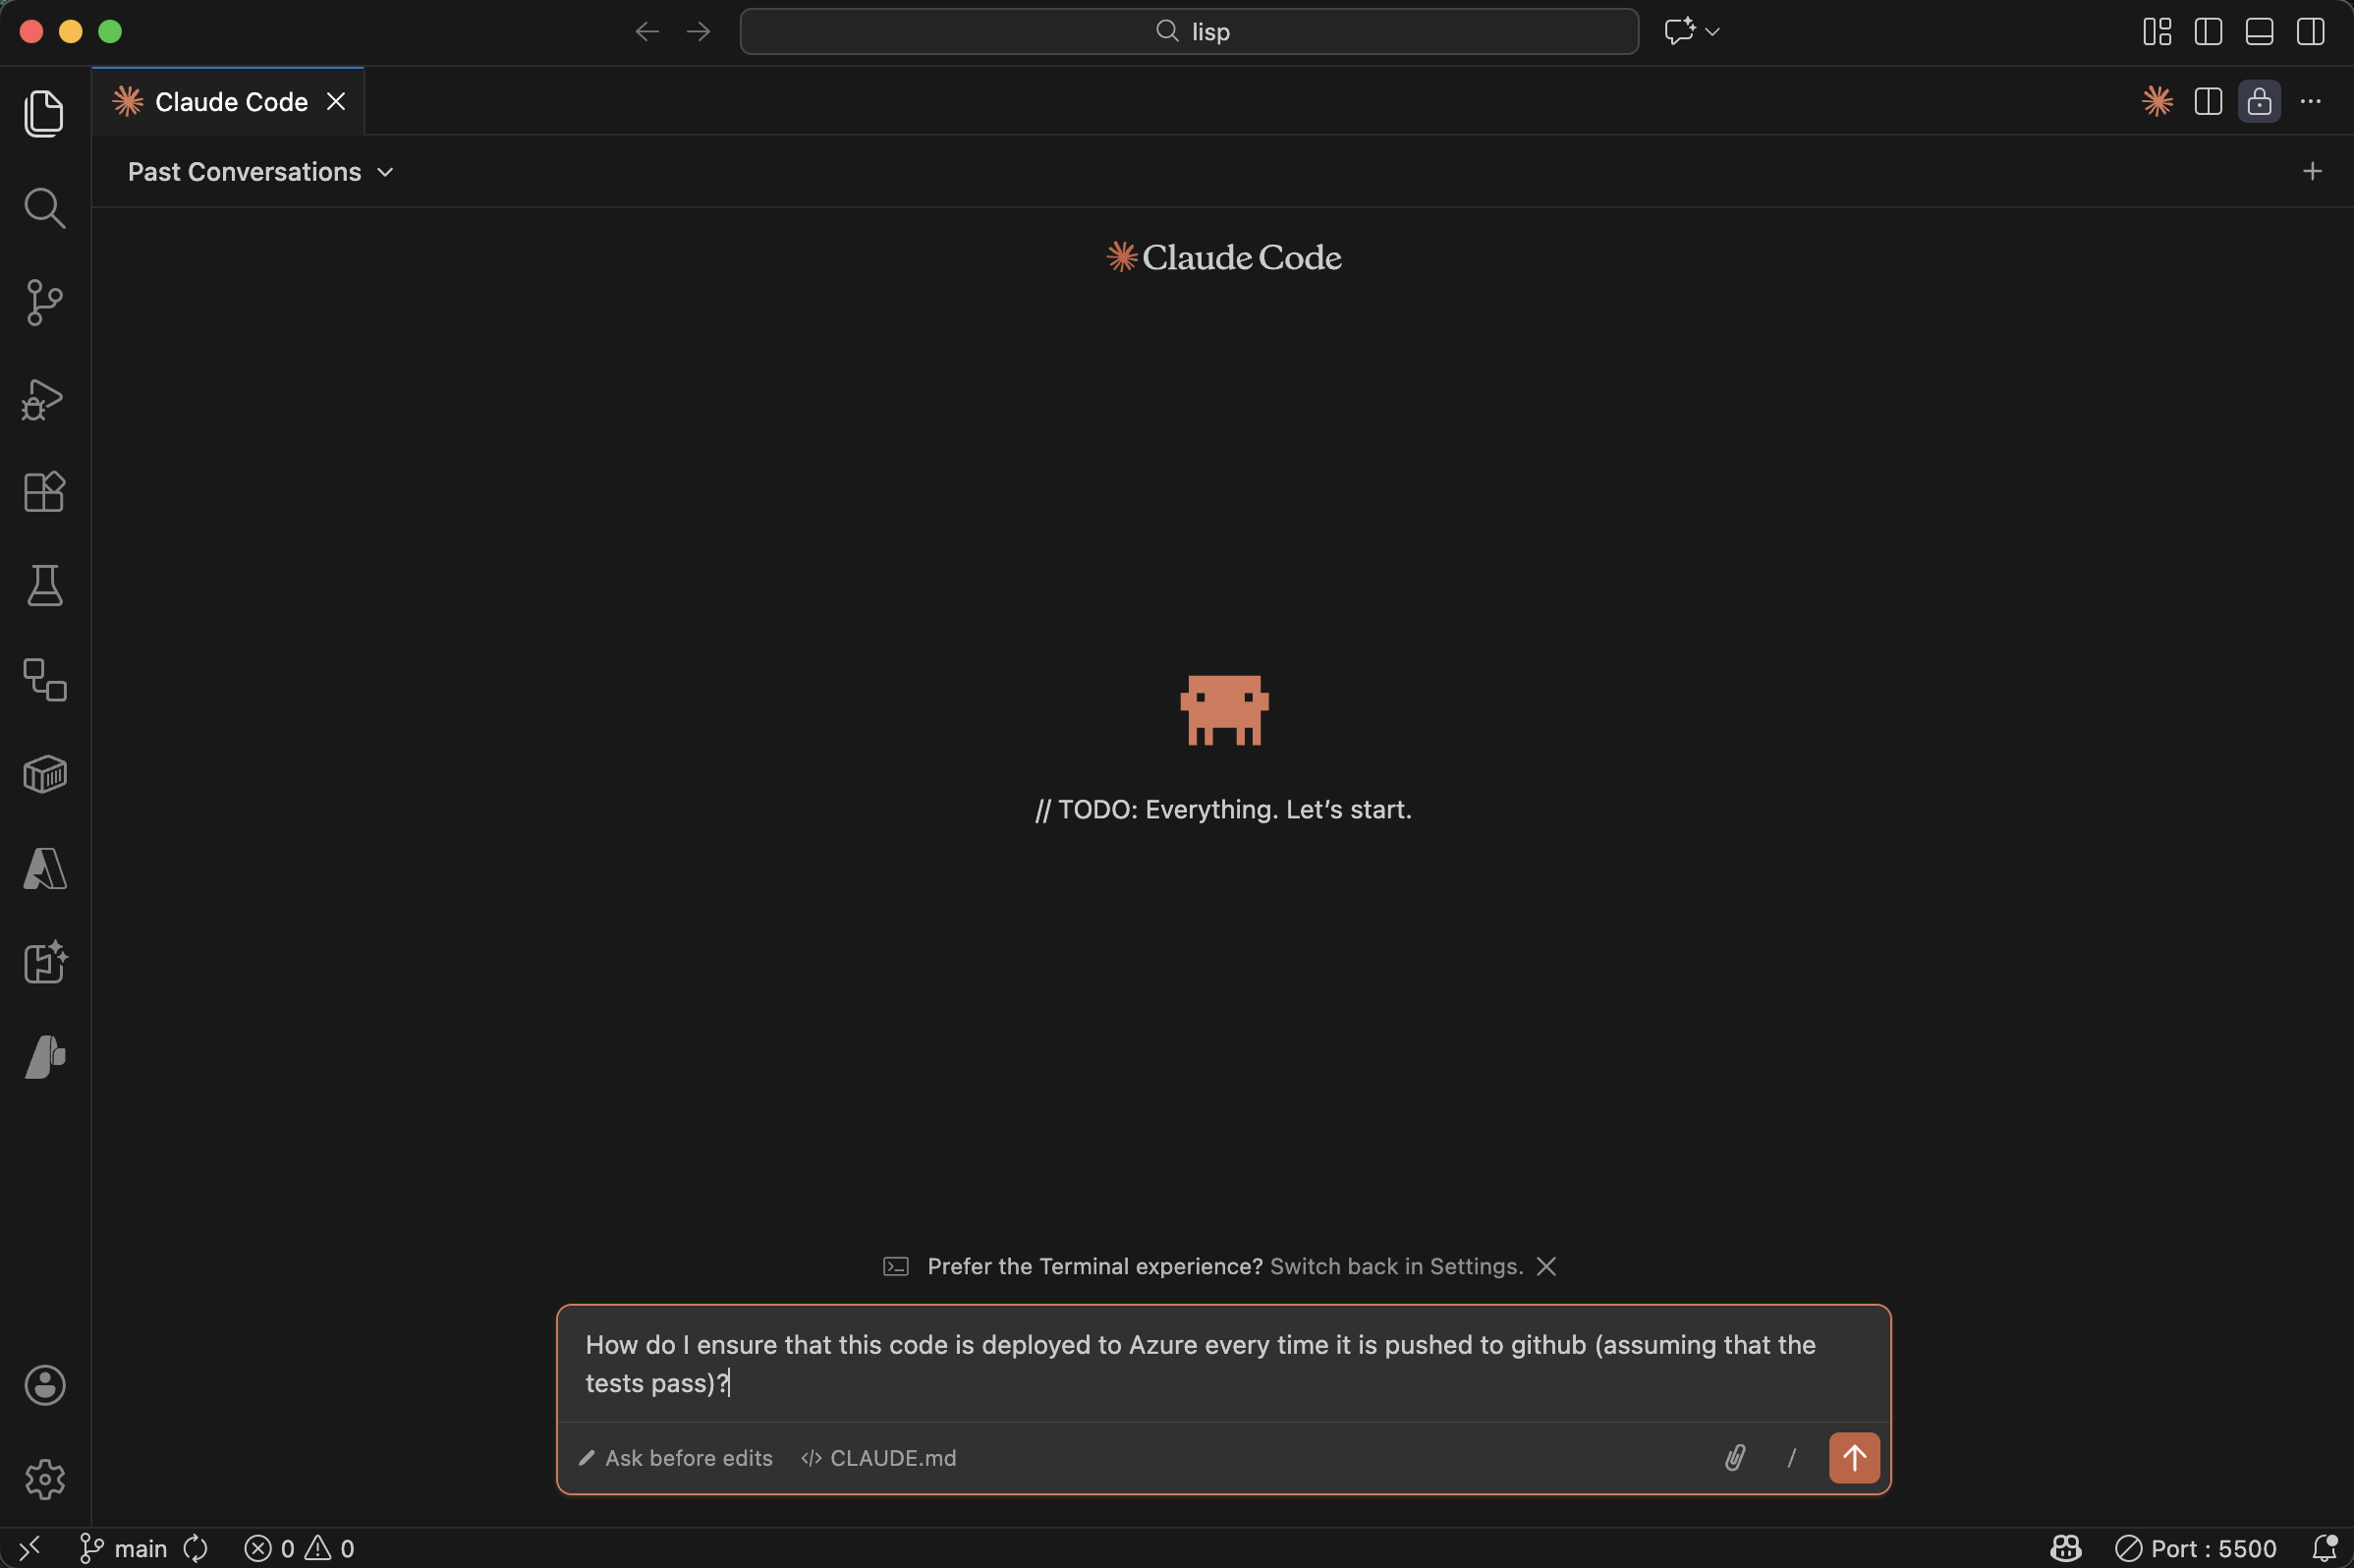
I asked Claude how to set up CI/CD to Azure
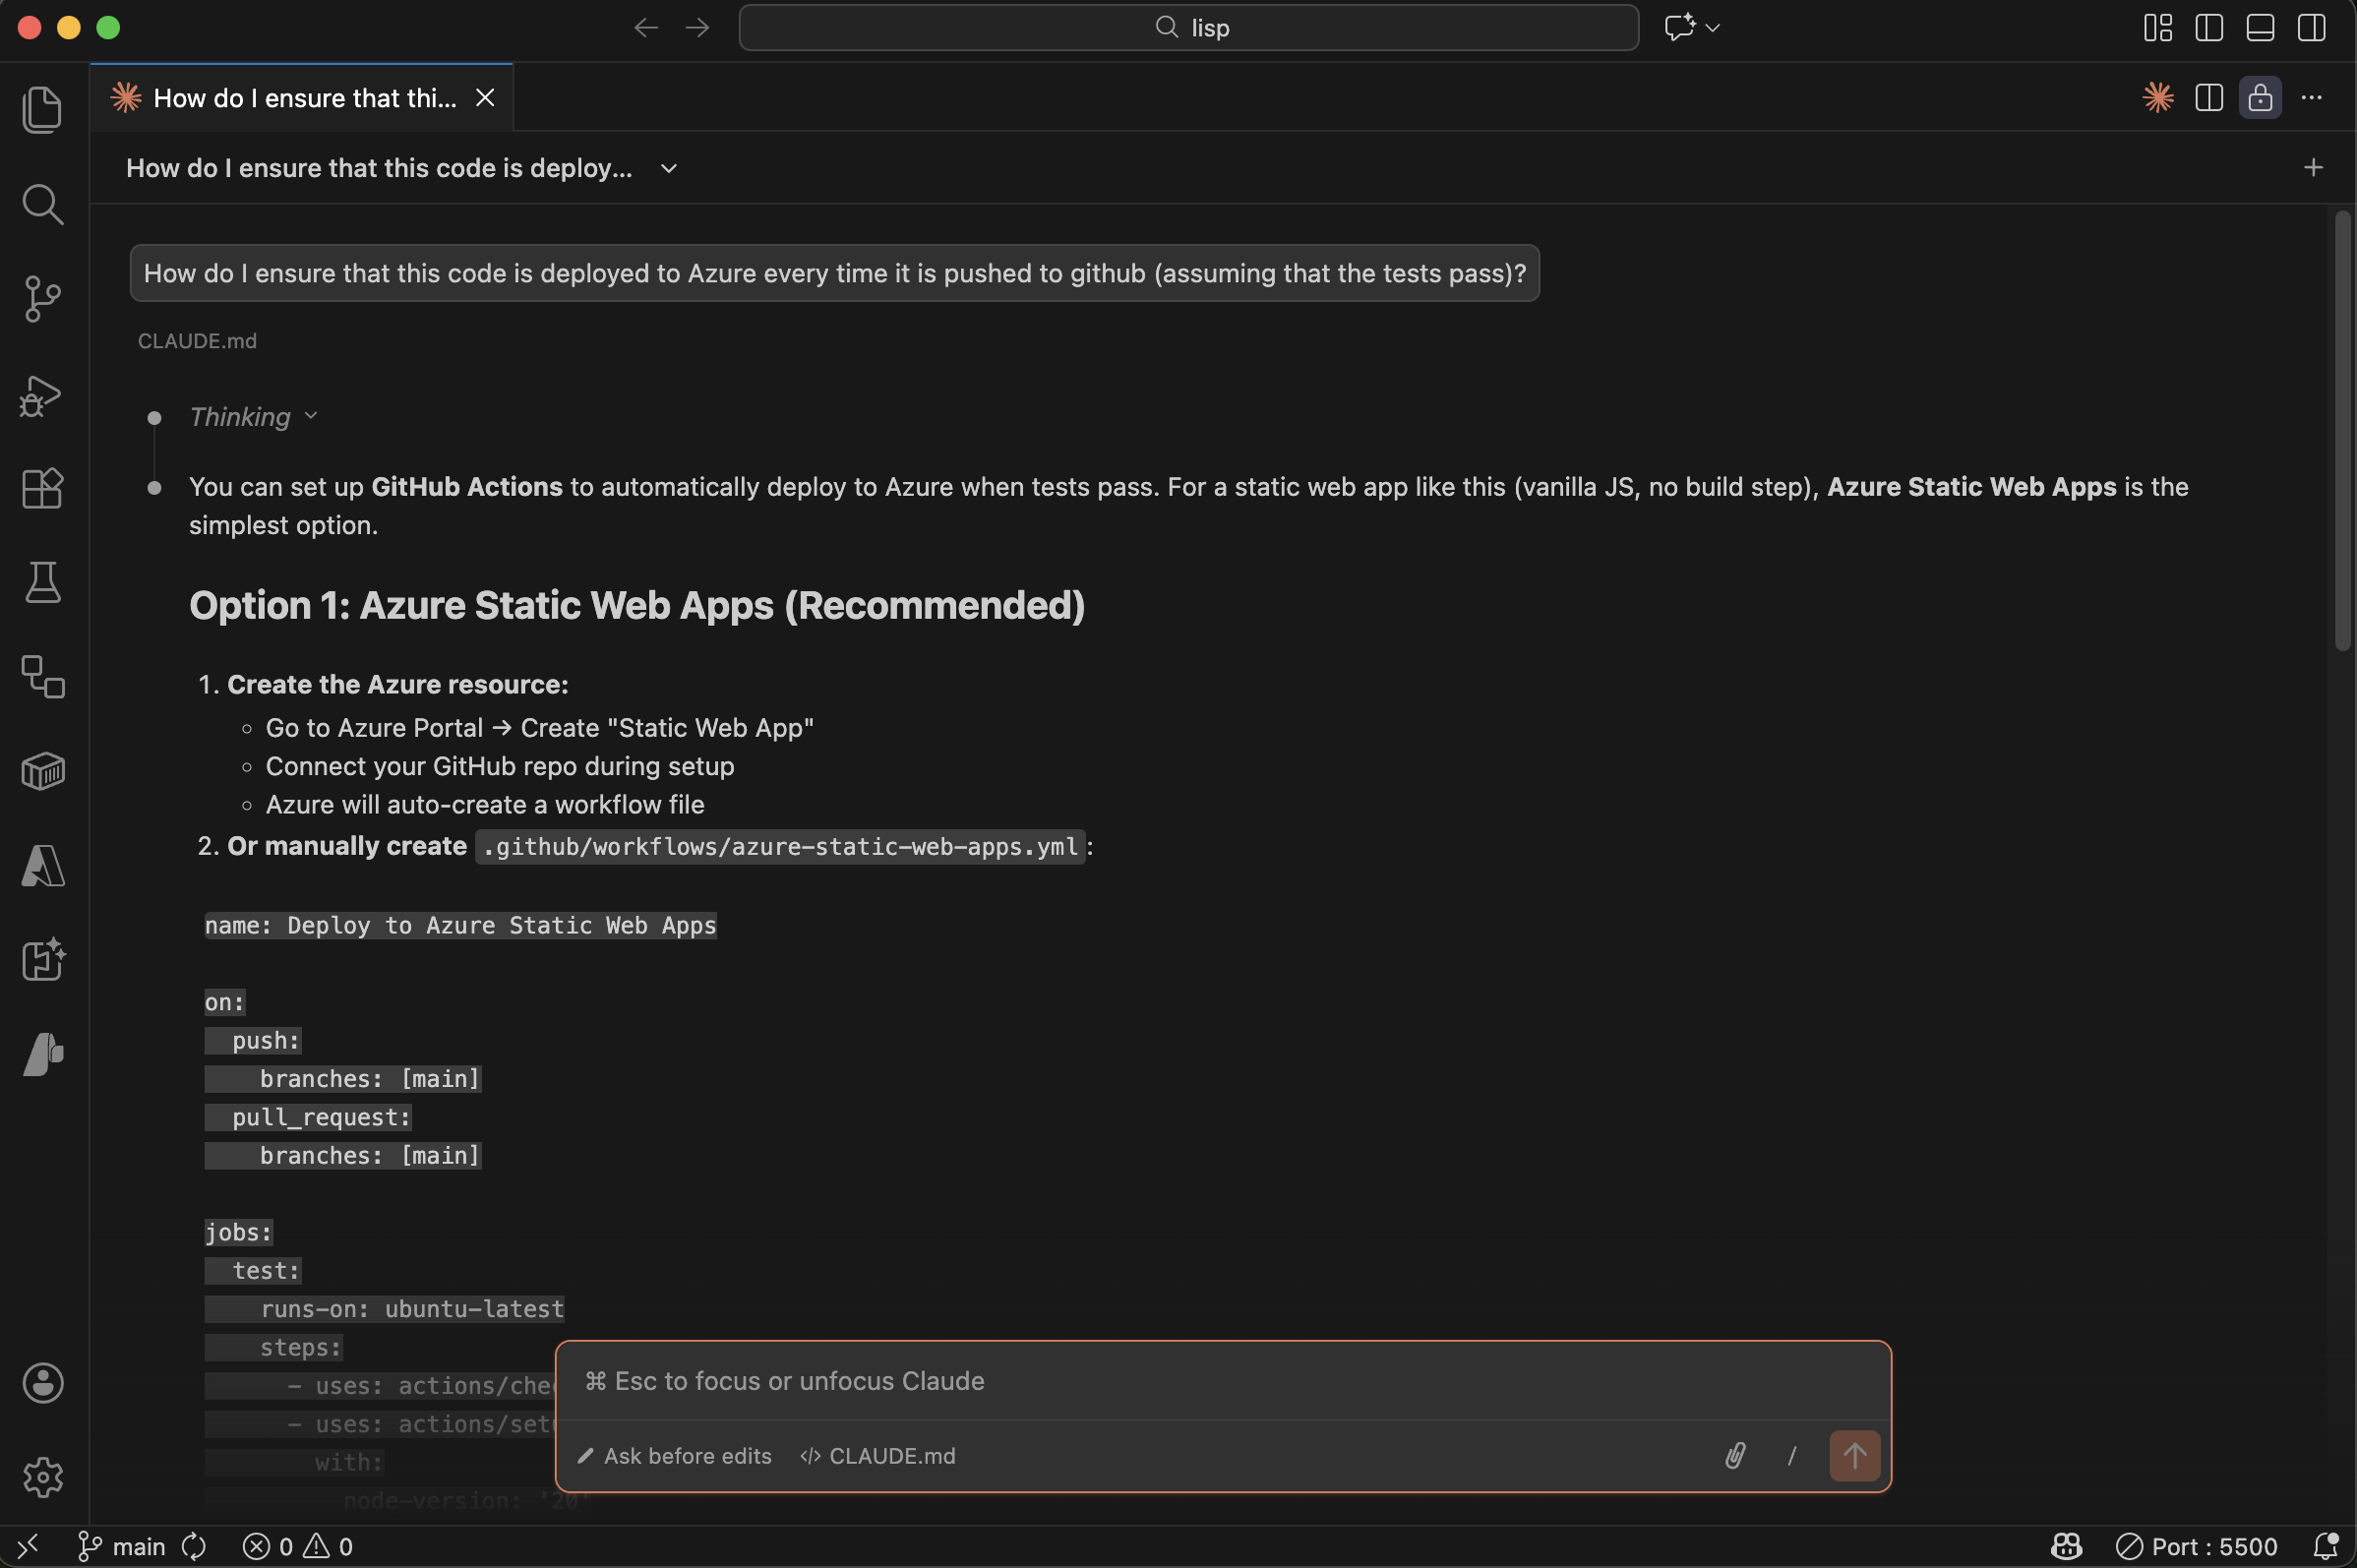
Claude recommended Azure Static Web Apps as the simplest option
Claude created the GitHub Actions workflow:

Claude created the .github/workflows directory

Claude created the azure-static-web-apps.yml workflow file
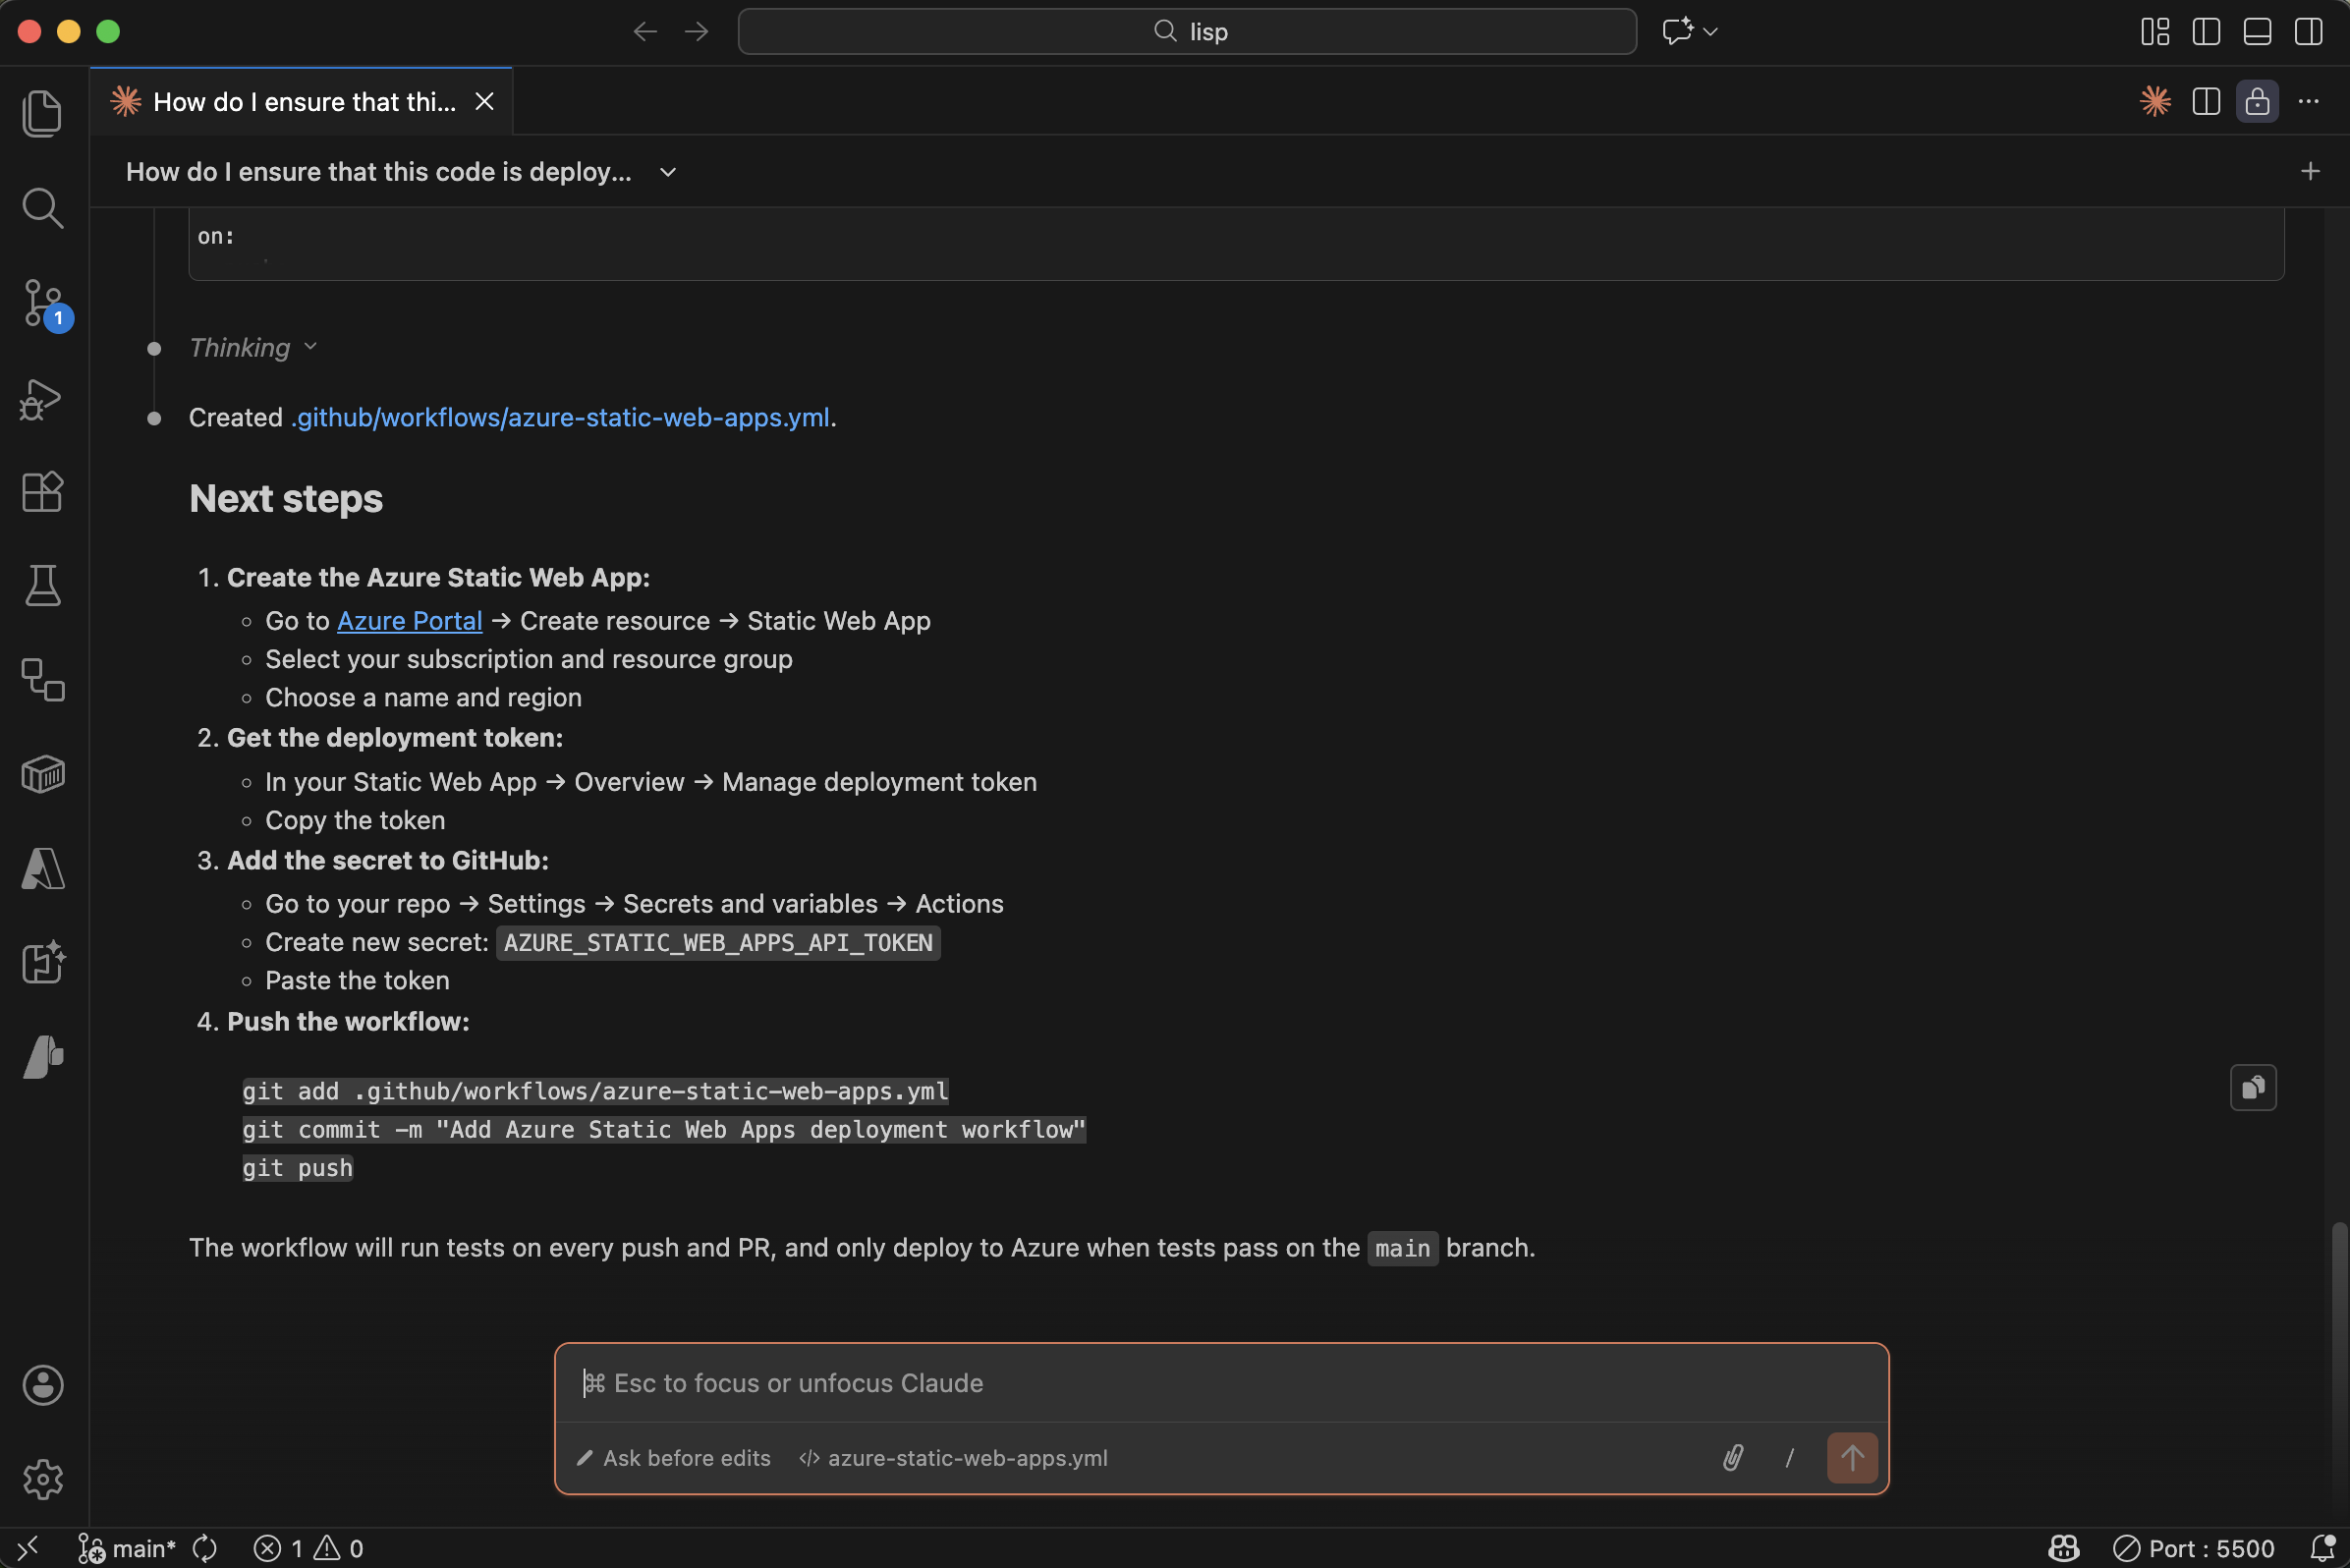
Claude outlined the remaining manual steps in the Azure portal
I created the Static Web App resource in the Azure portal:
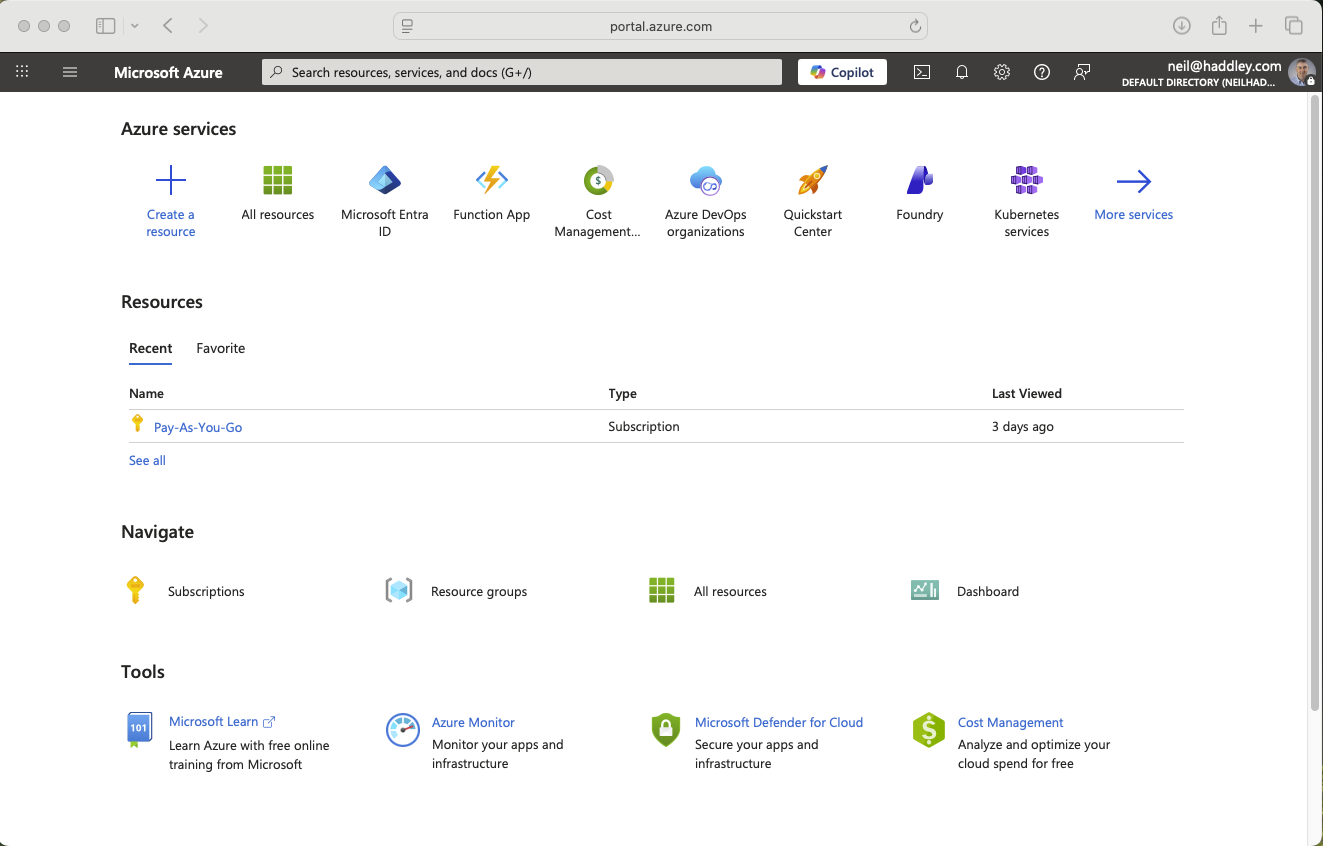
I navigated to portal.azure.com and created a new resource
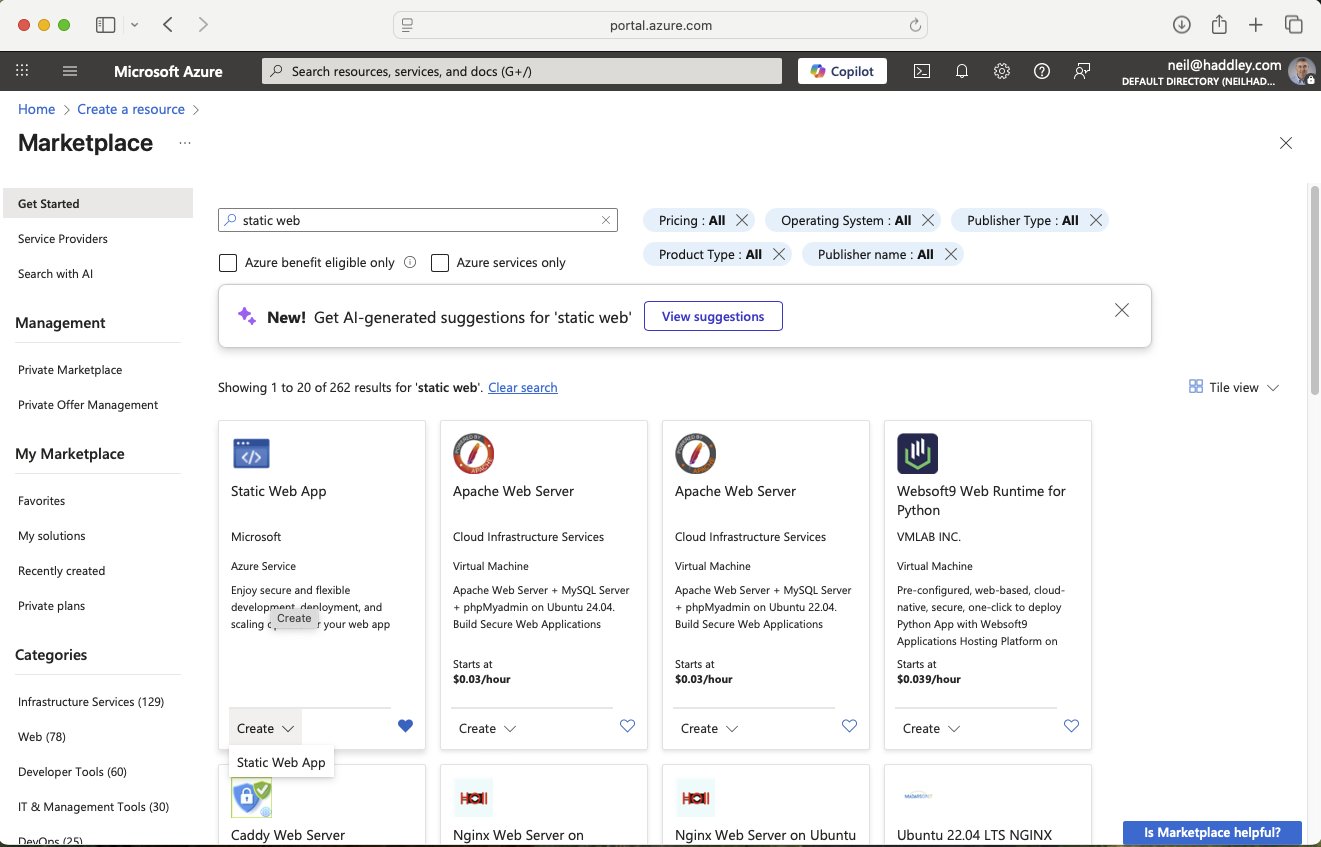
I selected Static Web App
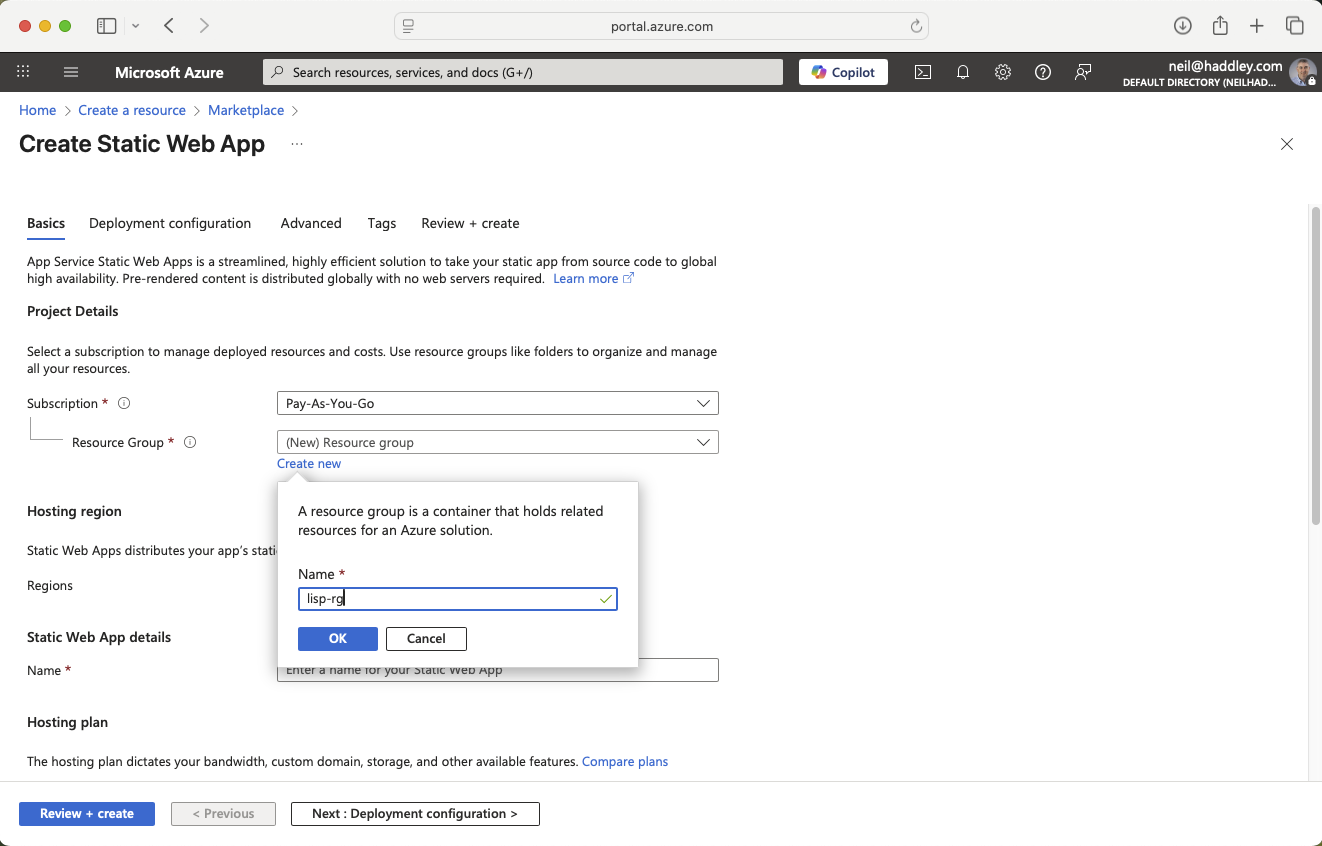
I created a new Resource Group for the app
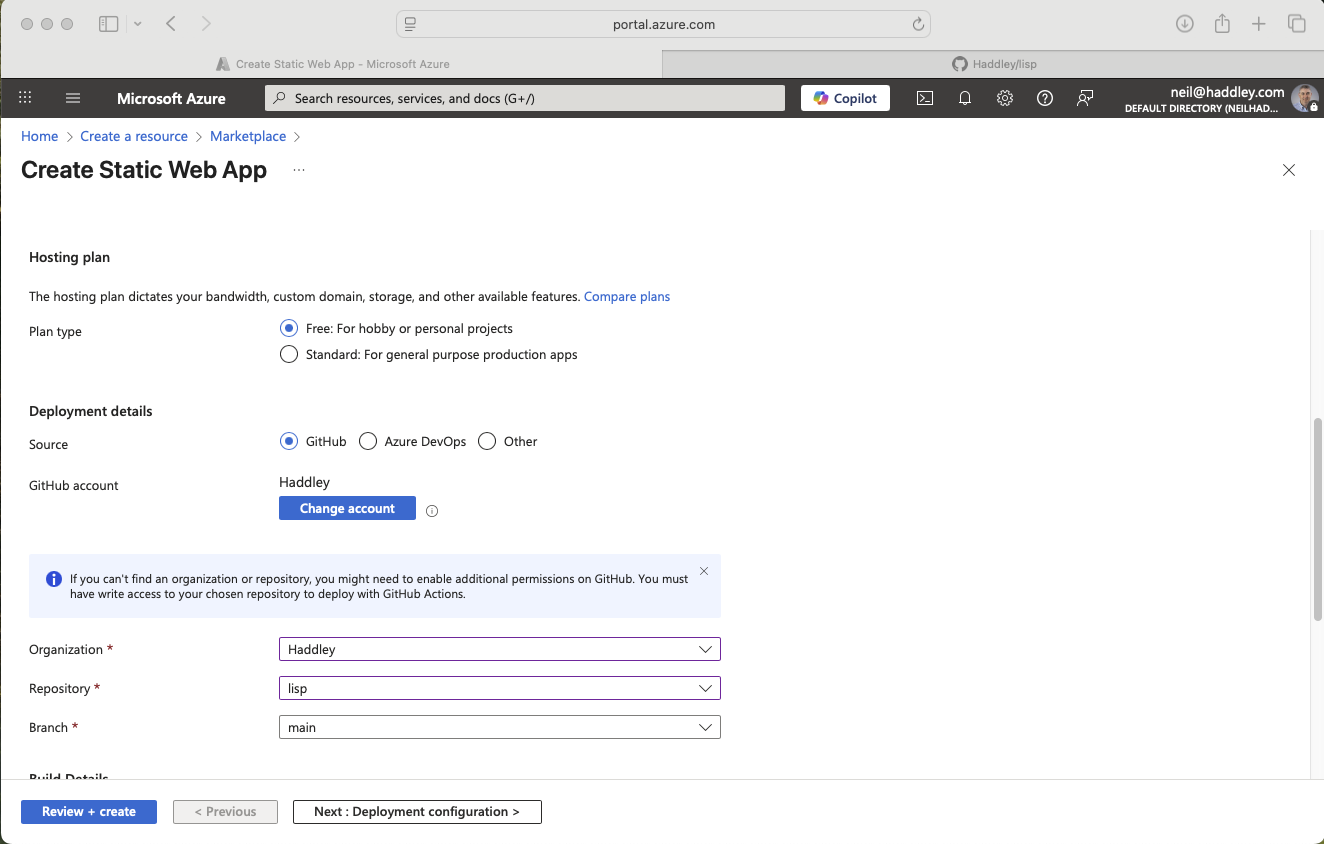
I selected the Free plan and linked it to the GitHub repository
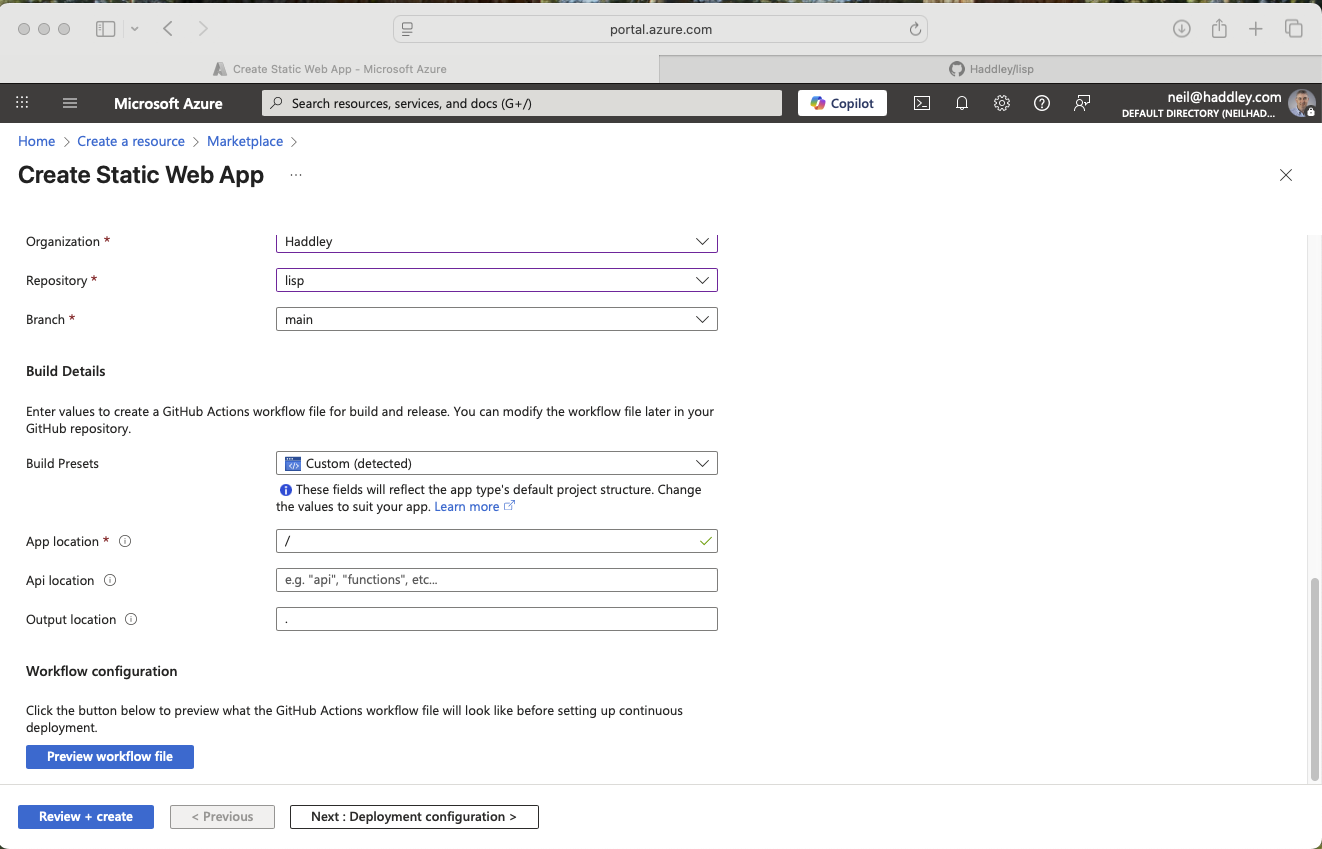
I configured the build details
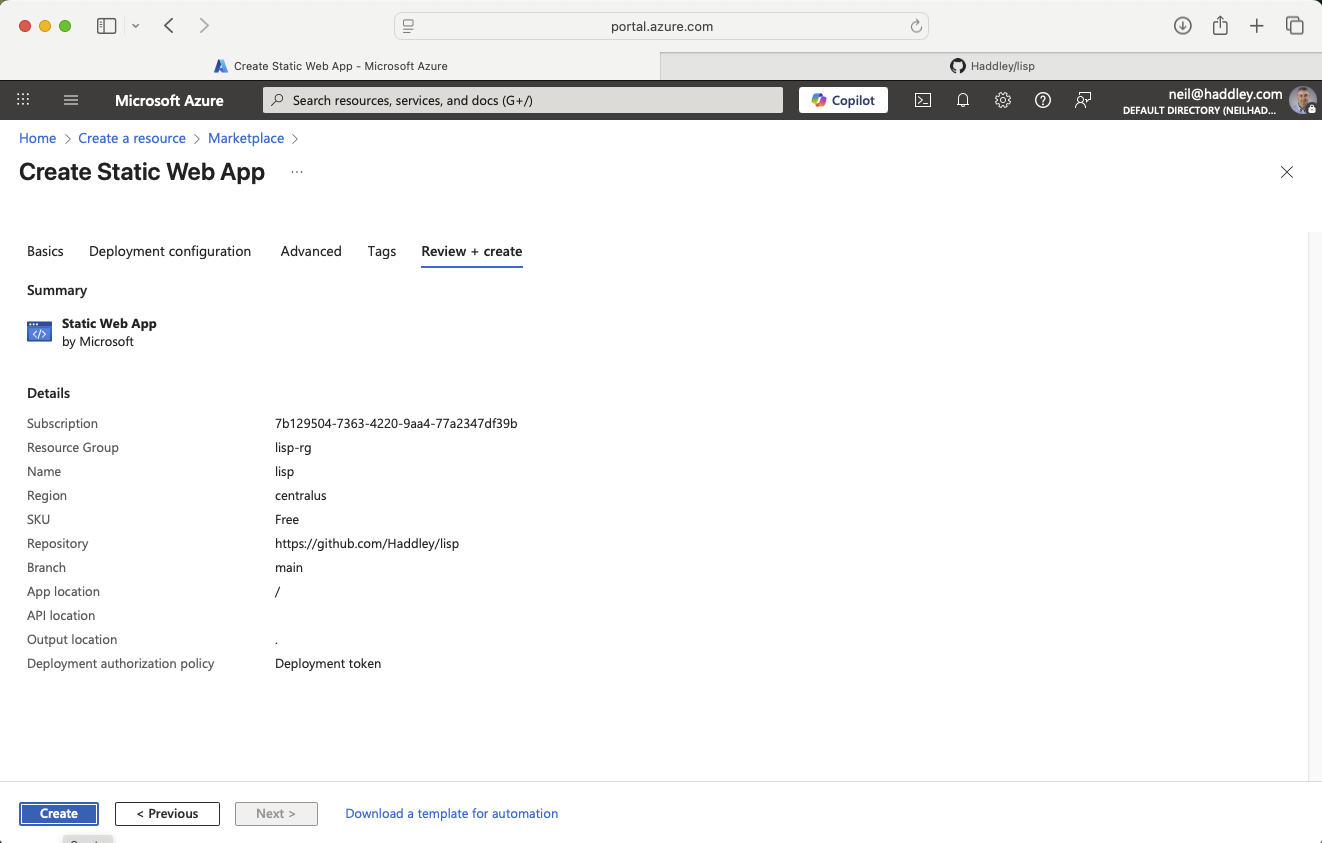
I clicked Create
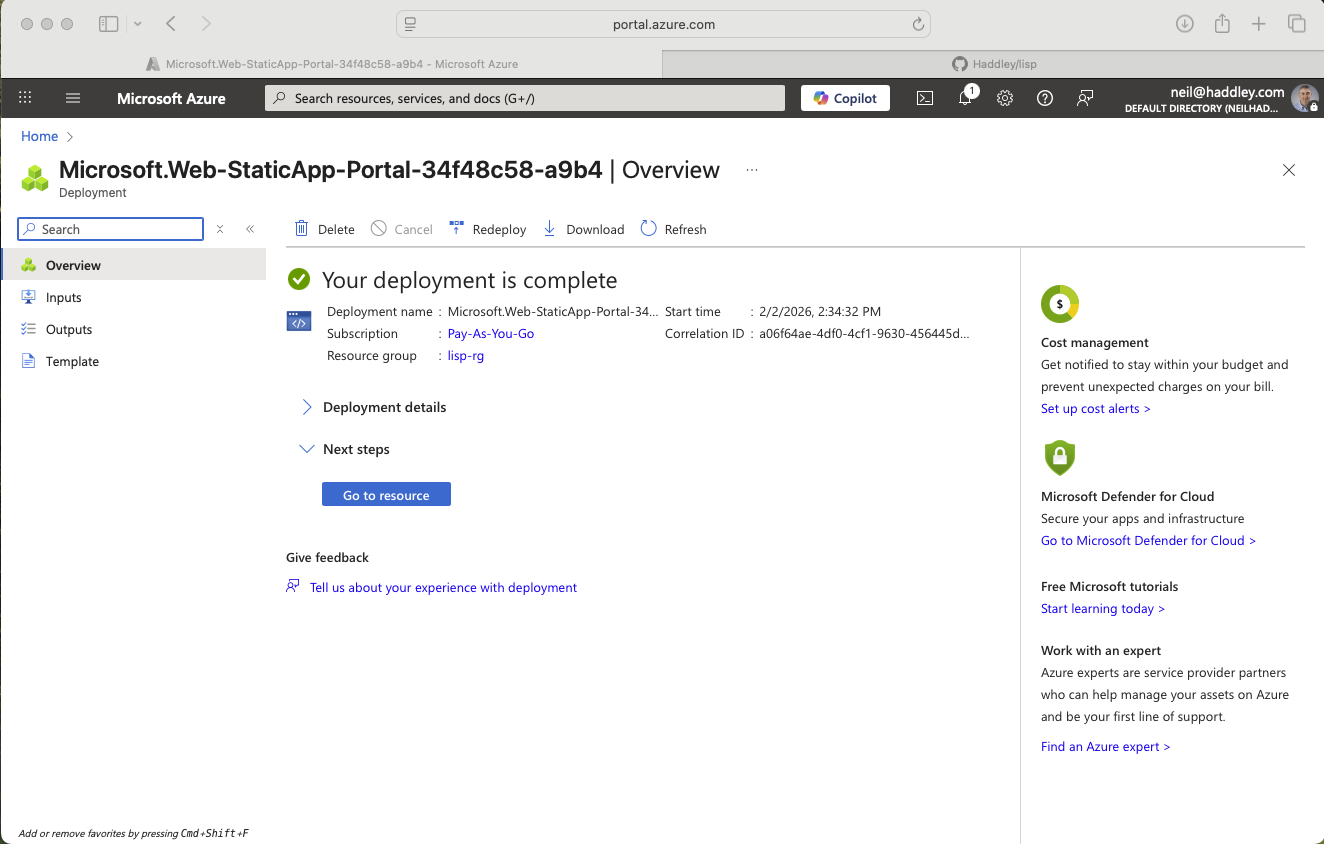
Deployment complete
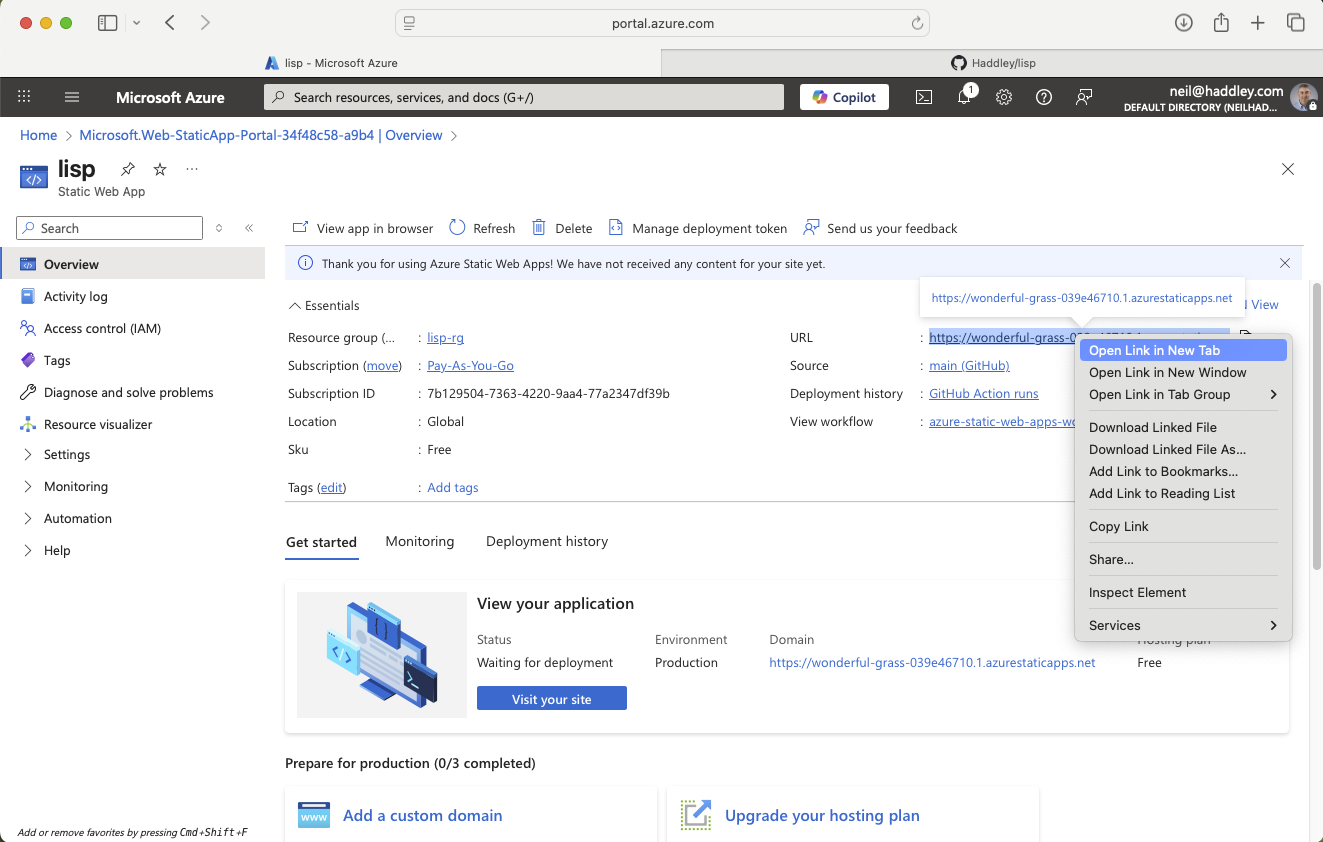
I opened the app link
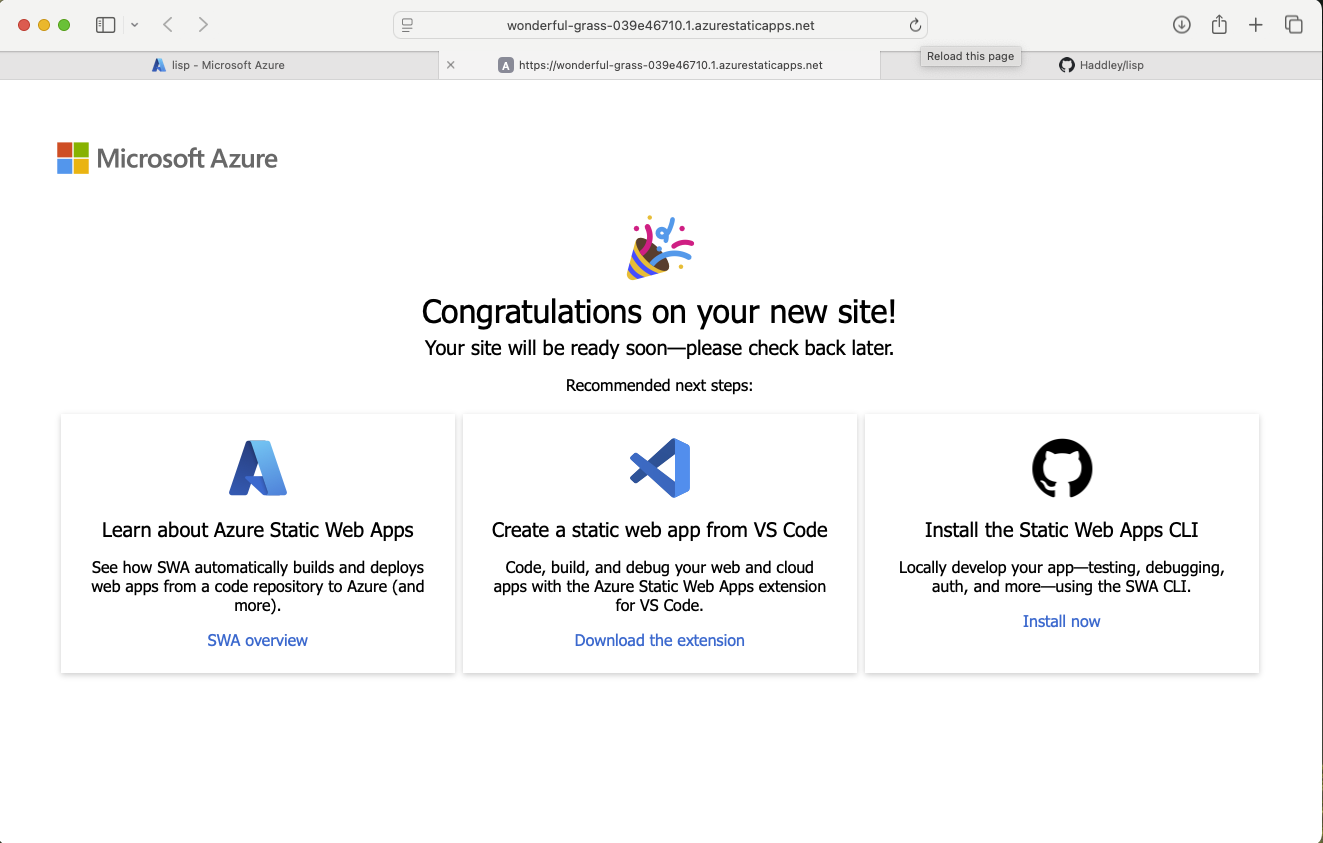
The app was live on Azure Static Web Apps
I connected the Azure deployment token to GitHub Actions:
The GitHub Action was running
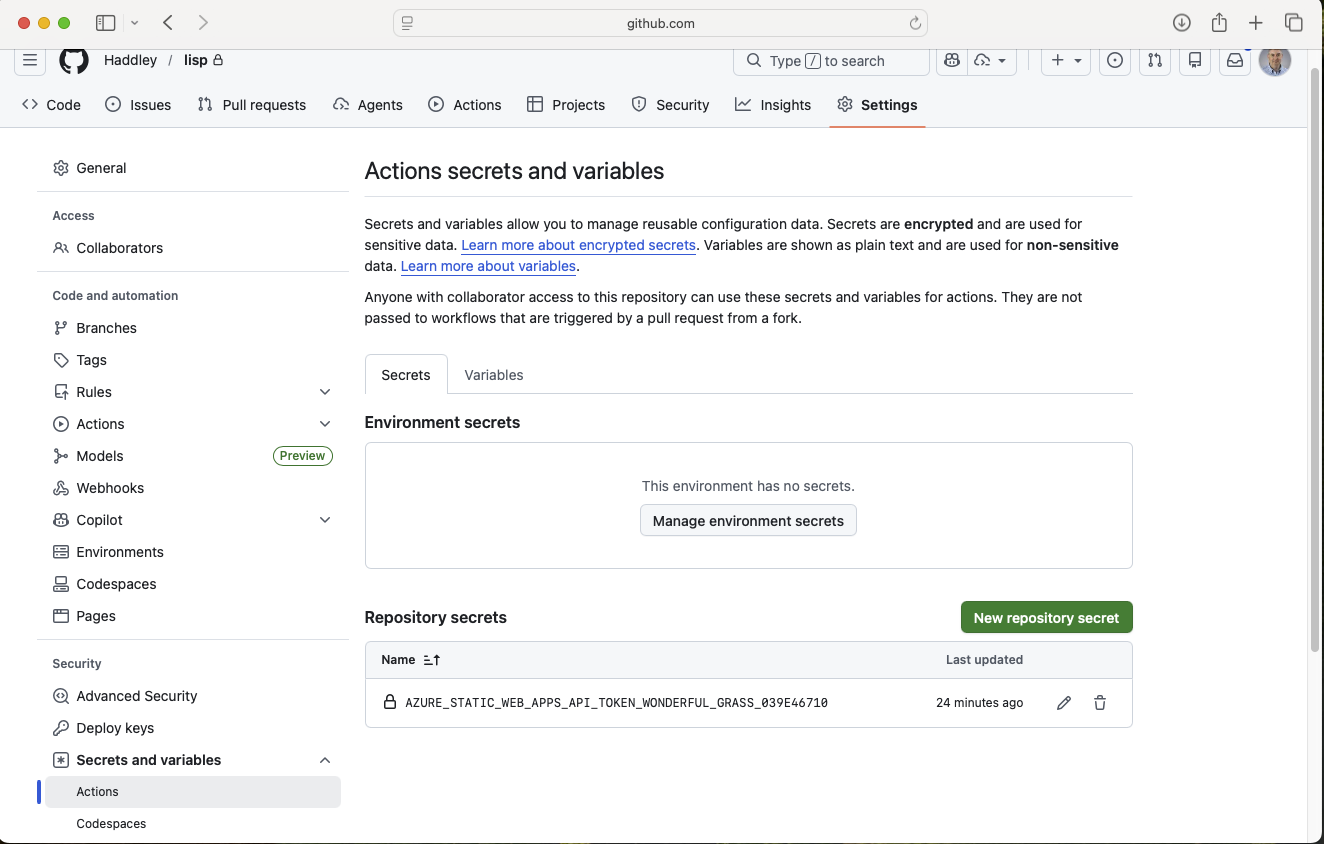
I added the Azure deployment secret to the GitHub repository settings
Making a change end-to-end
To verify the full pipeline, I asked Claude to update the accent colours:
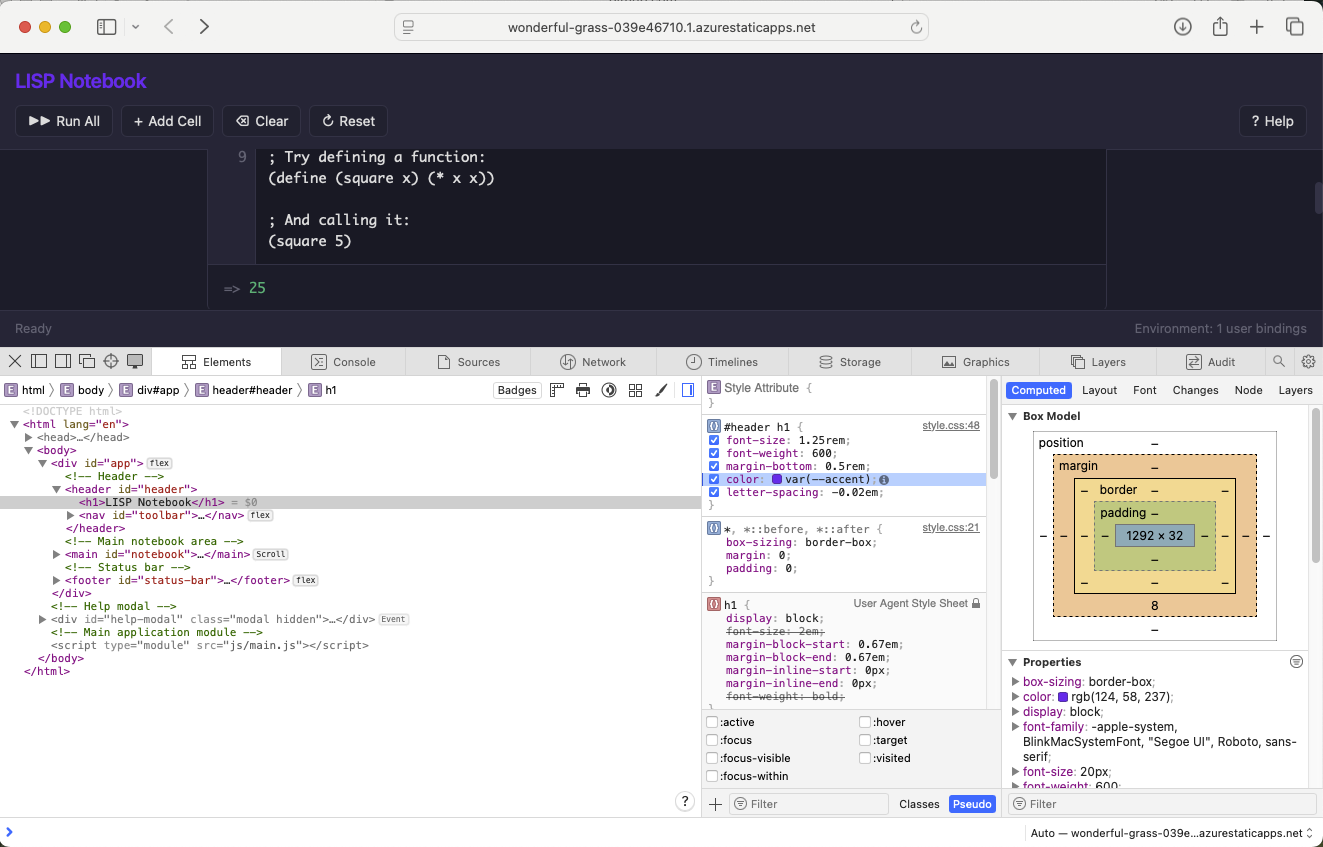
I identified the CSS accent colour variable to update
PROMPT
1update --accent and --accent-hover colors to be brighter
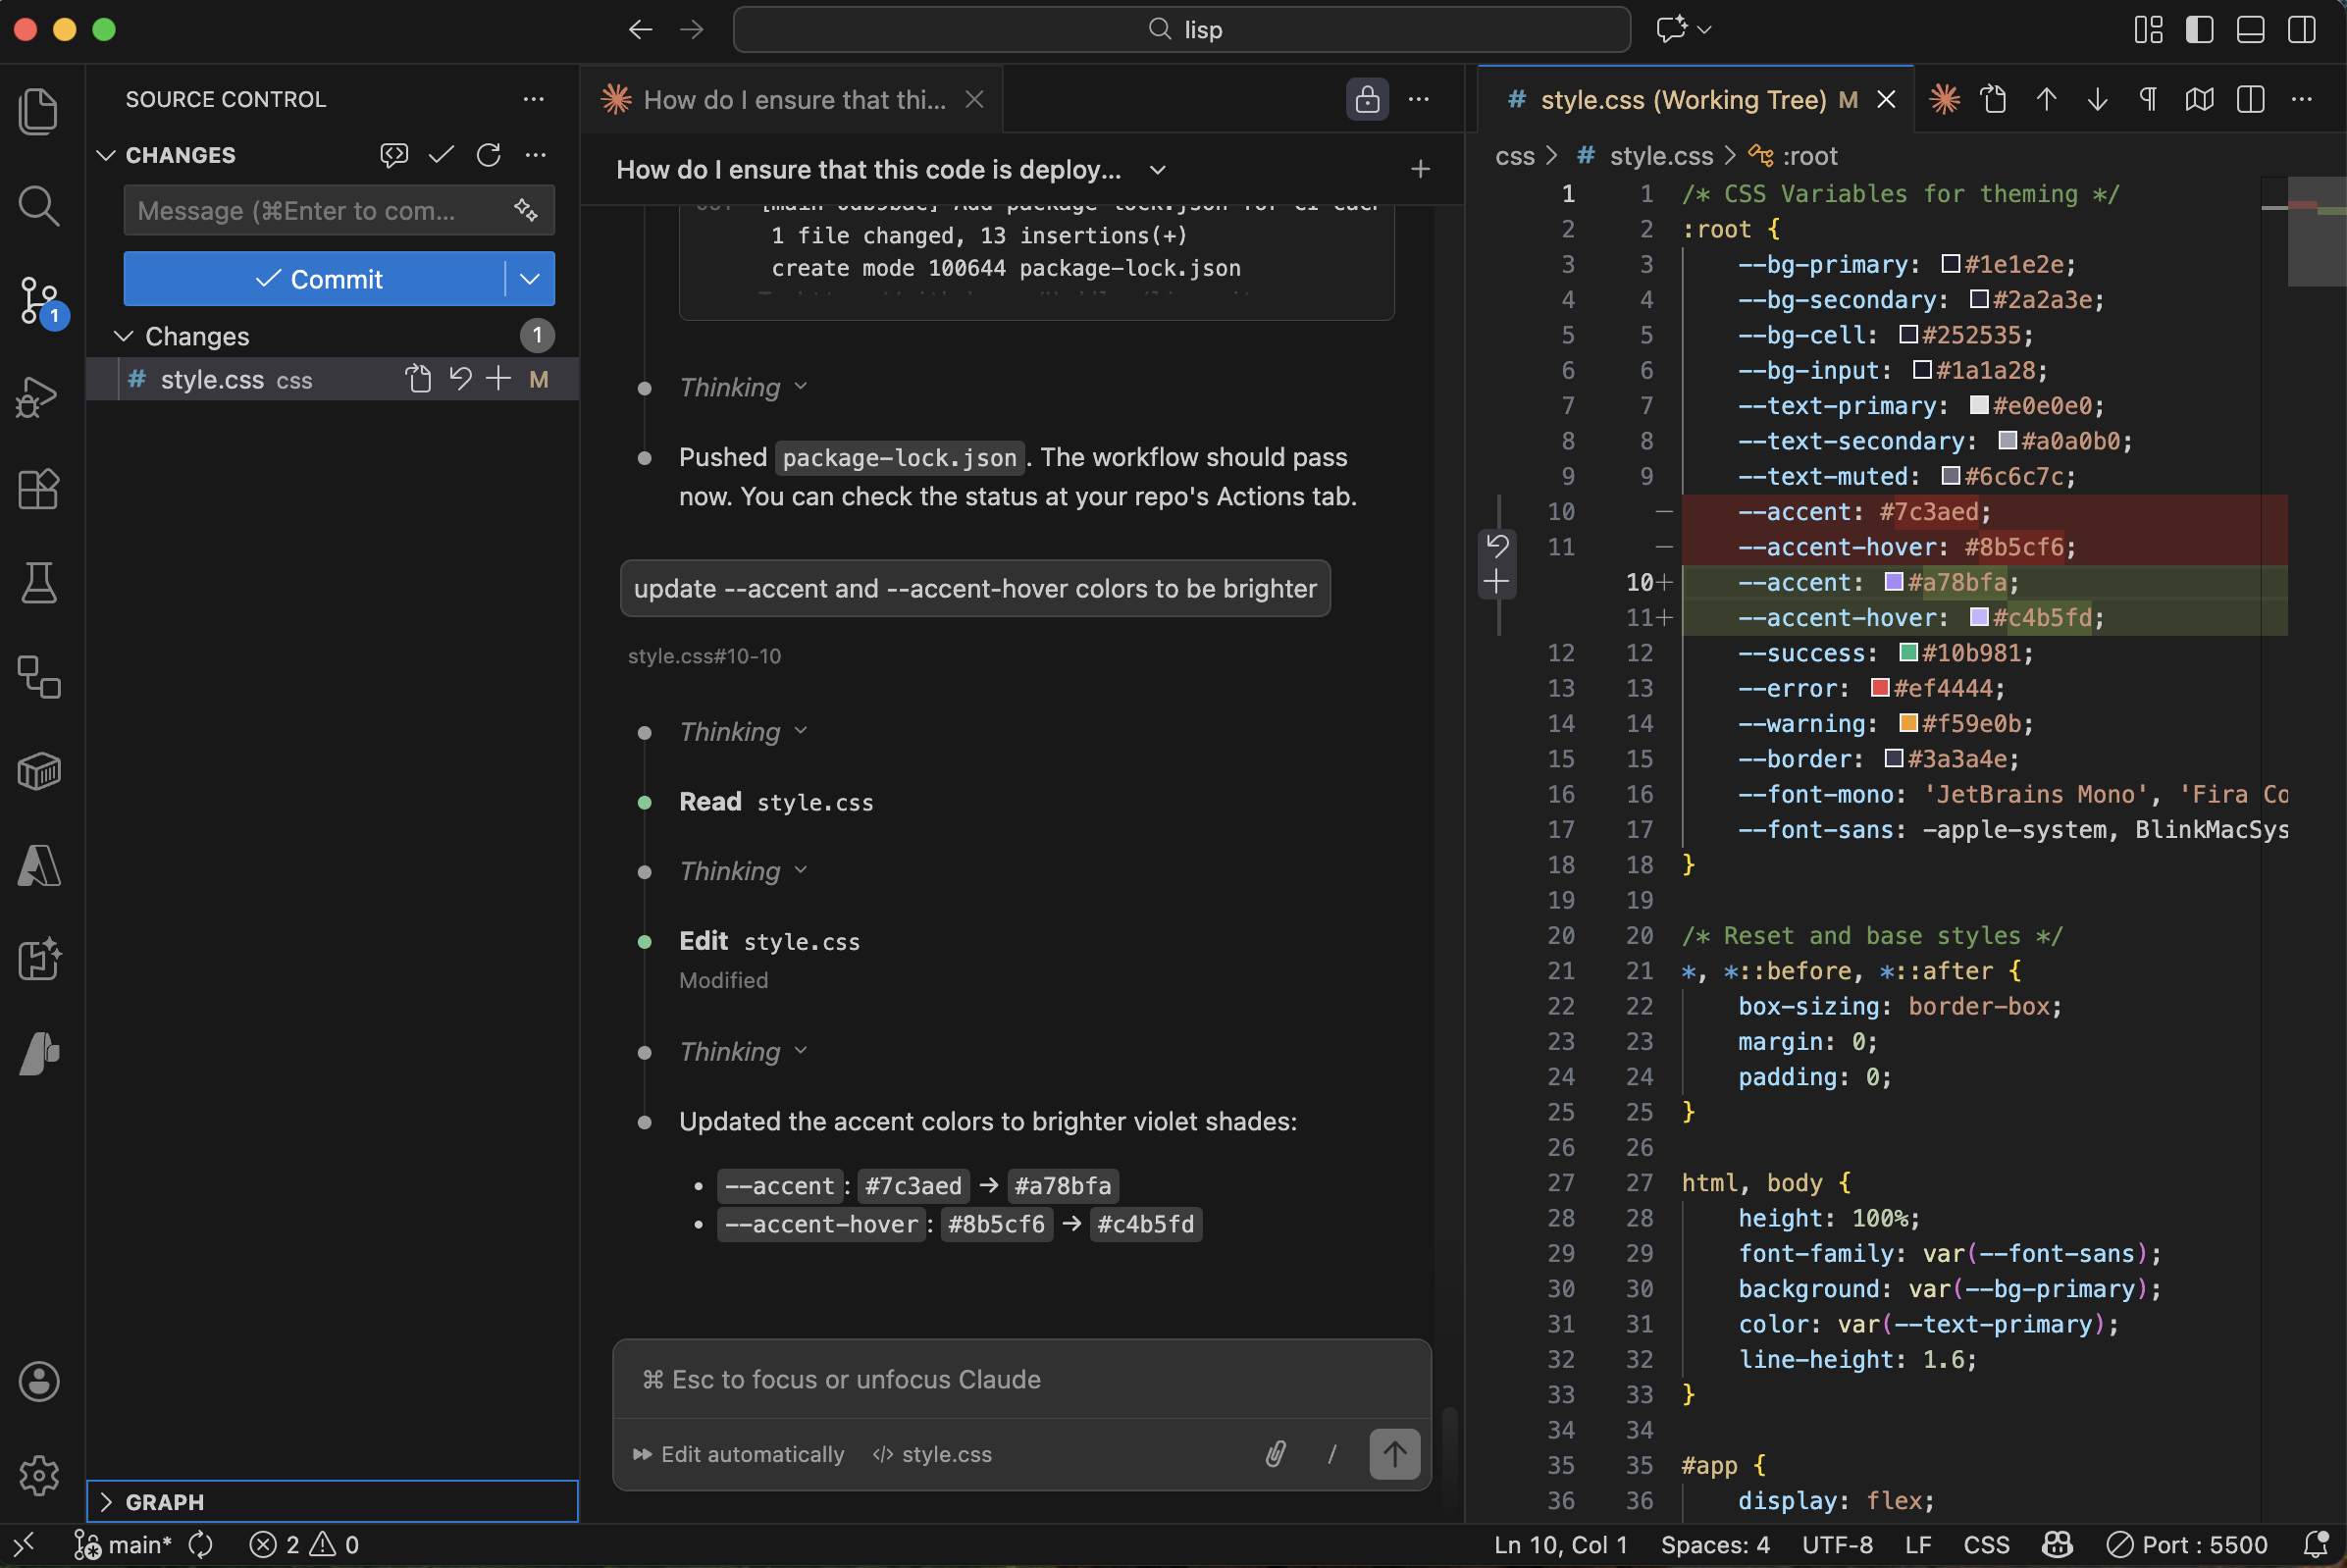
Claude updated the CSS and pushed the change
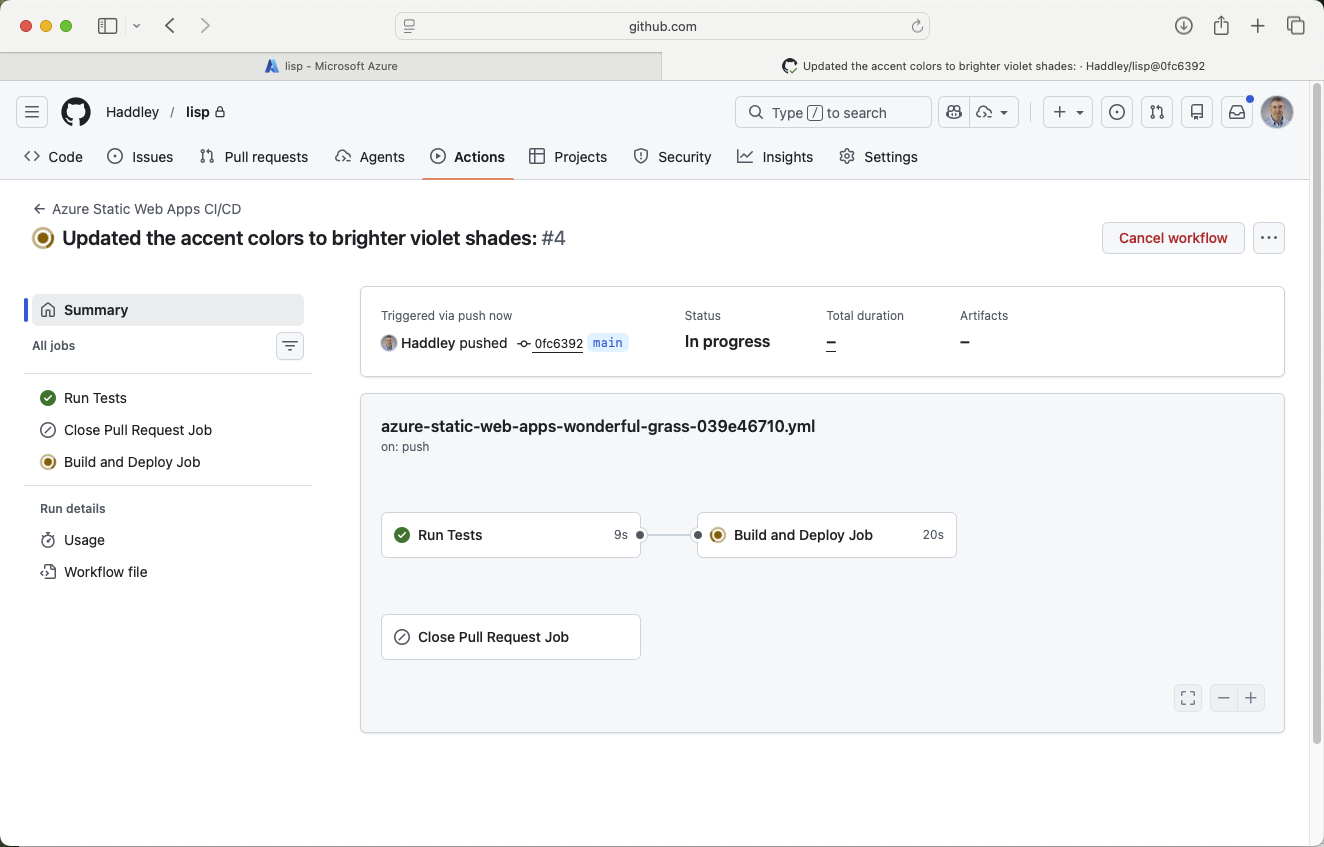
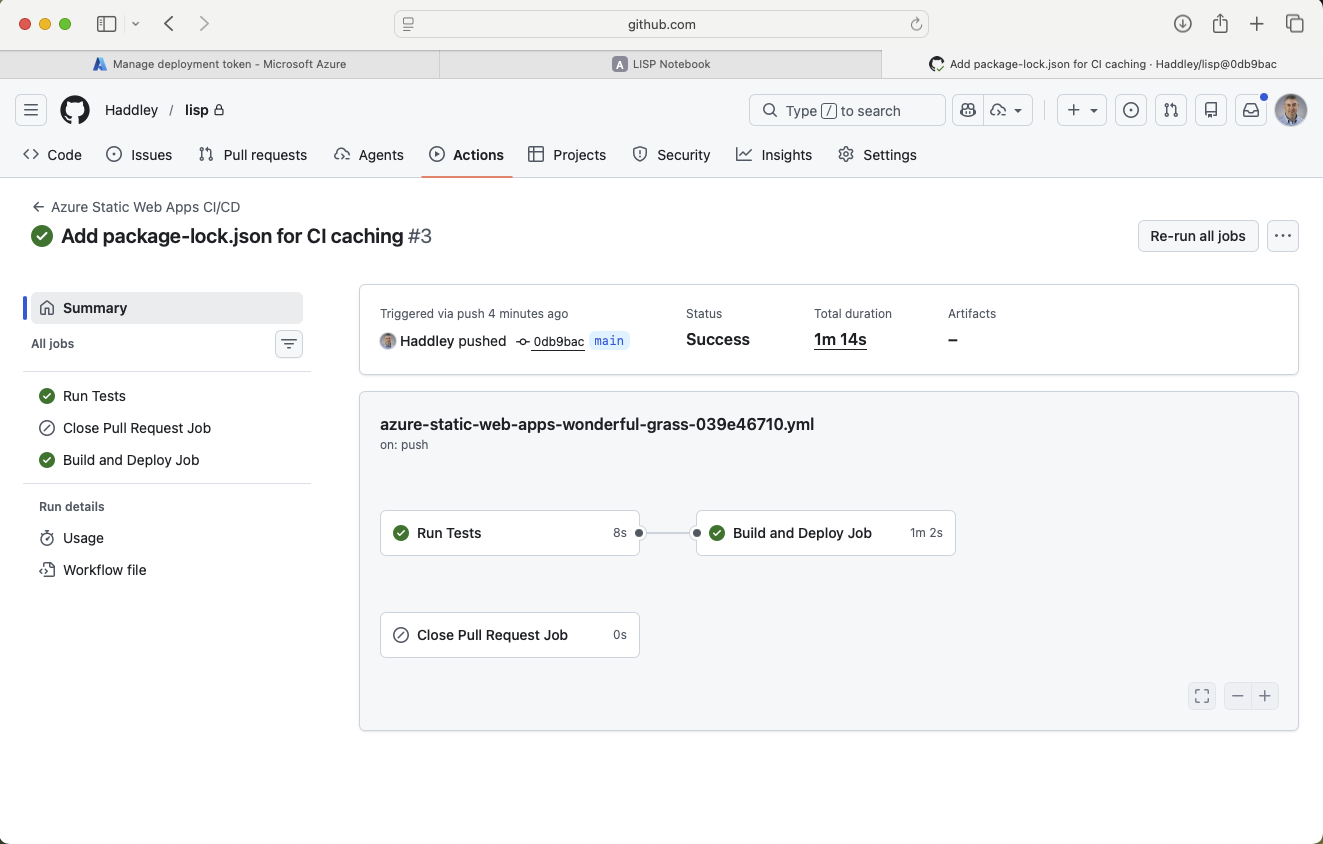
The GitHub Action triggered — tests passed and the app deployed
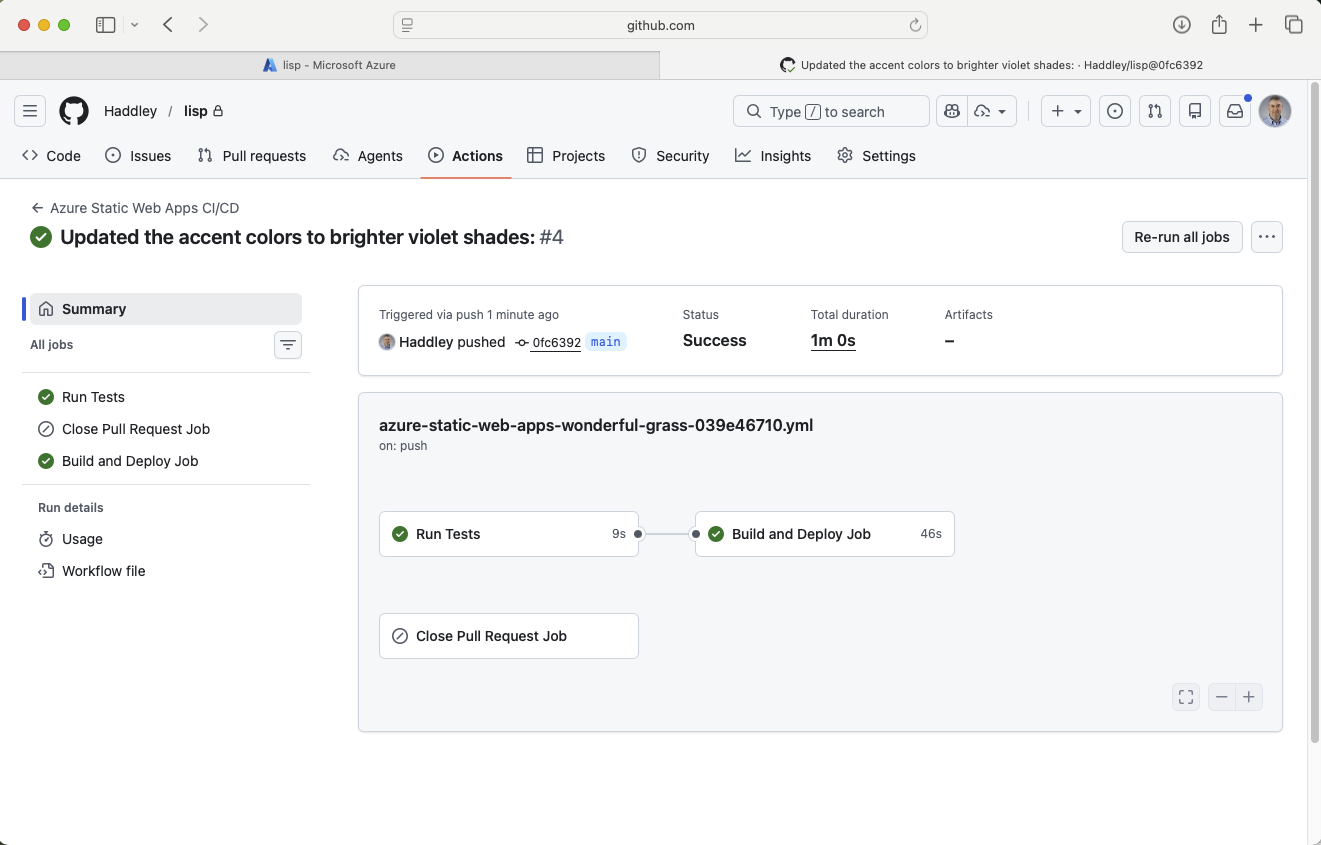
The deploy job completed successfully
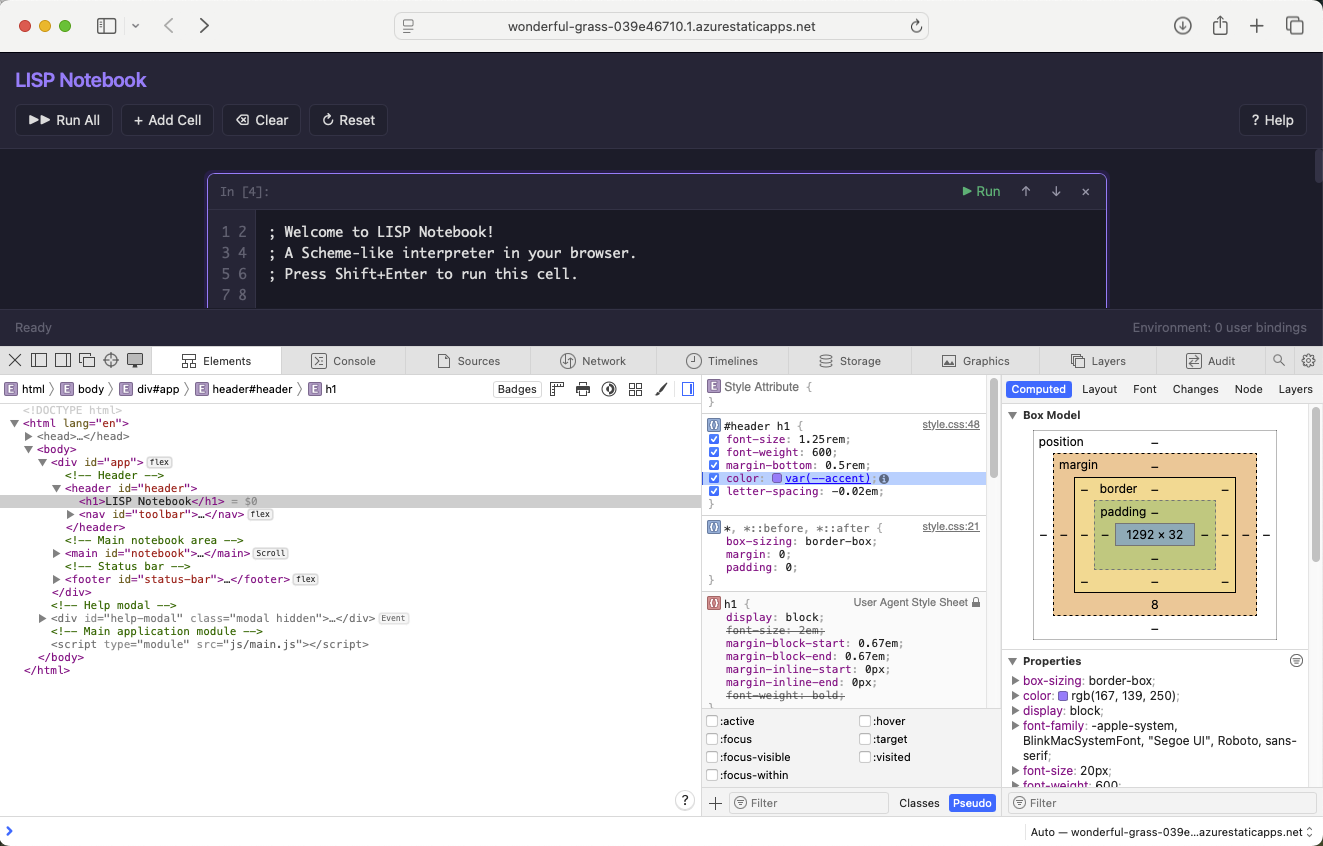
The updated accent colour was visible in the app
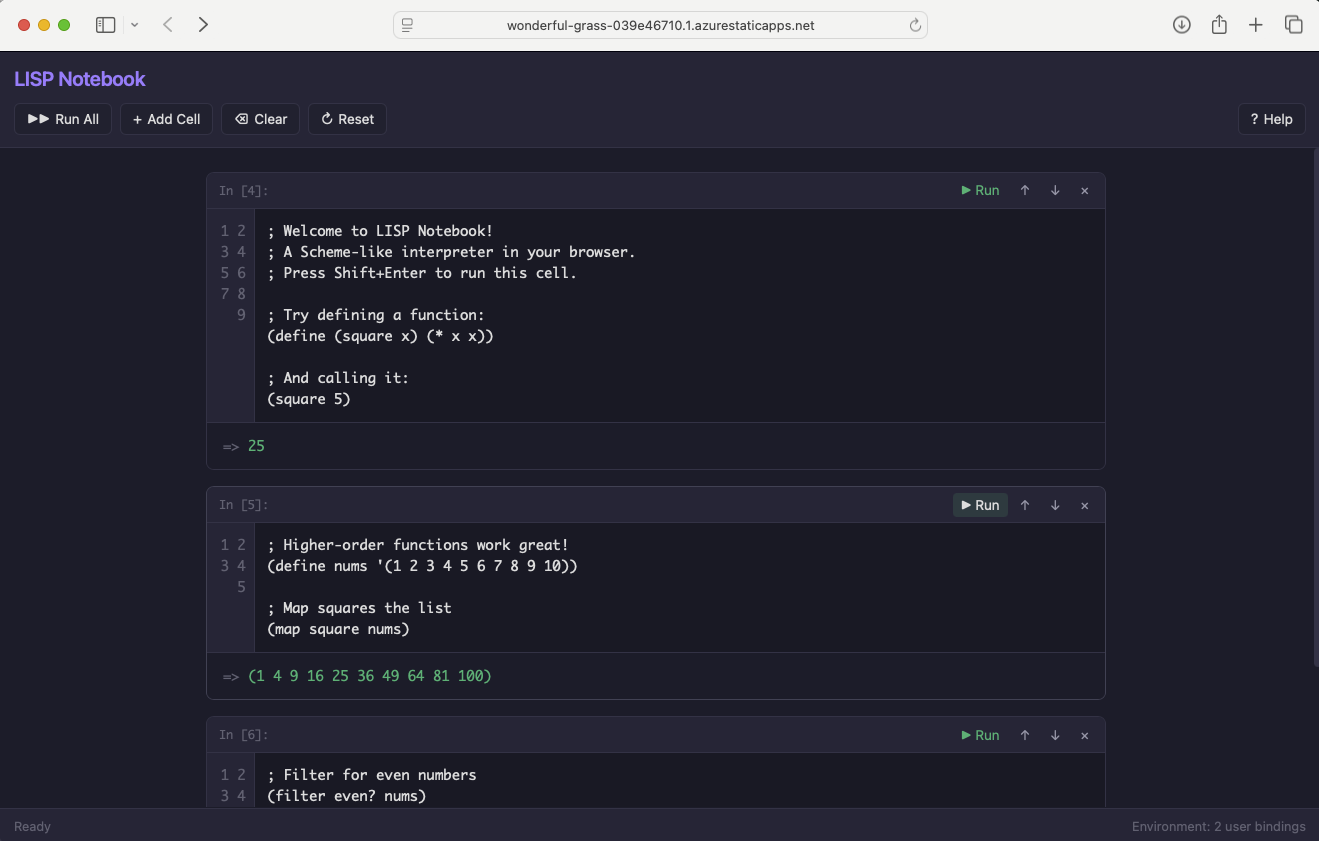
The full app running on Azure with the new colour scheme