Hands-on-Lab 2.1
Neil Haddley • November 22, 2023
Create and configure a new company
I worked through the MB-800 Business Central Functional Consultant hands on labs.
Hands-on-Lab 2.1: Create and configure a new company
"You are a functional consultant assigned to a new project, where you are responsible for the analysis of your customers business processes. Your customer is Contoso Inc., situated in Redmond Washington. They will start to use Microsoft Dynamics 365 Business Central as of their new fiscal year, January 1st 2024.
You initiate the process by creating a new company within the customers database, including some predefined setup information but without any business data."
I navigated to Business Central
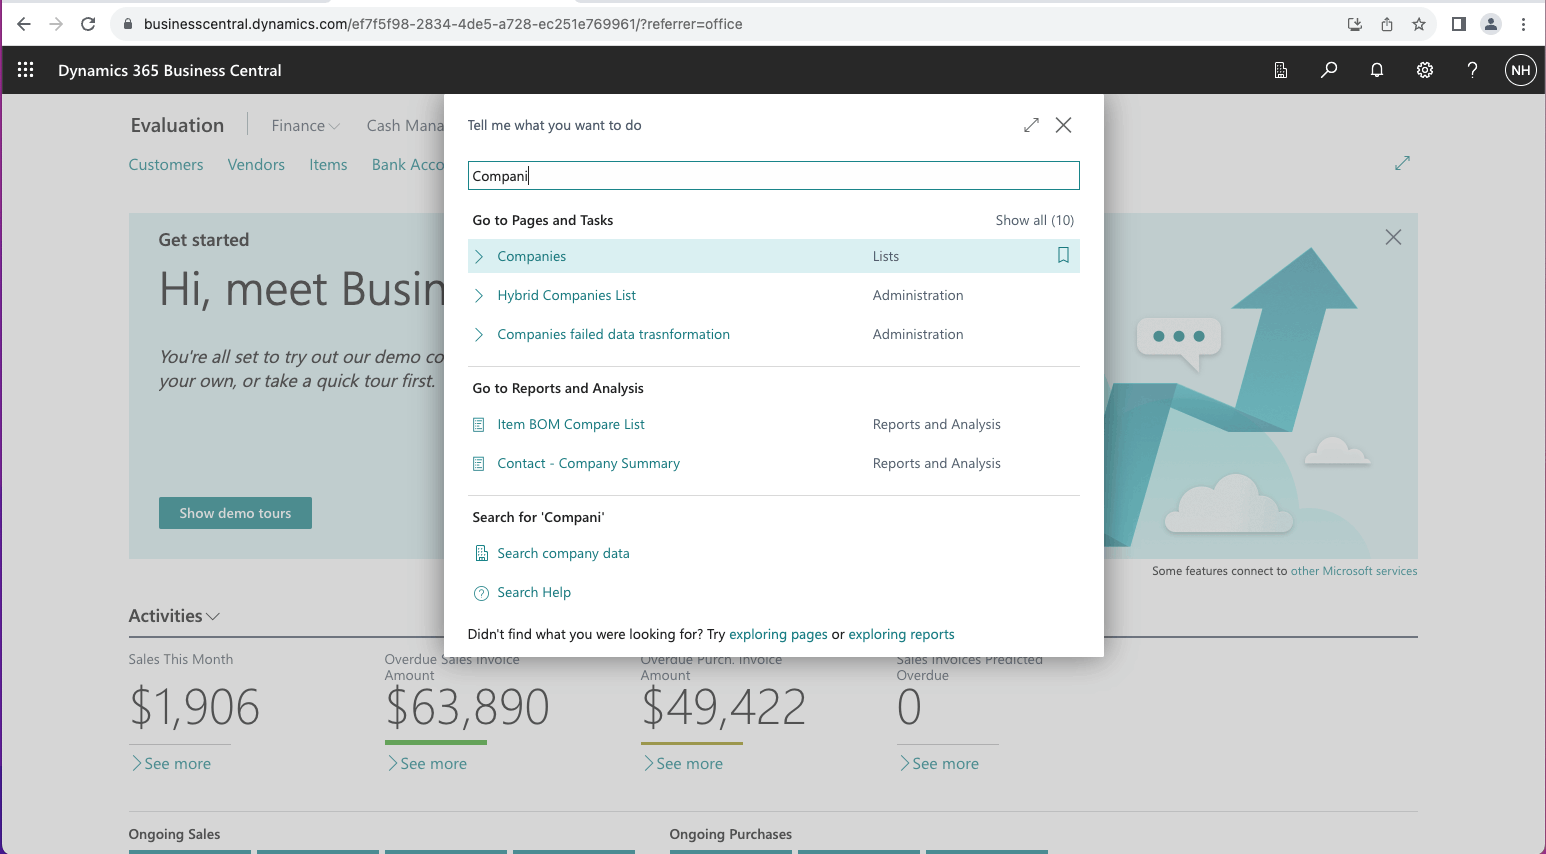
I clicked the search button 🔍 in the top-right corner of the page to open the "Tell me what you want to do" dialog. I entered "Compan" and clicked the Companies link.

I clicked New and selected the Create New Company button
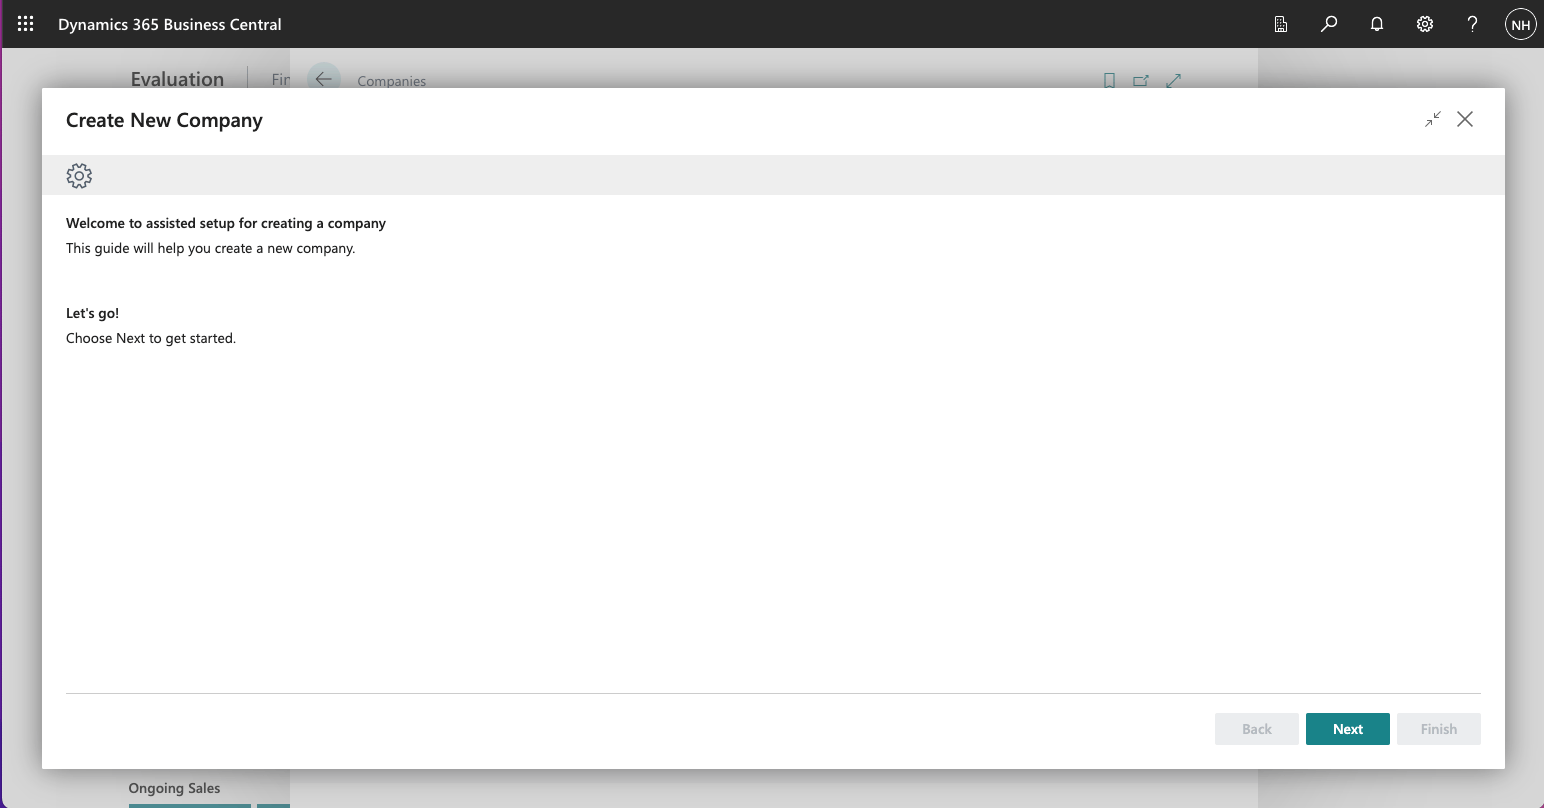
I clicked Next
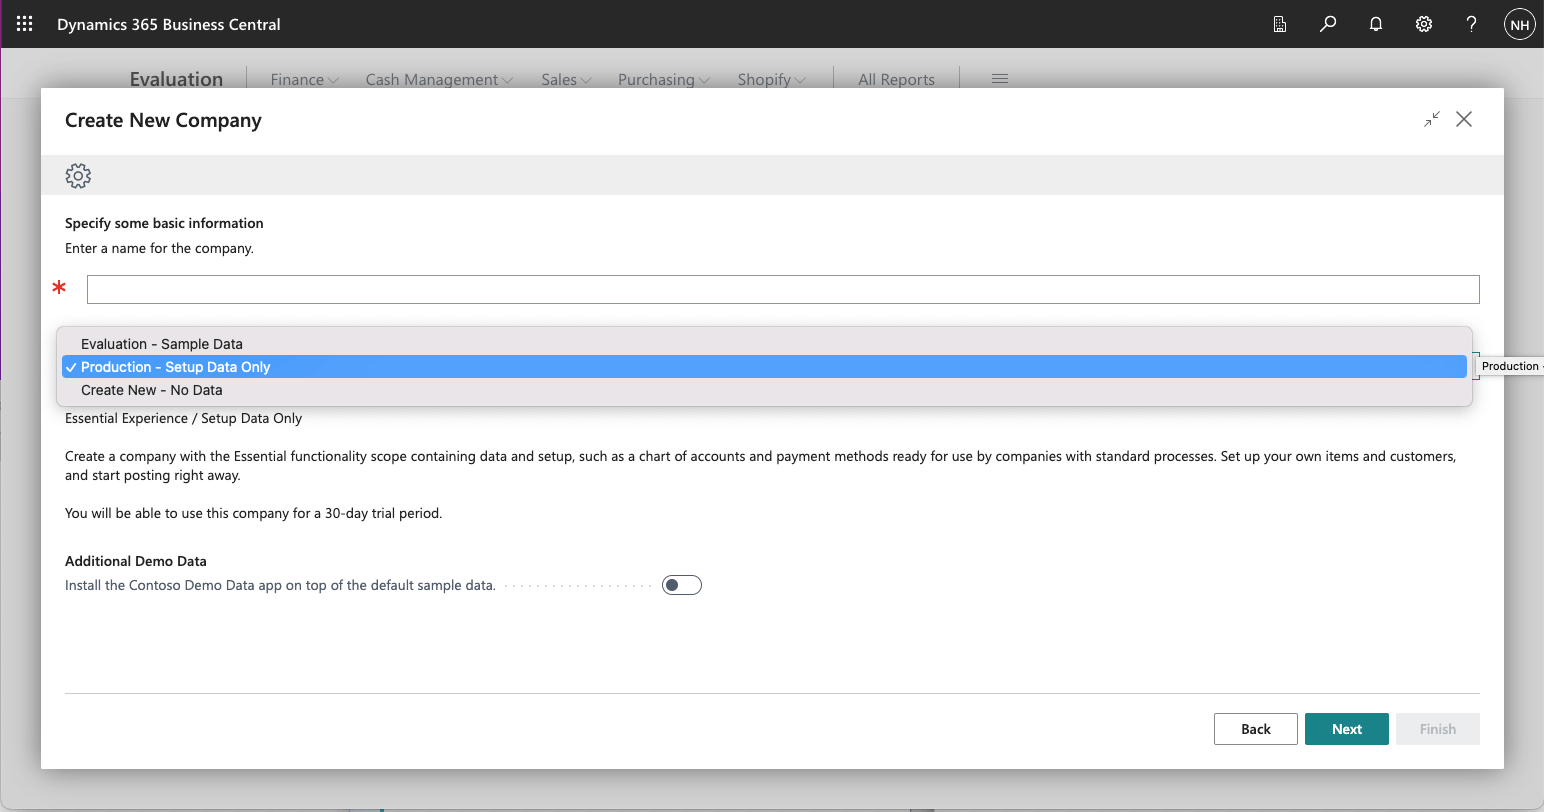
I selected the Production – Setup Data Only option
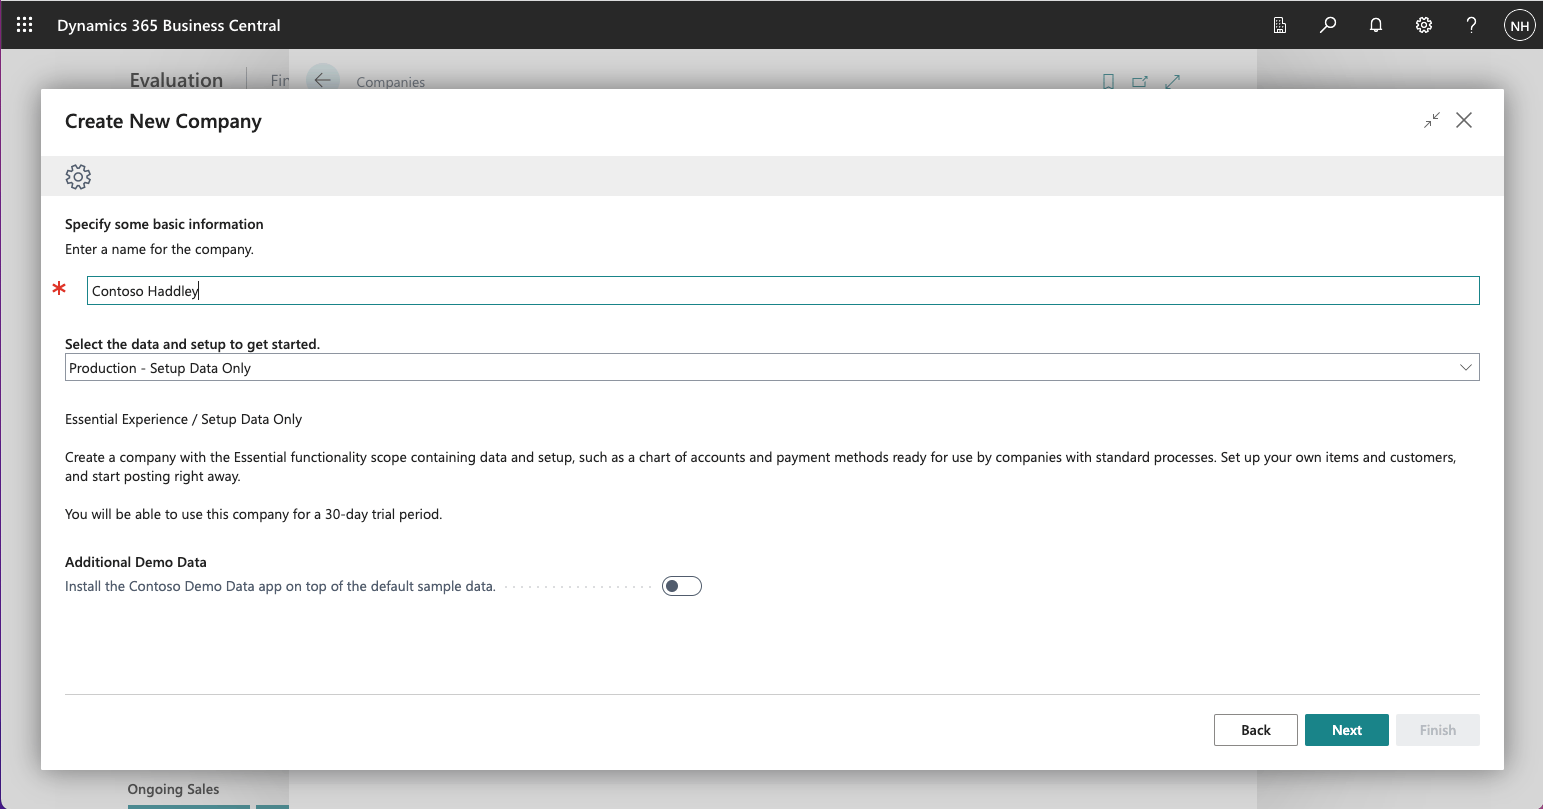
I entered the Company name
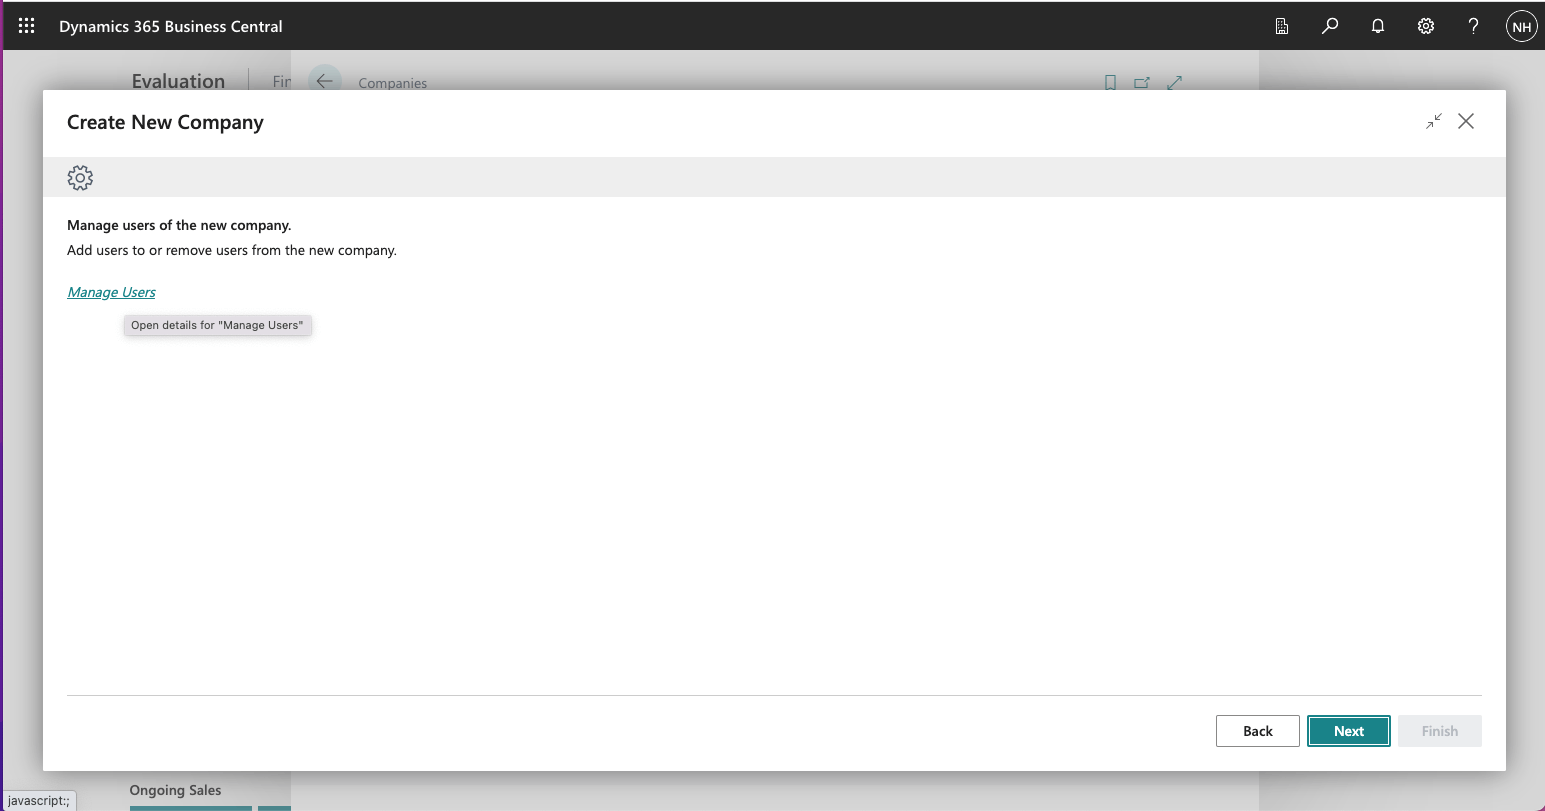
I clicked the Manage Users link
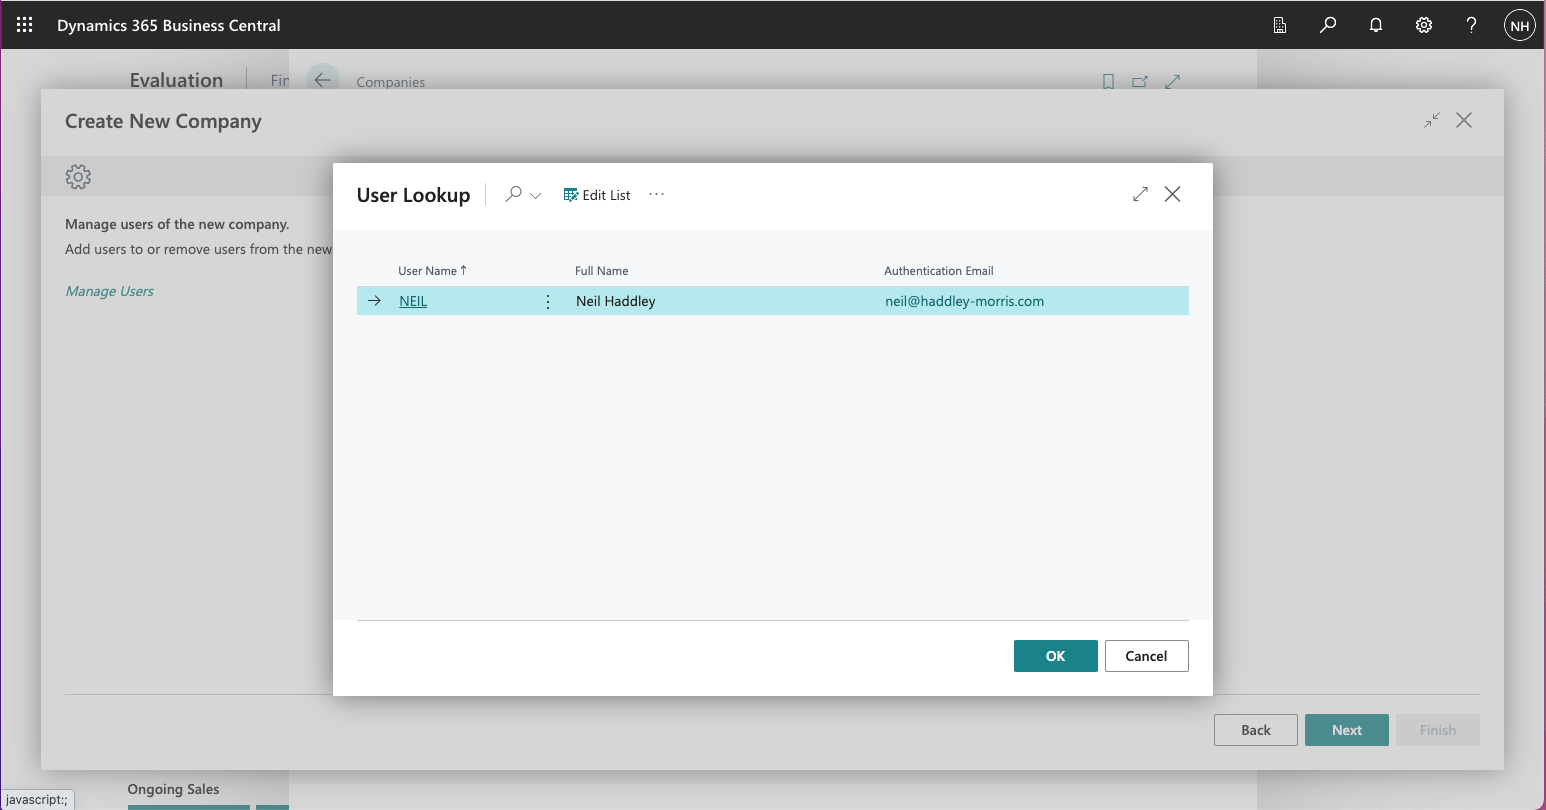
I selected my username
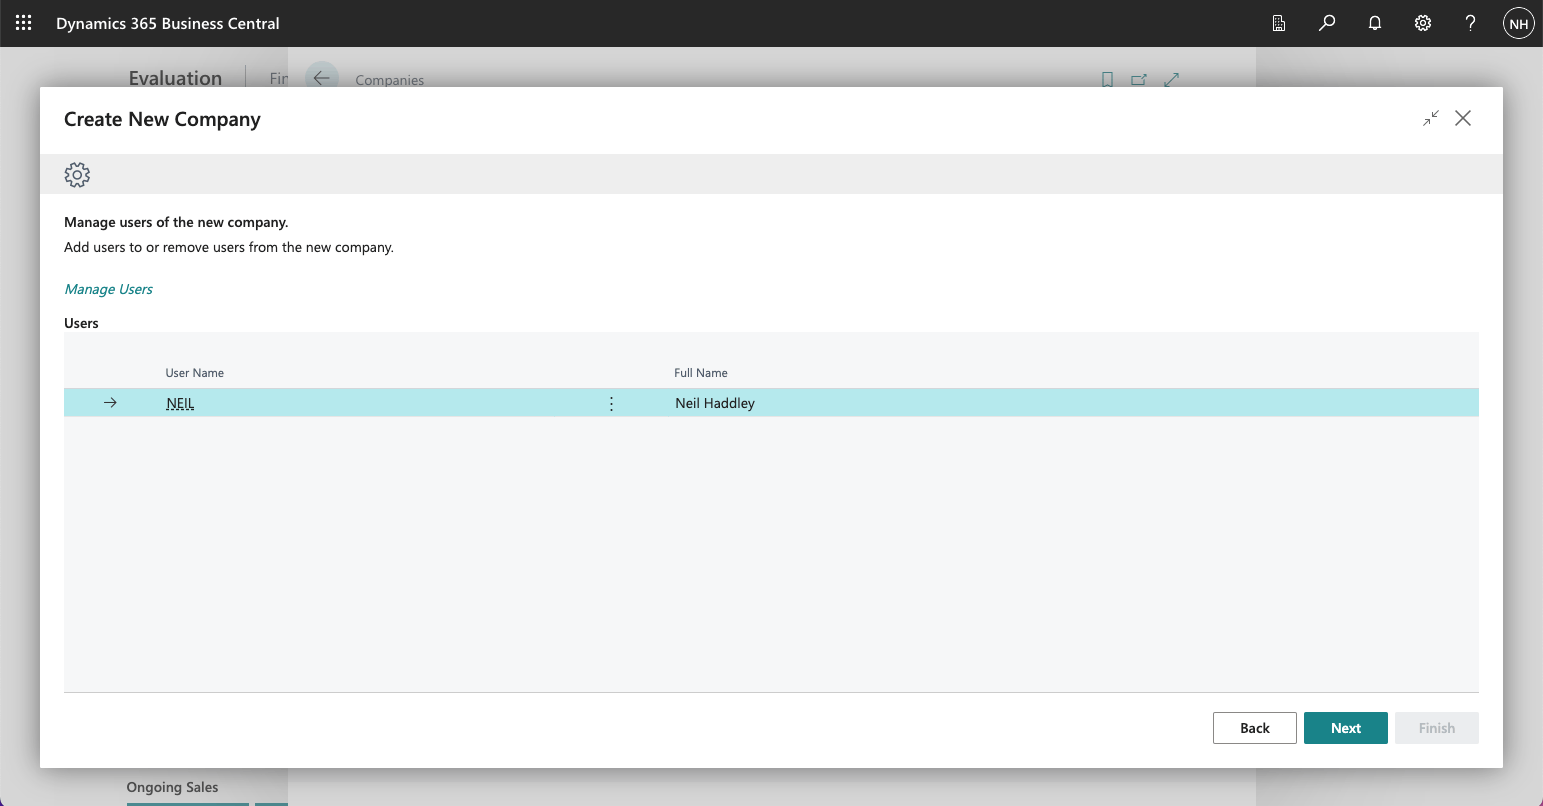
I clicked Next
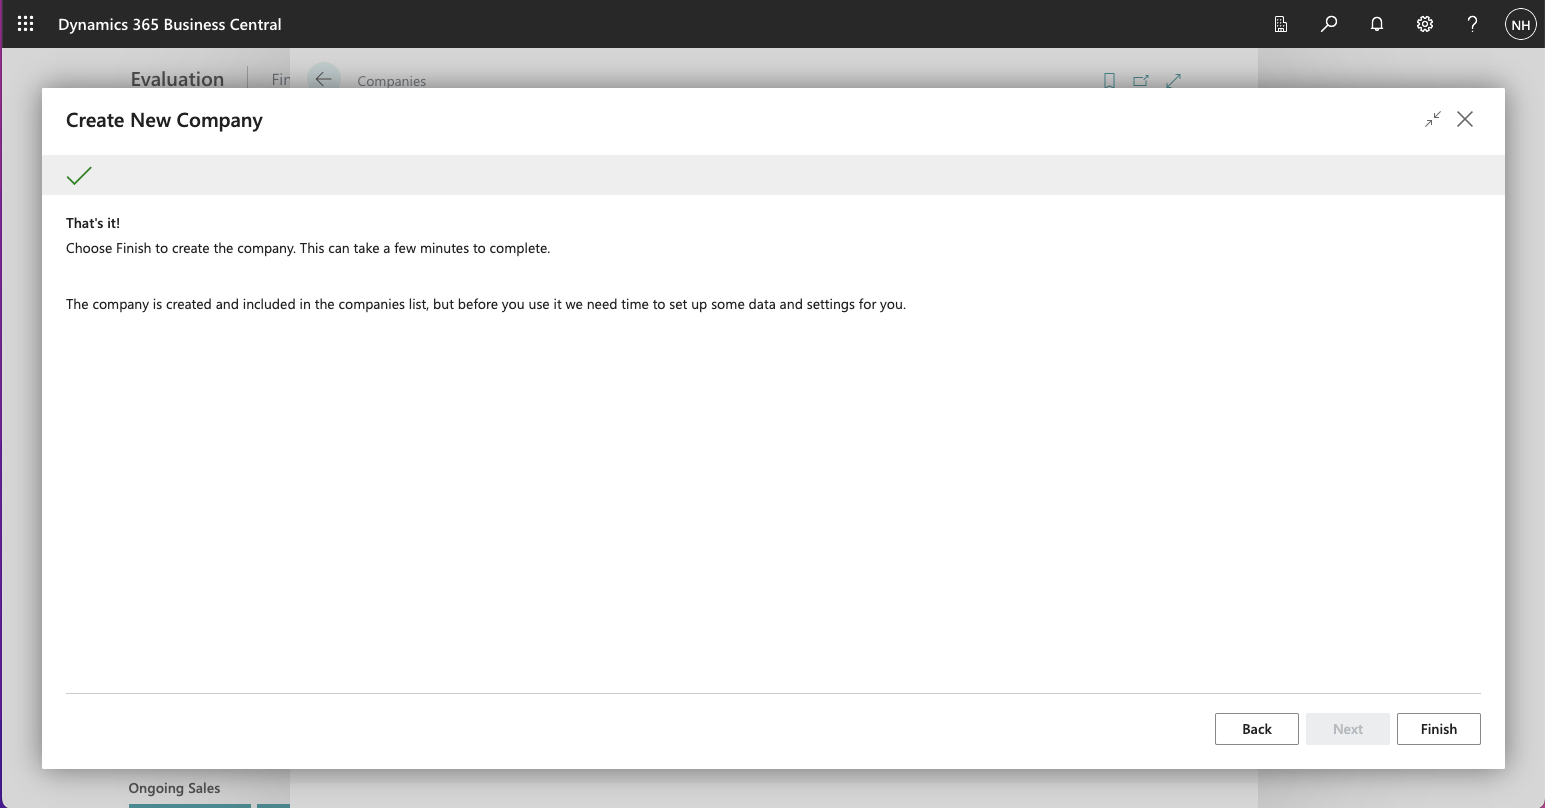
I clicked Finish
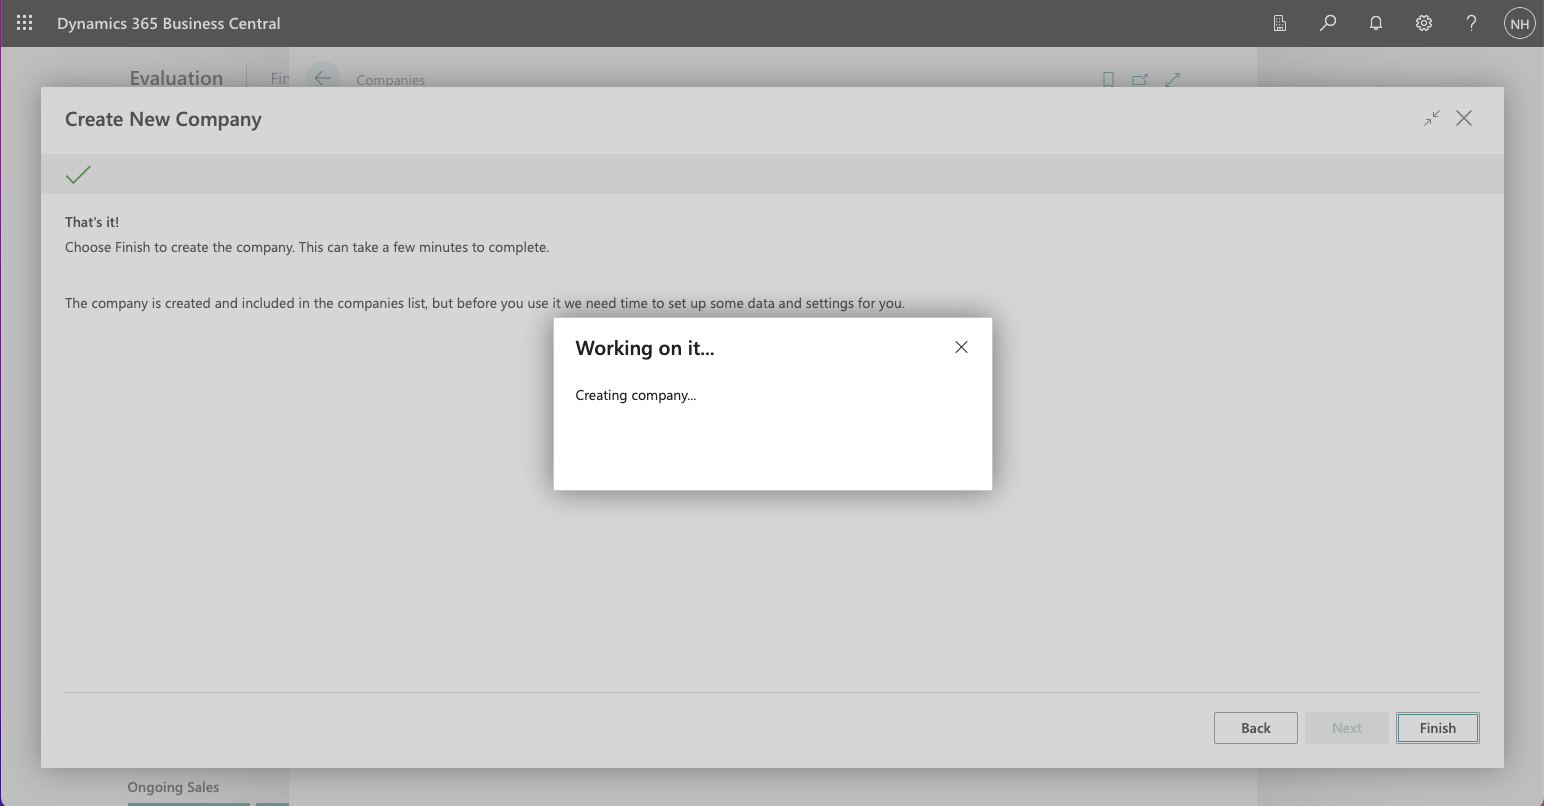
I Working on it... dialog appeared
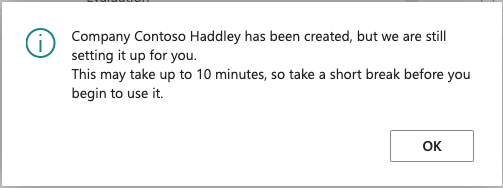
A dialog explained that the operation might take 10 minutes

I clicked the button to the left of the search button

I selected the Contoso Haddley company and clicked the Switch button
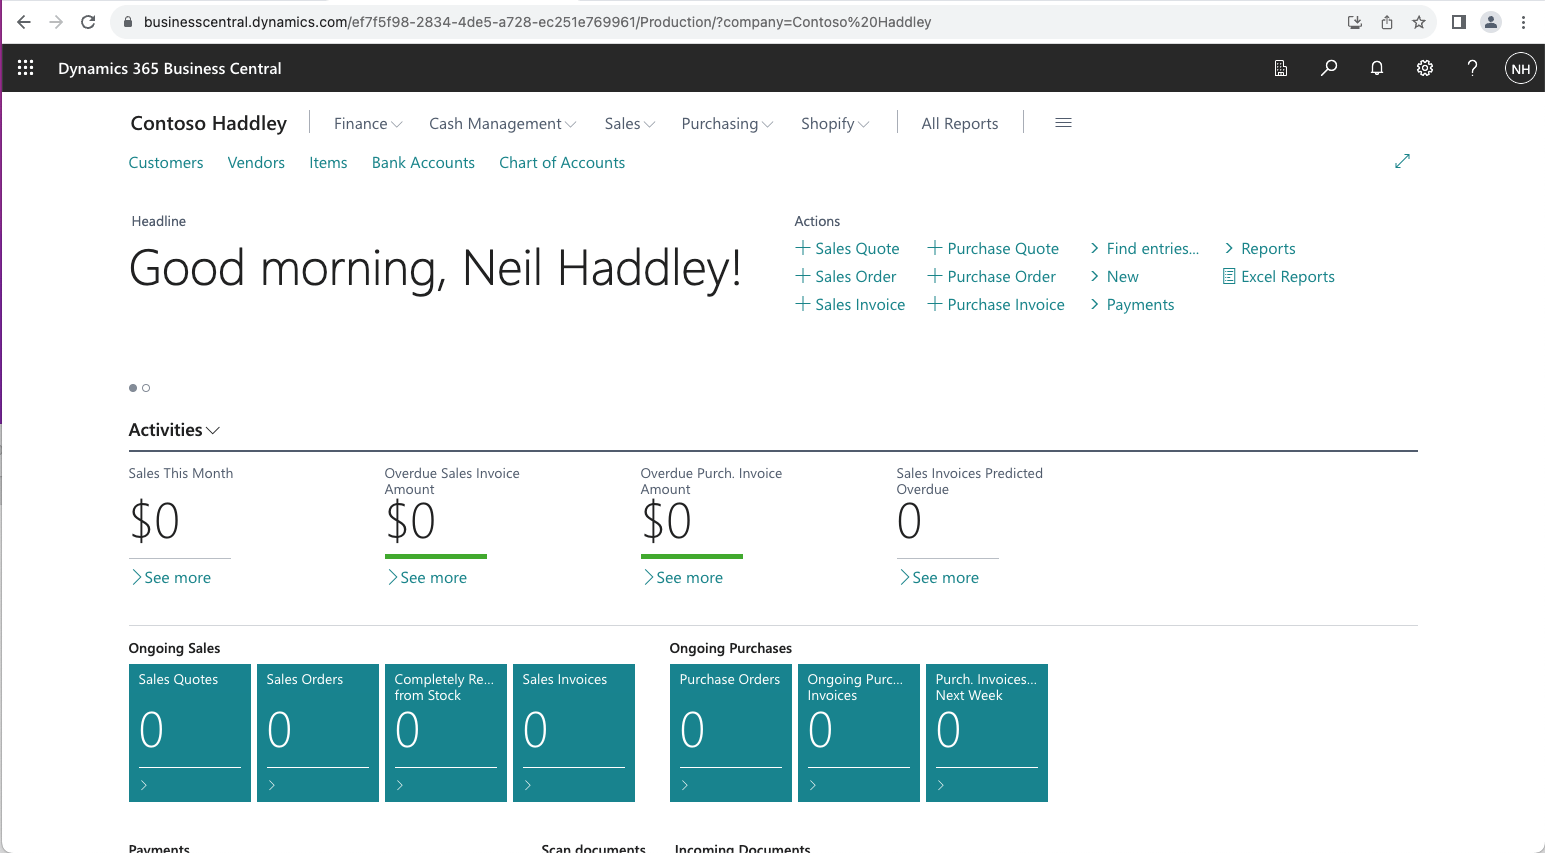
I navigated to the Contoso Haddley company

I clicked the gear icon and clicked the Company information link
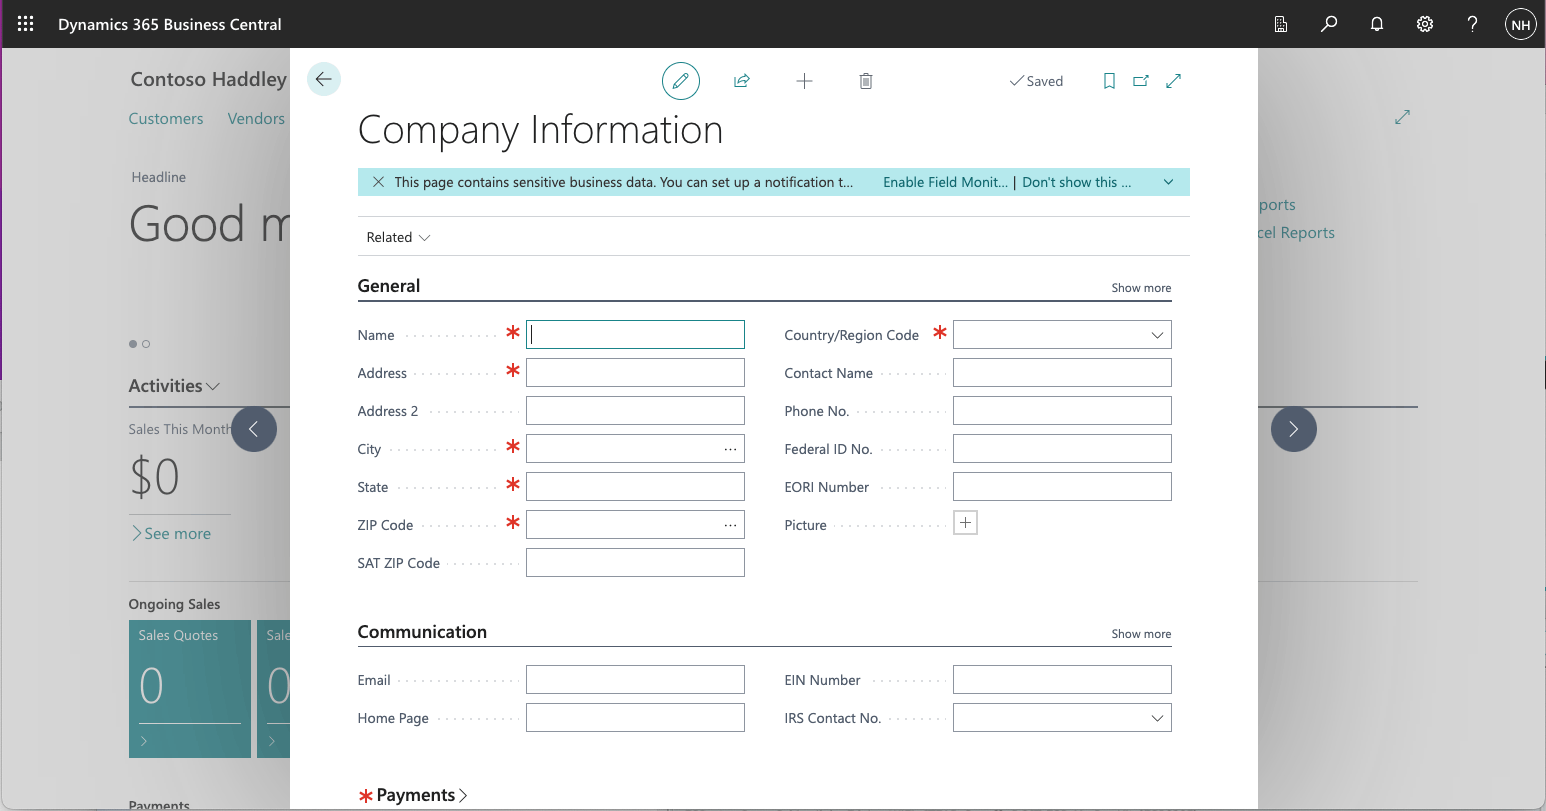
A Company Information page was opened

I entered information into the General tab

I clicked the search button and navigated to the Accounting periods page
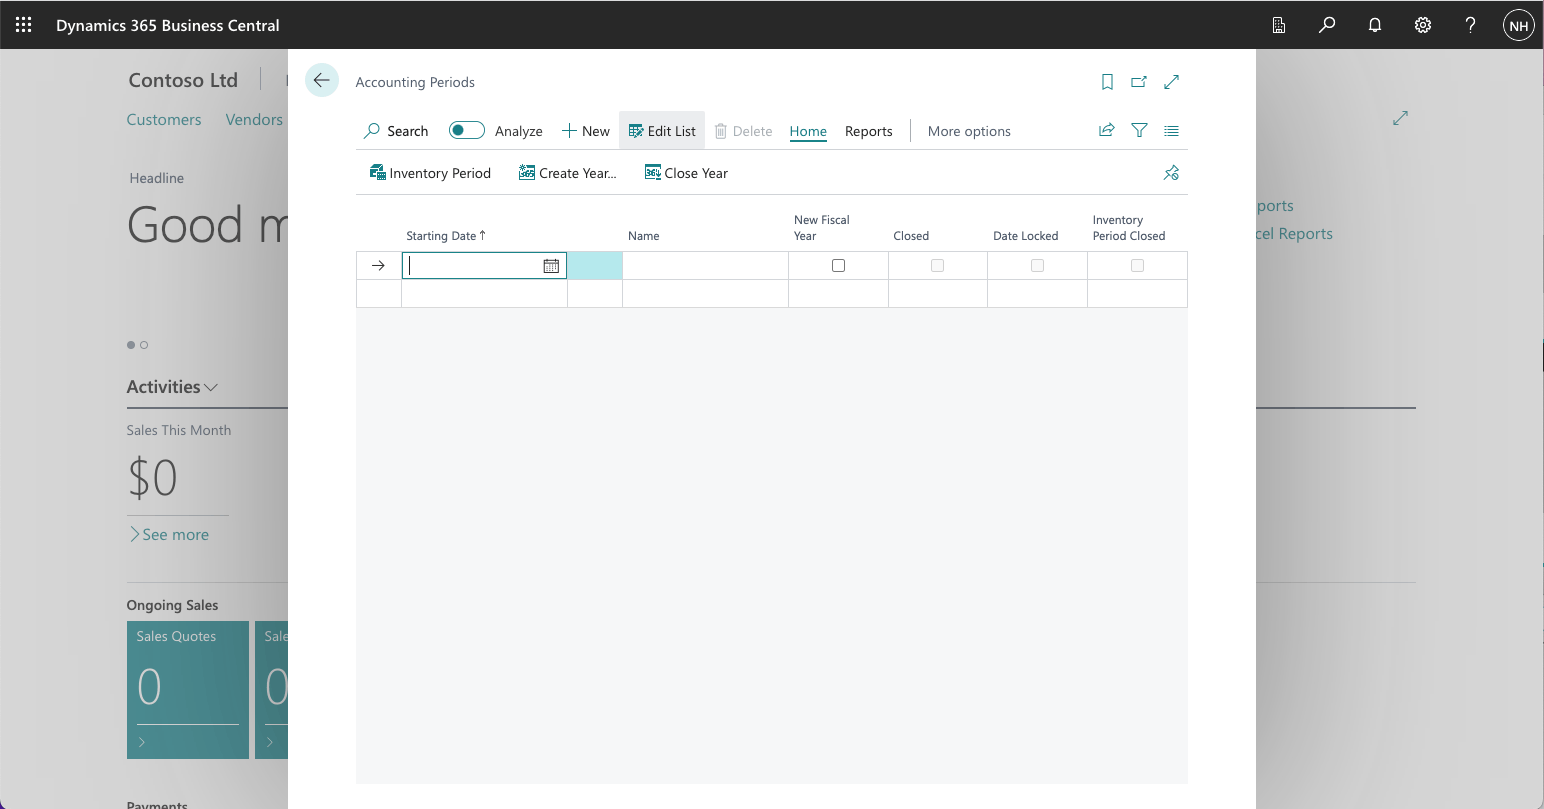
I clicked the Create Year... button
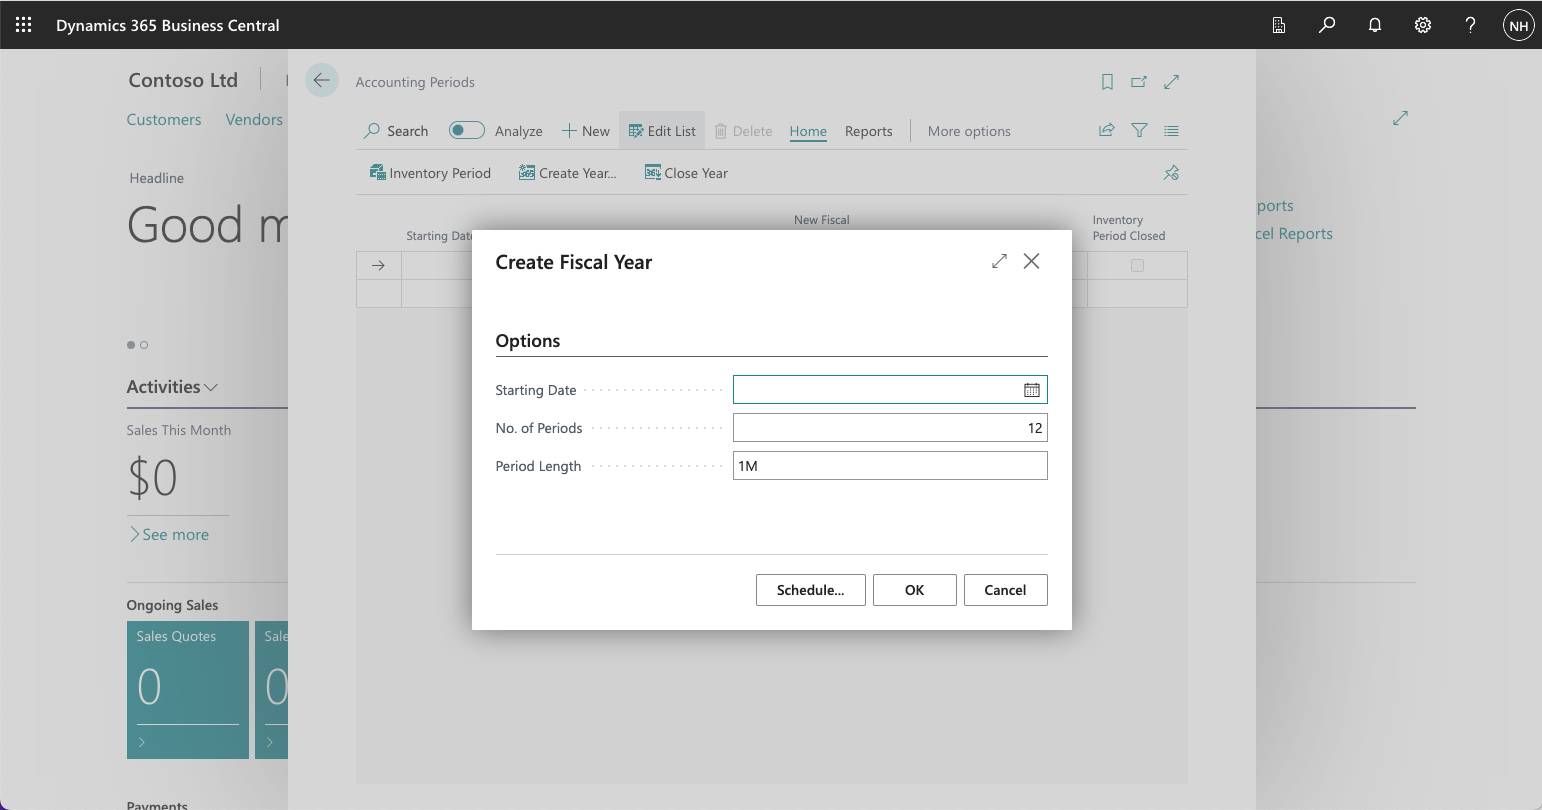
I entered 1/1/2024 as the Starting Date
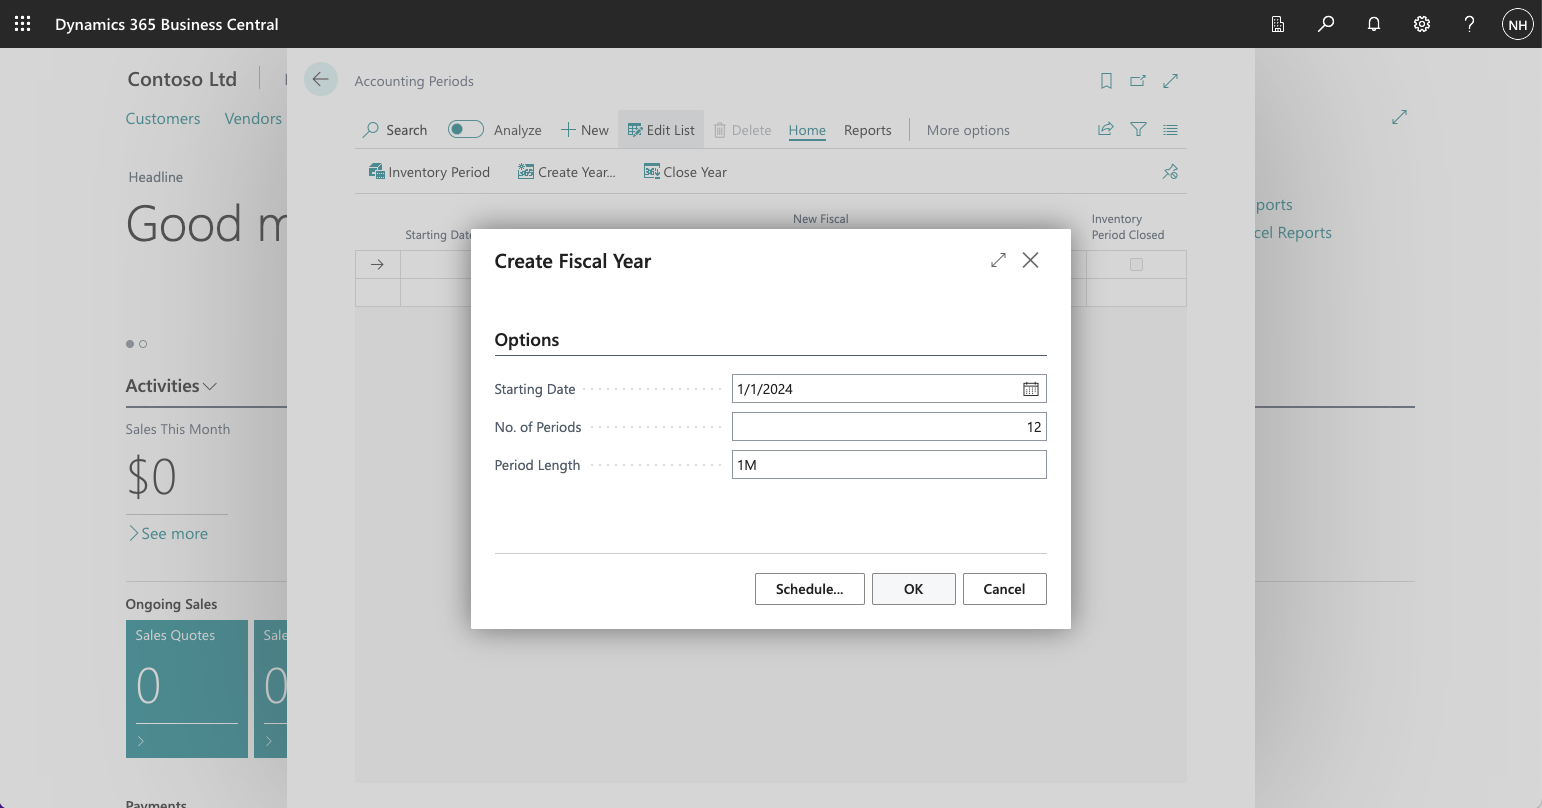
I clicked OK
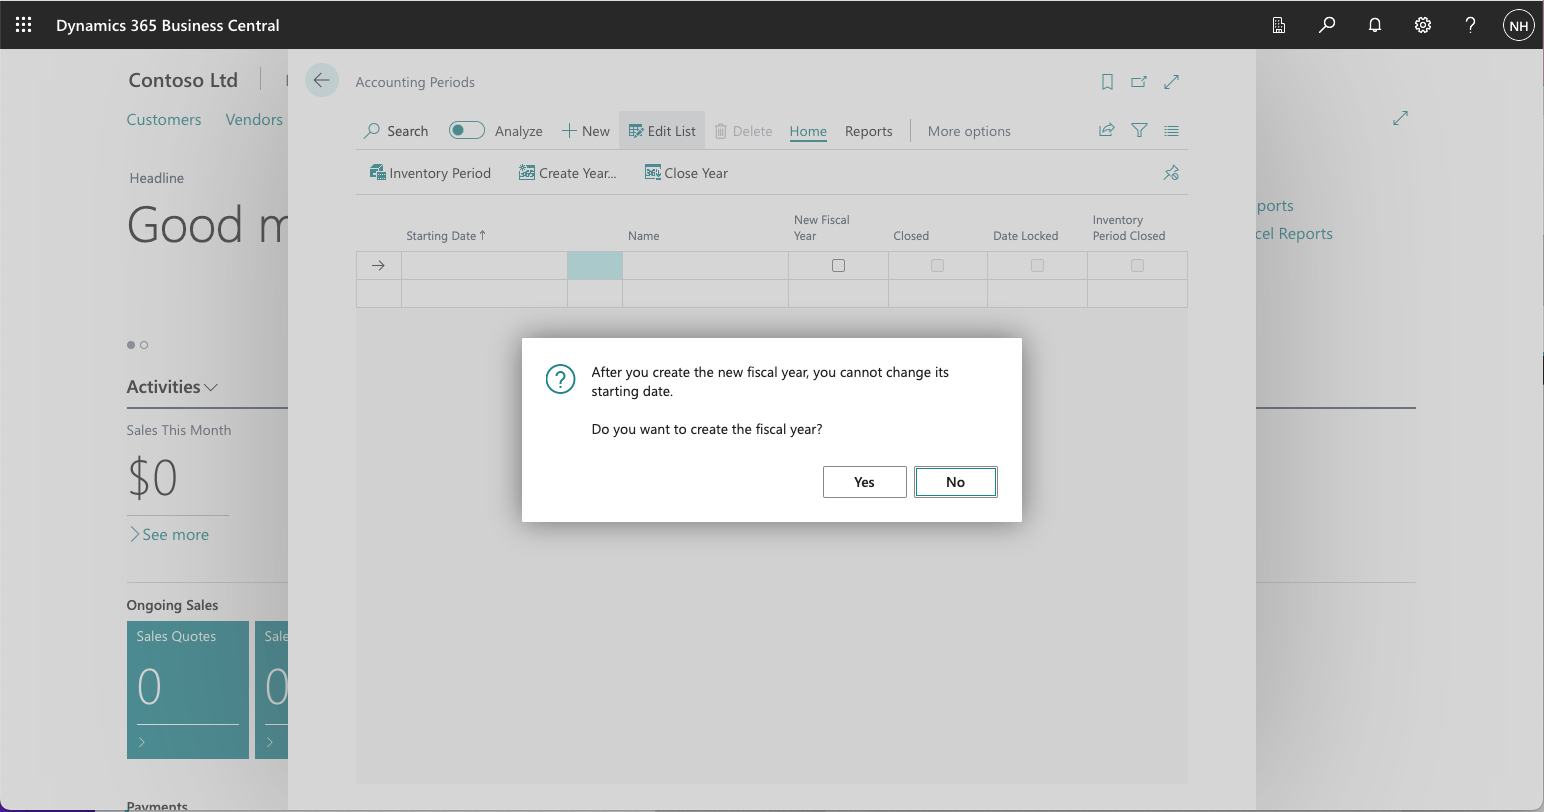
I clicked the Yes button
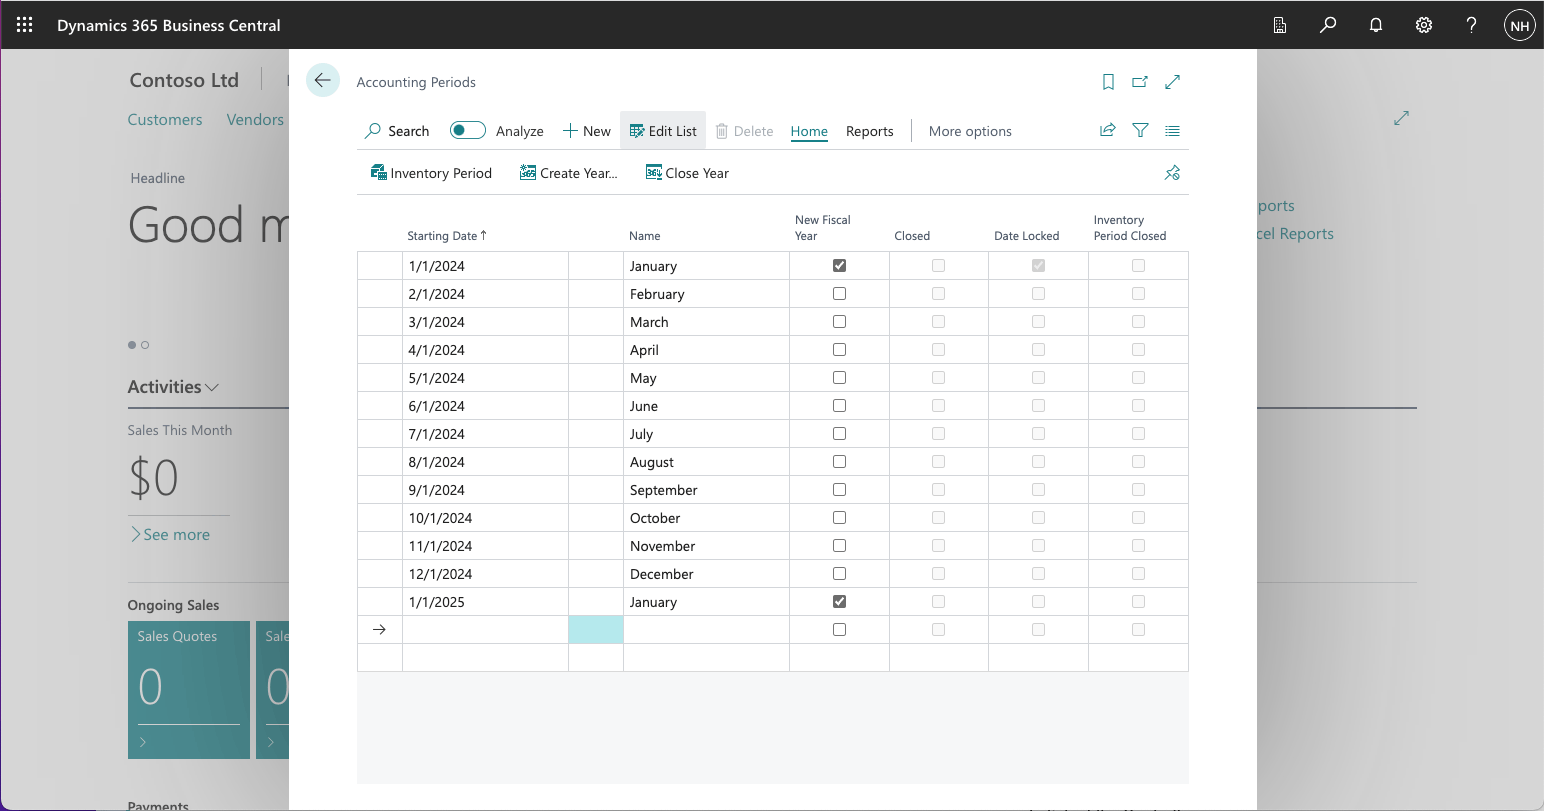
The check box in the New Fiscal Year column shows that the Company's Fiscal Year will follow the Calendar year.
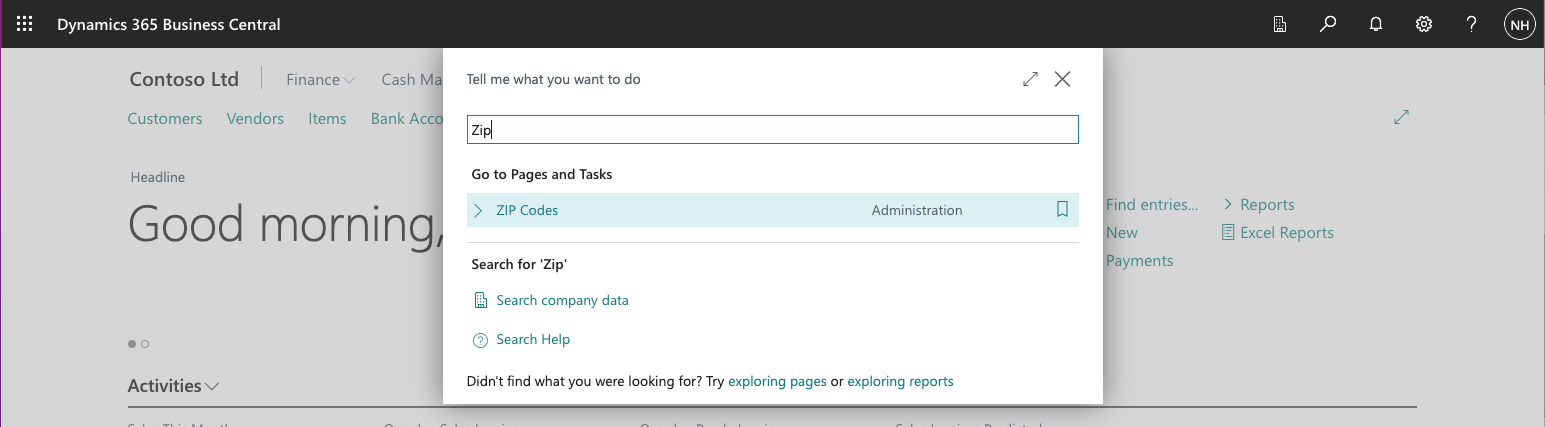
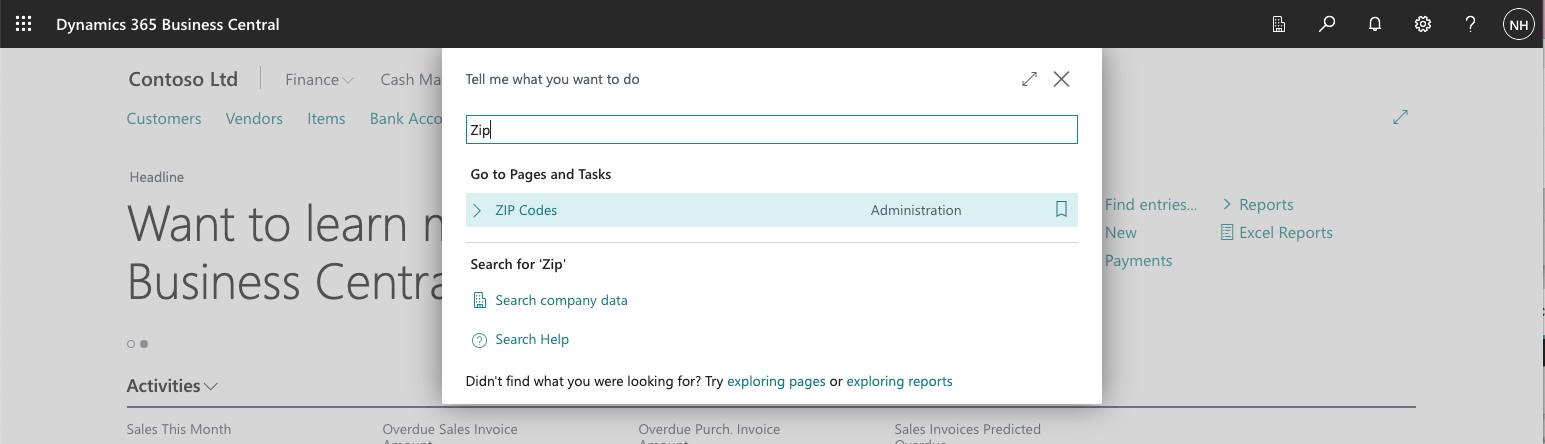
I used the search button to navigate to the Zip Codes page
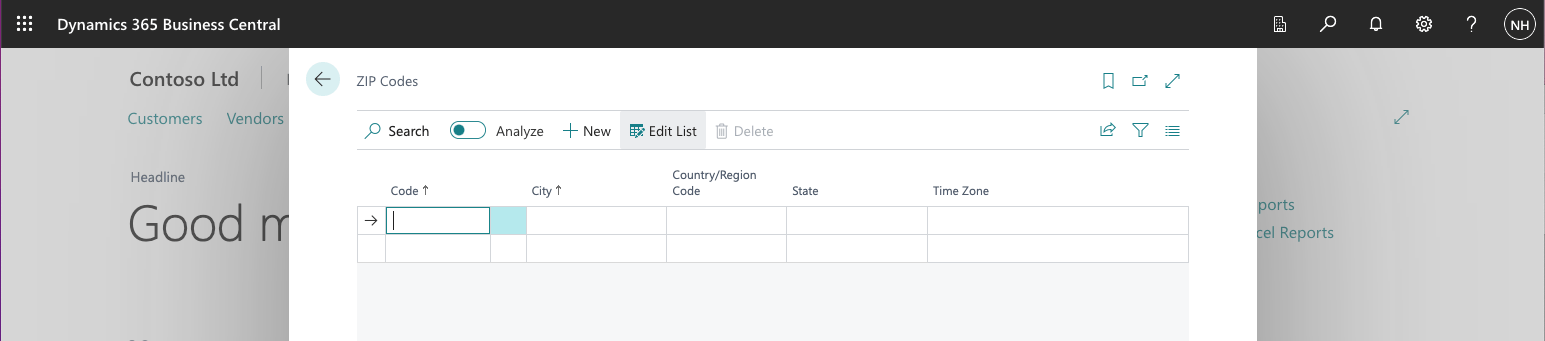
No Zip Codes have been defined
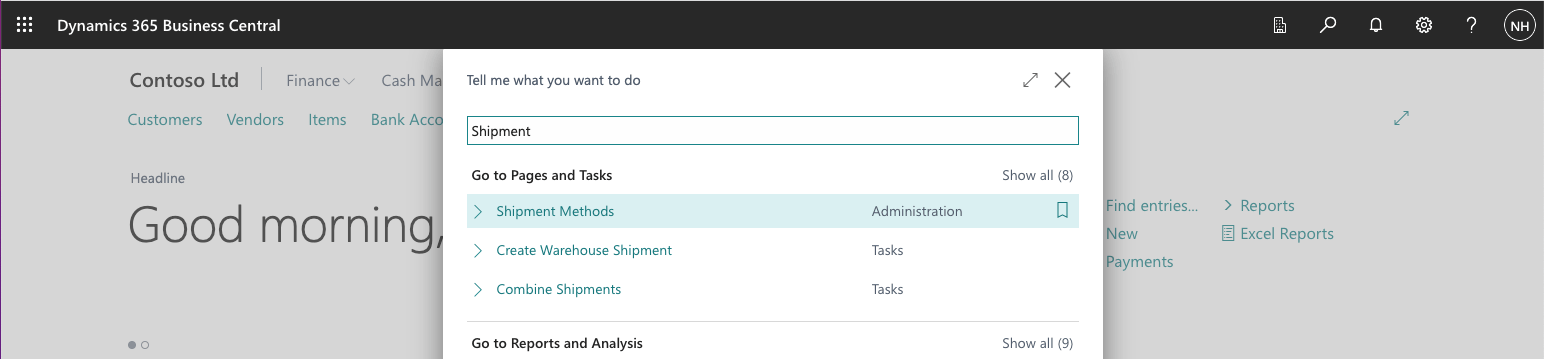
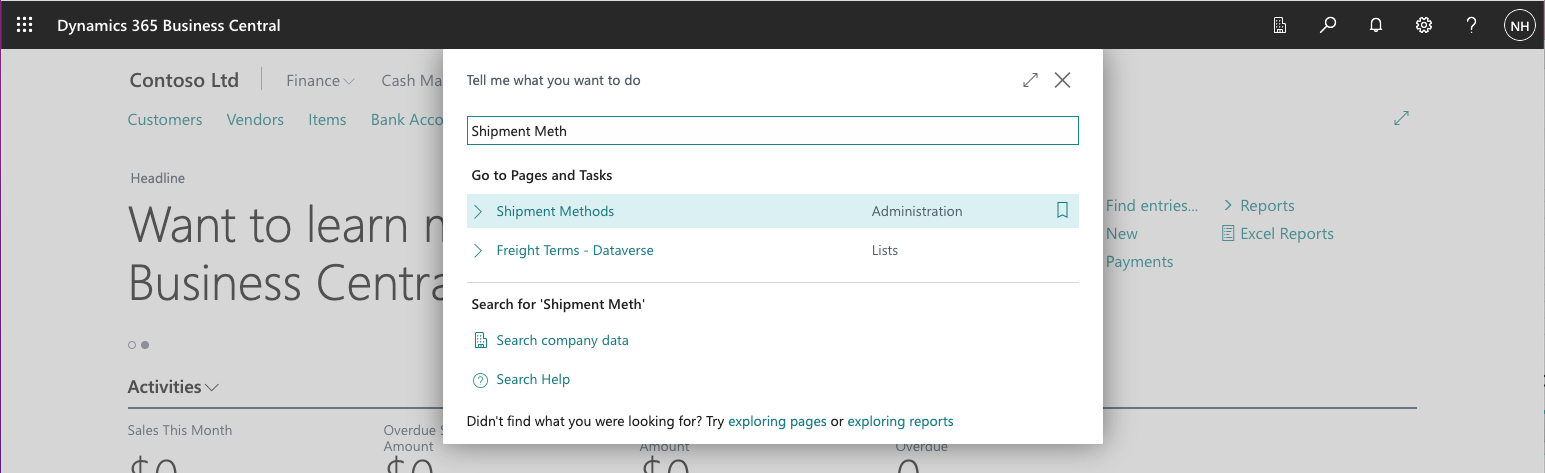
I used the search button to navigate to the Shipment Methods page
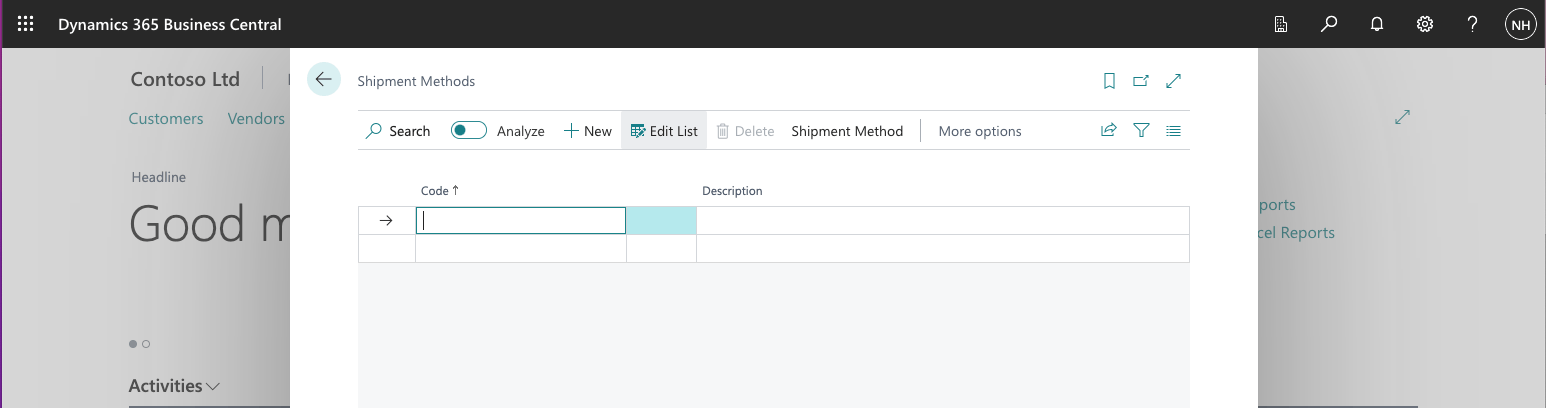
No Shipment methods have been defined
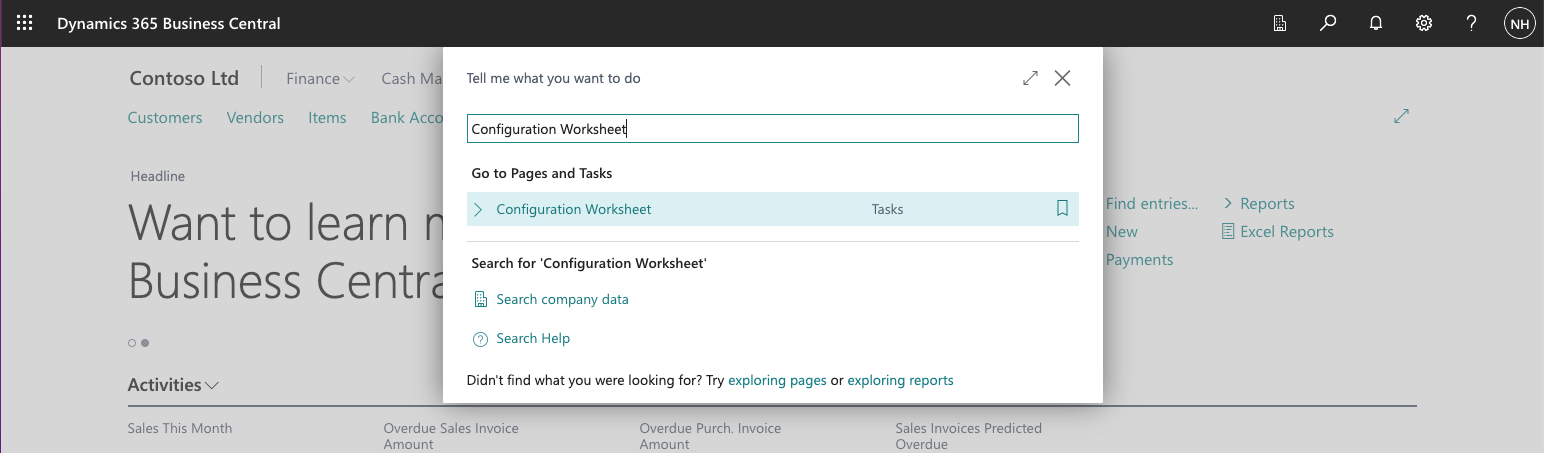
I used the search button to navigate to the Configuration Worksheet page
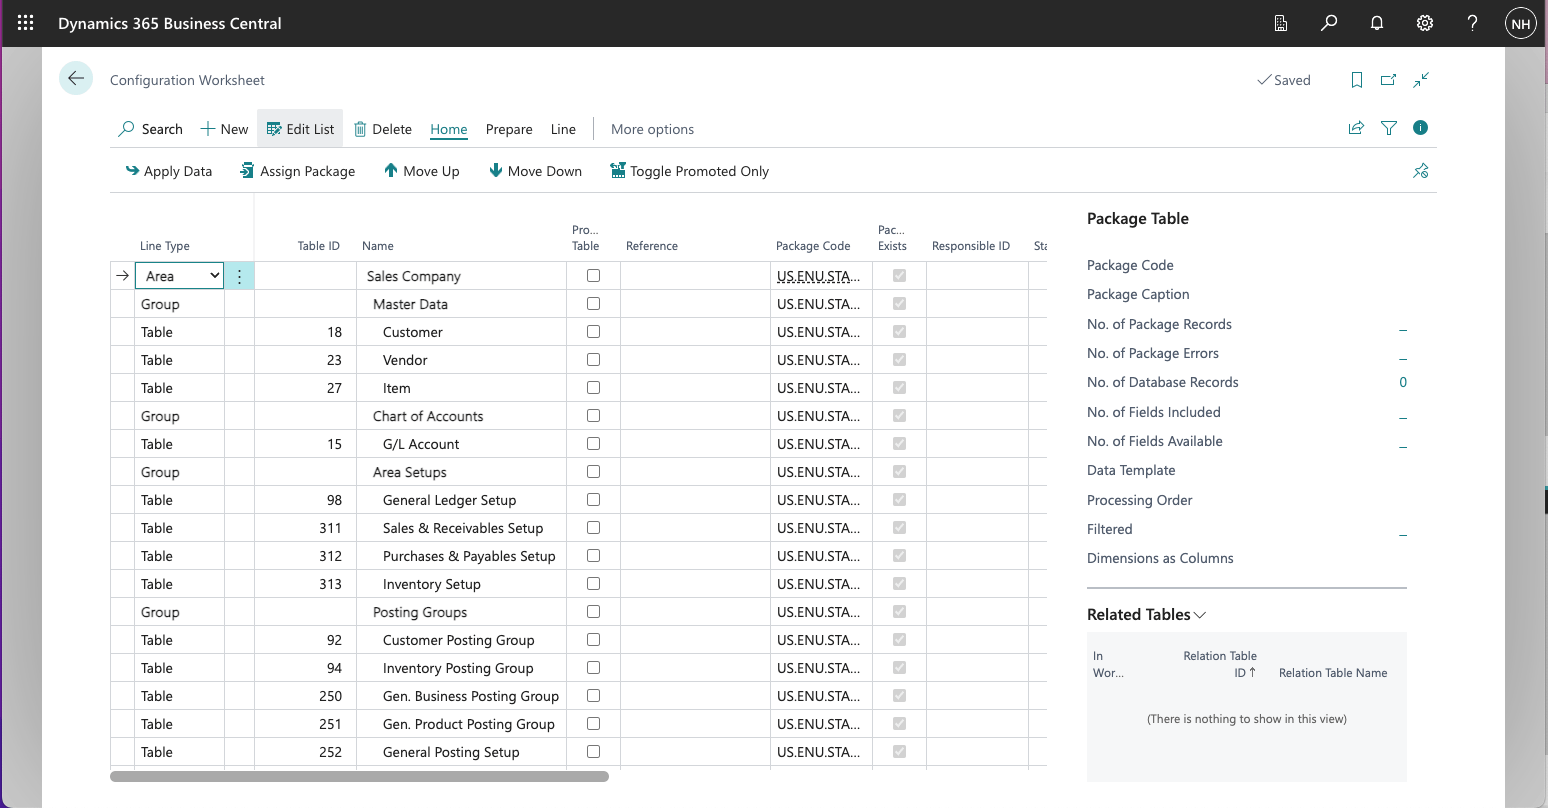
The Worksheet included details of a Sales Company Area, a number of Groups (including a Master Data Group) and a number of Tables (including a Customer Table).
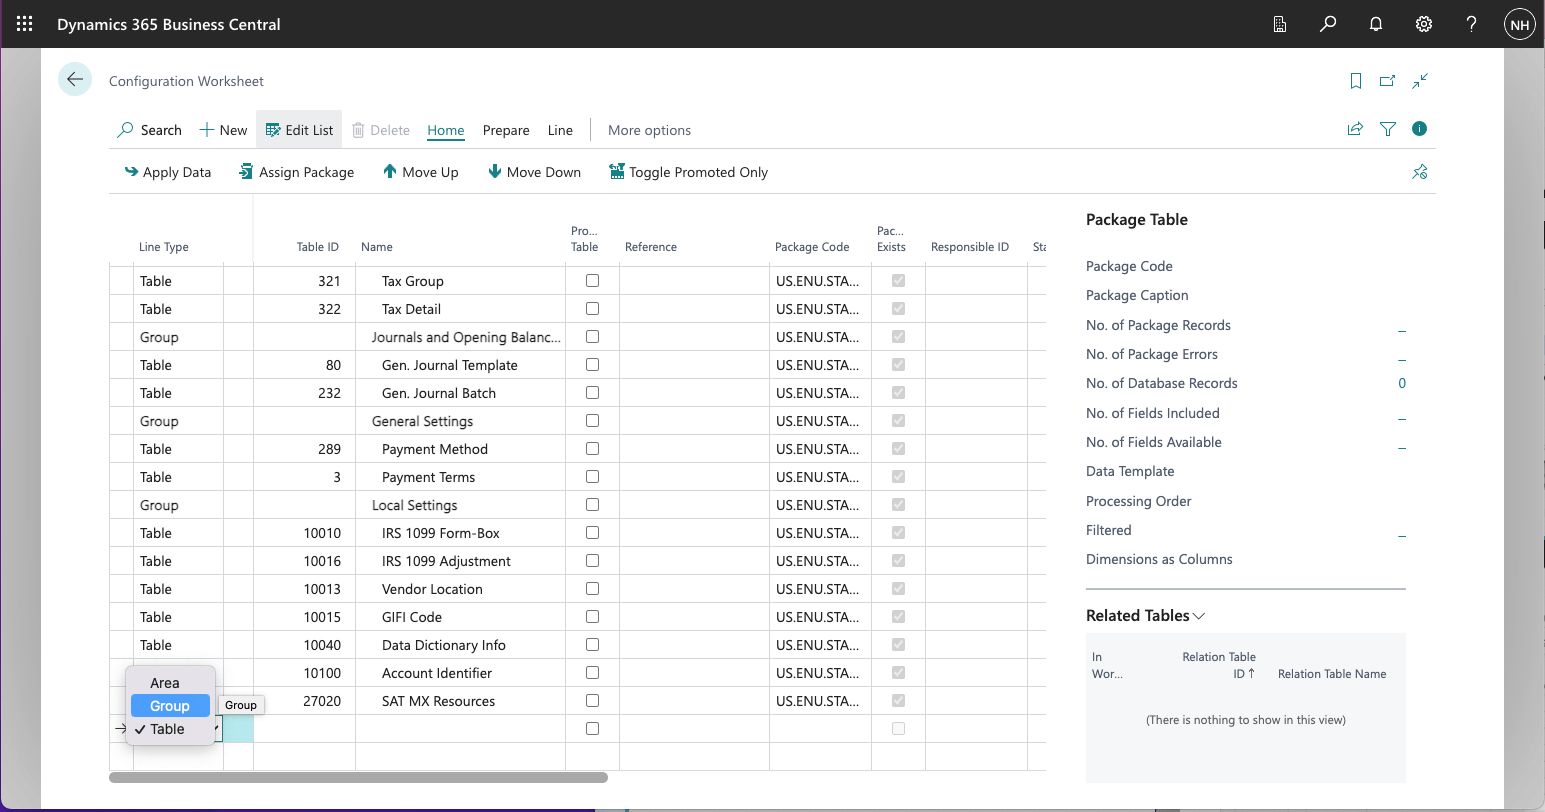
I added a new General Setup Group
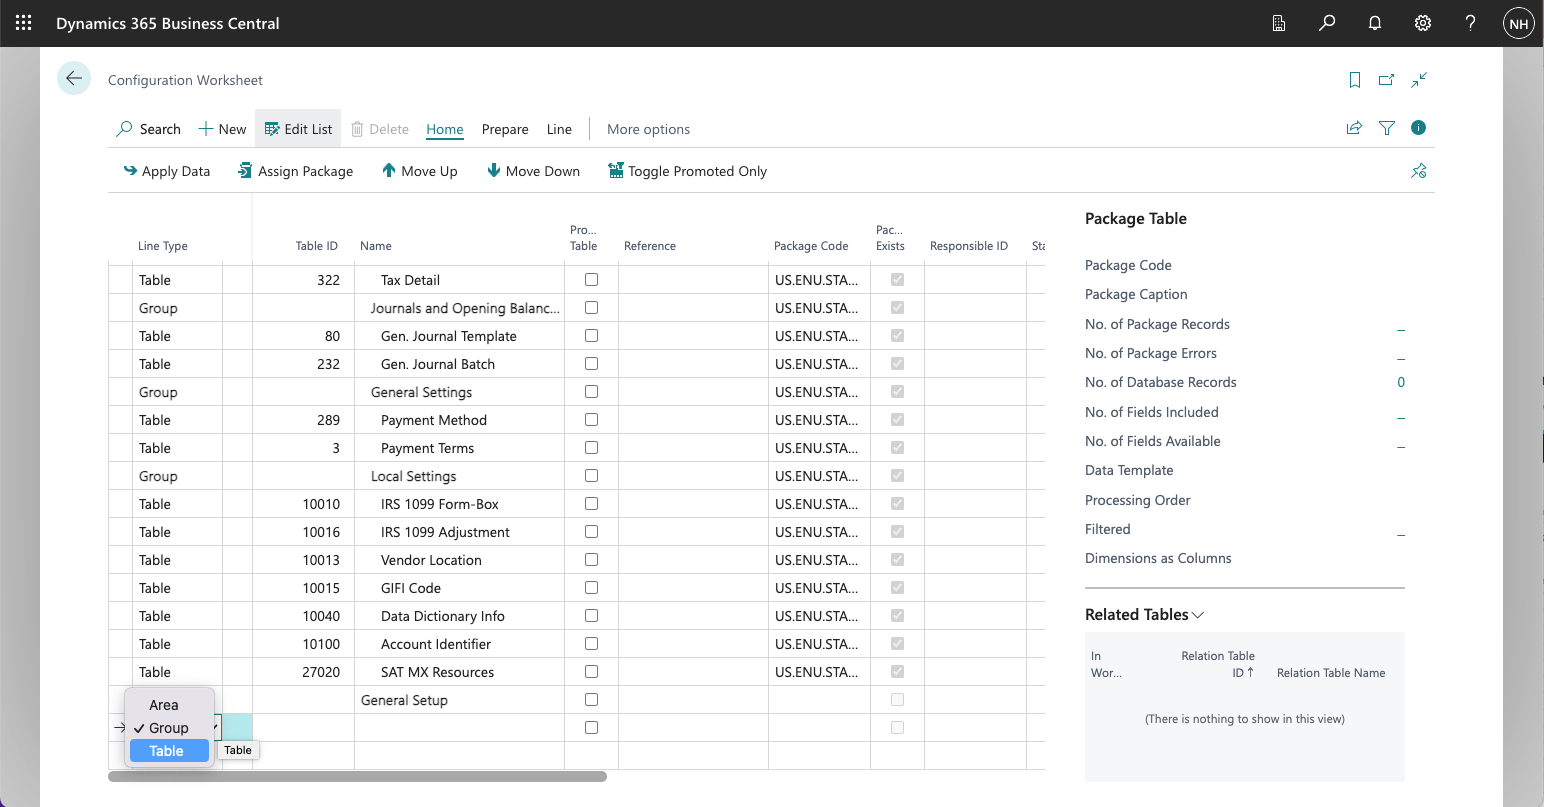
I added a new ZIP Code table
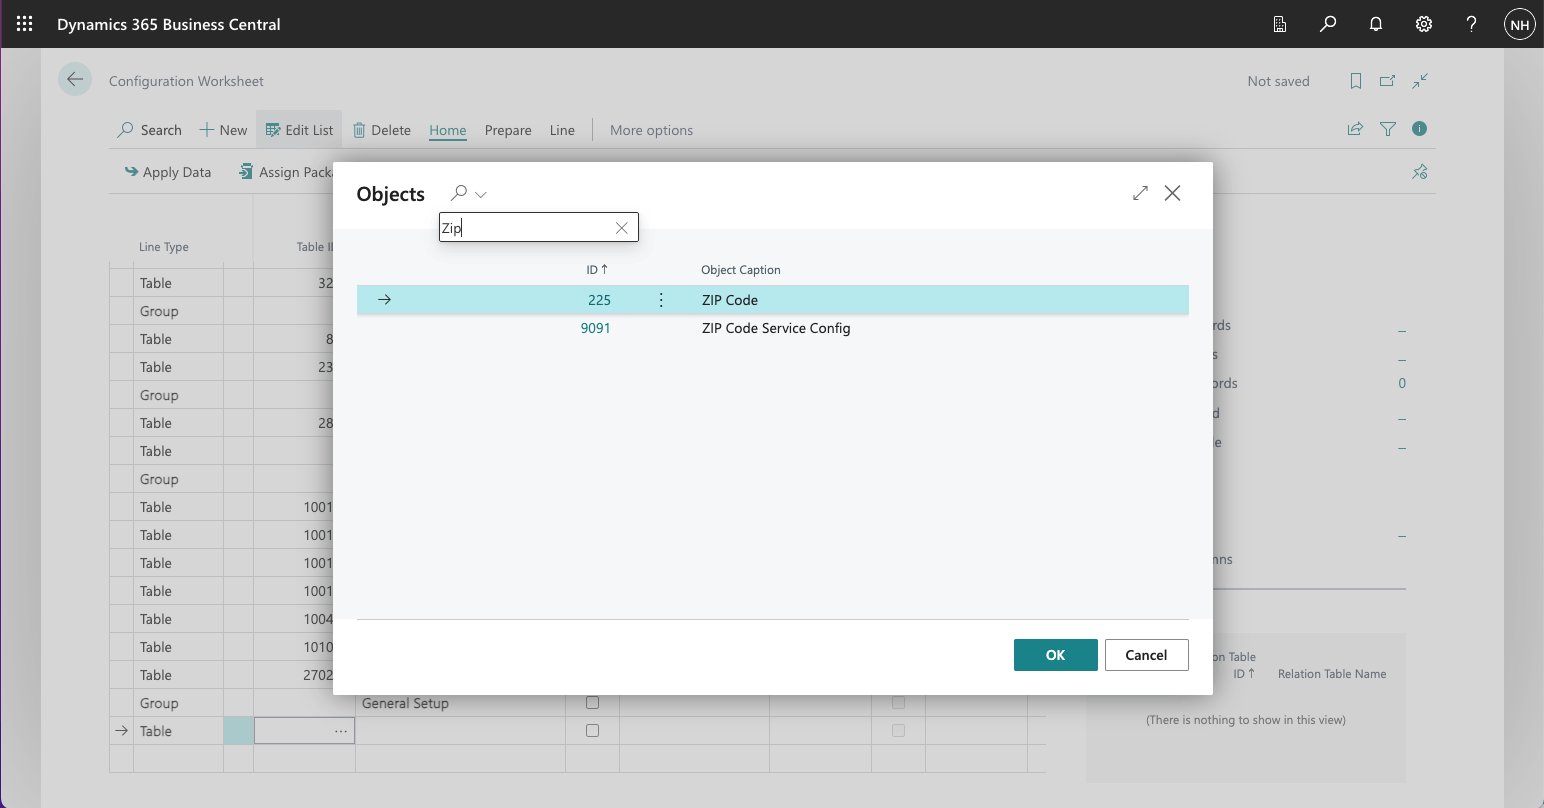
I used the three dots icon in the Table ID column to lookup the Zip Code table ID
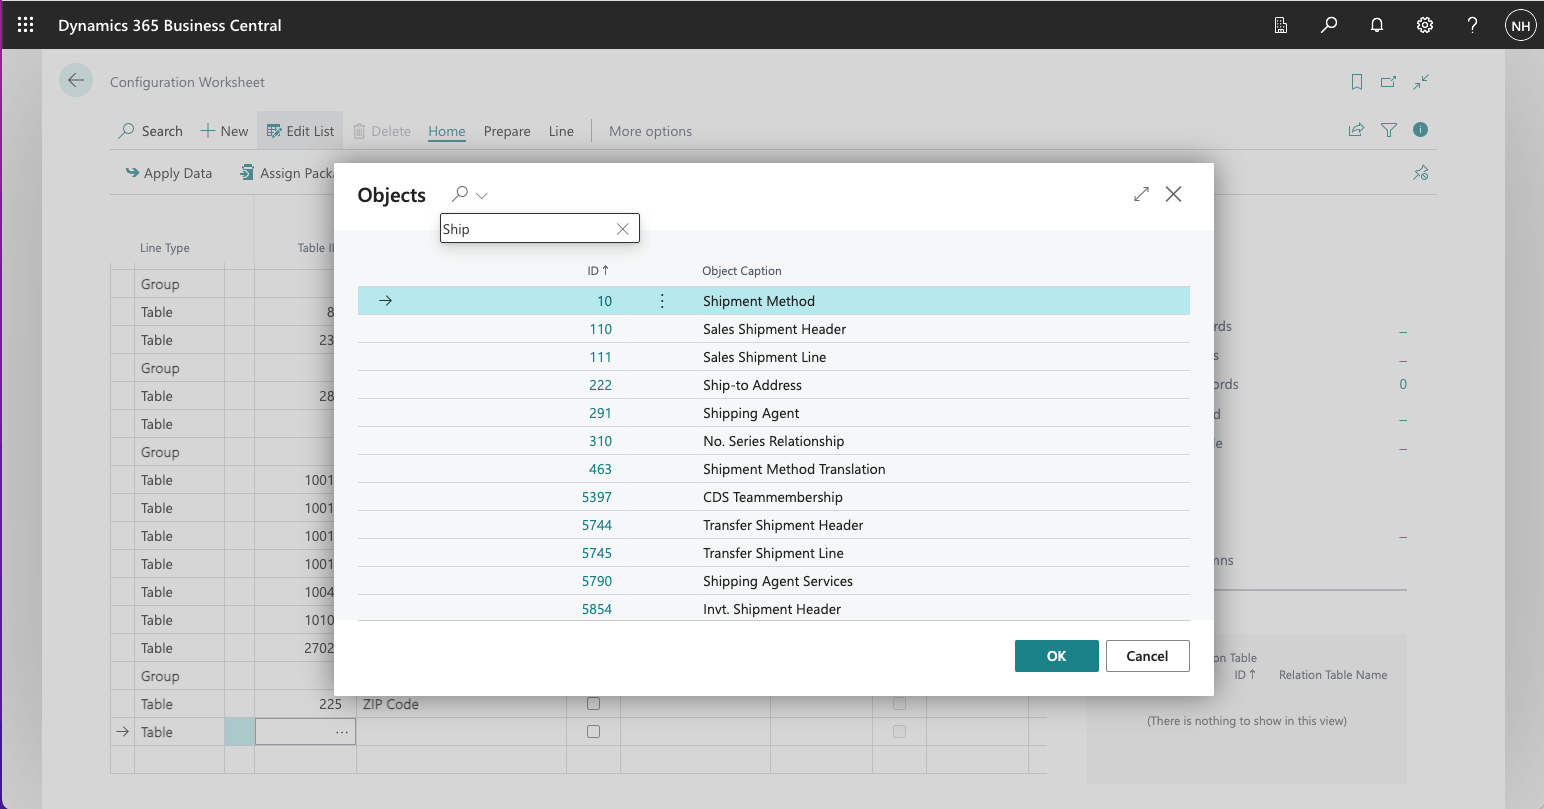
I used the three dots icon in the Table ID column to lookup the Shipment Method table ID
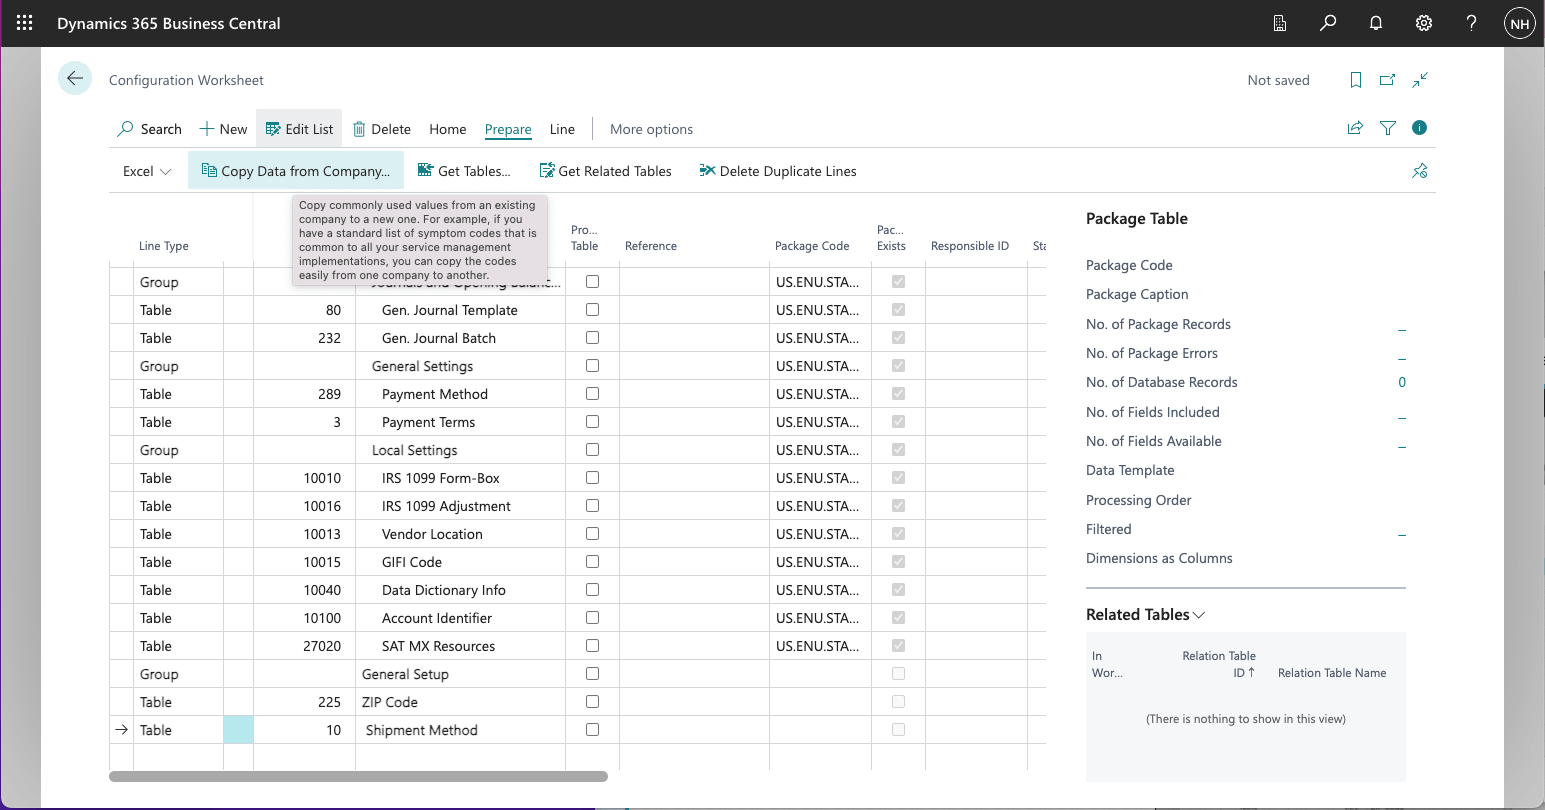
I clicked the Copy Data from Company... button
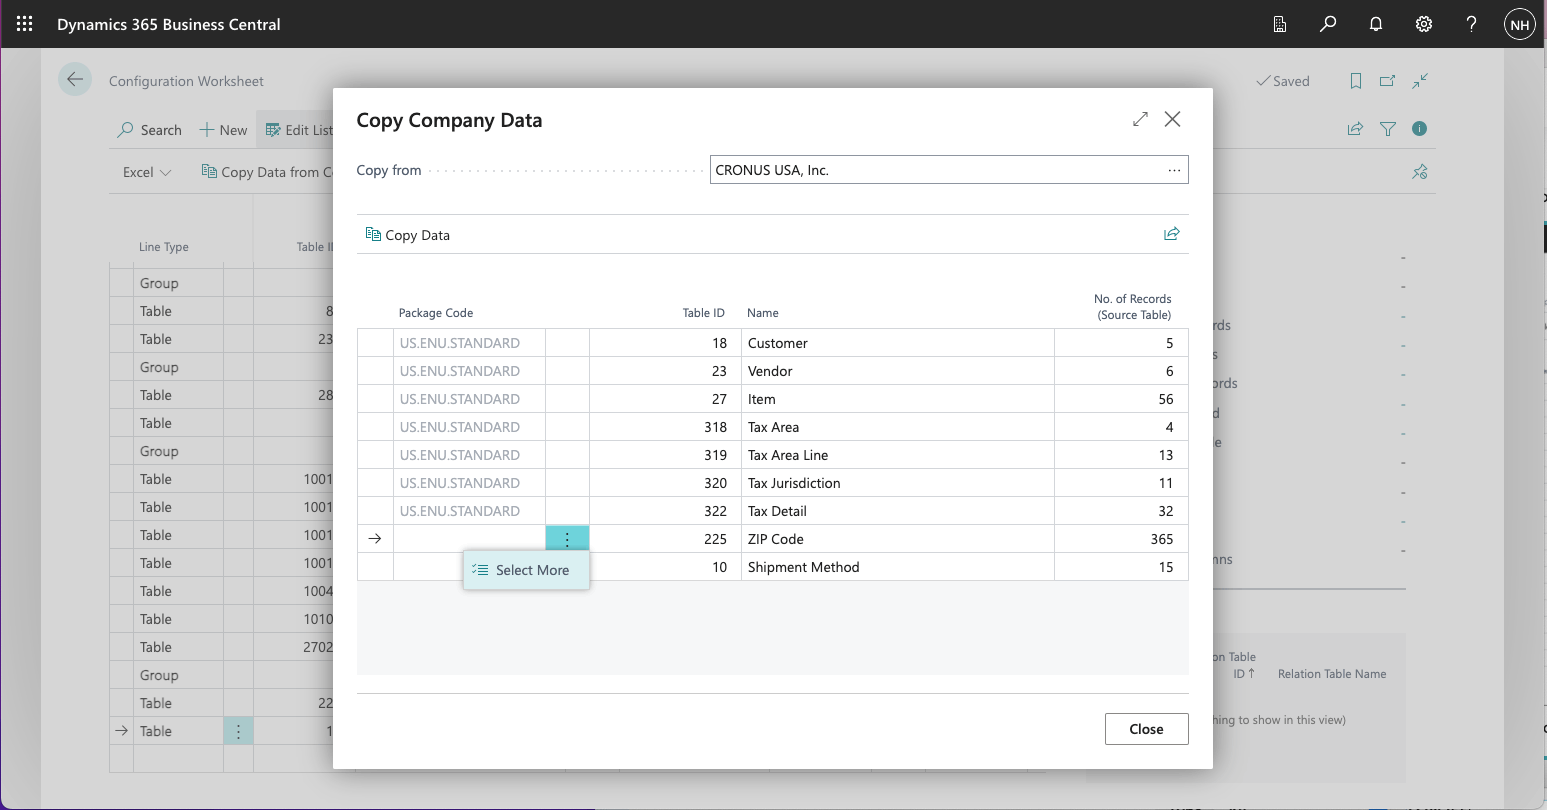
I clicked the three dots icon in the second column and select the Select More button
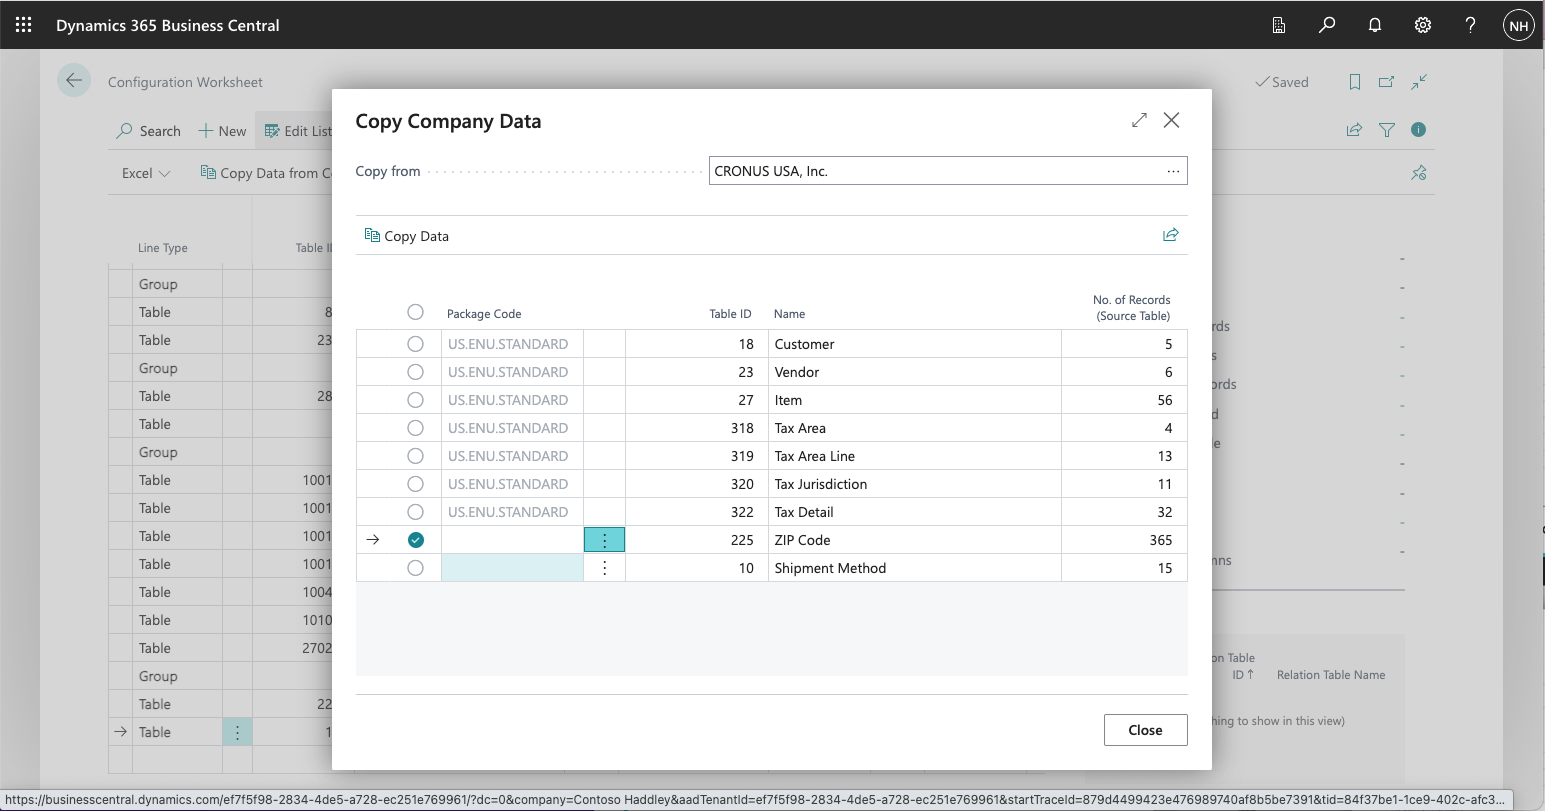
A selected round check box appeared
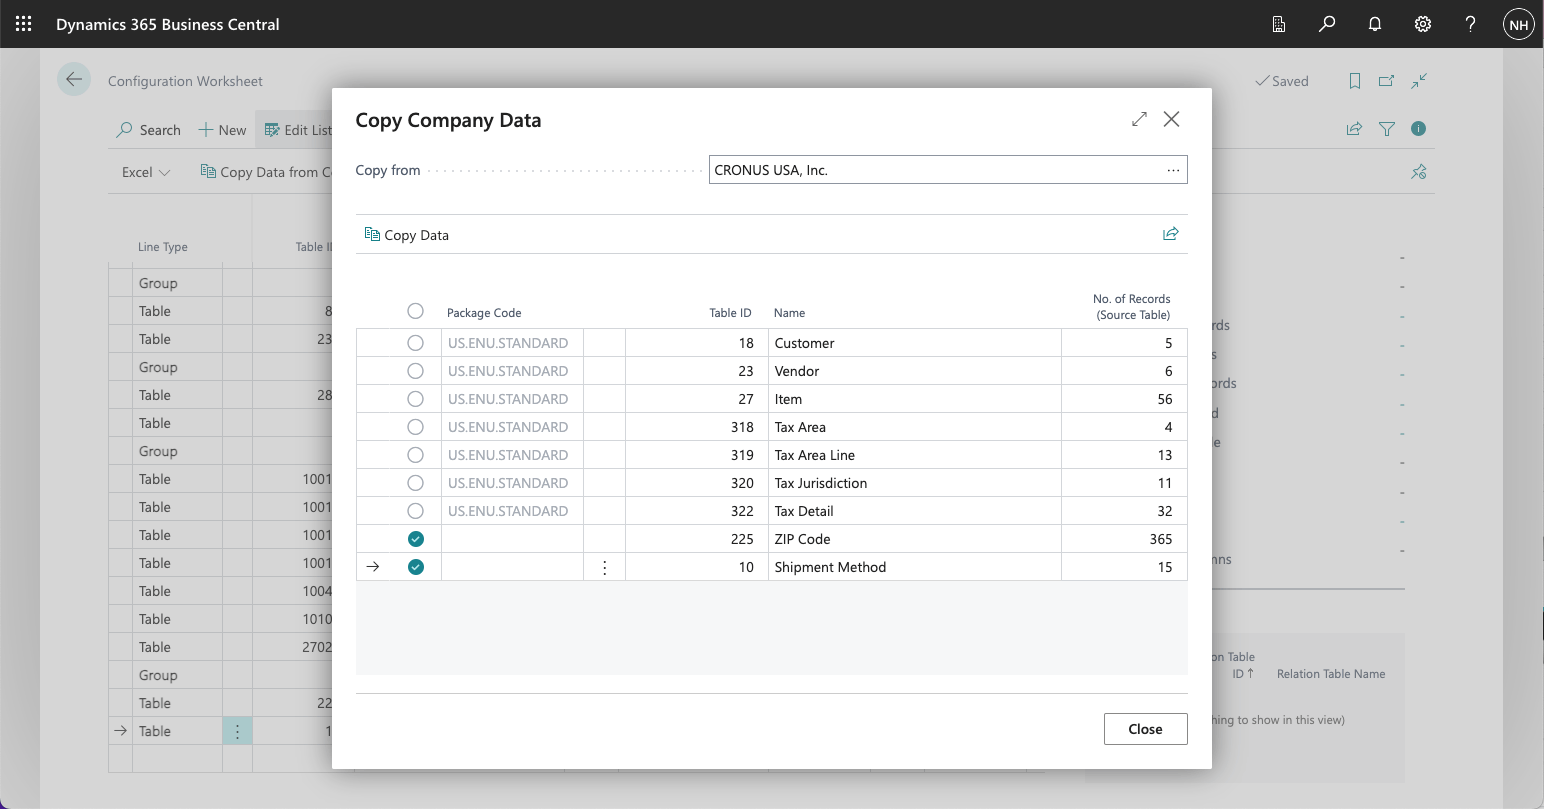
I clicked the round check box in the Shipment Method row and clicked the Copy Data button
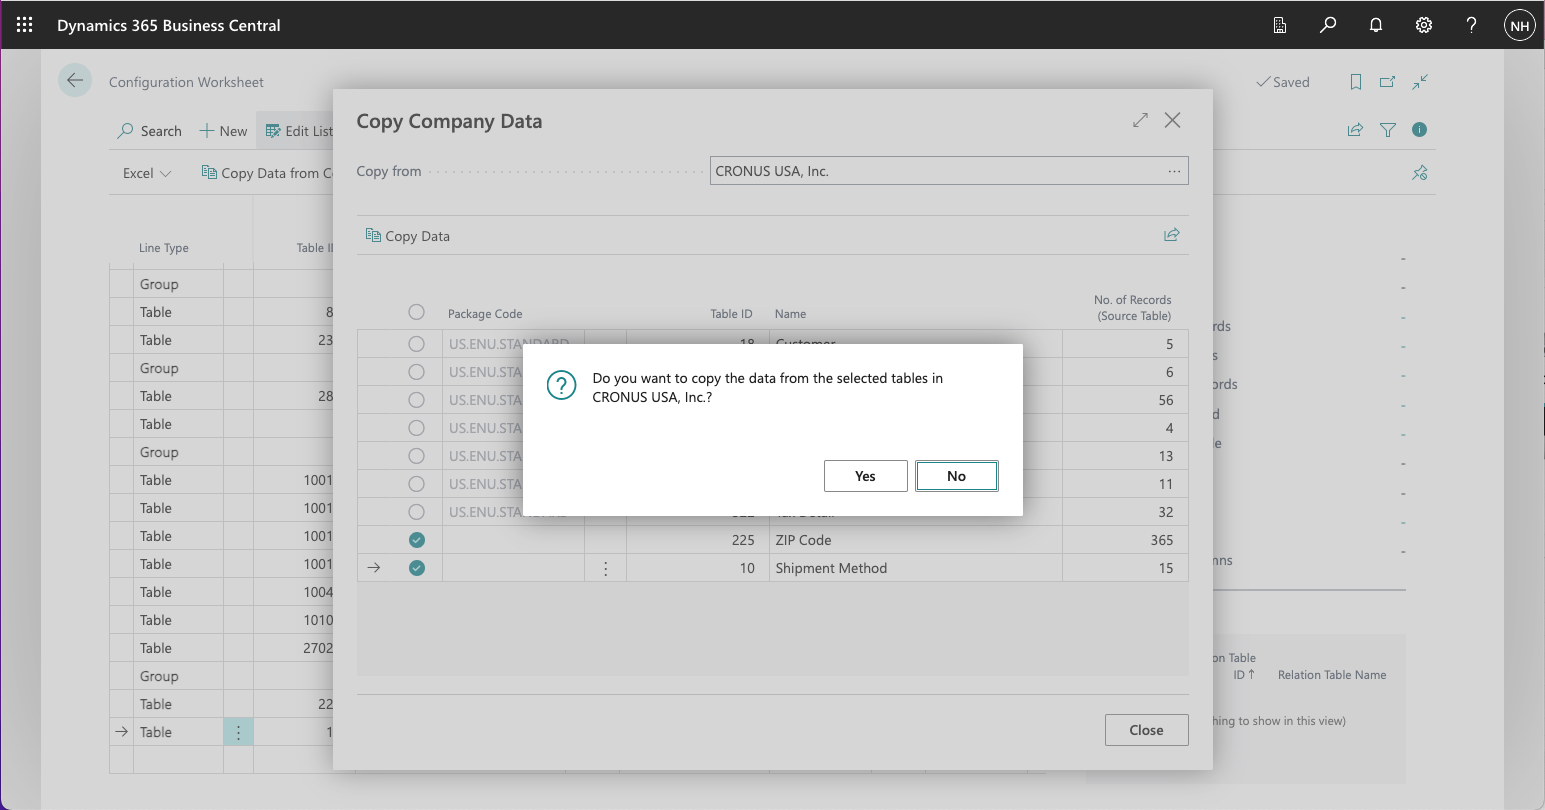
I clicked the Yes button
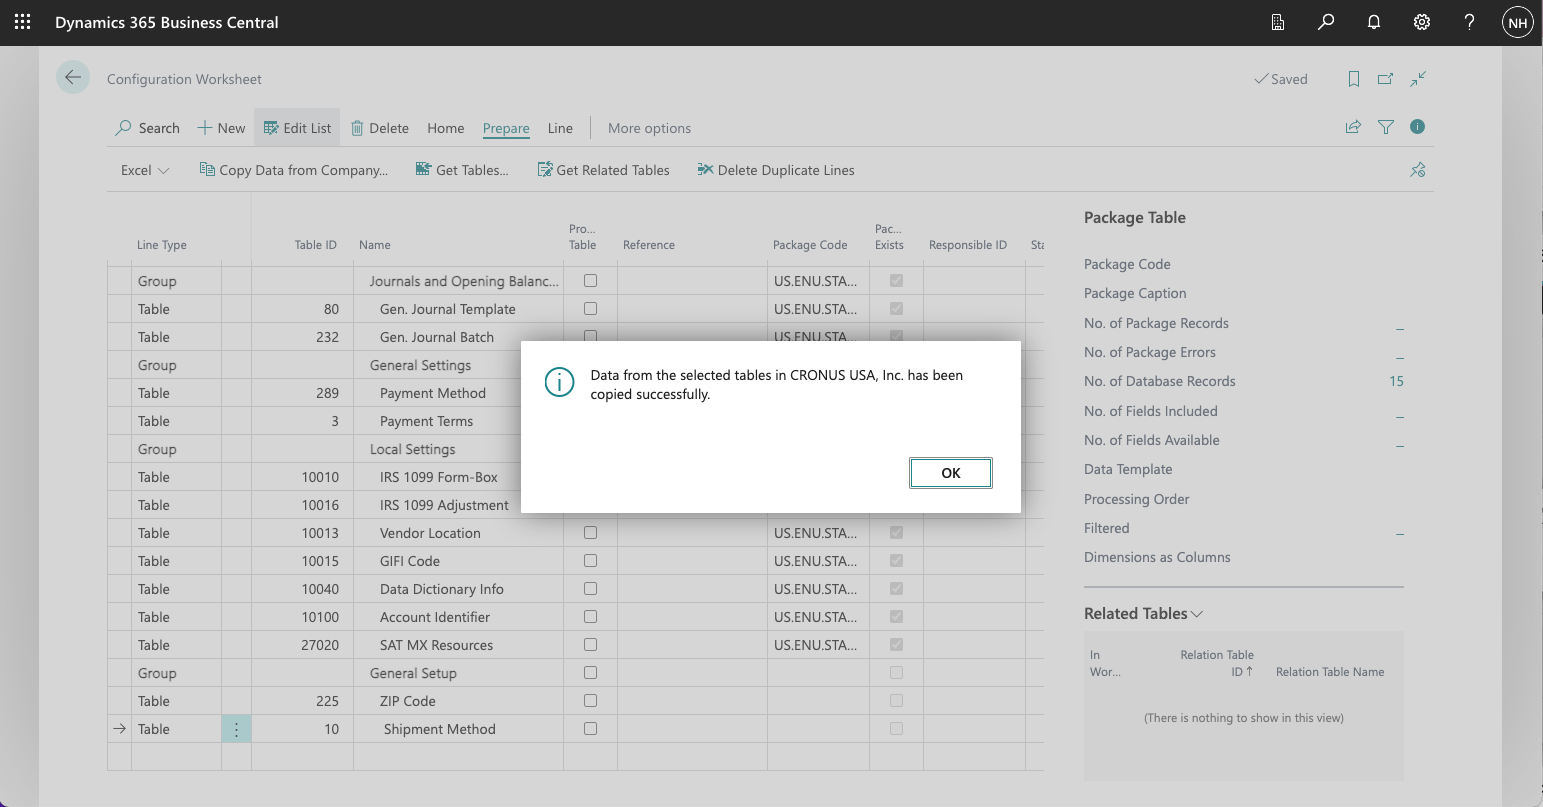
A dialog box appeared confirming that the selected tables had been copied
I used the search button to navigate to the Zip Codes page
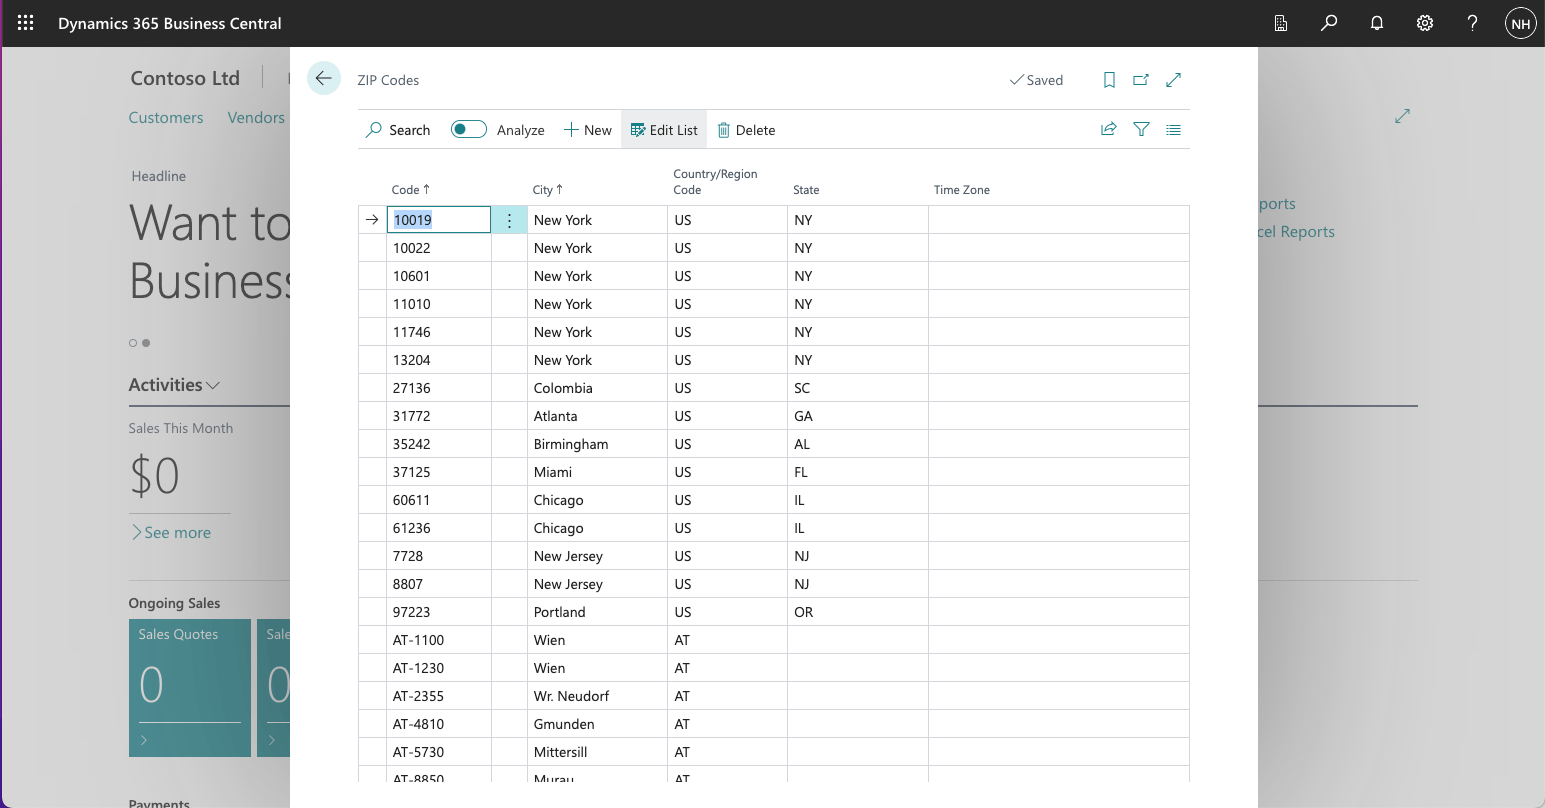
Zip Codes had been copied
I used the search button to navigate to the Shipment Methods page
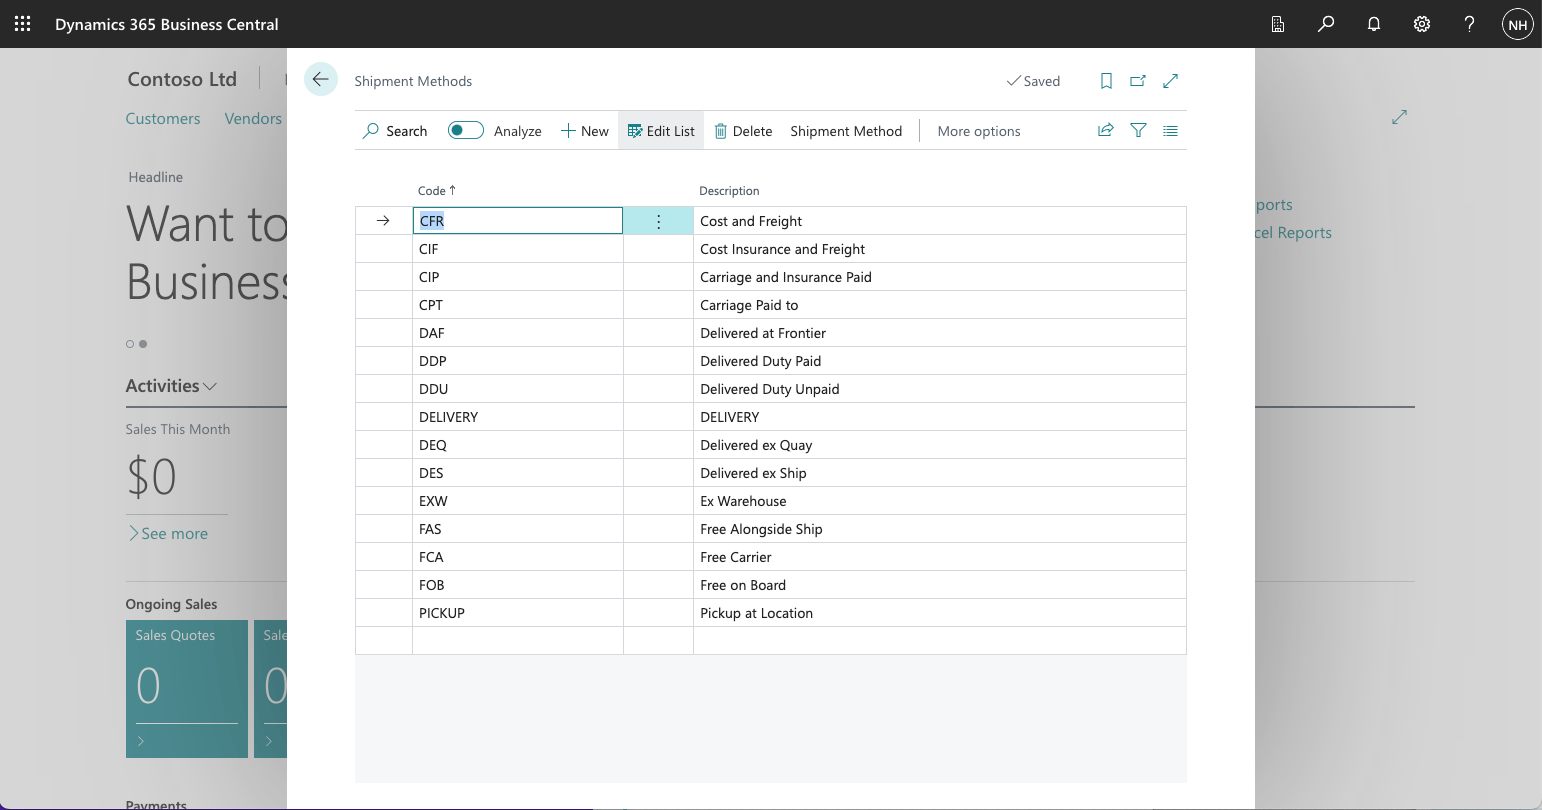
Shipment Methods had been copied