Model Driven Apps Timeline
Neil Haddley • June 16, 2026
Enabling notes and activities on a Dataverse table, and configuring the timeline control to roll up records from related entity instances
Every record in a model-driven app can carry two different kinds of supporting information: Notes (the annotation table — free-text comments, optionally with an attached file) and Activities (emails, phone calls, appointments, tasks, and any custom activity tables a solution adds). Neither is available on a table by default. They are two separate settings I have to turn on in the table's properties before Dataverse lets me attach them to a record, and the Timeline control is the form component that actually displays them once they are enabled.
Enabling notes and activities on a table
I started by creating a new solution to keep the customization isolated, naming it "Notes Activities."
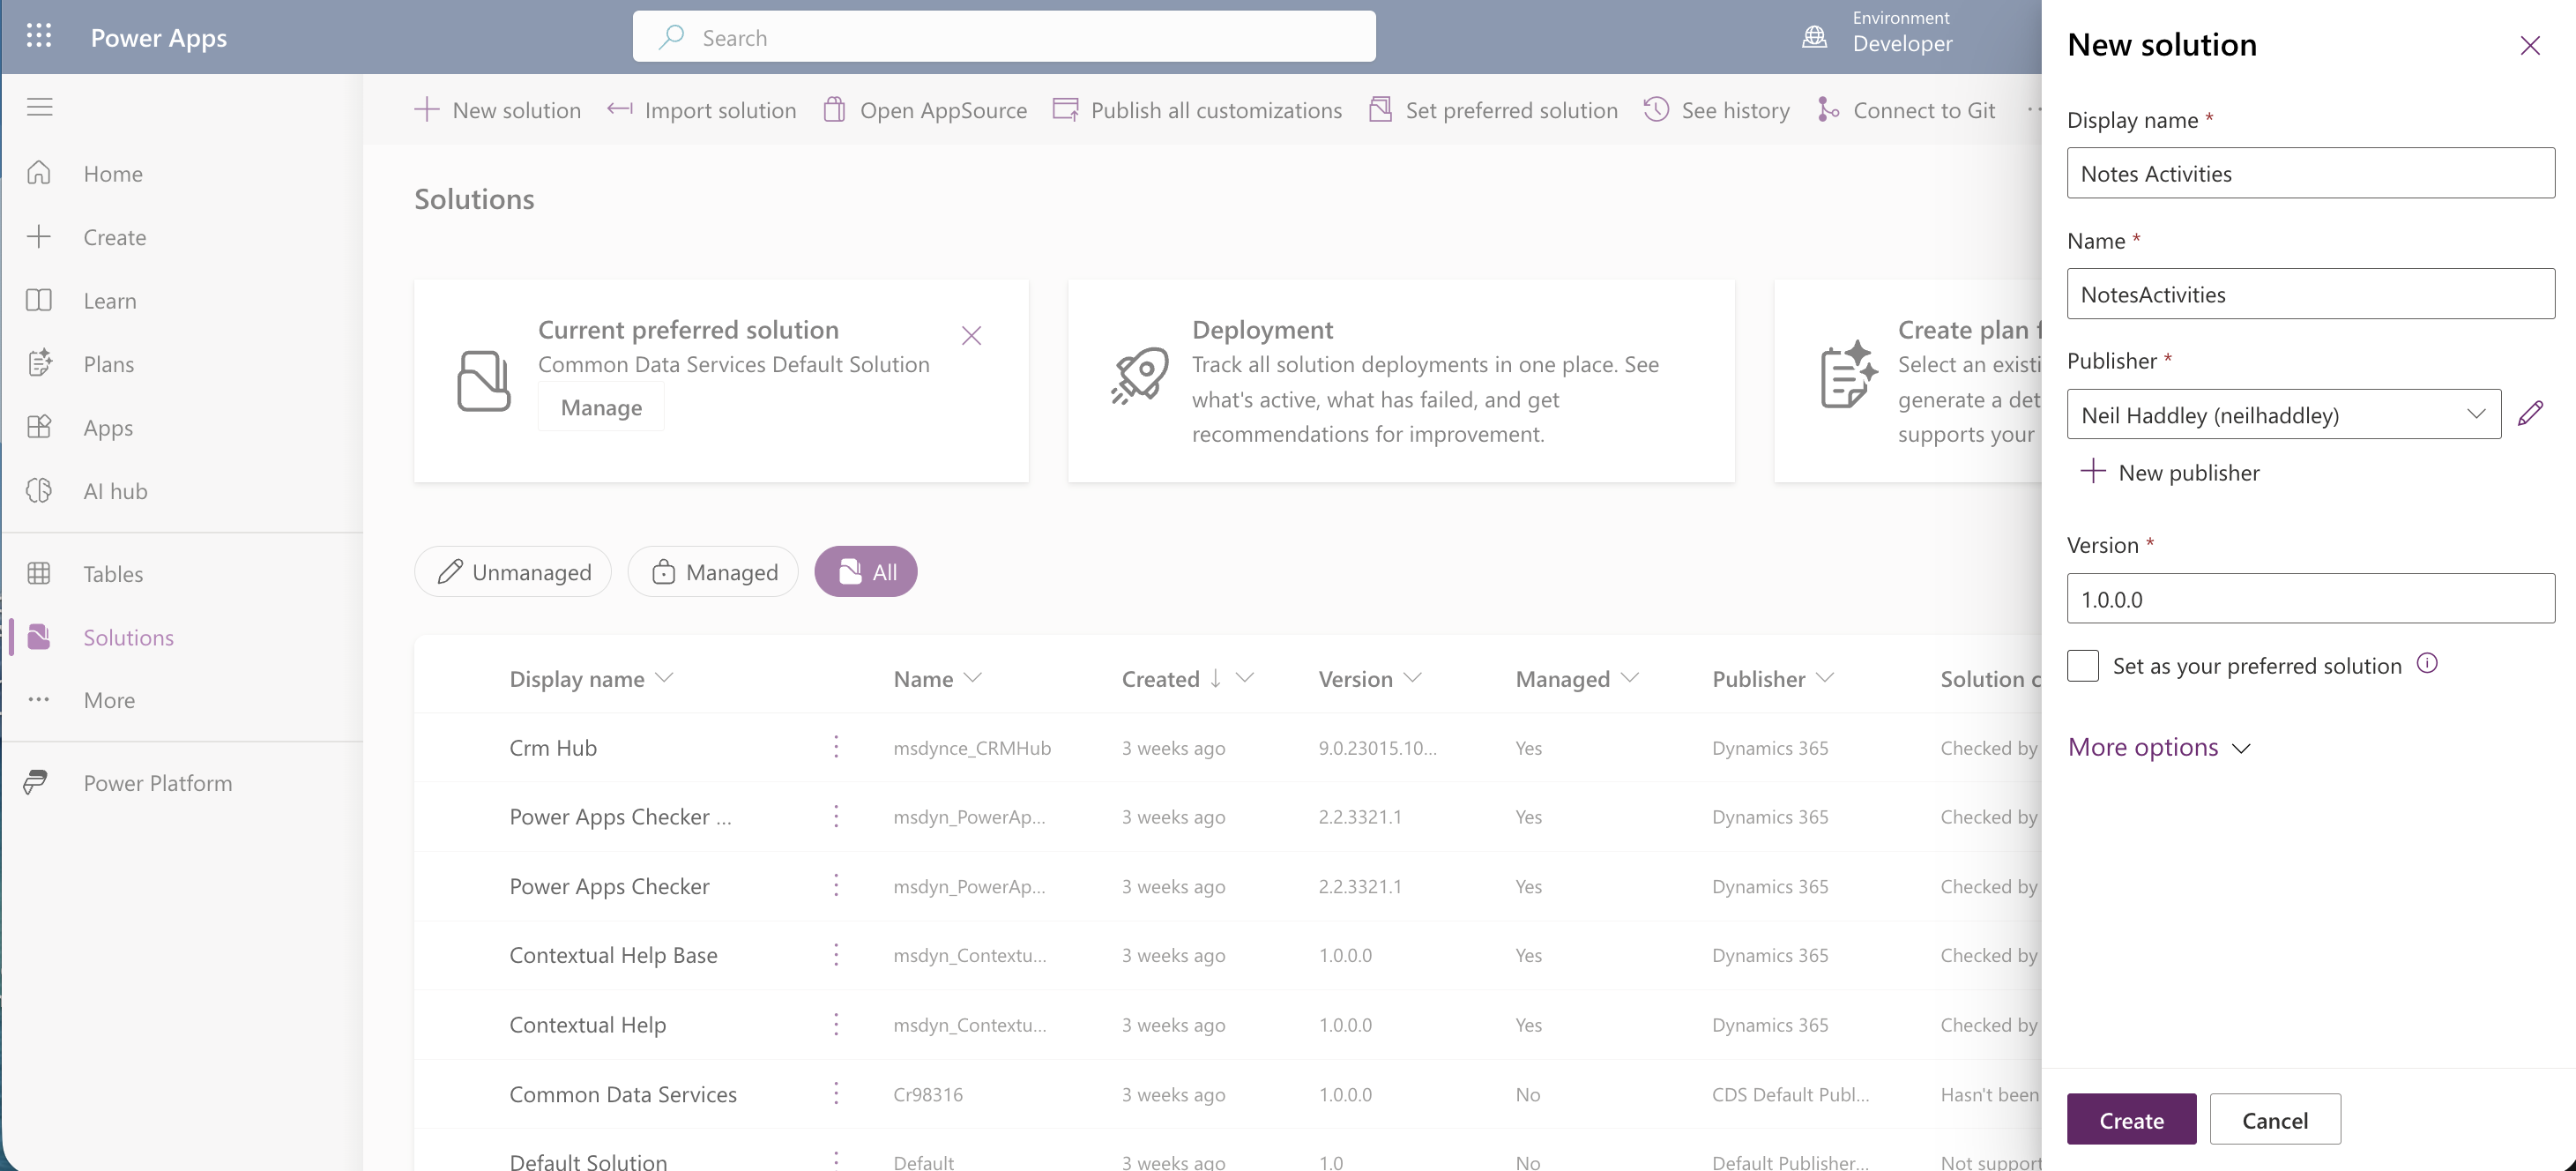
I created a new solution called Notes Activities
Inside the solution I selected New > Table > Table (advanced properties) so I could set everything up front rather than after the fact.
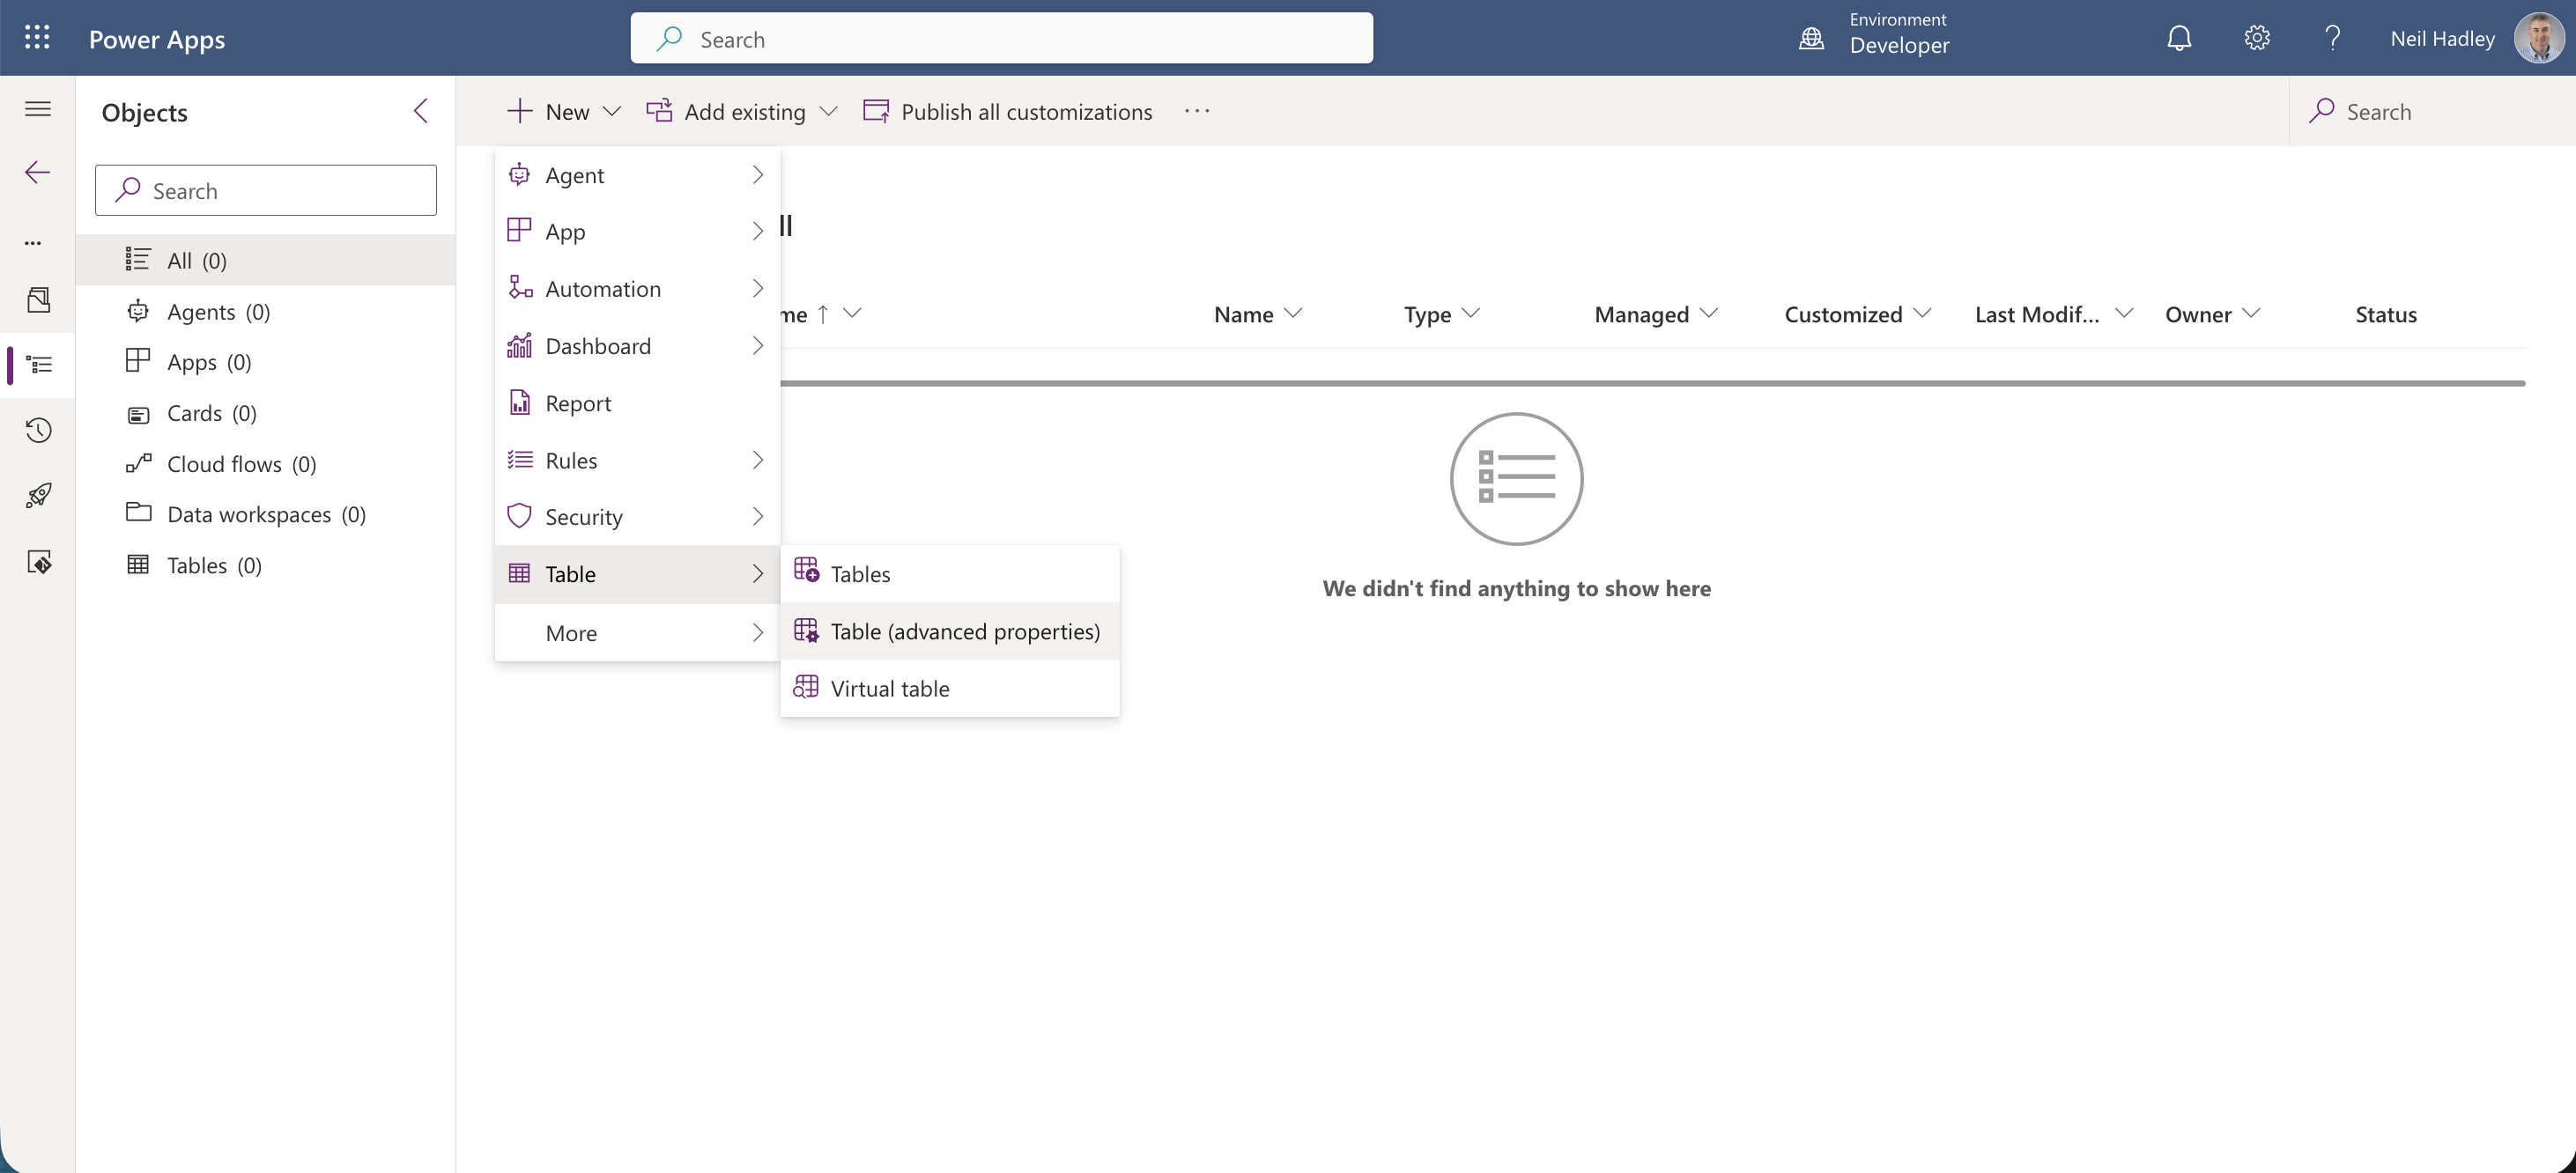
I selected Table (advanced properties) from the New menu
I named the new table "Asset," with the plural name "Assets," and left Enable attachments unchecked for the moment.
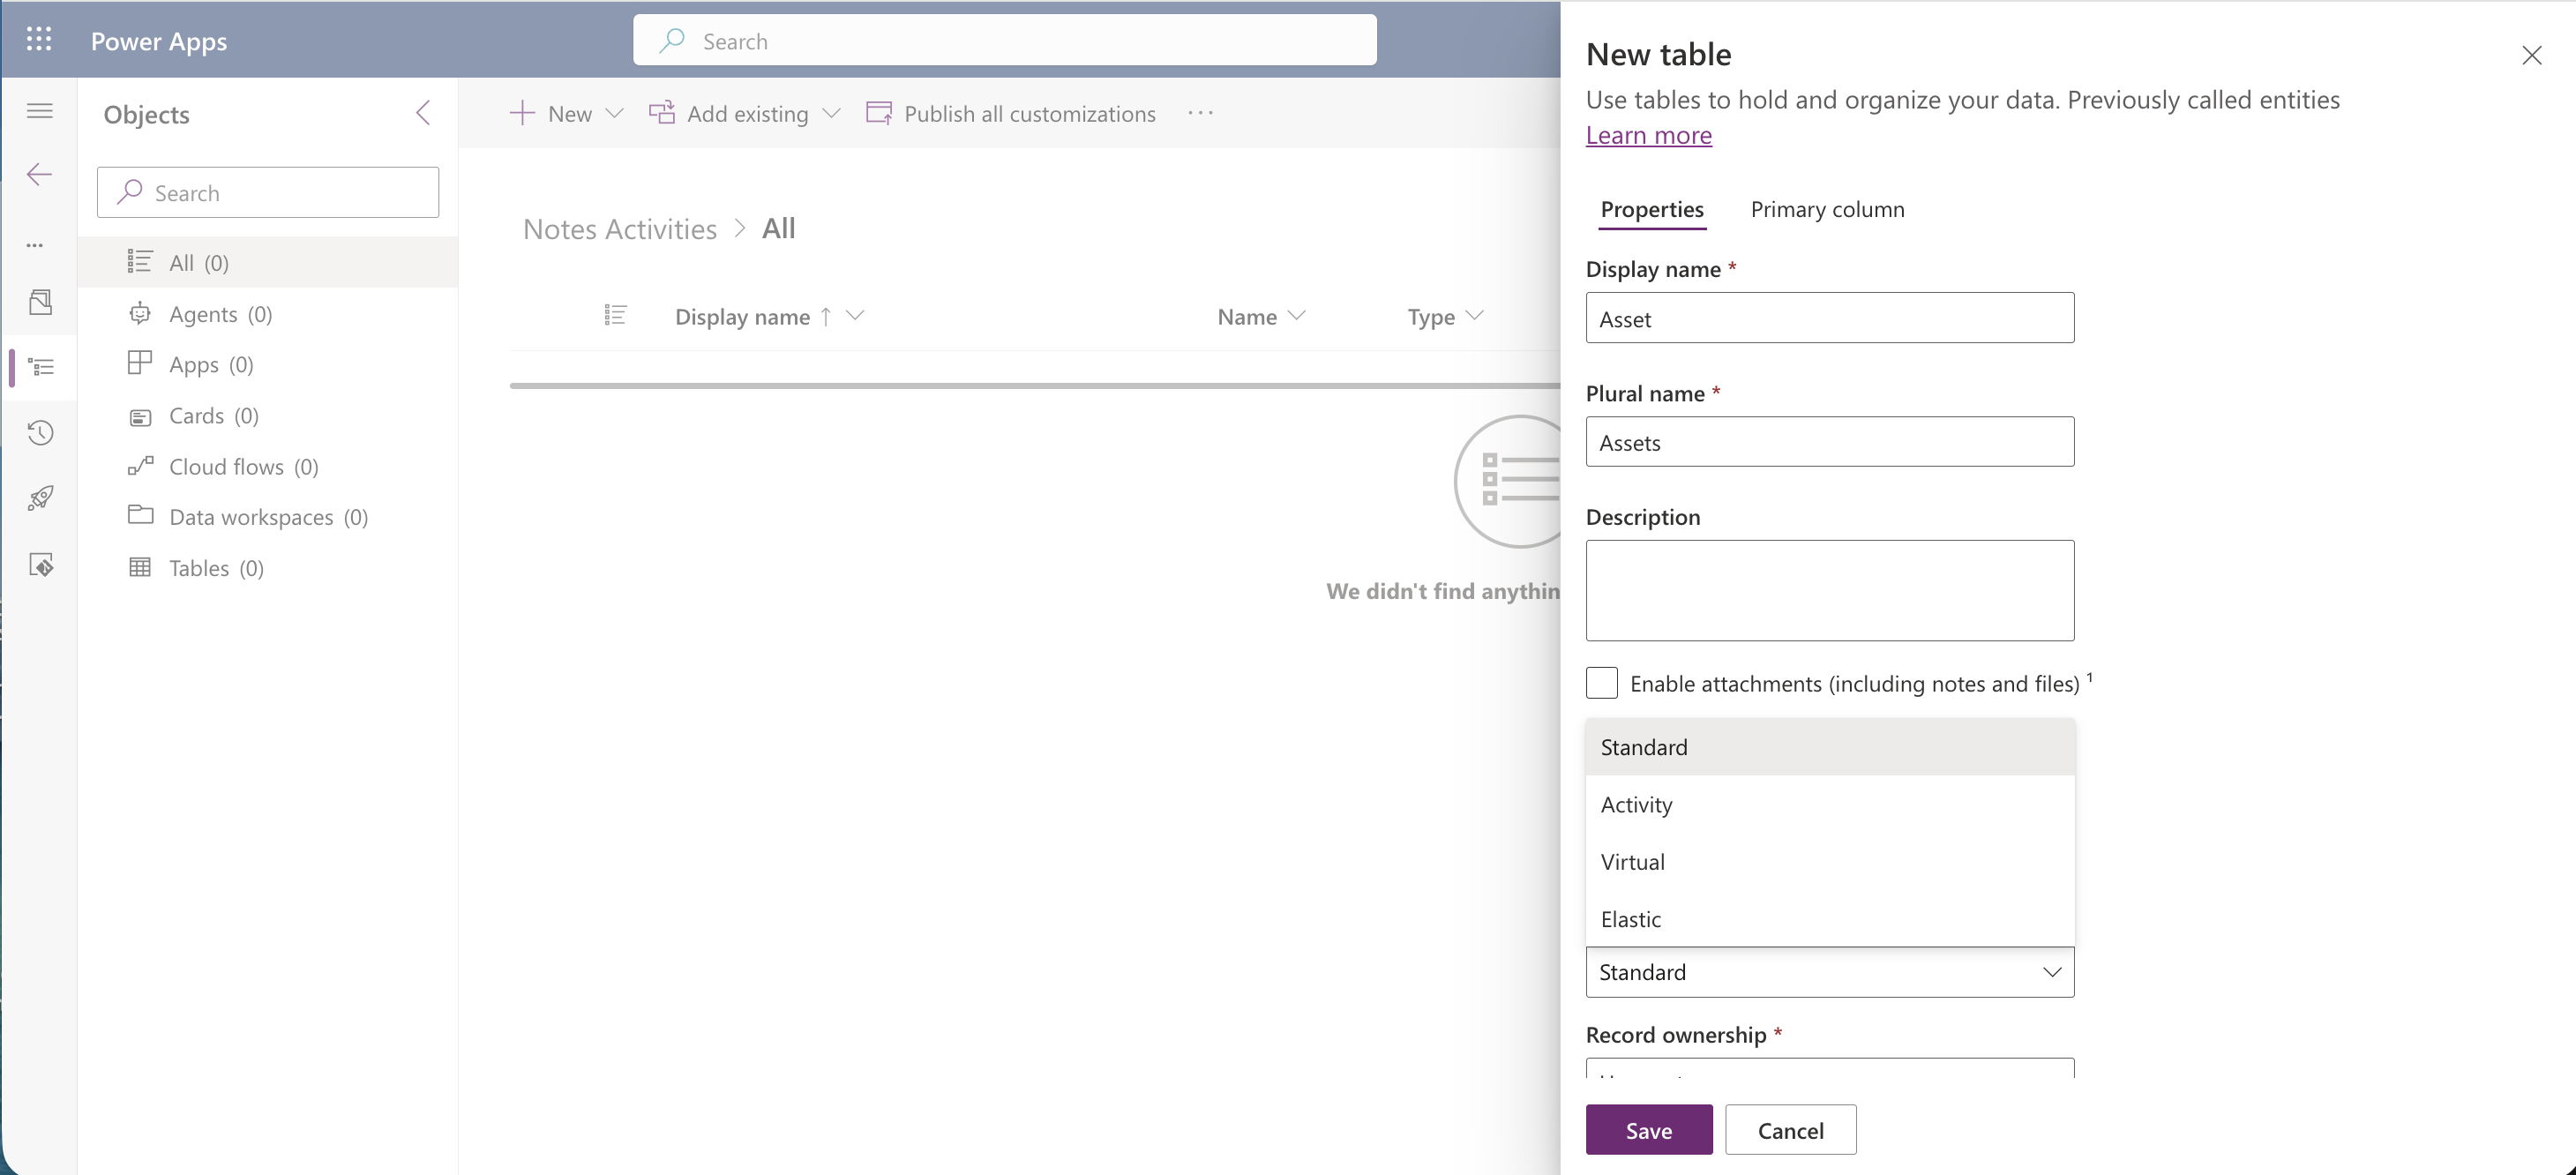
I named the new table Asset
Once the table was created, I reopened its properties and checked Enable attachments (including notes and files) — despite the name, this is also the switch for Notes. Turning it on lets app users add notes, and attach files to those notes, on records of this table.
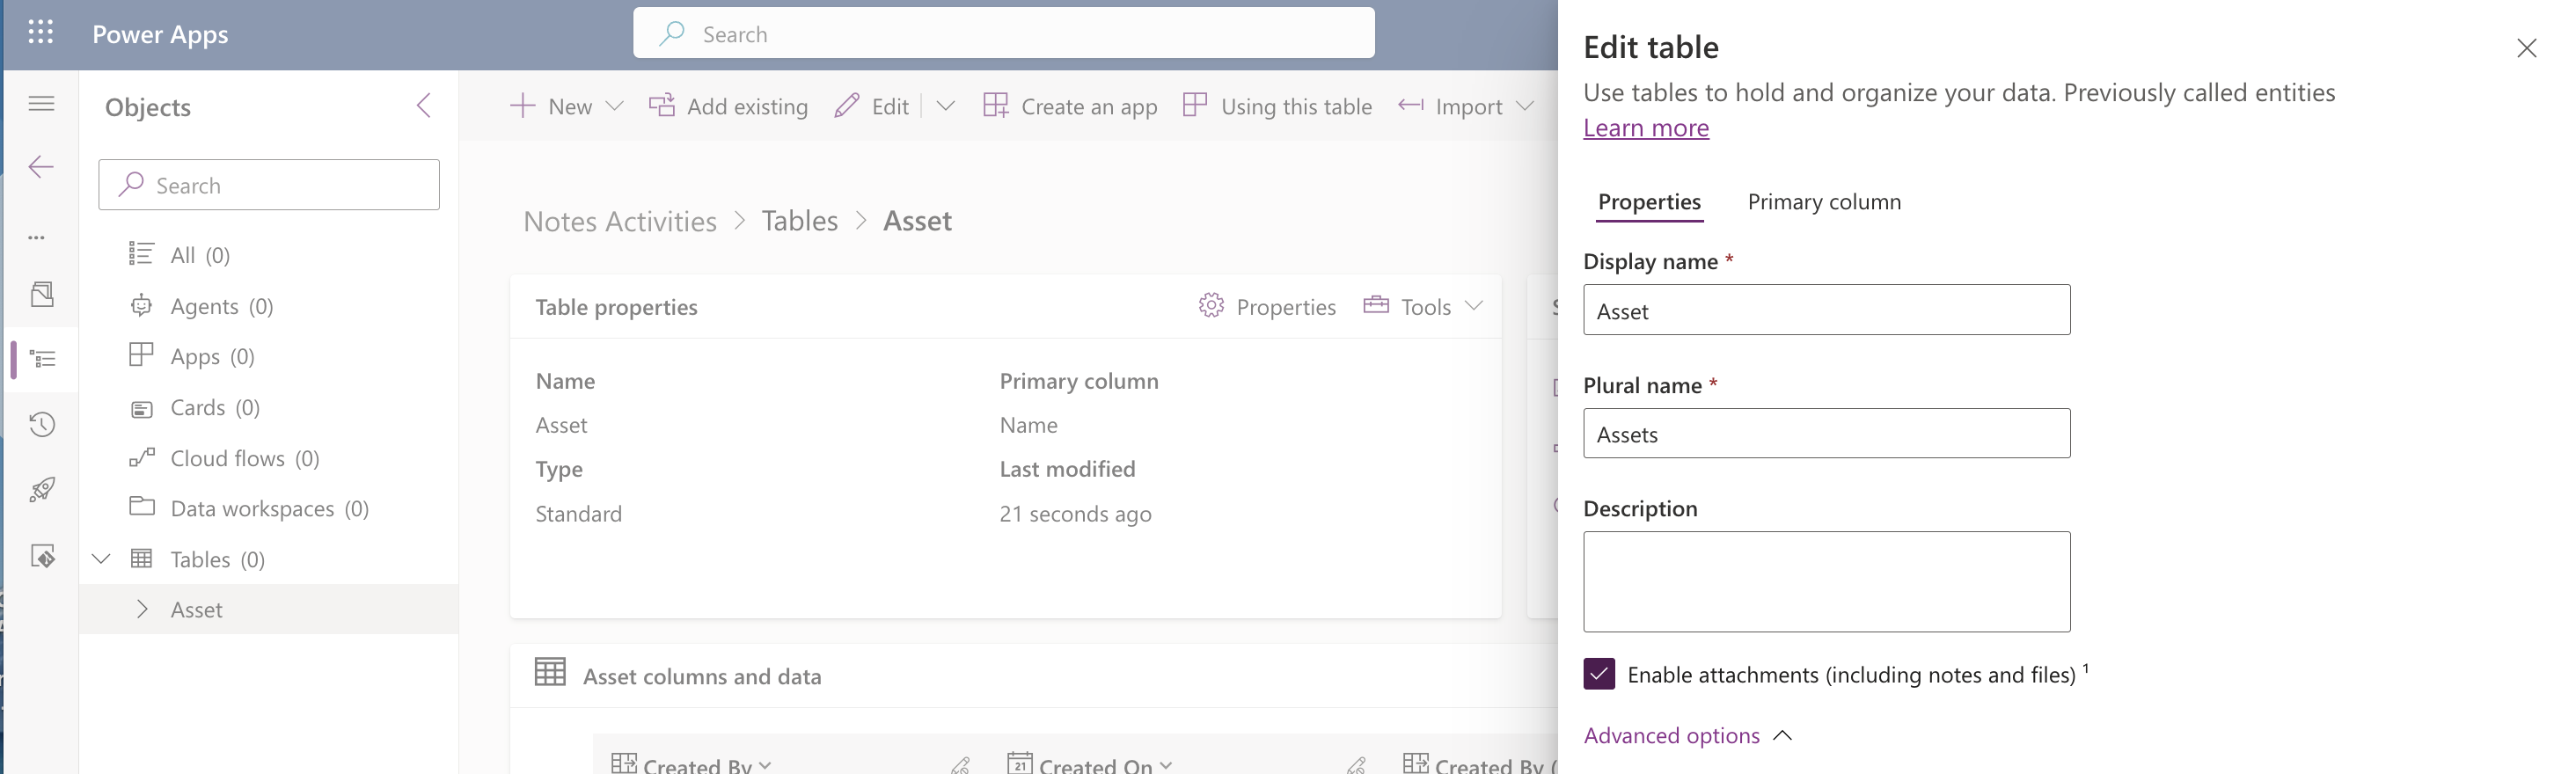
I checked Enable attachments (including notes and files) on the Asset table
I expanded Advanced options and, under "Make this table an option when," checked Creating a new activity — this is what lets activity records like email, phone call, and task be associated with records of this table, i.e. it makes the table a valid "Regarding" target for an activity.

I checked Creating a new activity under Advanced options
Both are one-way switches. Once I turned them on and saved, there was no way to turn them back off again, so I made sure I actually wanted notes and activities on this table before publishing the change.
Adding the Timeline control to the form
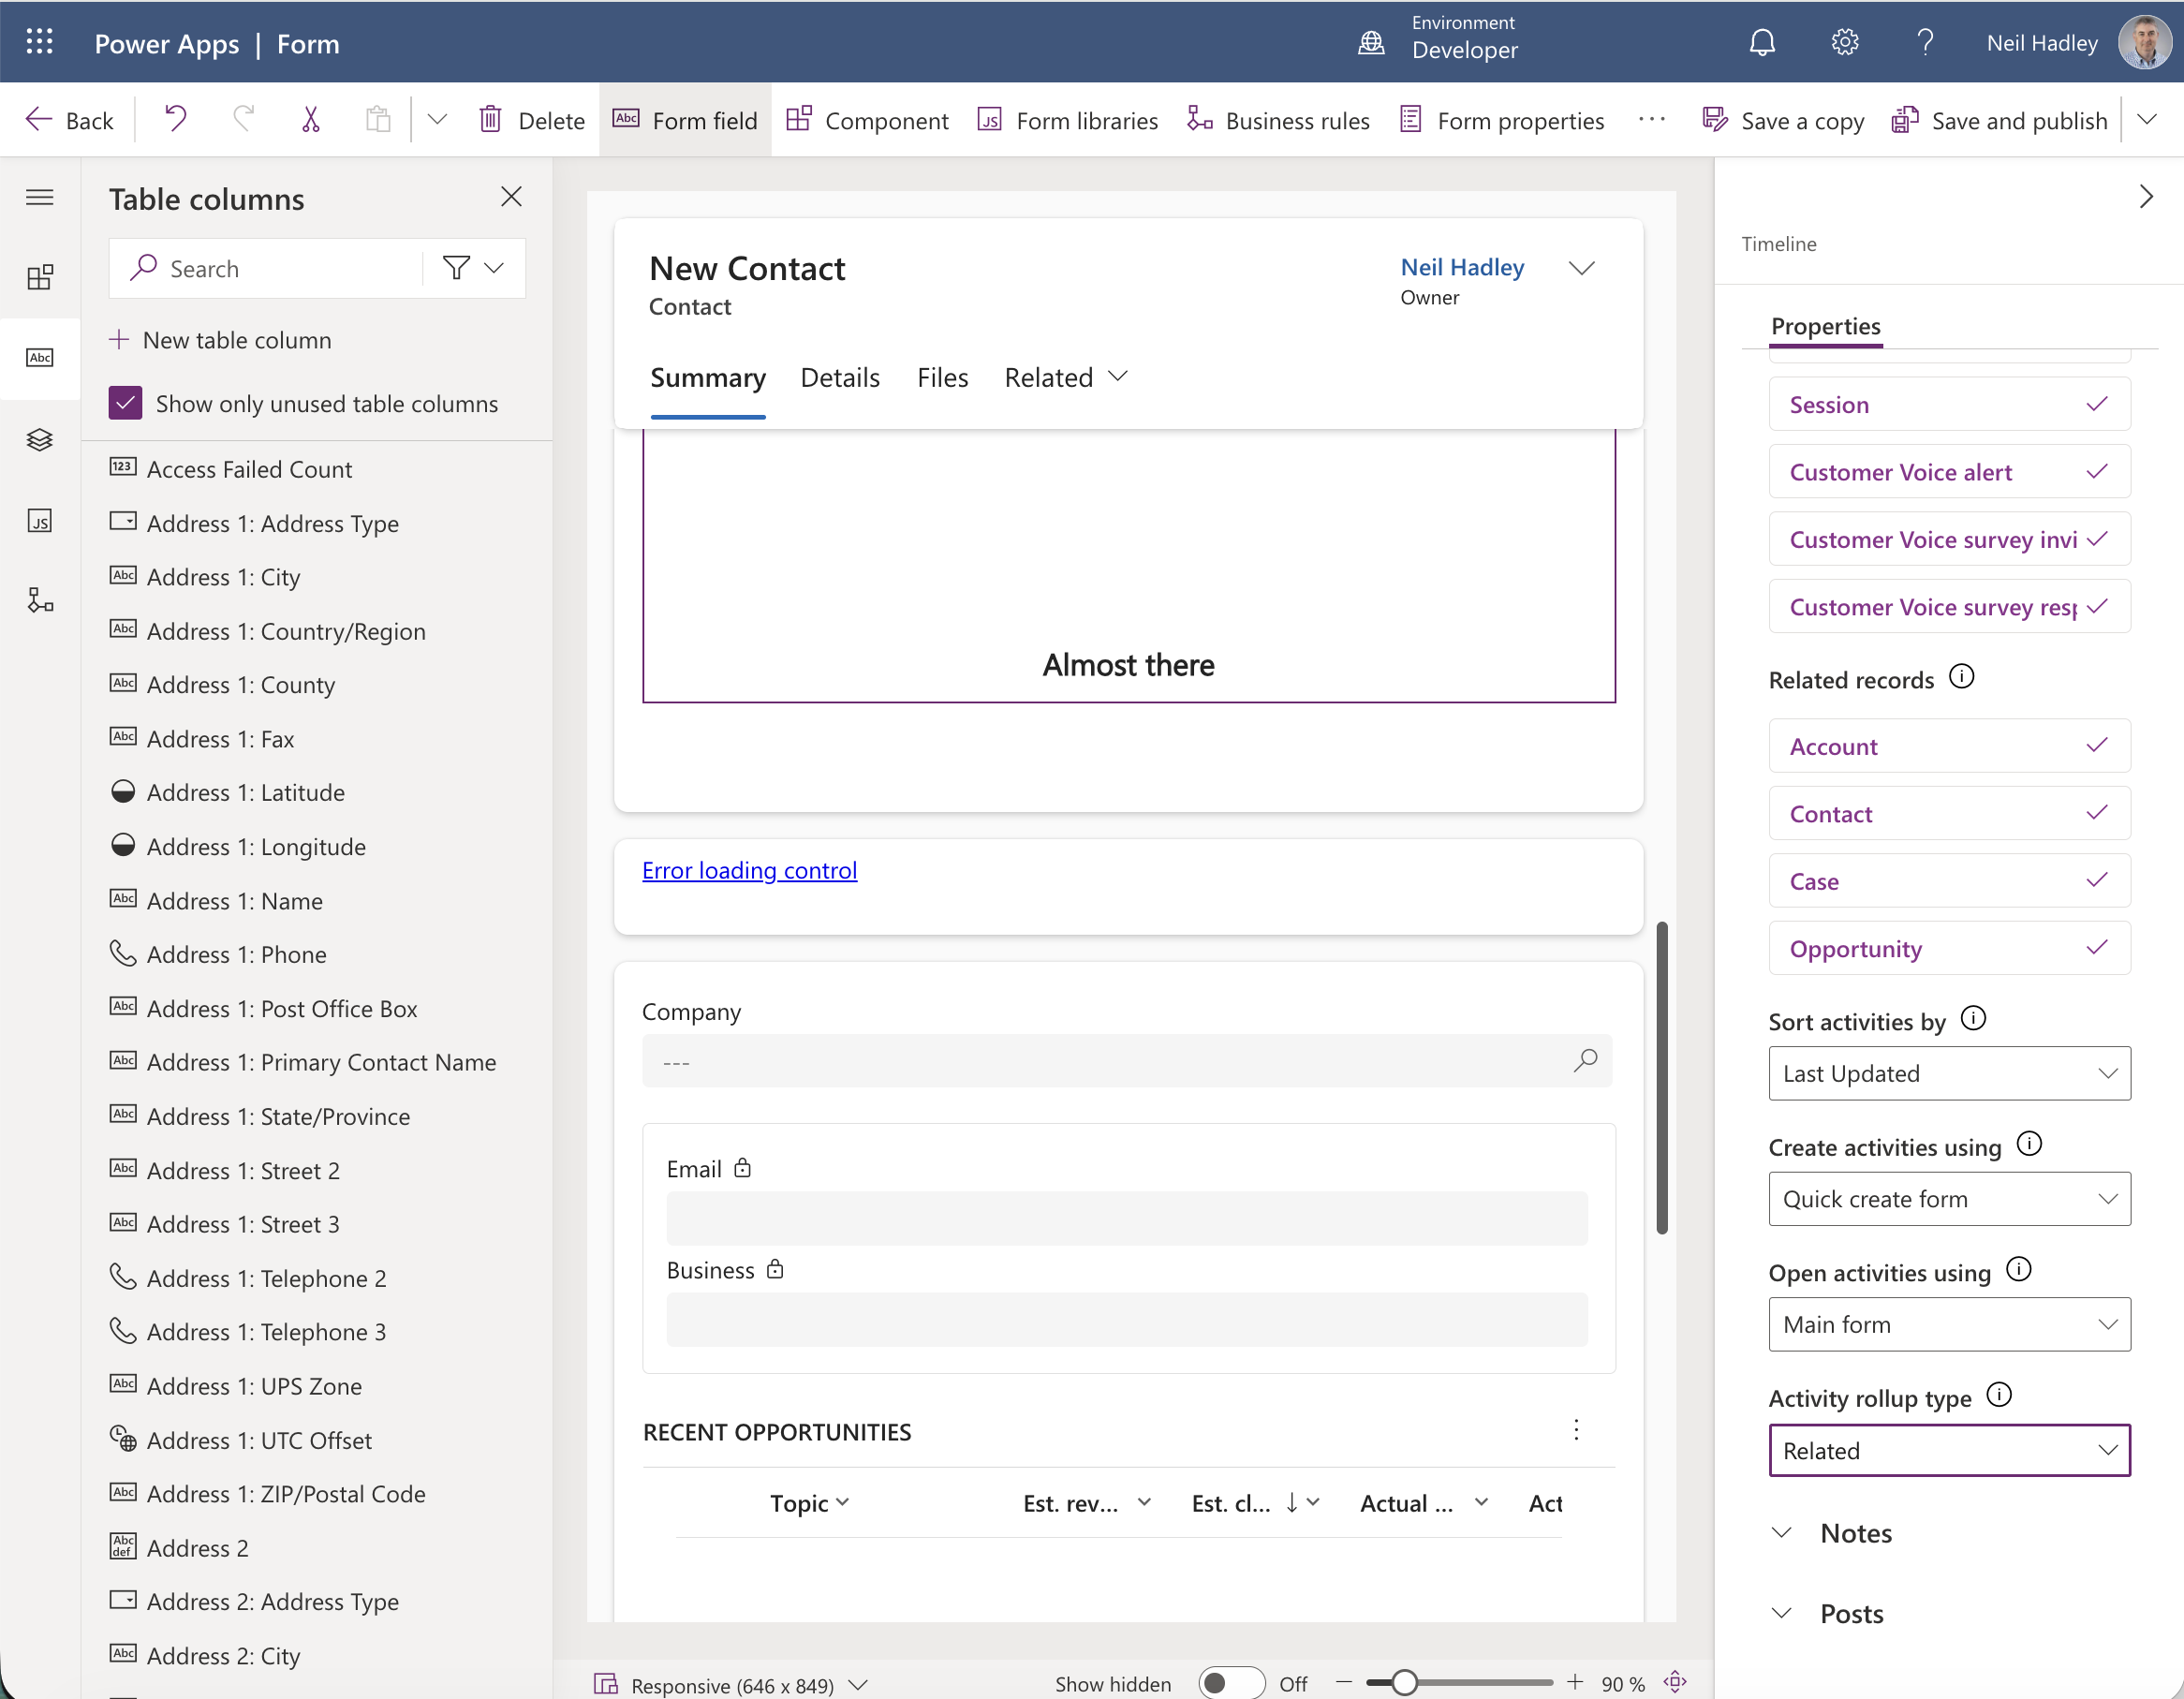
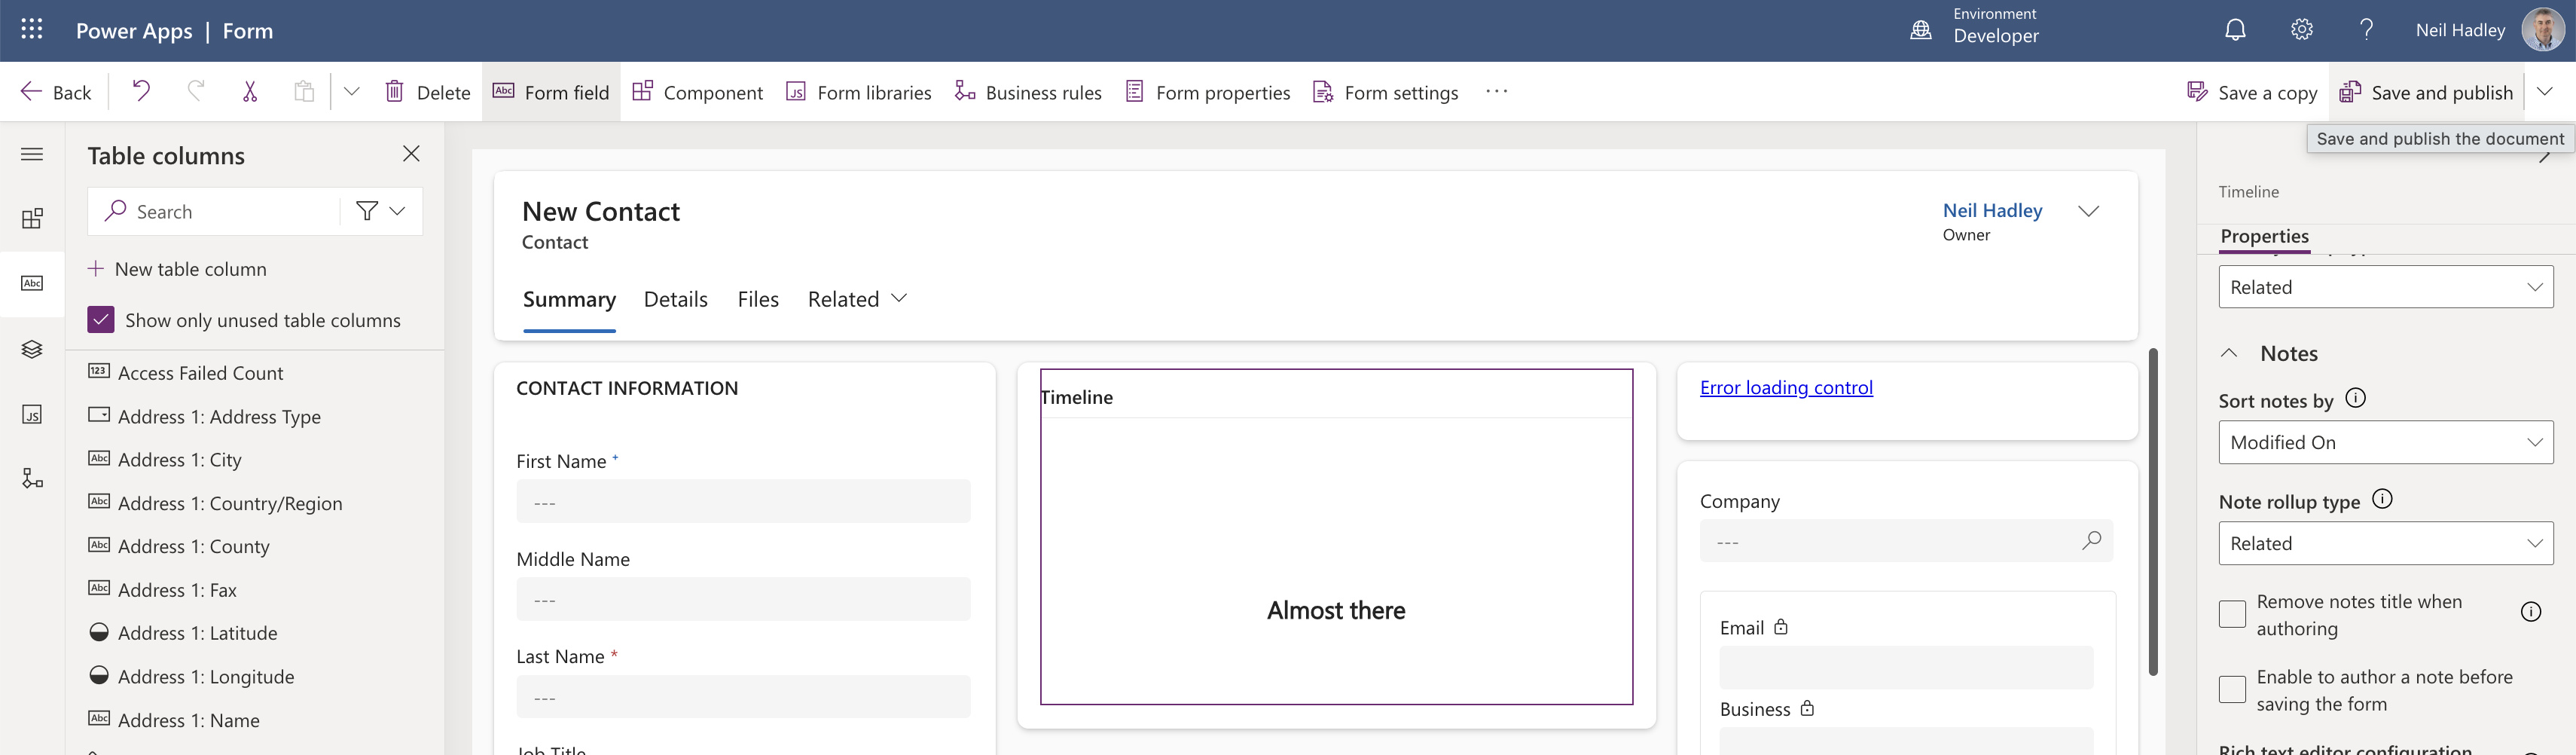
With both settings enabled, I opened the Asset table's main form in the form designer, selected Components in the left navigation, and dragged Timeline into a section. Until I saved and published, the timeline area on the form just showed "Almost there," since the designer has no real record to load data for.
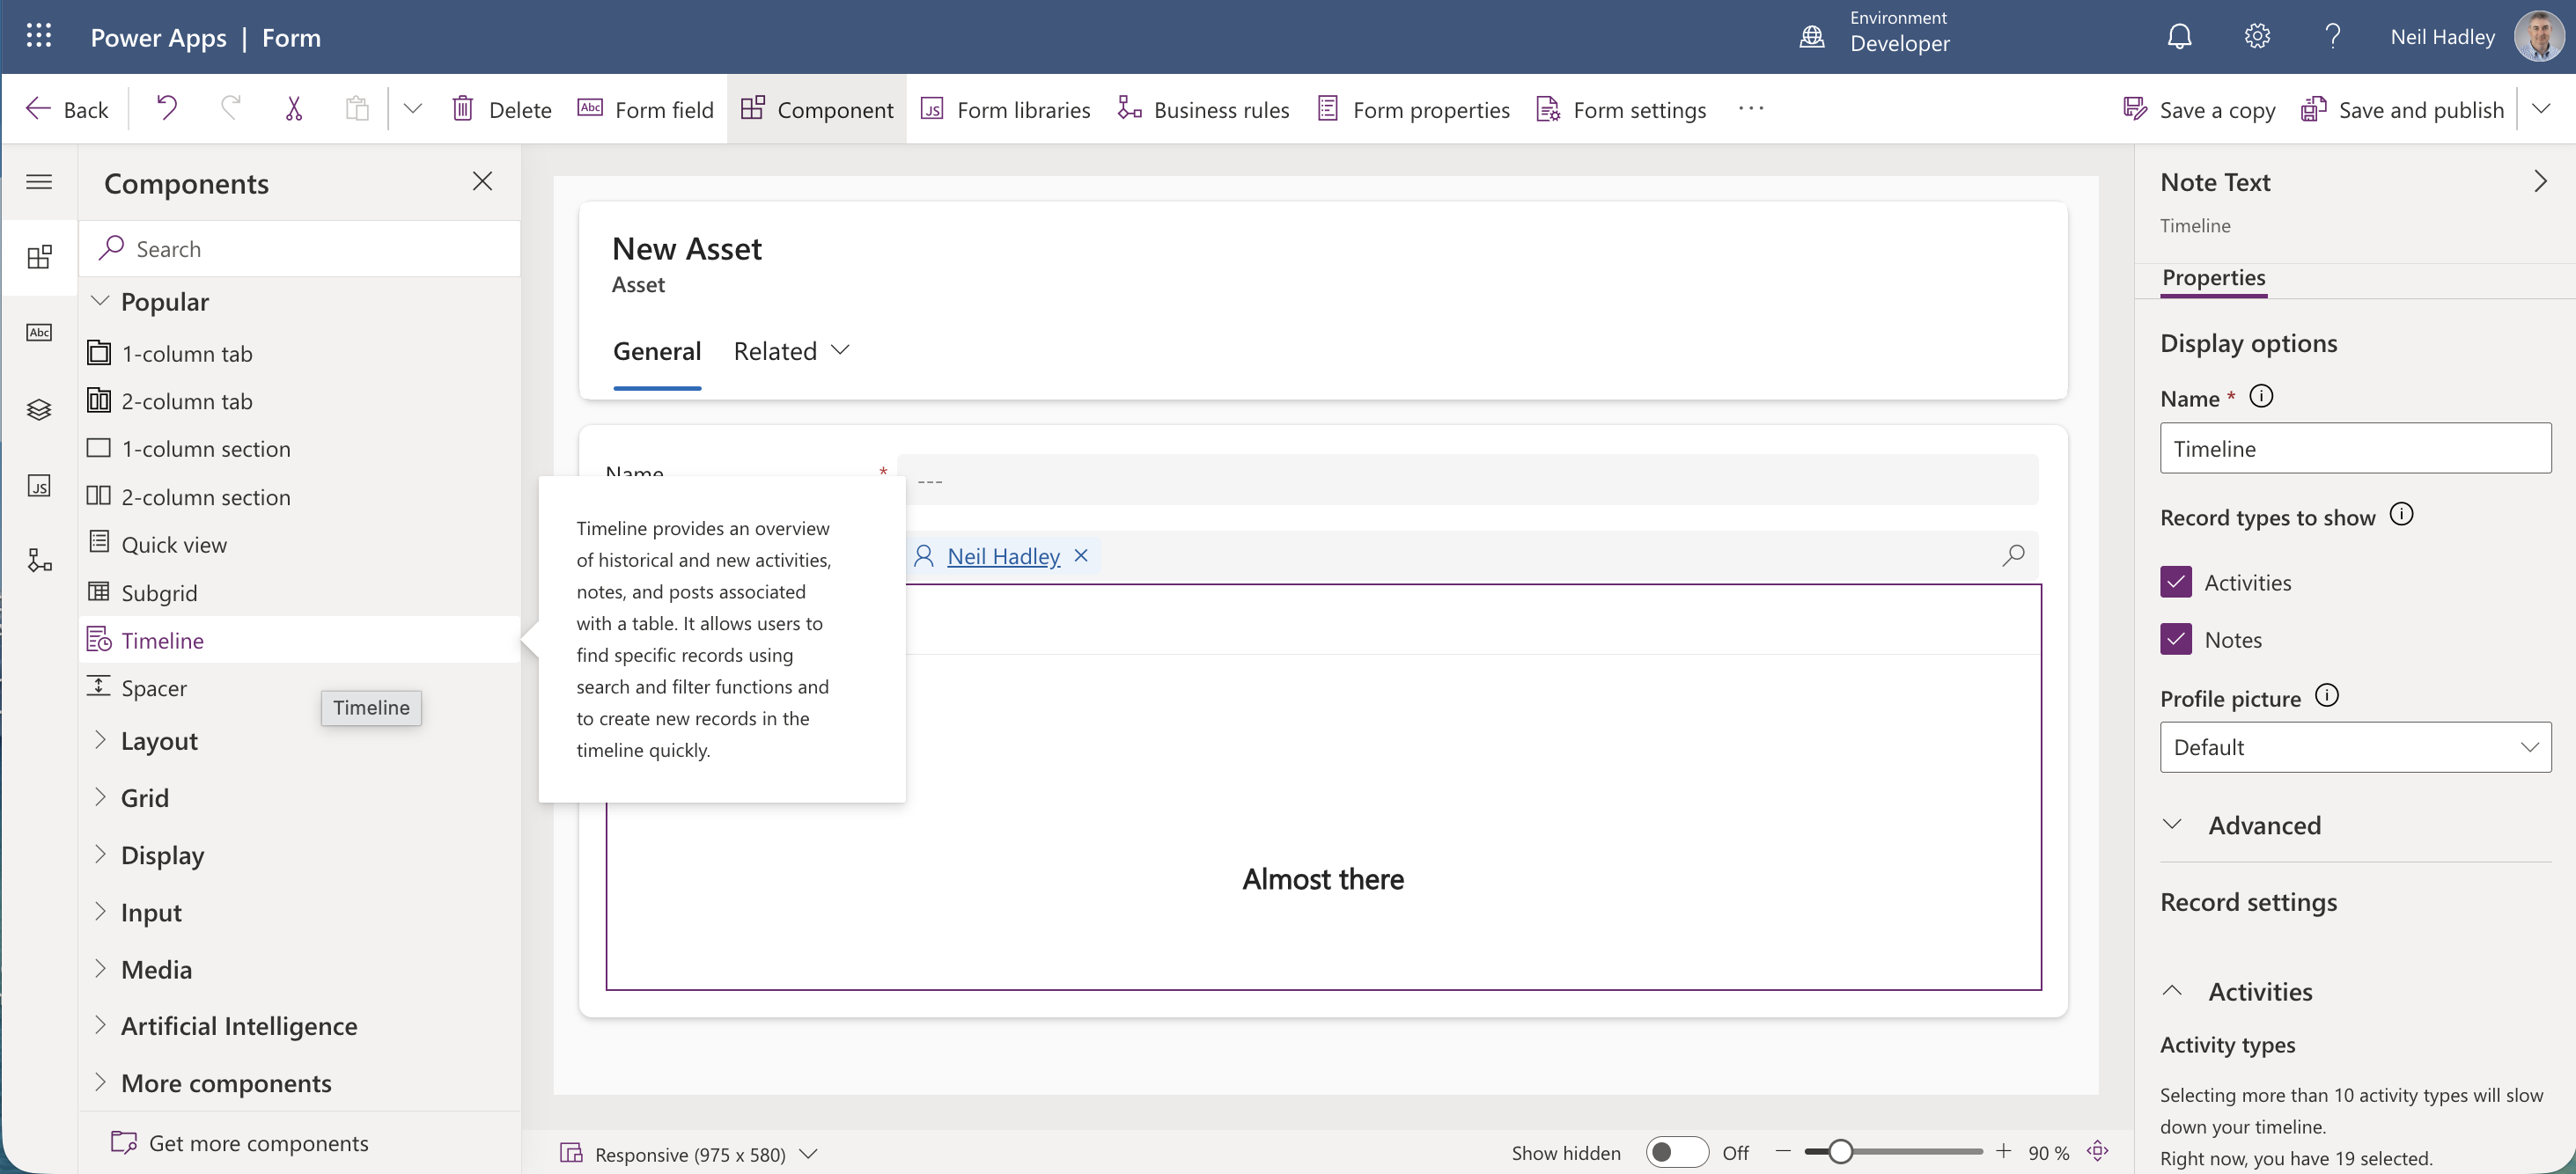
I dragged the Timeline component onto the Asset form
The component's configuration panel let me choose which Record types appear — Activities, Notes, and Posts are all on by default — and, once I expanded Record settings, which specific activity types are enabled, how the timeline is sorted by default, and whether users can create records directly from the timeline.
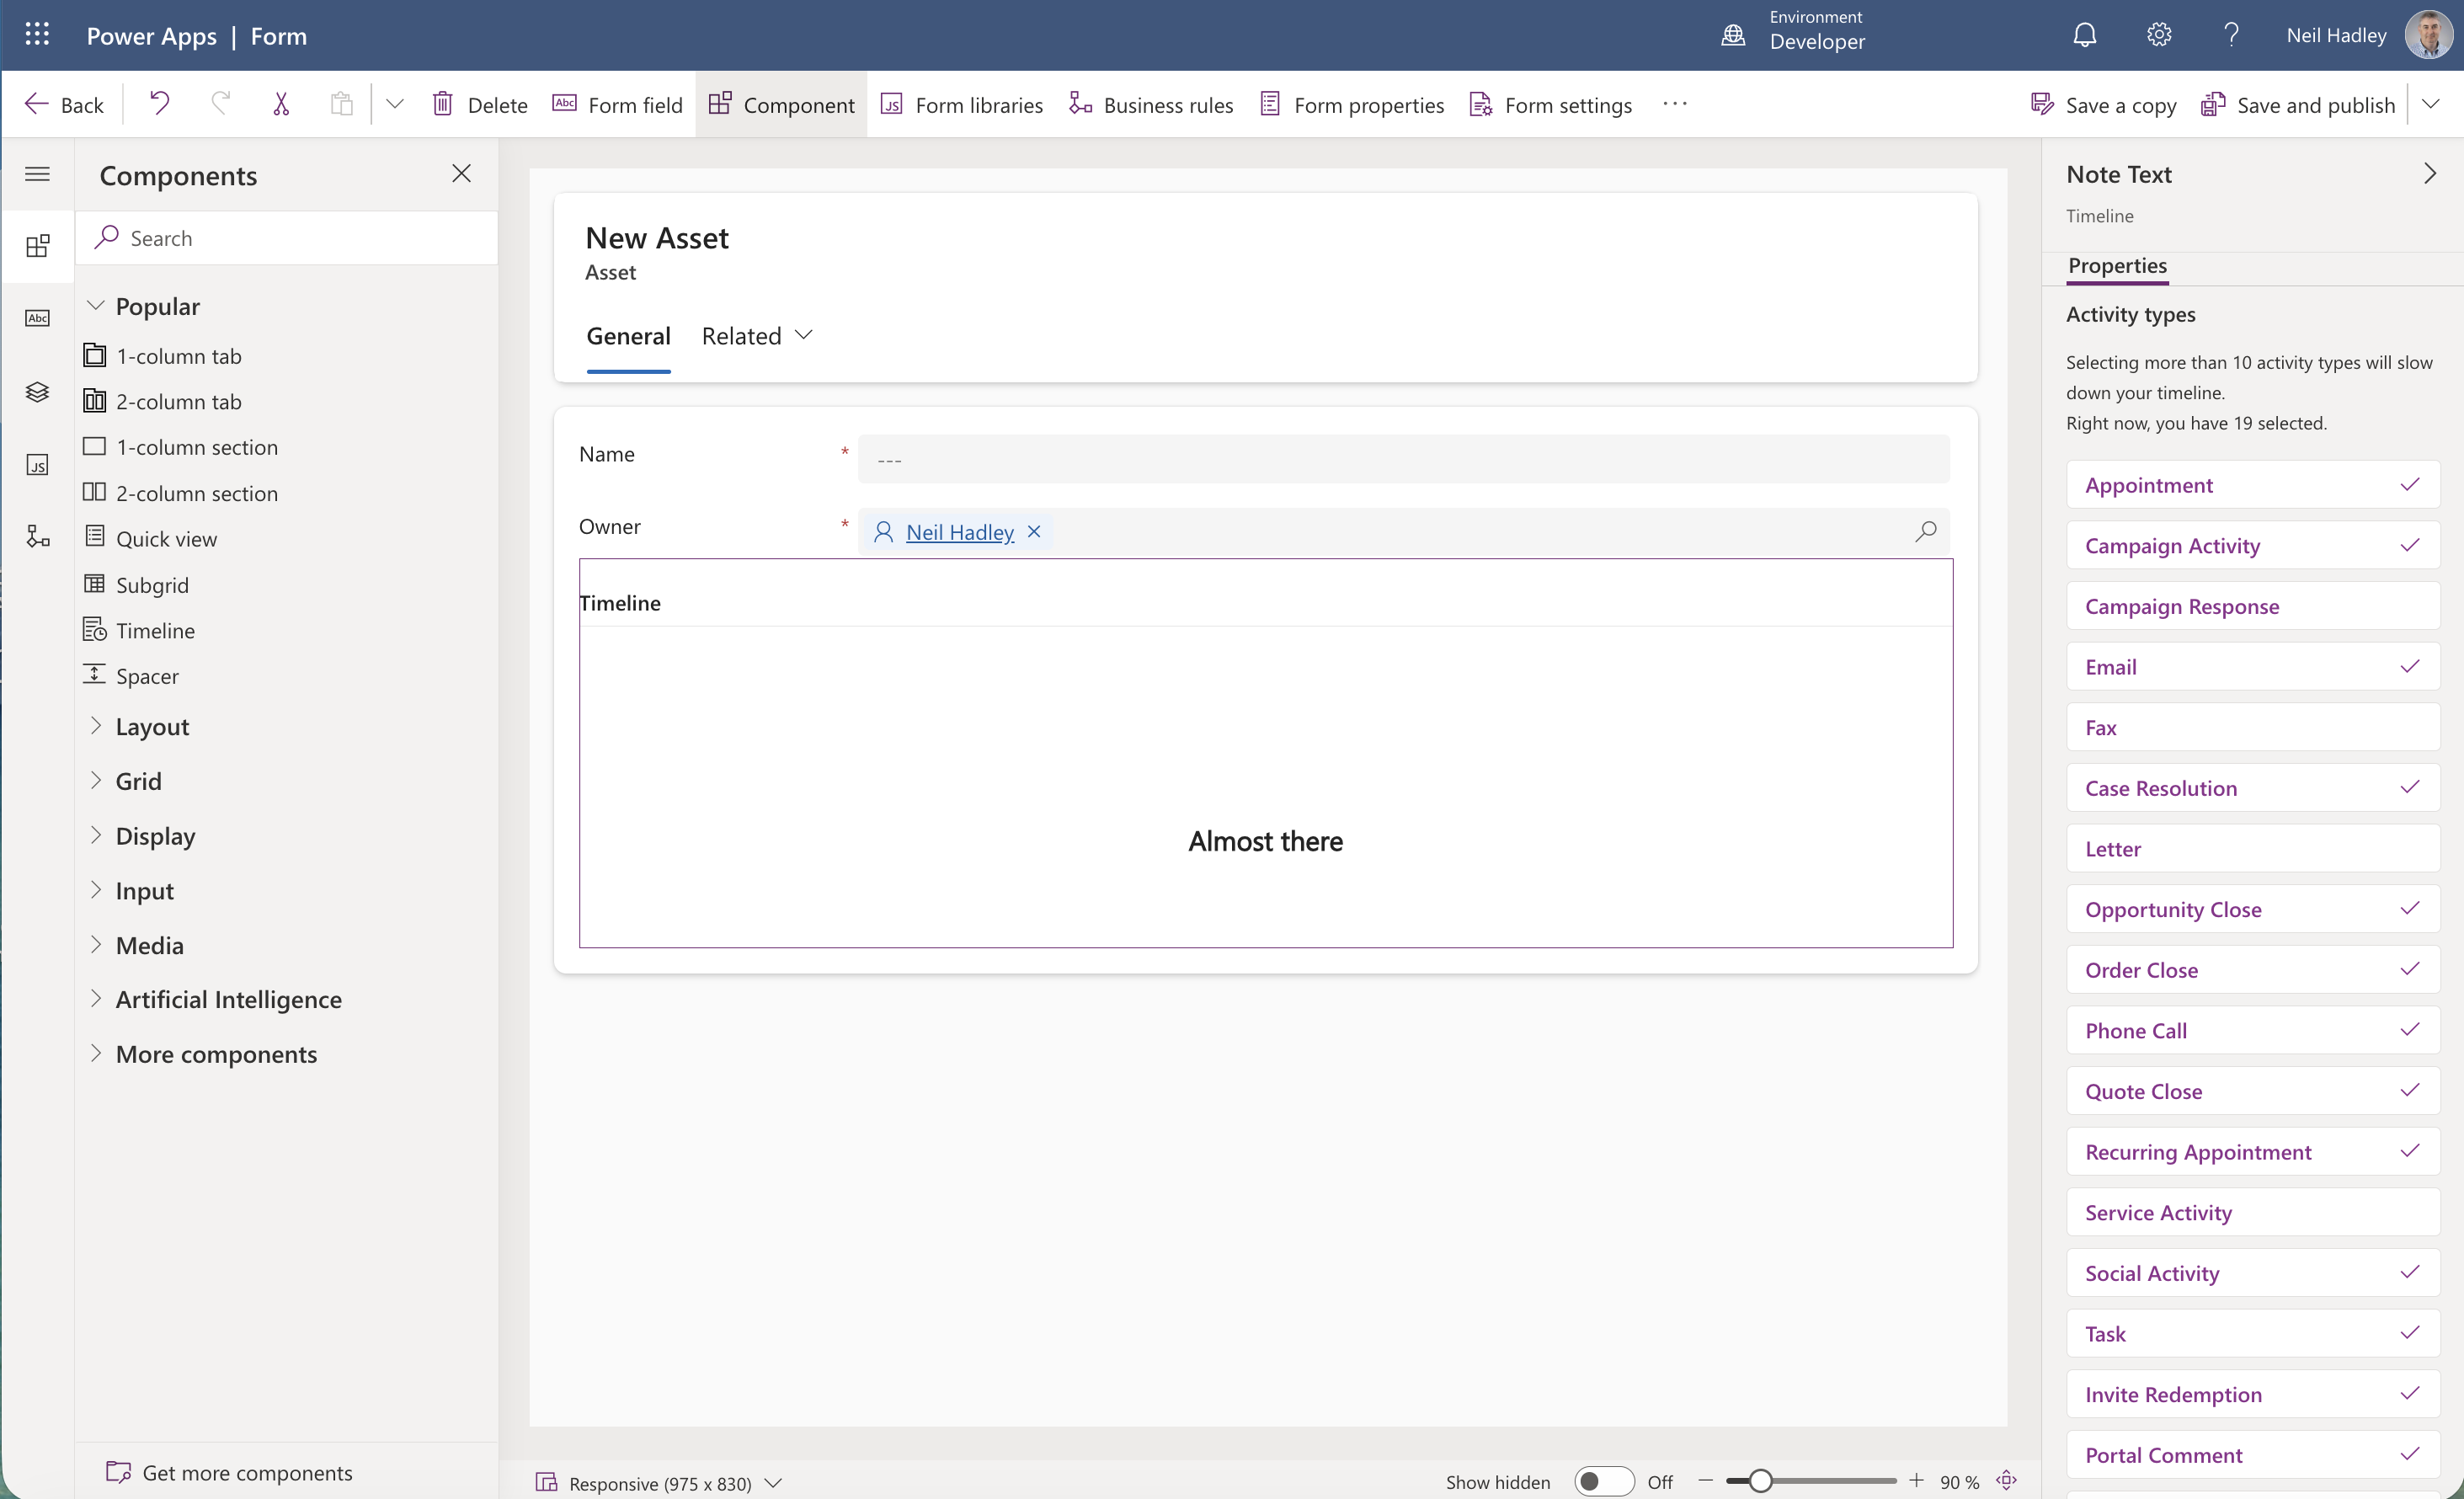
The Activity types list showed 19 activity types enabled by default
Demonstration of Timeline control
Configuring the table and form is one thing, but I wanted to see the timeline actually working against a real record, so I built a quick model-driven app around the Asset table. I selected App > Model-driven app from the New menu.
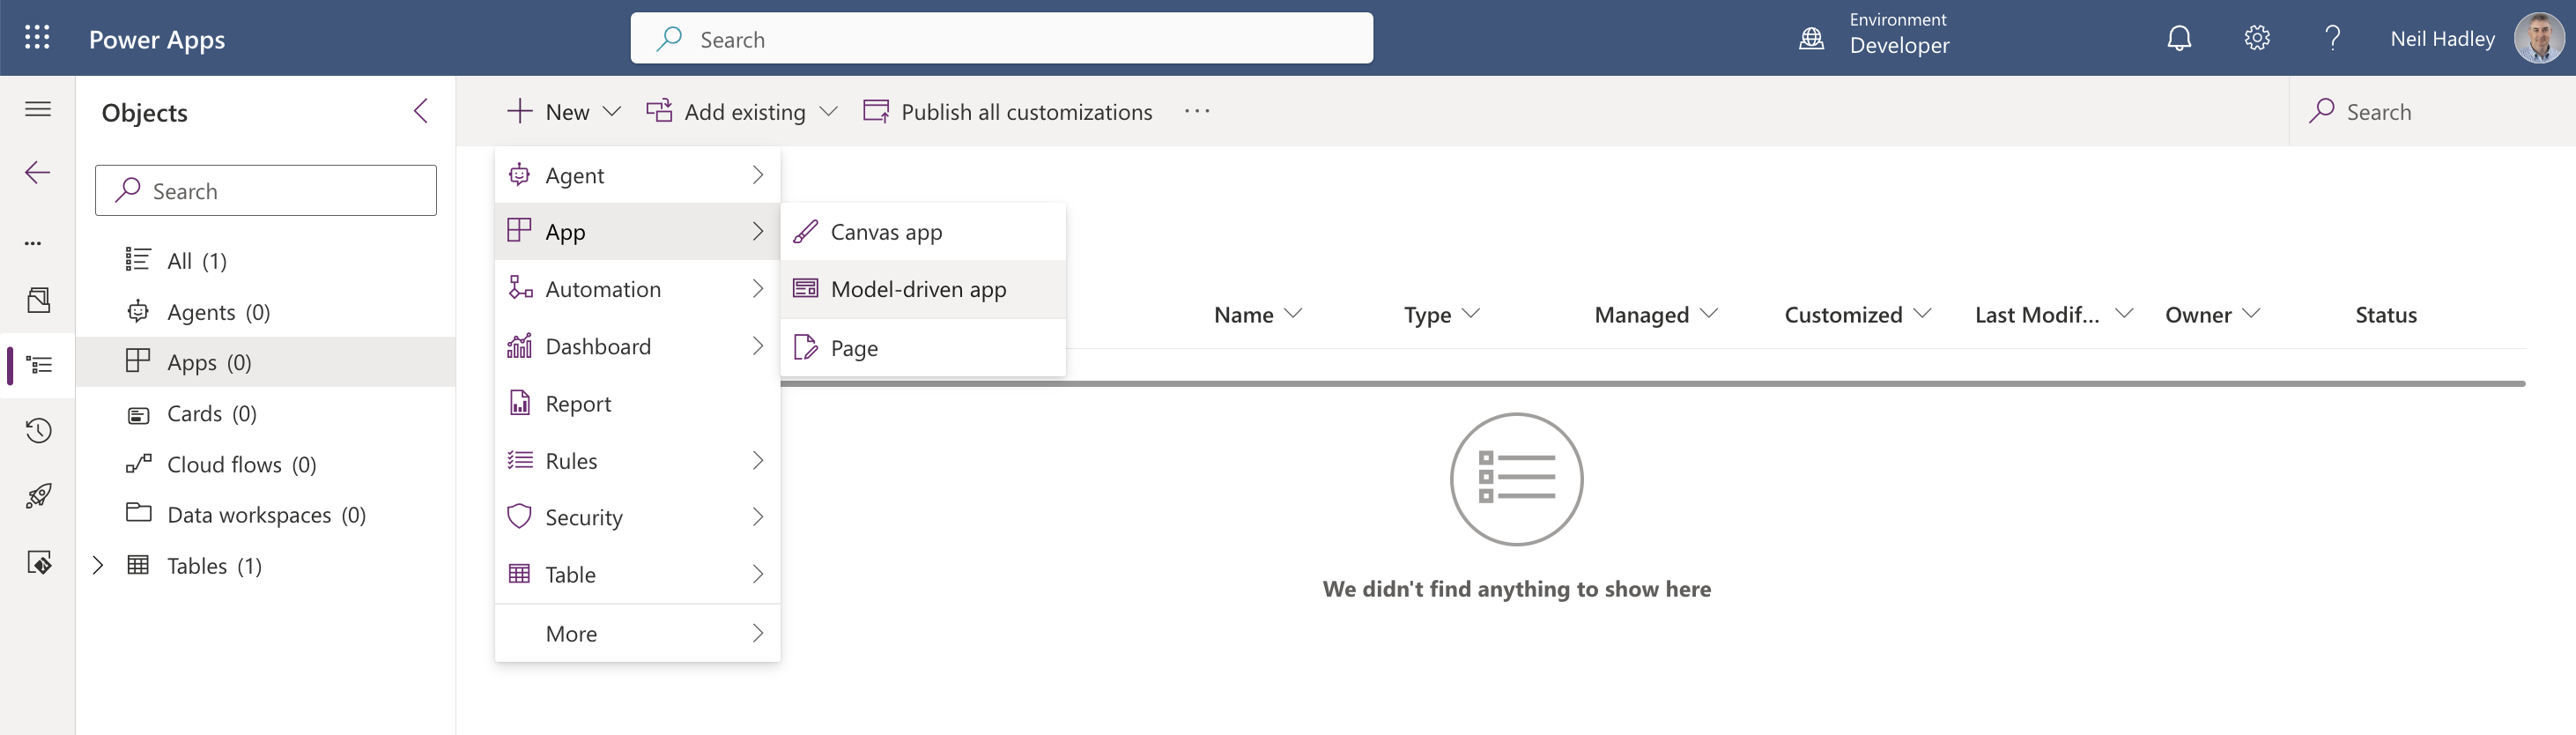
I selected App > Model-driven app from the New menu
I named the new app "Assets."
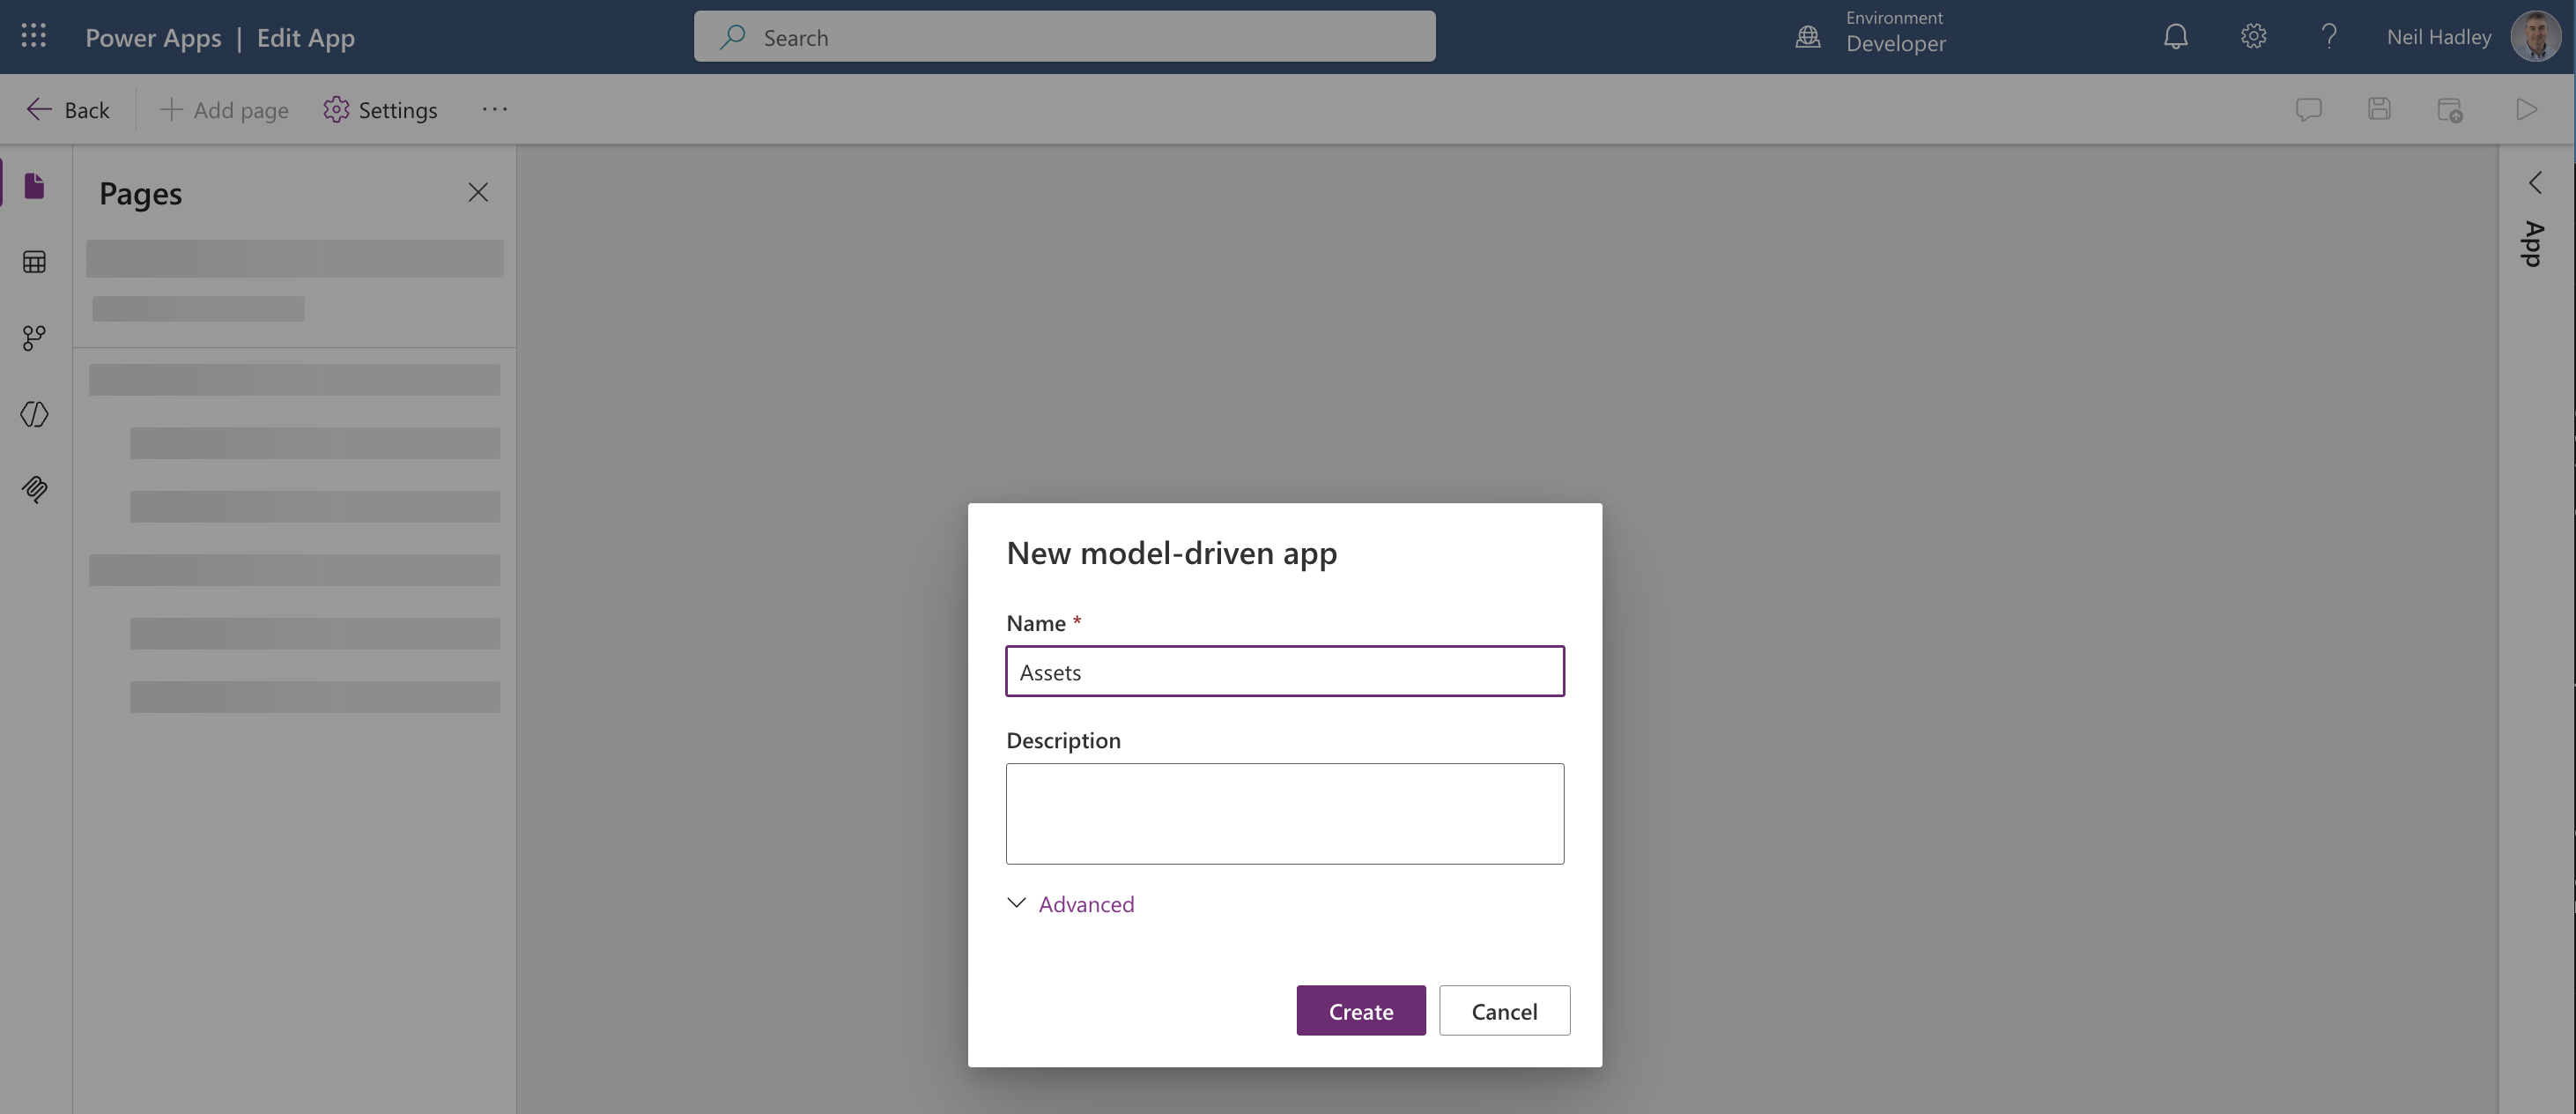
I named the new app Assets
The app opened in the app designer with no pages yet.
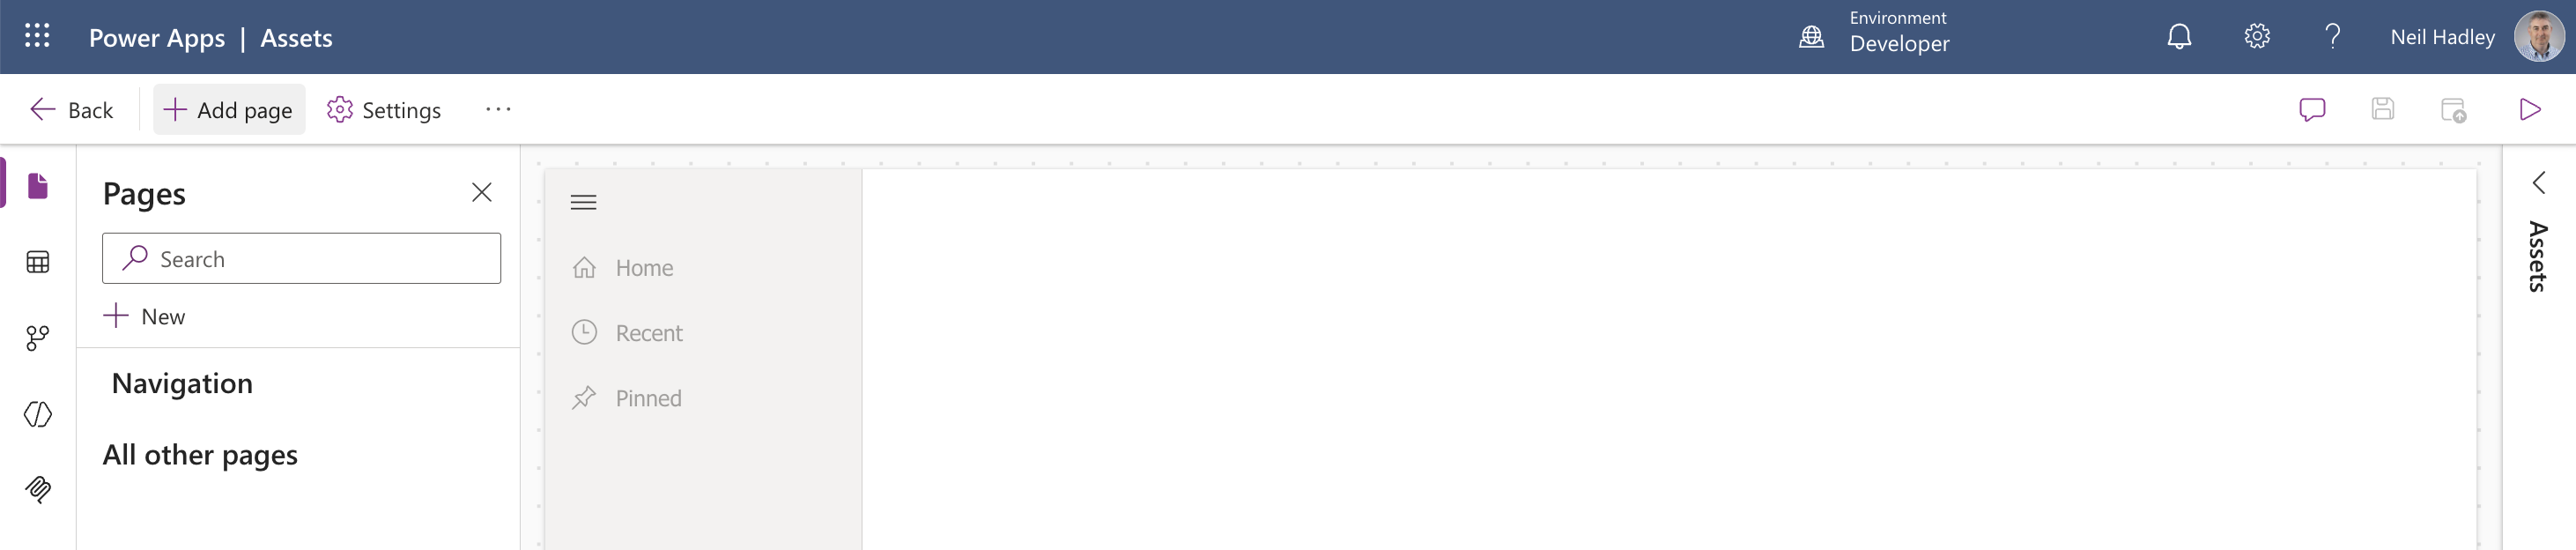
The Assets app opened in the app designer with no pages yet
I selected Add page > Dataverse table to surface the Asset table in the app.
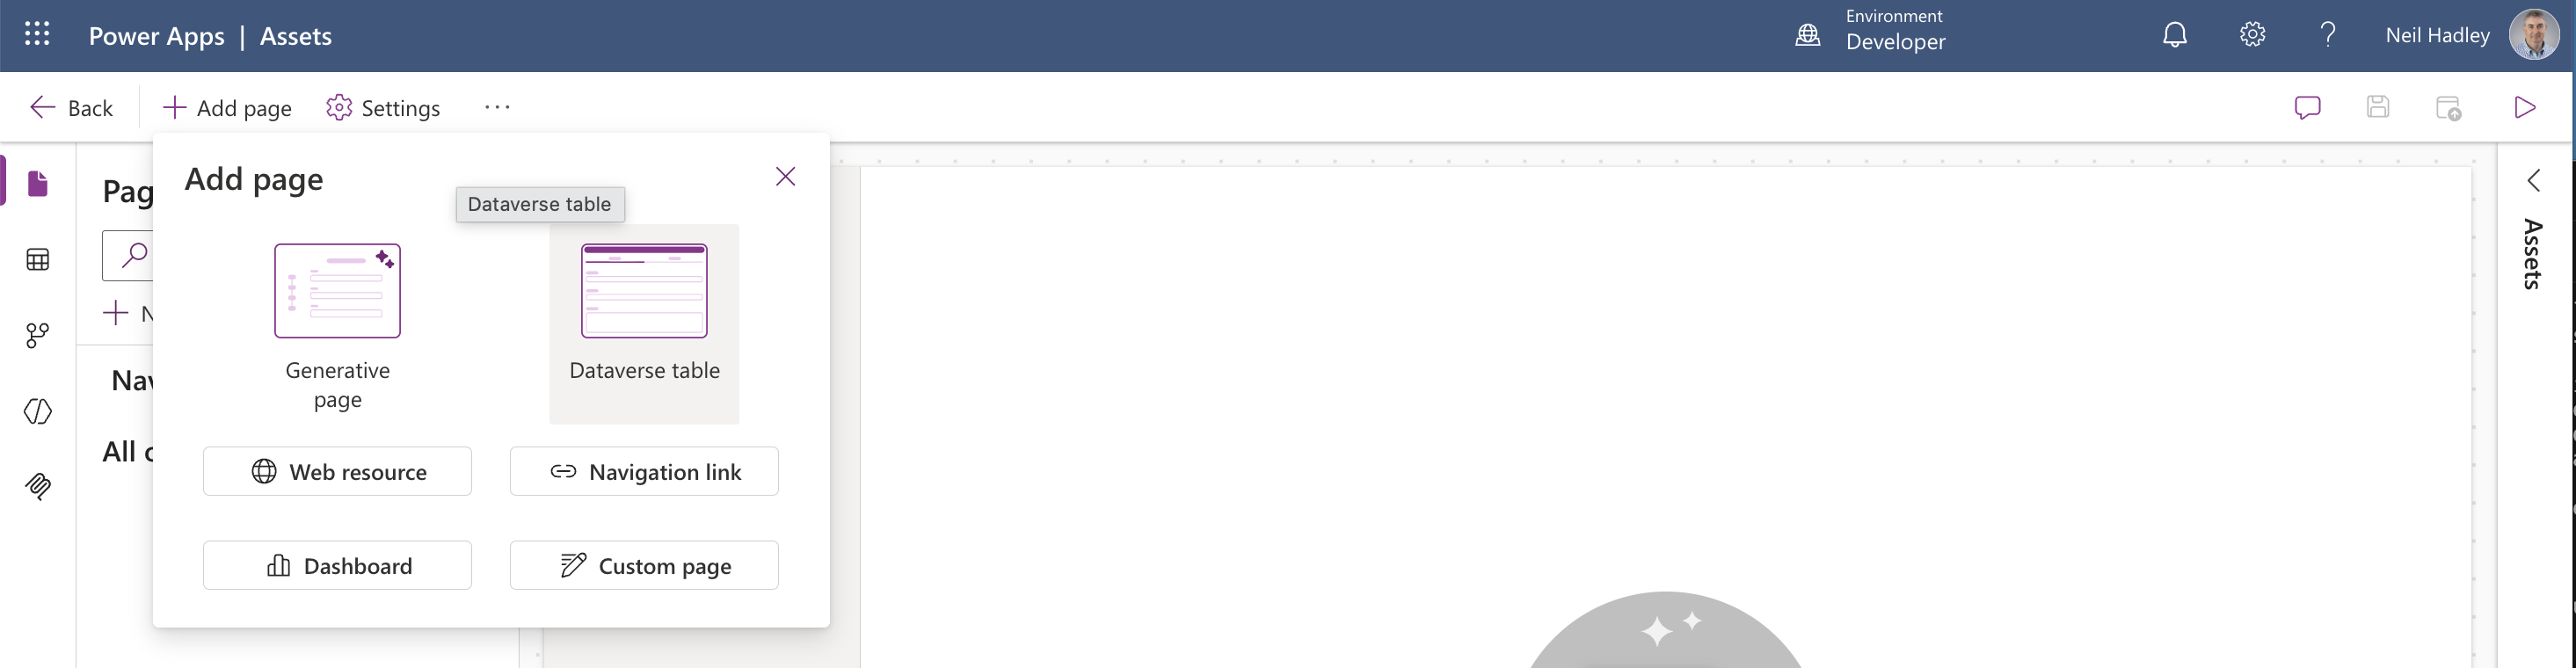
I selected Add page > Dataverse table
I picked the Asset table from the list and added it.
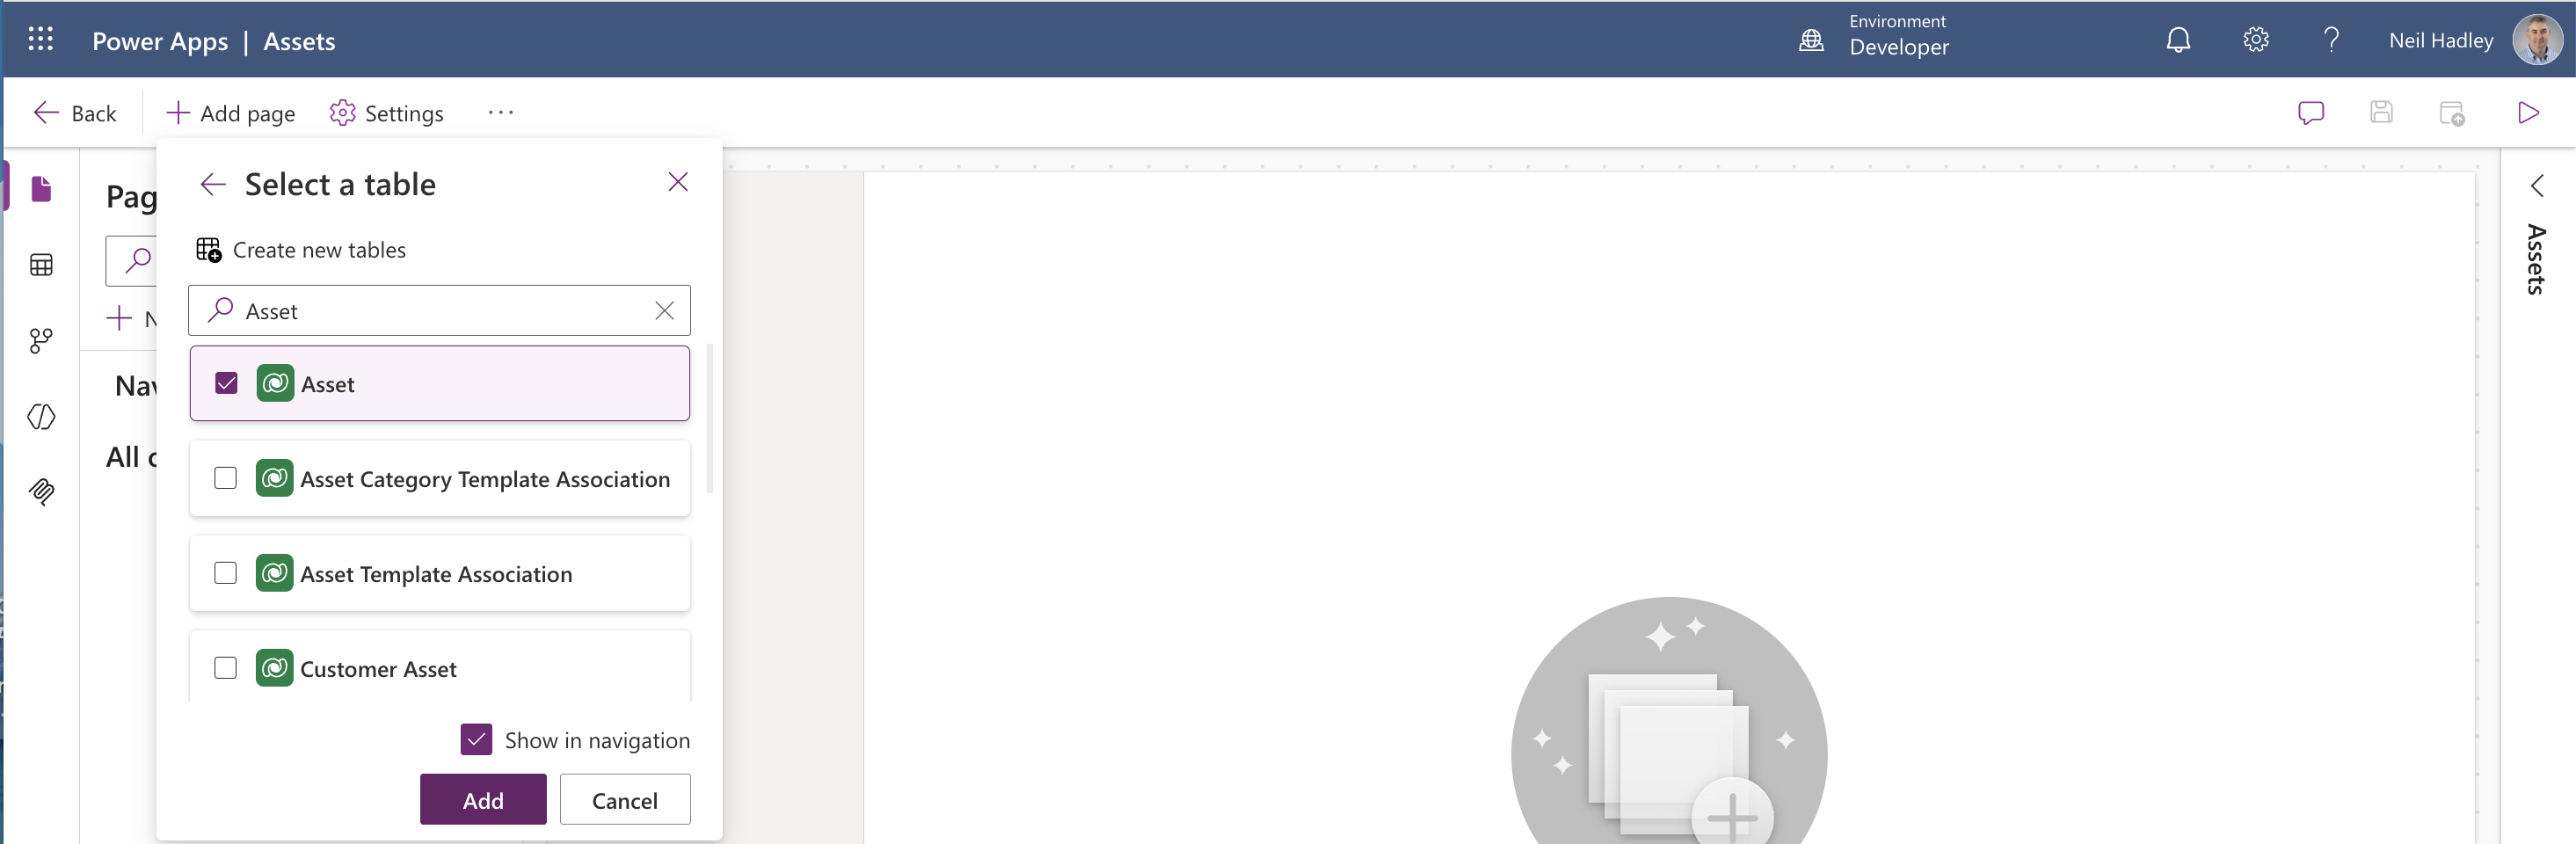
I selected the Asset table to add as a page
I selected Save and Publish to make the app available to play.

I selected Save and Publish to make the app available
The published Assets app opened to an empty Active Assets view.
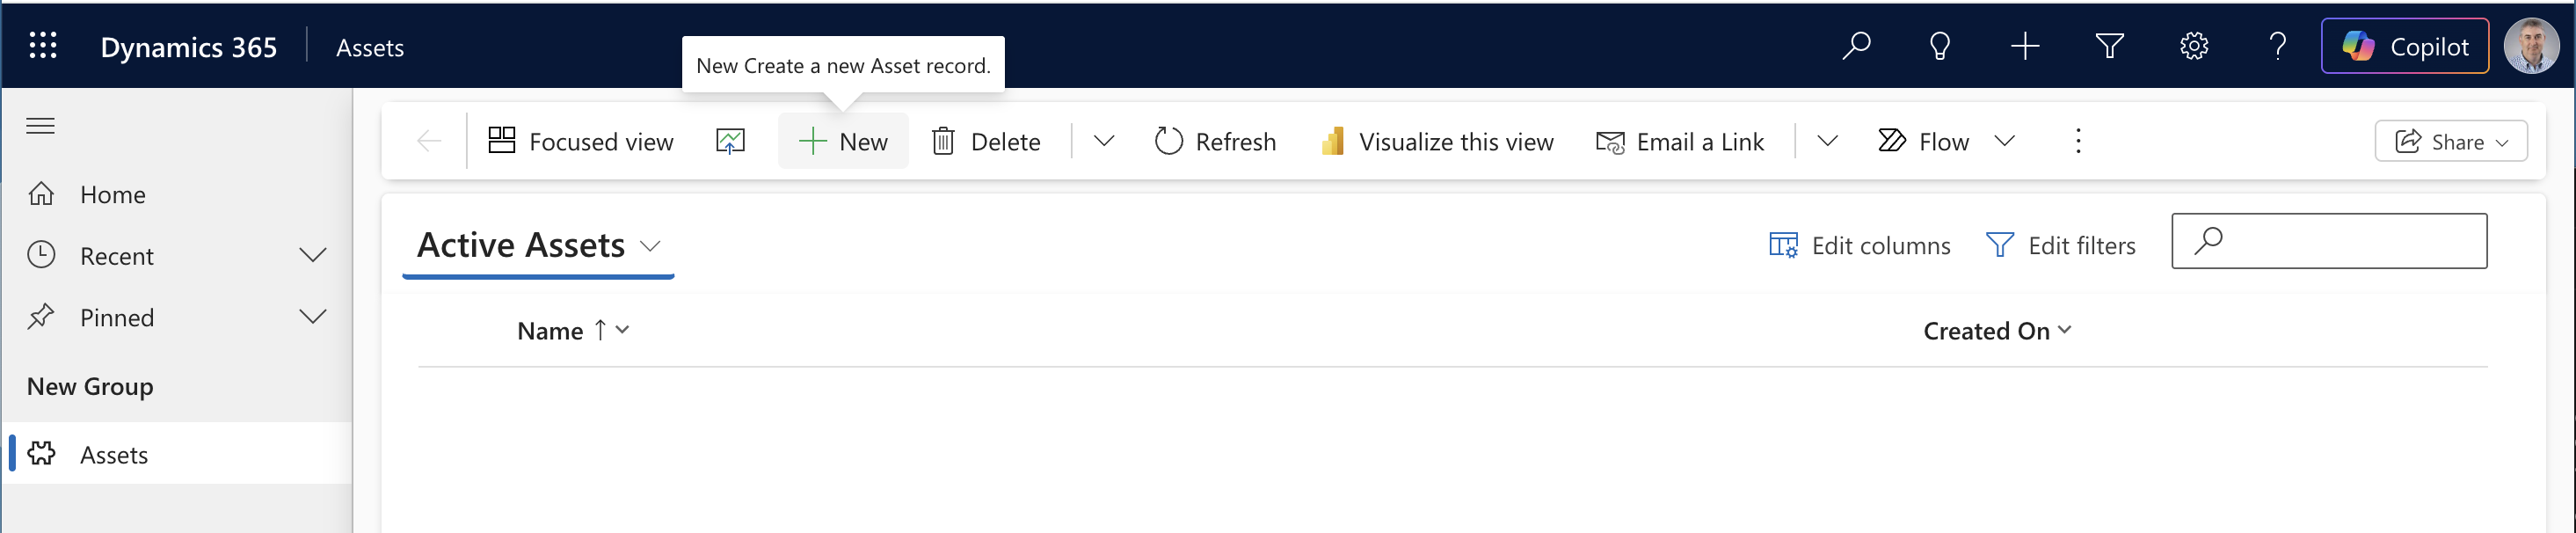
The published Assets app showed an empty Active Assets view
I created a new Asset record named "Neil's Laptop." Before the first save, the timeline area just prompted me to save the record first.

I created a new Asset record named Neil's Laptop
Once I saved, the timeline became active, with a search bar and a note entry field ready to go.
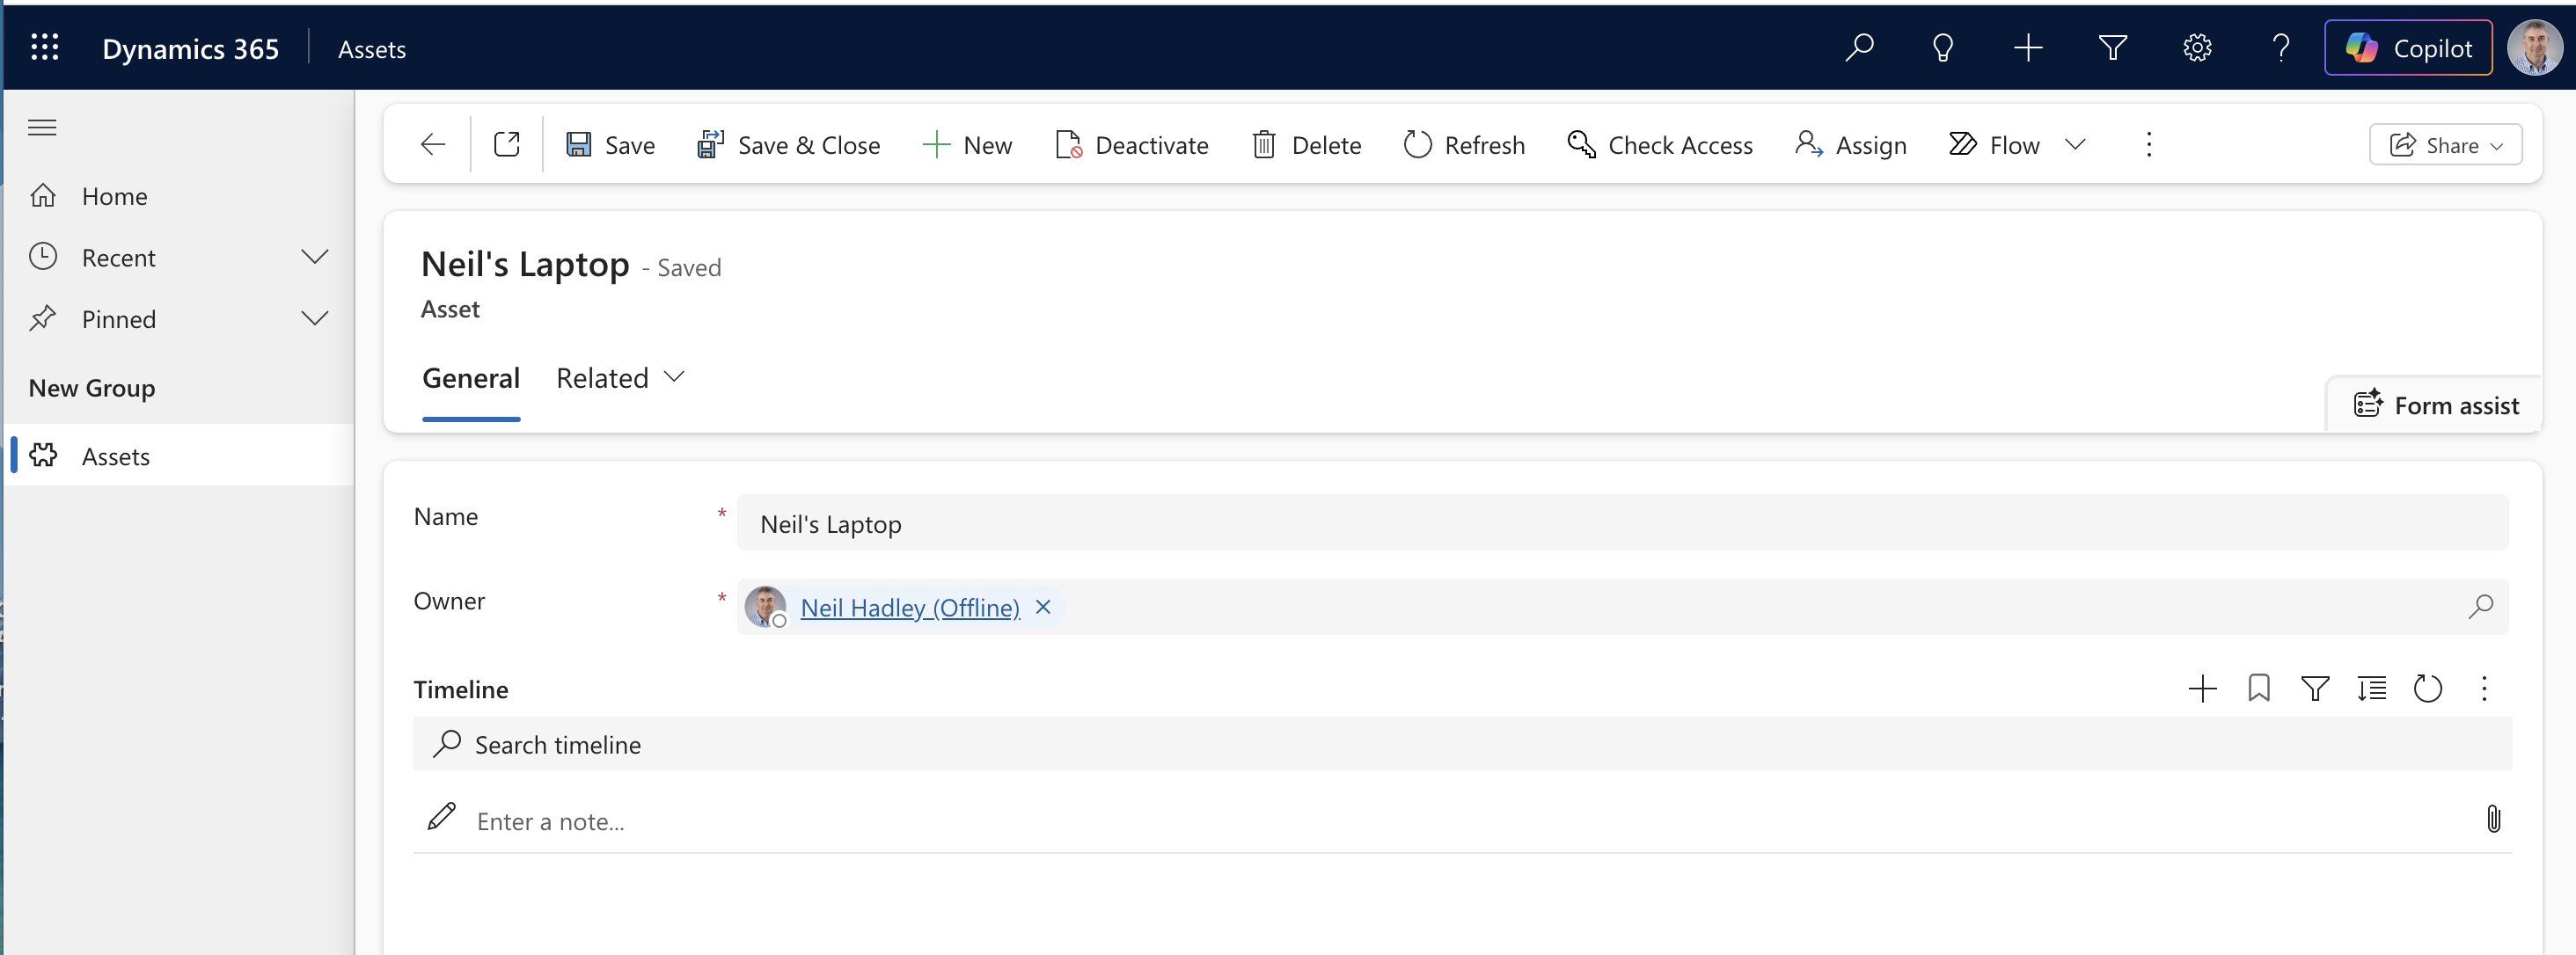
Once saved, the timeline became active with a search bar and a note field
I added a note to confirm Notes were working end to end.
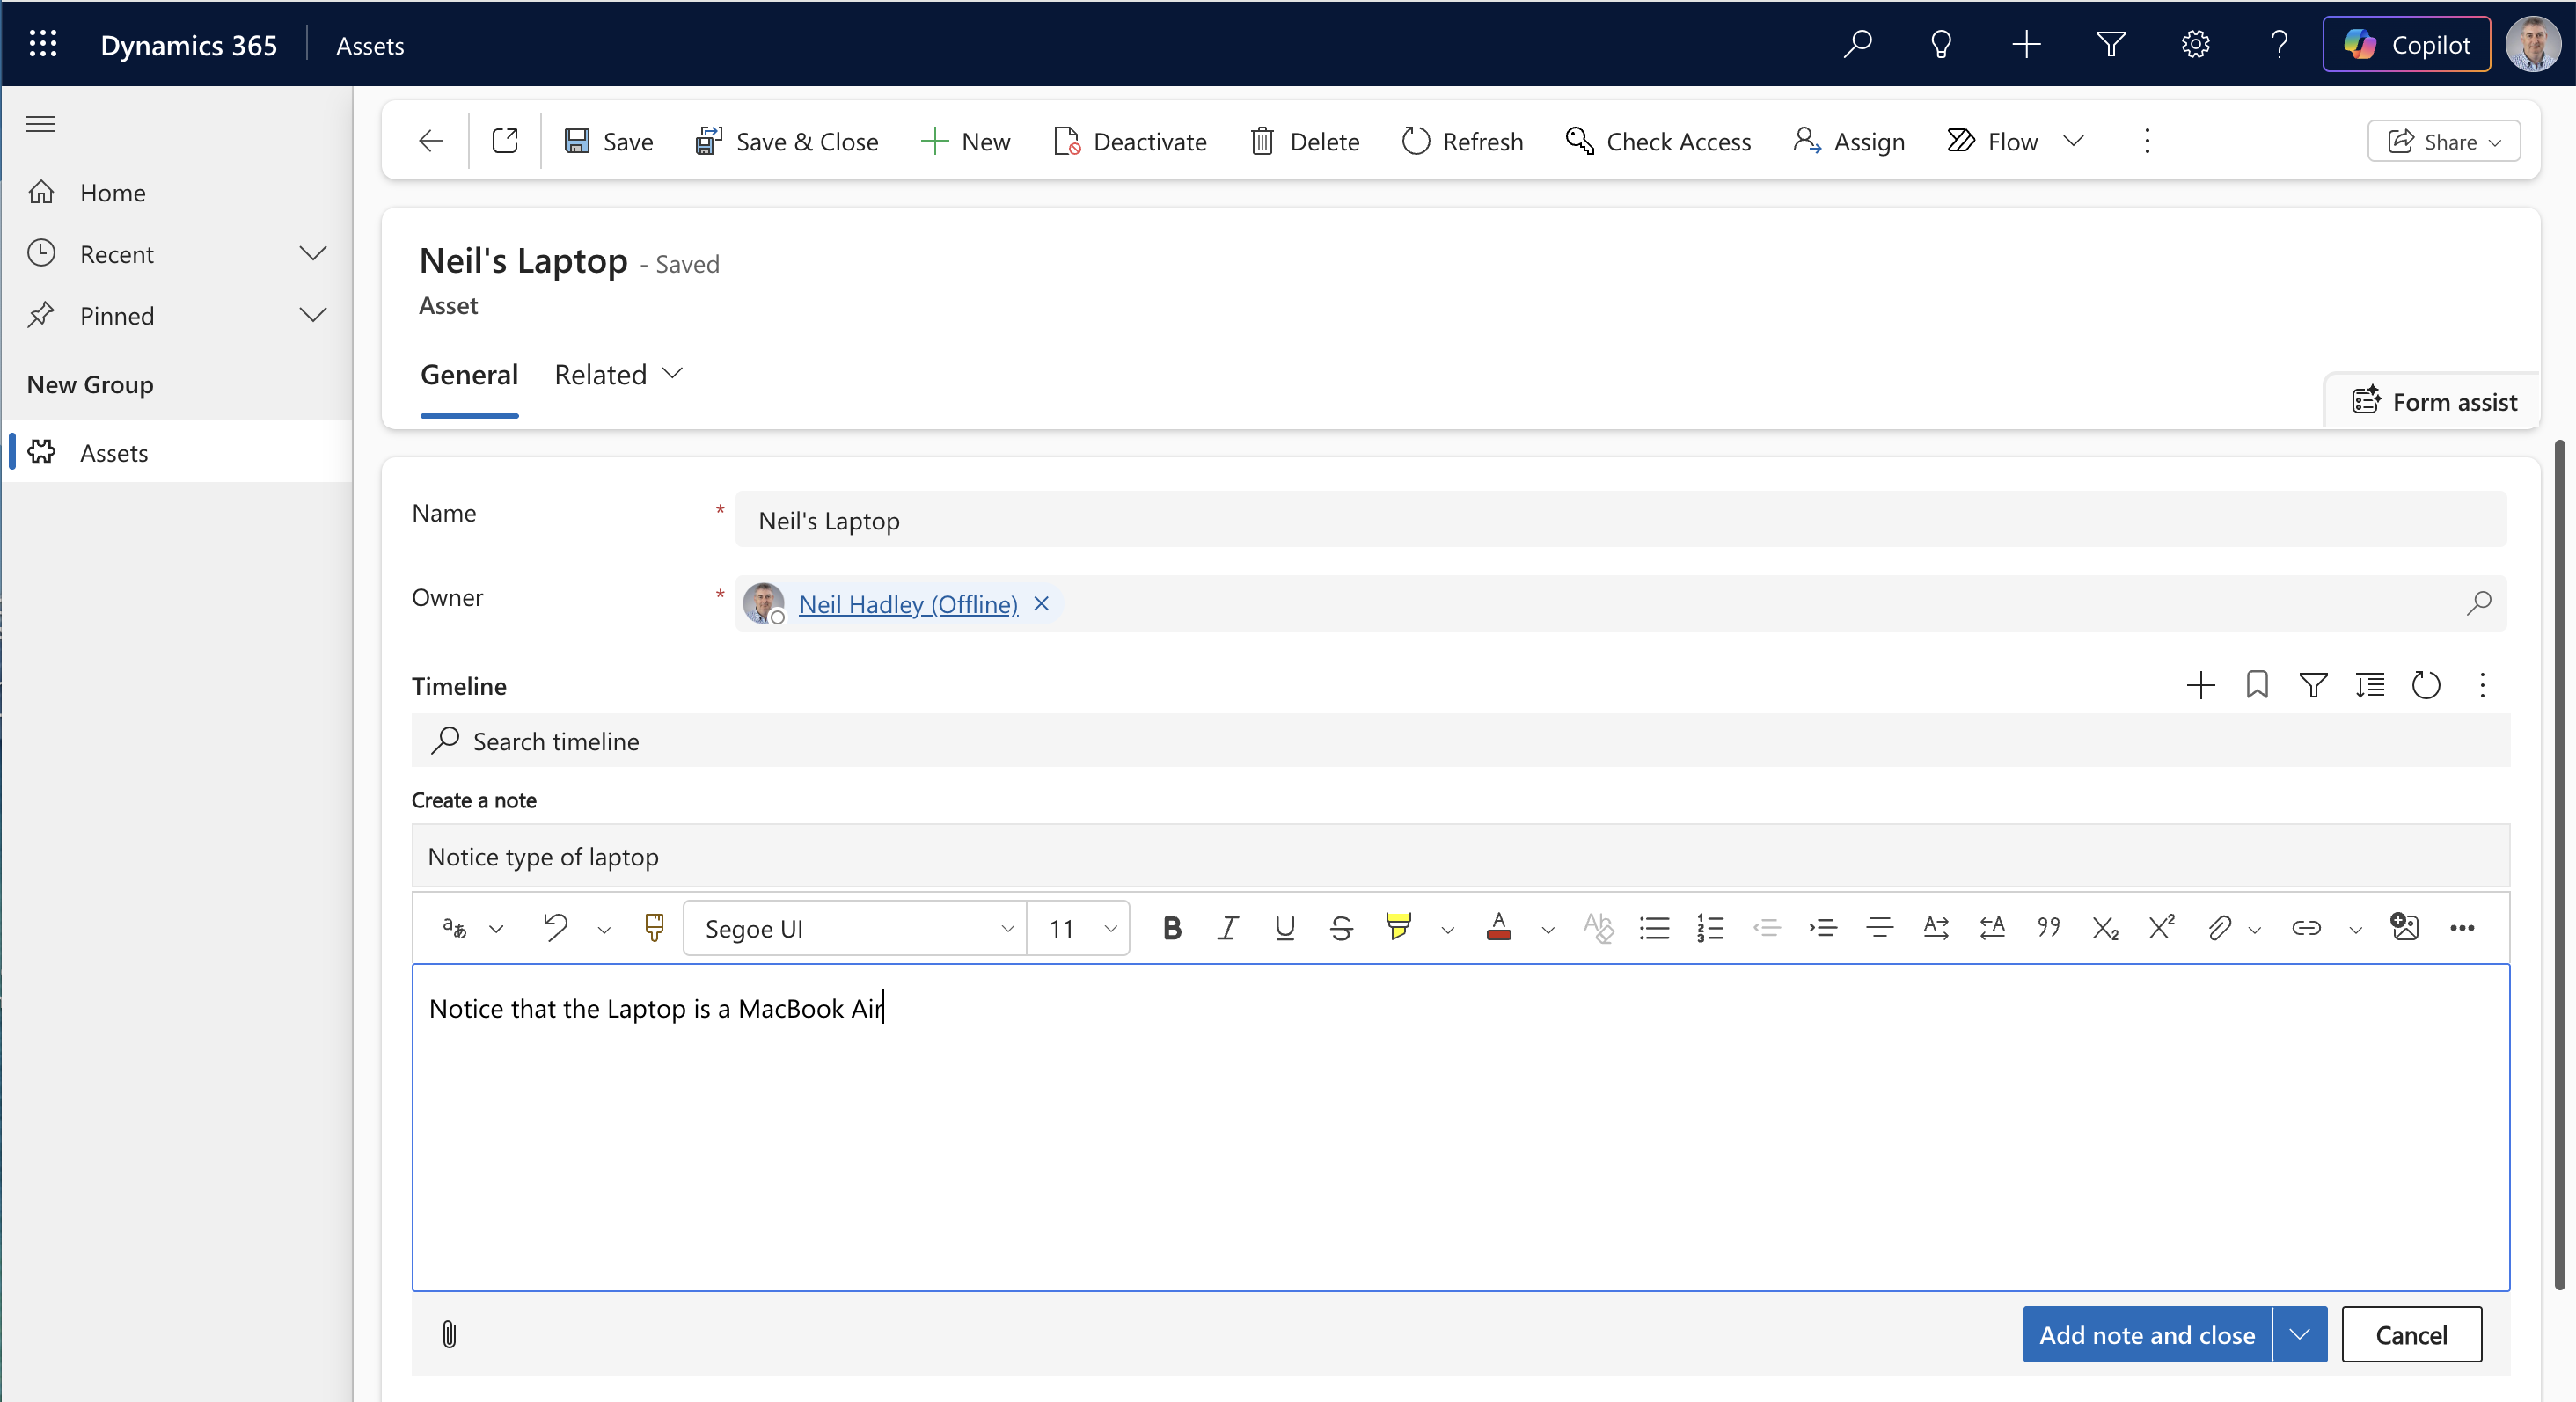
I added a note: "Notice that the Laptop is a MacBook Air"
The note appeared on the timeline, and the create-a-timeline-record menu listed Email alongside the other activity types I'd enabled earlier — confirmation that the Asset table was now a valid "Regarding" target for activities.
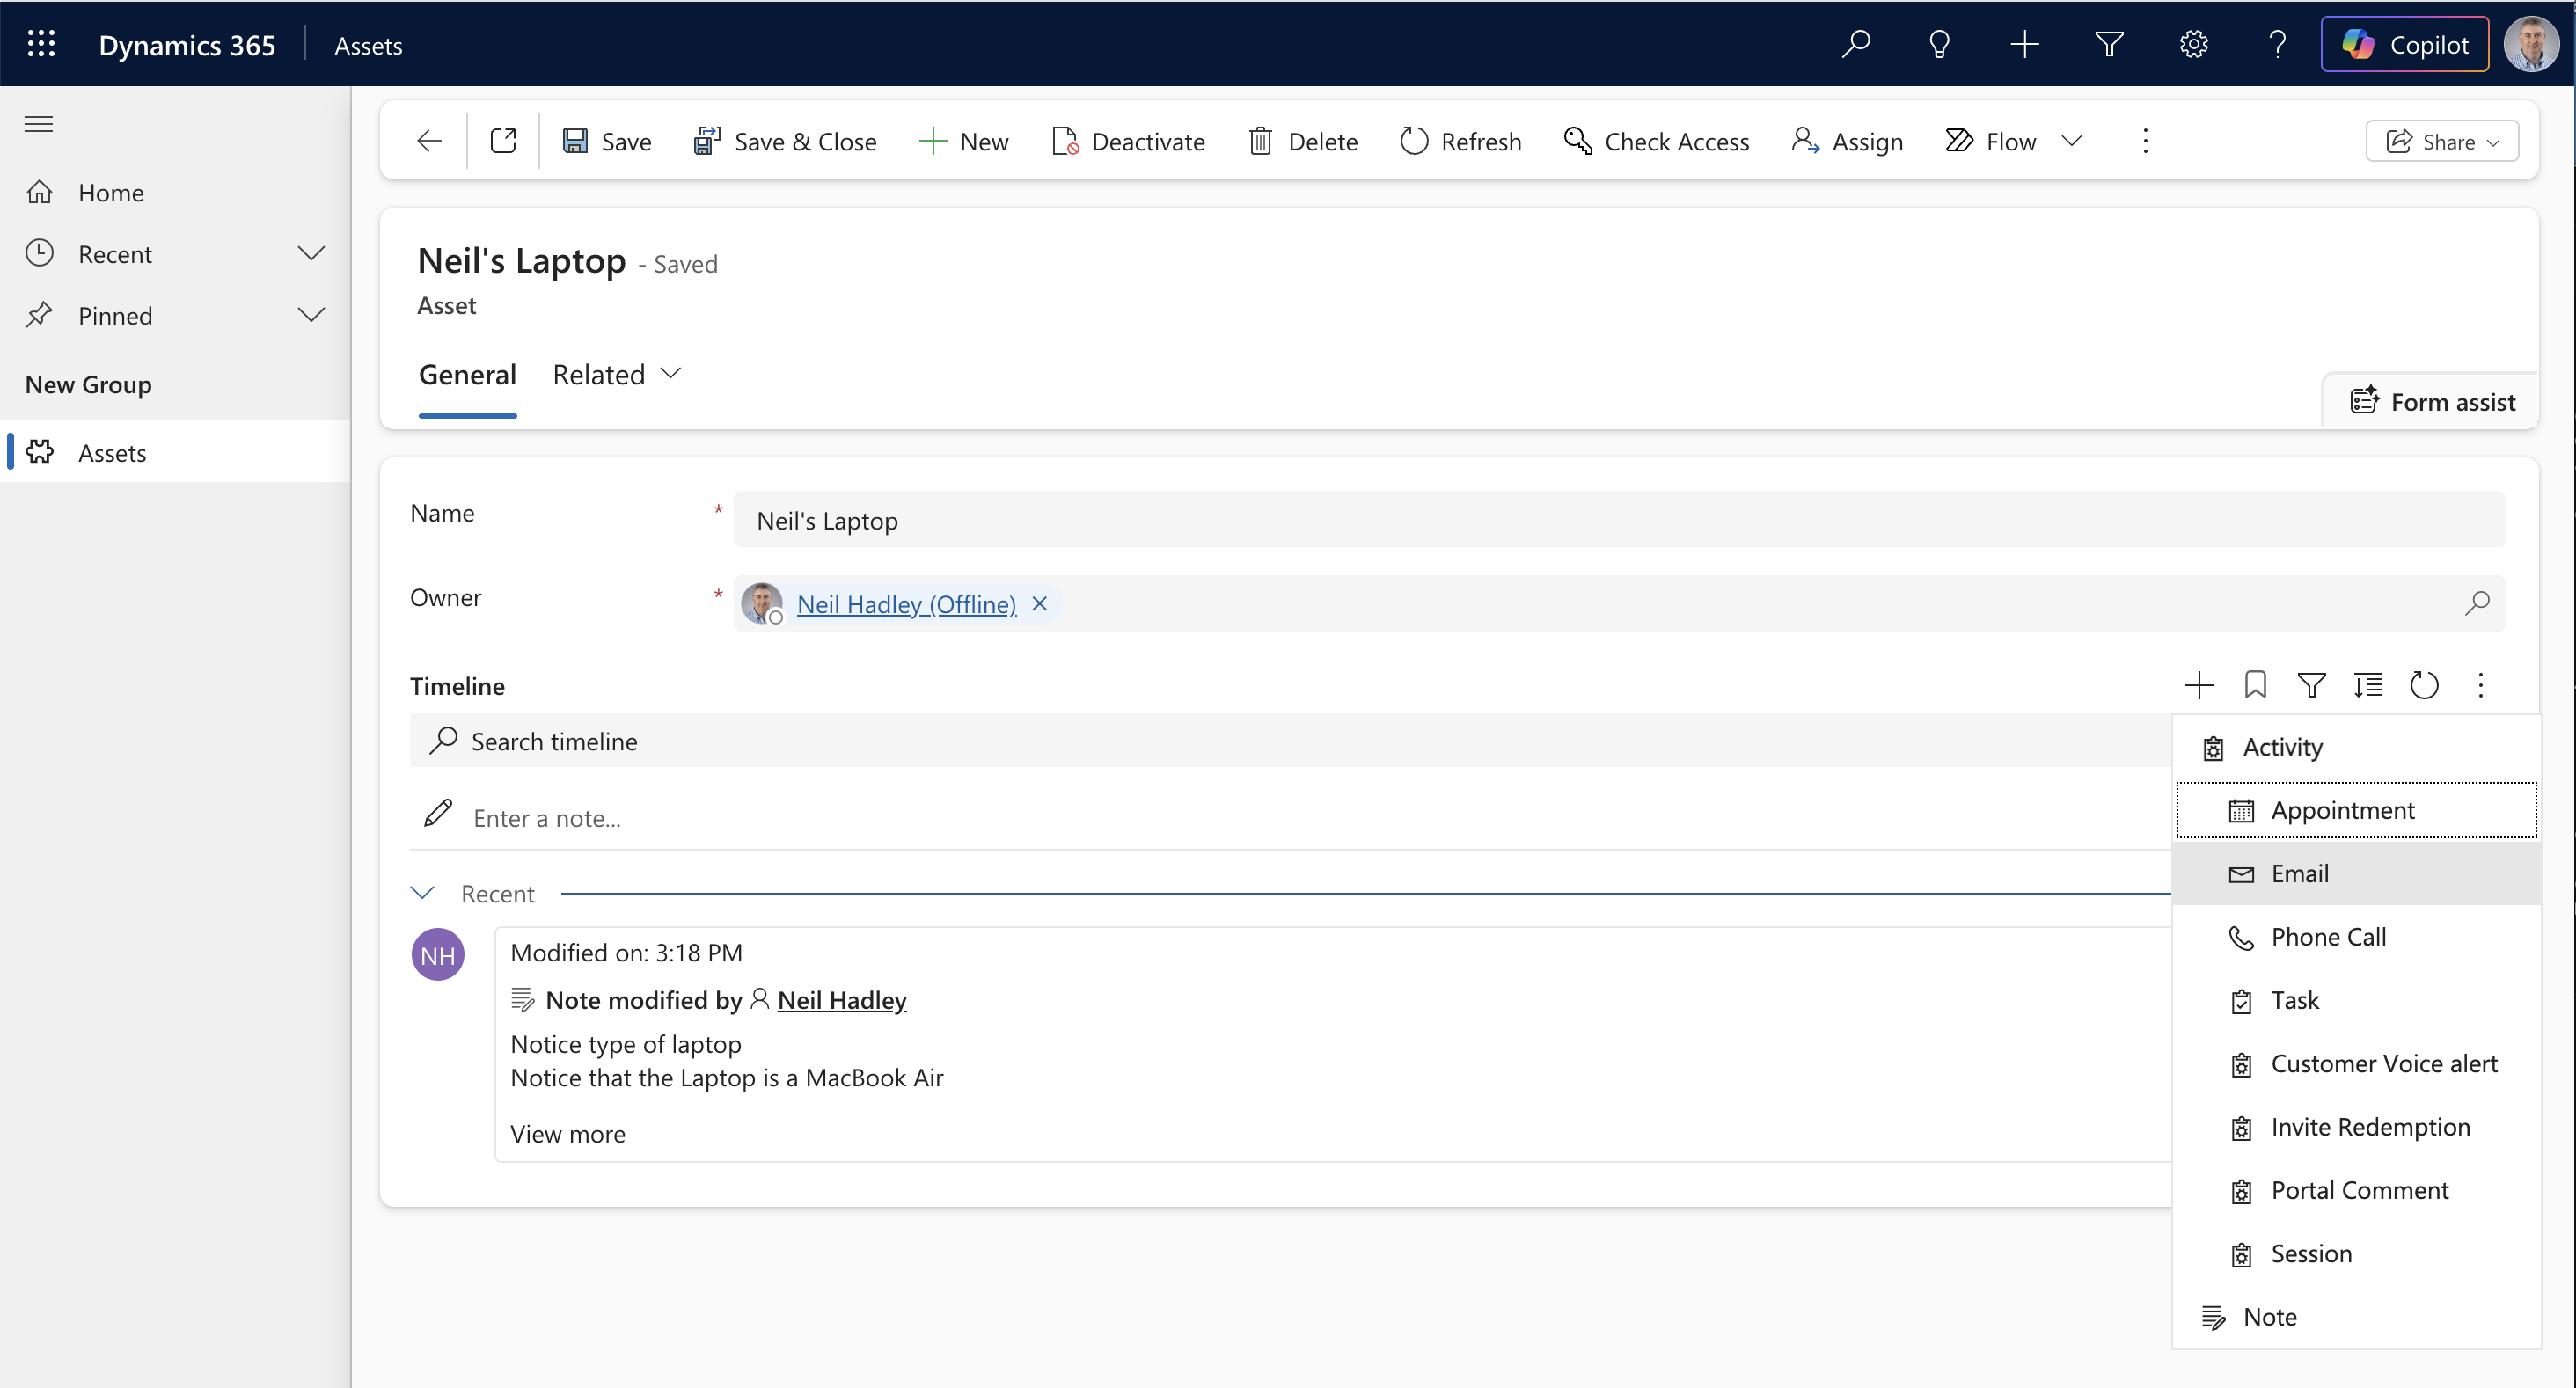
The note appeared on the timeline, and Email was available from the activity menu
I created a test email regarding the Asset record.
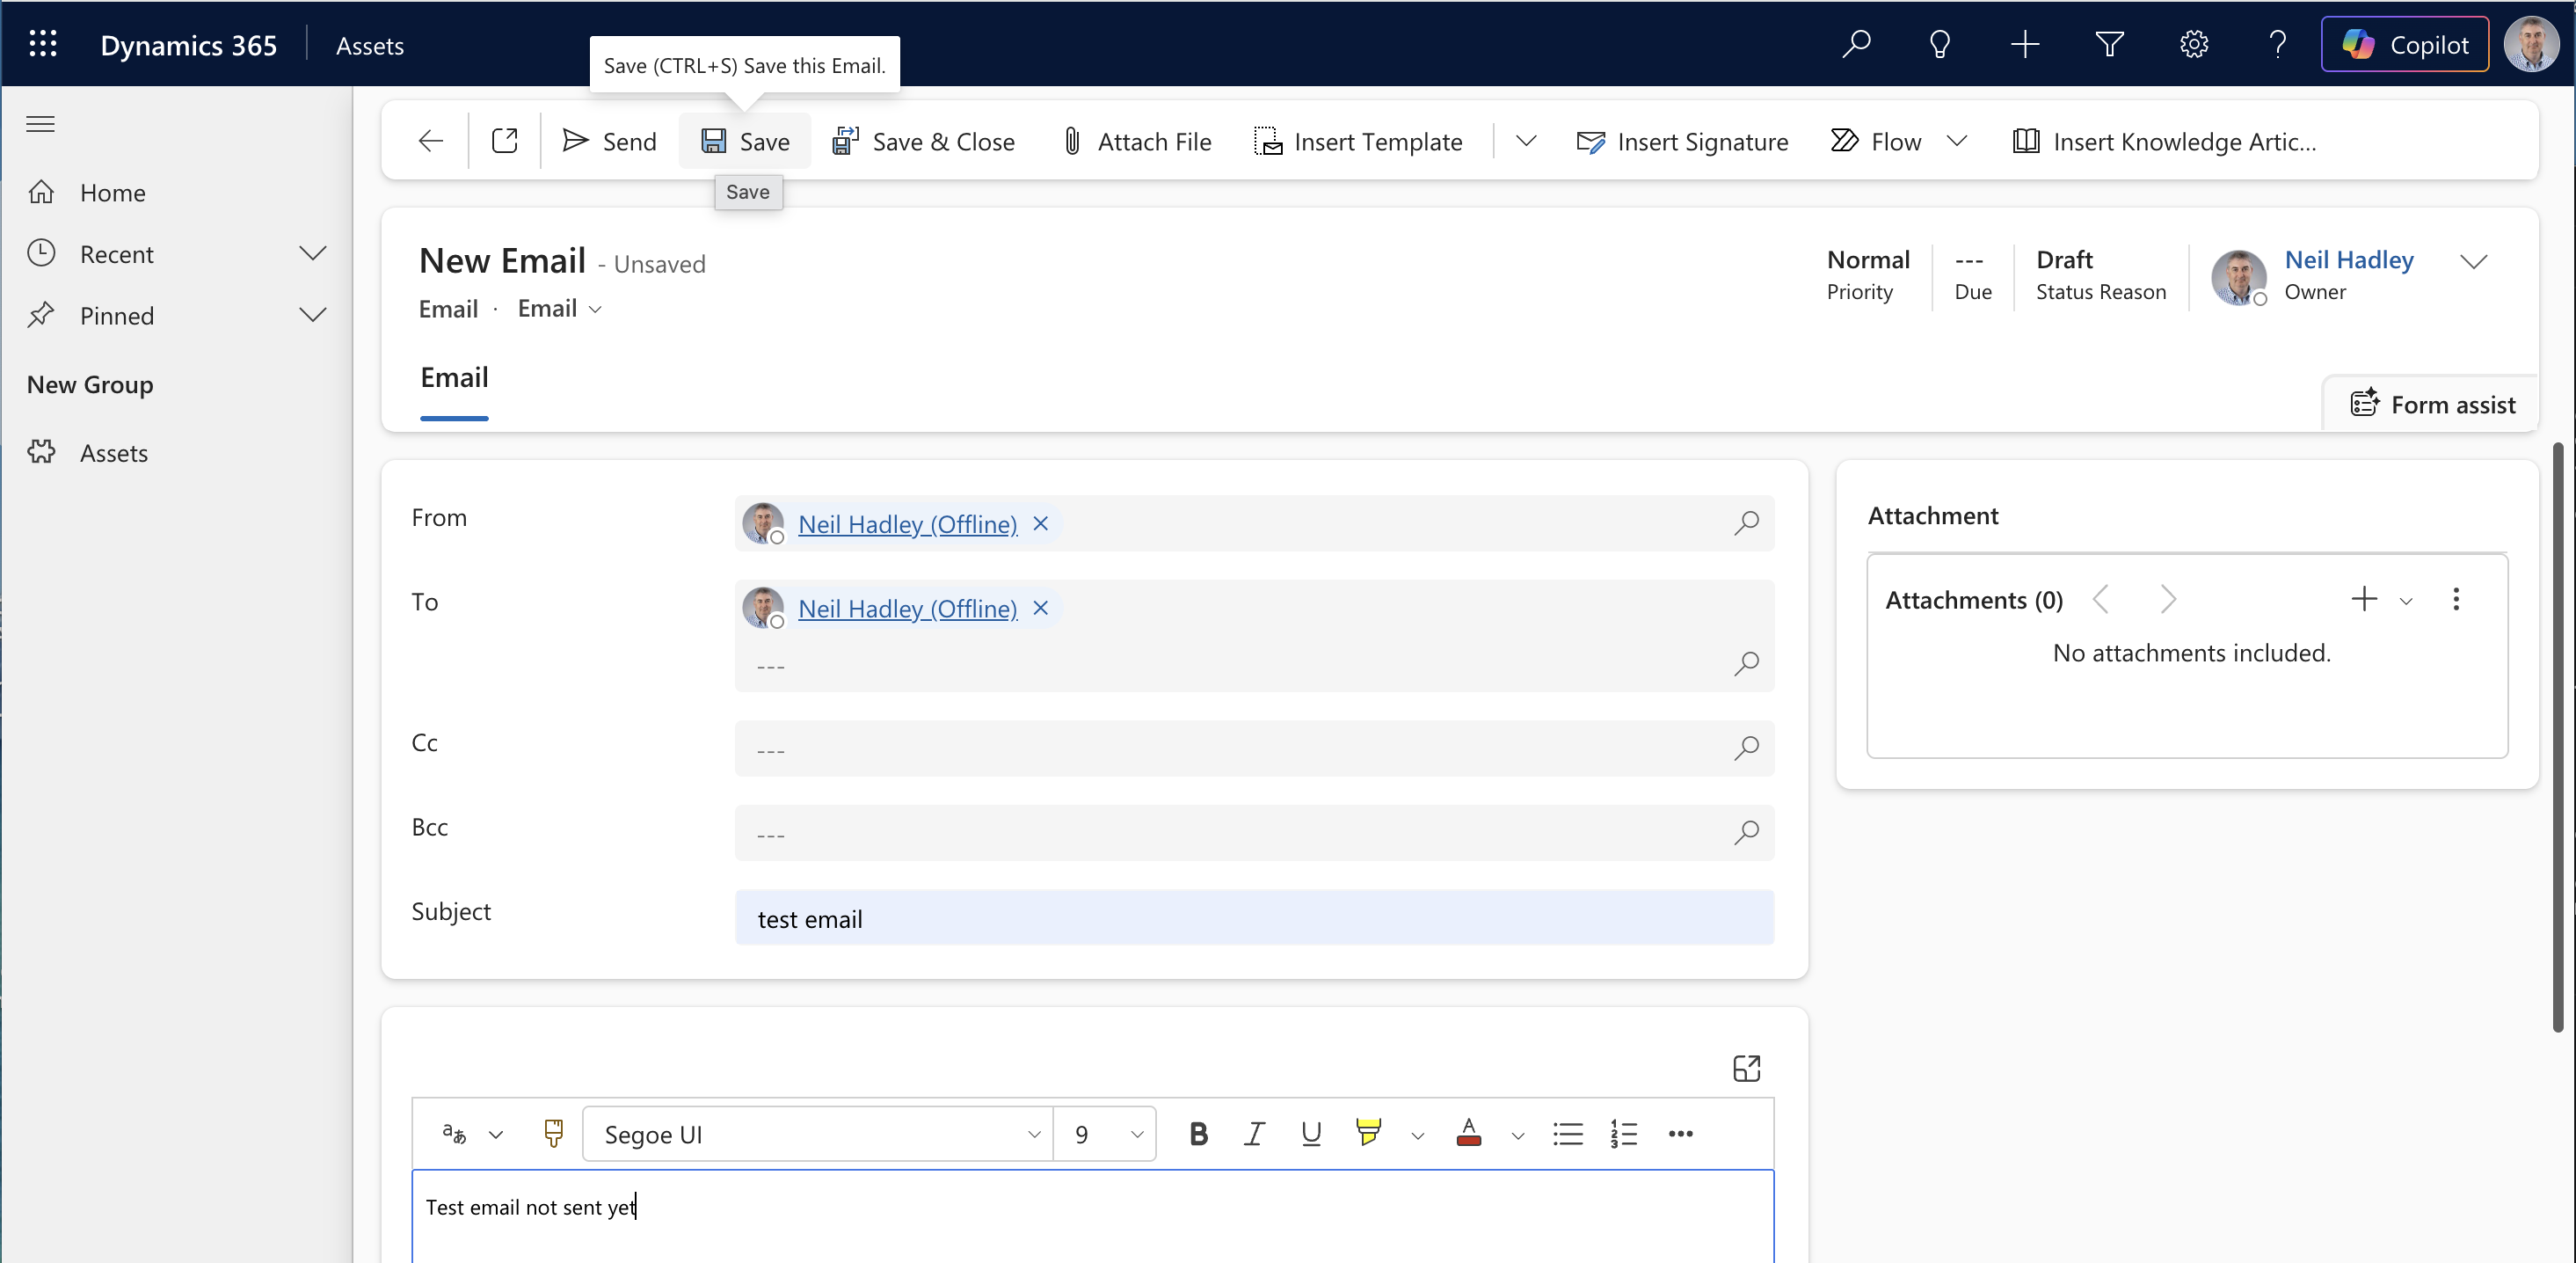
I created a test Email activity regarding the Asset record
The Asset's timeline then showed both the email and the note together, confirming notes and activities were both working end to end on a custom table.
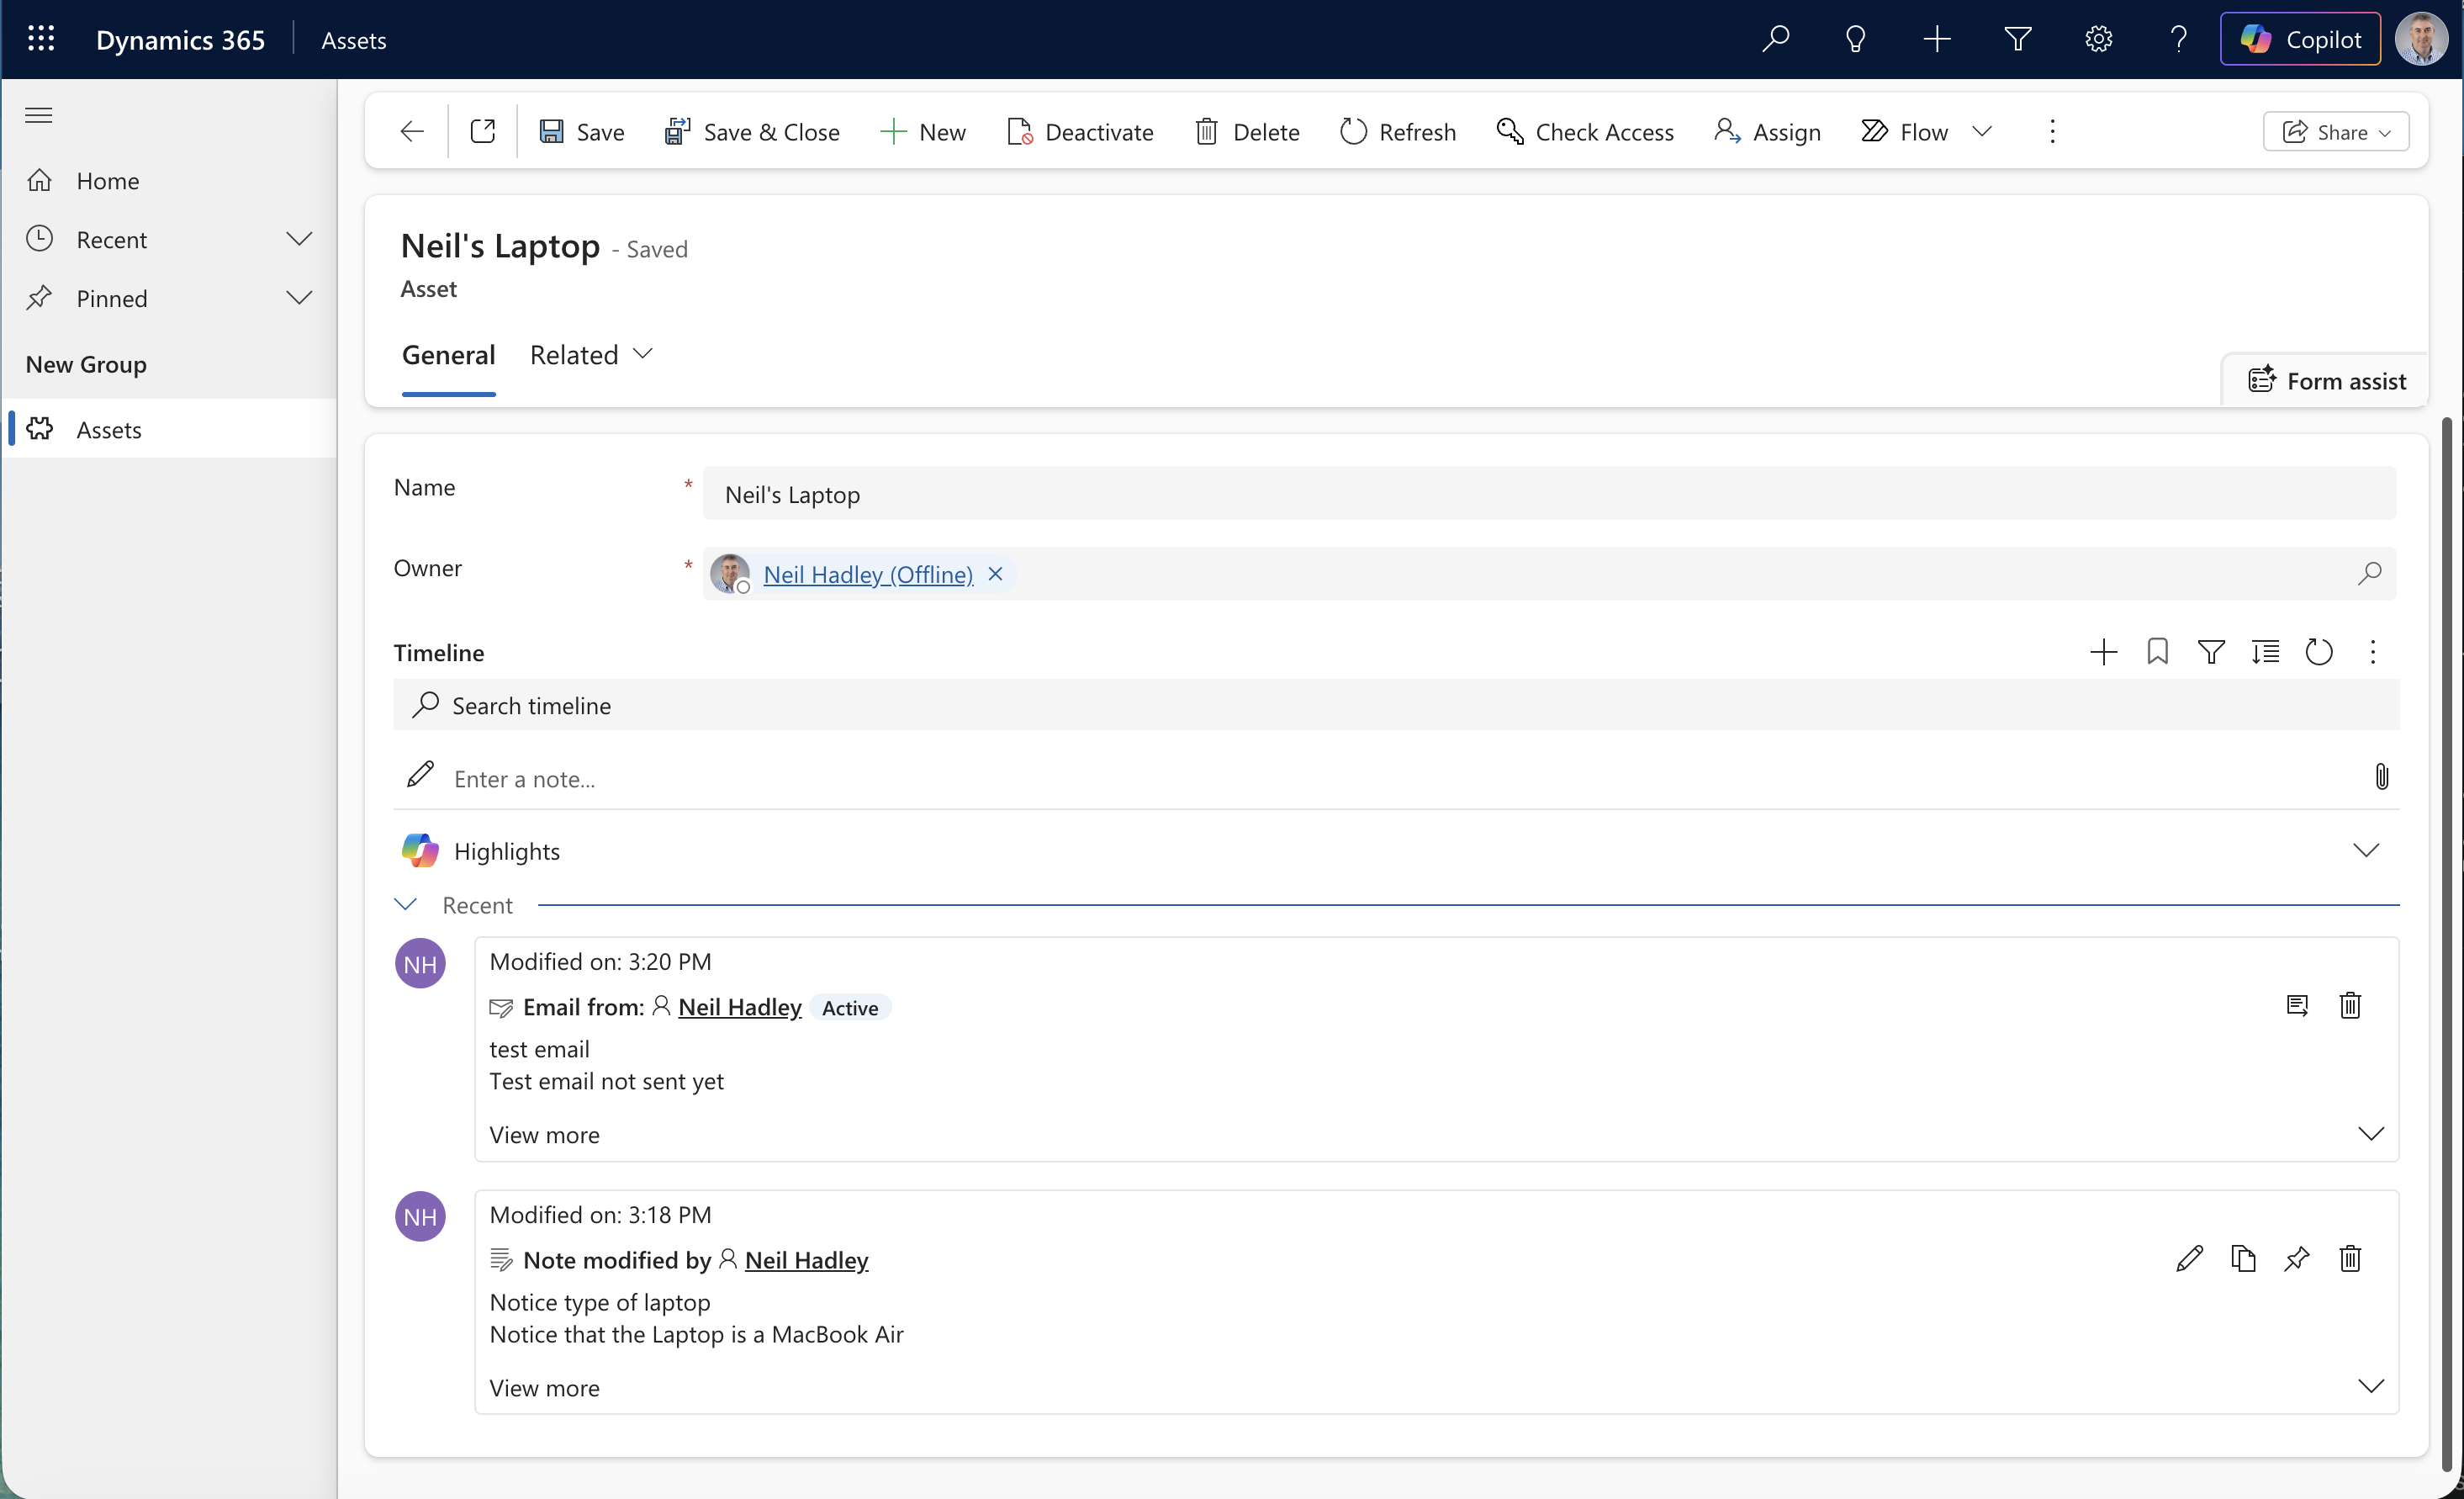
The Asset's timeline showed both the email and the note together
Rolling up activities from custom related records
I wanted to see whether the Asset table's activities could roll up onto a related record's timeline the same way they do for Account and Contact. I'd already added a Primary Contact lookup field to Asset — a many-to-one relationship to Contact — and set it to John Doe on my "Neil's Laptop" record, which already had a note and a test email on its own timeline.
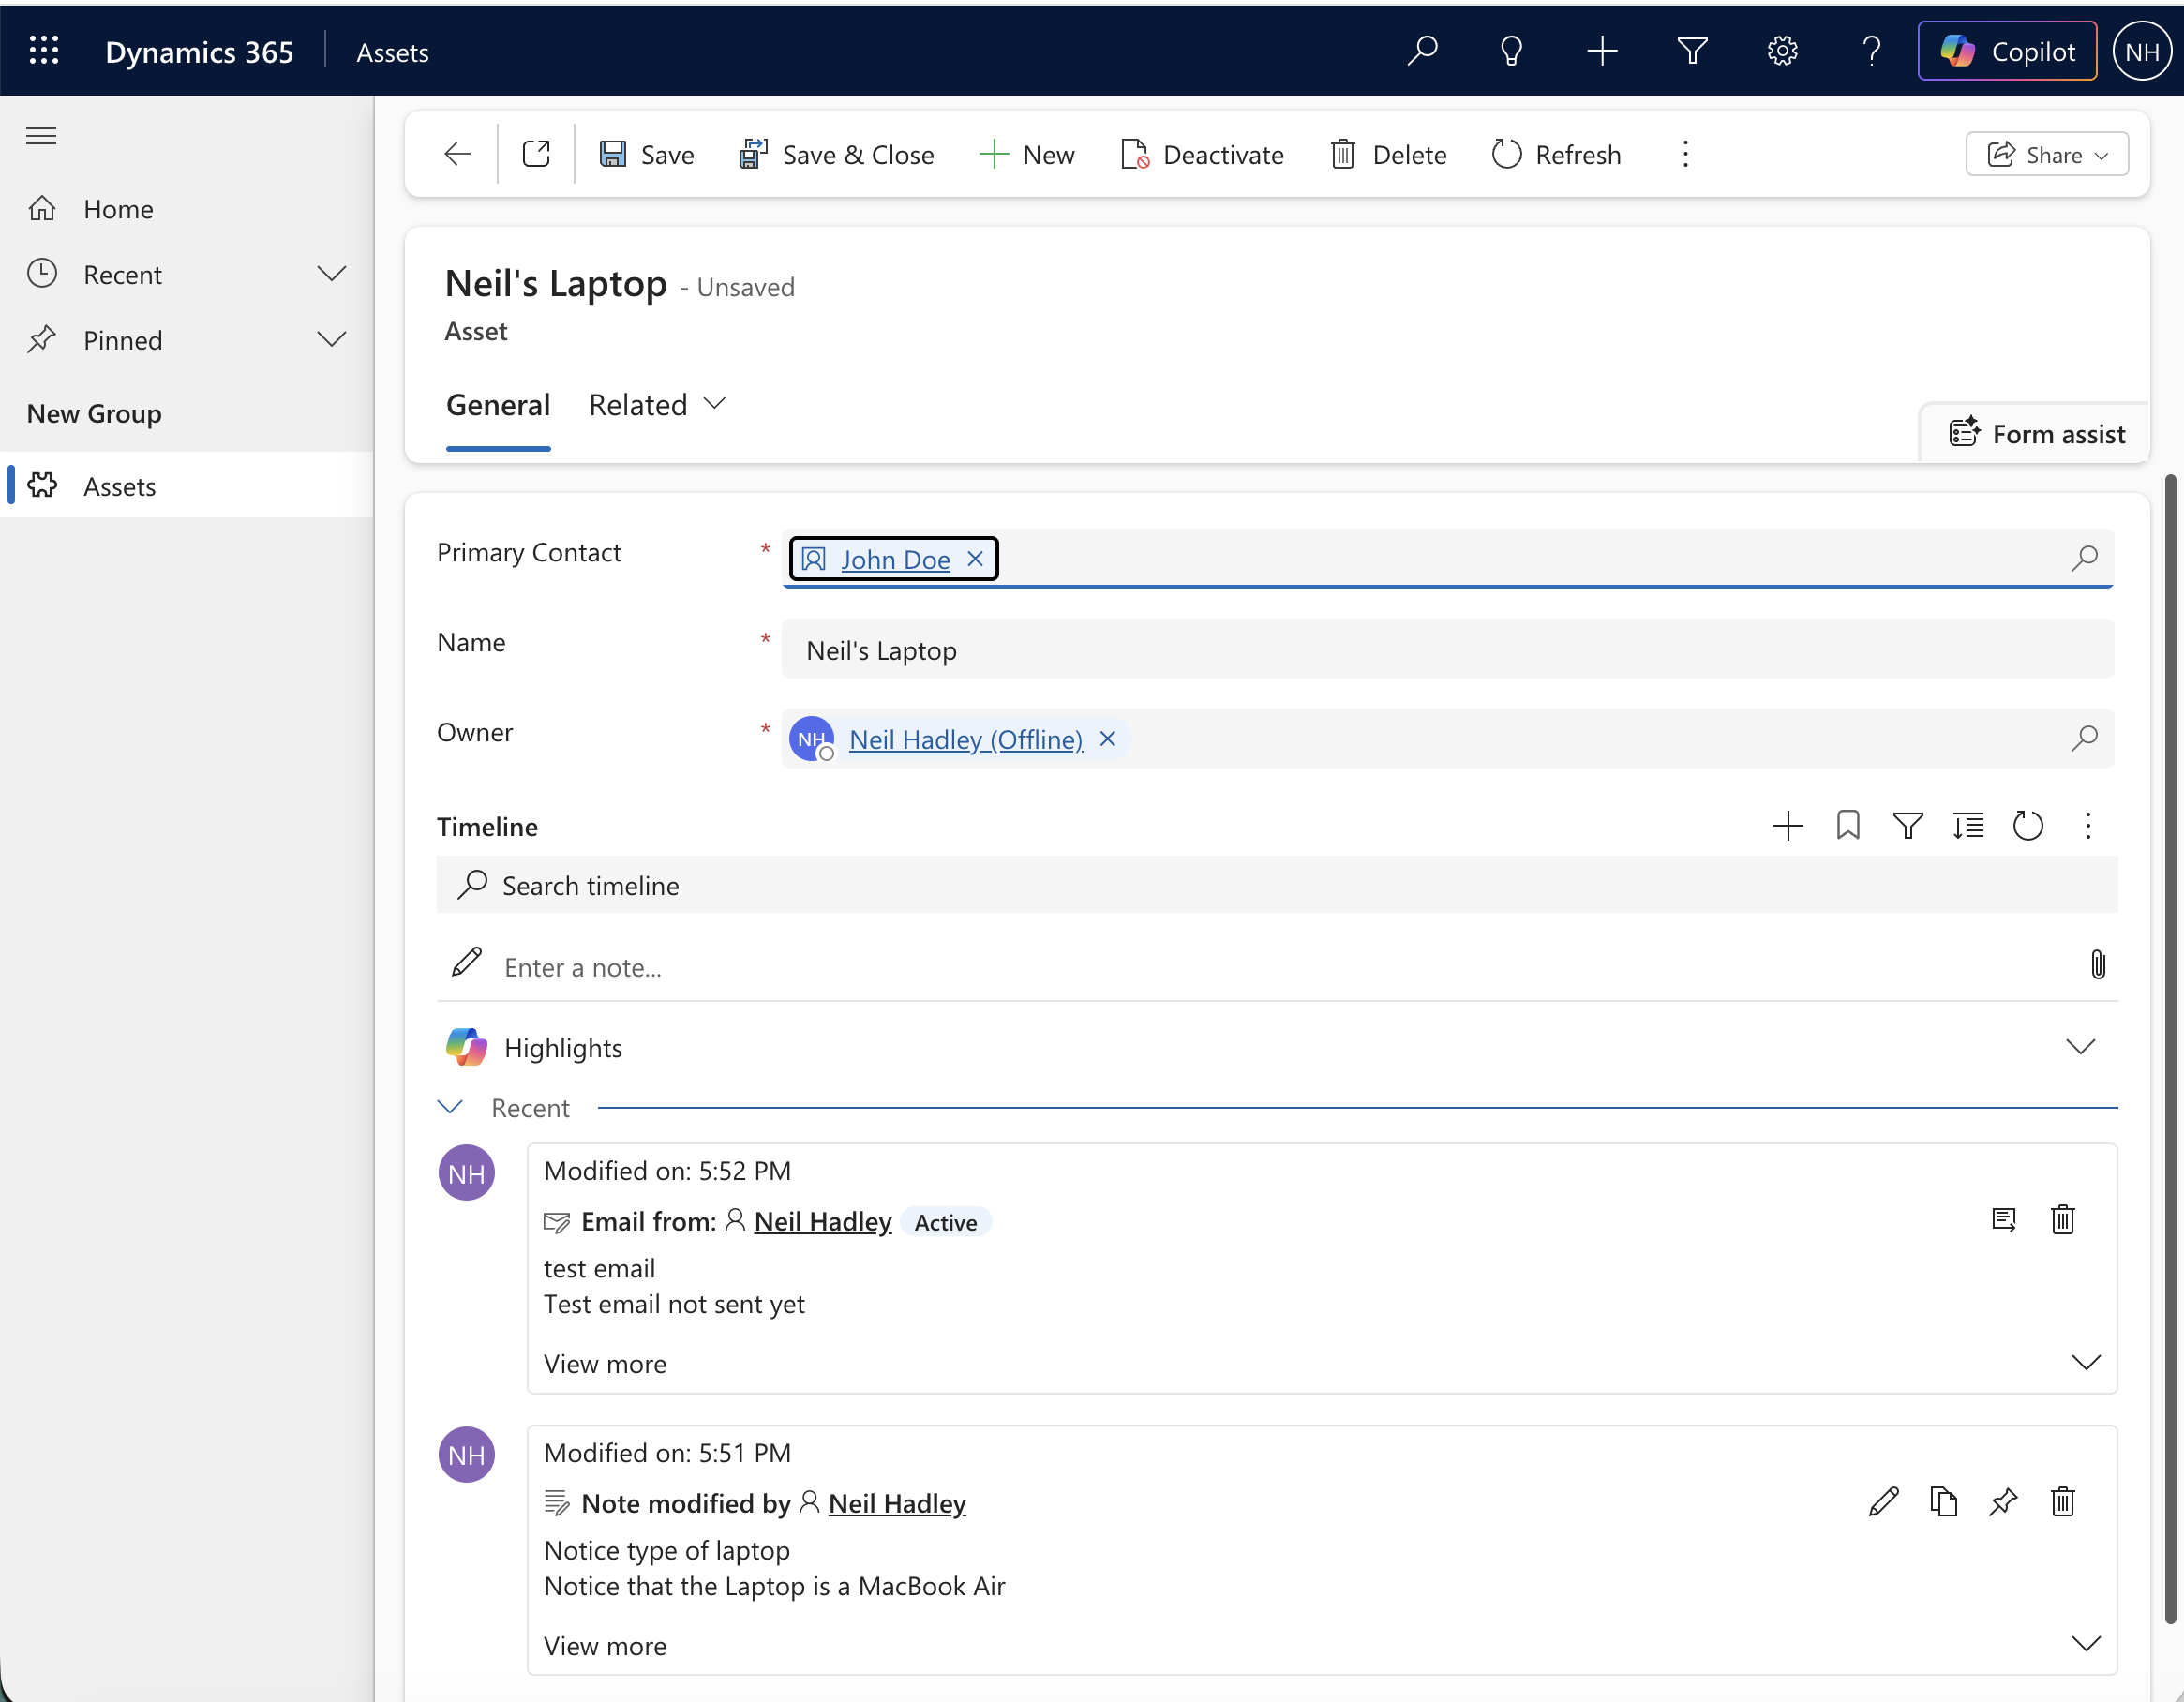
Neil's Laptop had Primary Contact set to John Doe, with a note and a test email already on its own timeline
With the default Referential relationship behavior, Asset never showed up anywhere on John Doe's timeline. The setting that actually matters turned out to be the relationship's own behavior, not anything in the Timeline component. I opened the Primary Contact relationship from the Asset table's Relationships list.
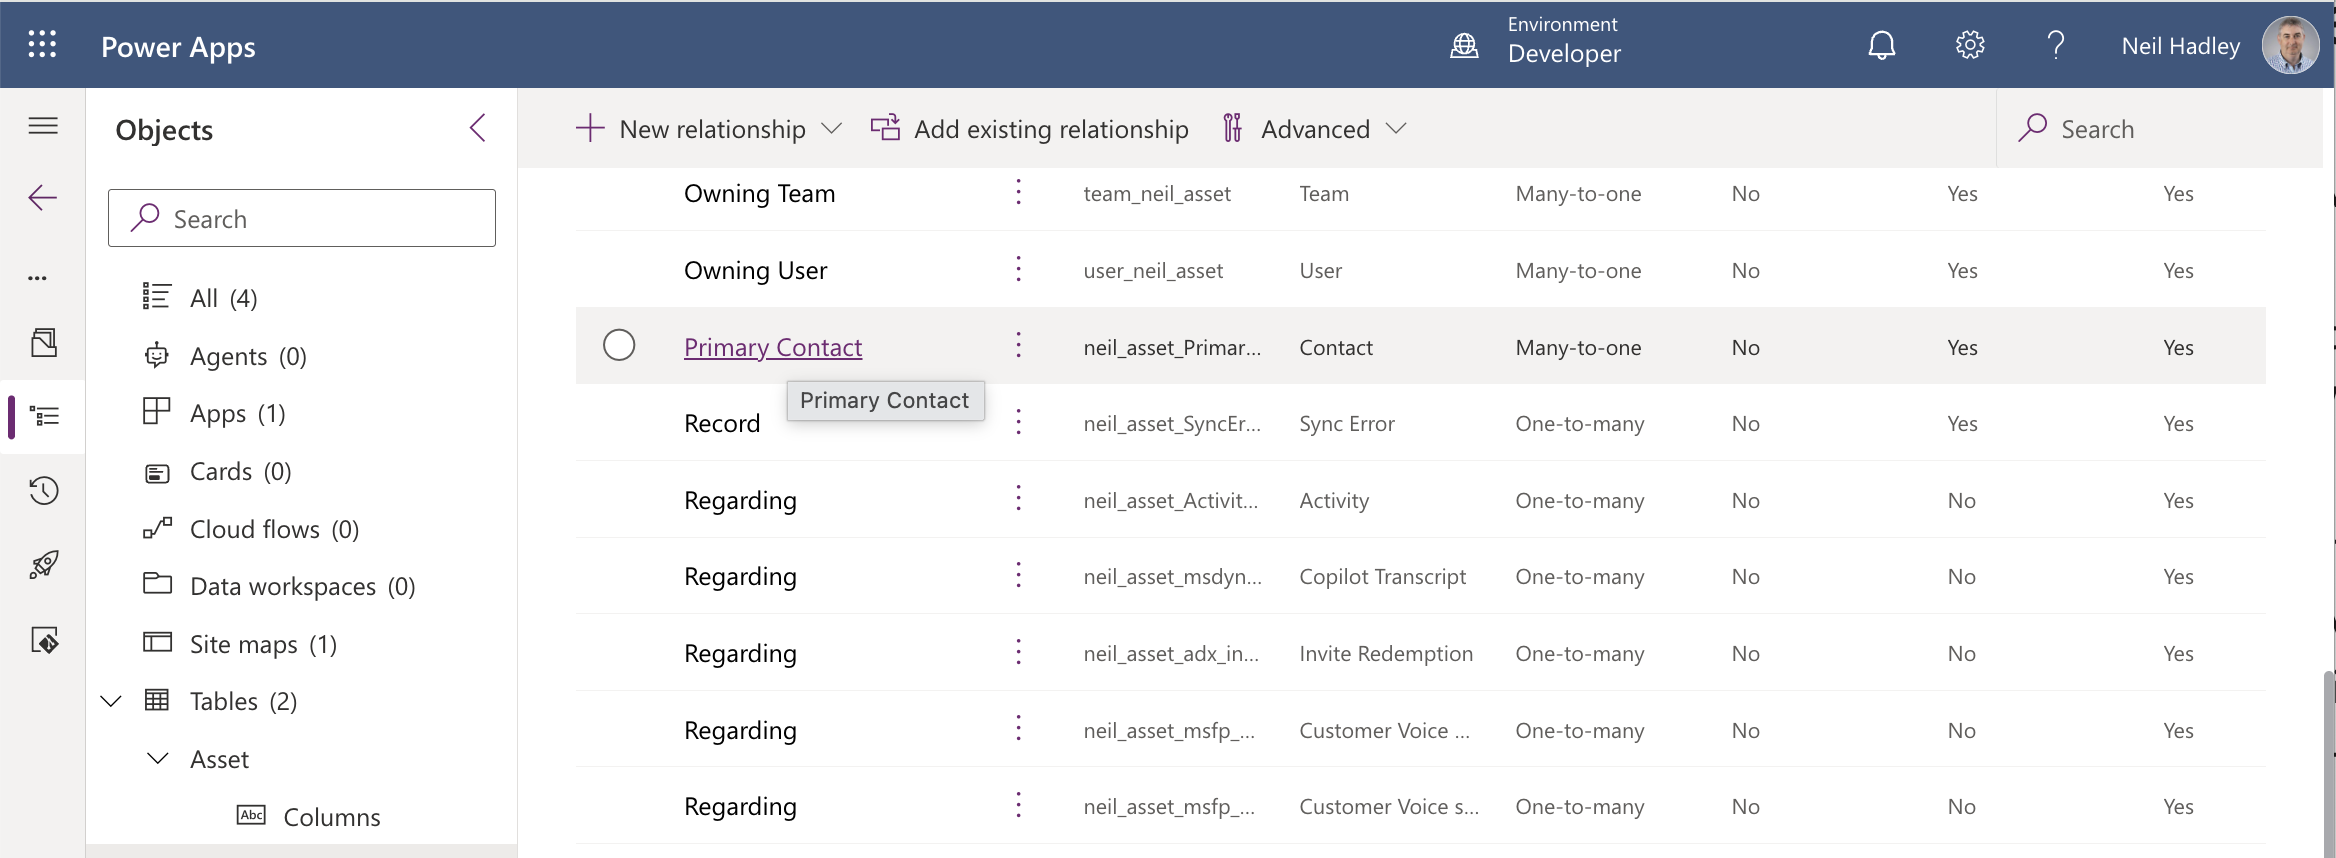
I opened the Primary Contact relationship from the Asset table's Relationships list
Its Advanced options showed a Type of behavior dropdown, defaulted to Referential, with Parental and Custom as the other choices.
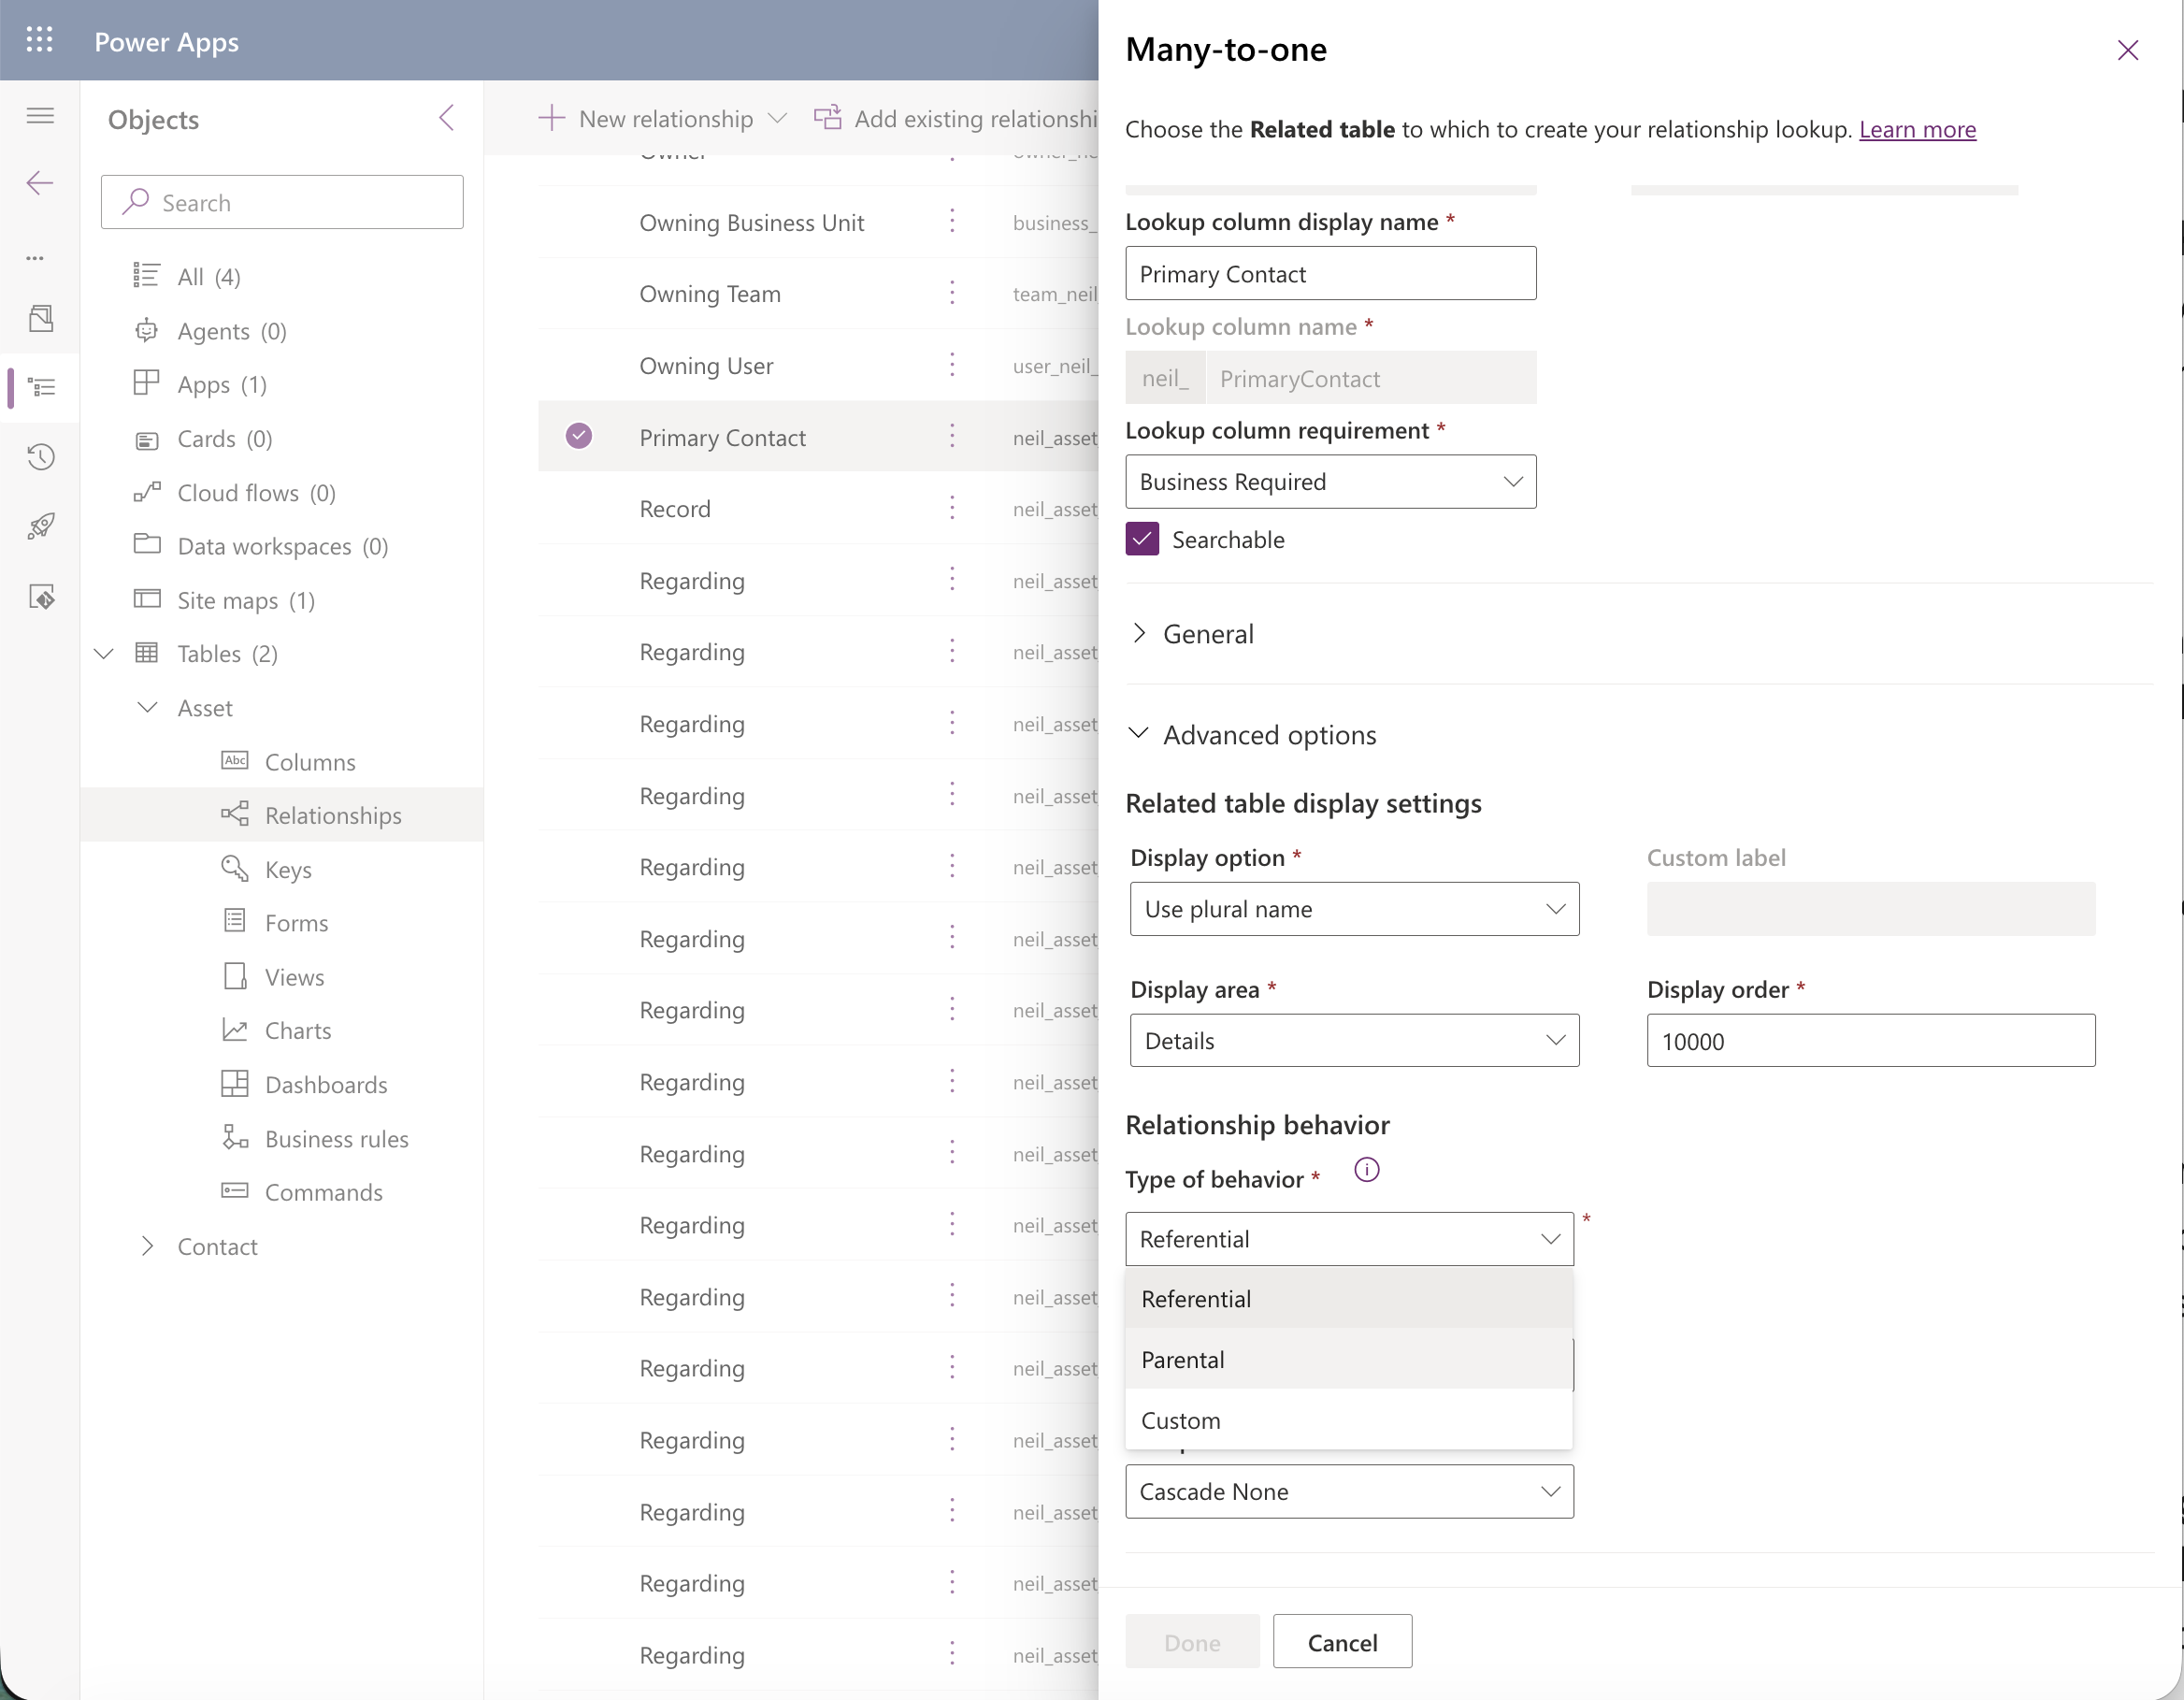
The relationship's Advanced options showed Type of behavior defaulted to Referential
These three behaviors control how actions on the parent record — delete, assign, share, and so on — cascade down to the child. Referential keeps the two records loosely linked, with no cascading: deleting the parent leaves the child alone (or blocks the delete, if Restrict Delete is set). Parental is the tight coupling — child records follow the parent's delete, assign, and share actions, and that's also the behavior that exposes the Rollup View setting I needed. Custom lets you pick each of those cascade actions individually instead of taking the Parental bundle as a whole, which is exactly what I saw when I looked at this same relationship from Contact's side further down.
Switching it to Parental revealed a new Rollup View property underneath, which I set to Cascade All.
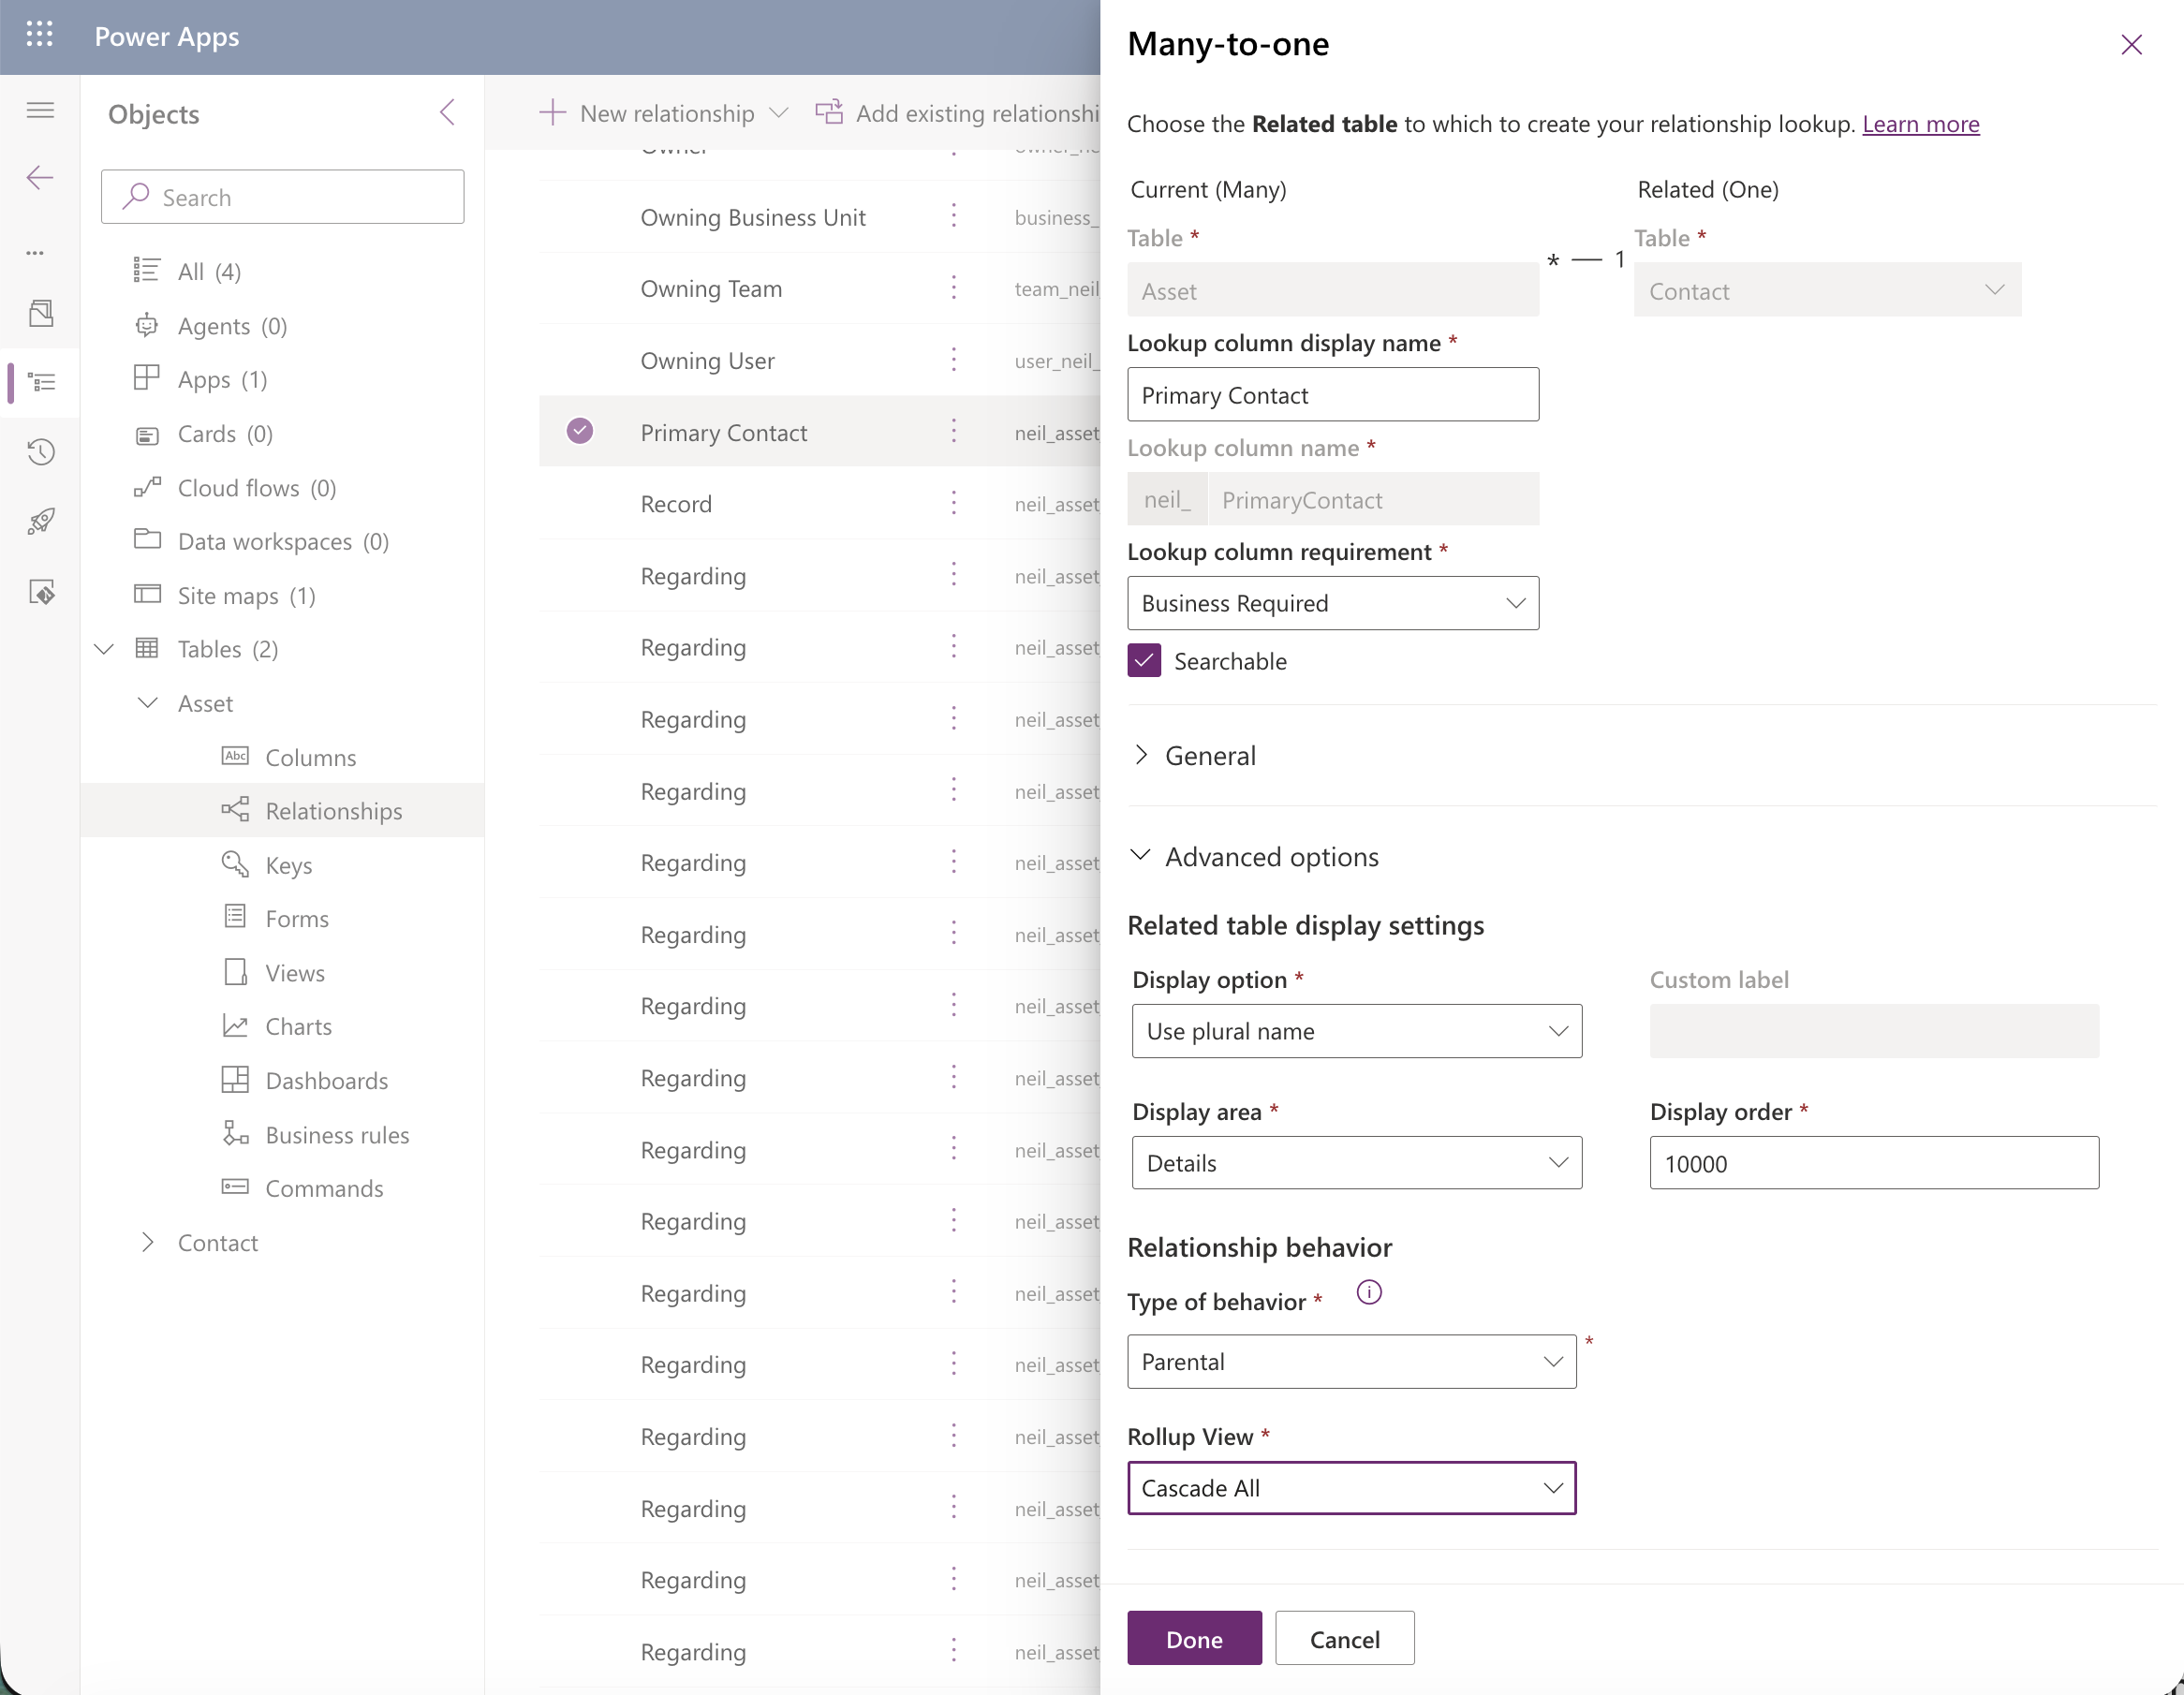
Switching Type of behavior to Parental revealed a Rollup View property, which I set to Cascade All
Viewed from Contact's side, the same relationship showed up as Custom behavior, with Rollup View sitting alongside Delete, Assign, Share, Unshare, and Reparent — all set to Cascade All.
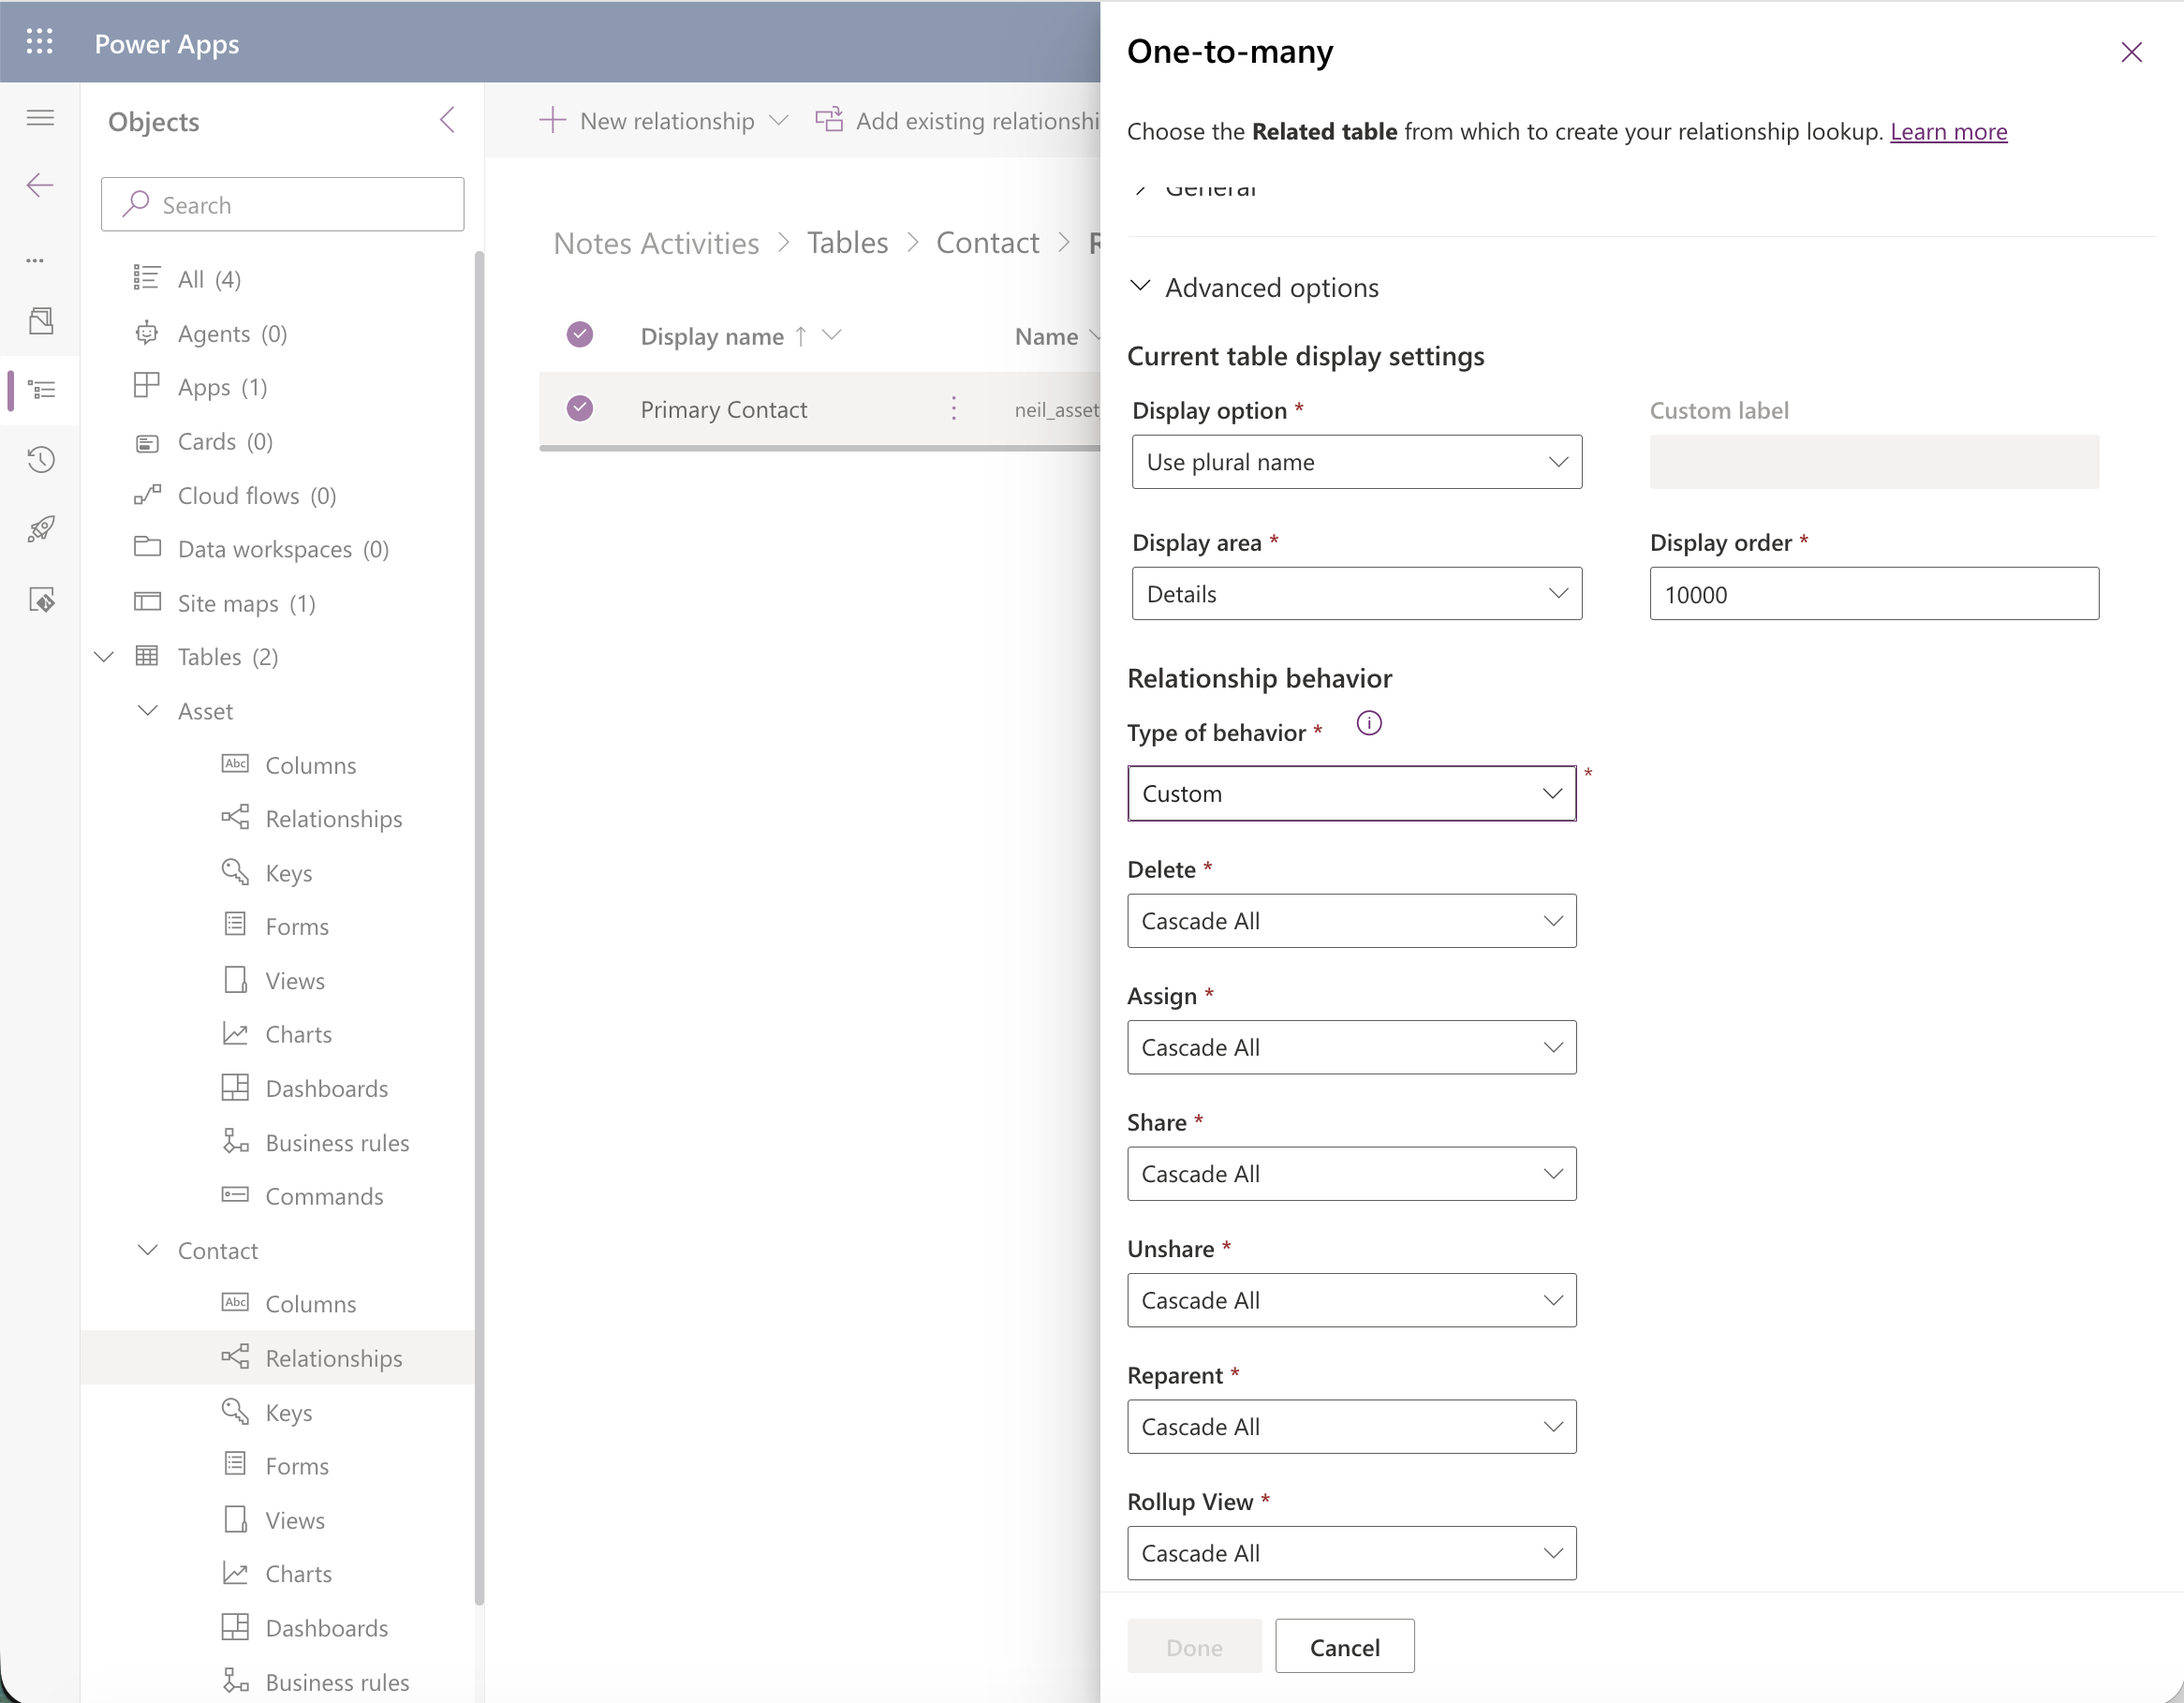
Viewed from Contact's side, the relationship showed as Custom behavior with Rollup View among the cascade settings
I added Contact as a page in my Assets app so I could view and edit Contact records directly.
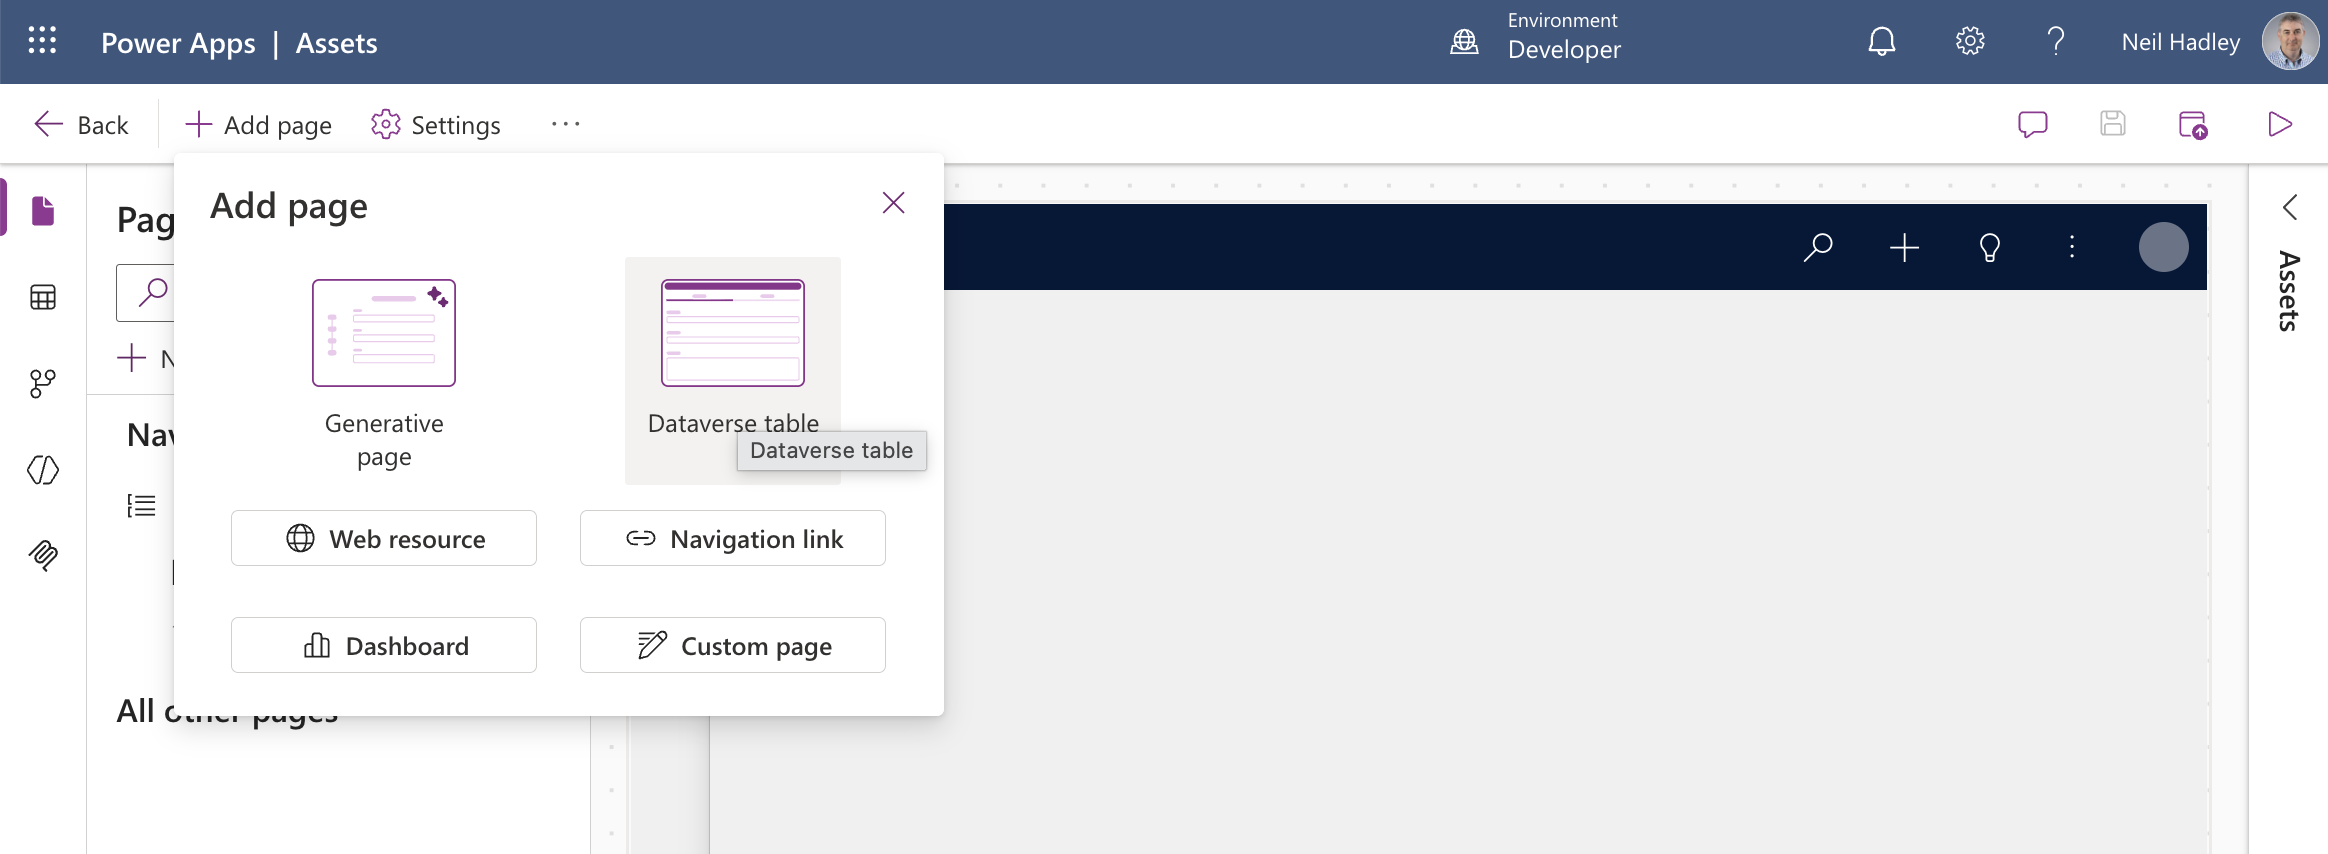
I selected Add page > Dataverse table again, this time for Contact
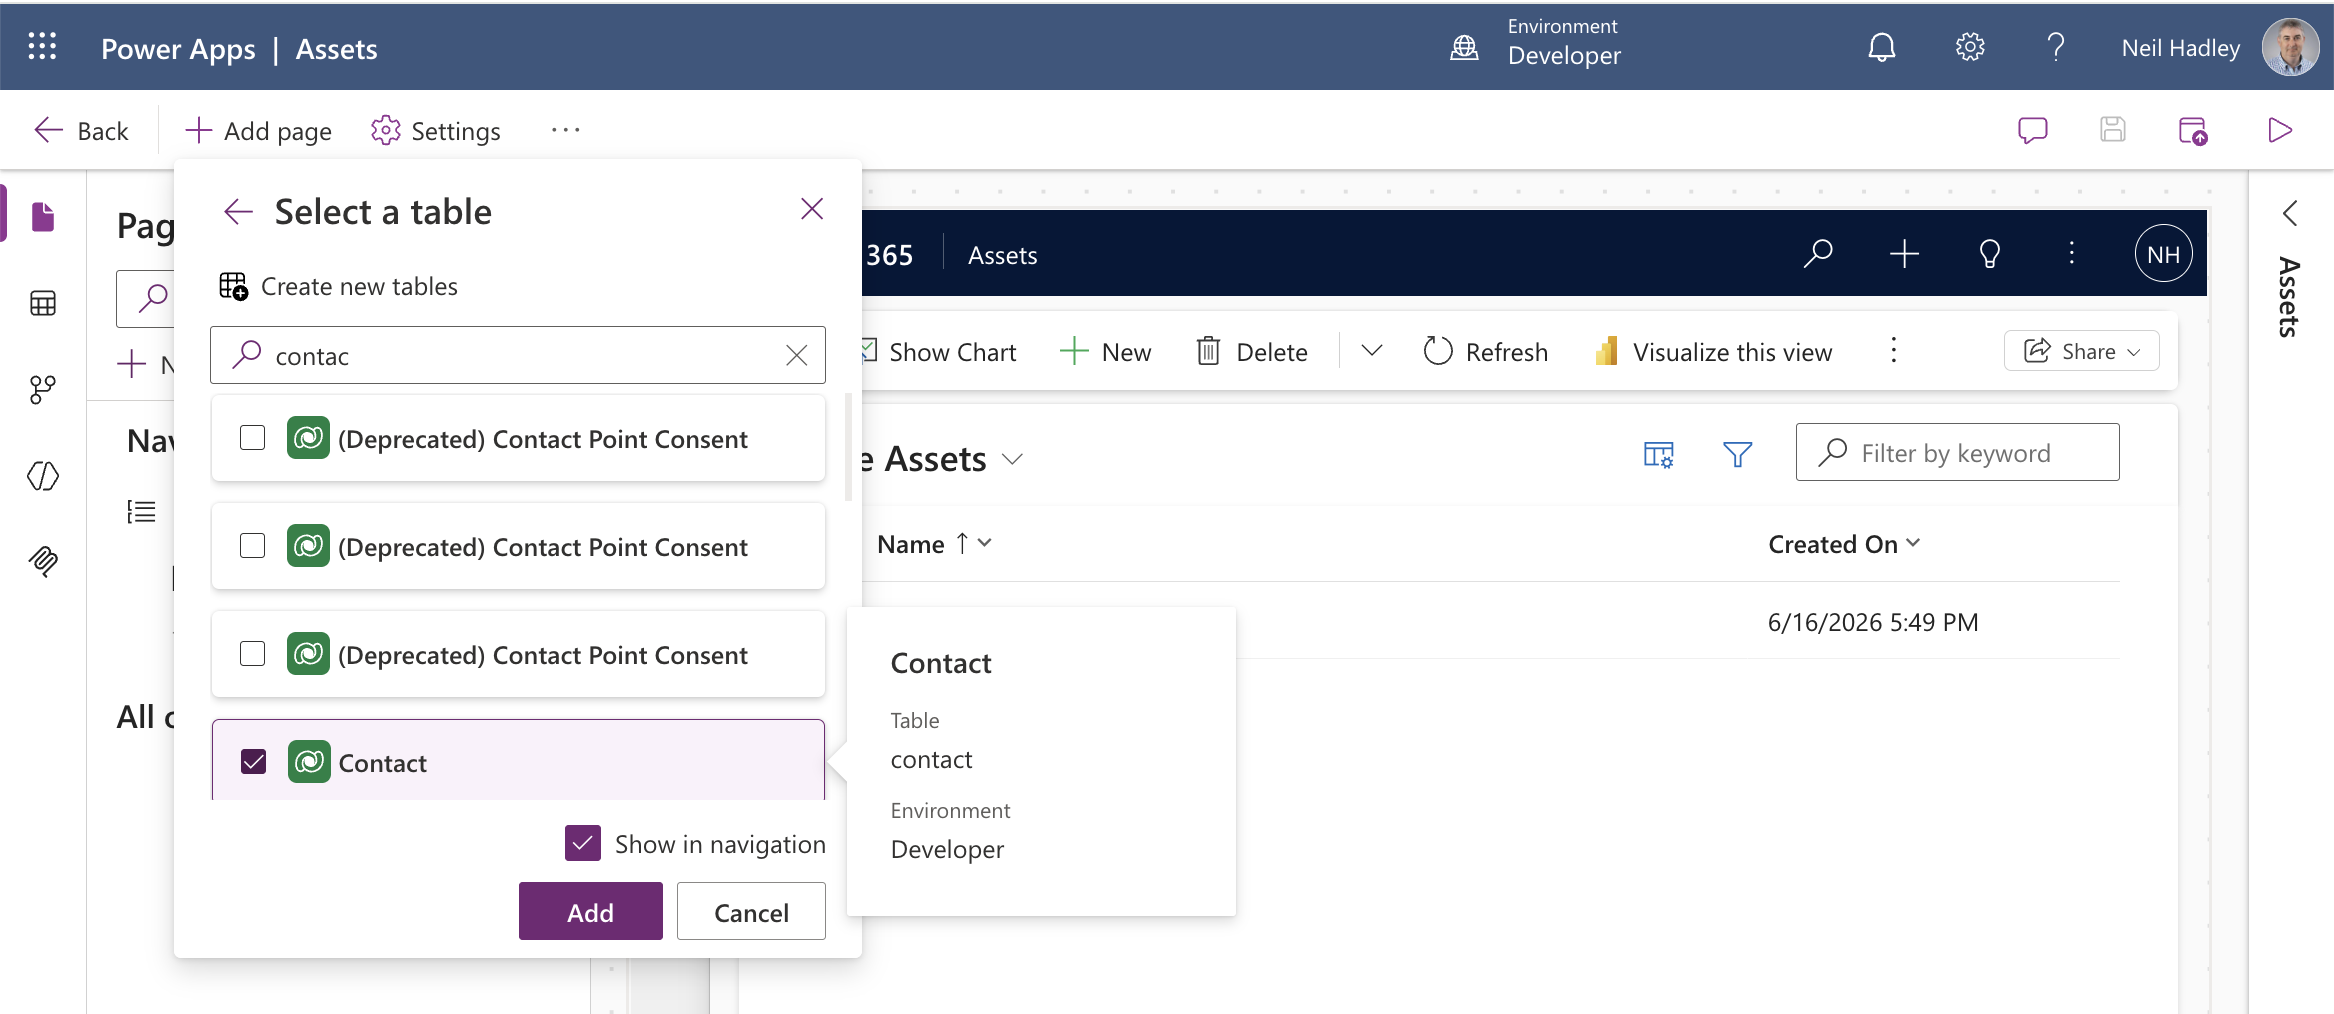
I added the Contact table to the Assets app
On Contact's main form, I set the timeline's Activity rollup type to Related and republished.
I set Contact's Activity rollup type to Related
John Doe's own timeline then showed the test email — the one I'd created regarding the Neil's Laptop Asset record, not regarding John Doe directly.
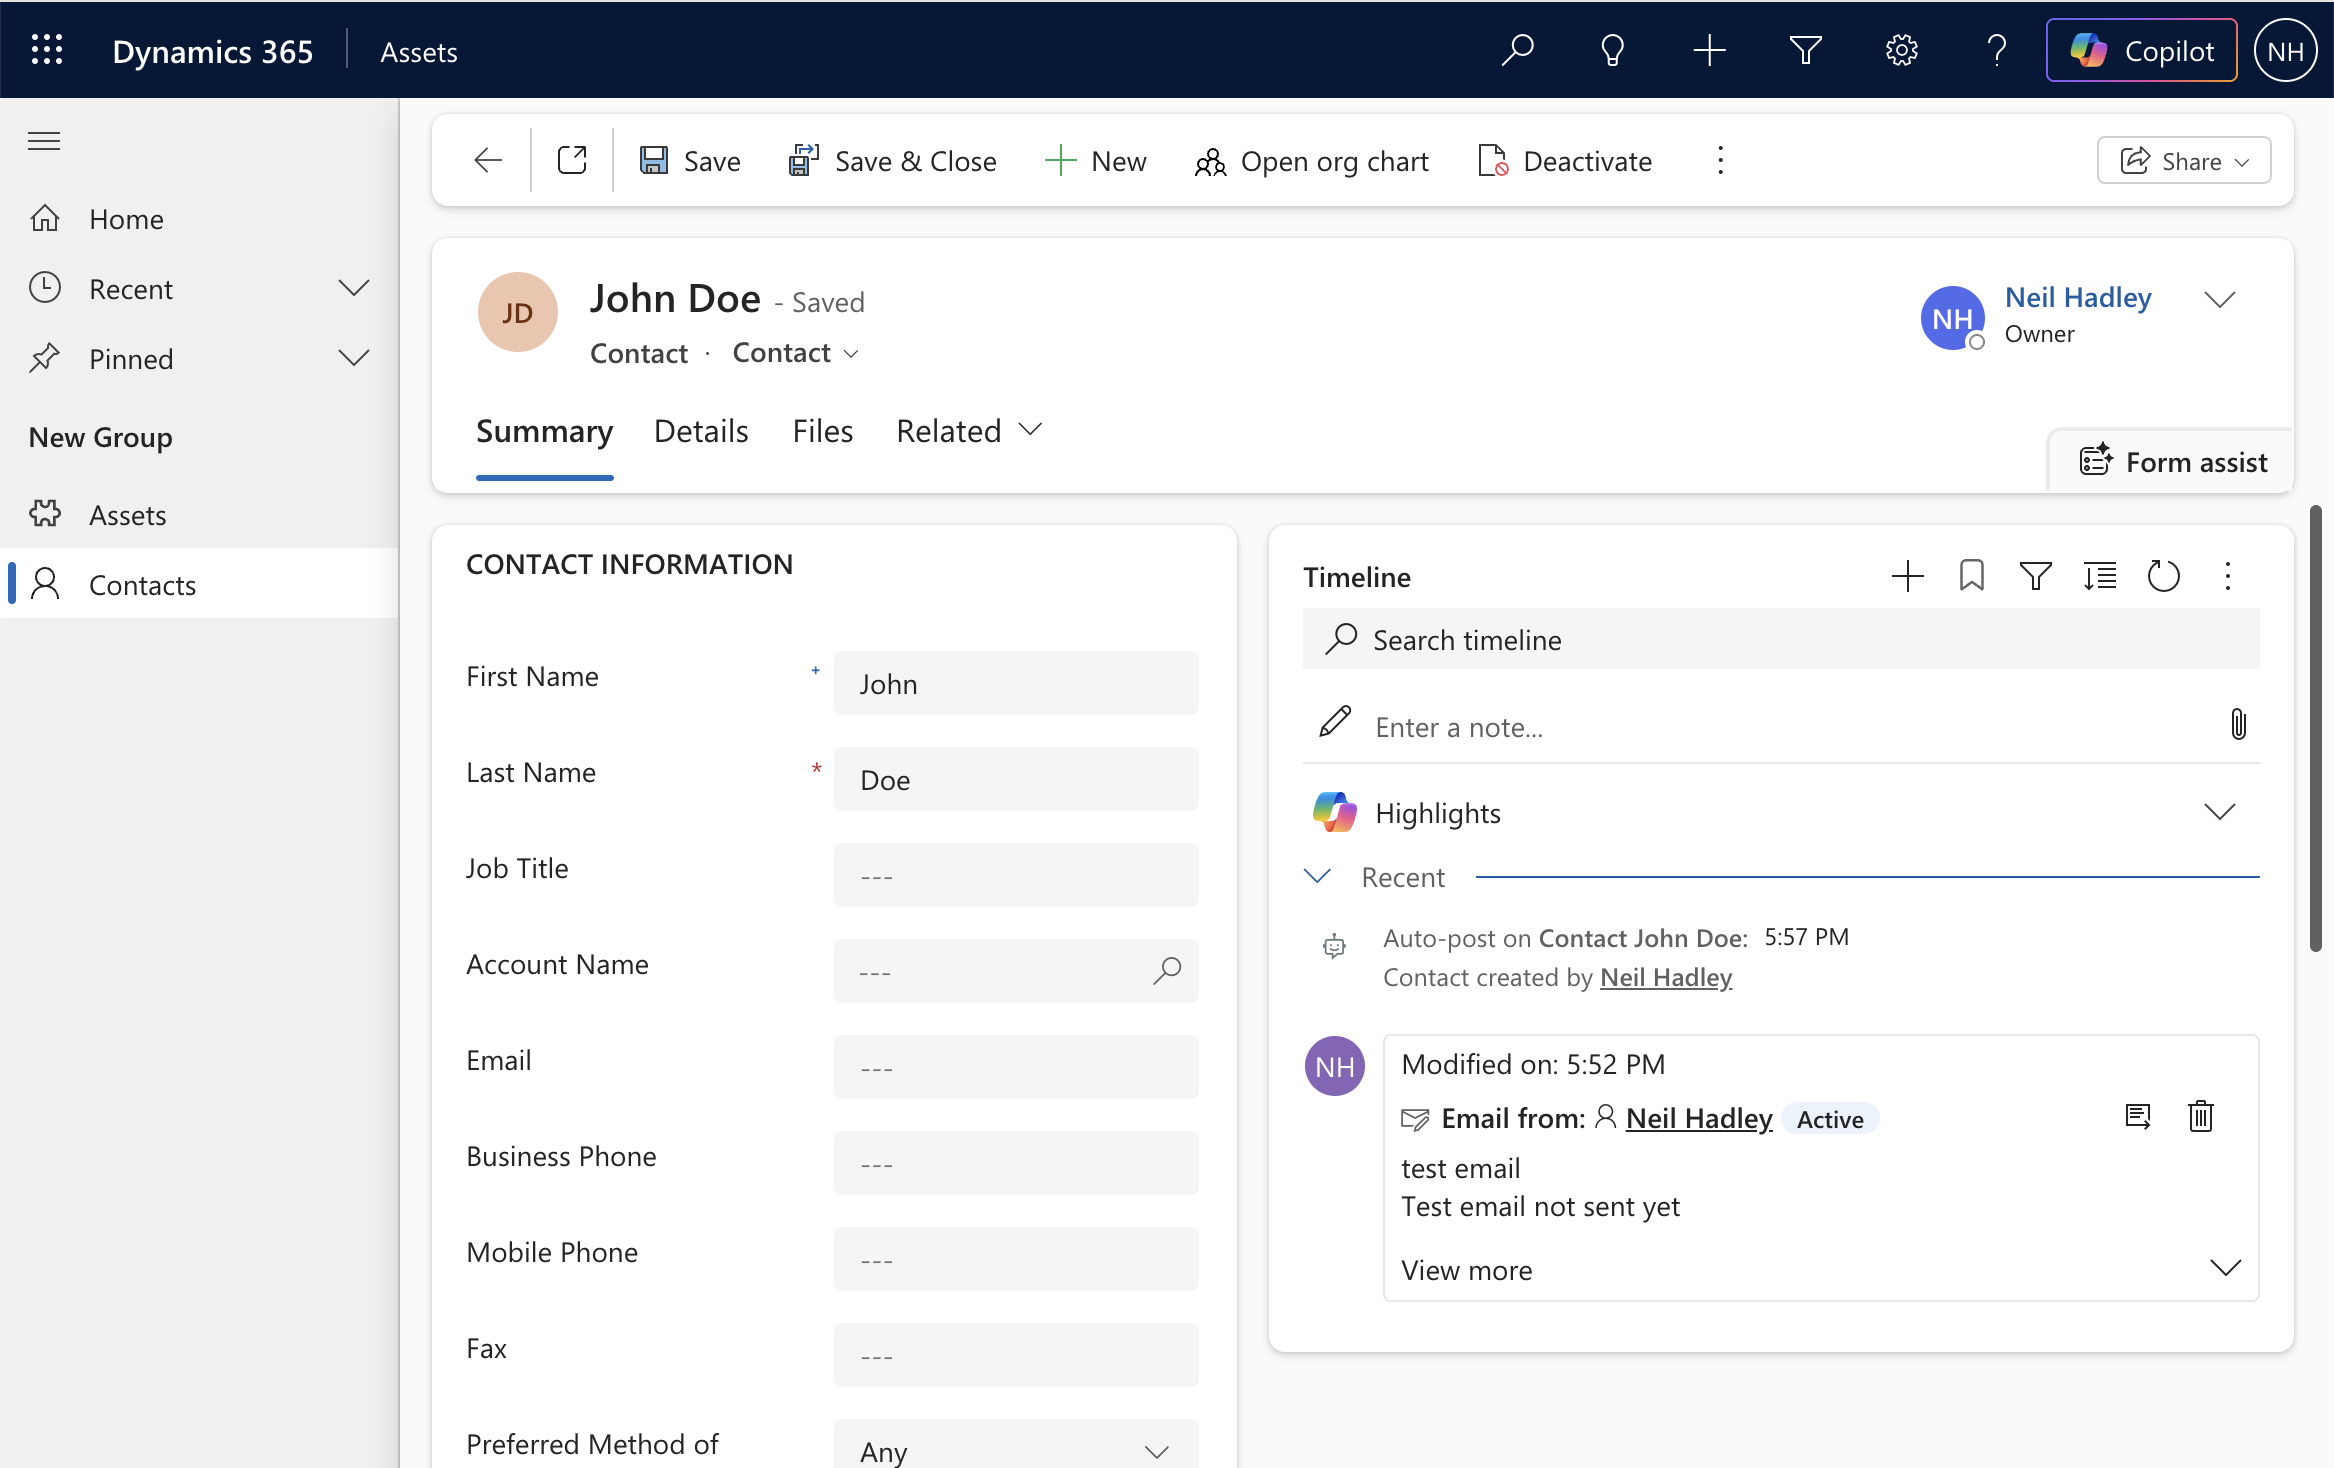
John Doe's timeline showed the test email rolled up from the related Asset record
To prove it was a genuine rollup and not a duplicate, I opened the email from Contact's timeline and edited its body to add "(asset related email edited)."
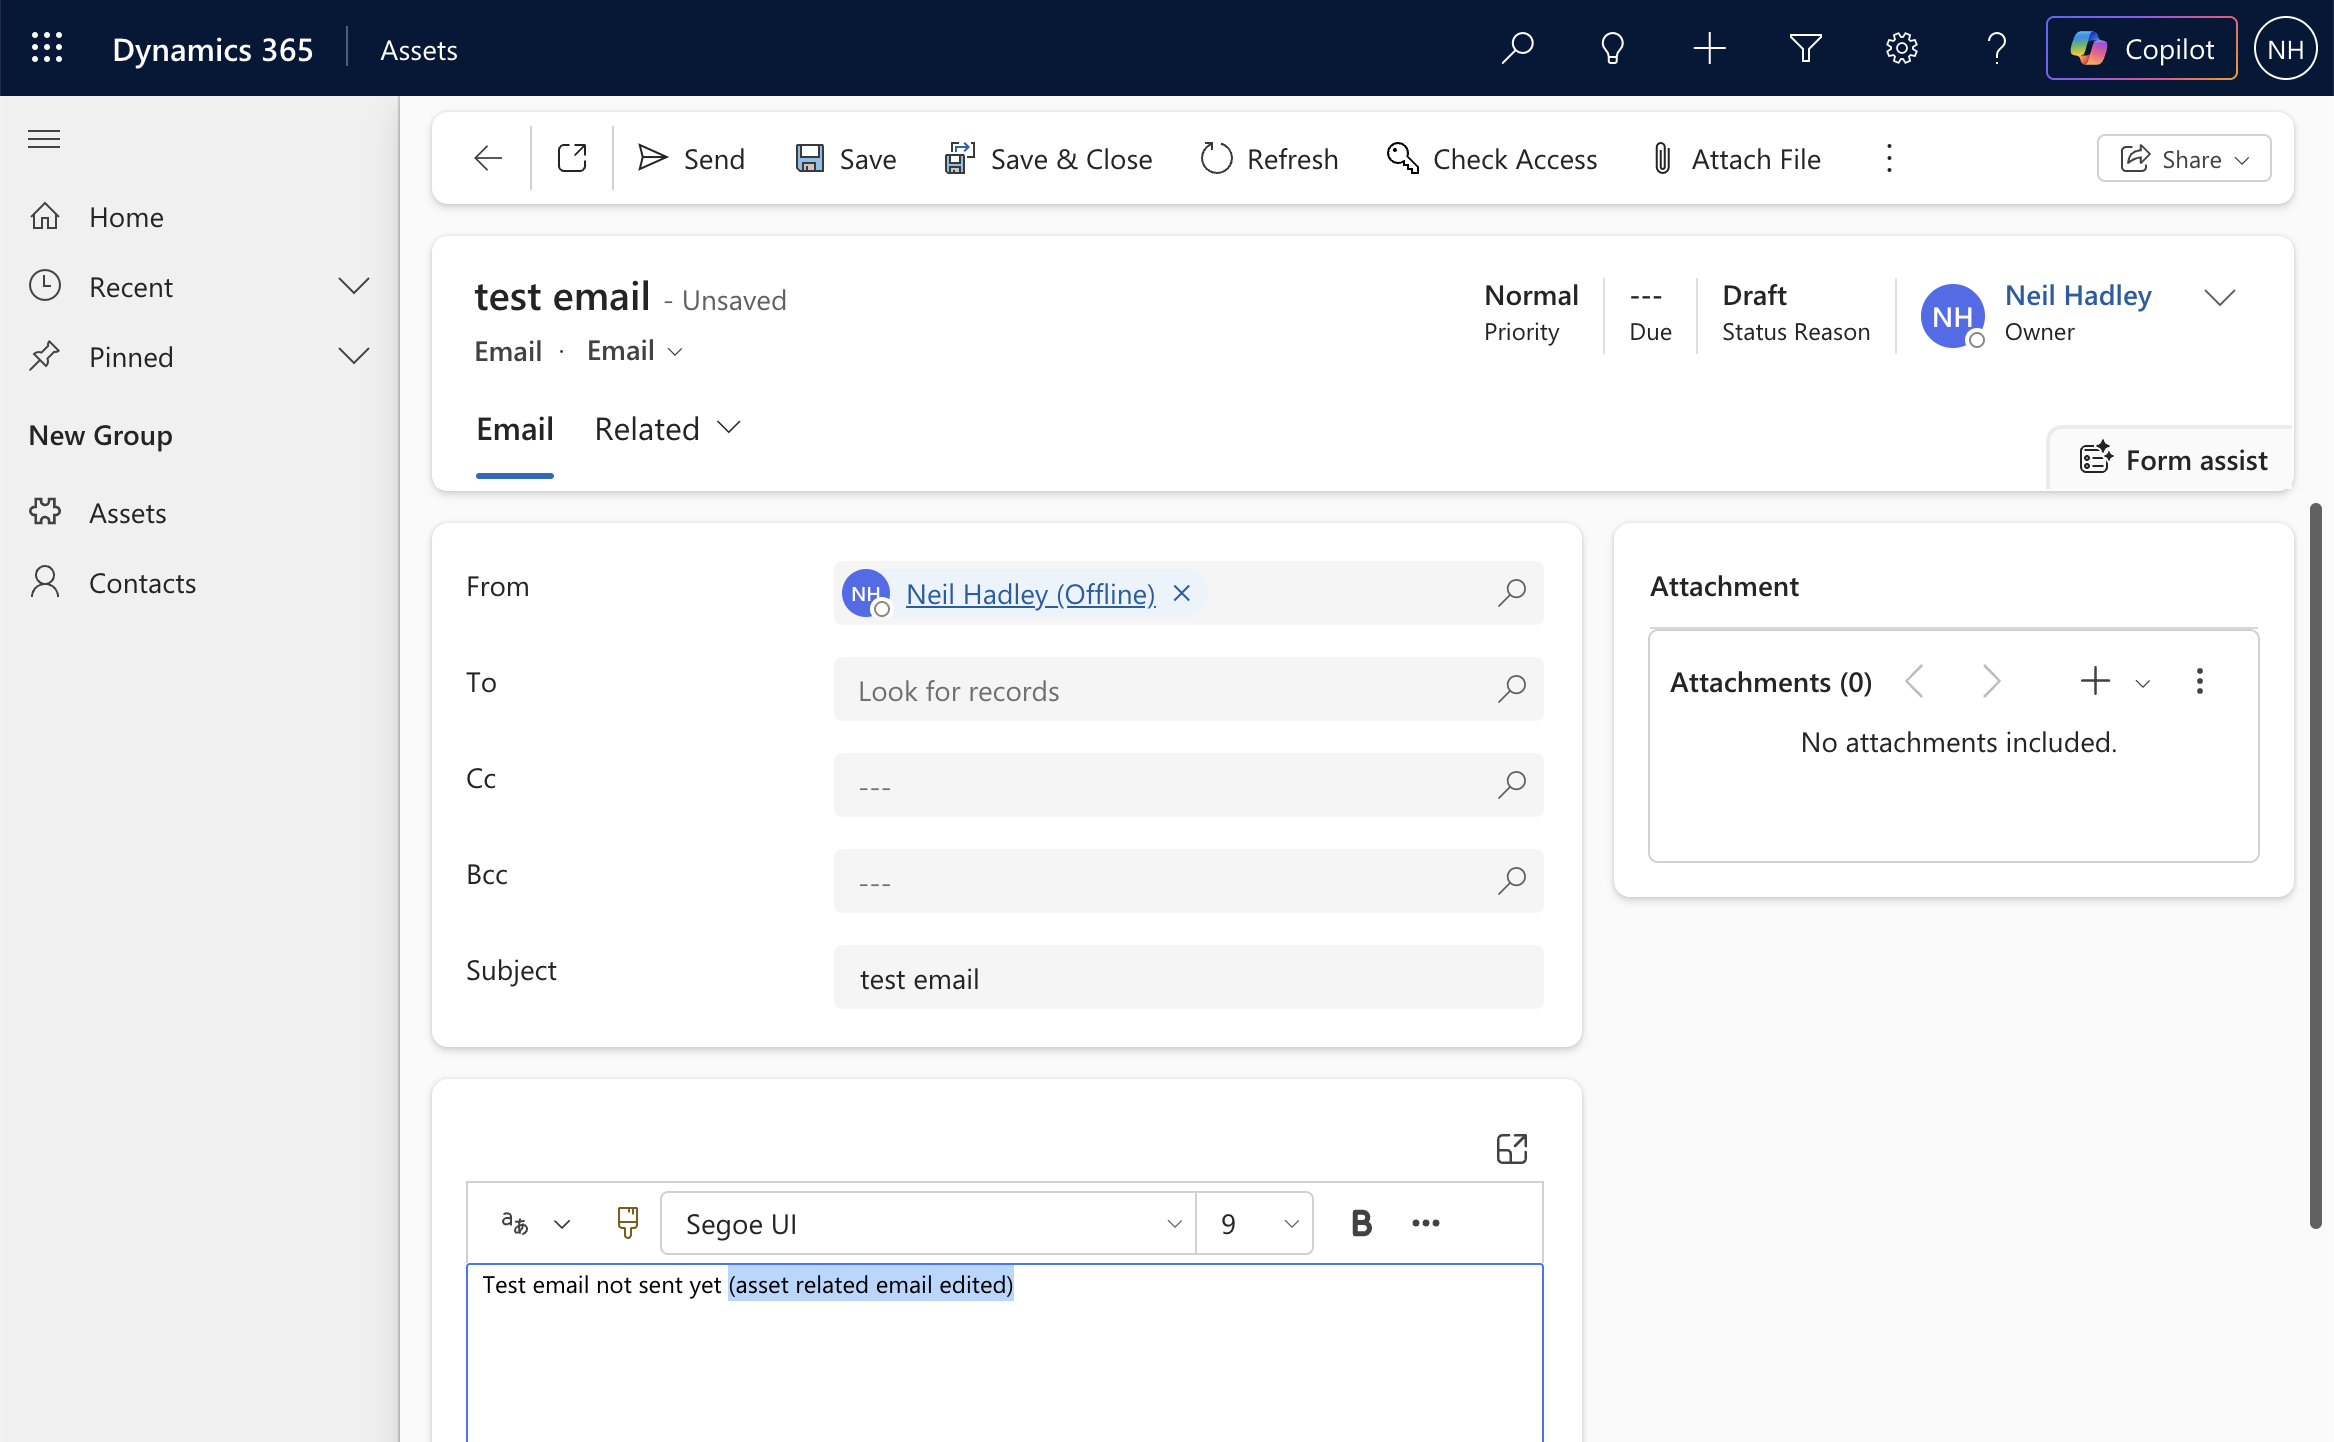
I edited the email directly from Contact's timeline
Back on the Asset record itself, the edit was there.
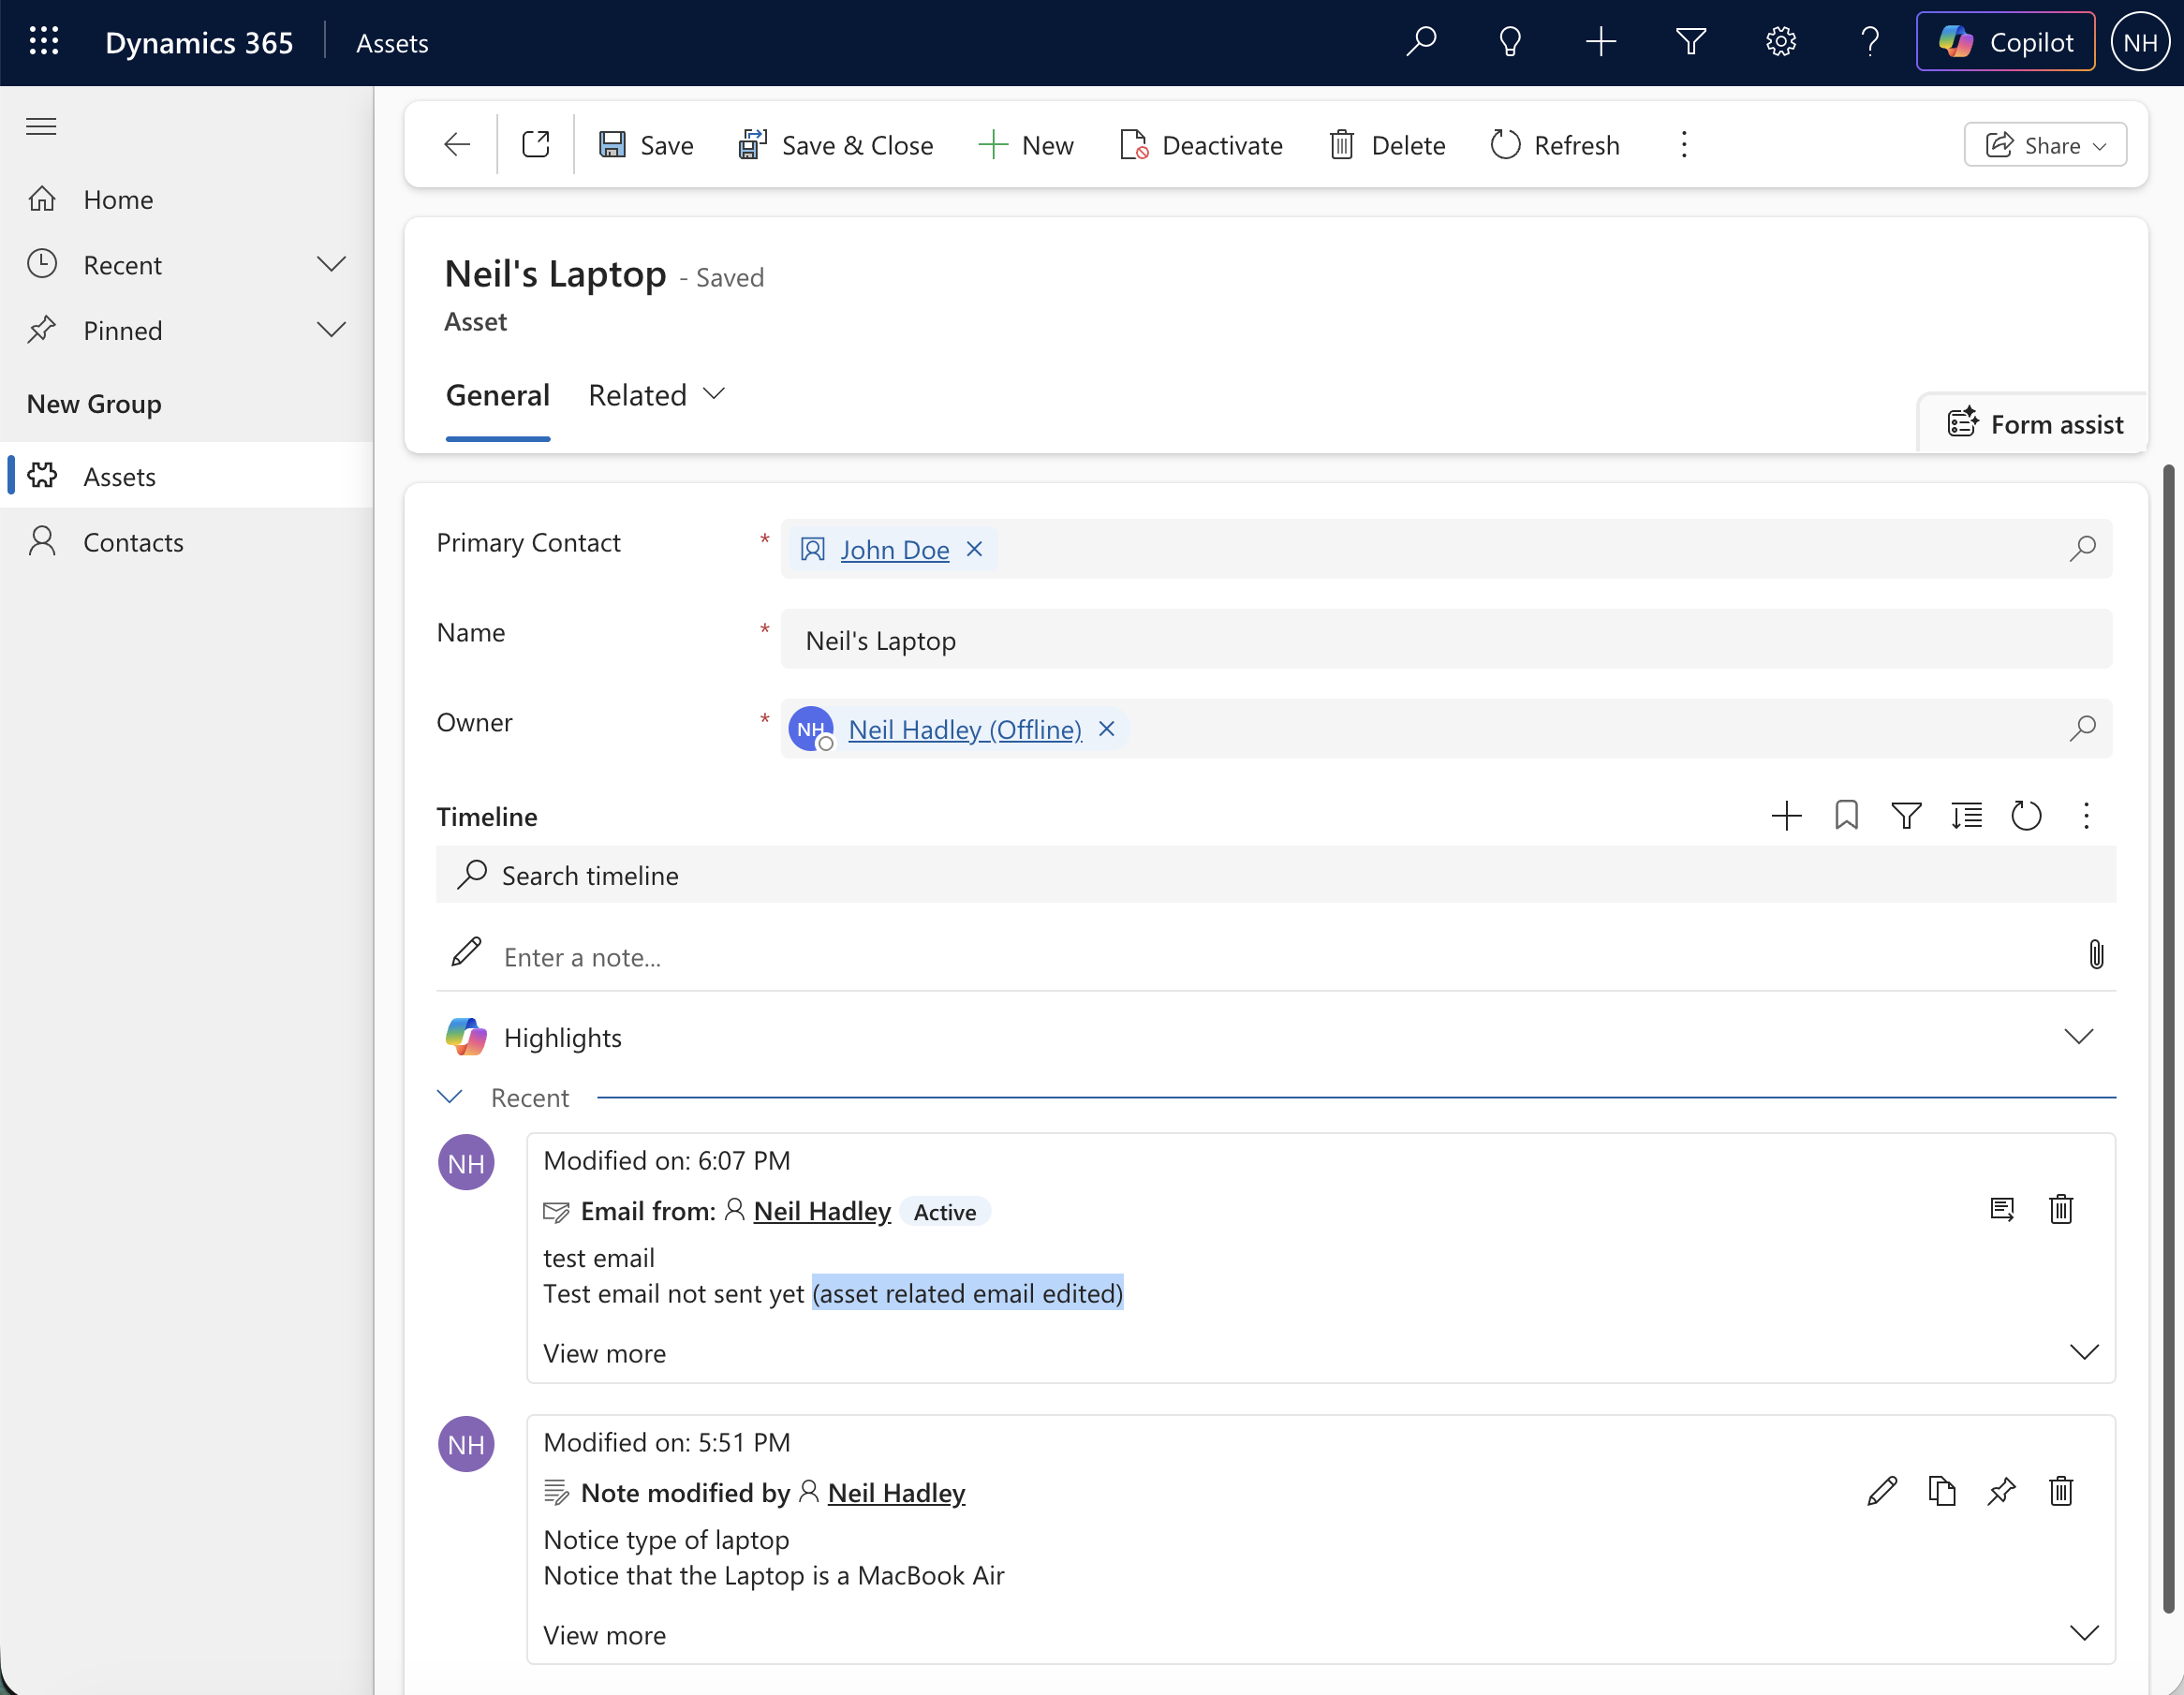
The edit appeared on the Asset's own timeline too, confirming it was the same record
And refreshing John Doe's Contact record again, the edited email was still showing — but the note never rolled up alongside it.
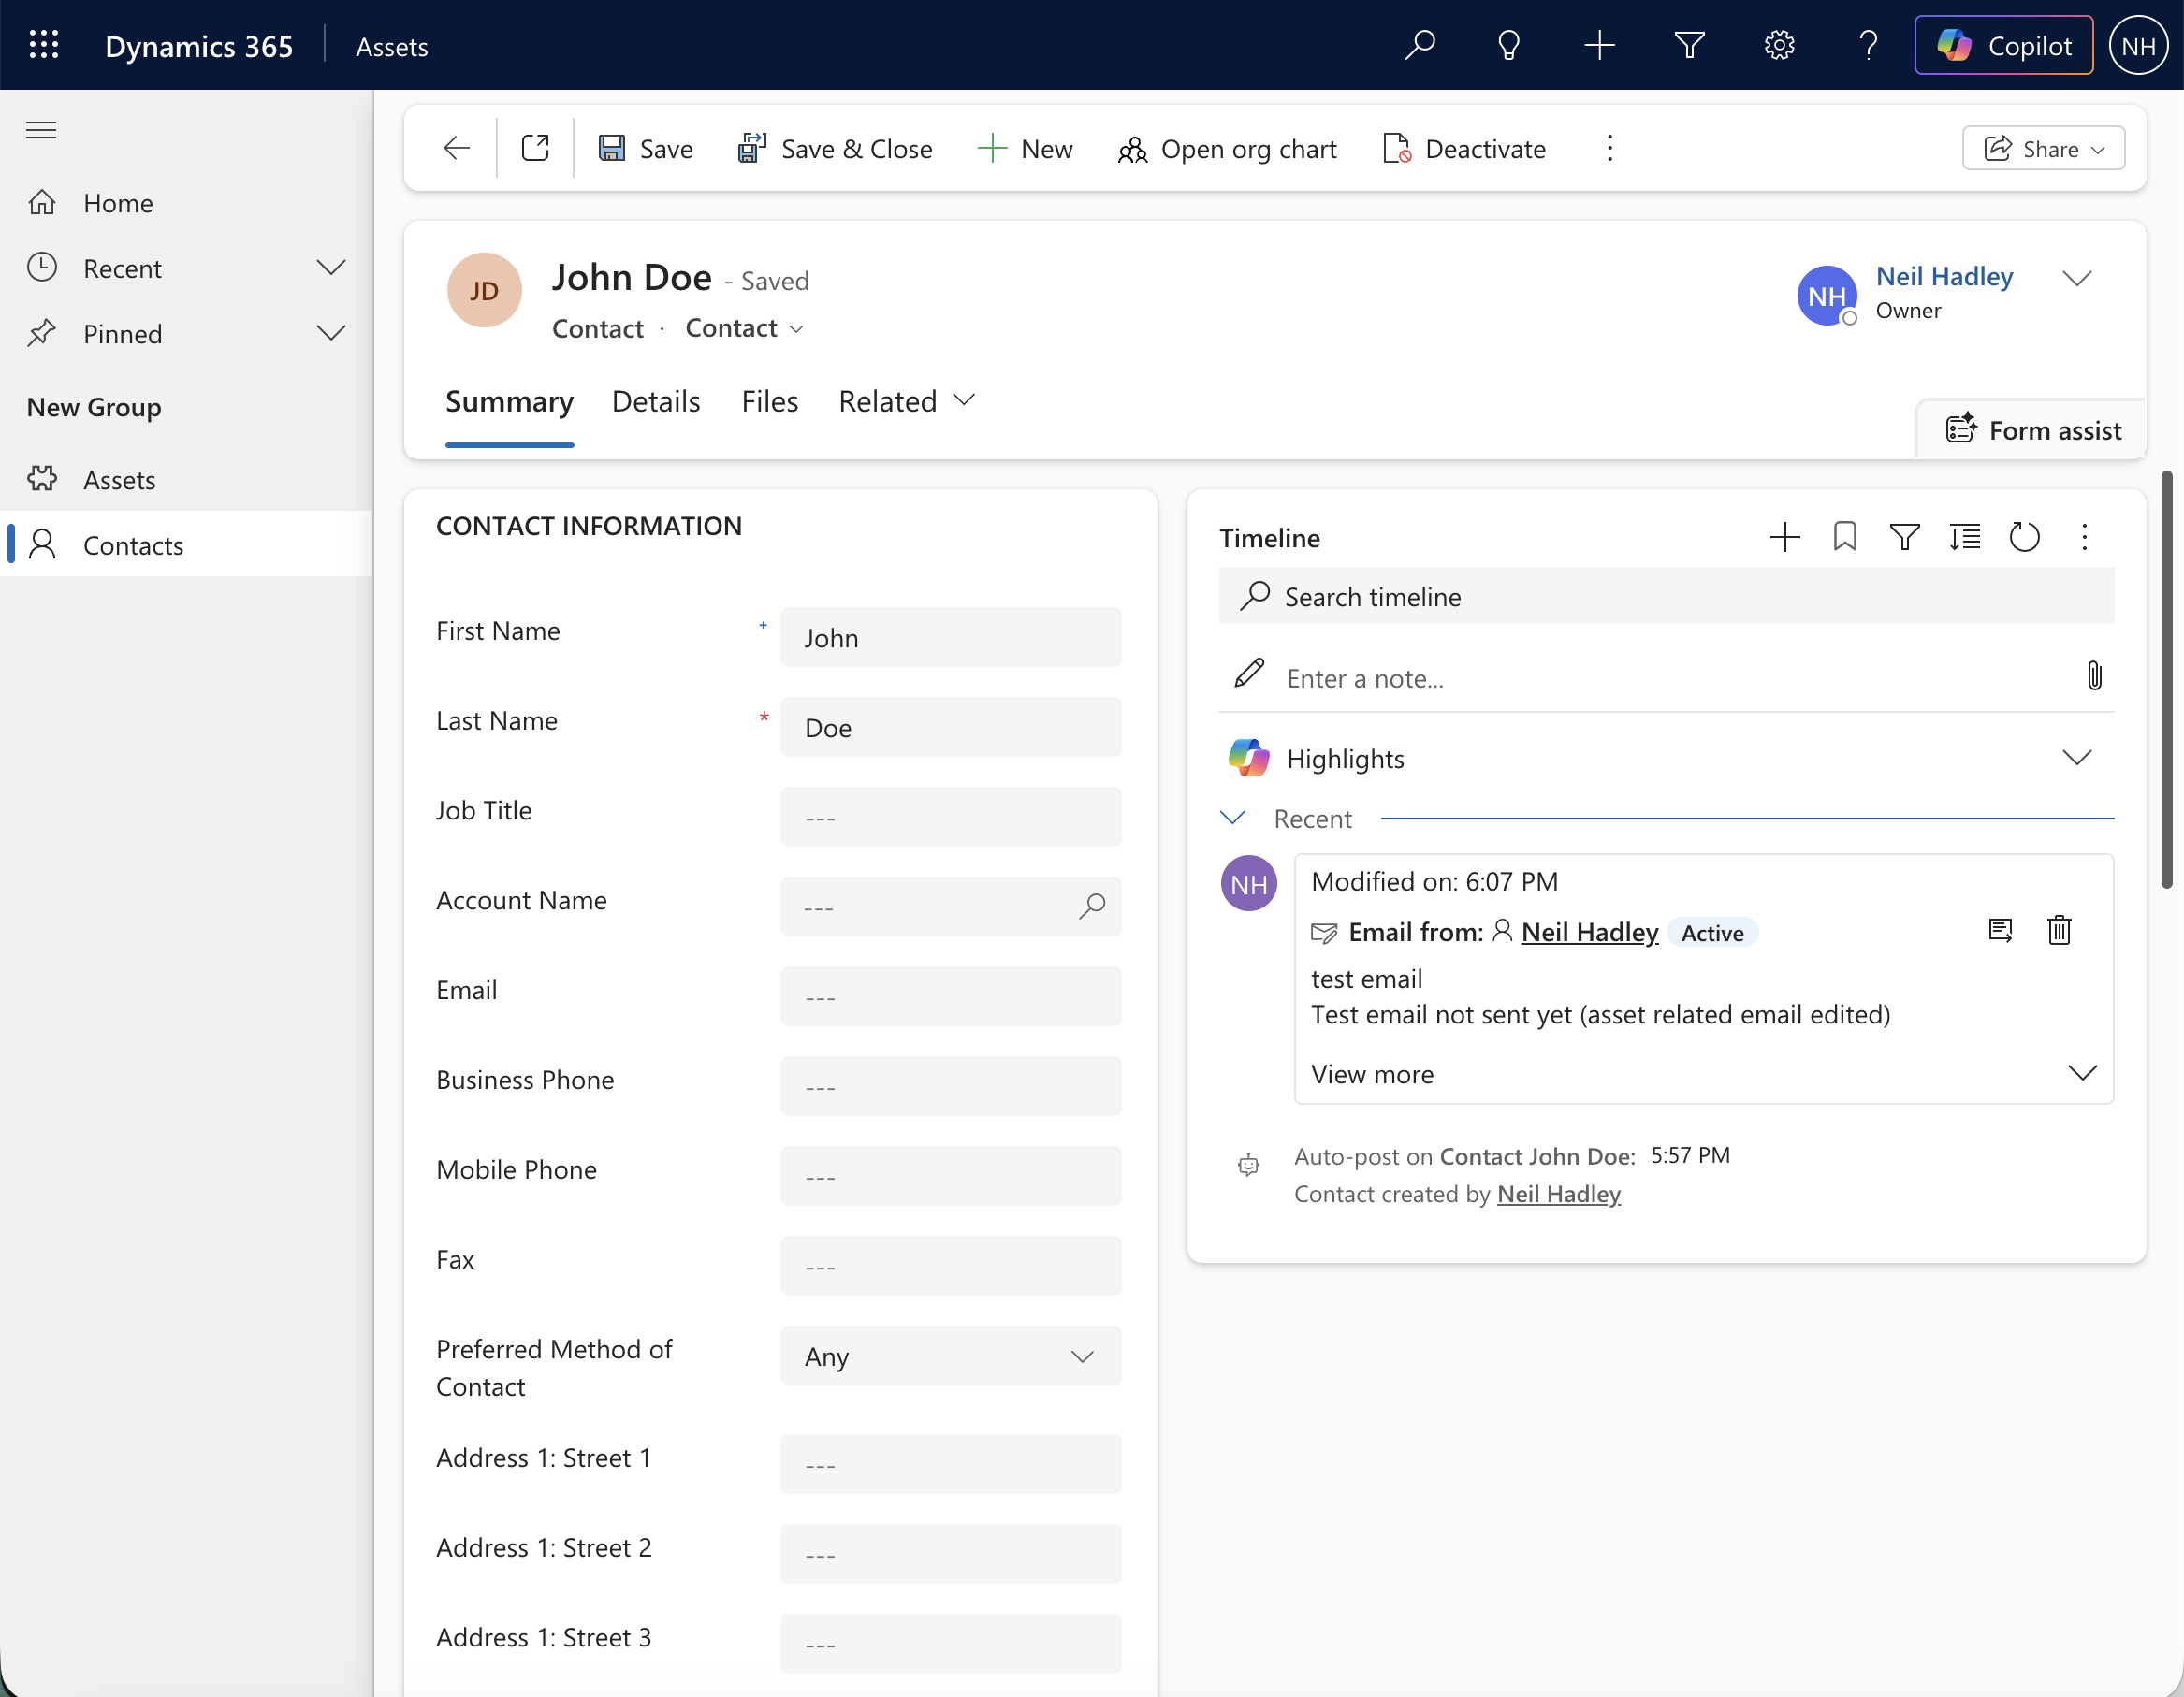
The edited email persisted on Contact's timeline, but the note stayed Asset-only
So the custom-table rollup does seem to work.
Notes didn't make the same trip, though — only the email rolled up.
Reopening the relationship from Contact's side, it now showed simply as Parental behavior with Rollup View set to Cascade All, instead of the six-way Custom breakdown I'd seen right after first saving it.
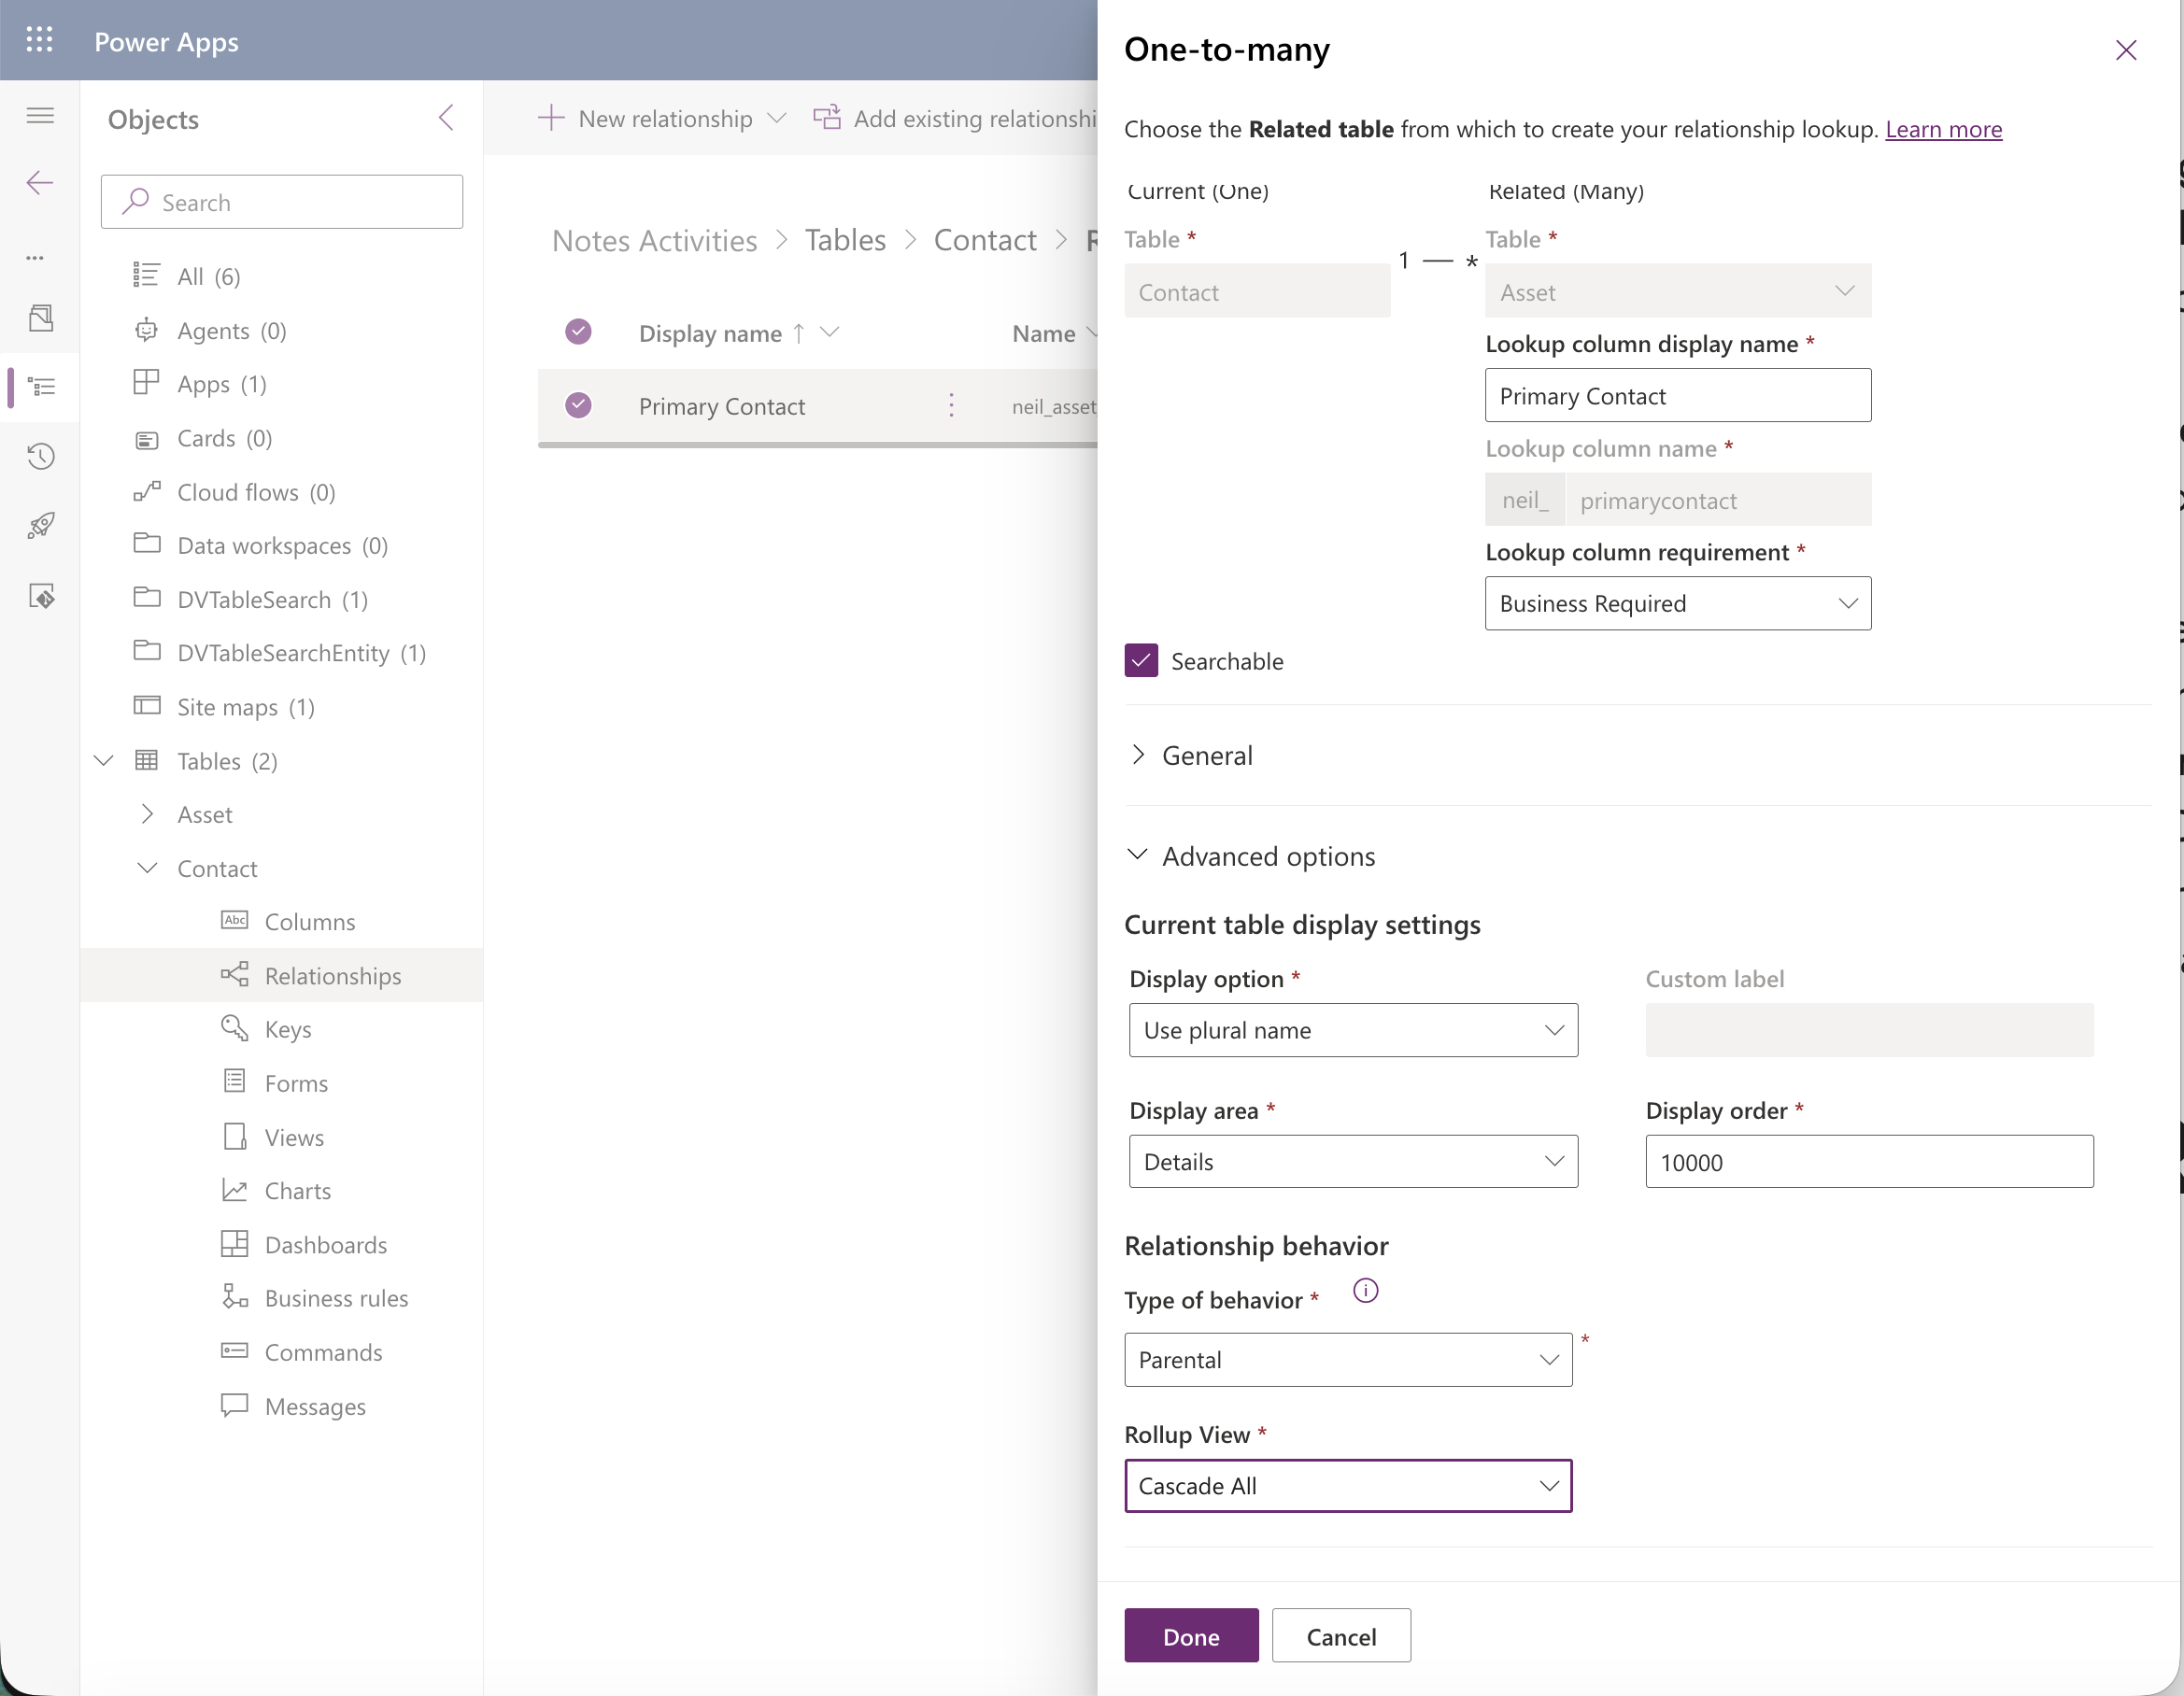
Reopened from Contact's side, the relationship now showed cleanly as Parental with Rollup View set to Cascade All
Notes turned out to have their own, separate Note rollup type setting under the Timeline's Notes section, still sitting at None even with Activities set to Extended.
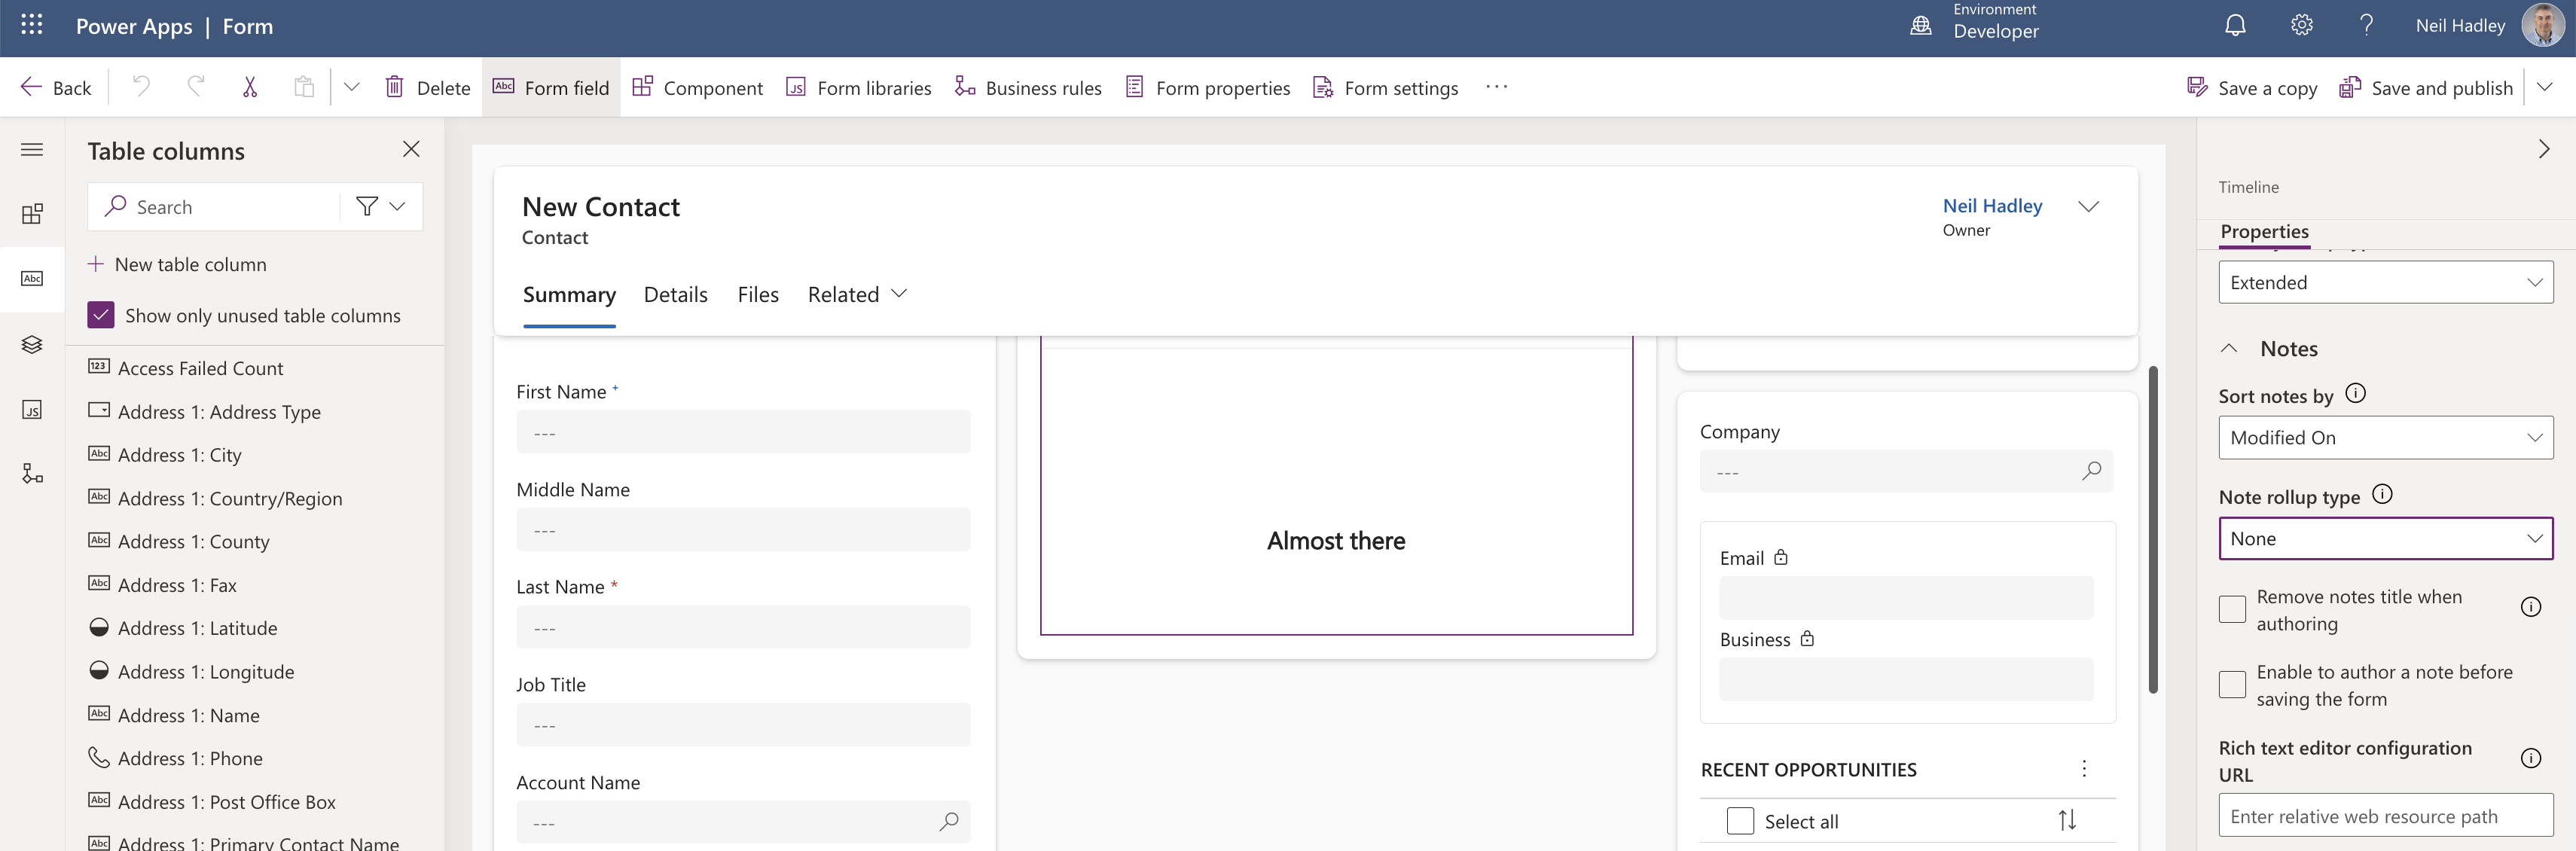
The Notes section had its own Note rollup type, still set to None
I changed it to Related.
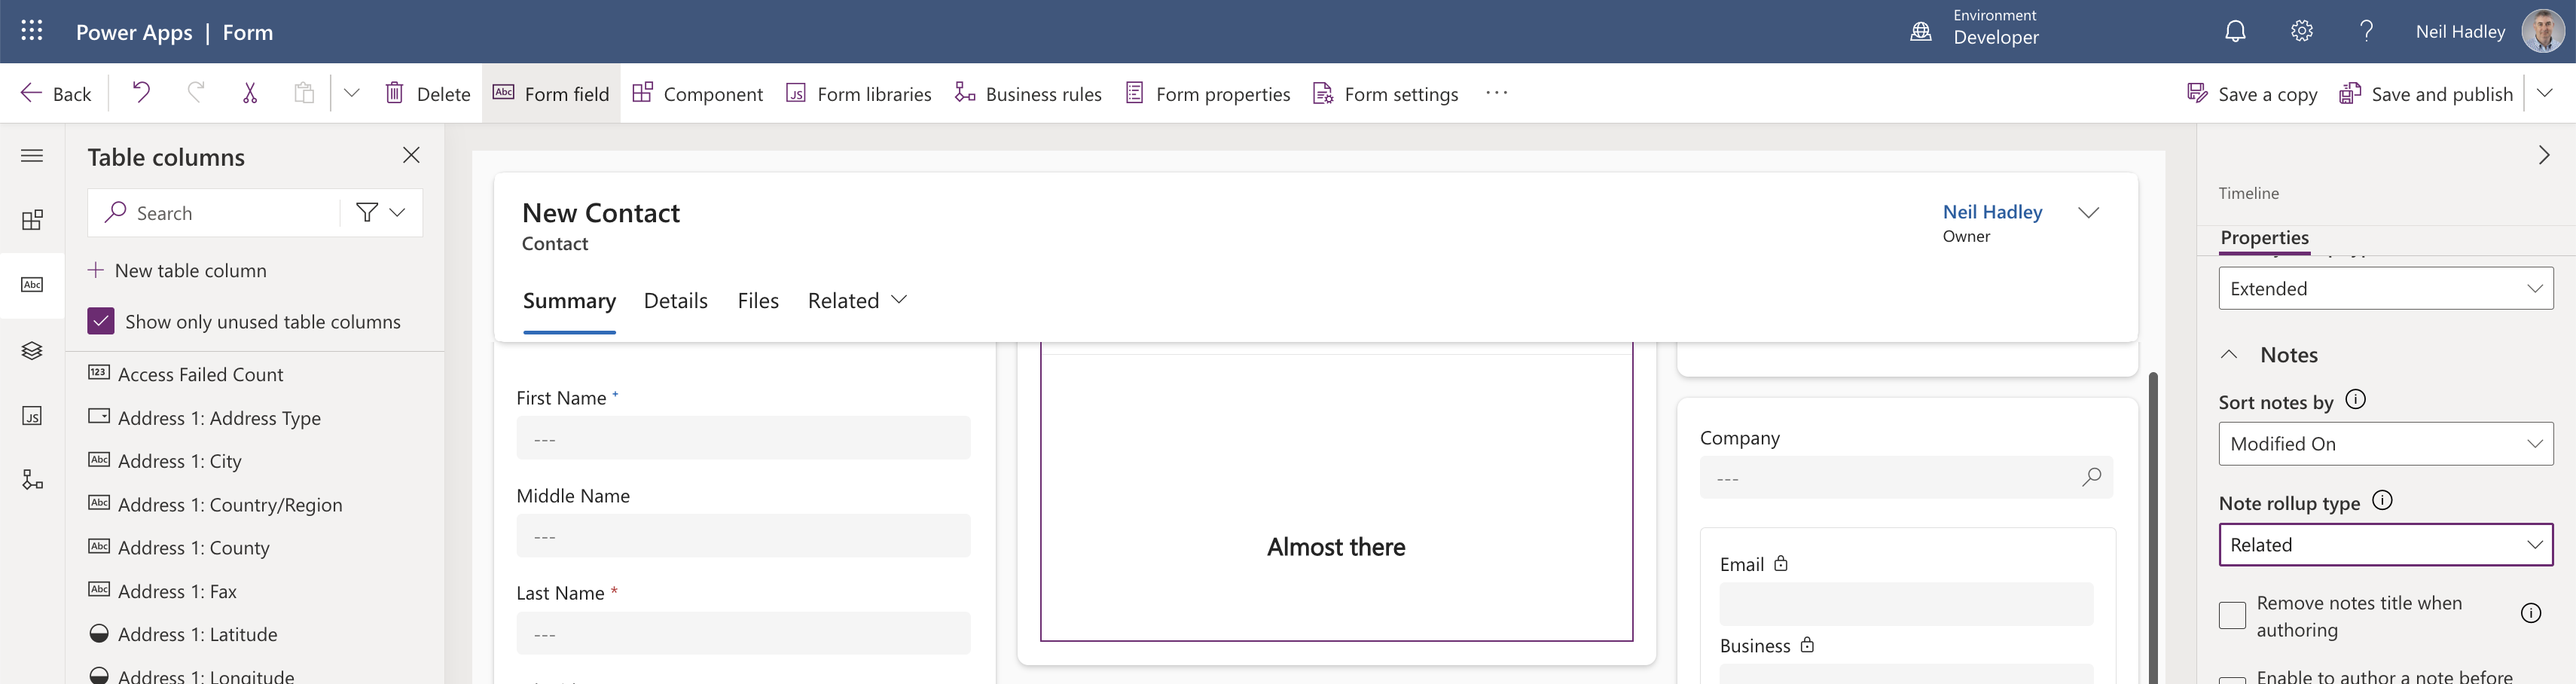
I changed Note rollup type to Related
I selected Save and Publish again.
I published
This time John Doe's timeline showed both the rolled-up email and the rolled-up note from Neil's Laptop.
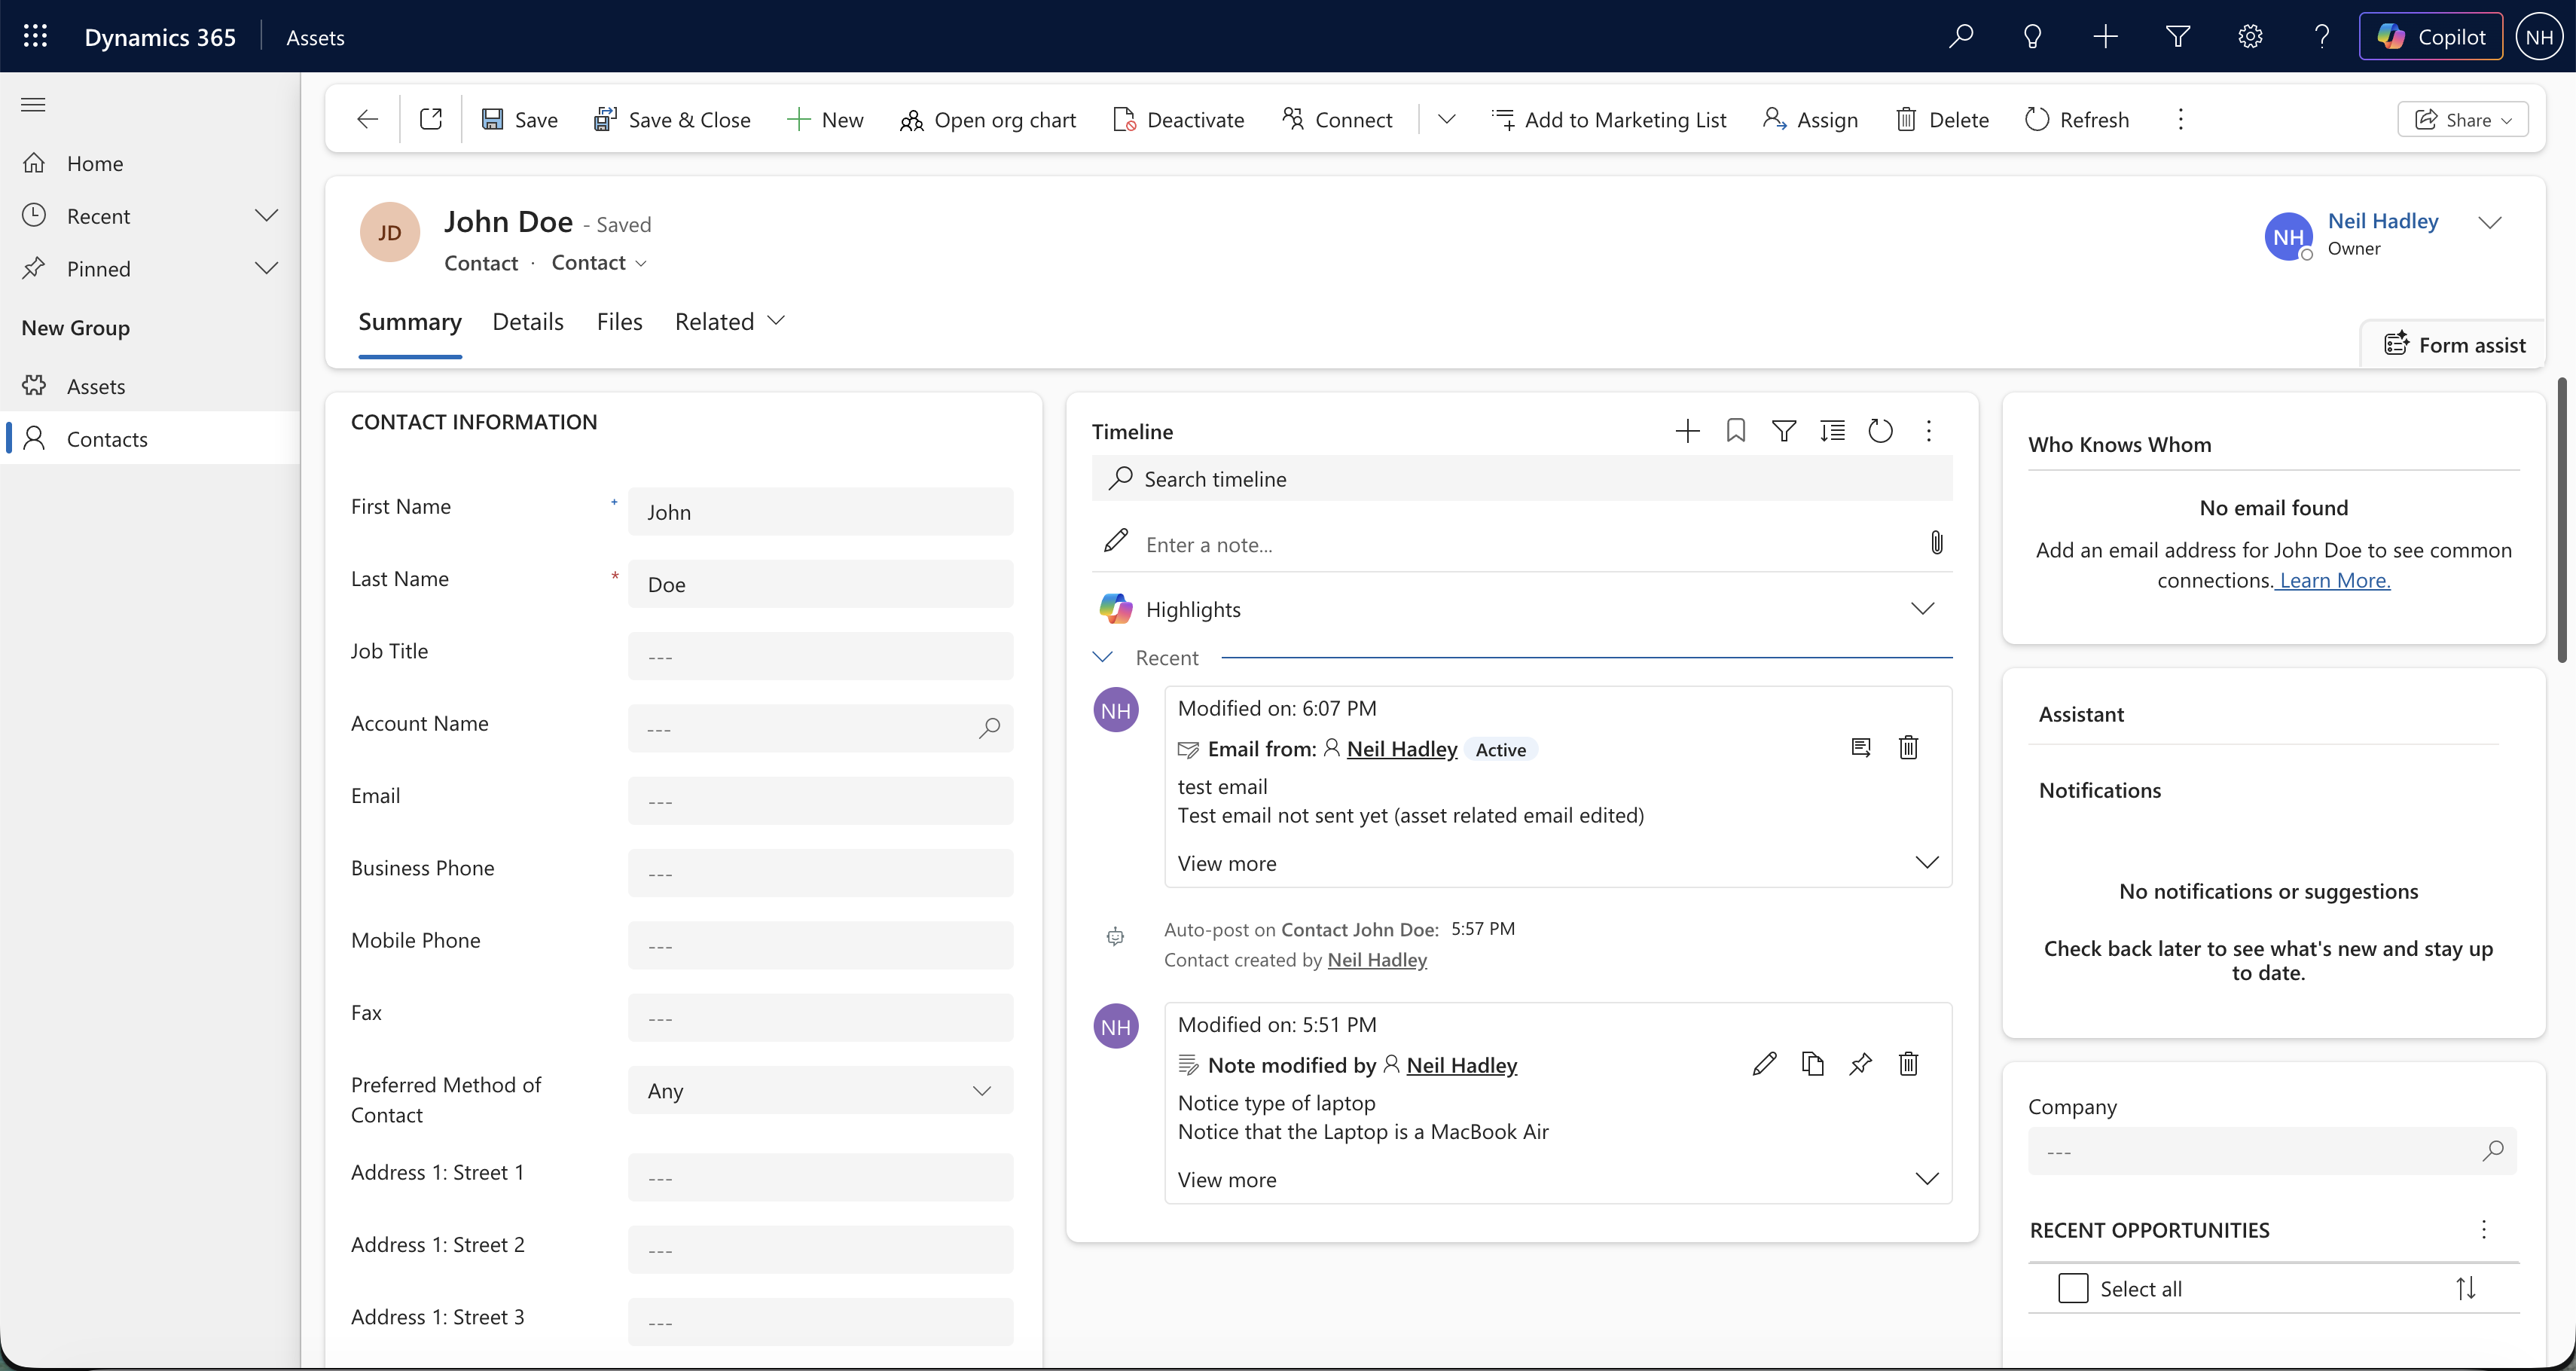
John Doe's timeline now showed both the email and the note rolled up from the related Asset record
So Notes do roll up too — they just need their own Note rollup type turned on separately from Activities, rather than riding along with the Activity rollup type setting.