A Custom Connector for Microsoft Graph
Neil Haddley • July 4, 2022
Calling the Microsoft Graph API from a Canvas App
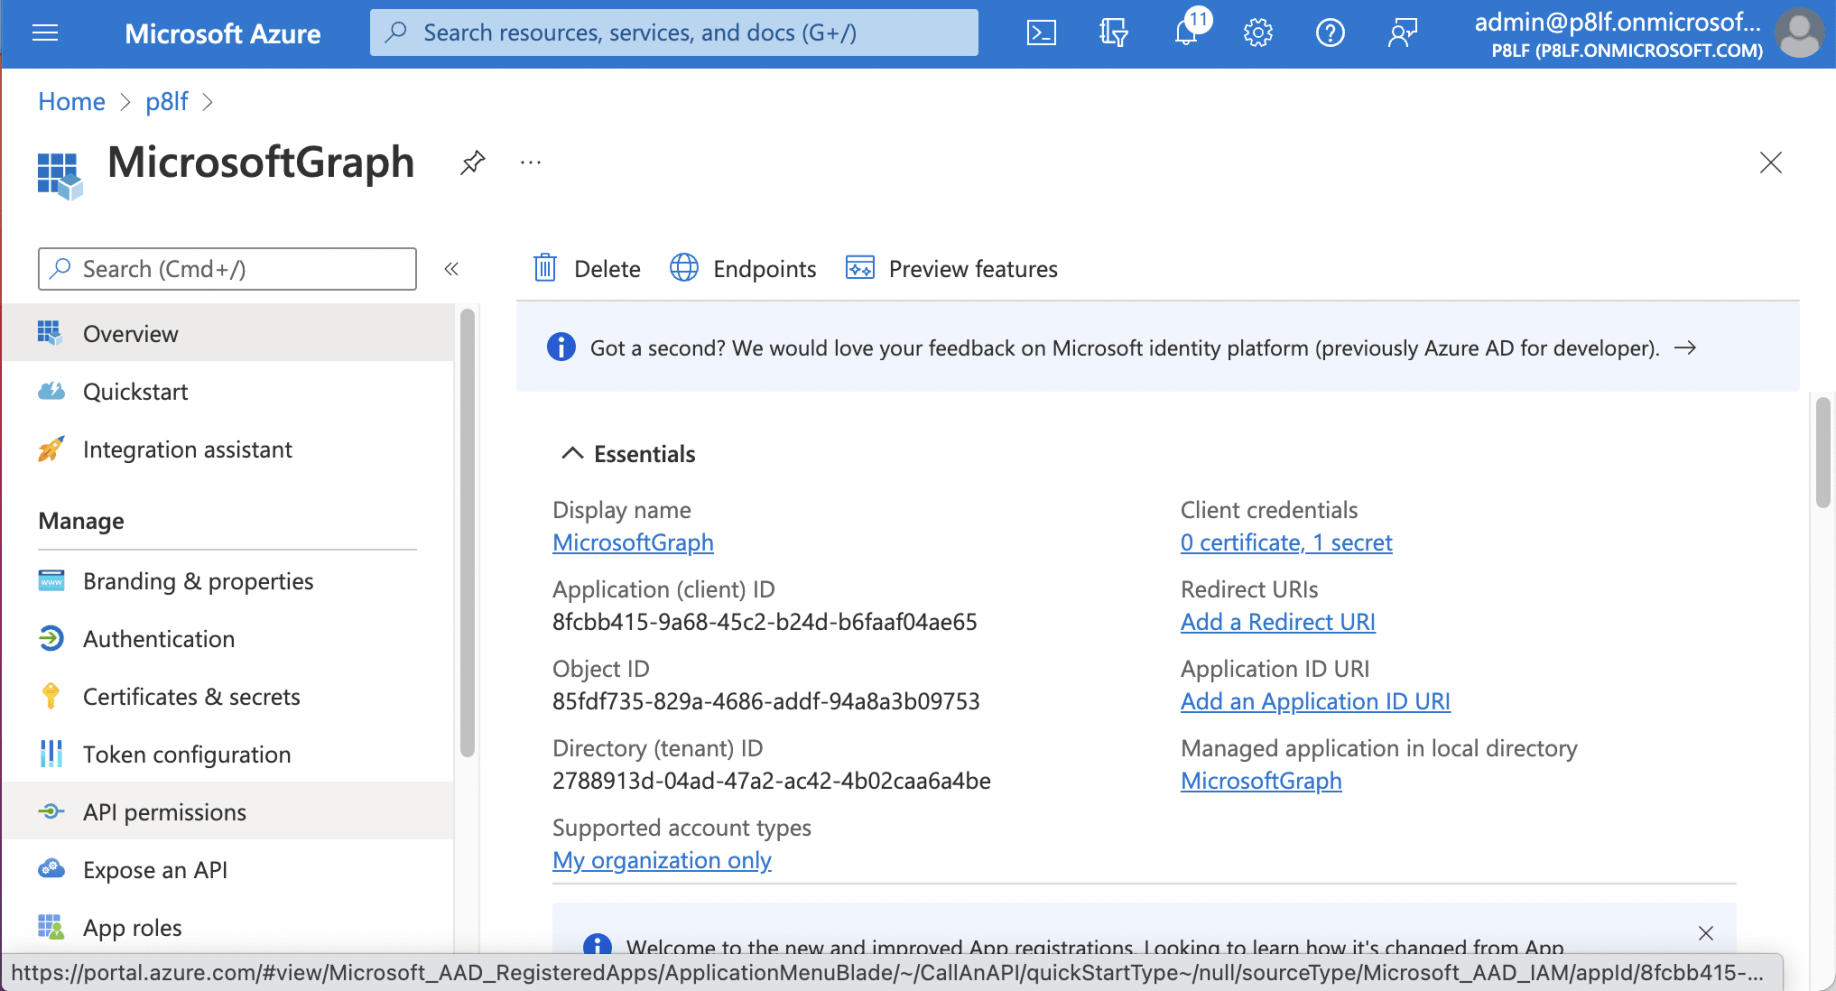
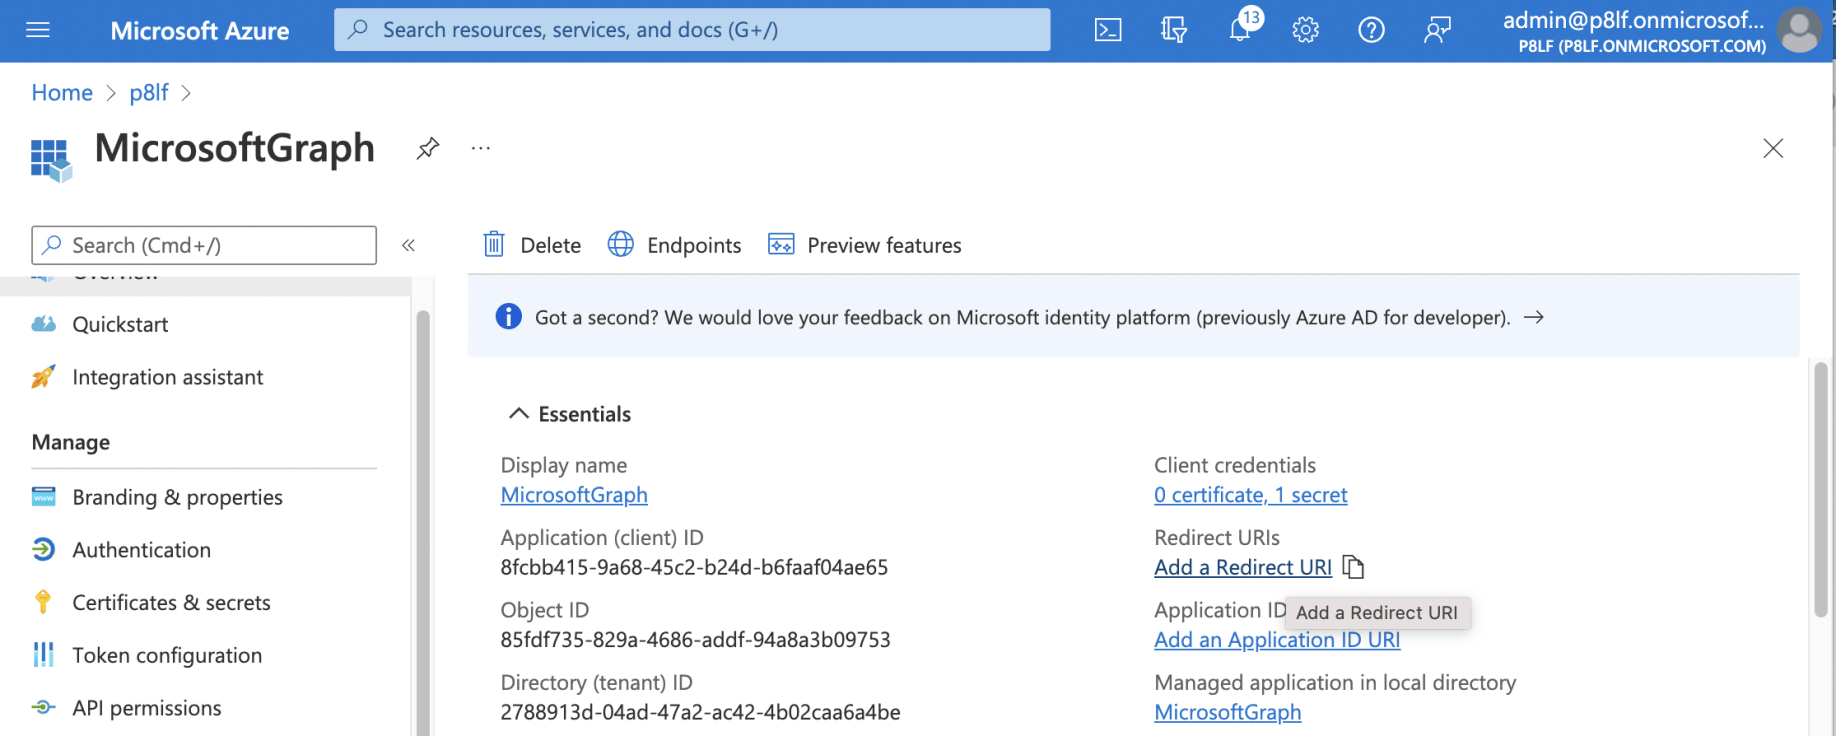
I started by creating a "Microsoft Graph" application registration in Azure Active Directory
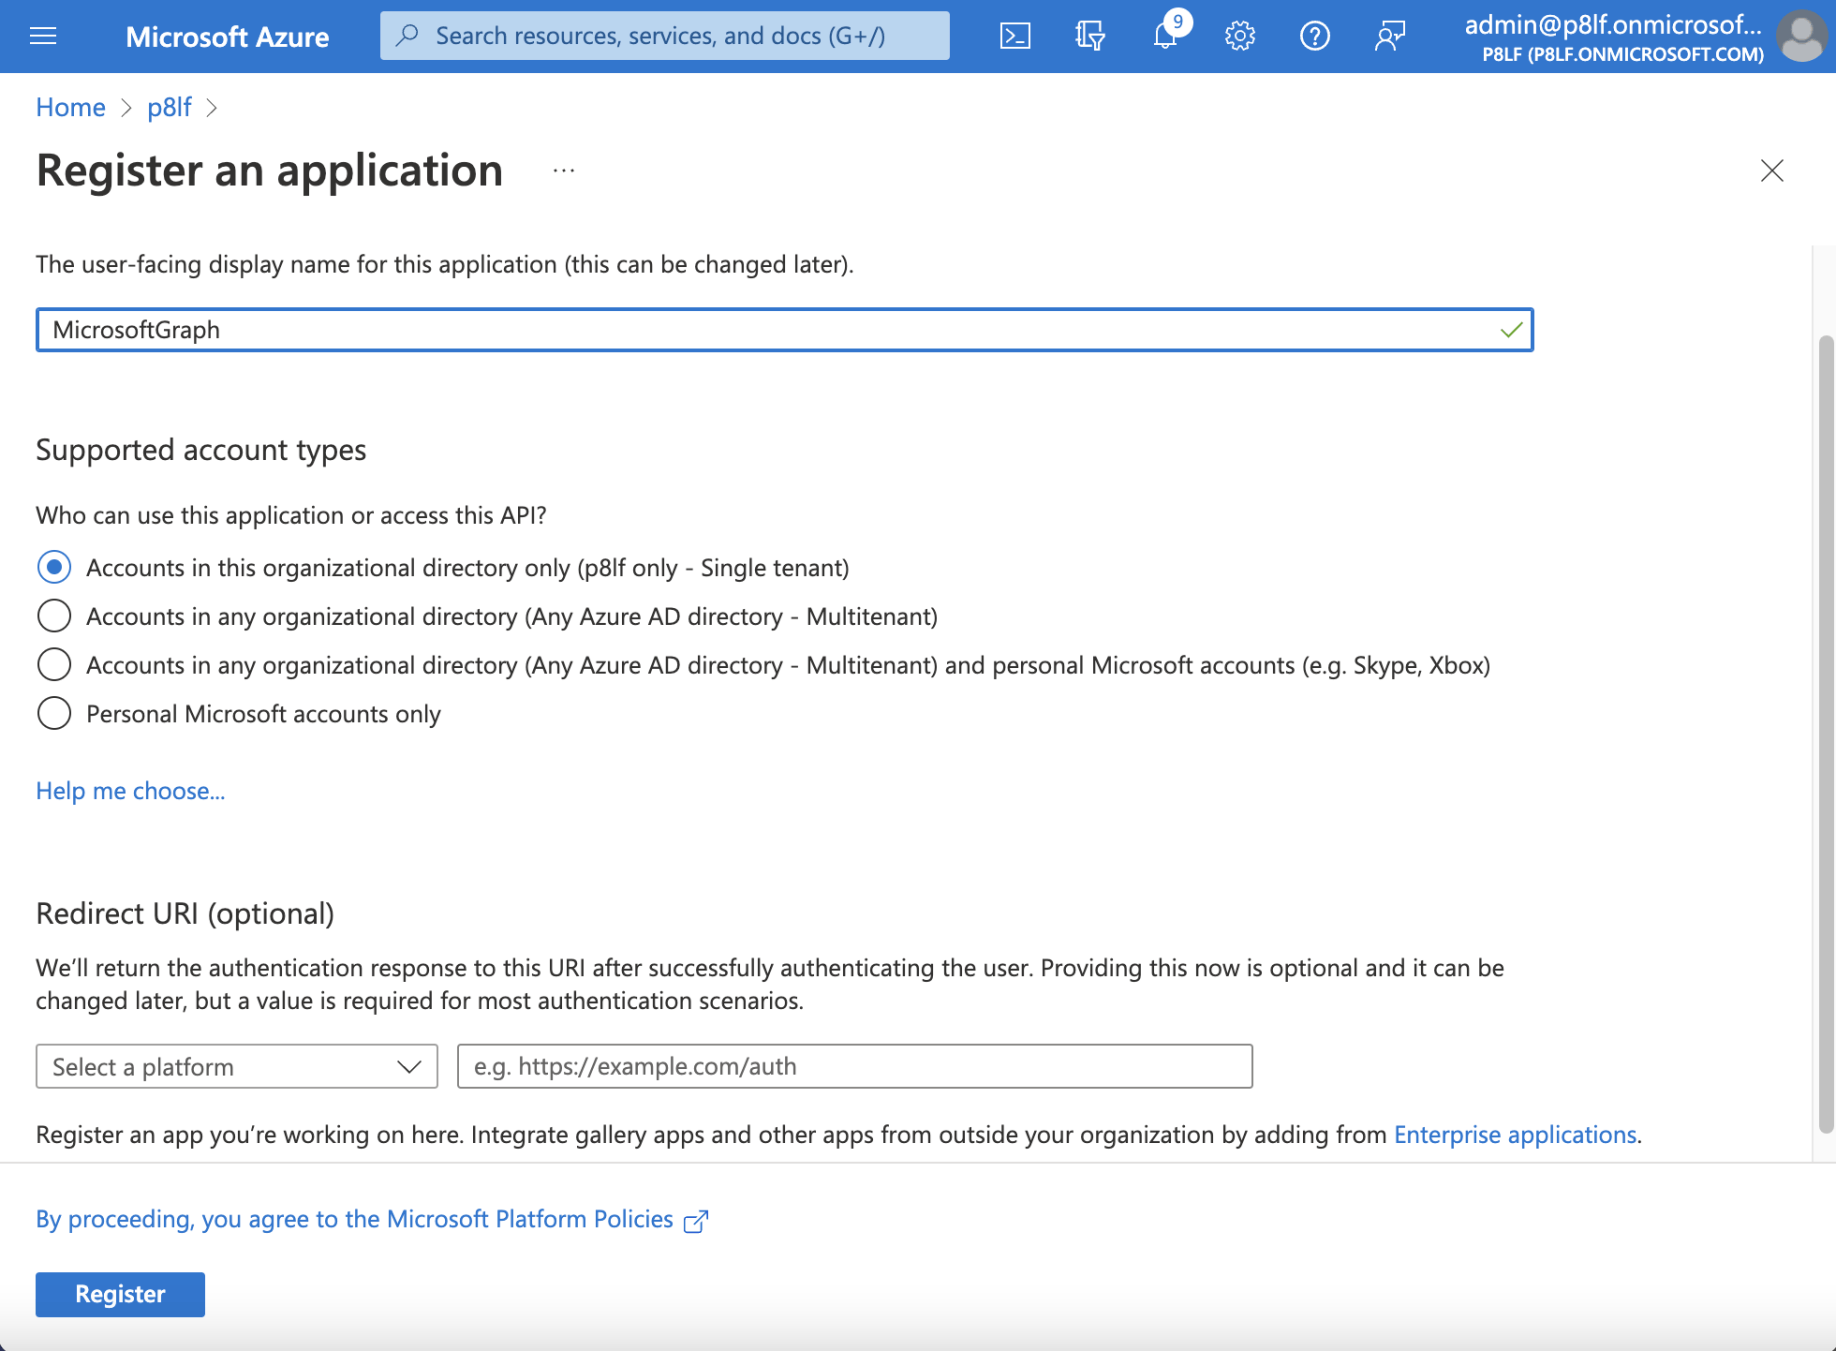
Azure Active Directory - I created an application registration
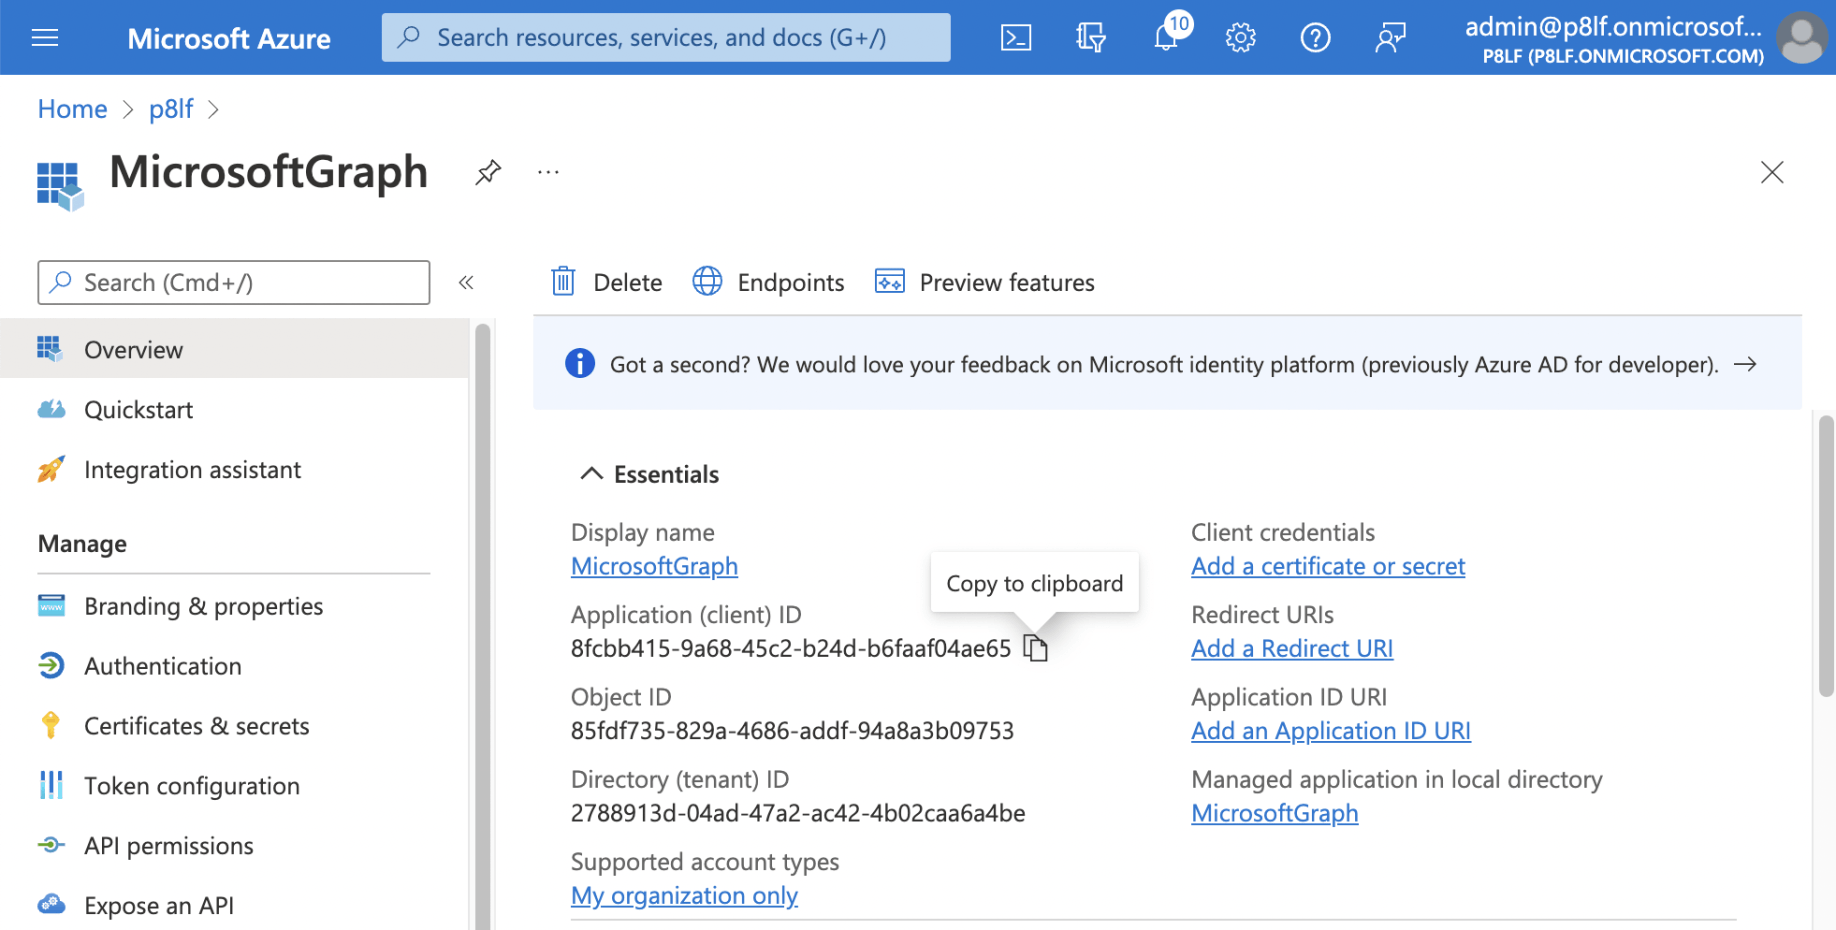
I copied the Application (client) ID to be used later.
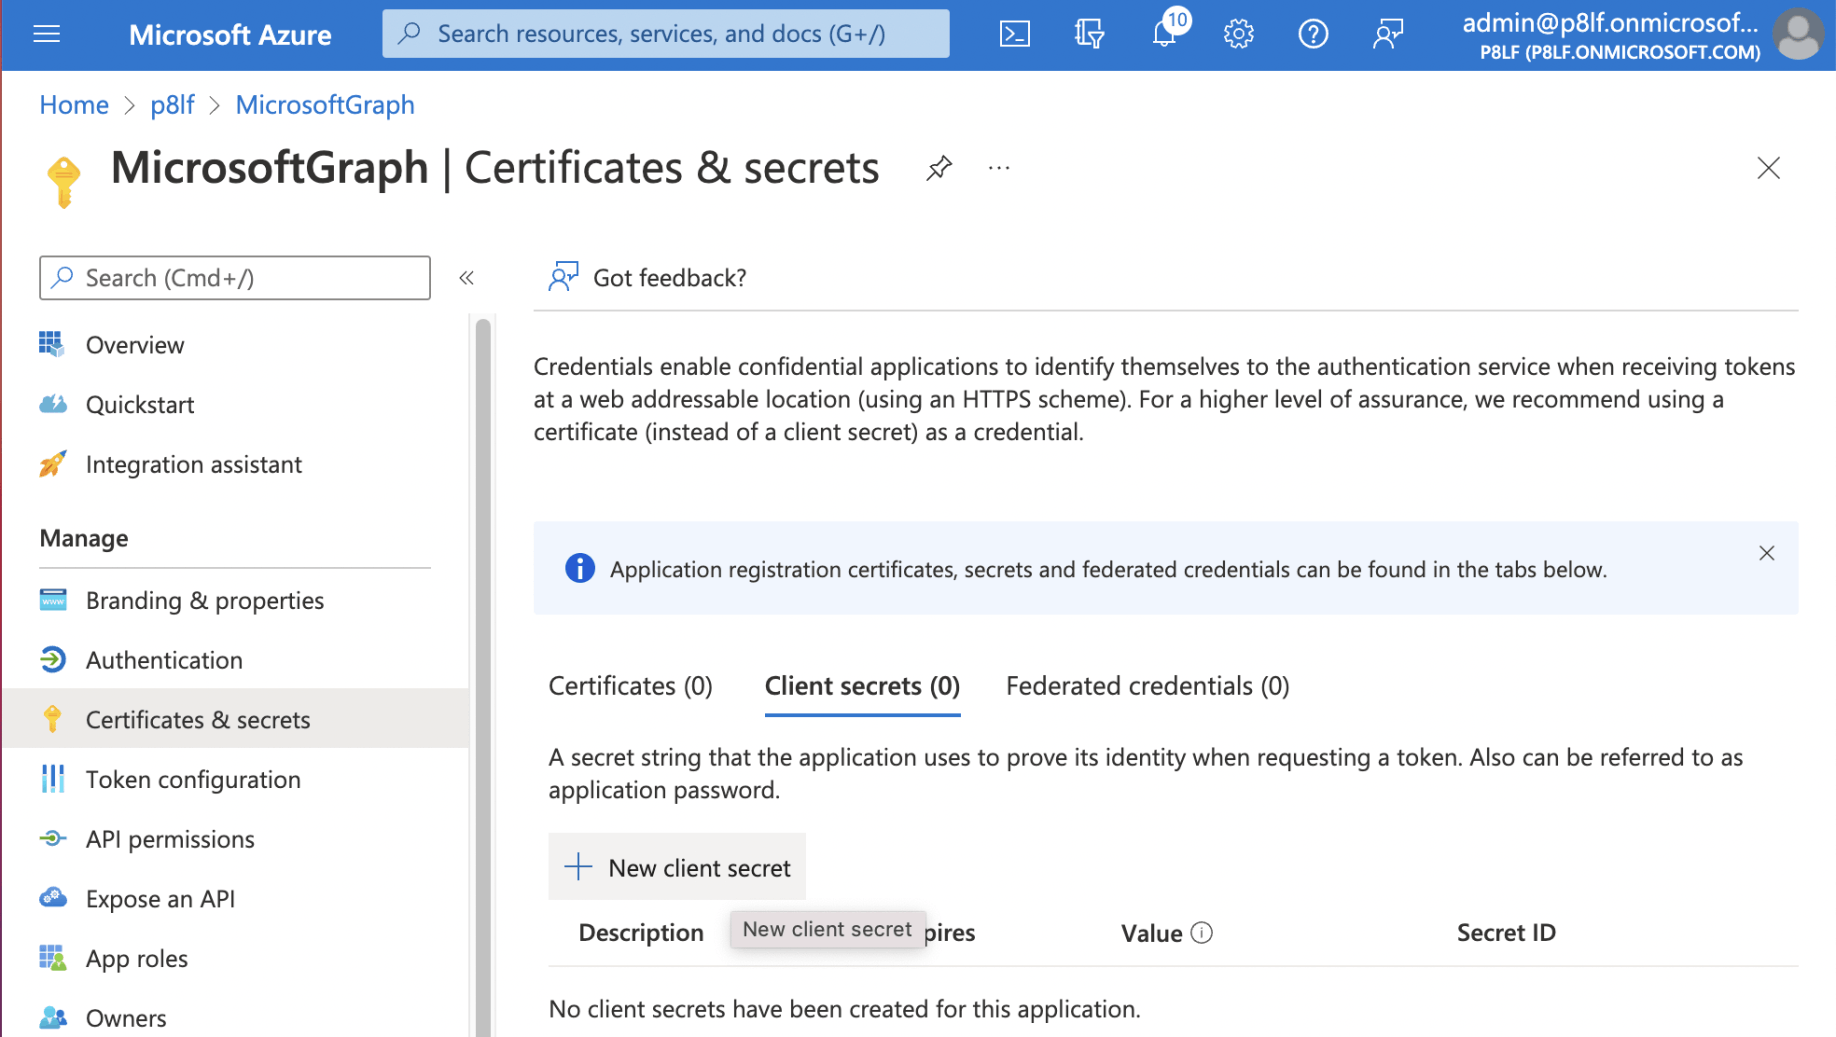
I created a new client secret
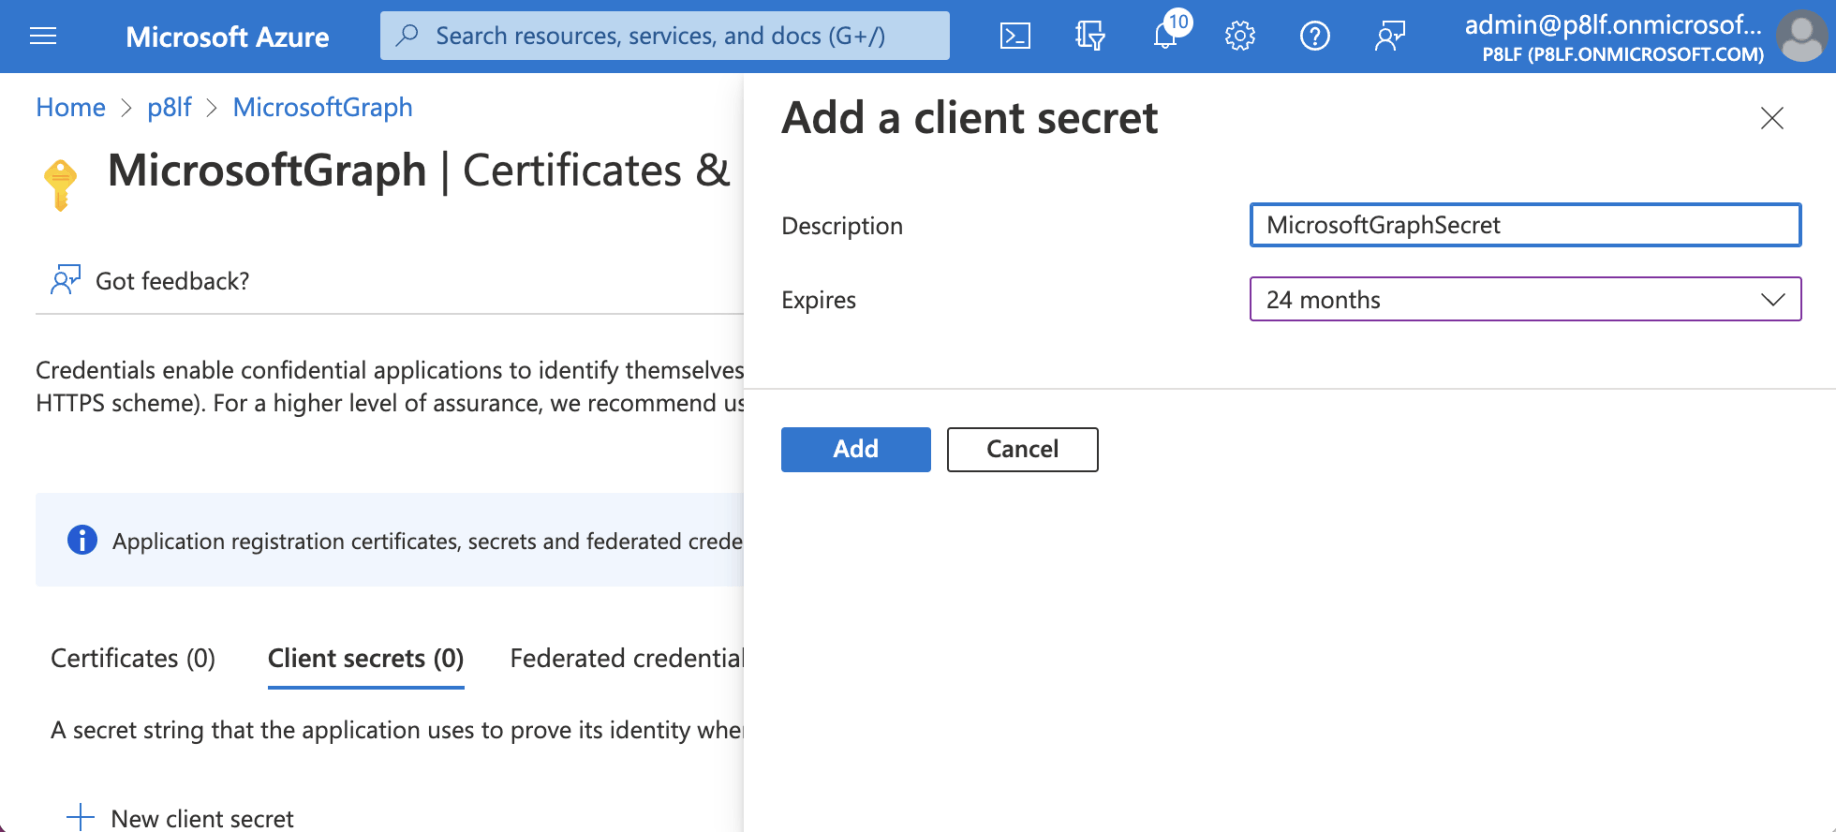
I set the client secret to expire in 2 years
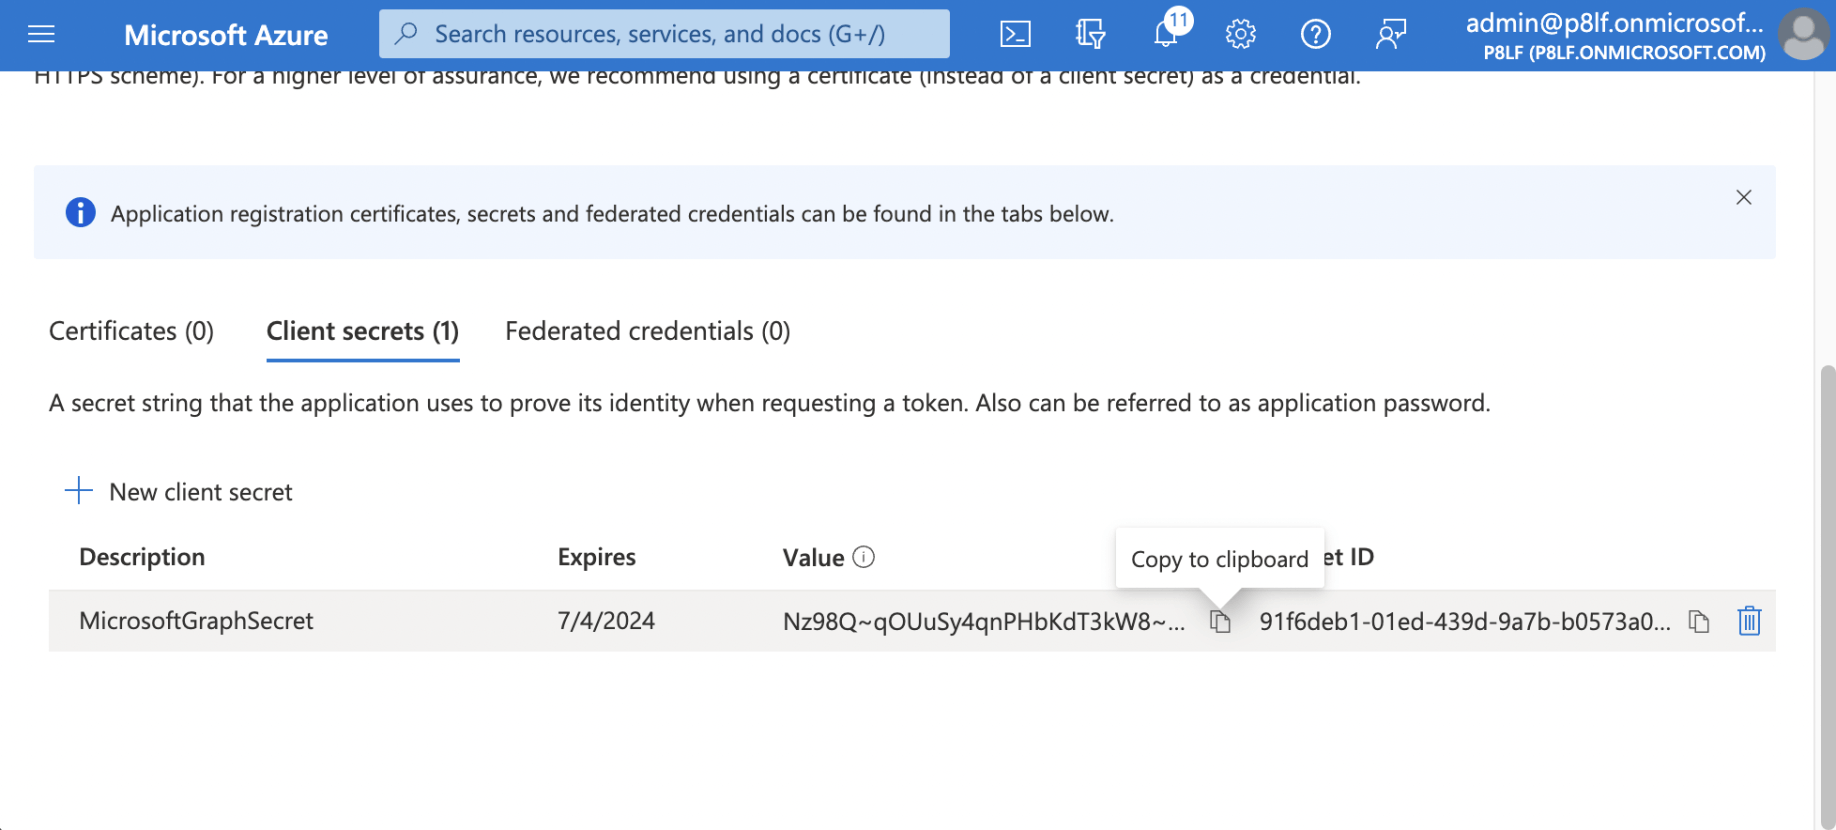
I copied the Client Secret's Value to be used later.
I selected the "API permissions" link
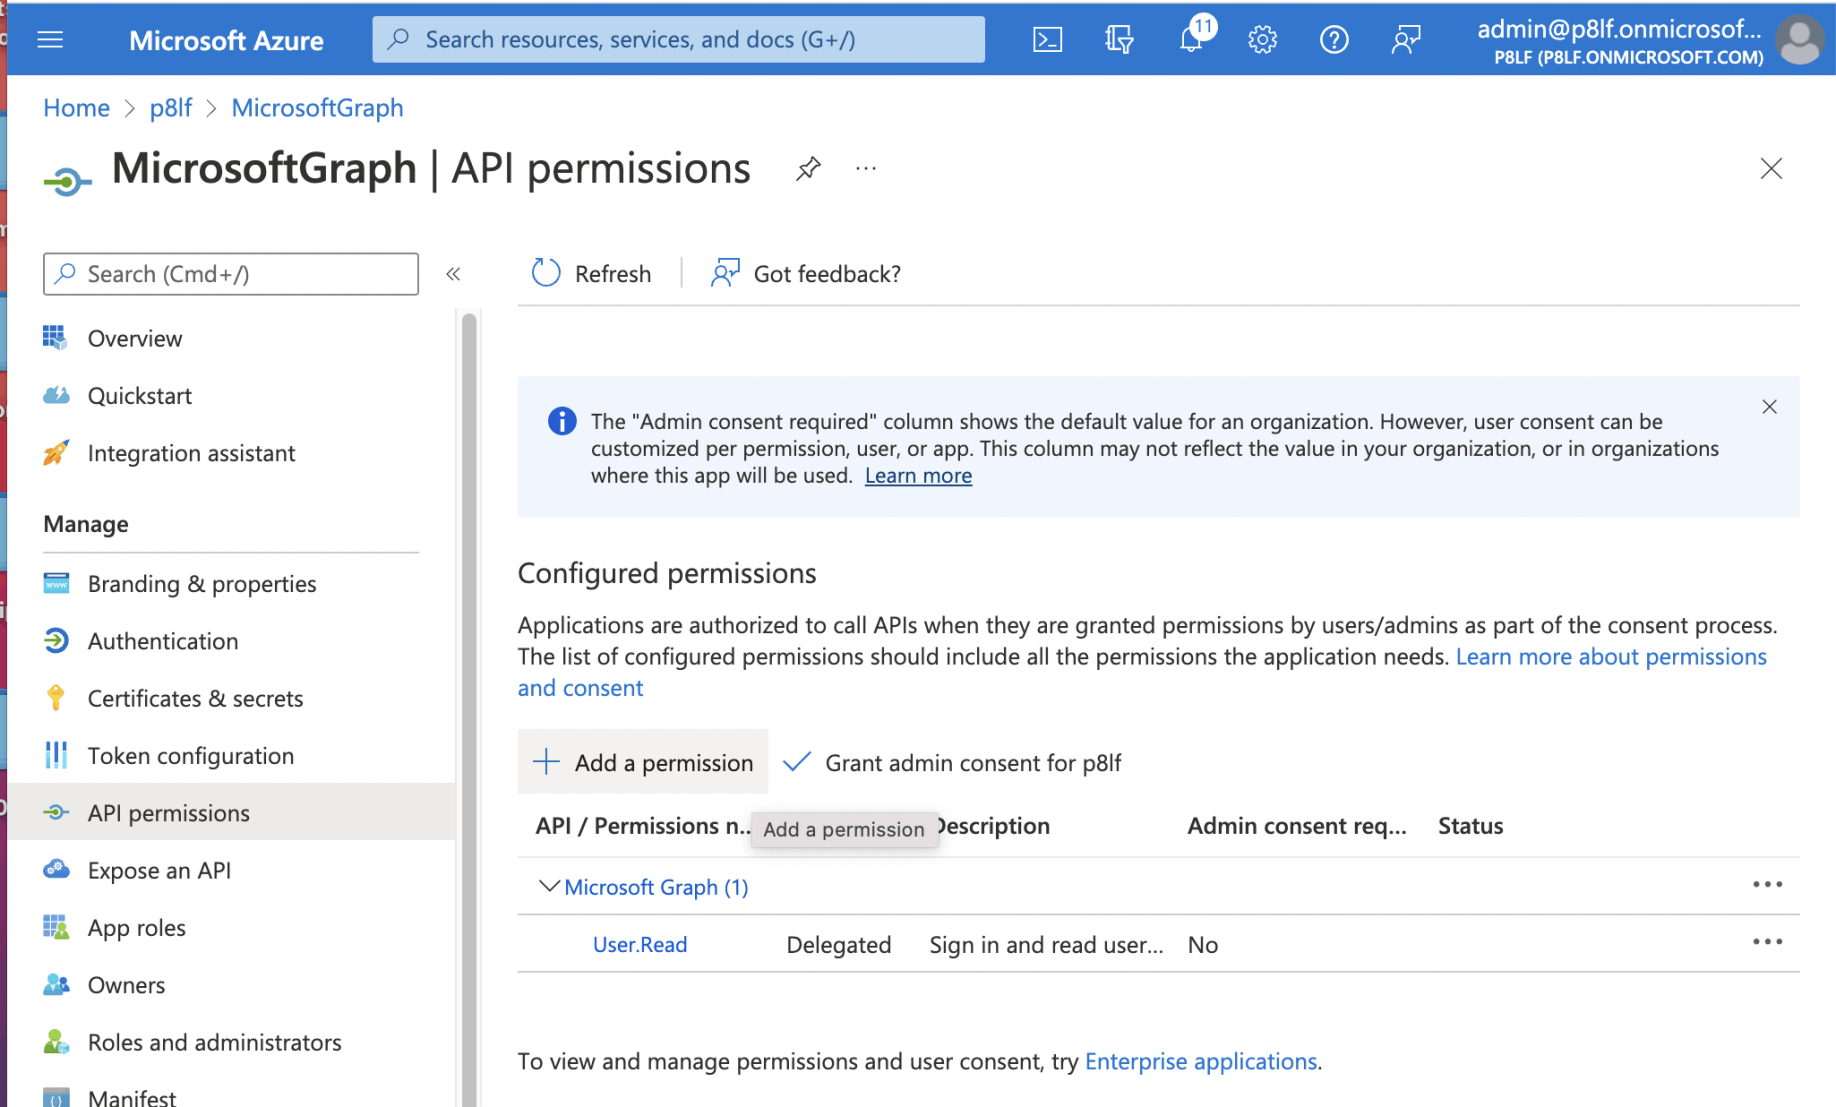
I selected the "Add a permission" link
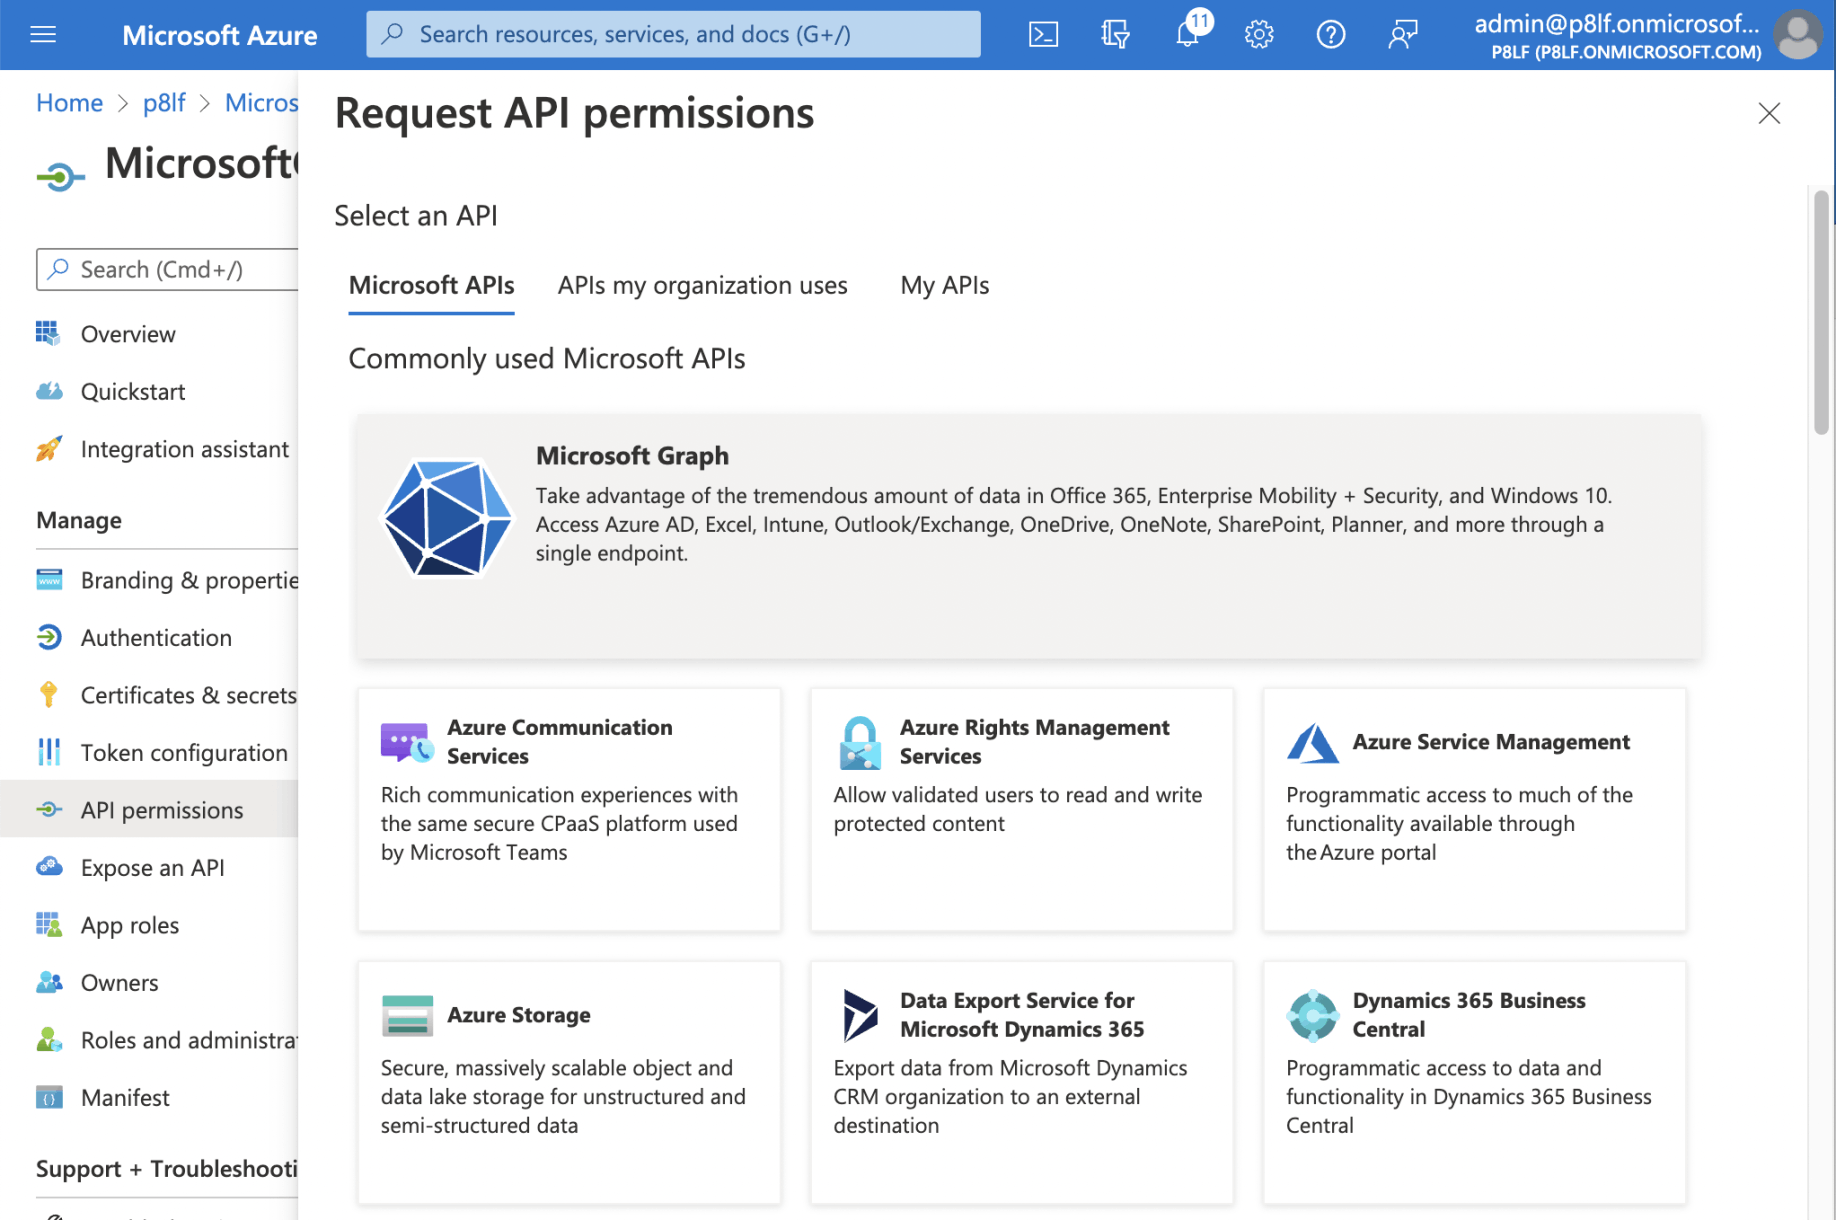
I selected the "Microsoft Graph" button
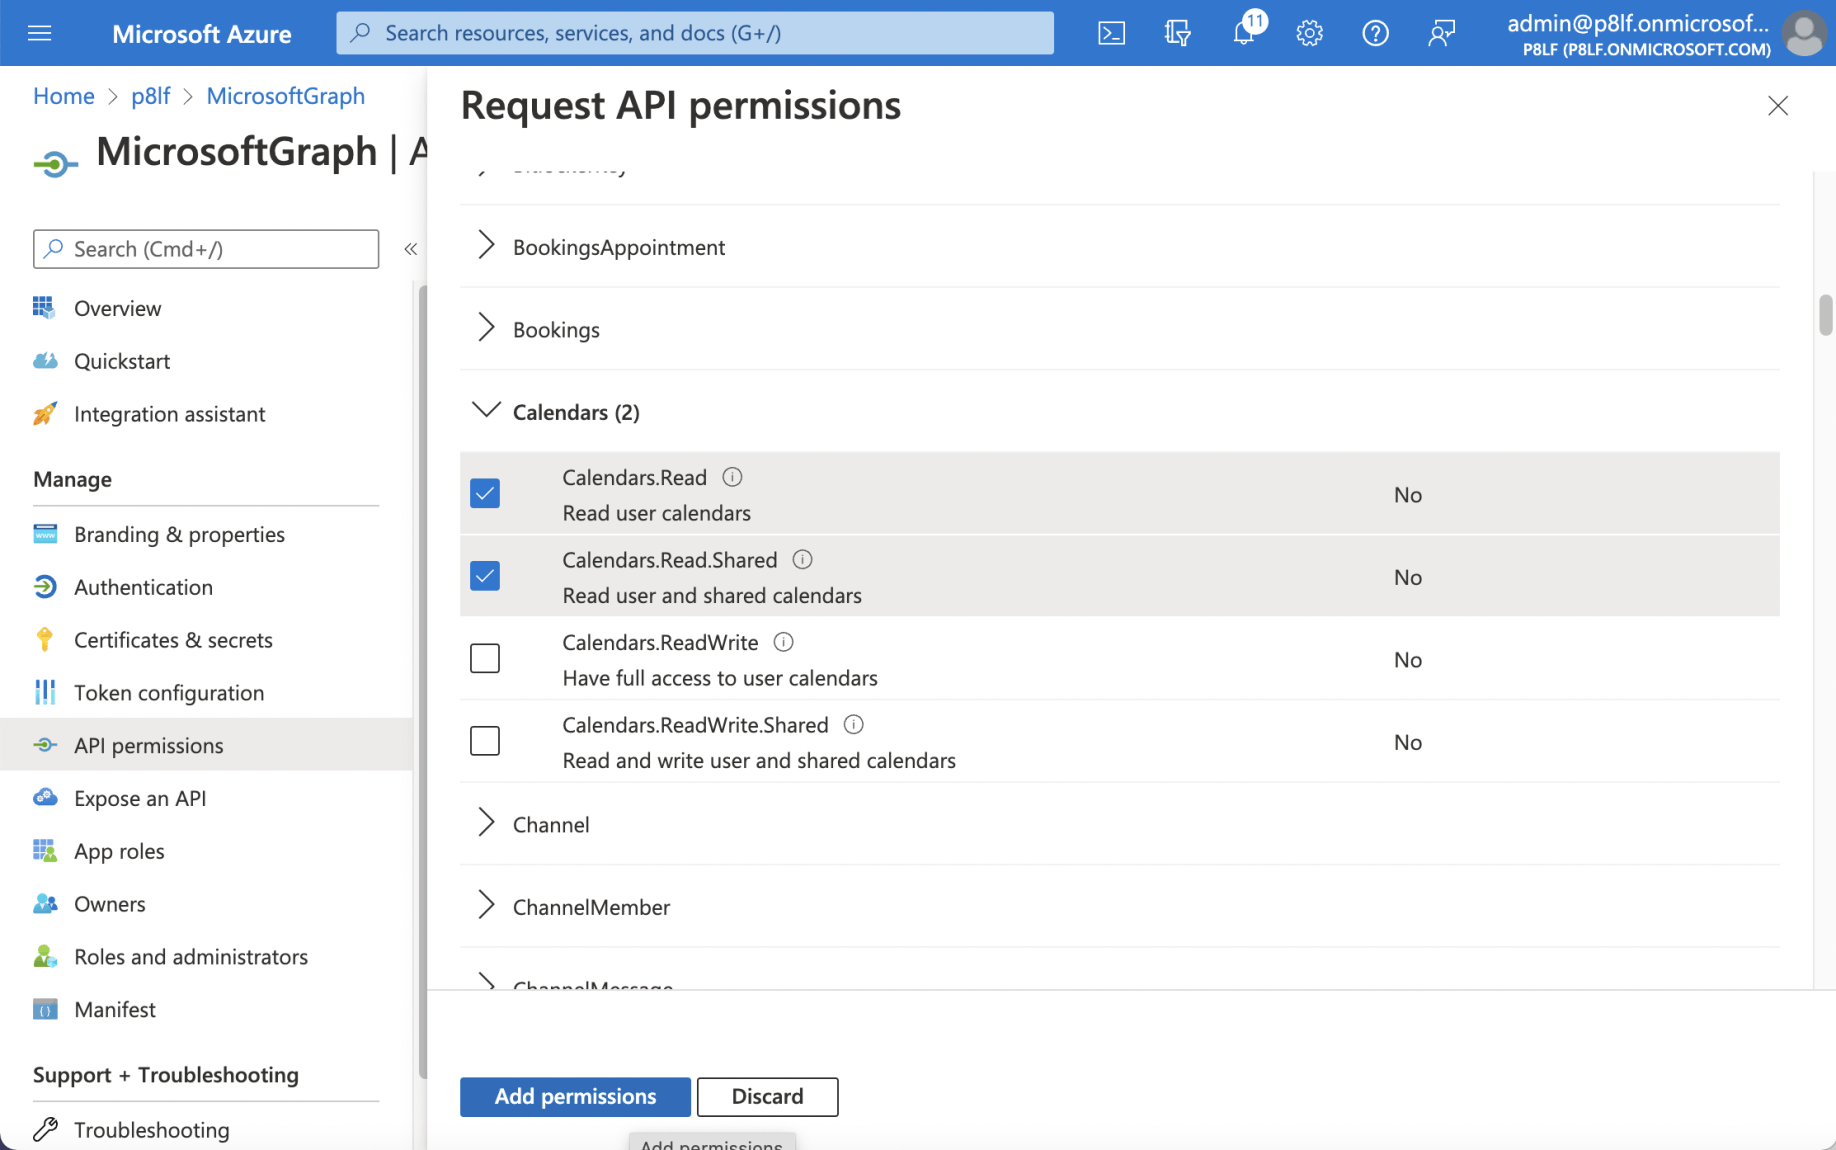
I selected the "Calendars.Read" and the "Calendars.Read.Shared" permissions (scopes)
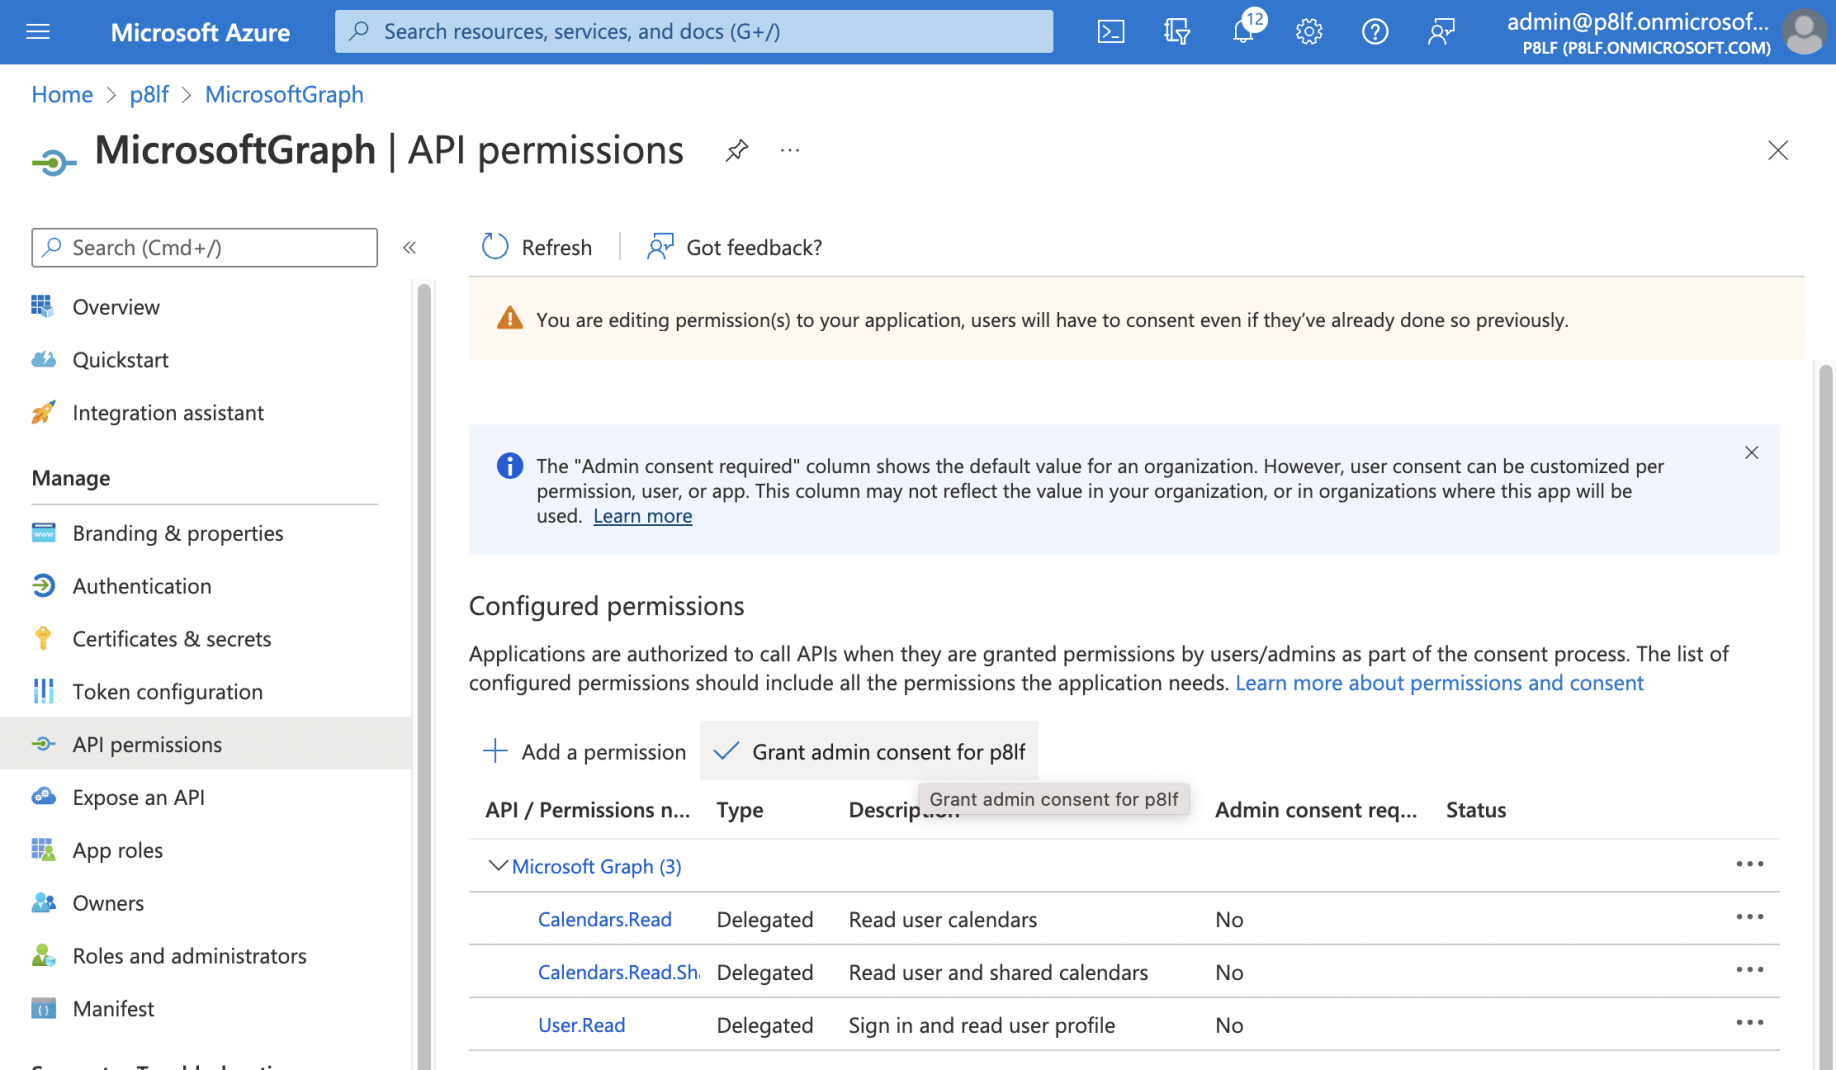
I clicked the "Grant admin consent for ..." link
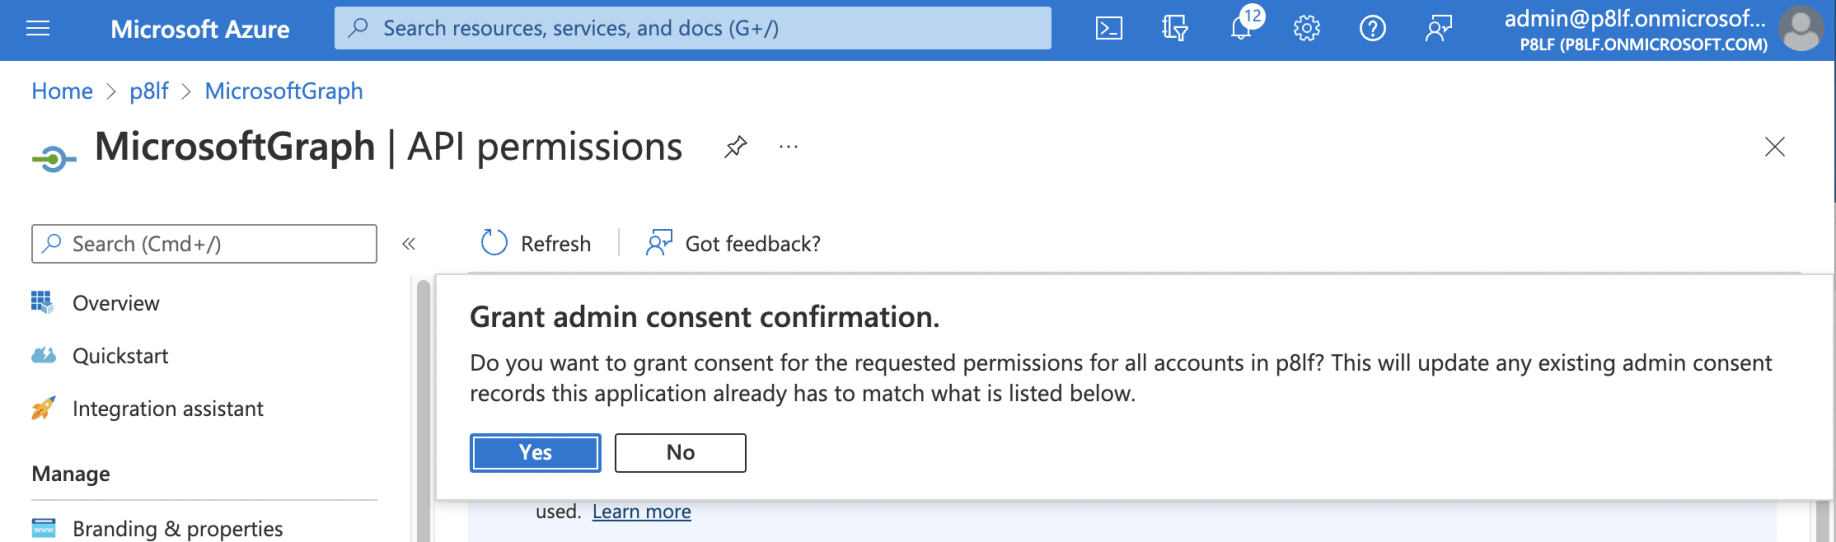
I granted consent
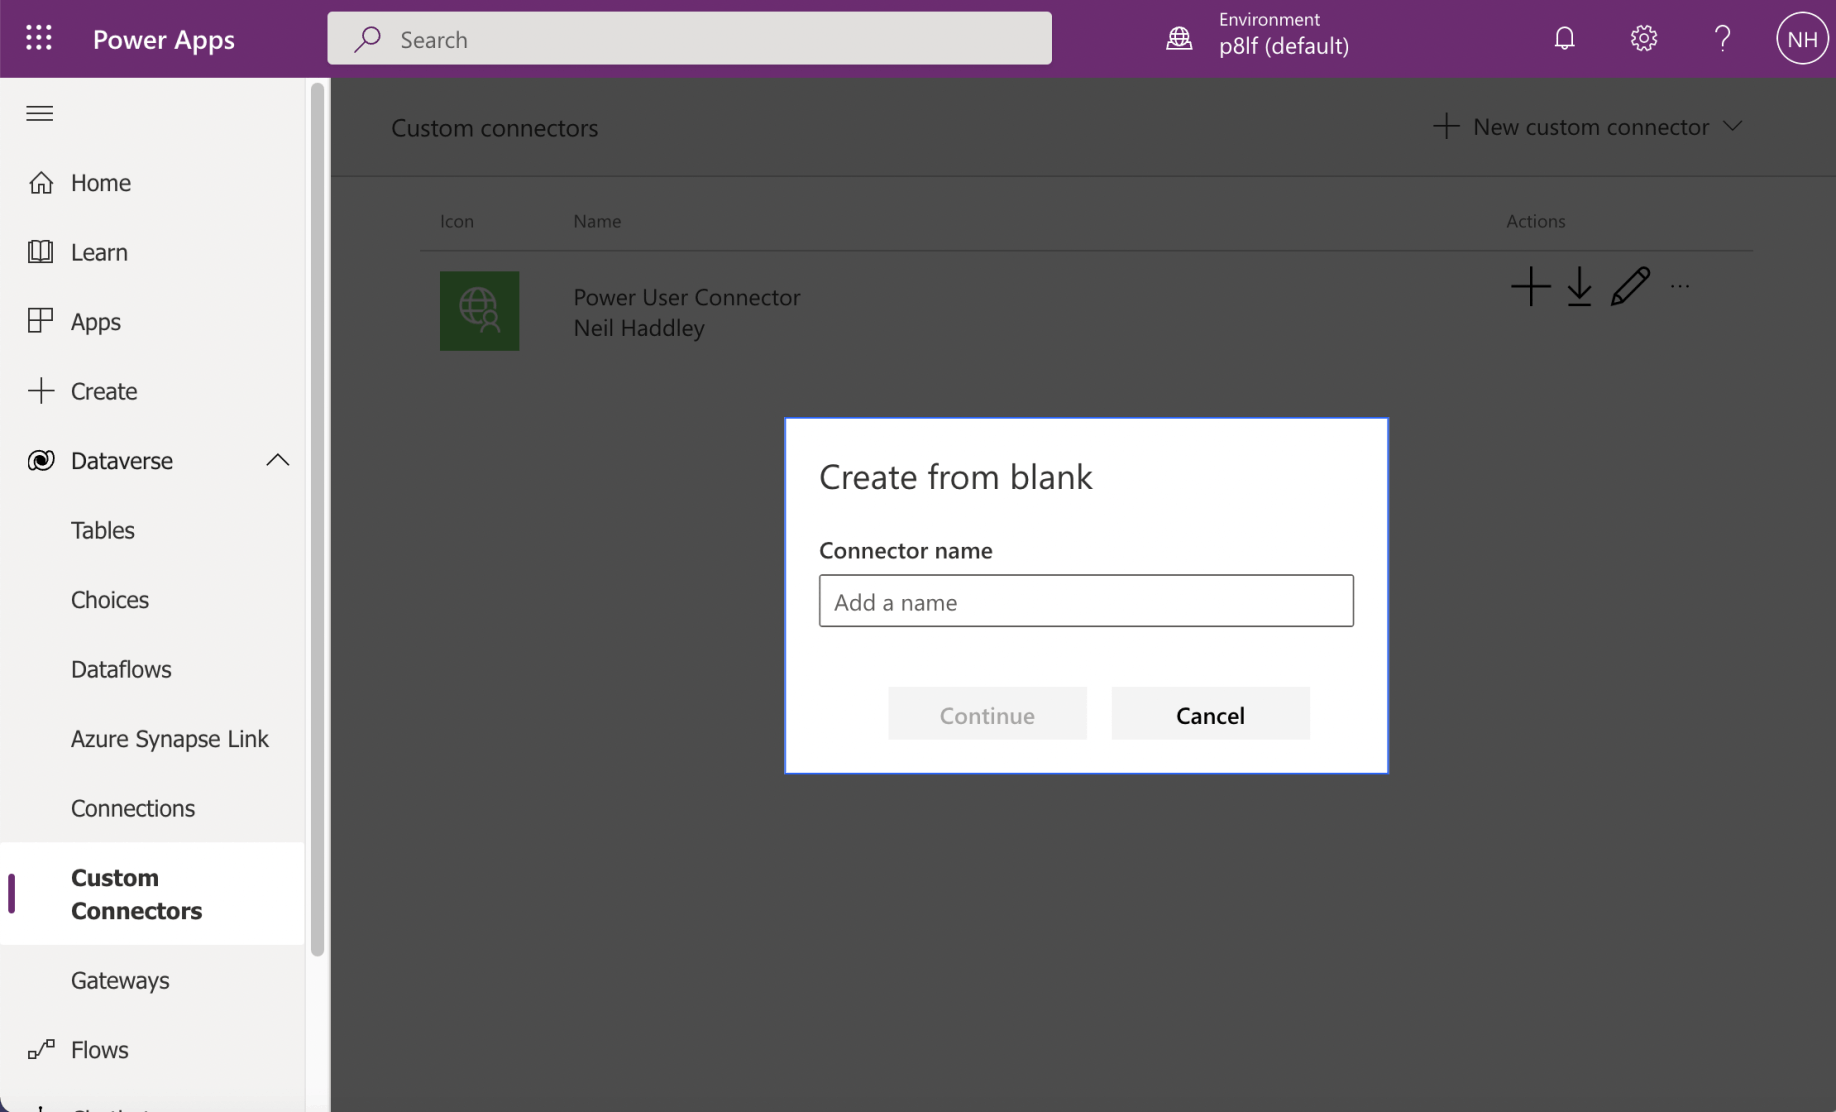
I navigated to the Custom Connectors tab and clicked the "+ New custom connector" link

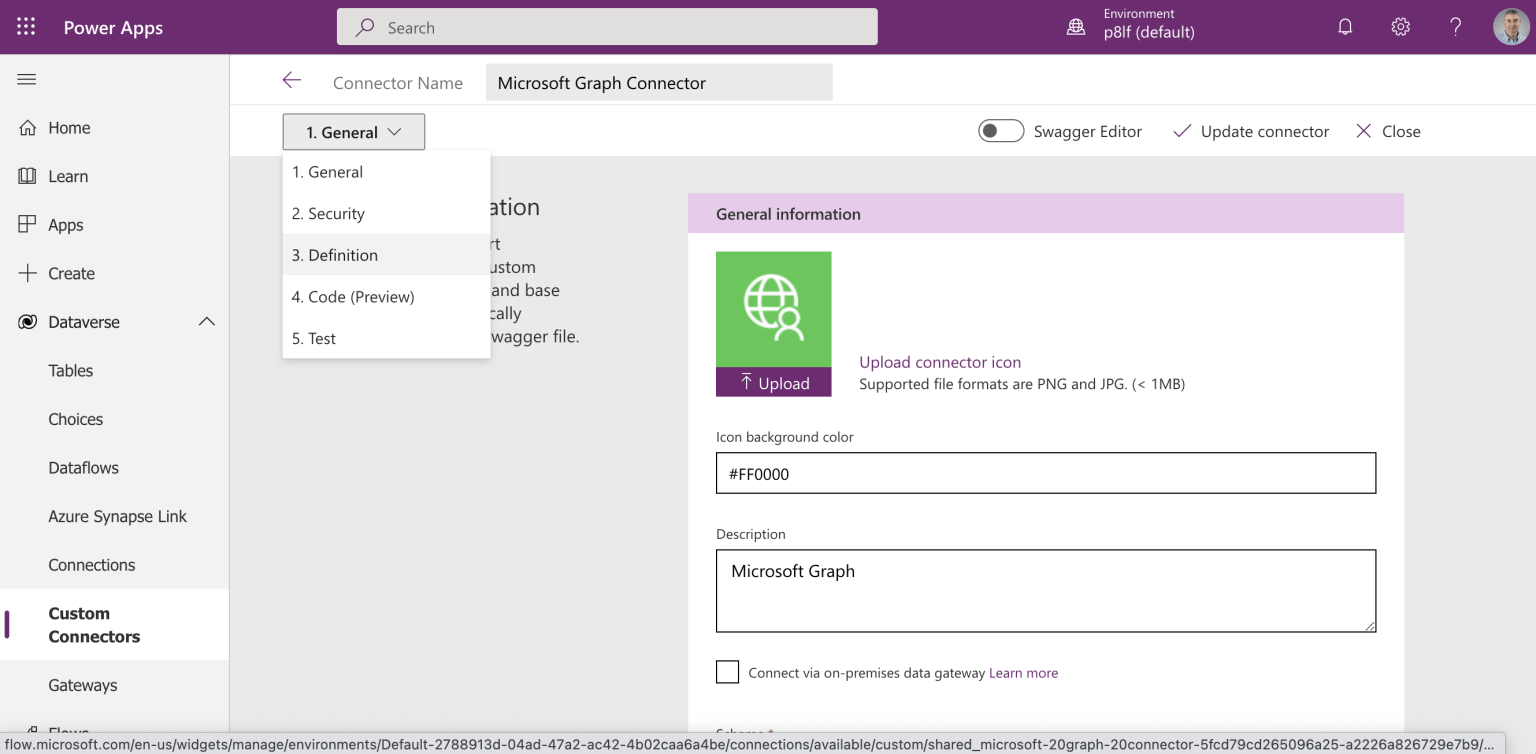
I provided a connector name
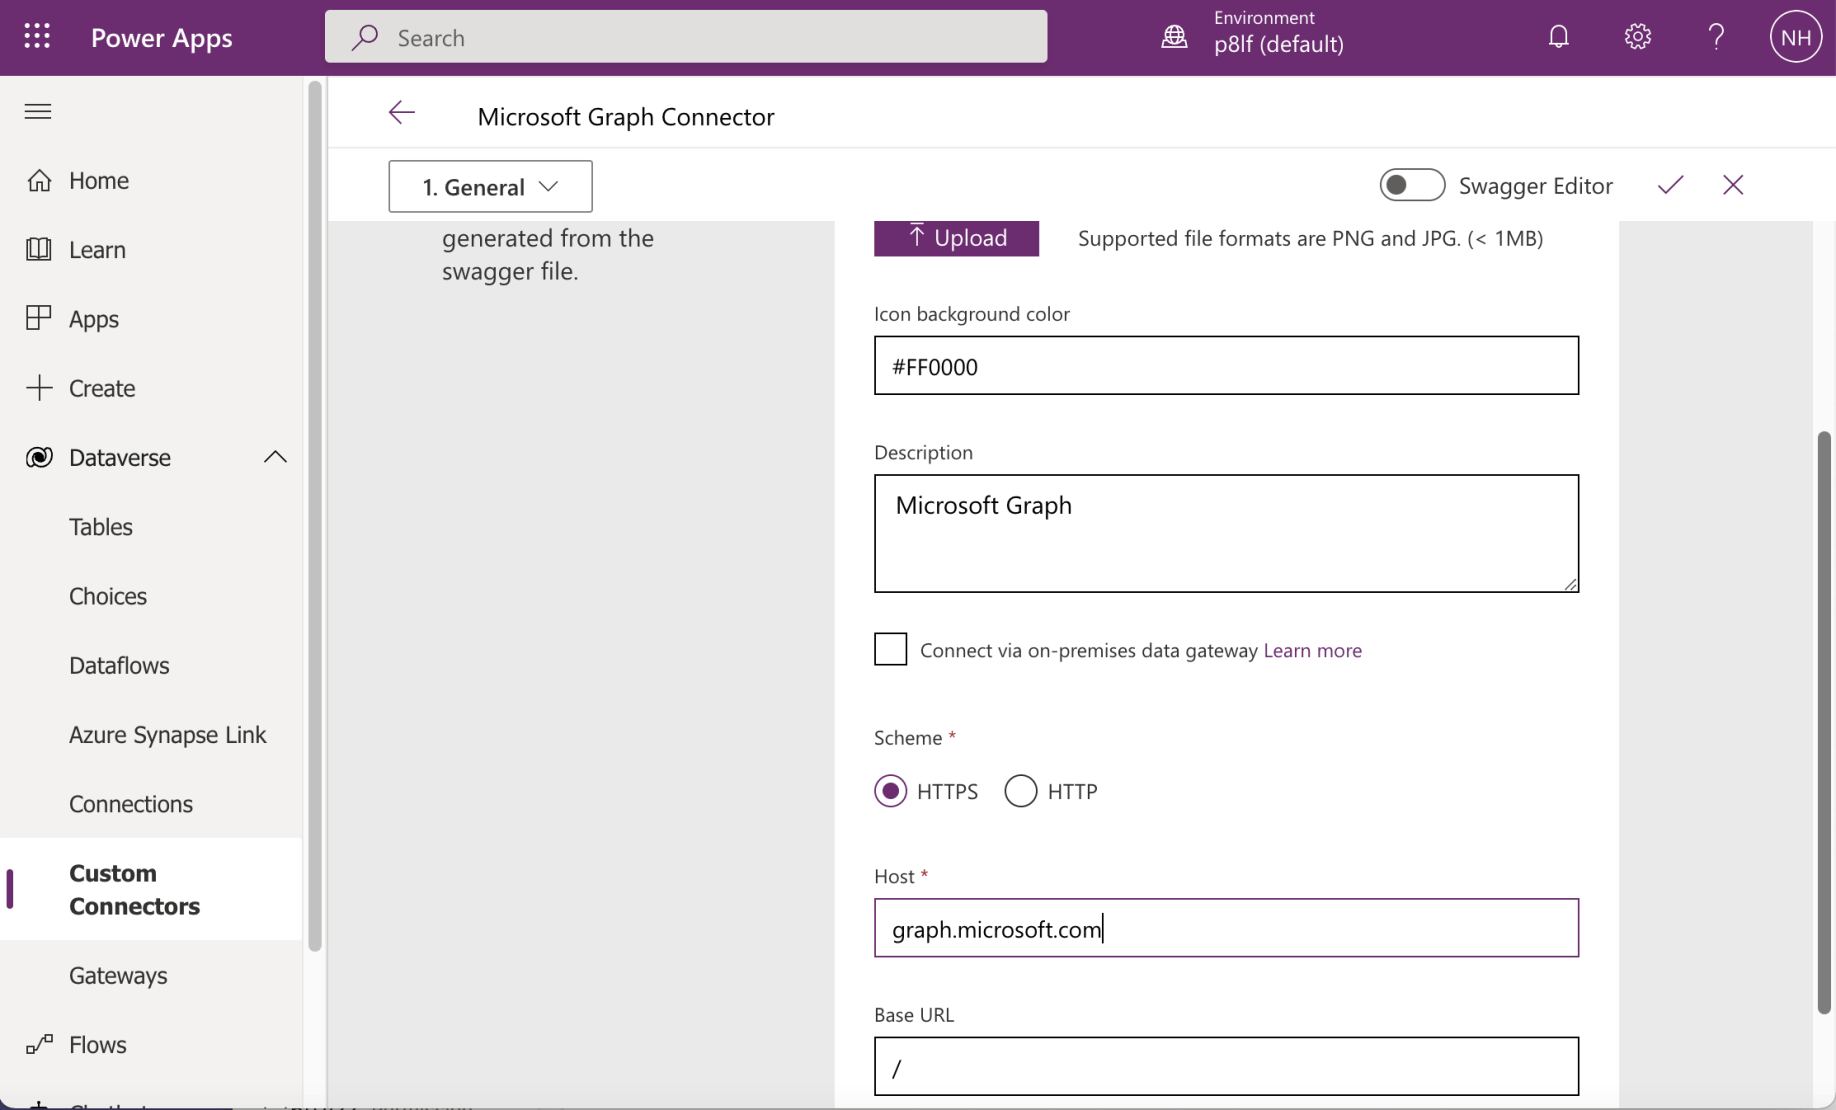
I provided general information and navigated to the Security step
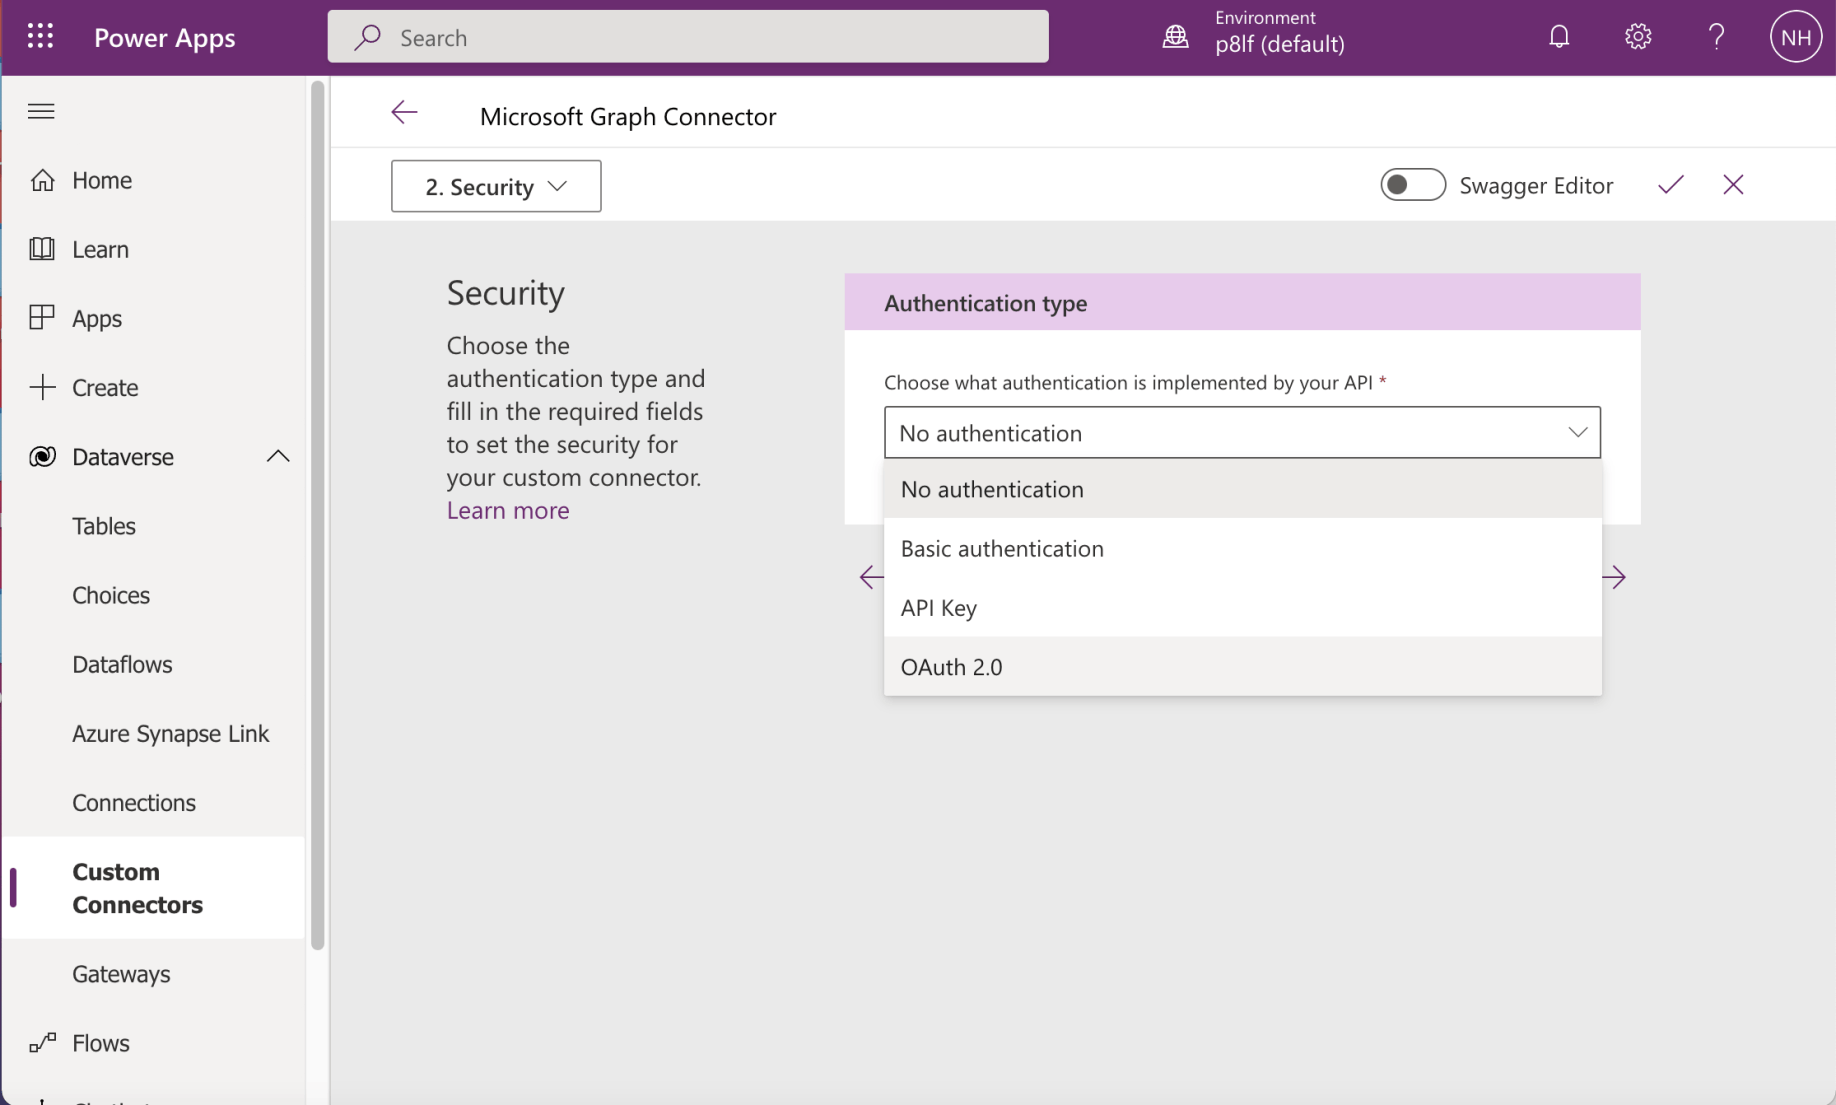
I selected "OAuth 2.0"
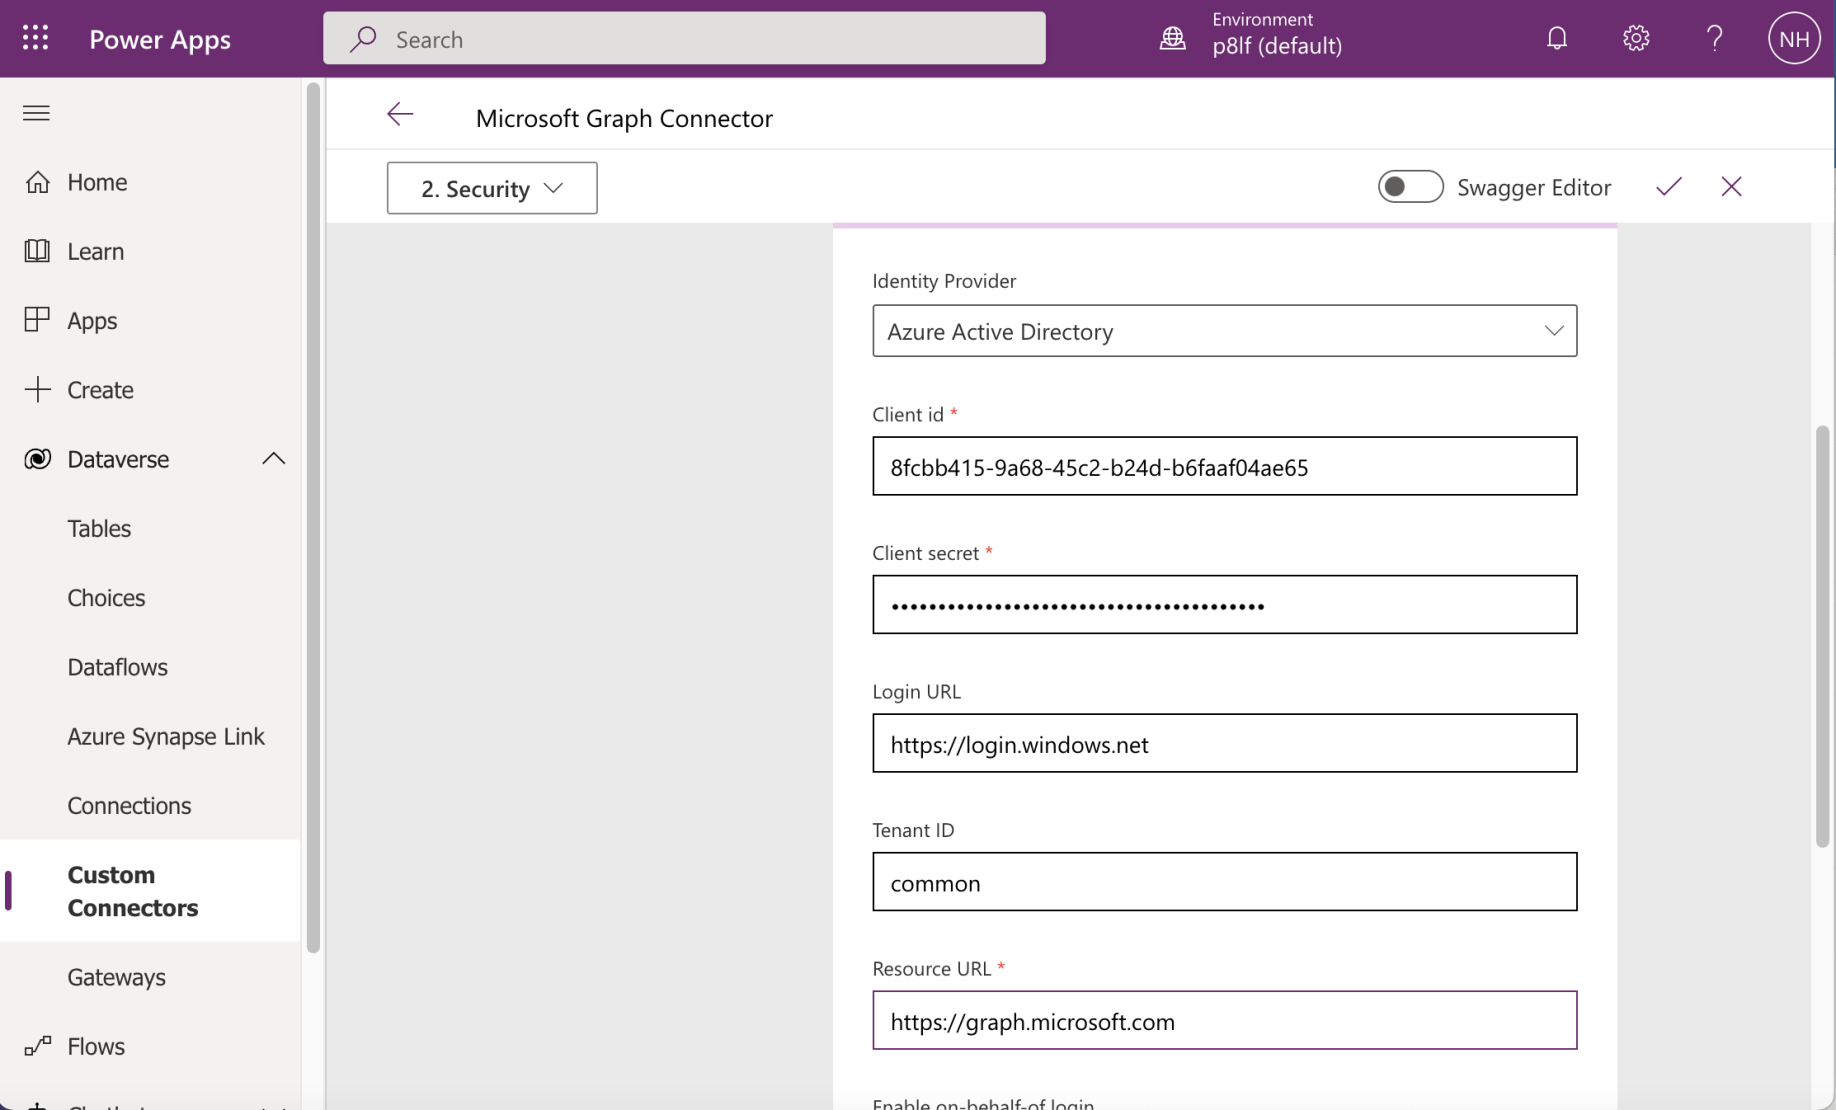
I selected Azure Active Directory. I entered the Application (client) id and Client secret values I copied earlier.
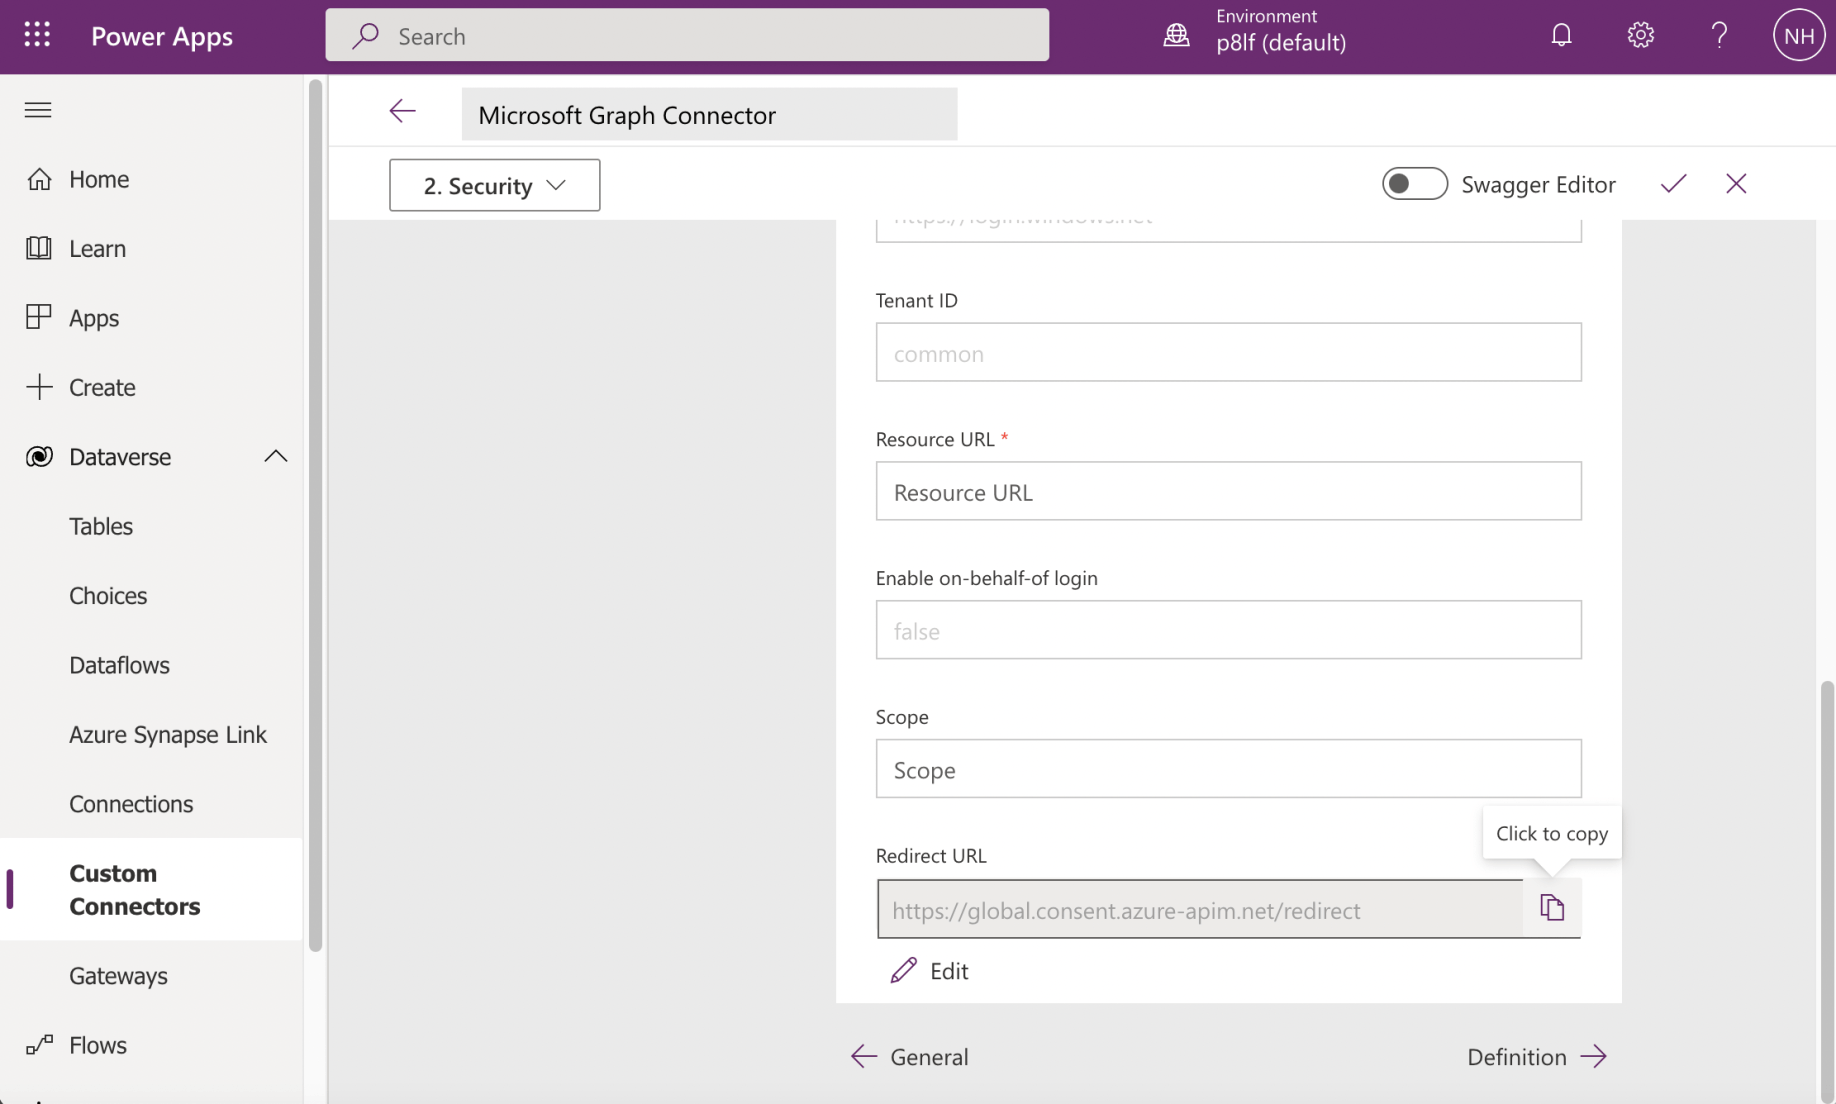
I copied the generated "Redirect URL".
I returned to the Application Registration and added the Redirect URL (URI)
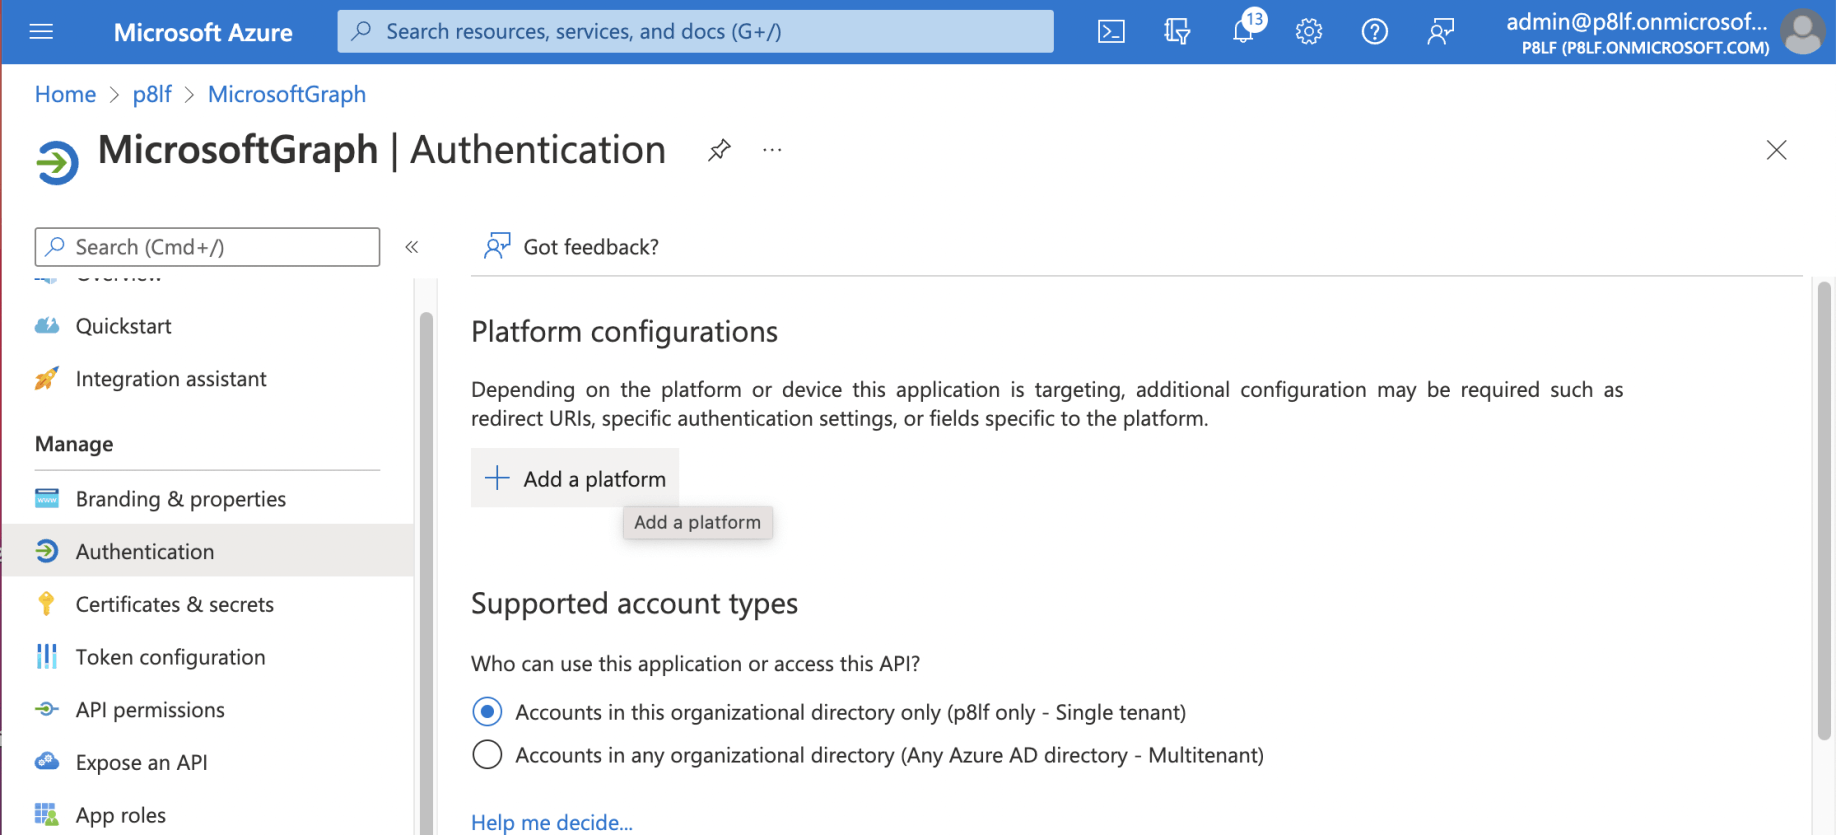
I clicked the "+ Add a platform" link
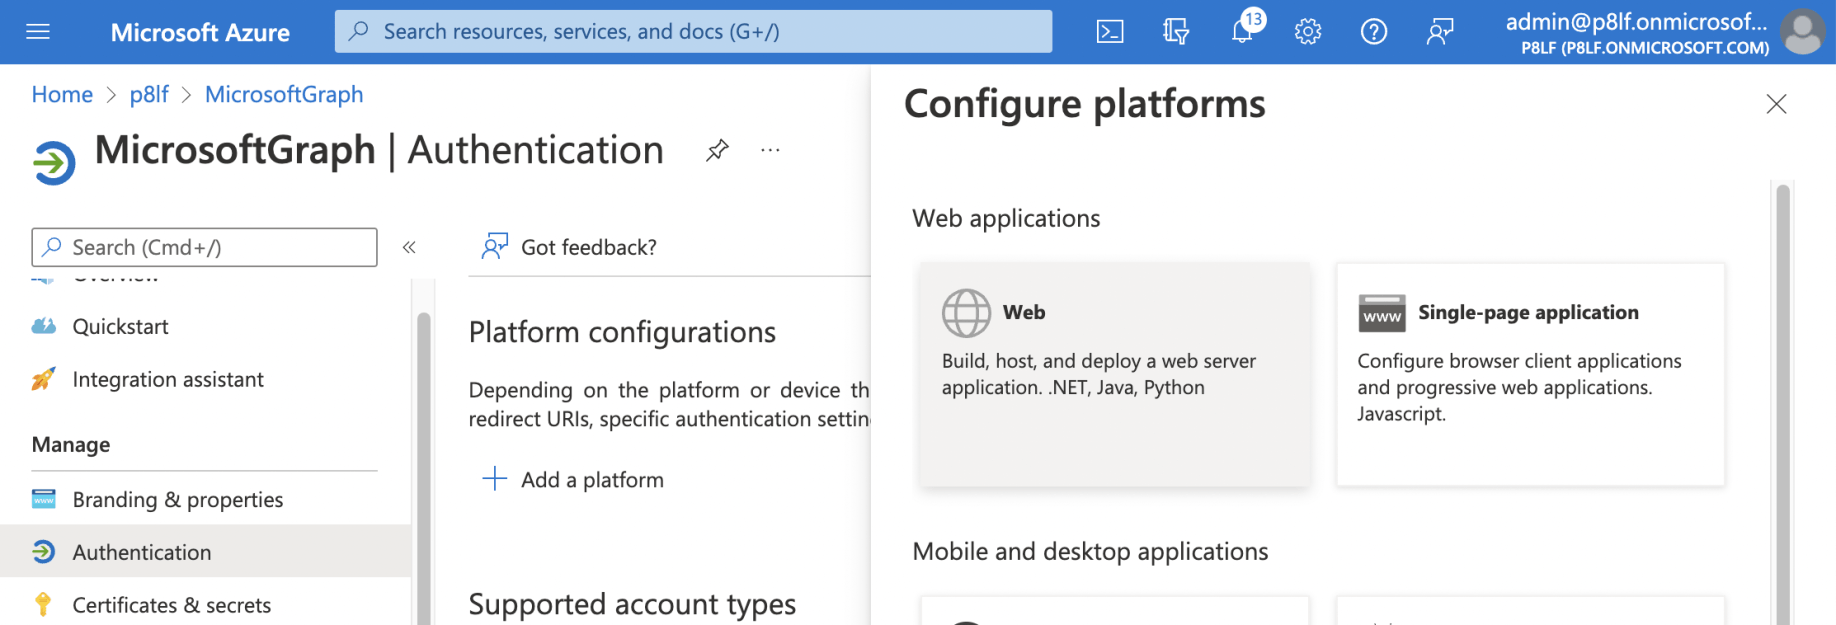
I selected the Web button
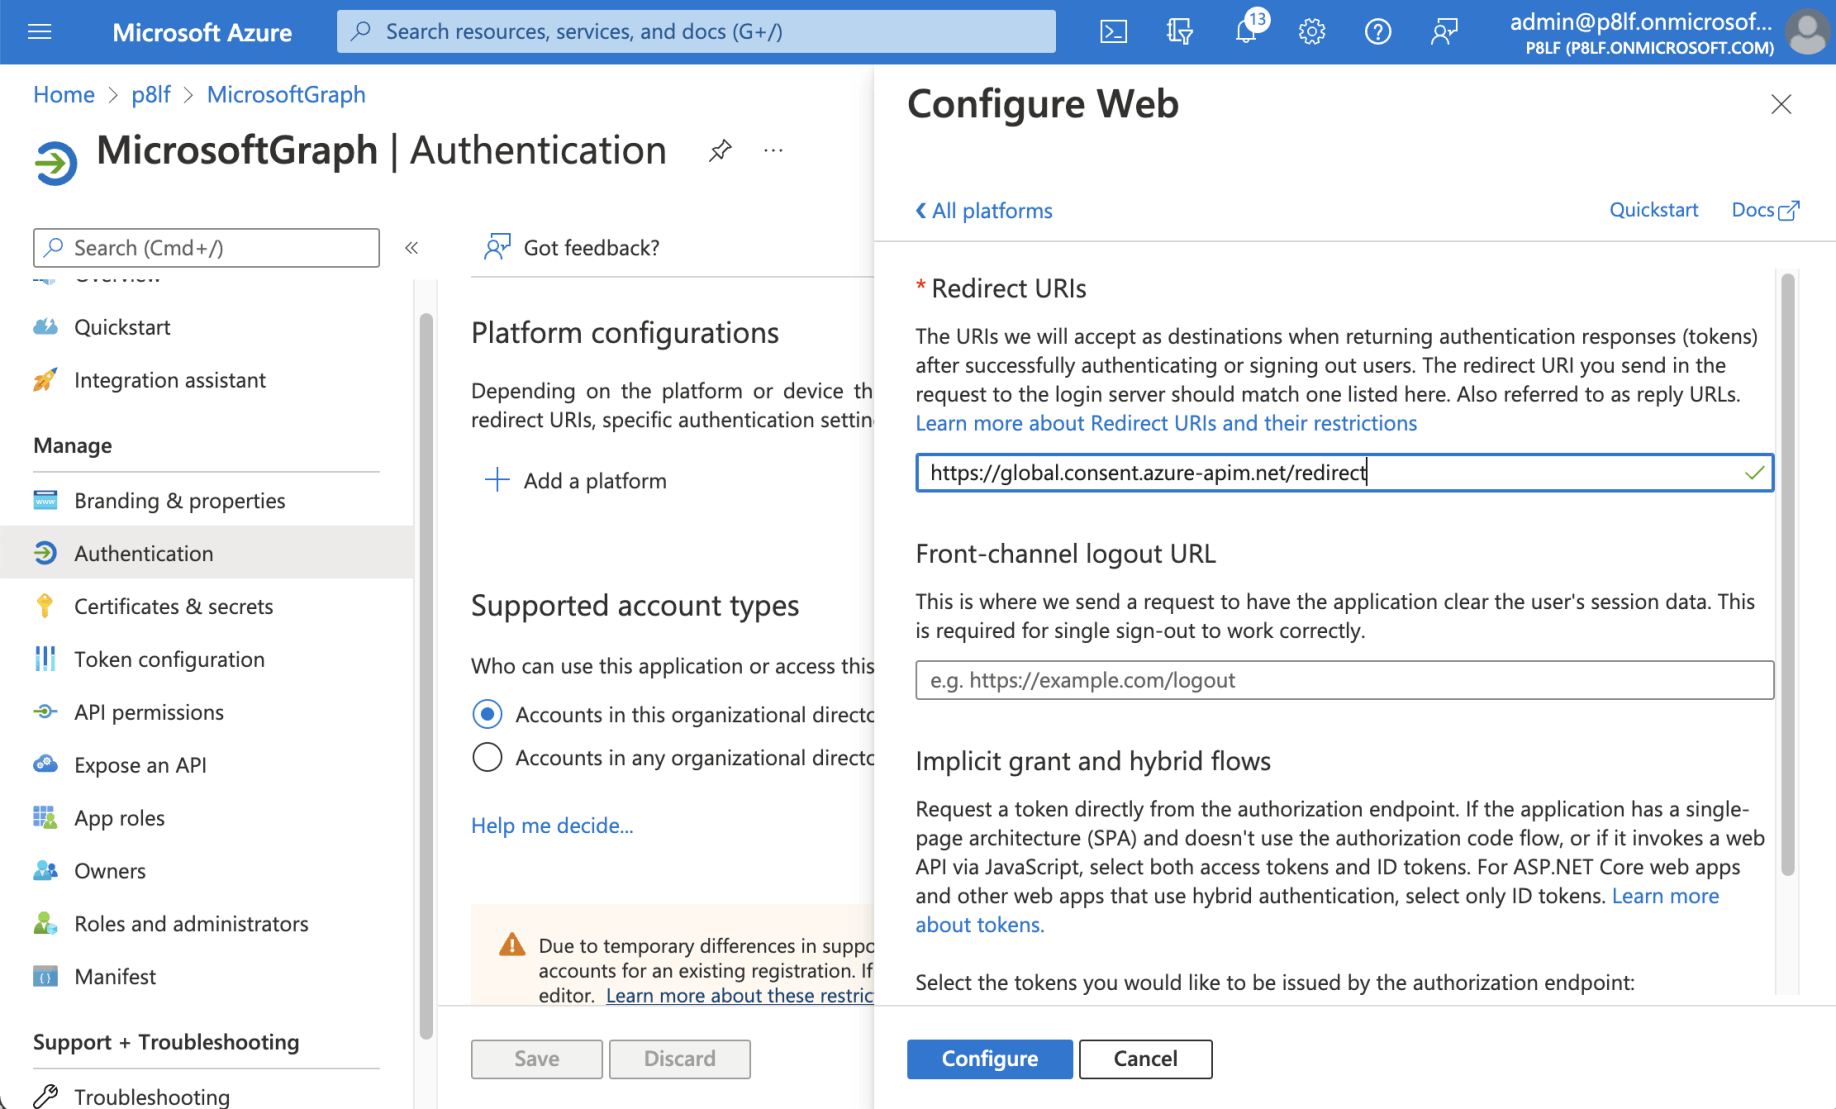
I entered the (copied) Redirect URL and clicked the configure button
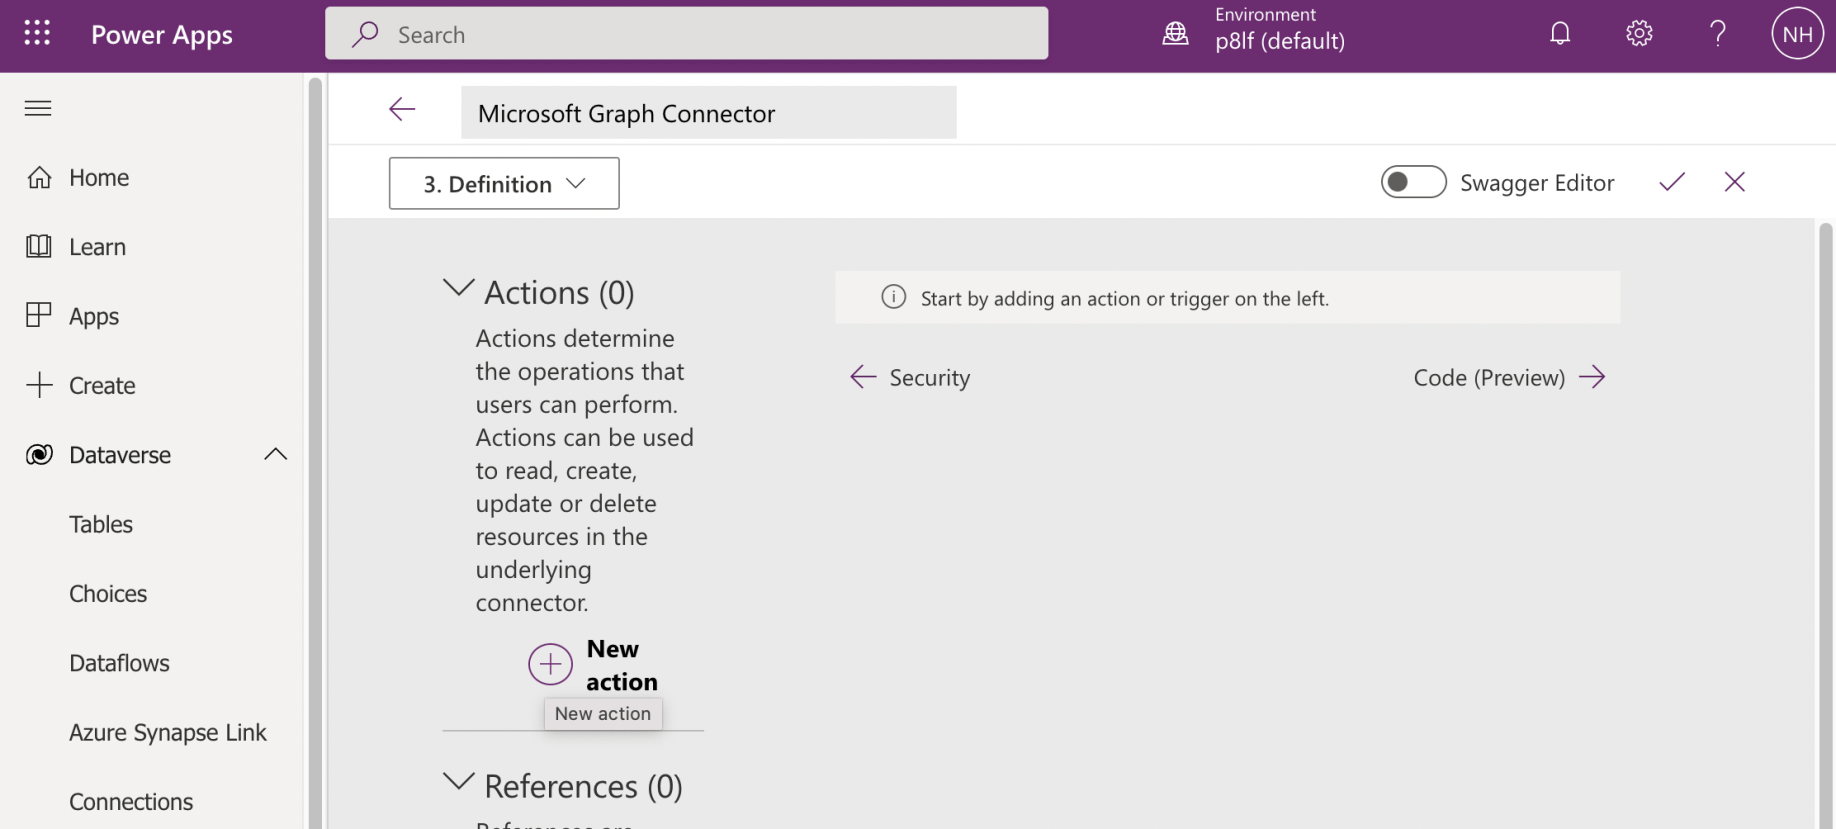
I returned to the Power Apps page and clicked the "+ New Action" link
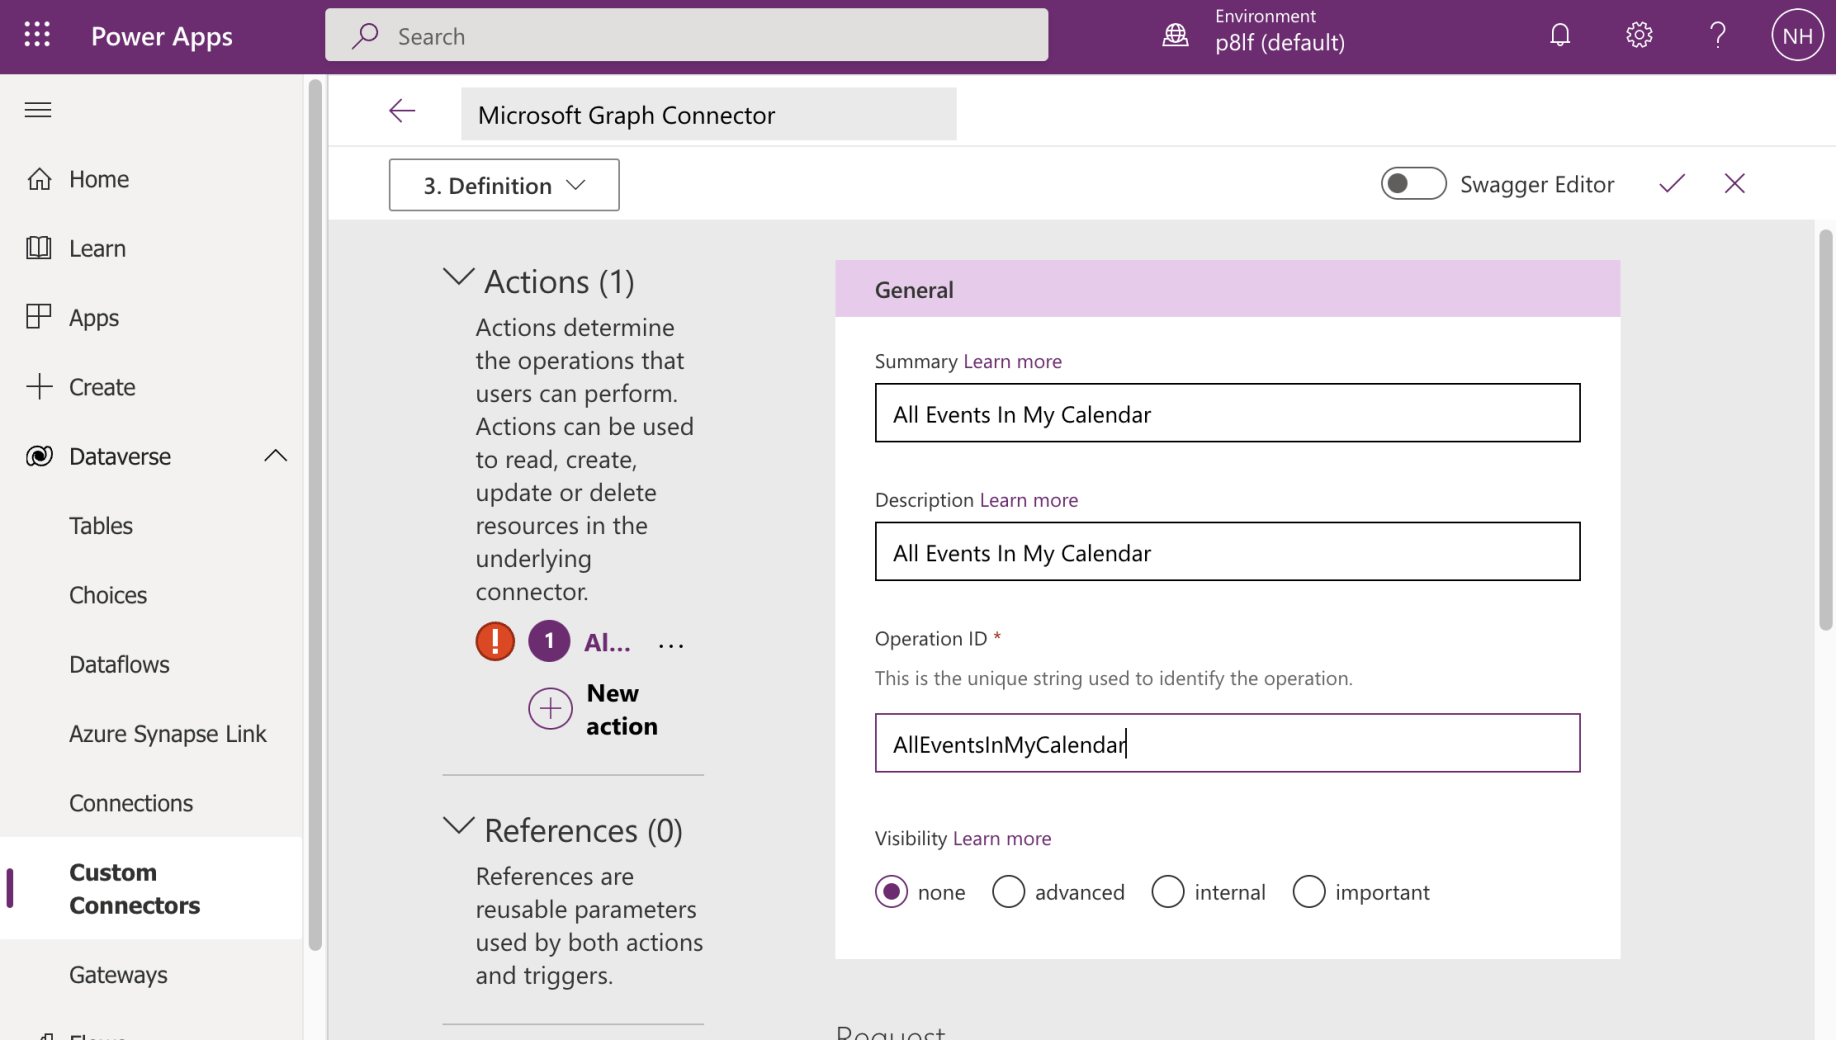
I entered general details for the operation
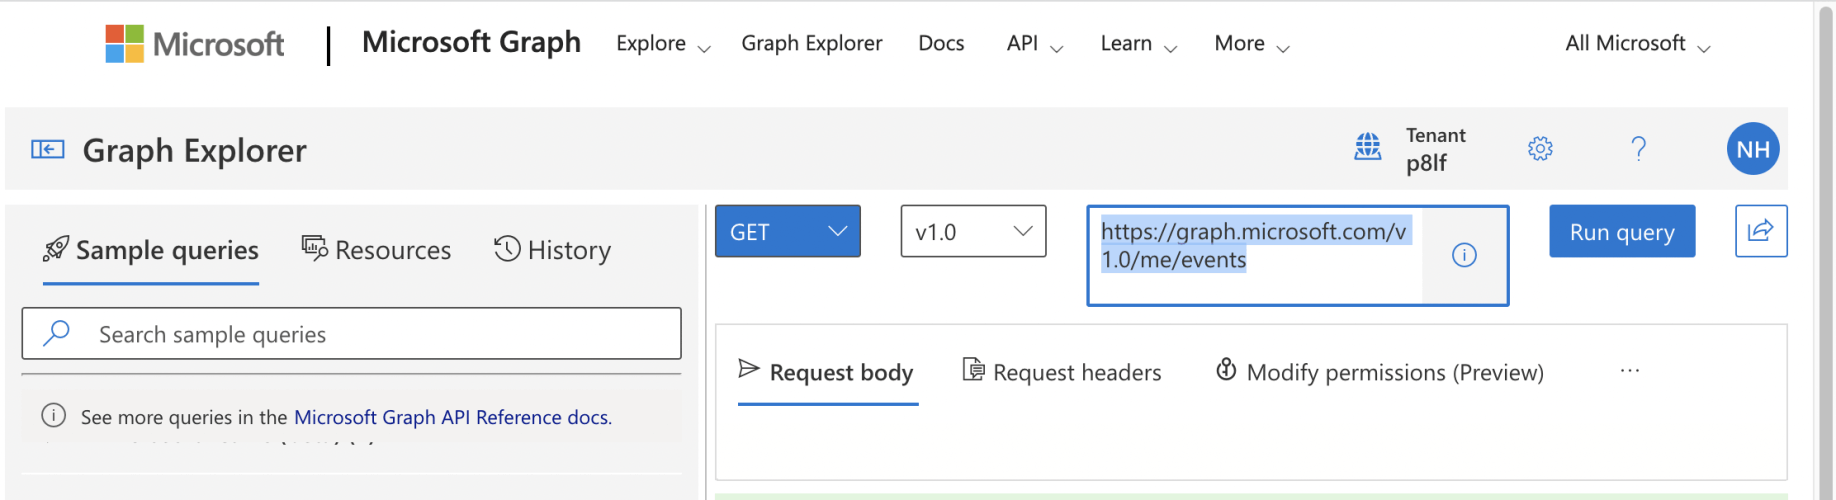
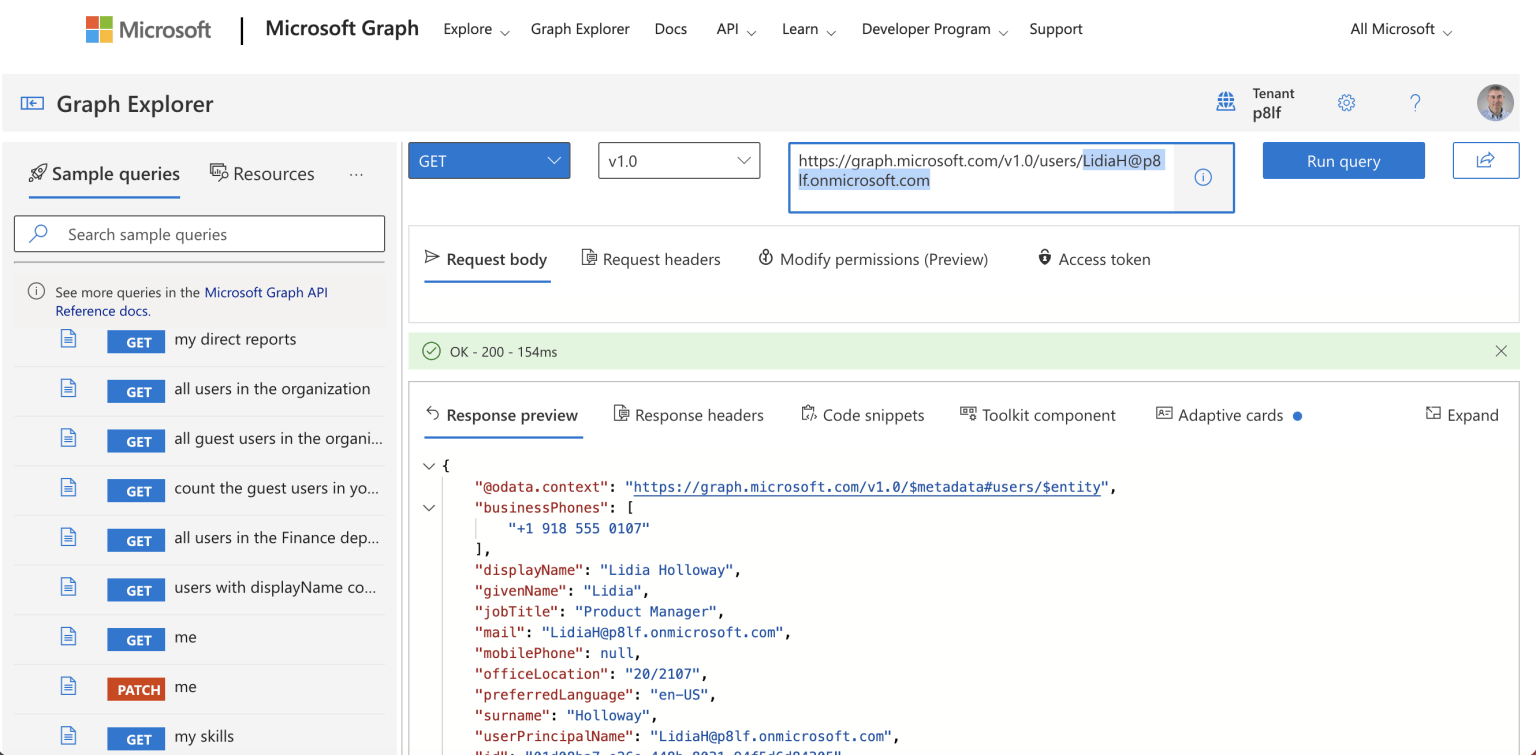
I copied the Microsoft Graph request URL from the Graph Explorer web application.
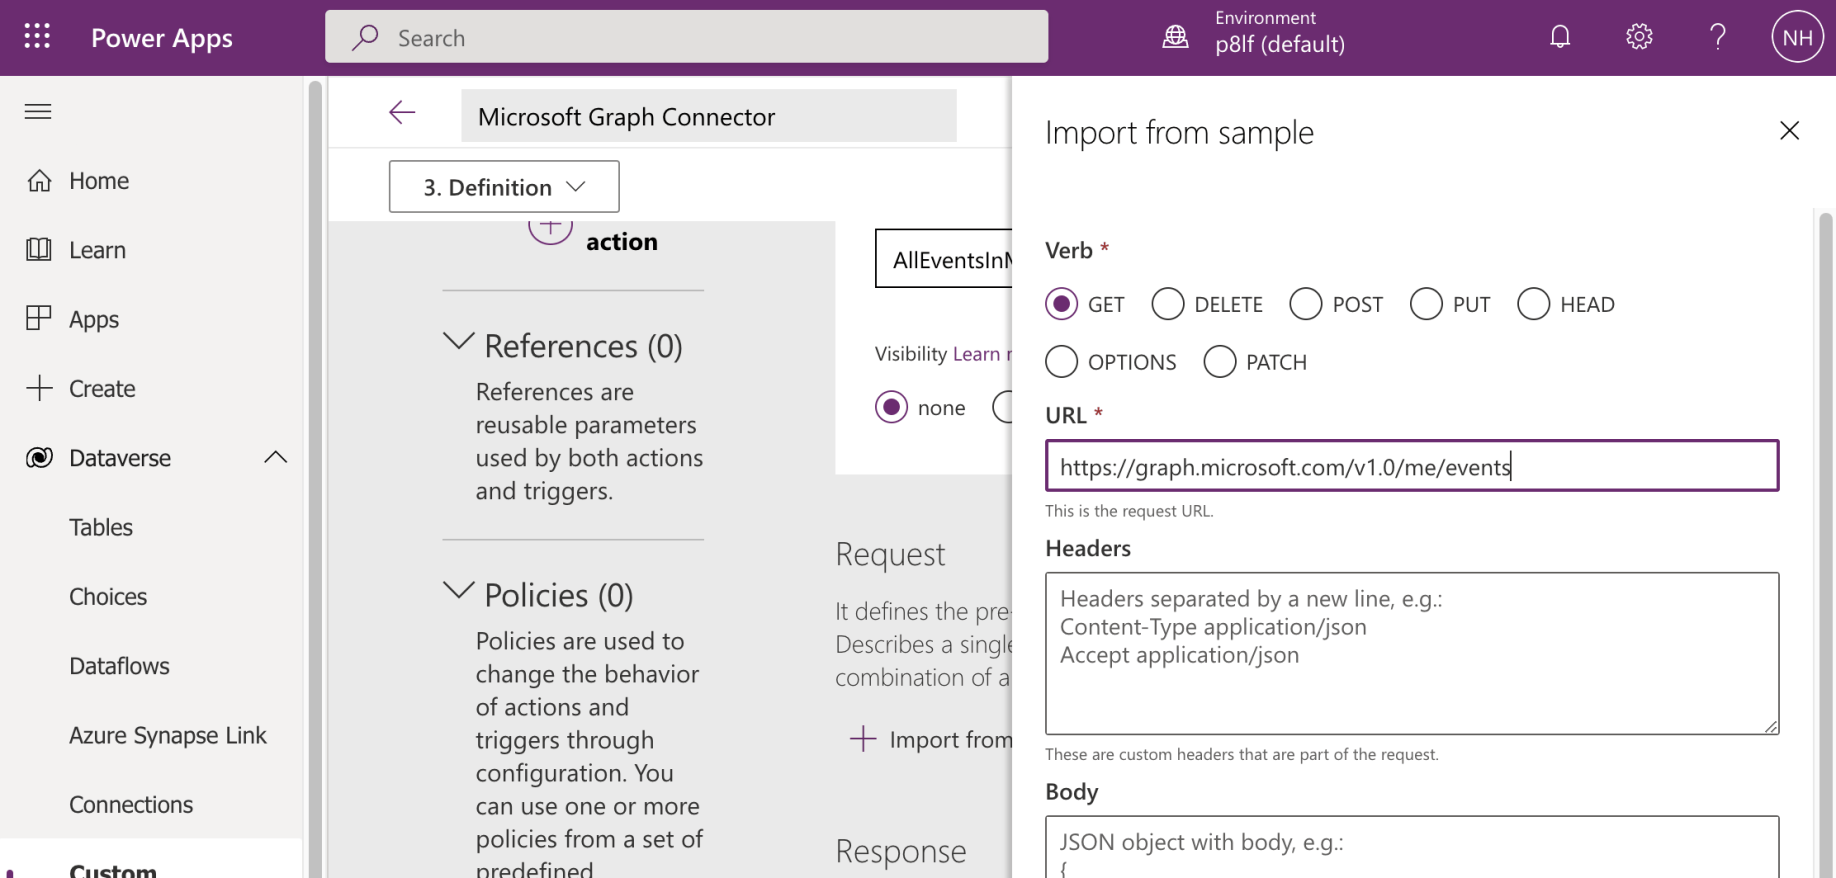
I copied the request URL to the new connector action
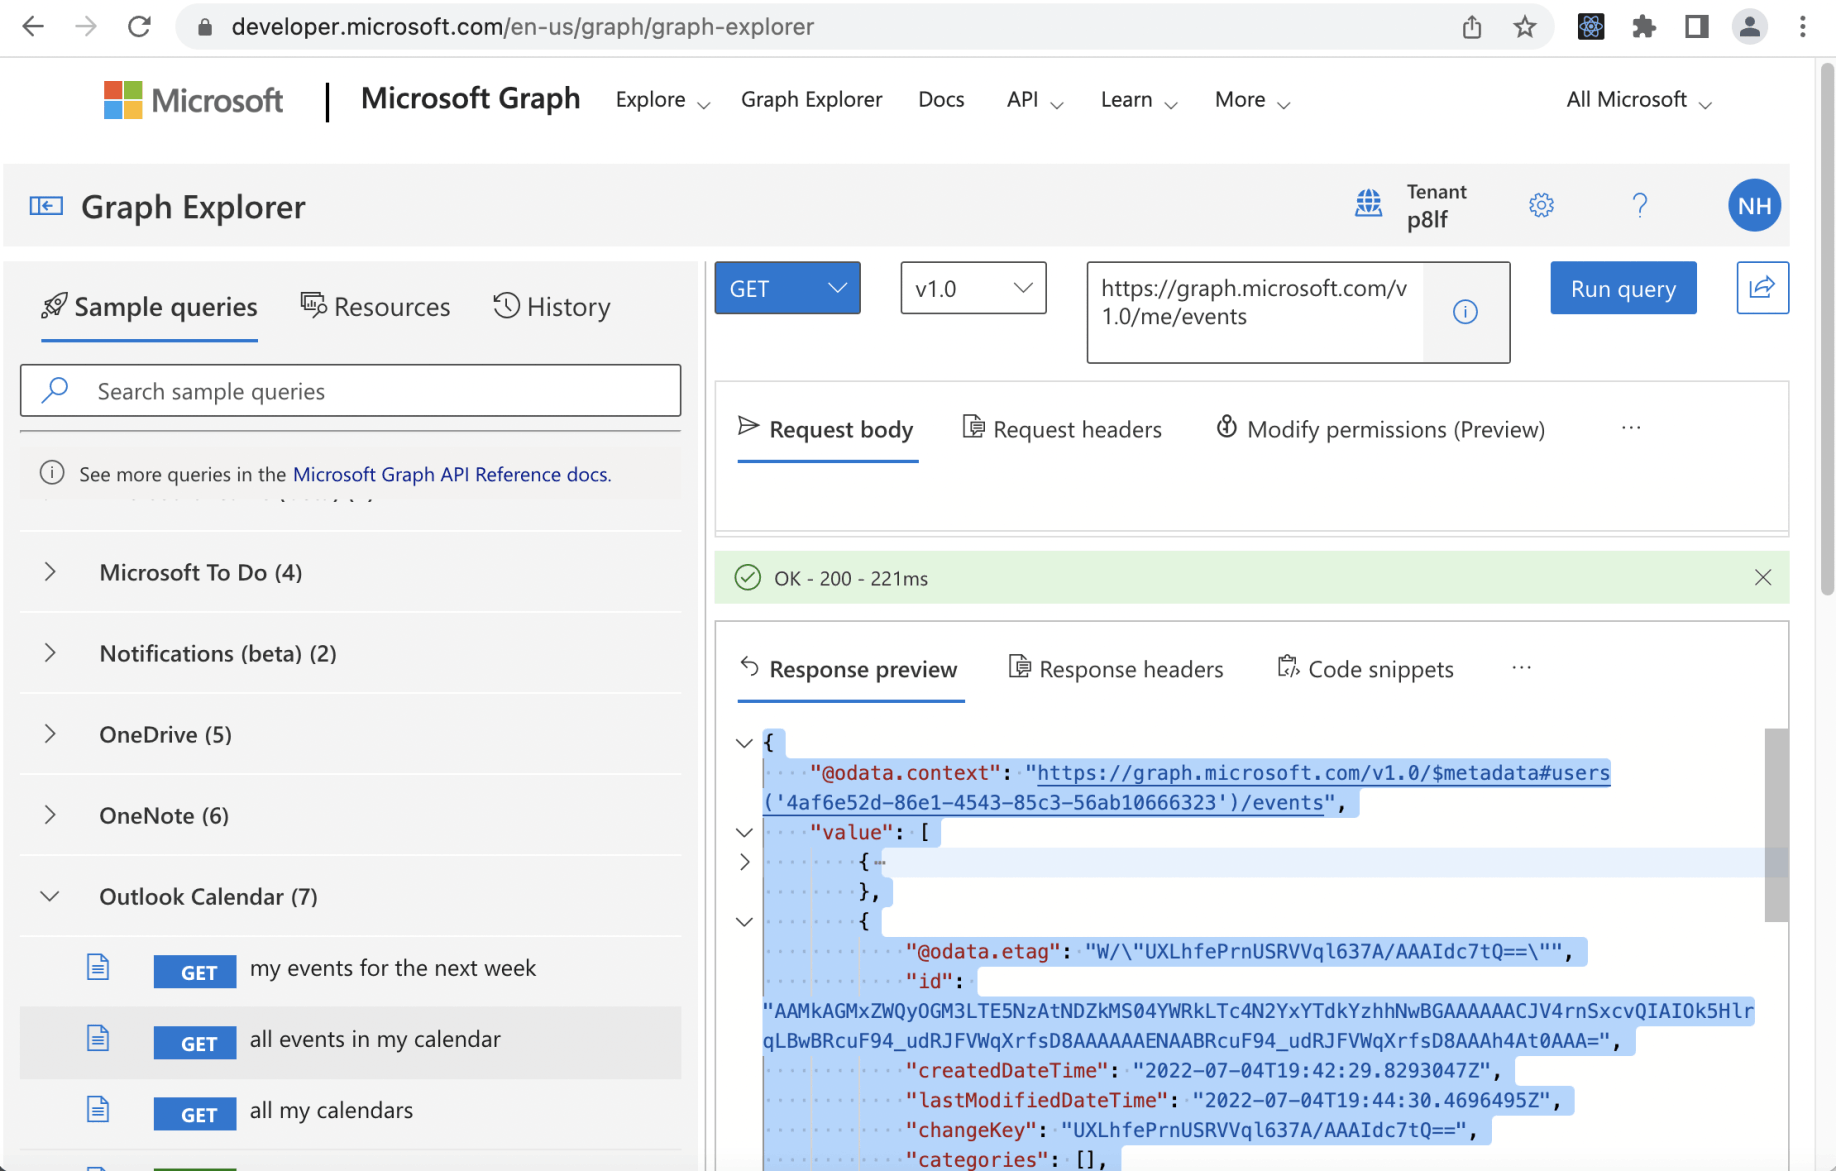
I copied the sample (JSON) response from the Graph Explorer web application (notice that the array of Calendar Events is returned as the "value").
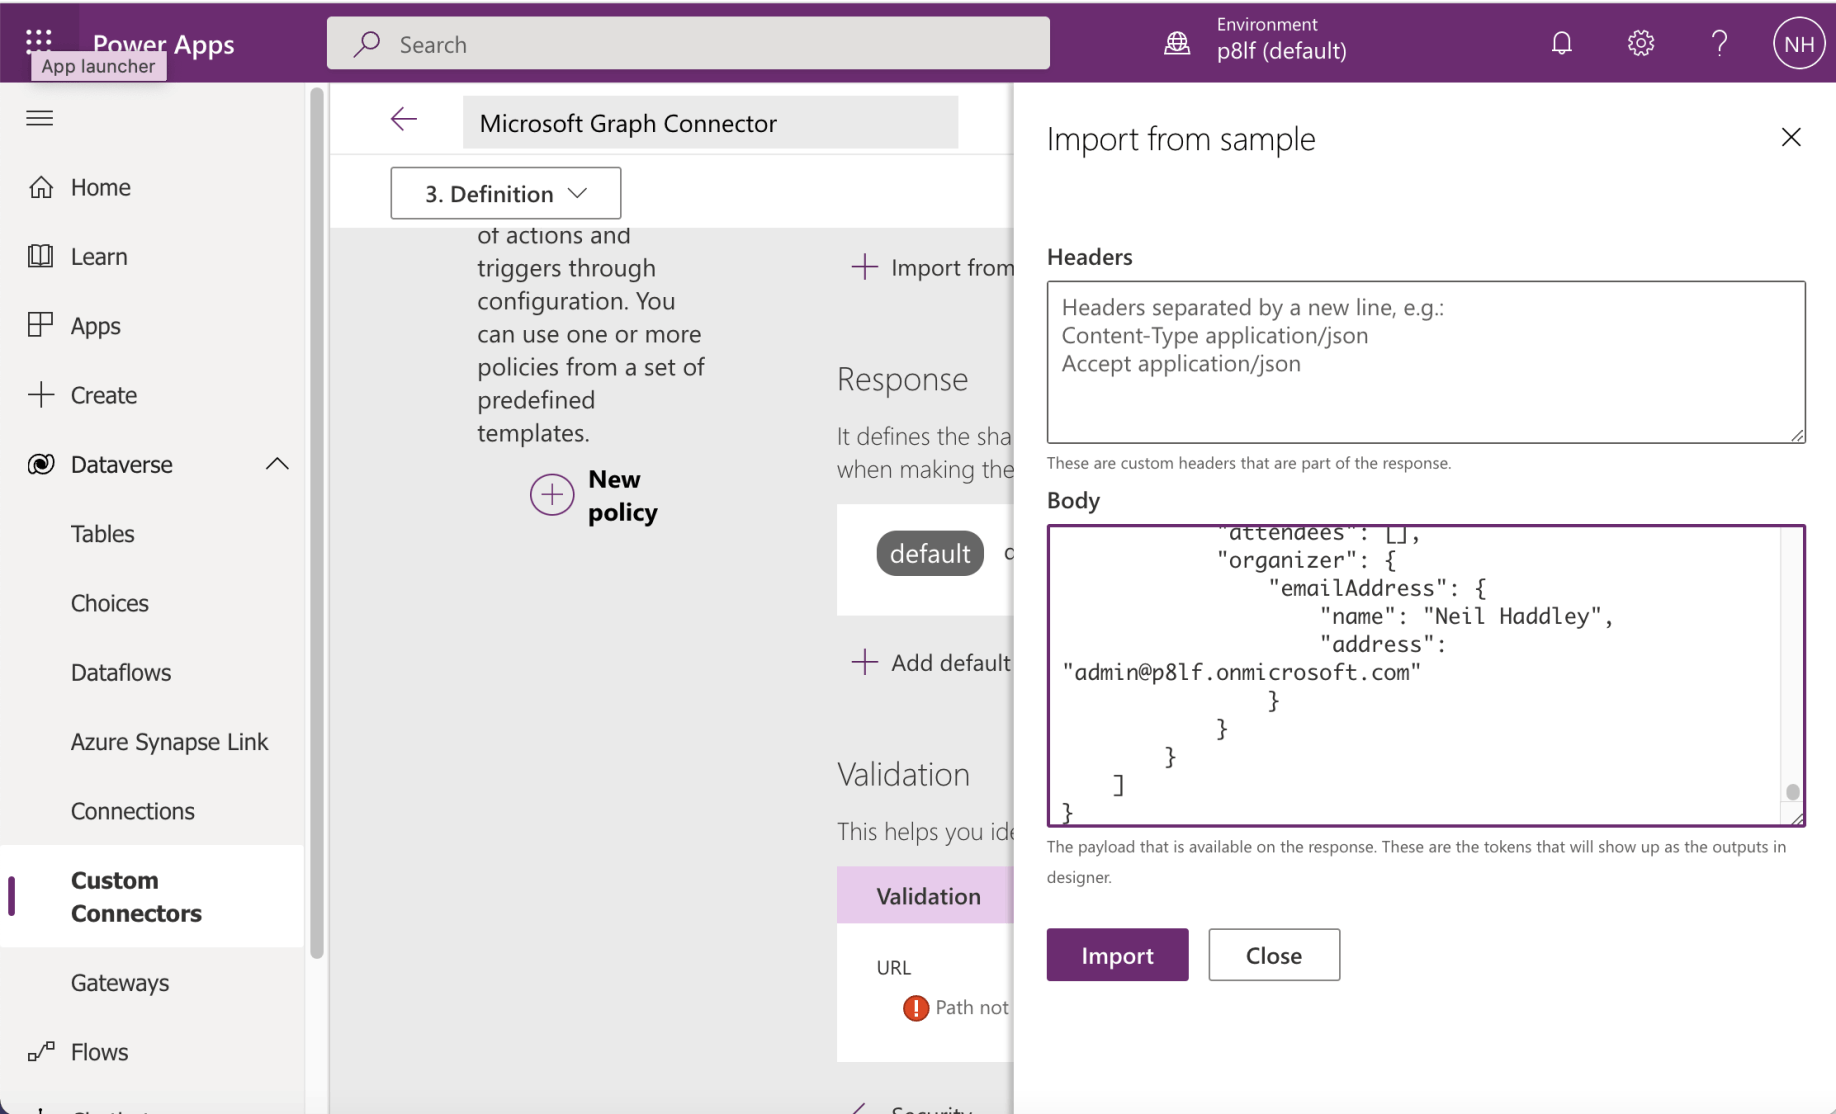
I copied the sample (JSON) response to the new connector action
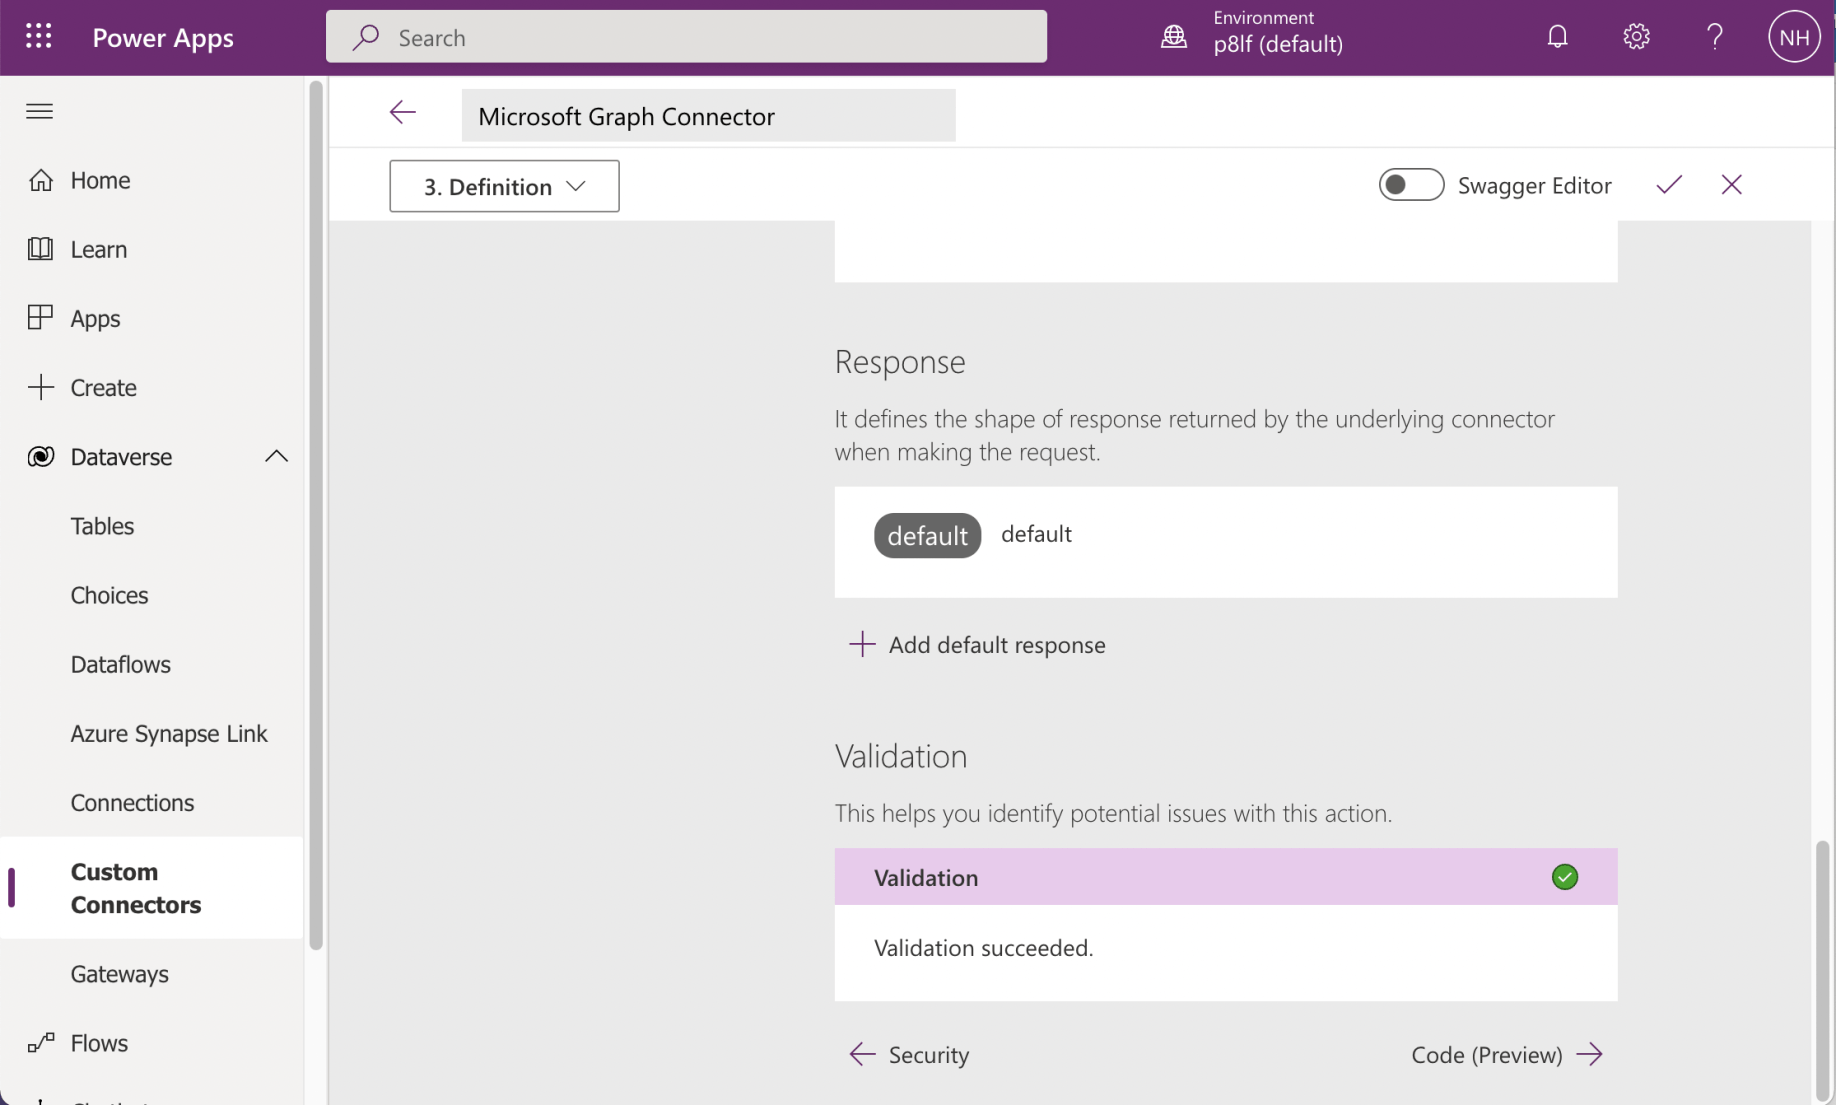
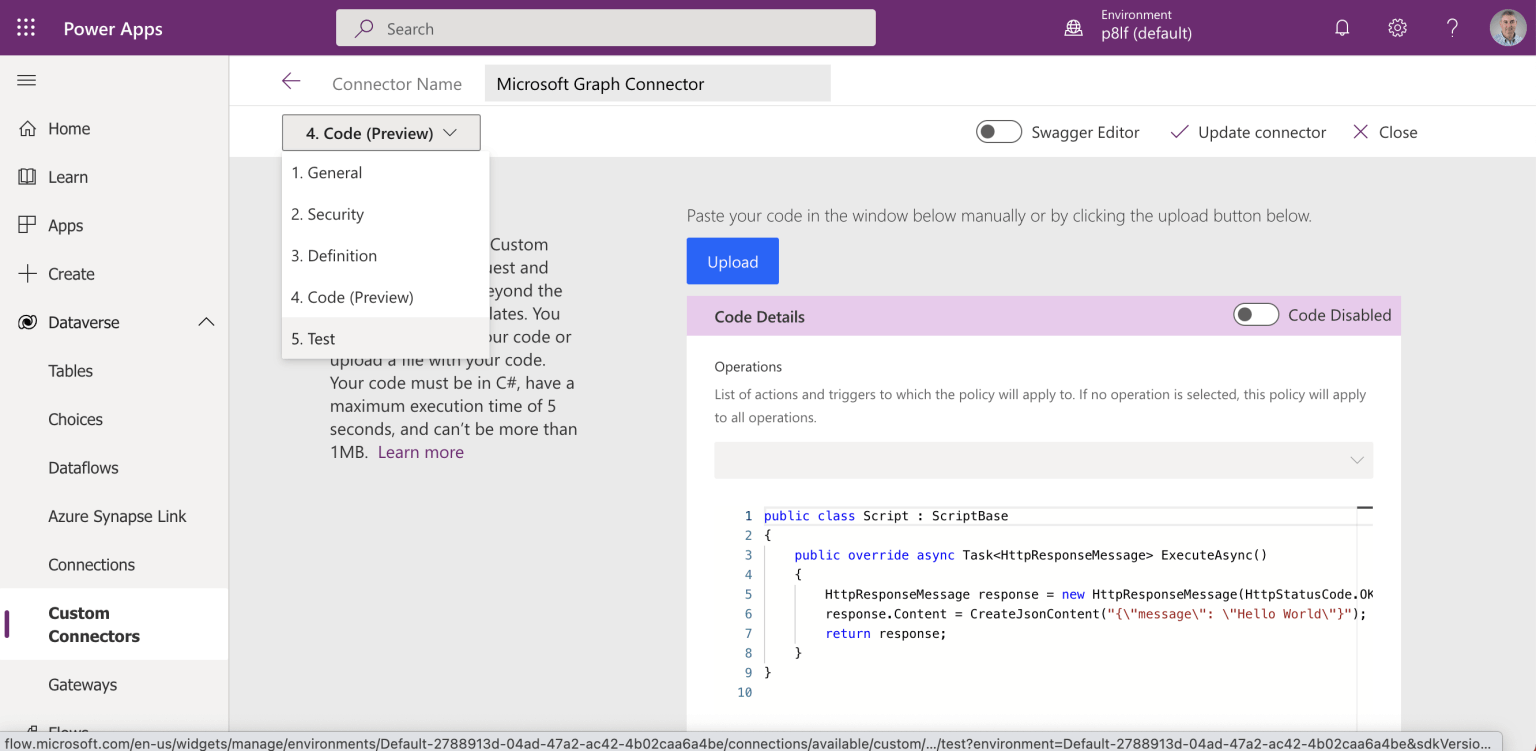
I saw that Validation succeeded and navigated to the Code (Preview) step
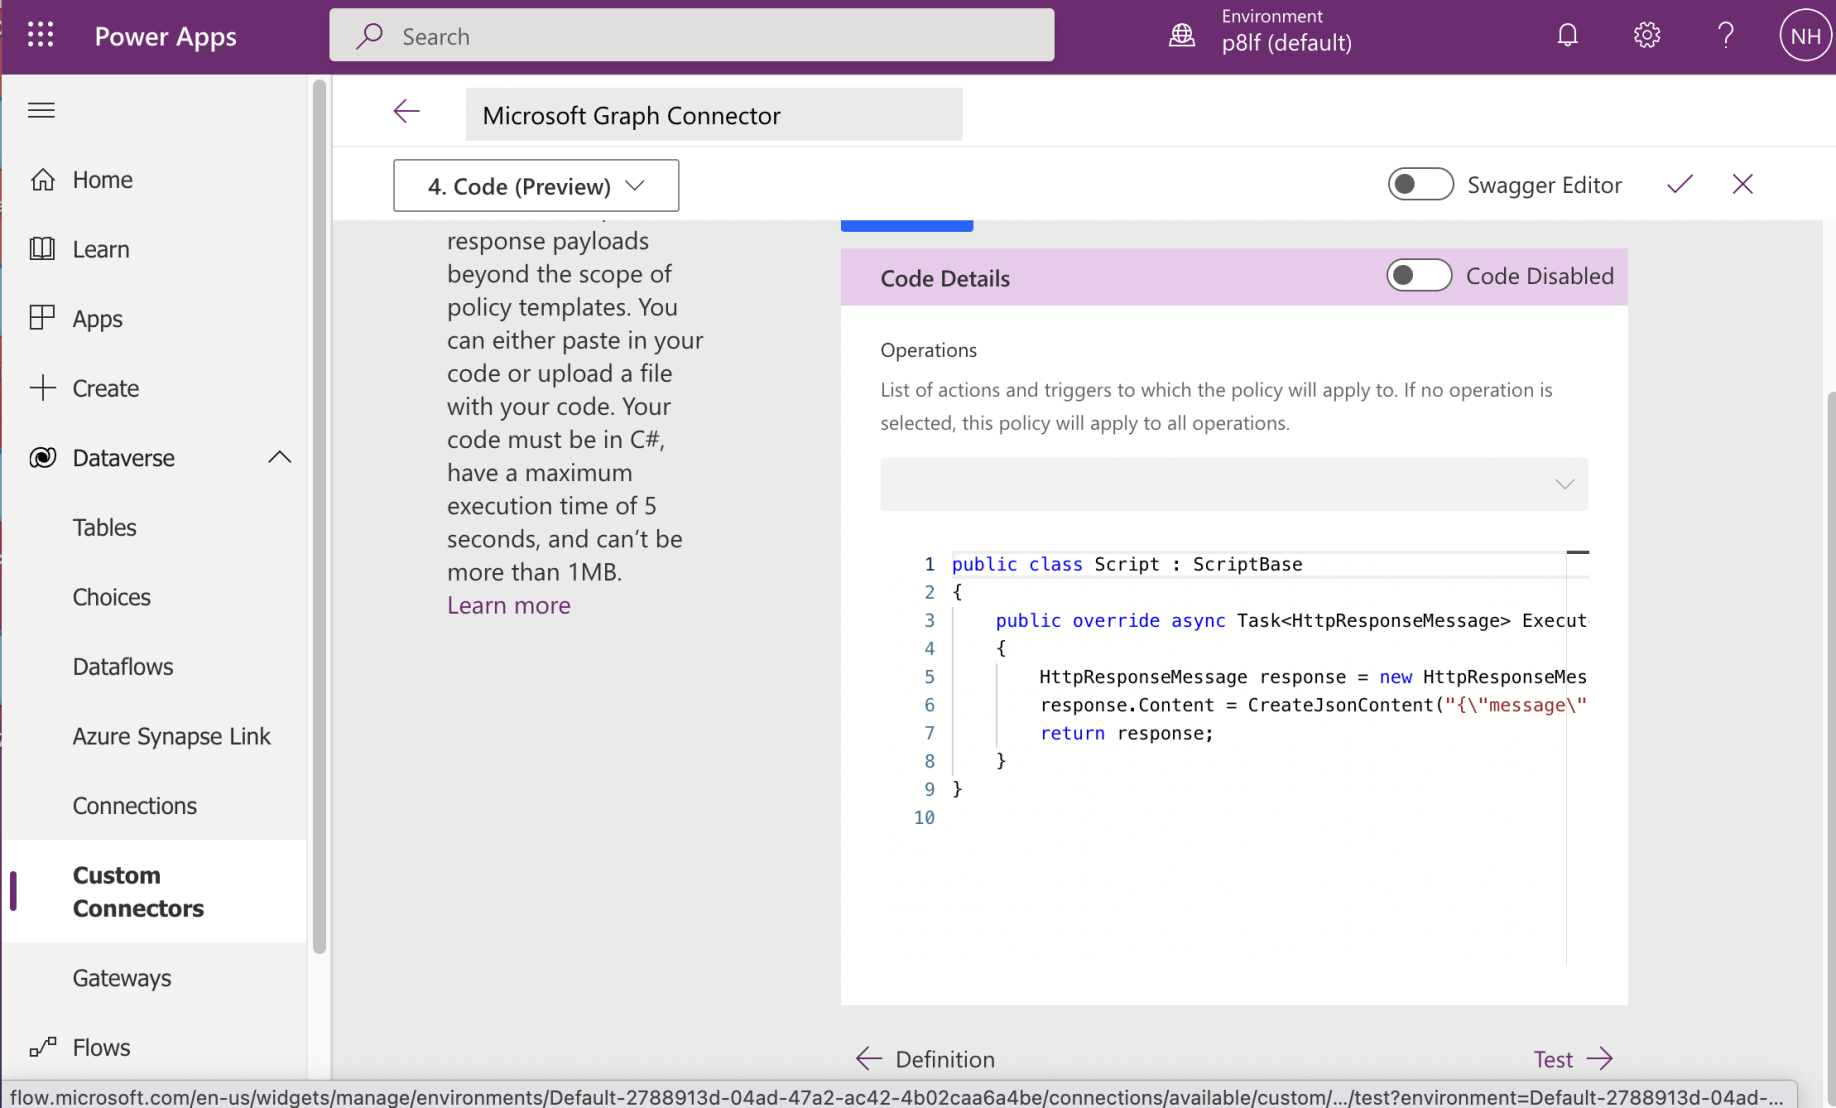
I reviewed the Code Details page then saved the Connector.
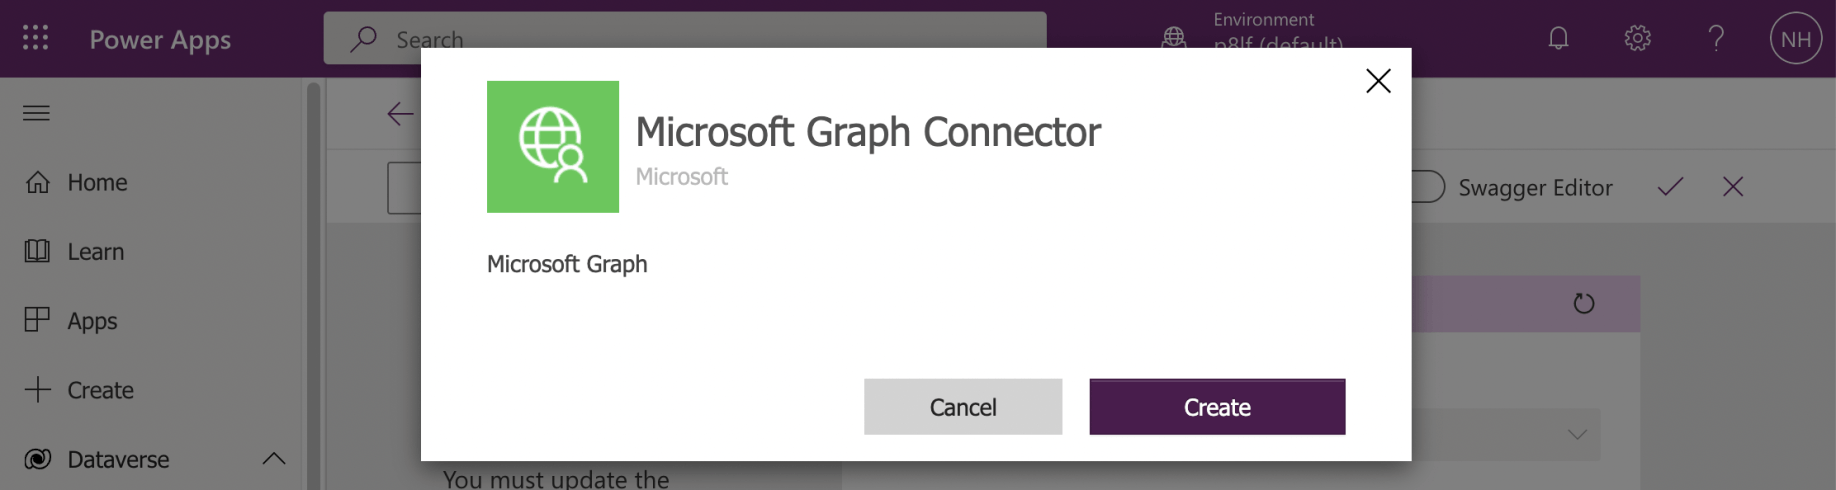
I used the Created button to save the new Connector
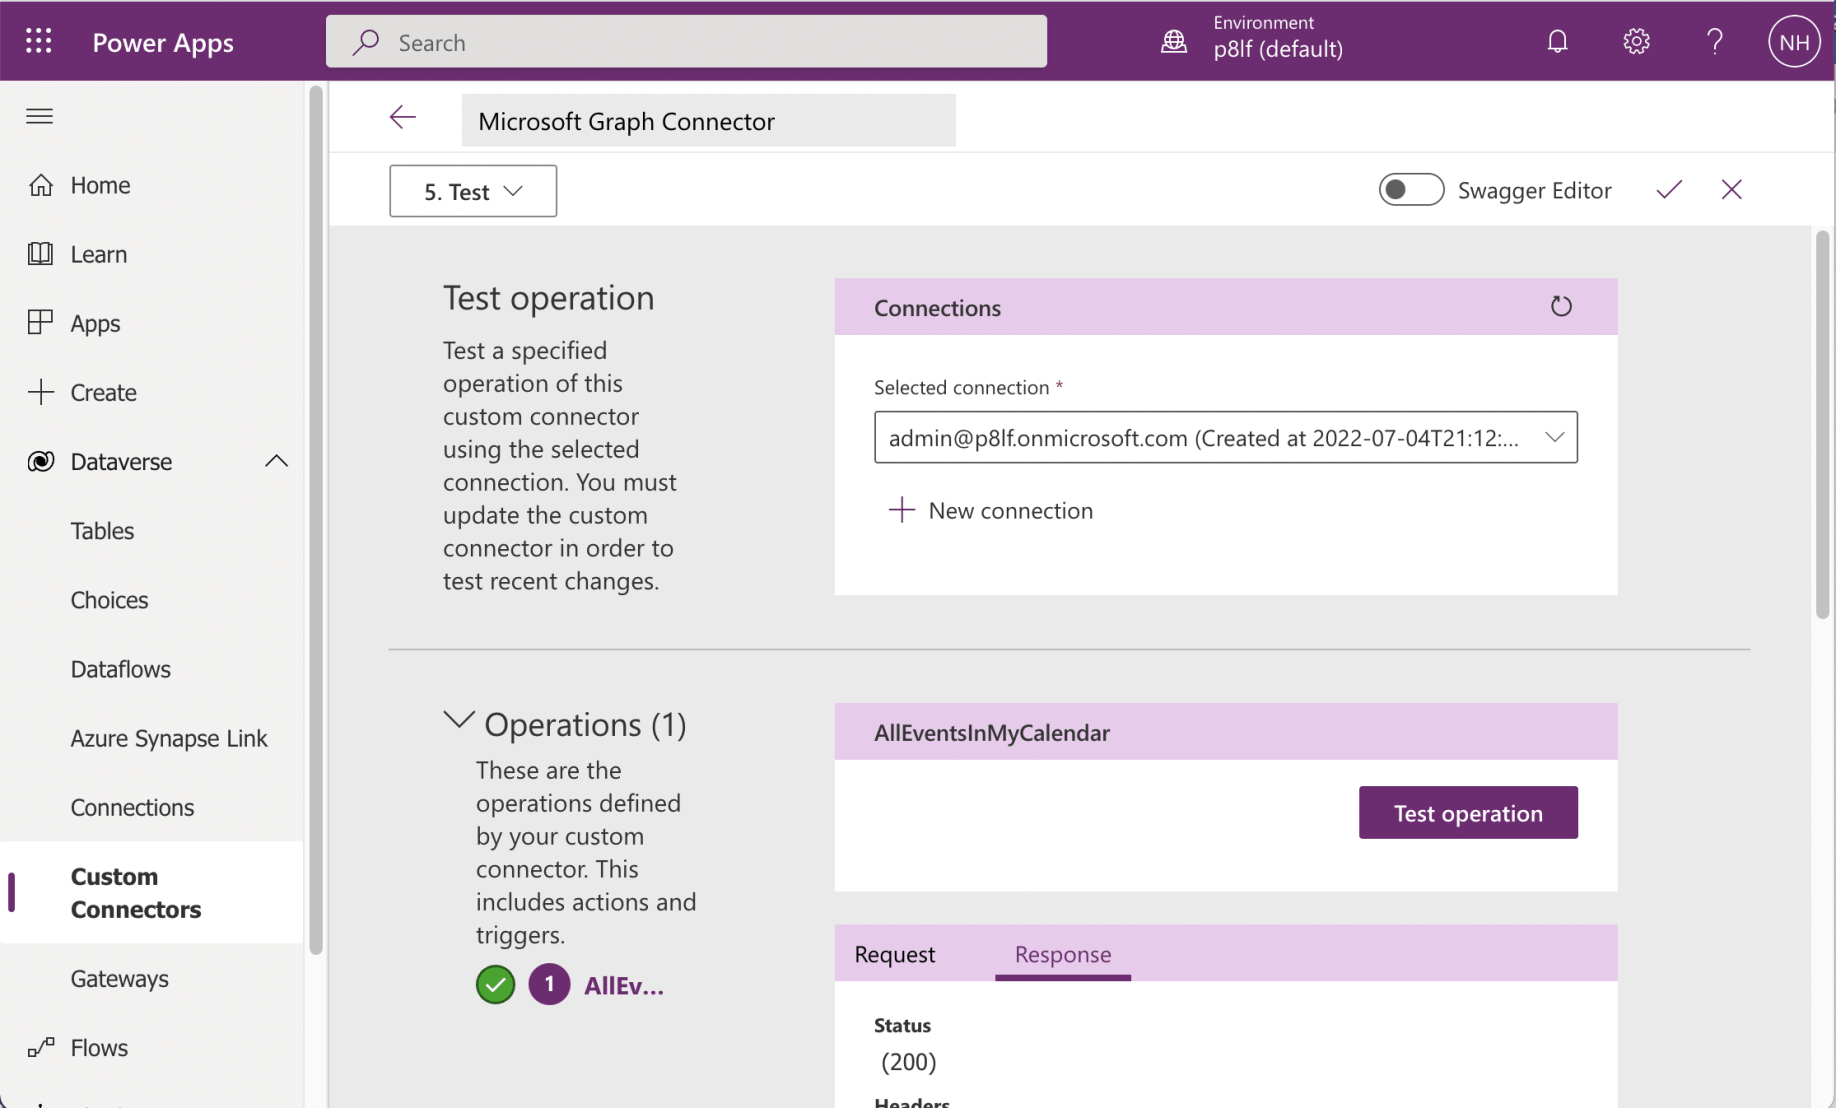
I selected the AllEventsInMyCalendar and clicked the "Test operation" button
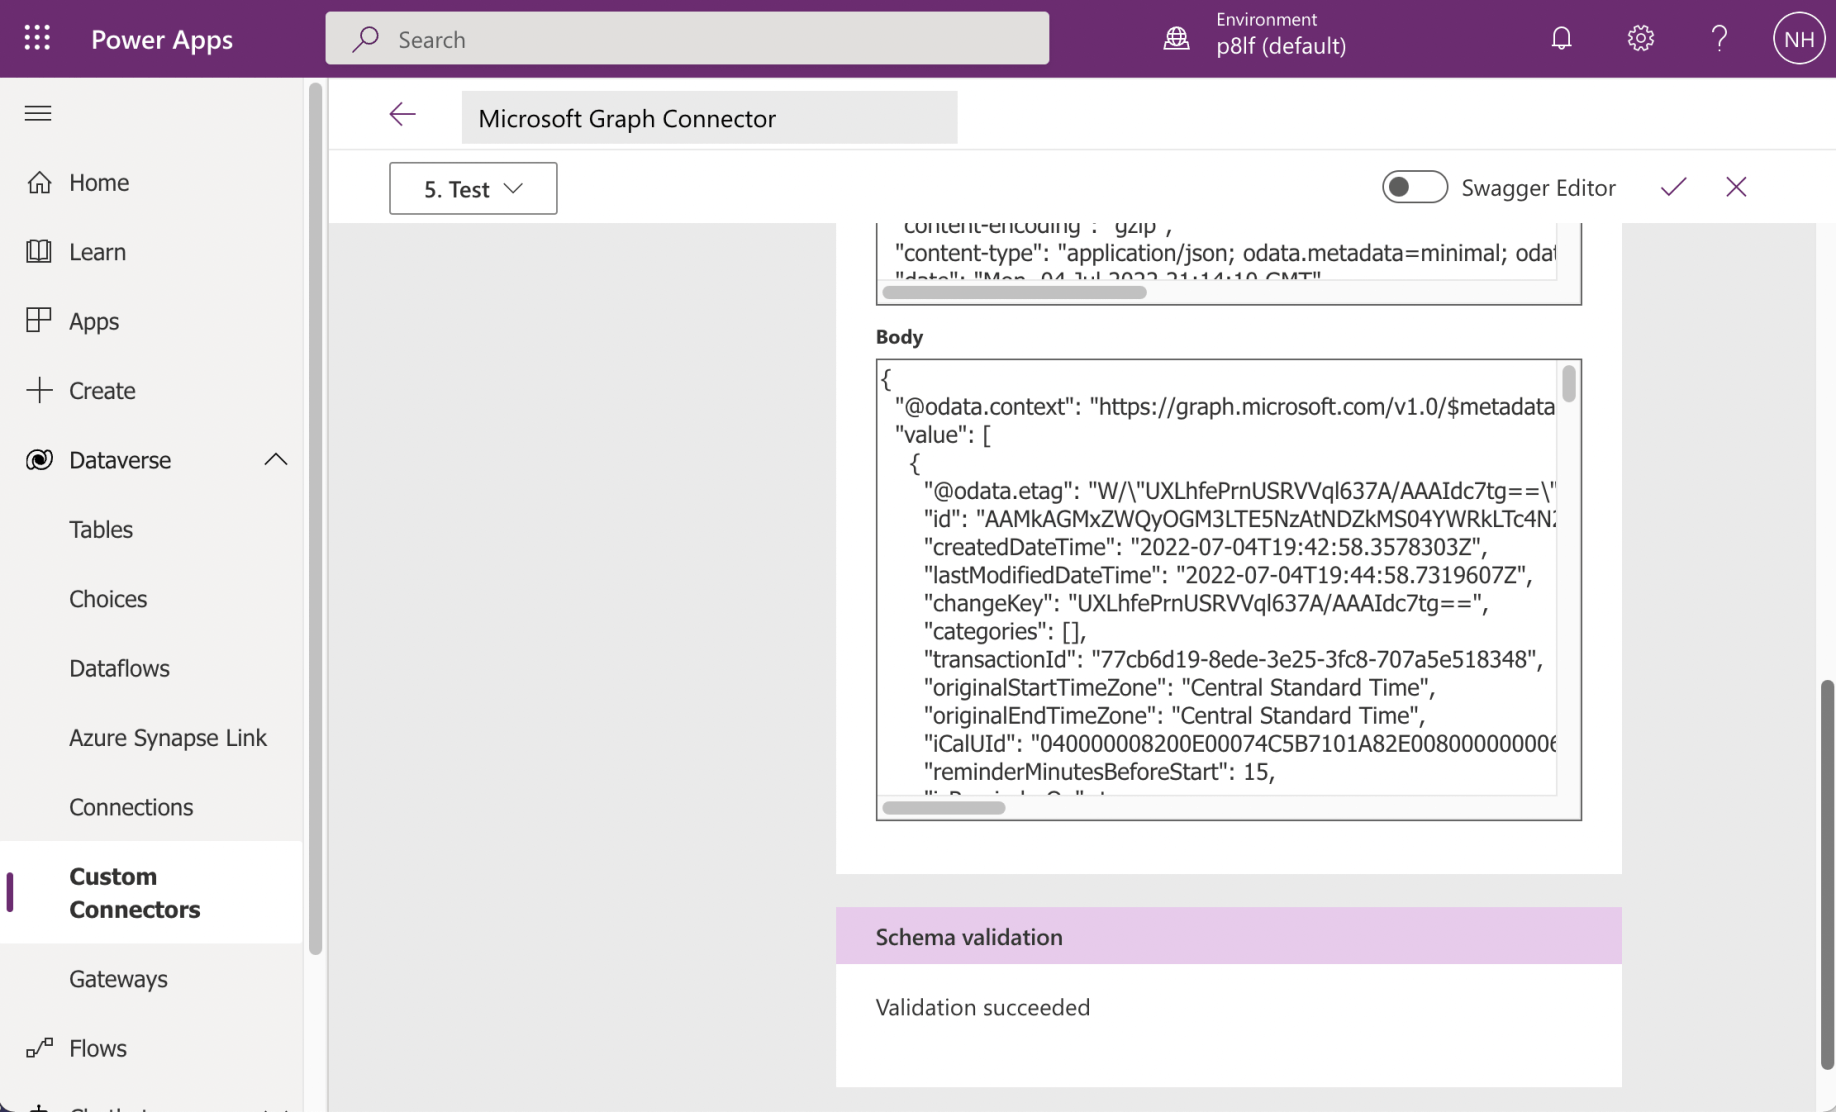
The response looked good.

I created a new Canvas app using the "+ New app" link
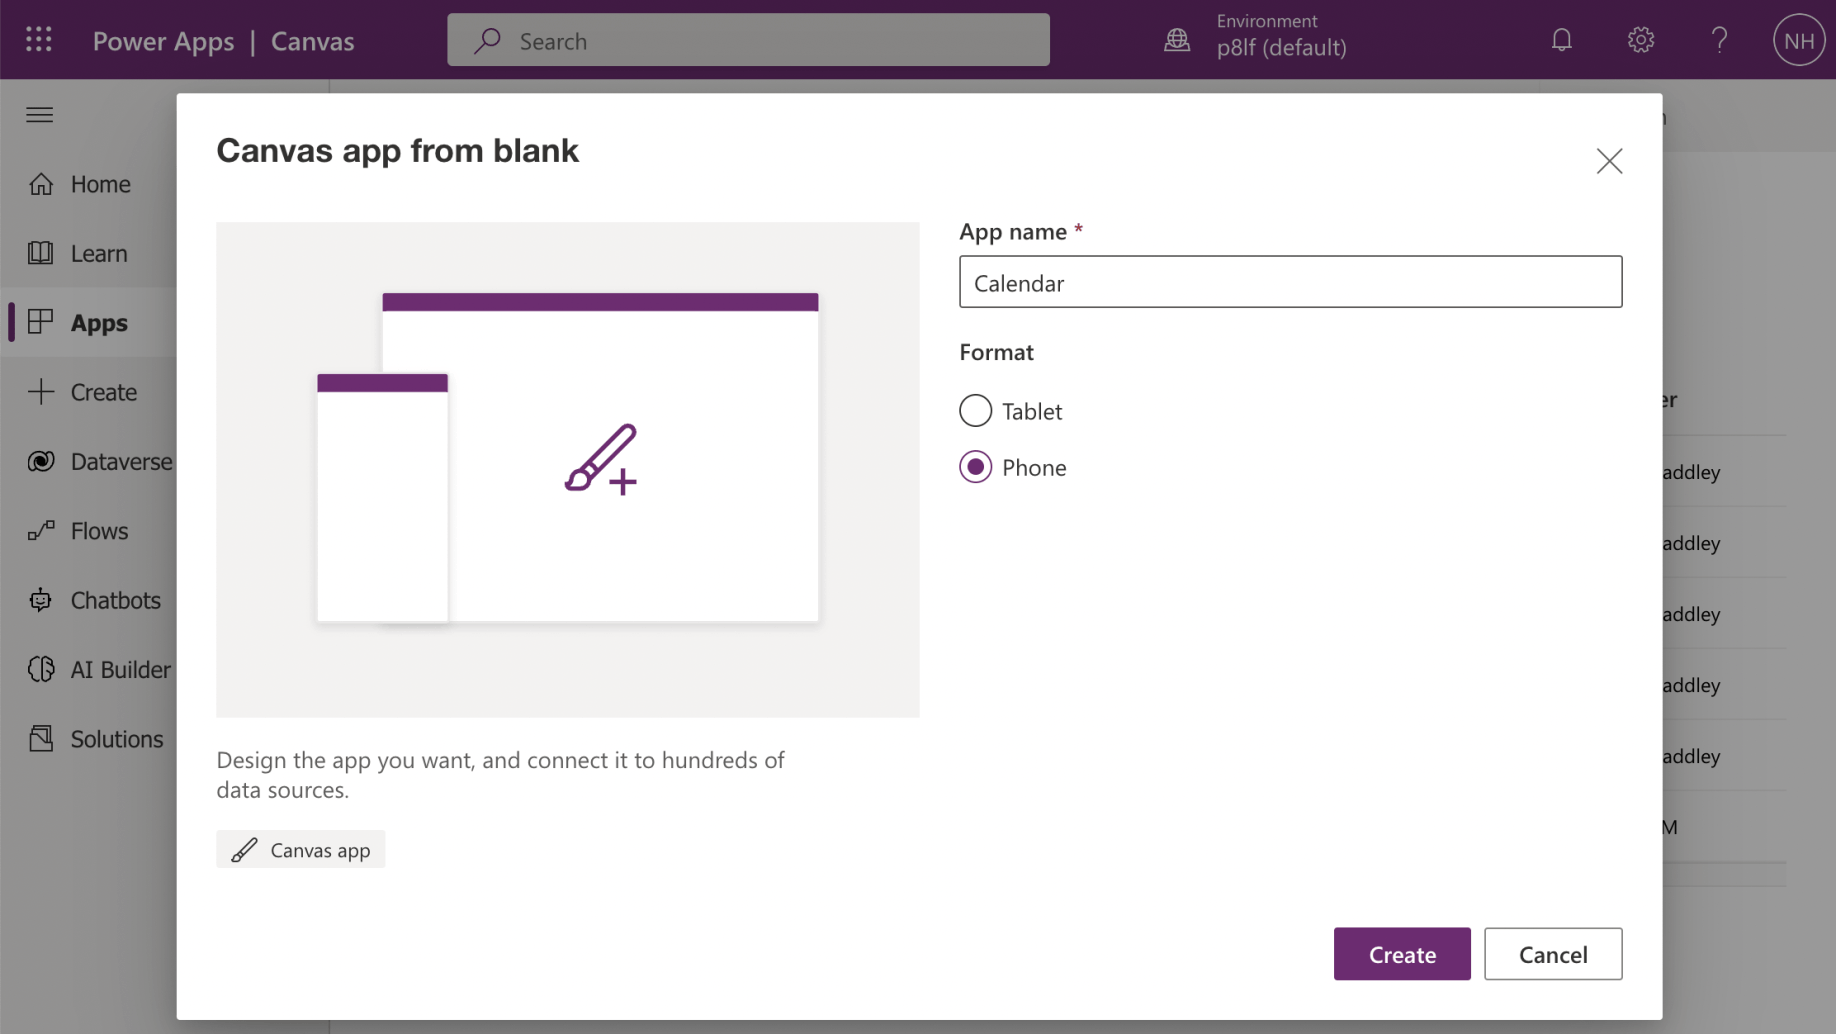
I provided an App name
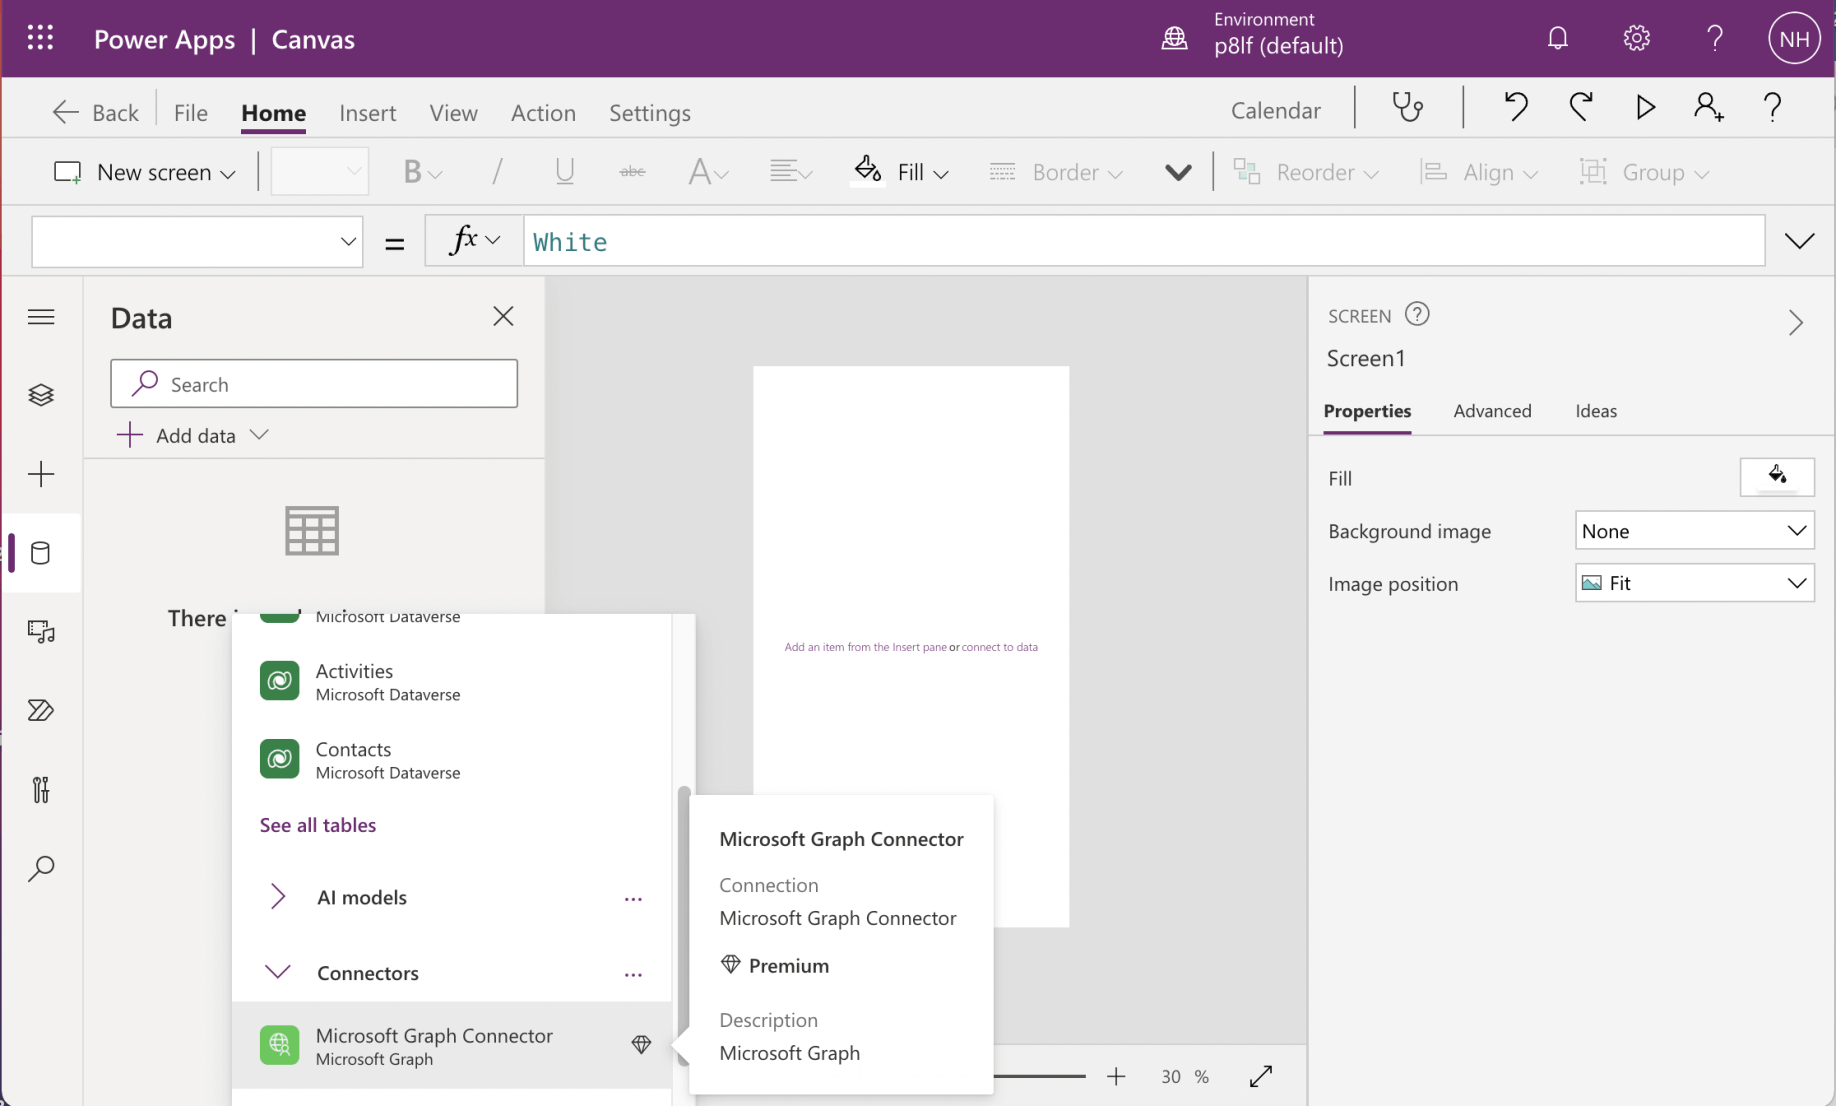
I added the new connector to the Canvas app

Screen1's OnVisible property is set to "Collect(Calendar, (MicrosoftGraphConnector.AllEventsInMyCalendar().value)"
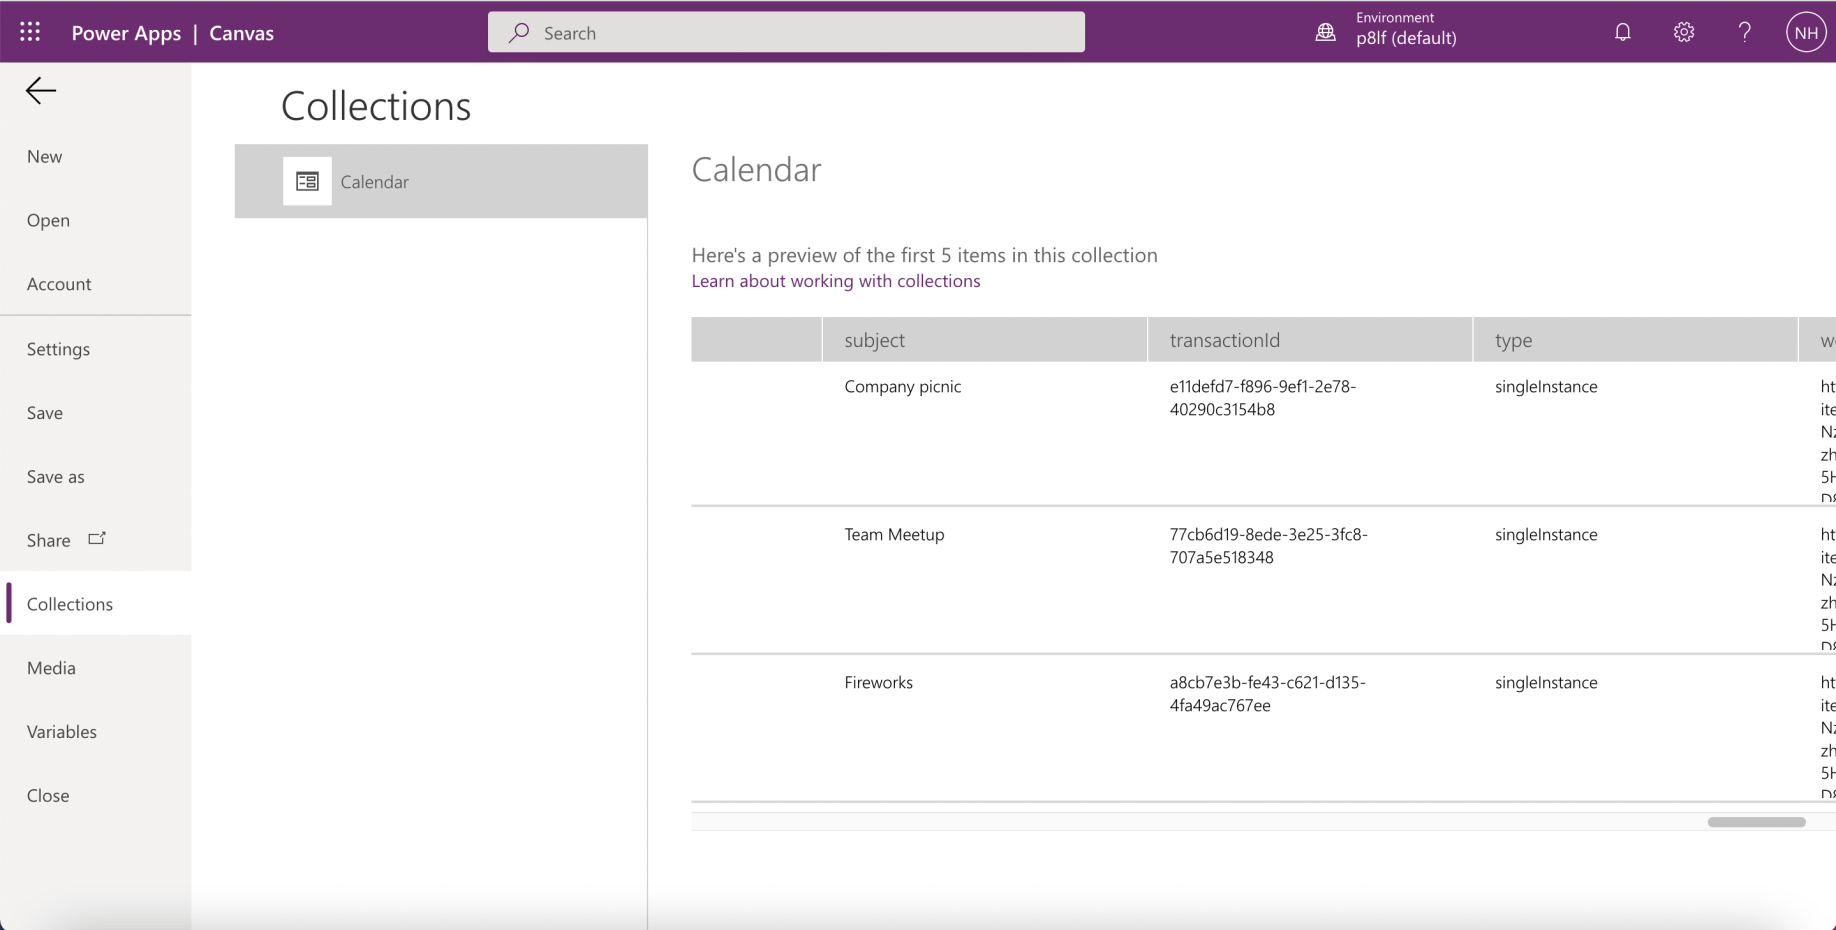
Running the Canvas app created a Calendar collection of Events.

I added a Gallery to Screen1 and set its Items property to the Calendar collection.
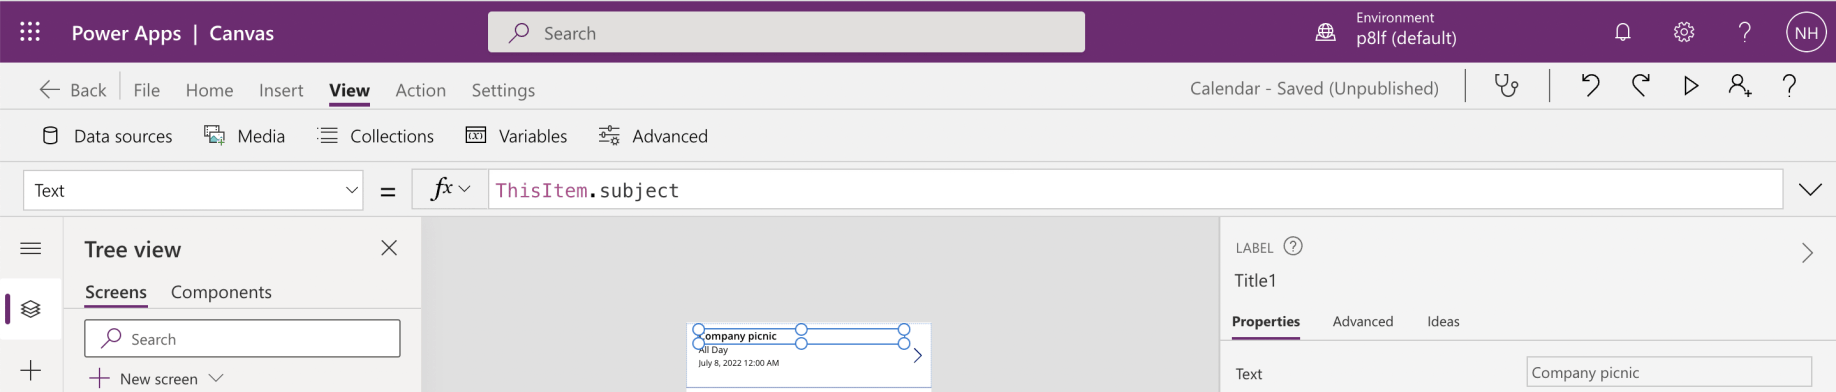
I updated the item template setting Title to the Event item's "subject"
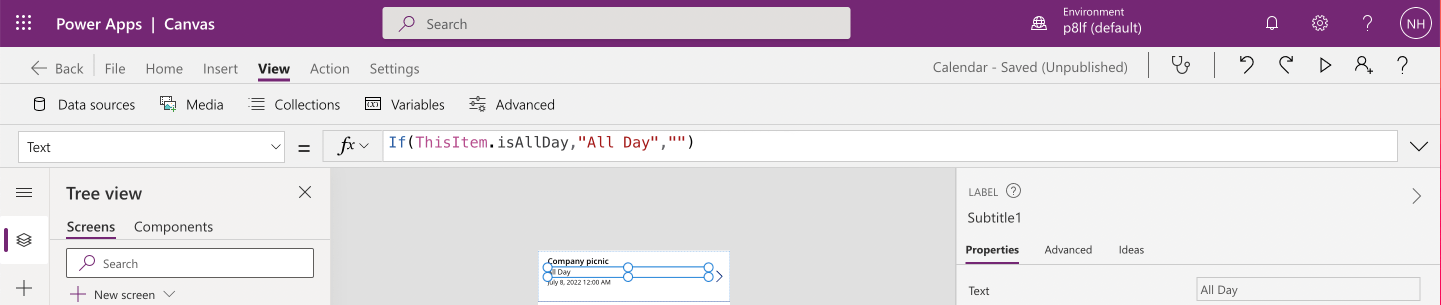
I updated the item template setting Subtitle to "All Day" if the Event item's isAllDay field is true.
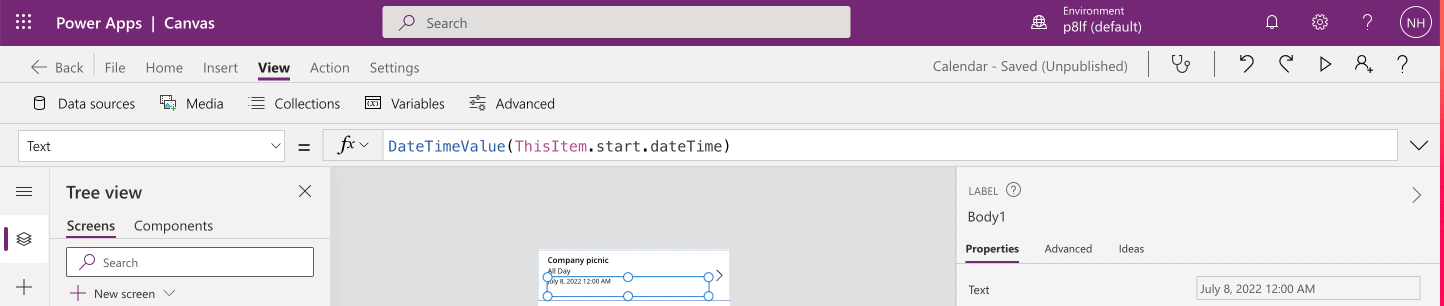
I updated the item template setting Body to the Event item's "start.datetime"
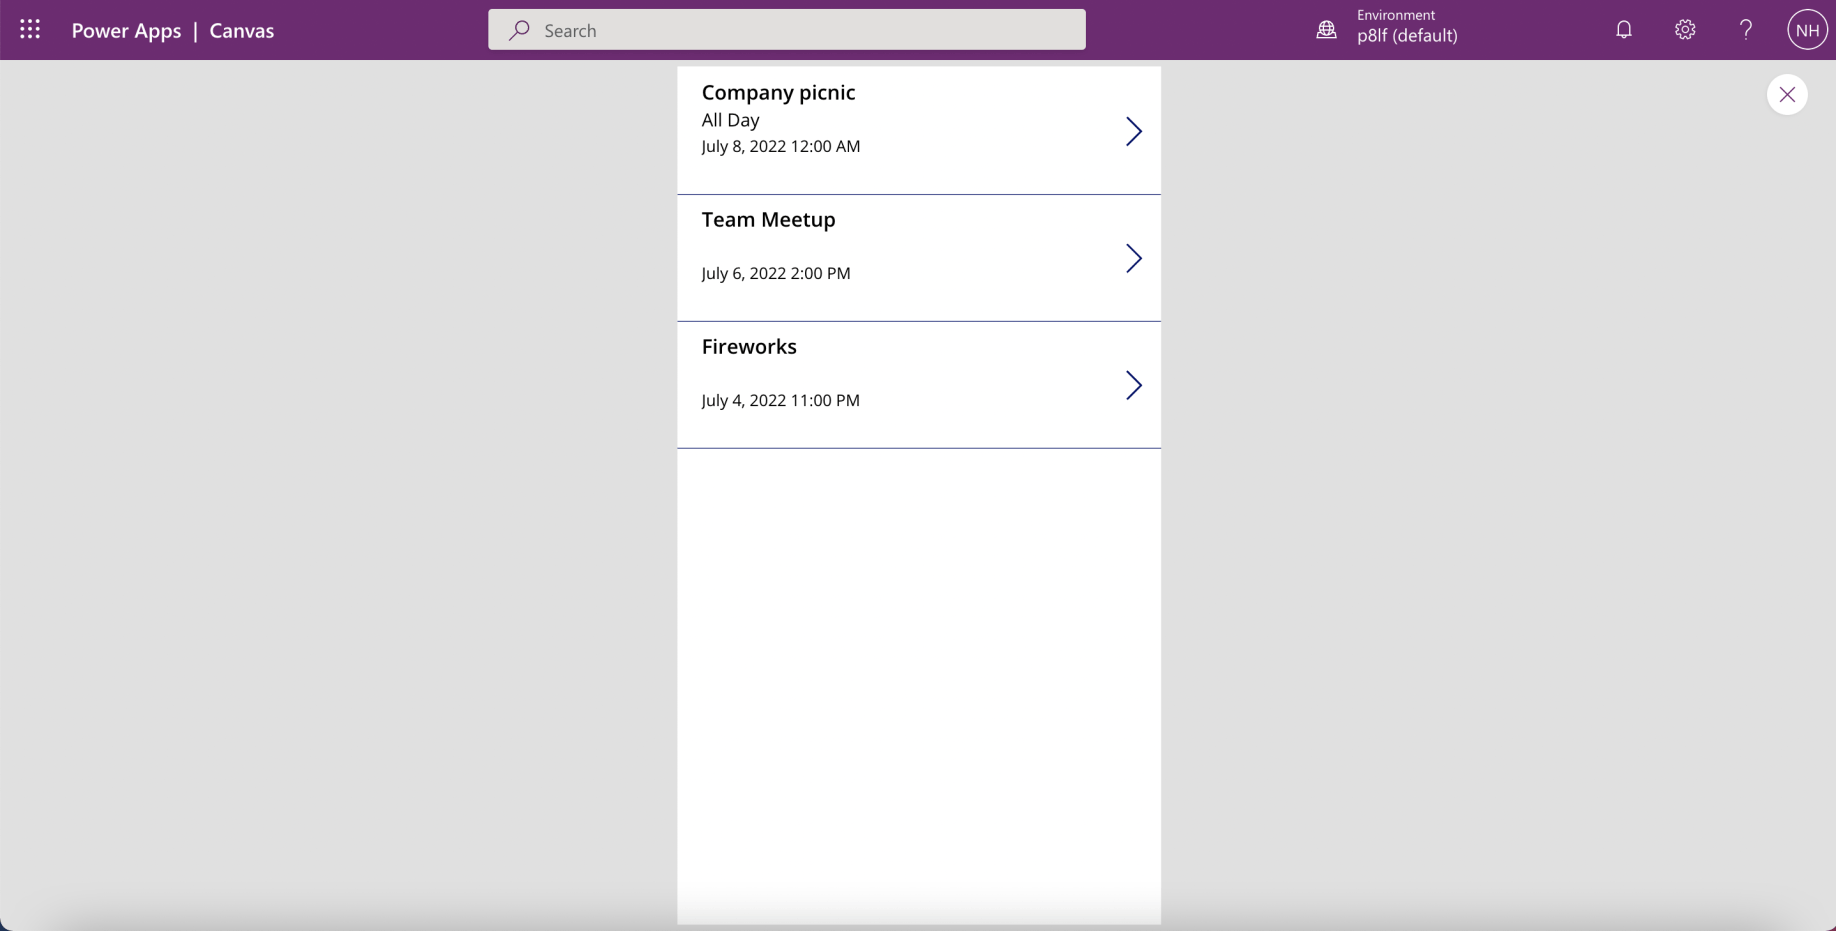
The Calendar application was complete
Adding UserByEmail
Finally I added a UserByEmail action to the Connector
A User by email request requires User.Read.All permissions
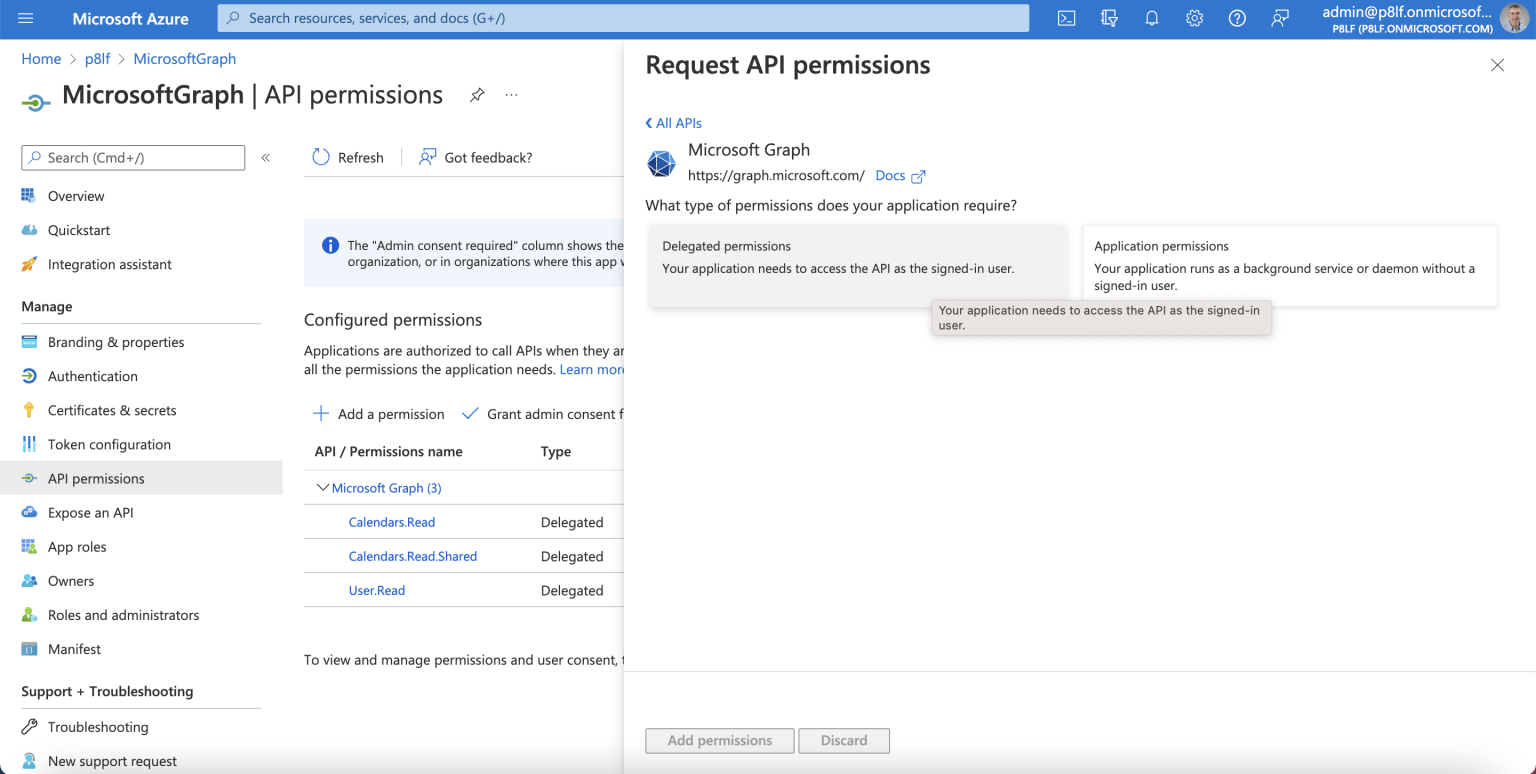
I updated the existing Application Registration and added a permission
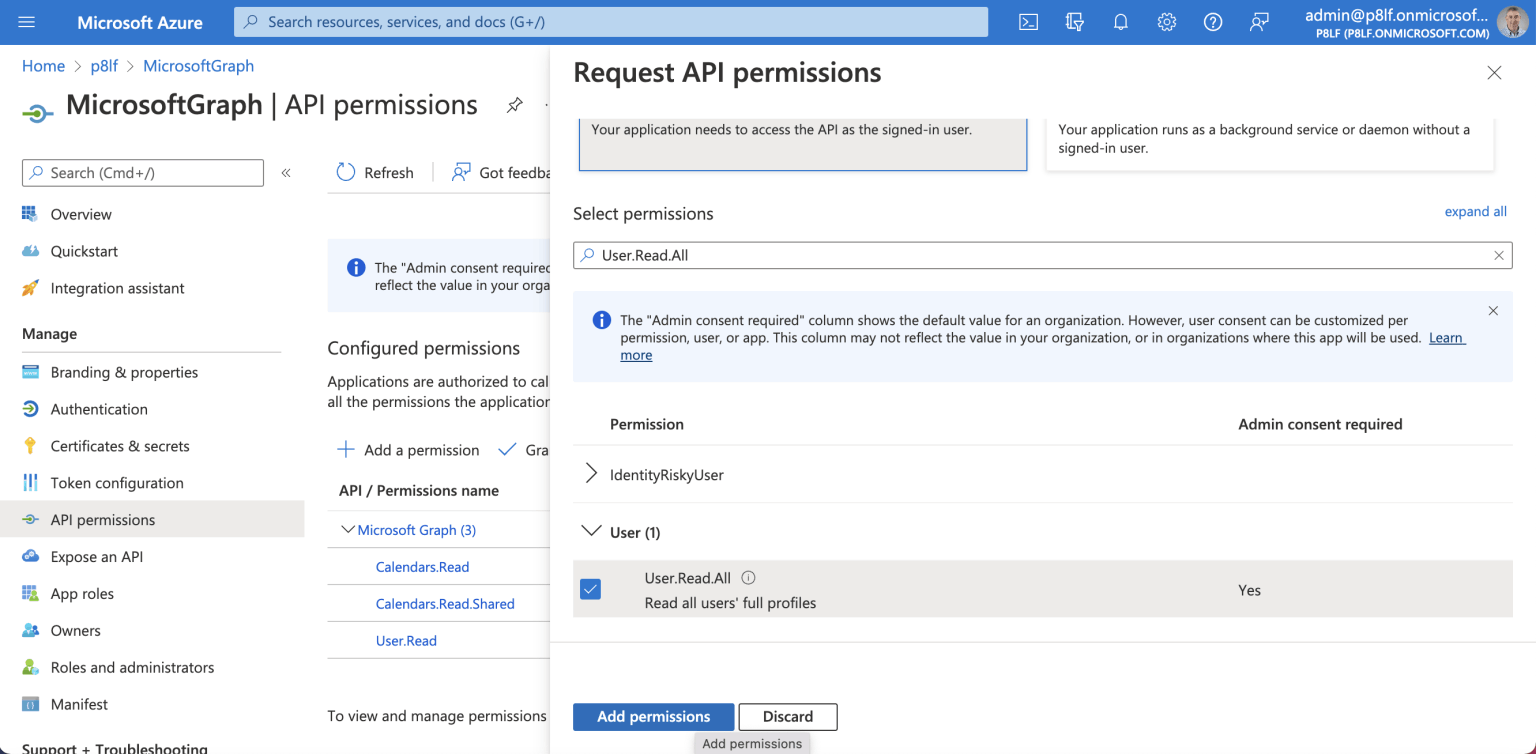
I added the User.Read.All permission
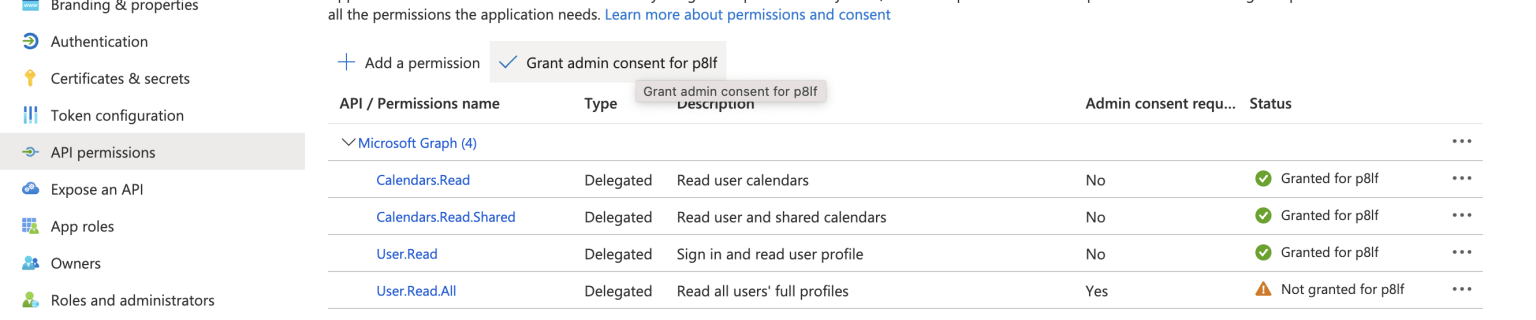
I updated the permissions and granted admin consent
I edited the Custom Connection

I added a new action
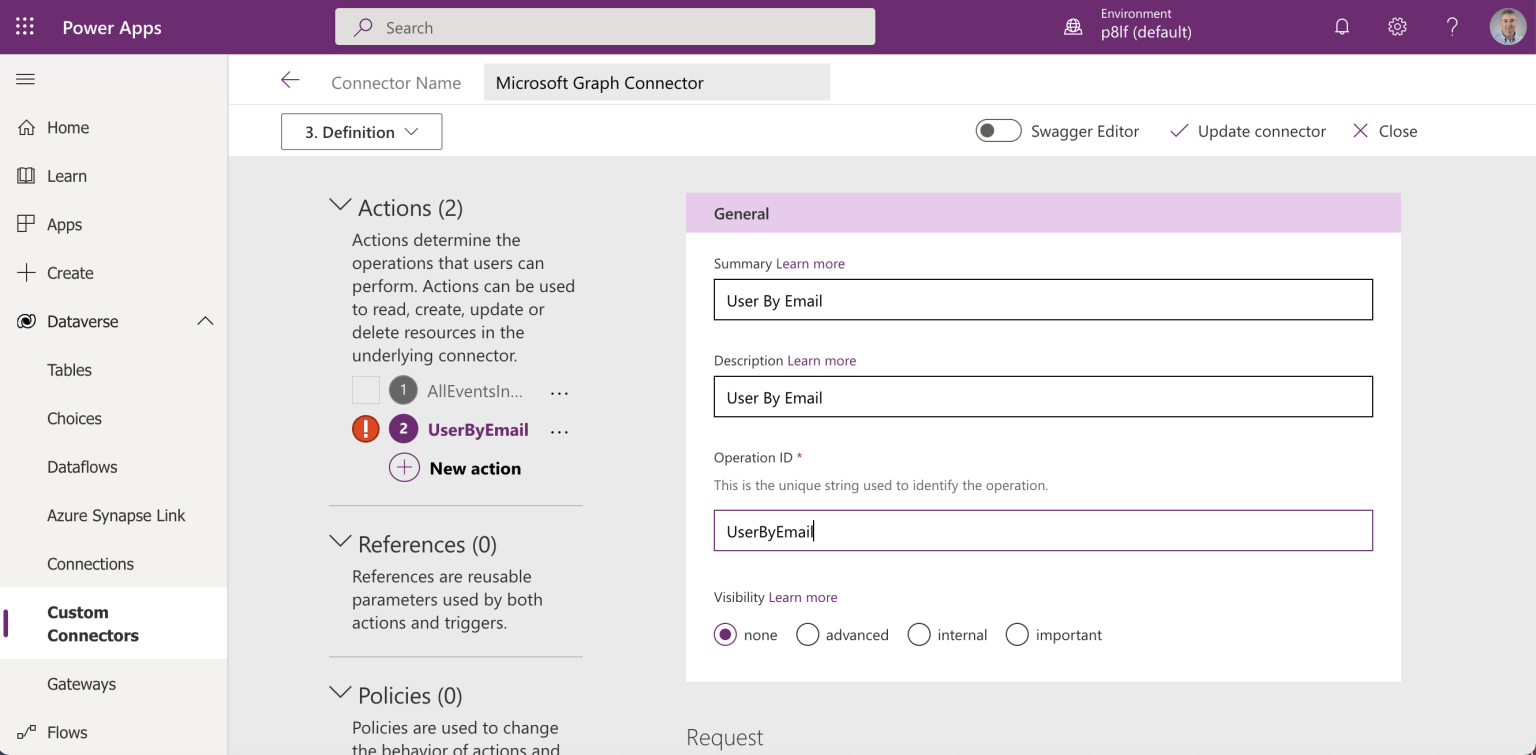
I entered general details
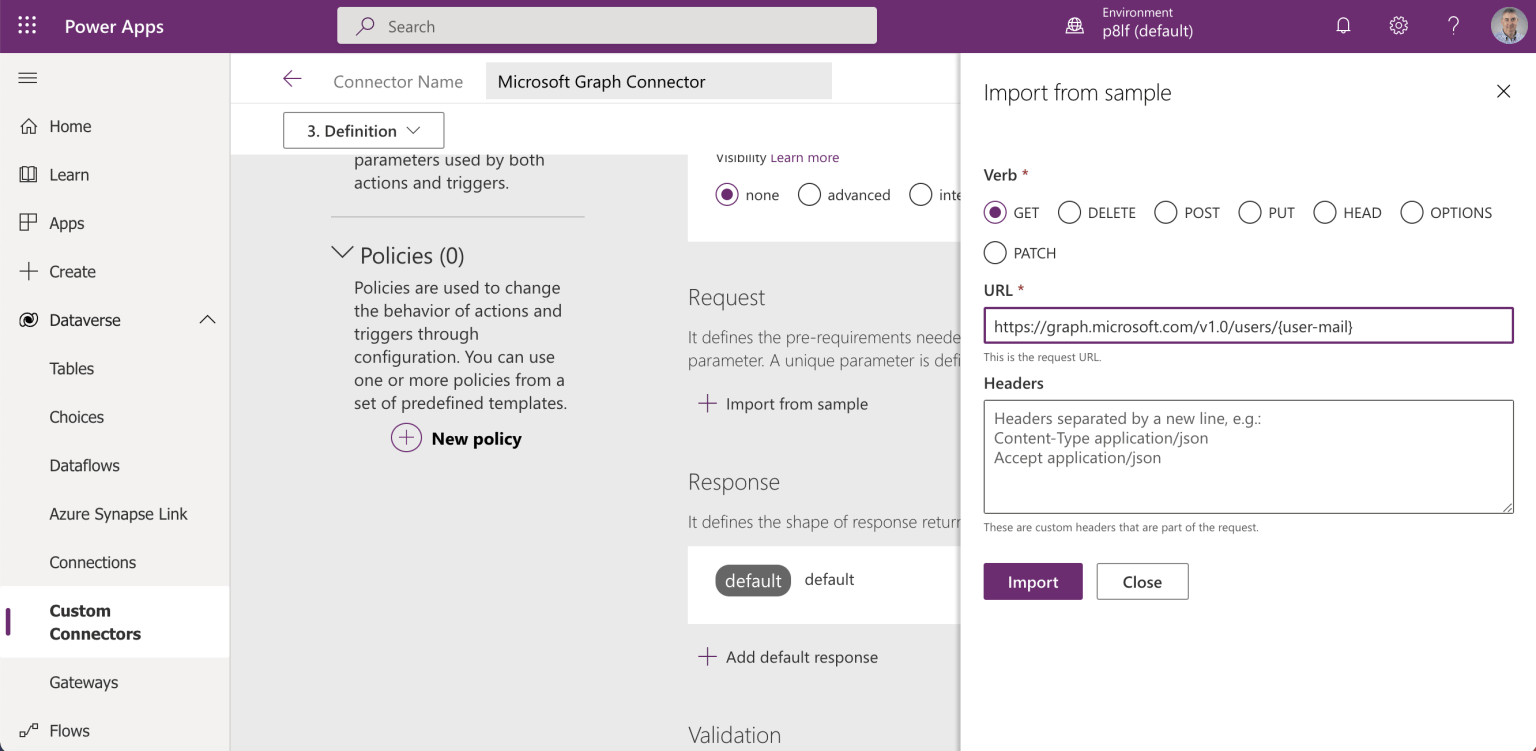
I entered the request details (notice that a value for {user-mail} will need to be provided when the action is invoked)

I copied a sample response from Graph Explorer to the Custom Connector
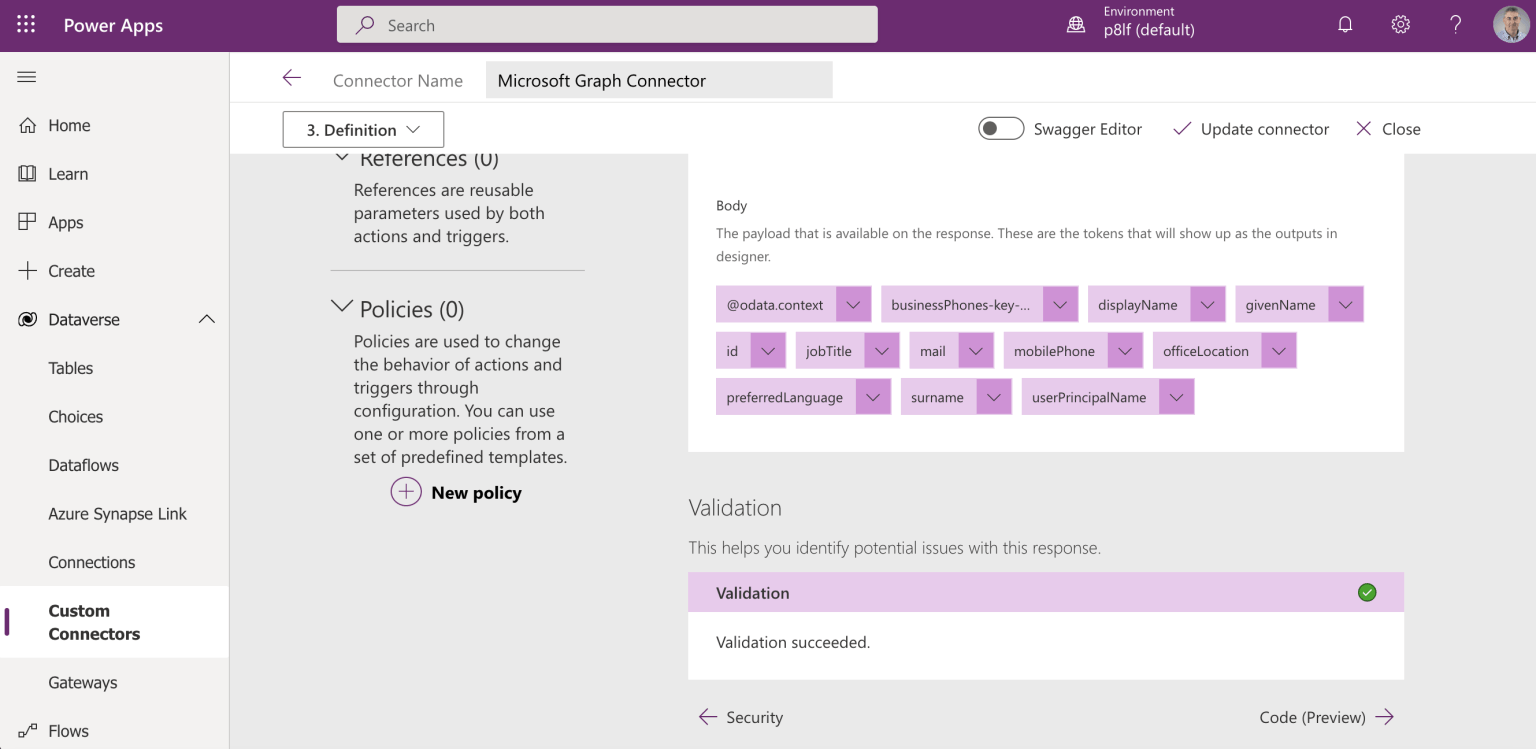
The Custom Connector displayed details of the response body
I updated the Custom Connector and navigated to the Test step
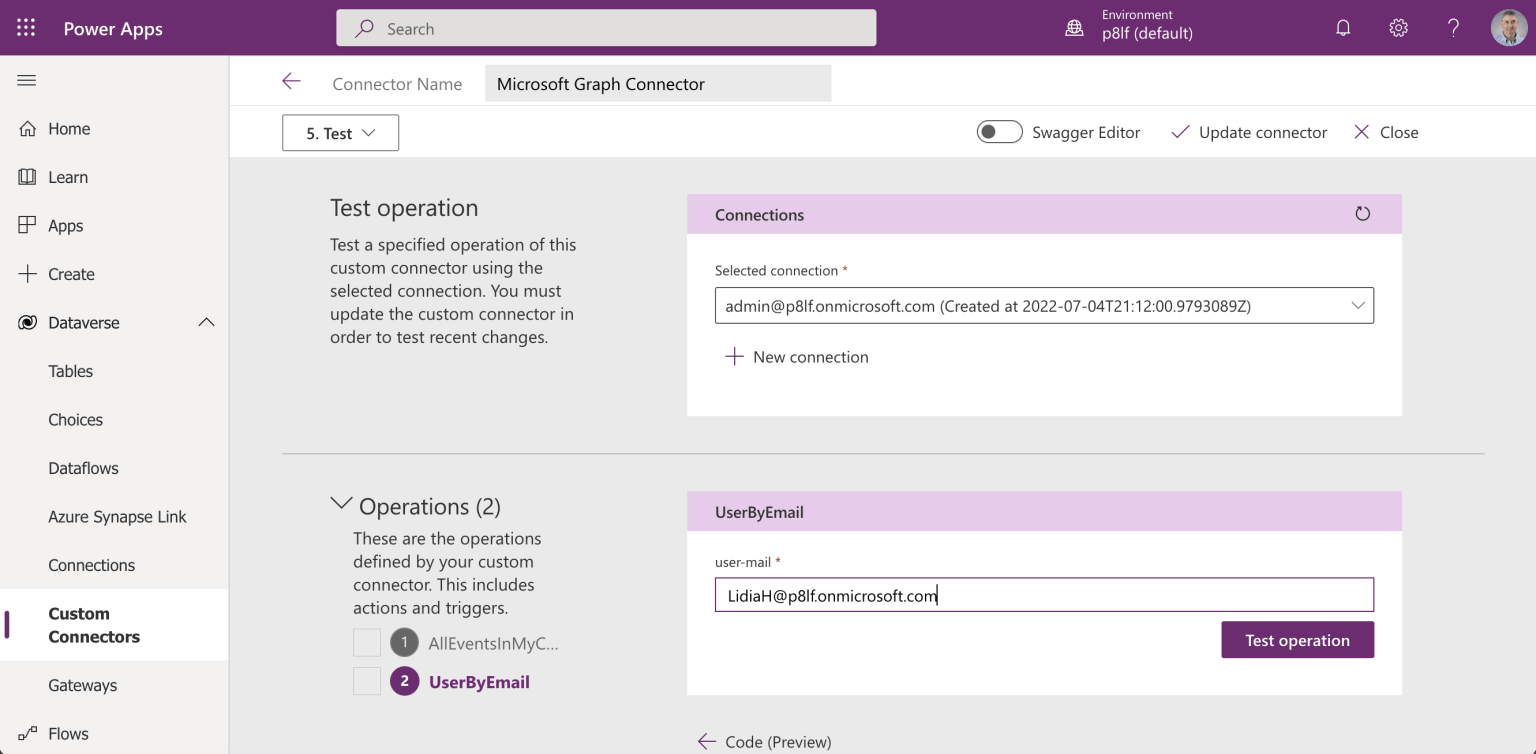
I provided a value for the "user-email" parameters and clicked the Test operation button

The action returned a result
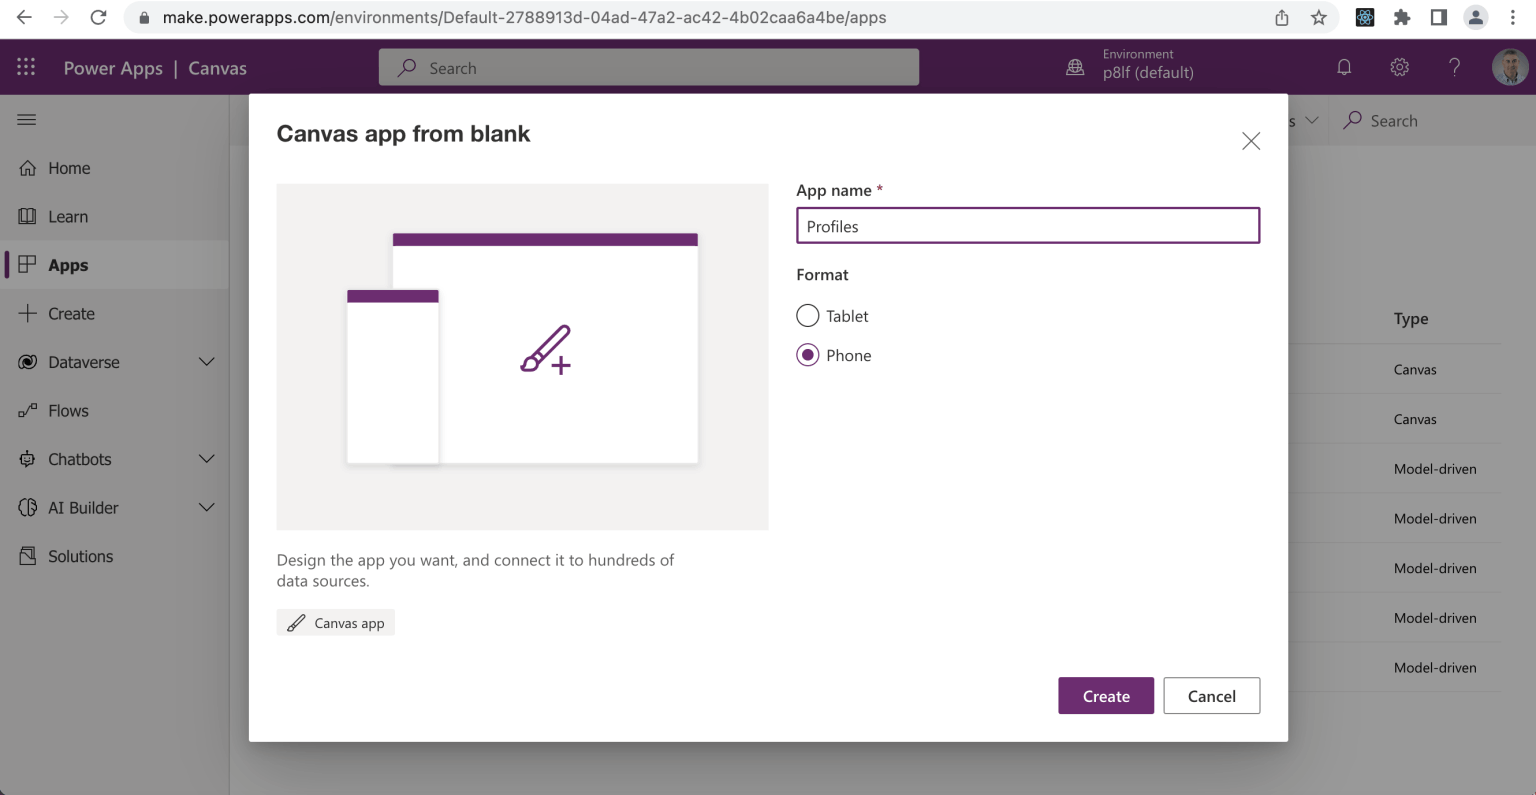
I created a "Profiles" canvas app
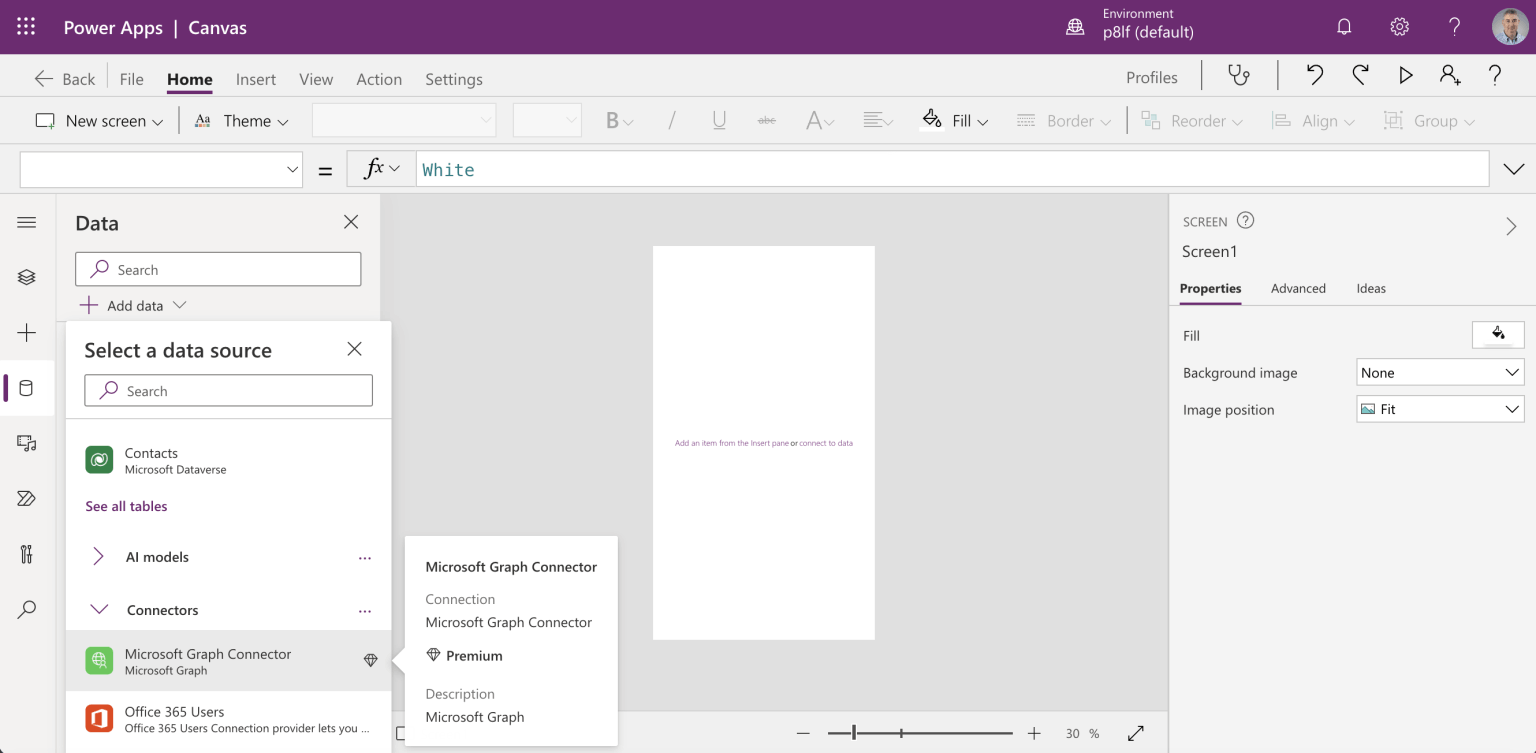
I added a reference to the updated Custom Connector
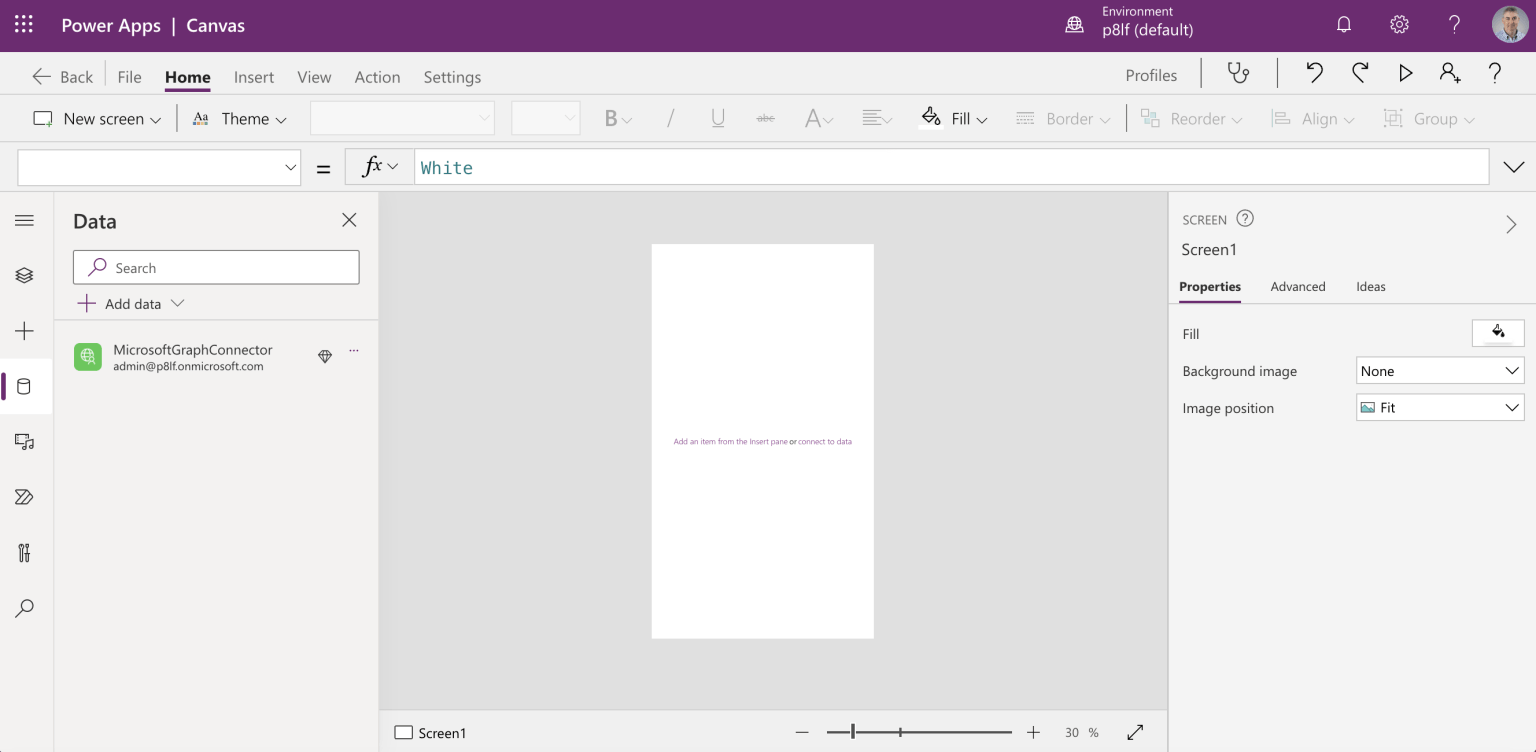
The reference appeared in the Data tab
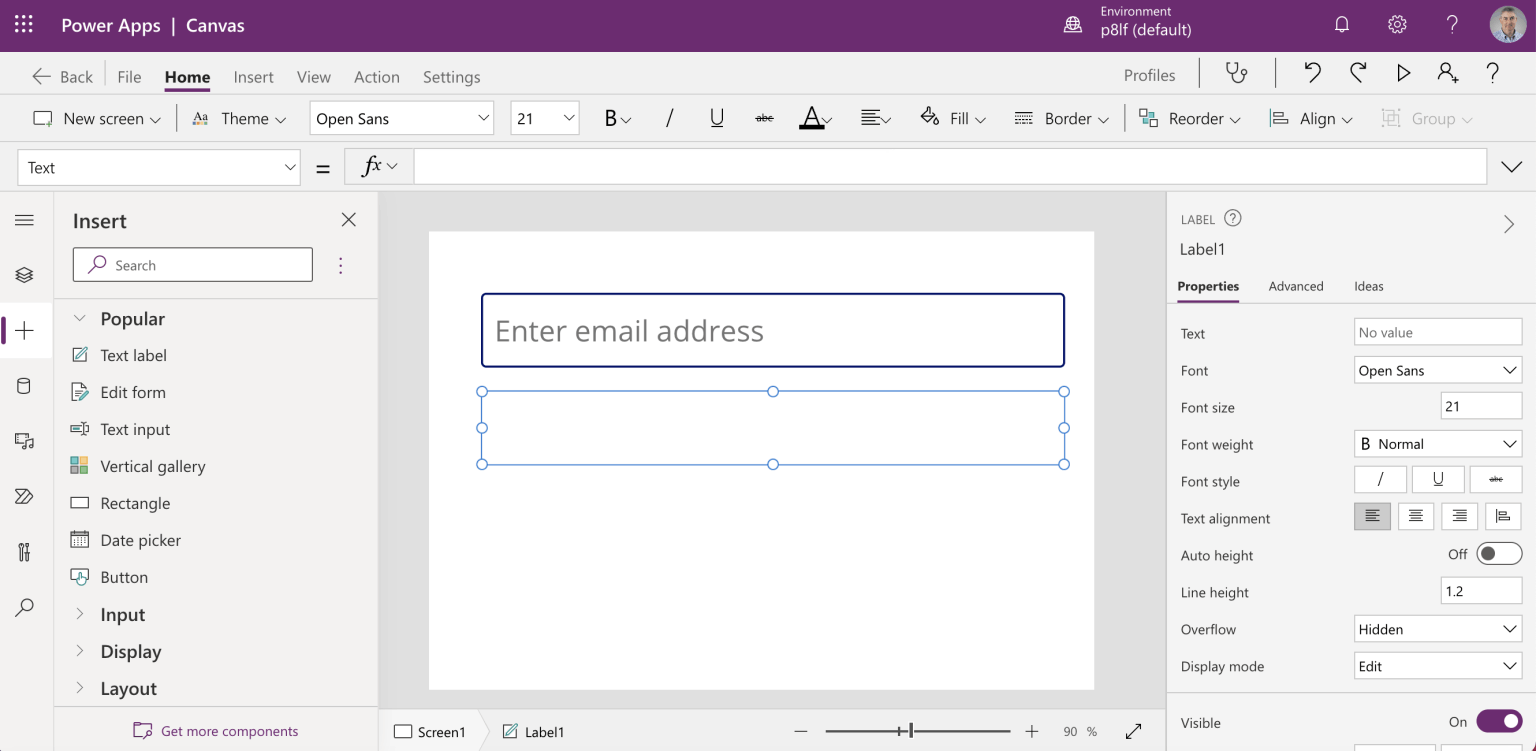
I added a Text input and a Text label
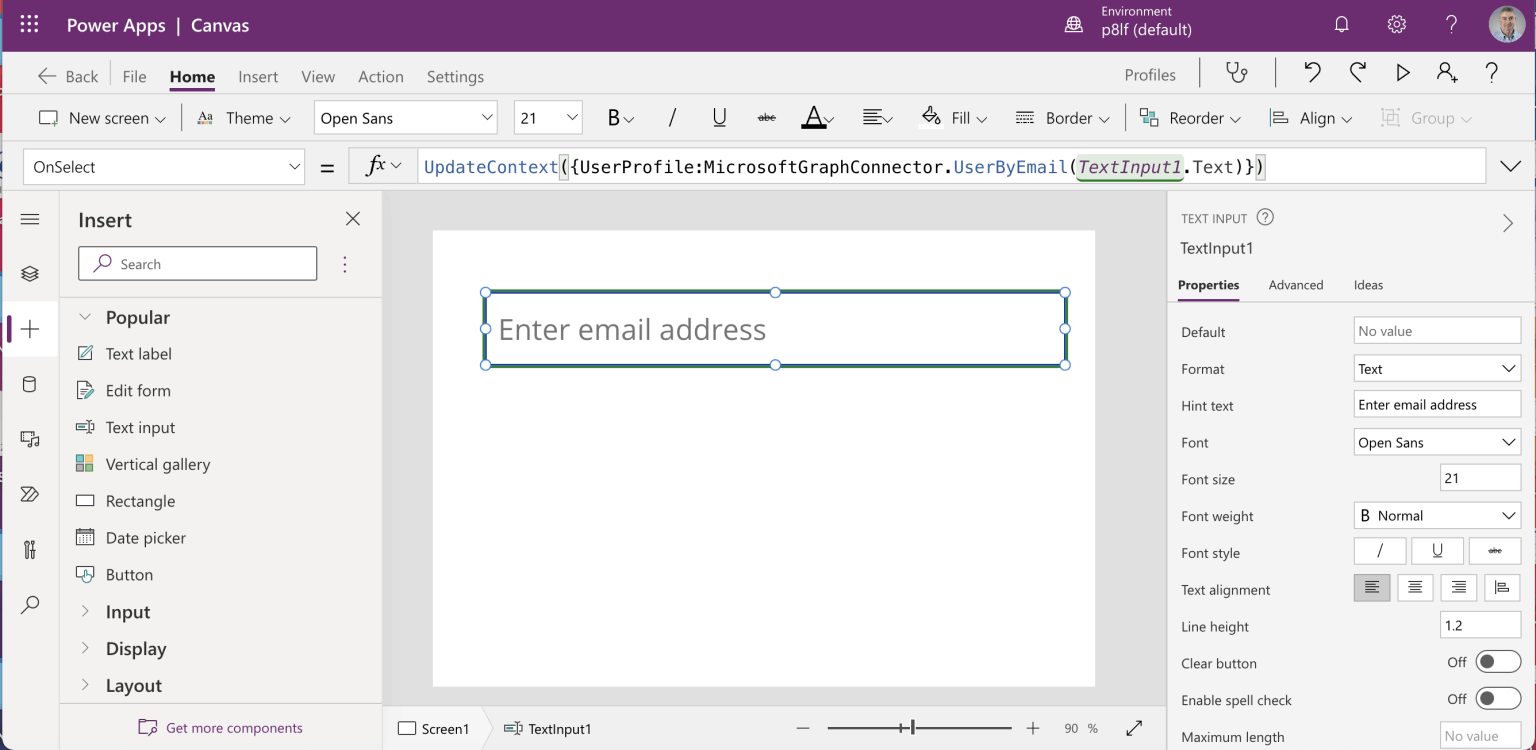
I updated the Text input's OnSelect handler to Set the value of "UserProfile" to the result of a call to the new UserByEmail action
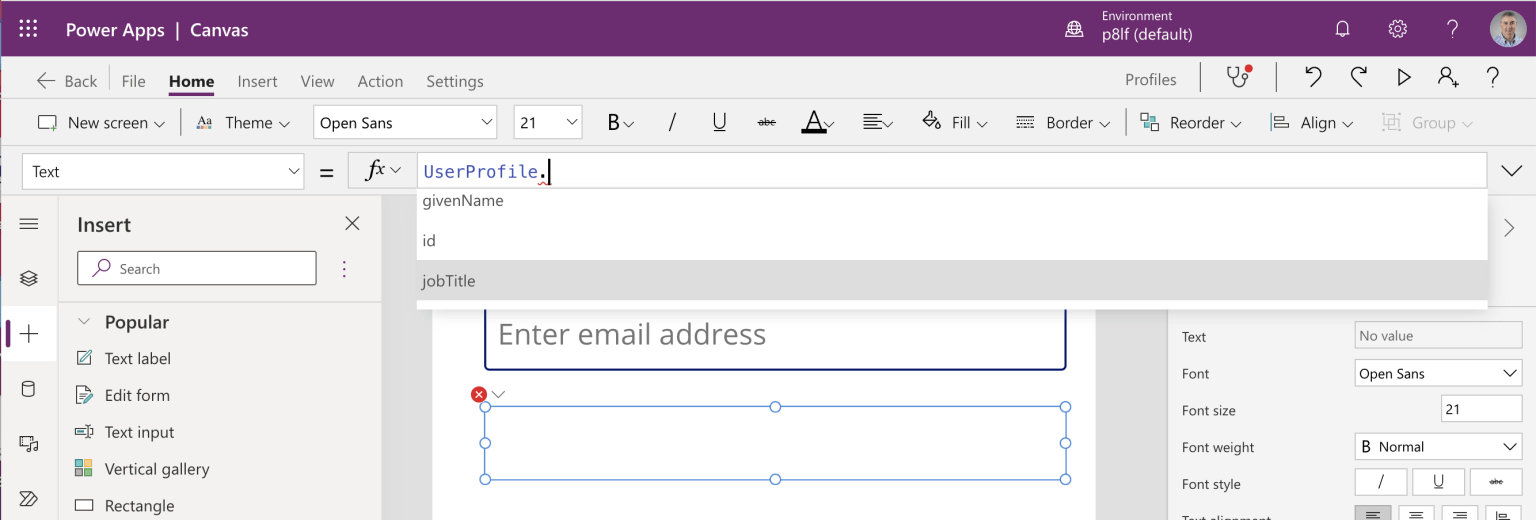
I updated the Text label to display the jobTitle property of the UserProfile
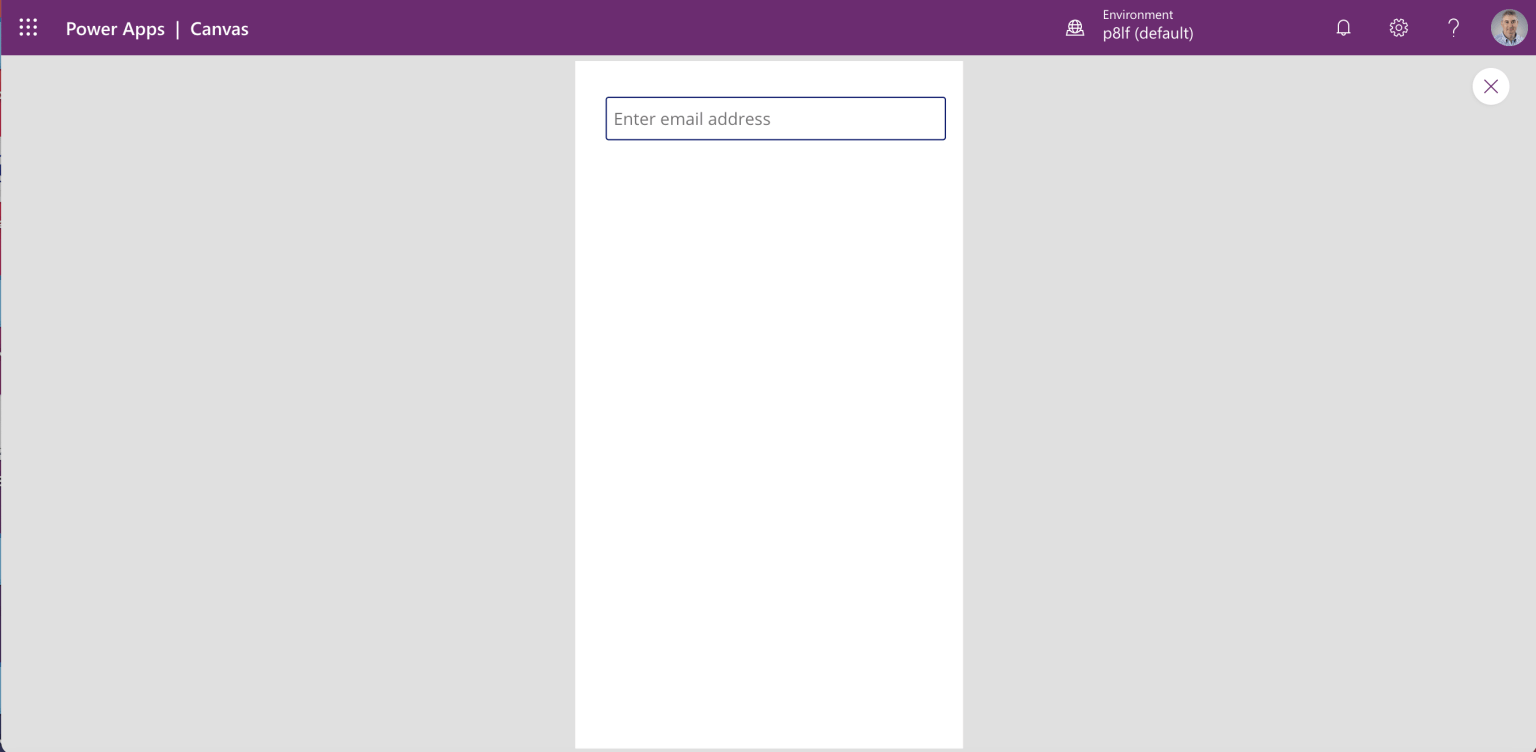
I ran the Profiles app and entered an email address
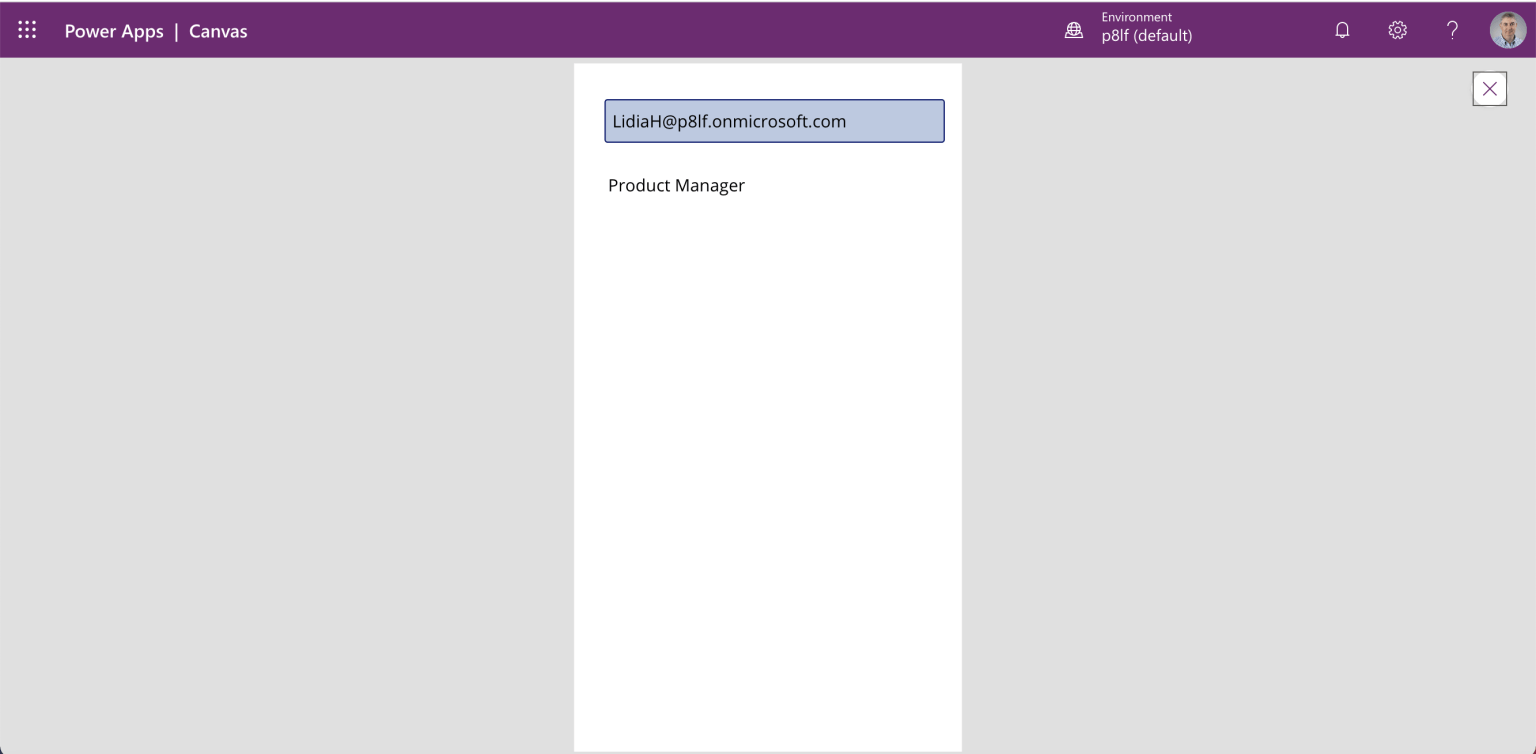
The user's job title was displayed