Power Pages (Part 1)
Neil Haddley • October 26, 2024
Sales Orders
I used Microsoft Power Pages to build a Customer Portal for Dynamics 365 Business Central. Power Pages is a low-code platform for external-facing business websites, and the portal gives customers visibility into their Sales Orders.
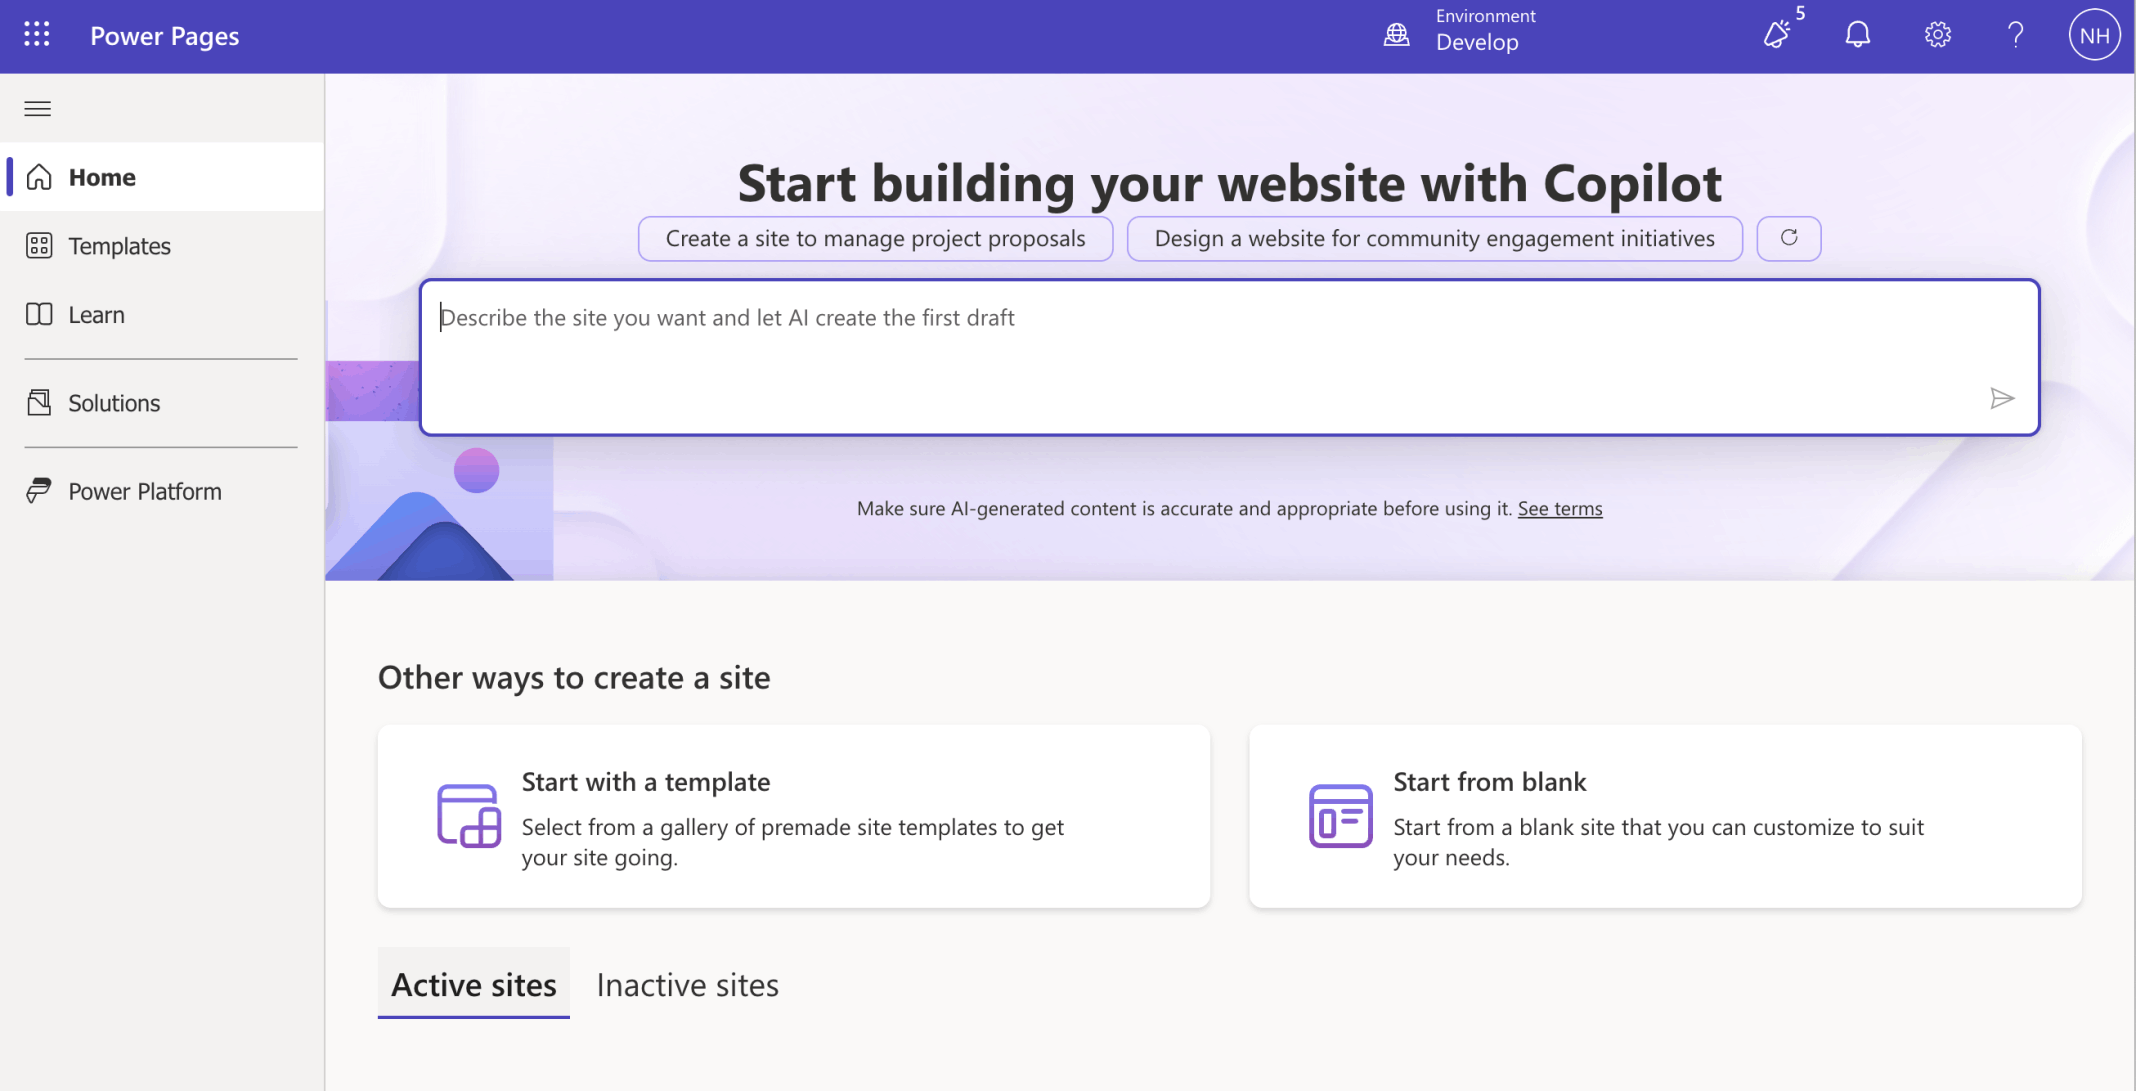
I used Microsoft Power Pages to create a Customer Portal
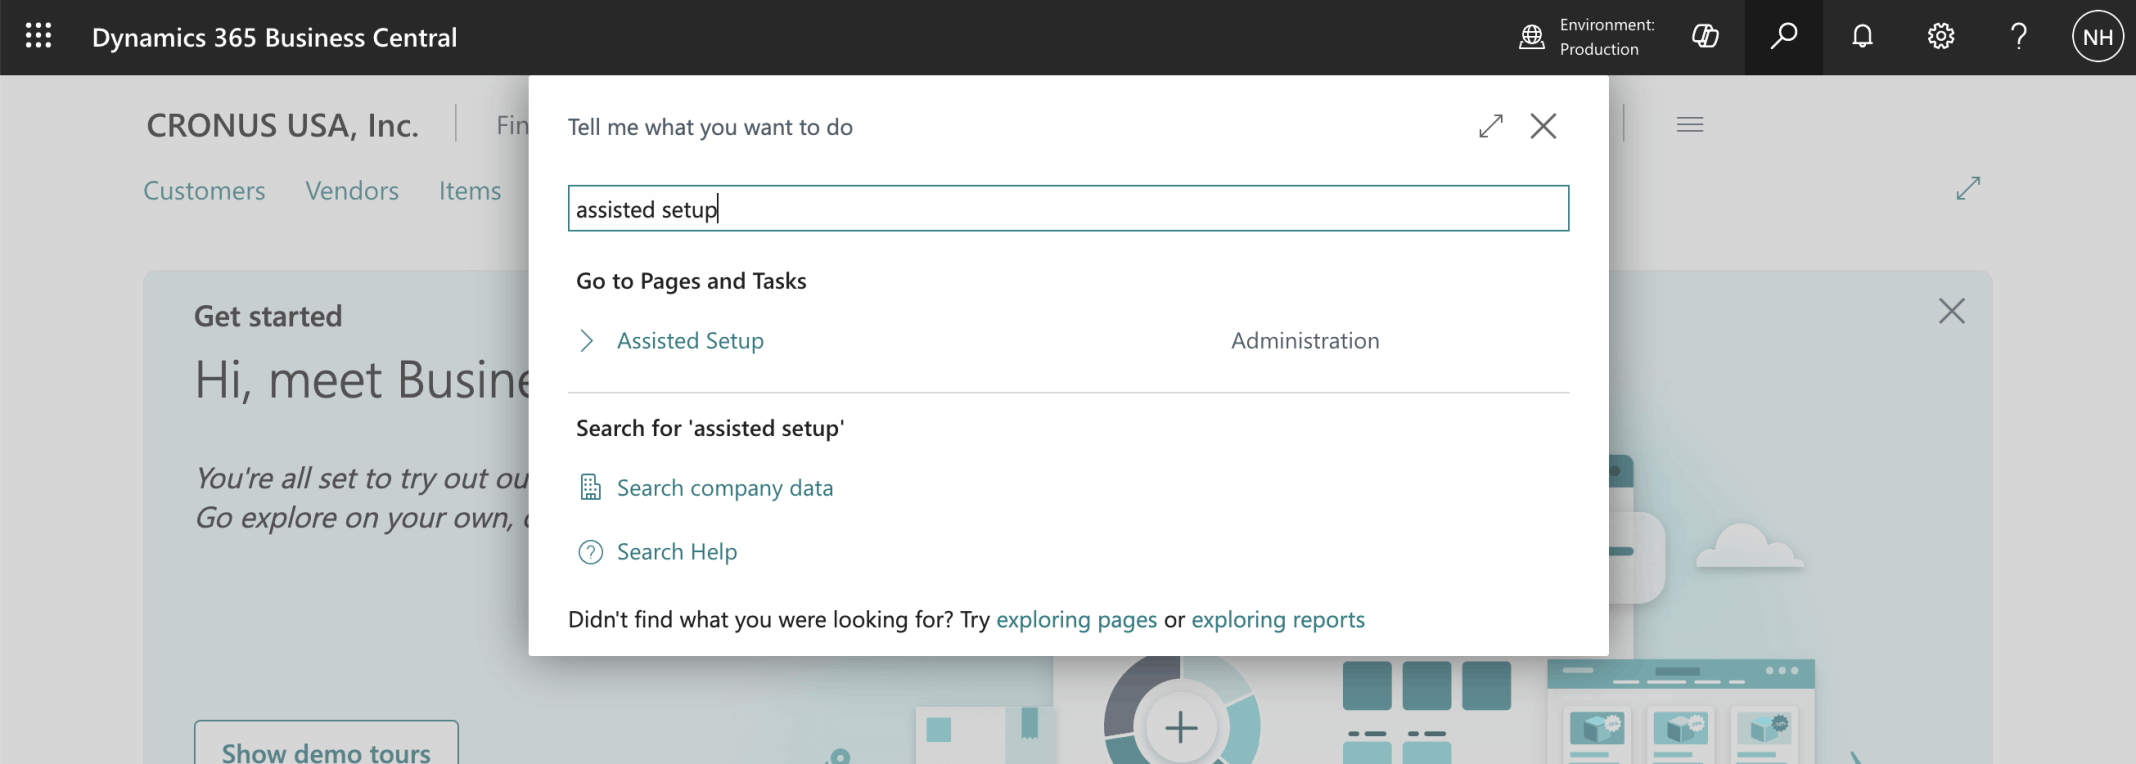
I navigated to the Assisted Setup page in Business Central
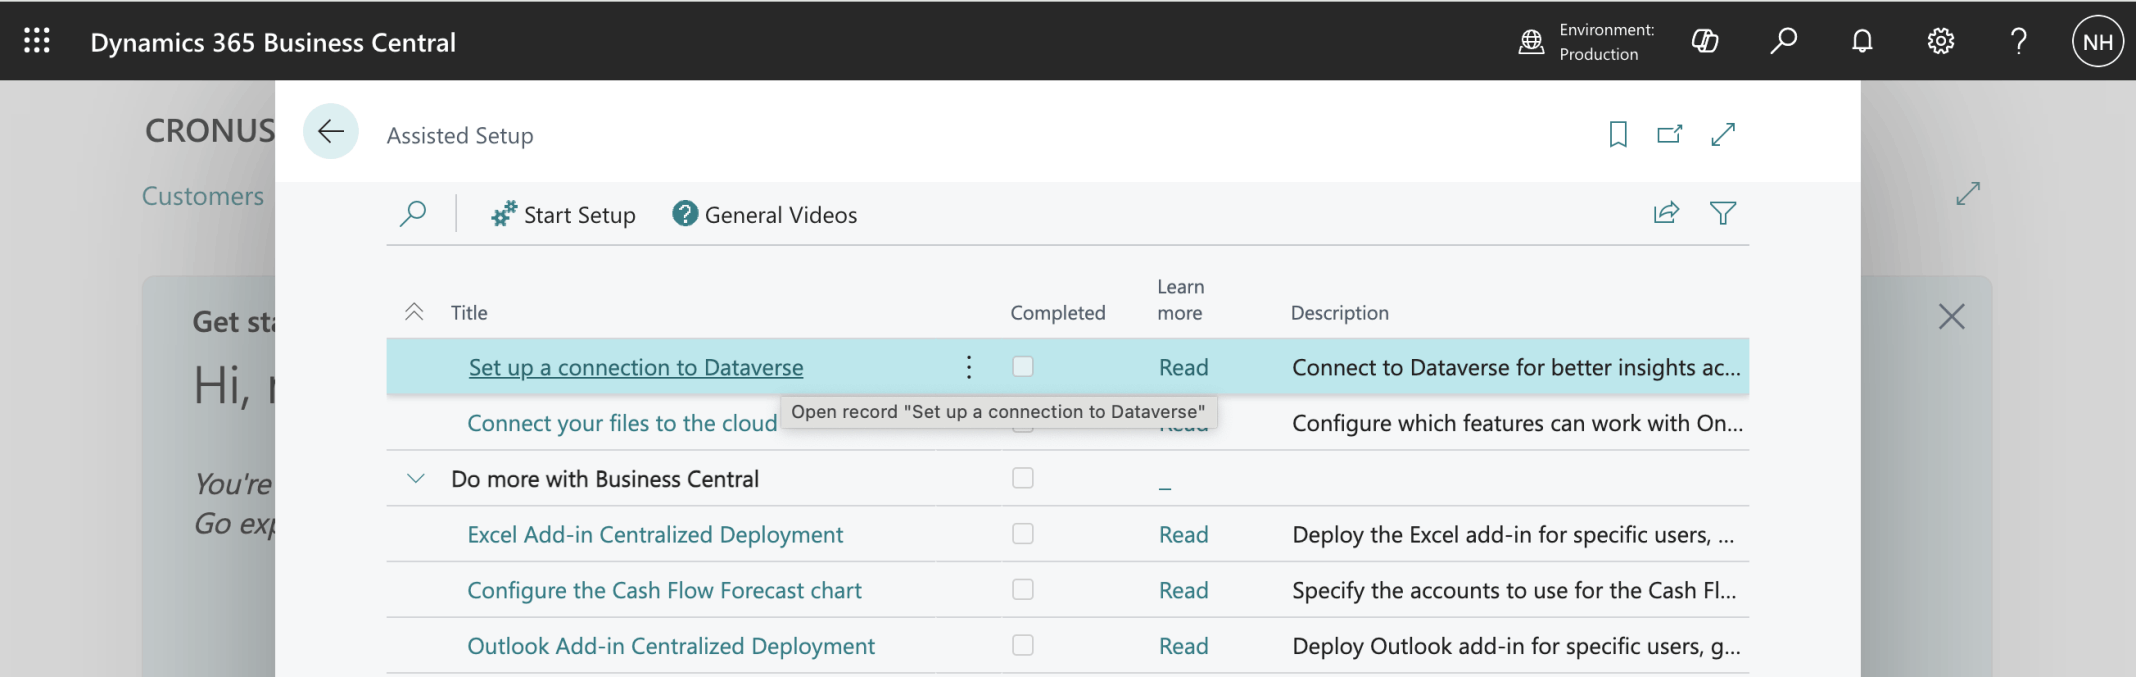
I selected the Set up a connection to Dataverse link
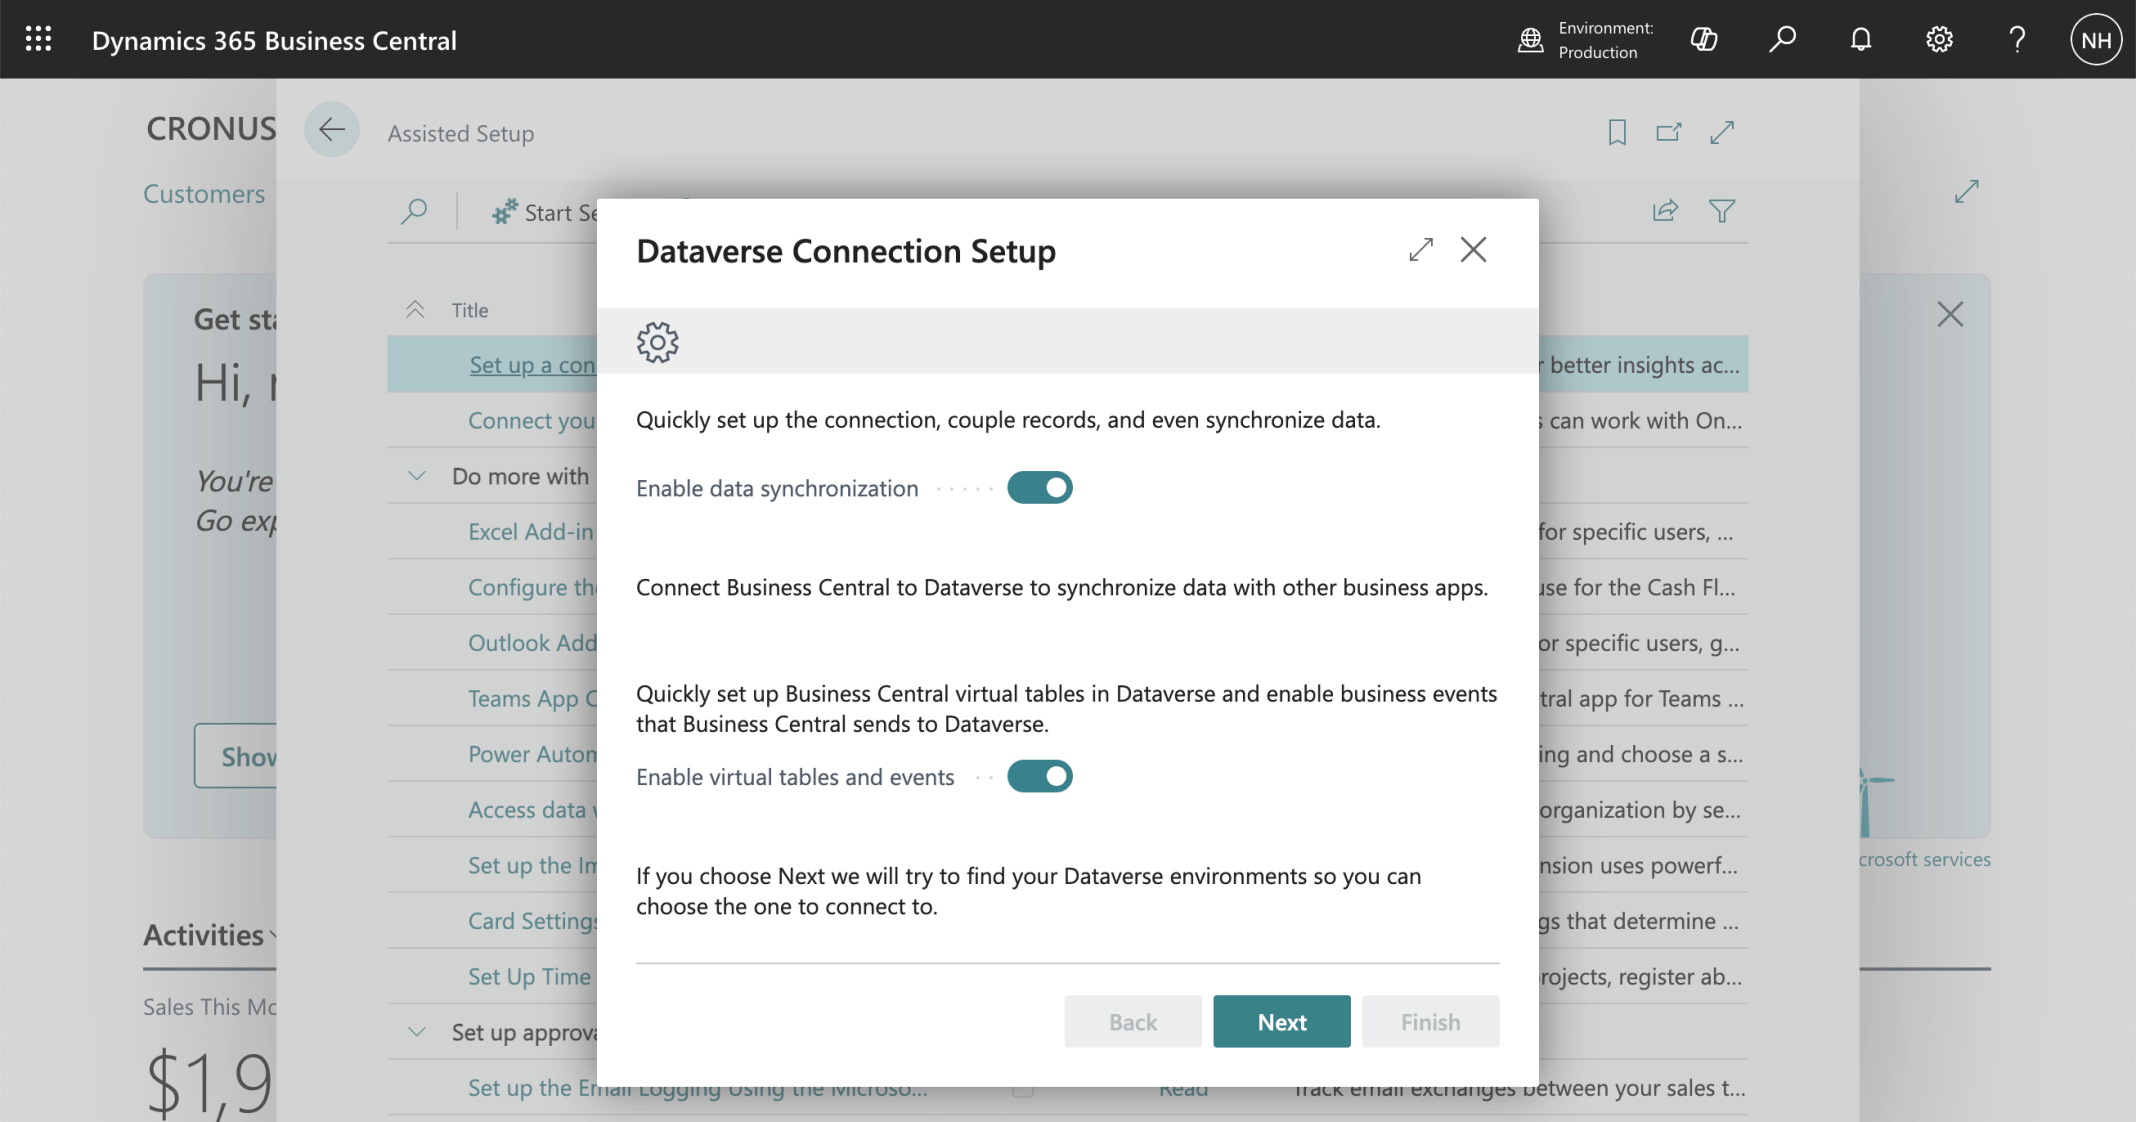
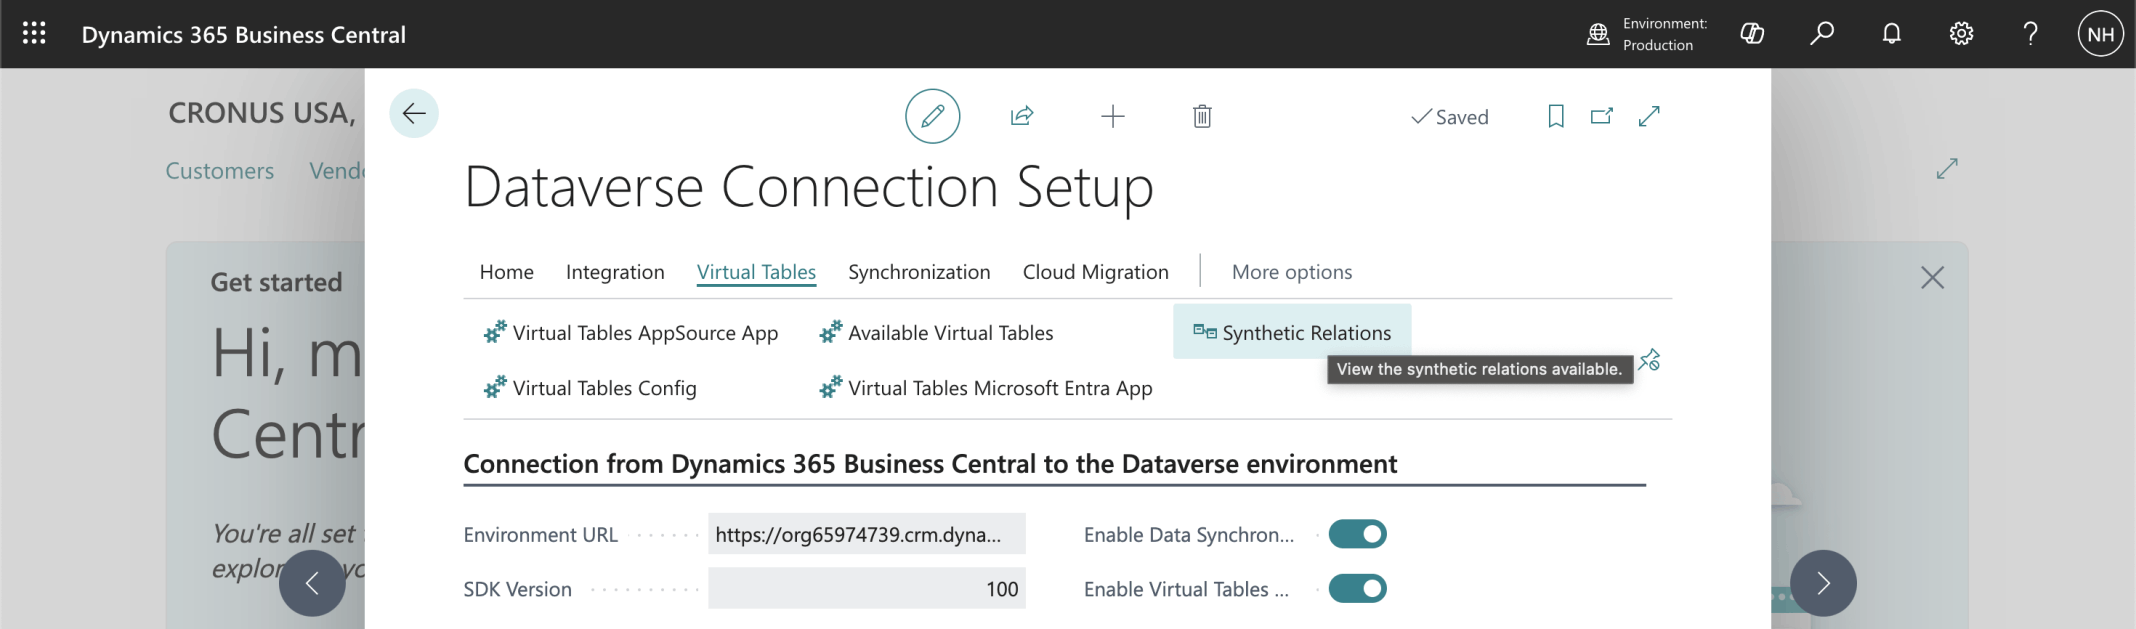
I enabled data synchronization and virtual tables
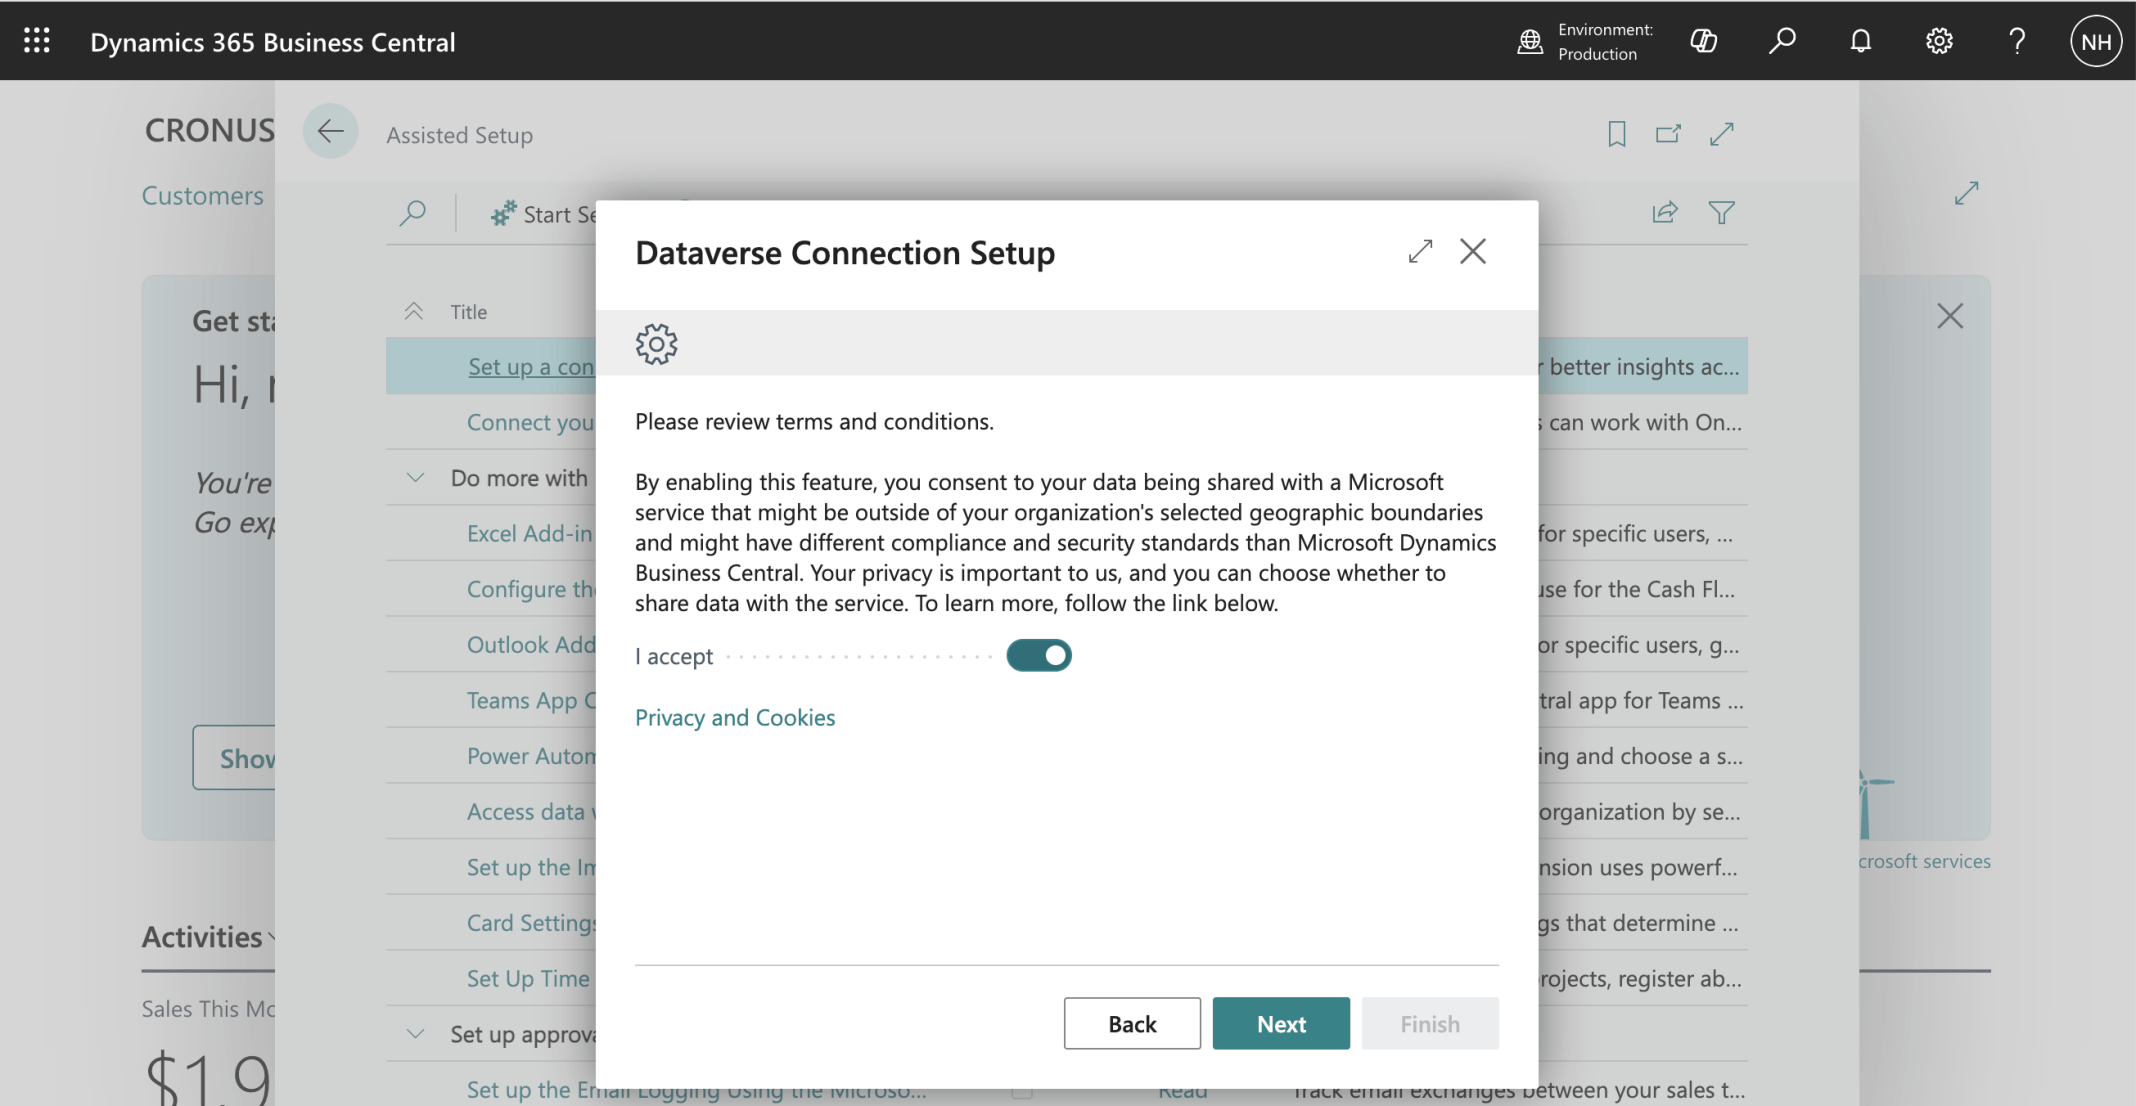
I accepted the terms and conditions
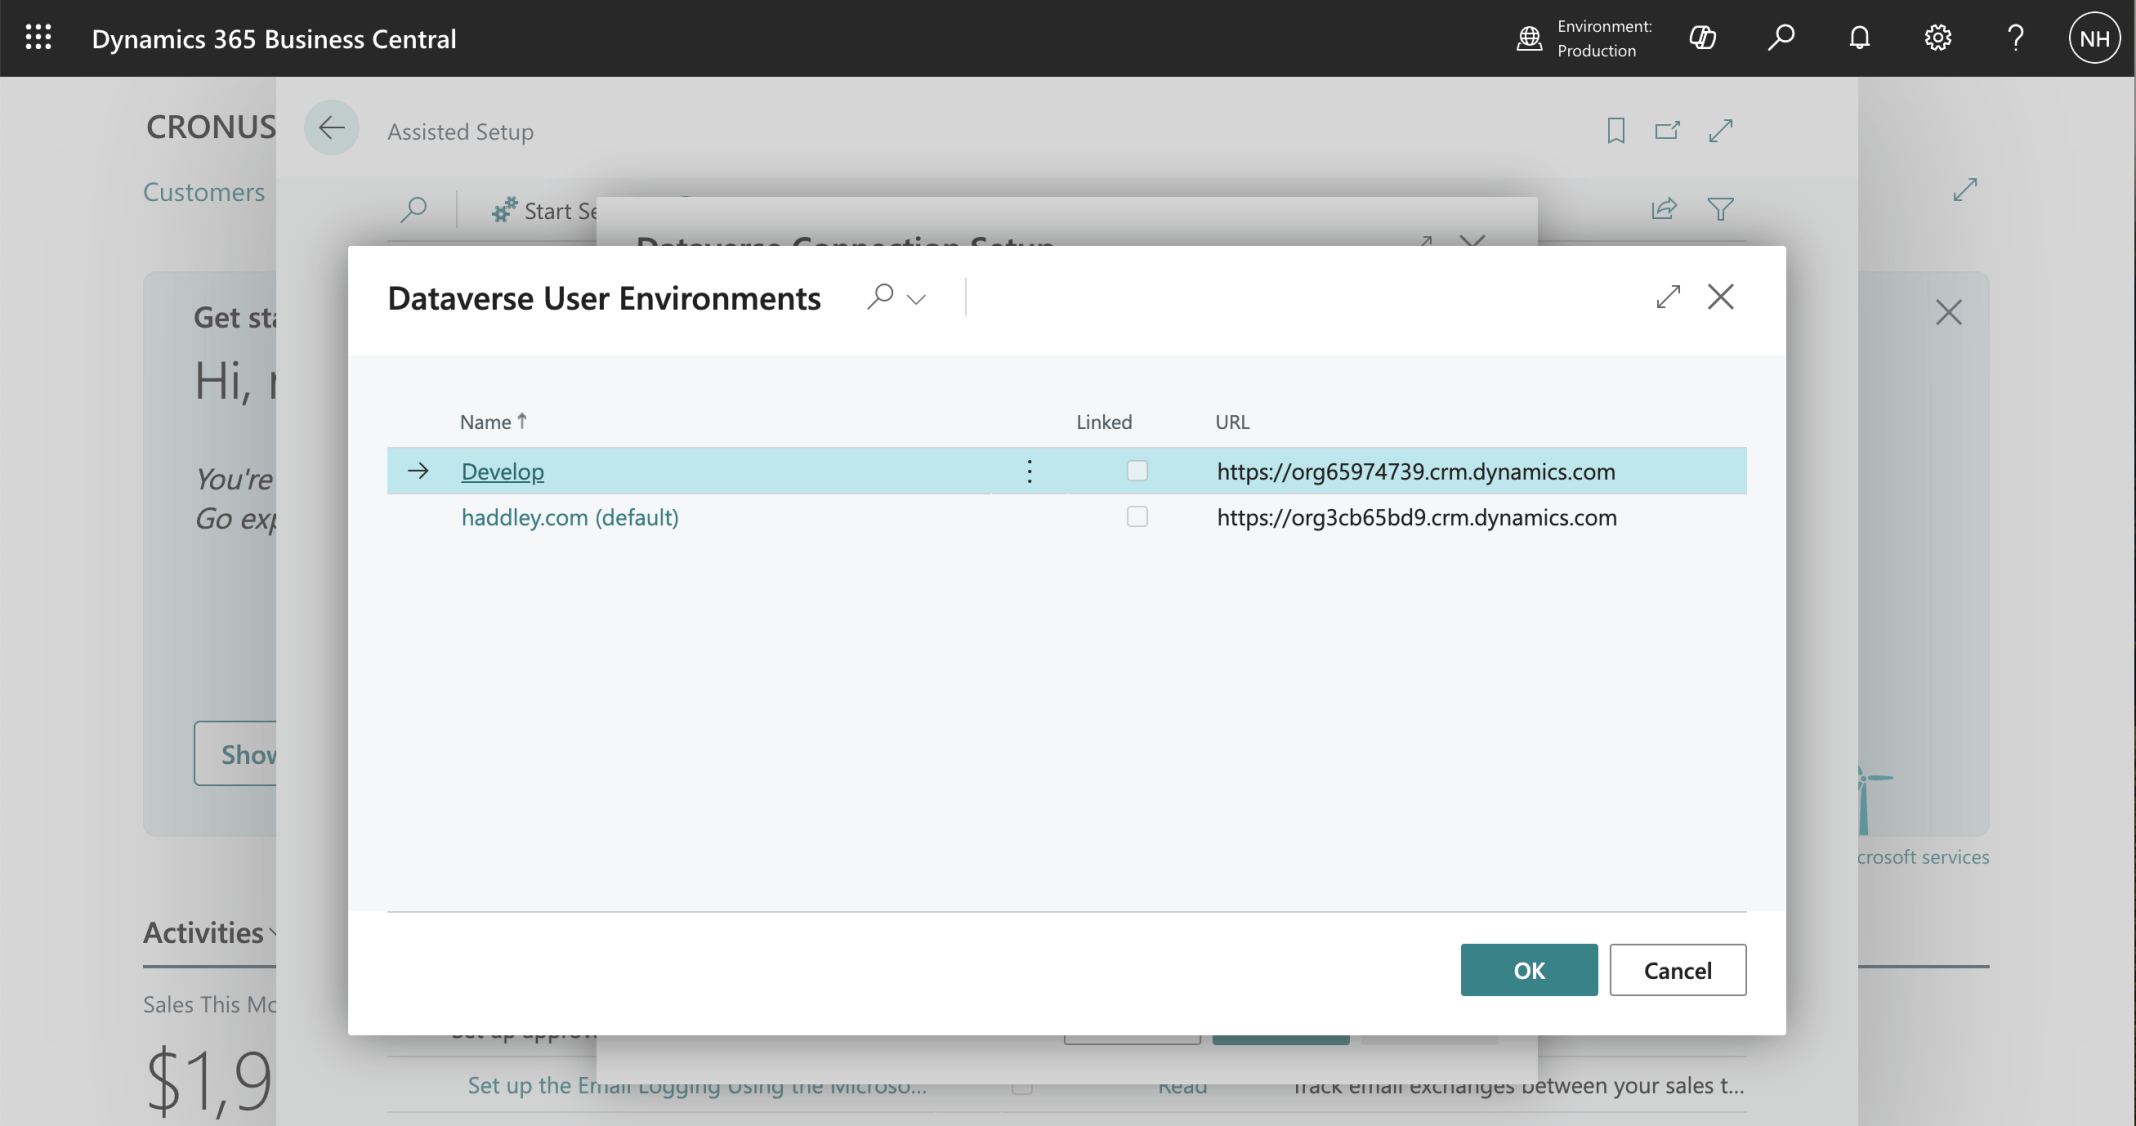
I selected the Developer Power Platform/Dataverse environment
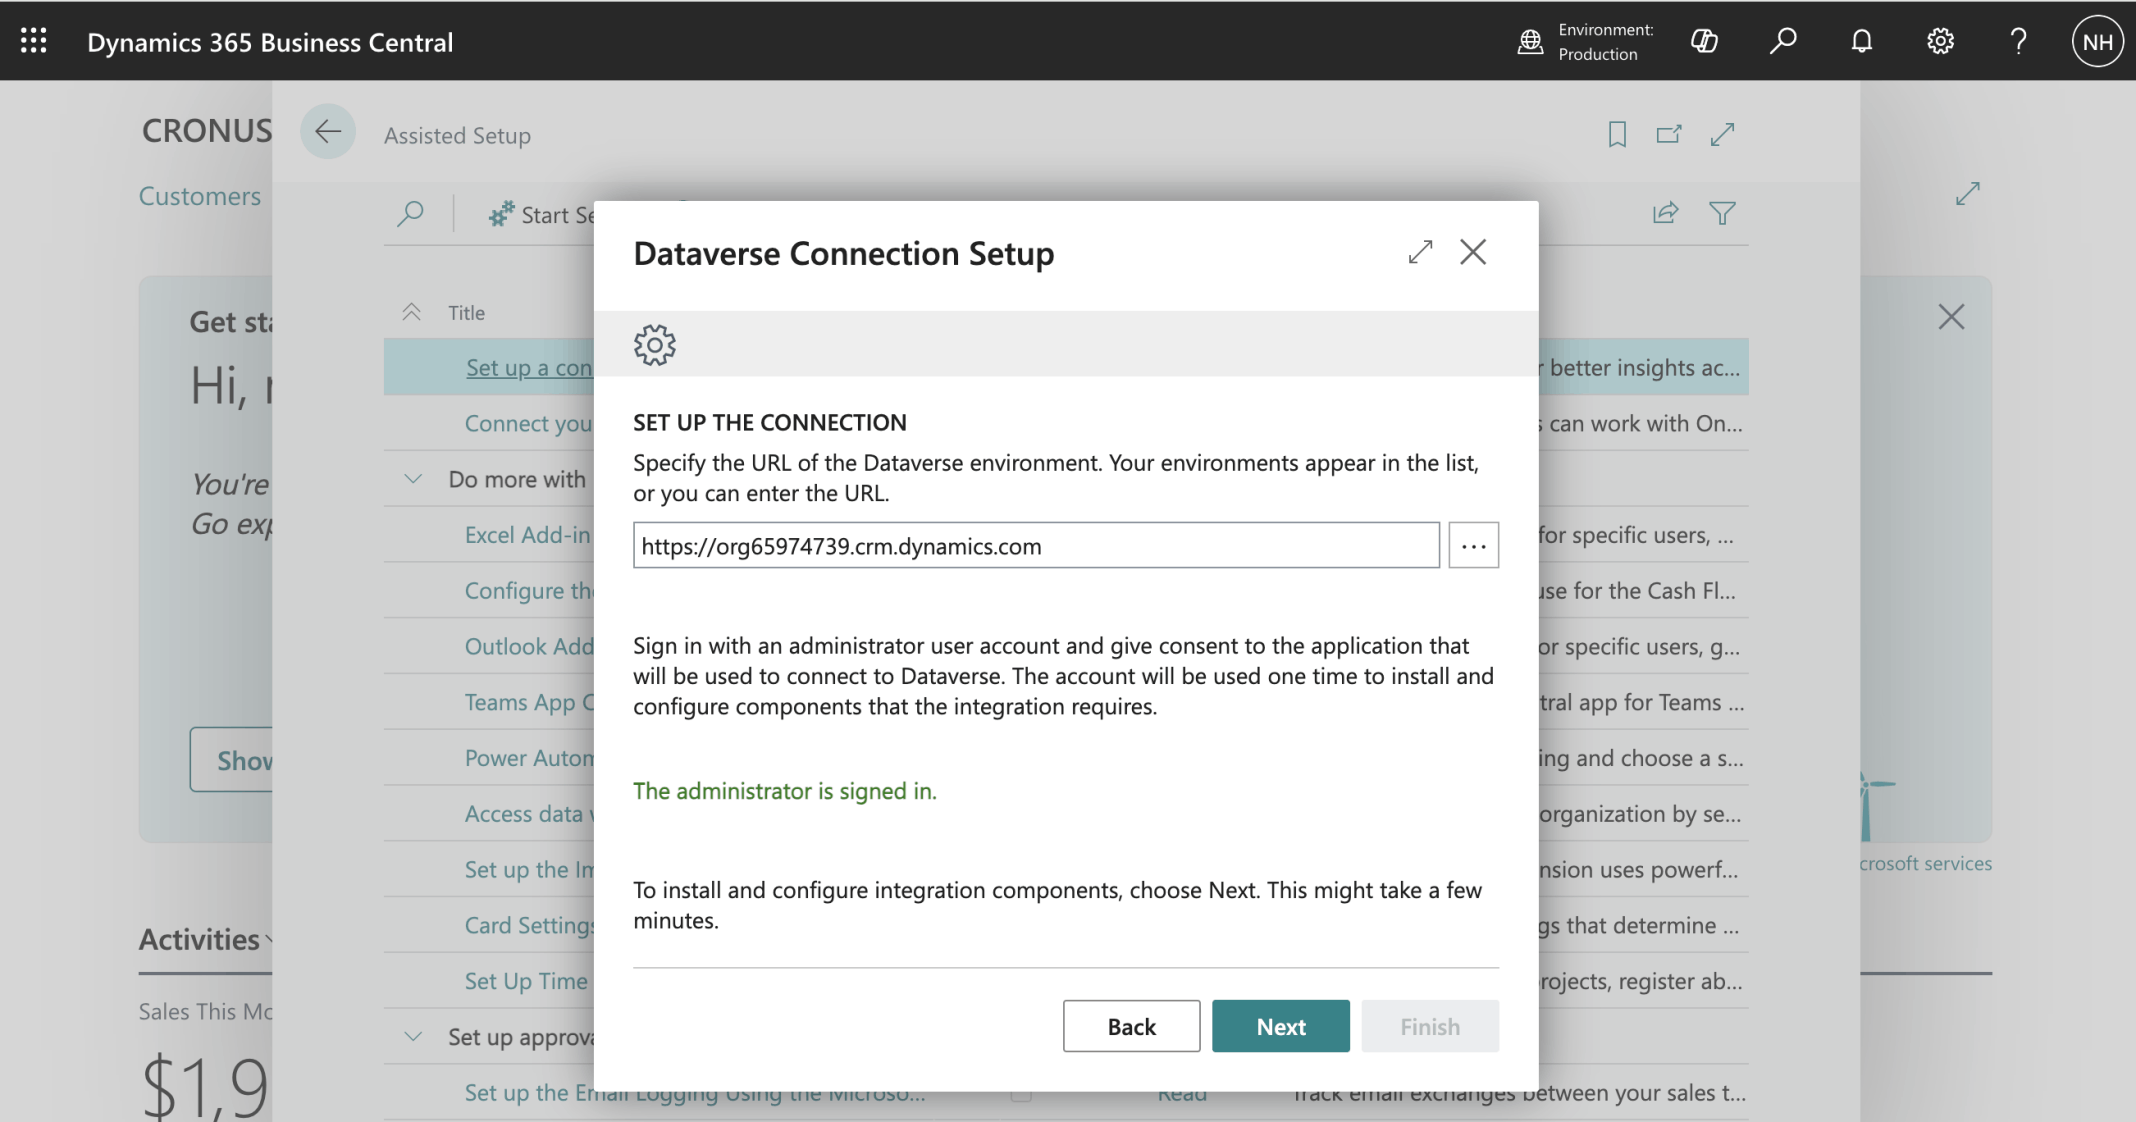
I signed in as a Power Platform administrator
I clicked the Next button
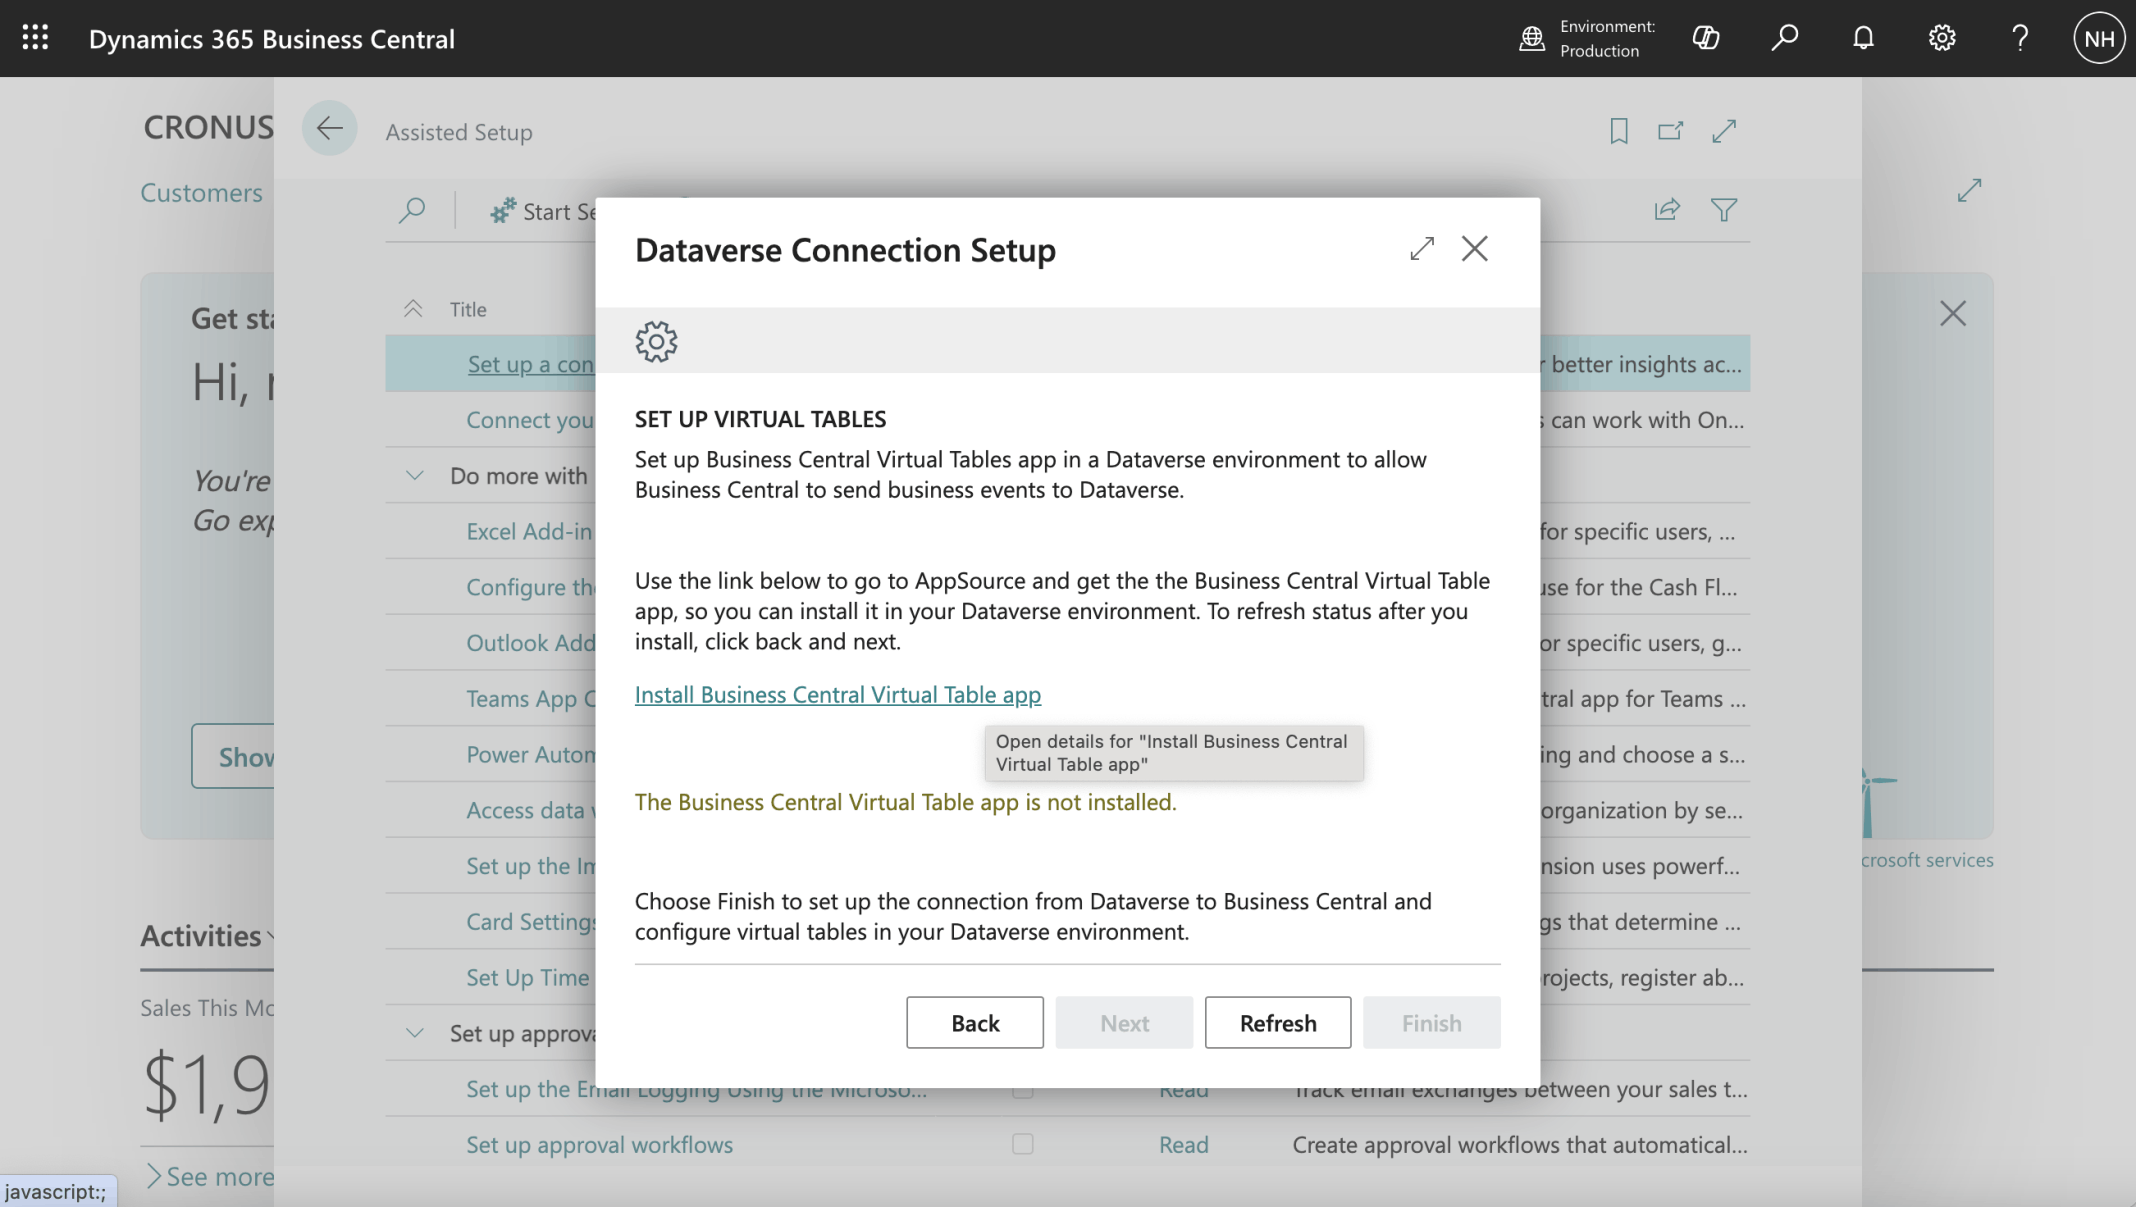
I clicked the Install Business Central Virtual Table app link
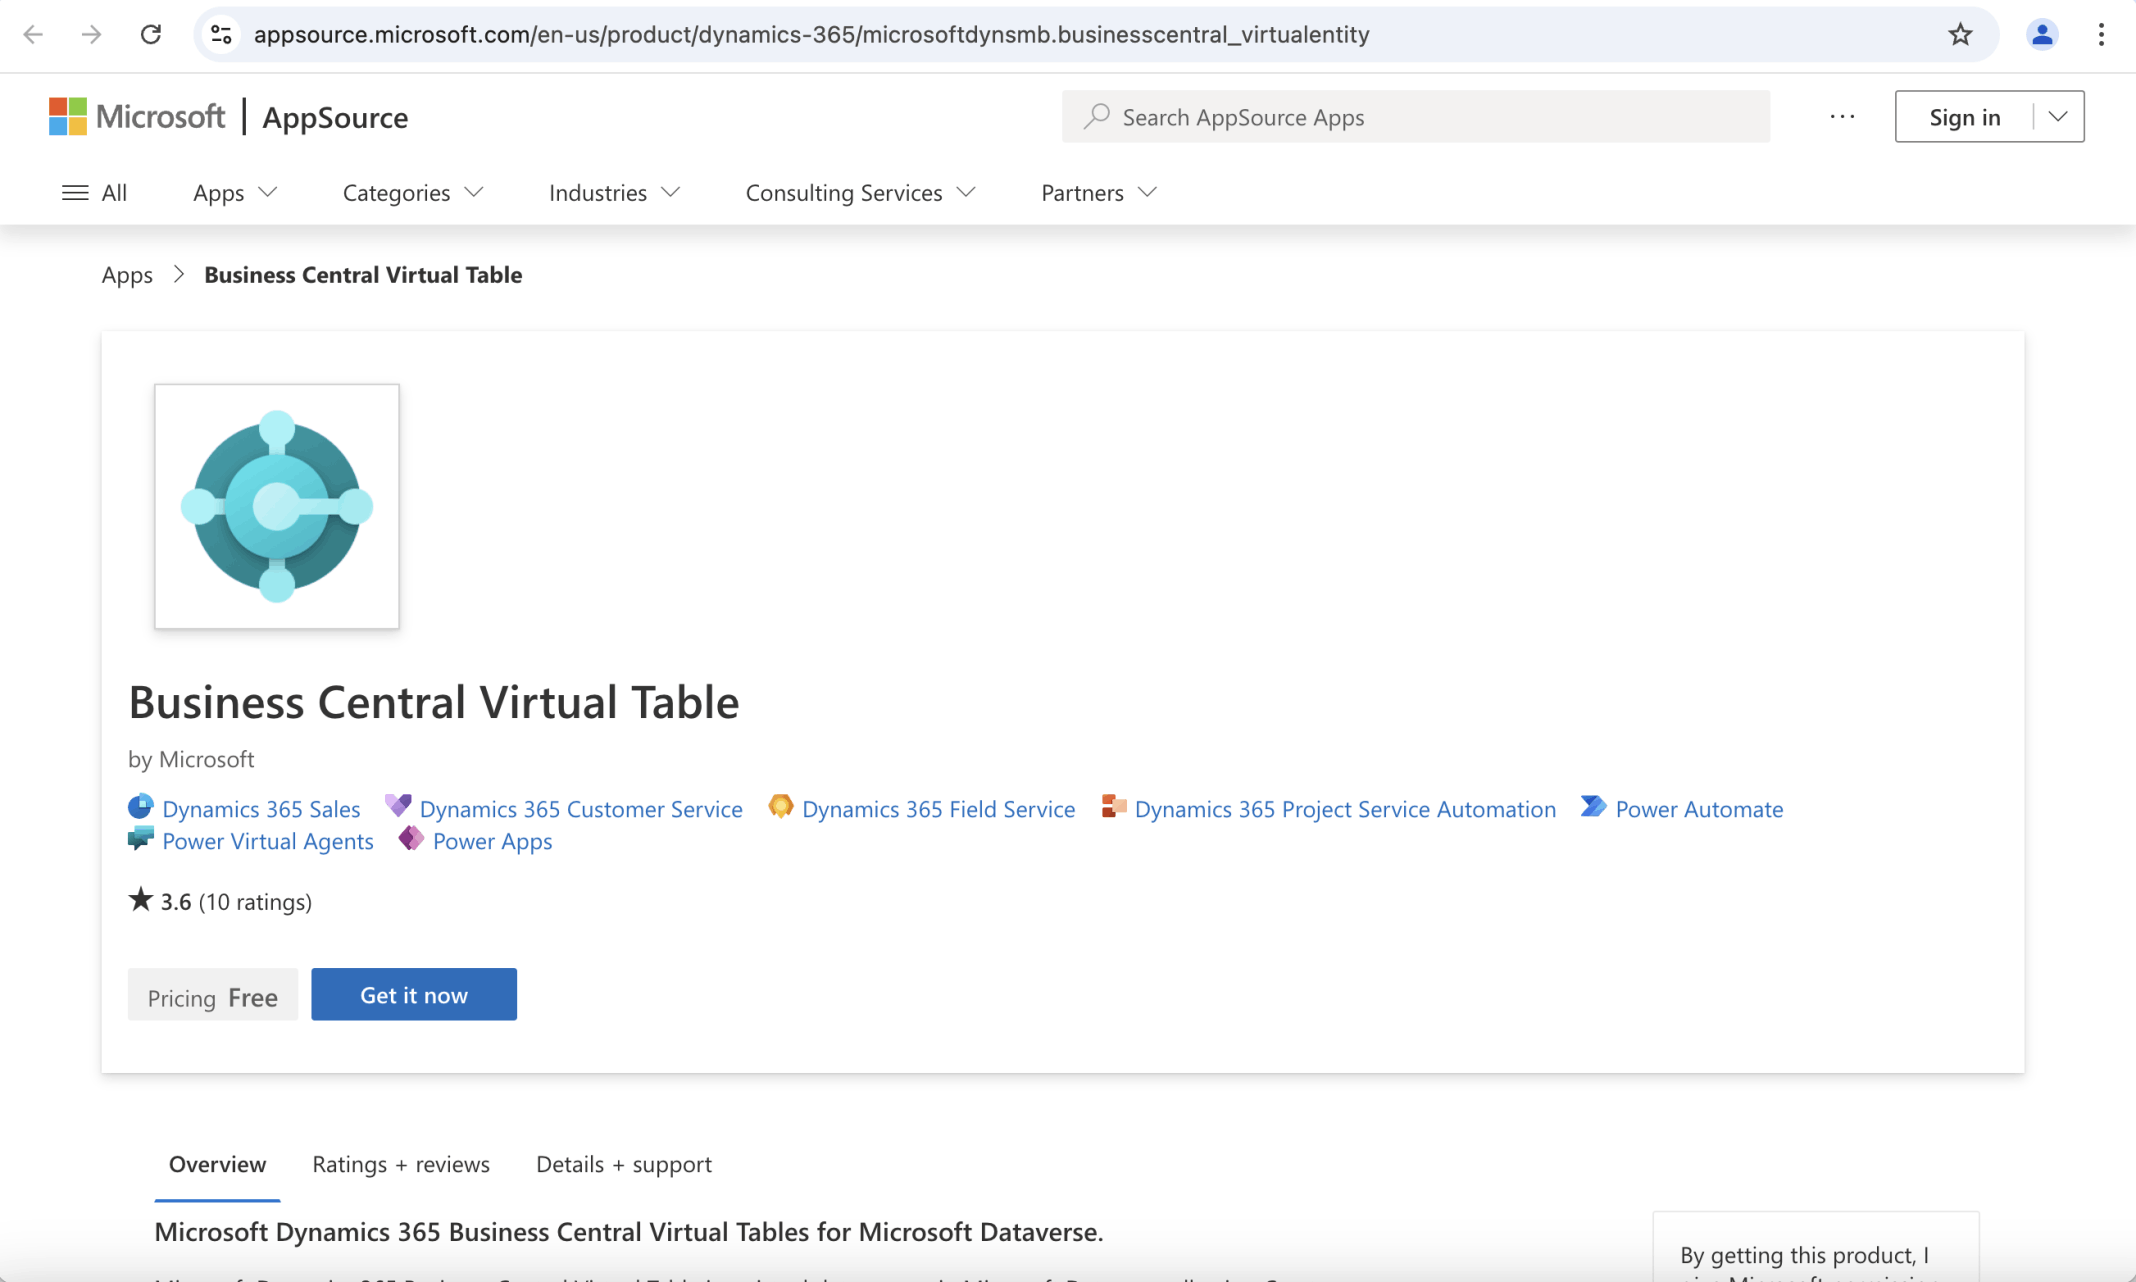
I clicked the Get it now button
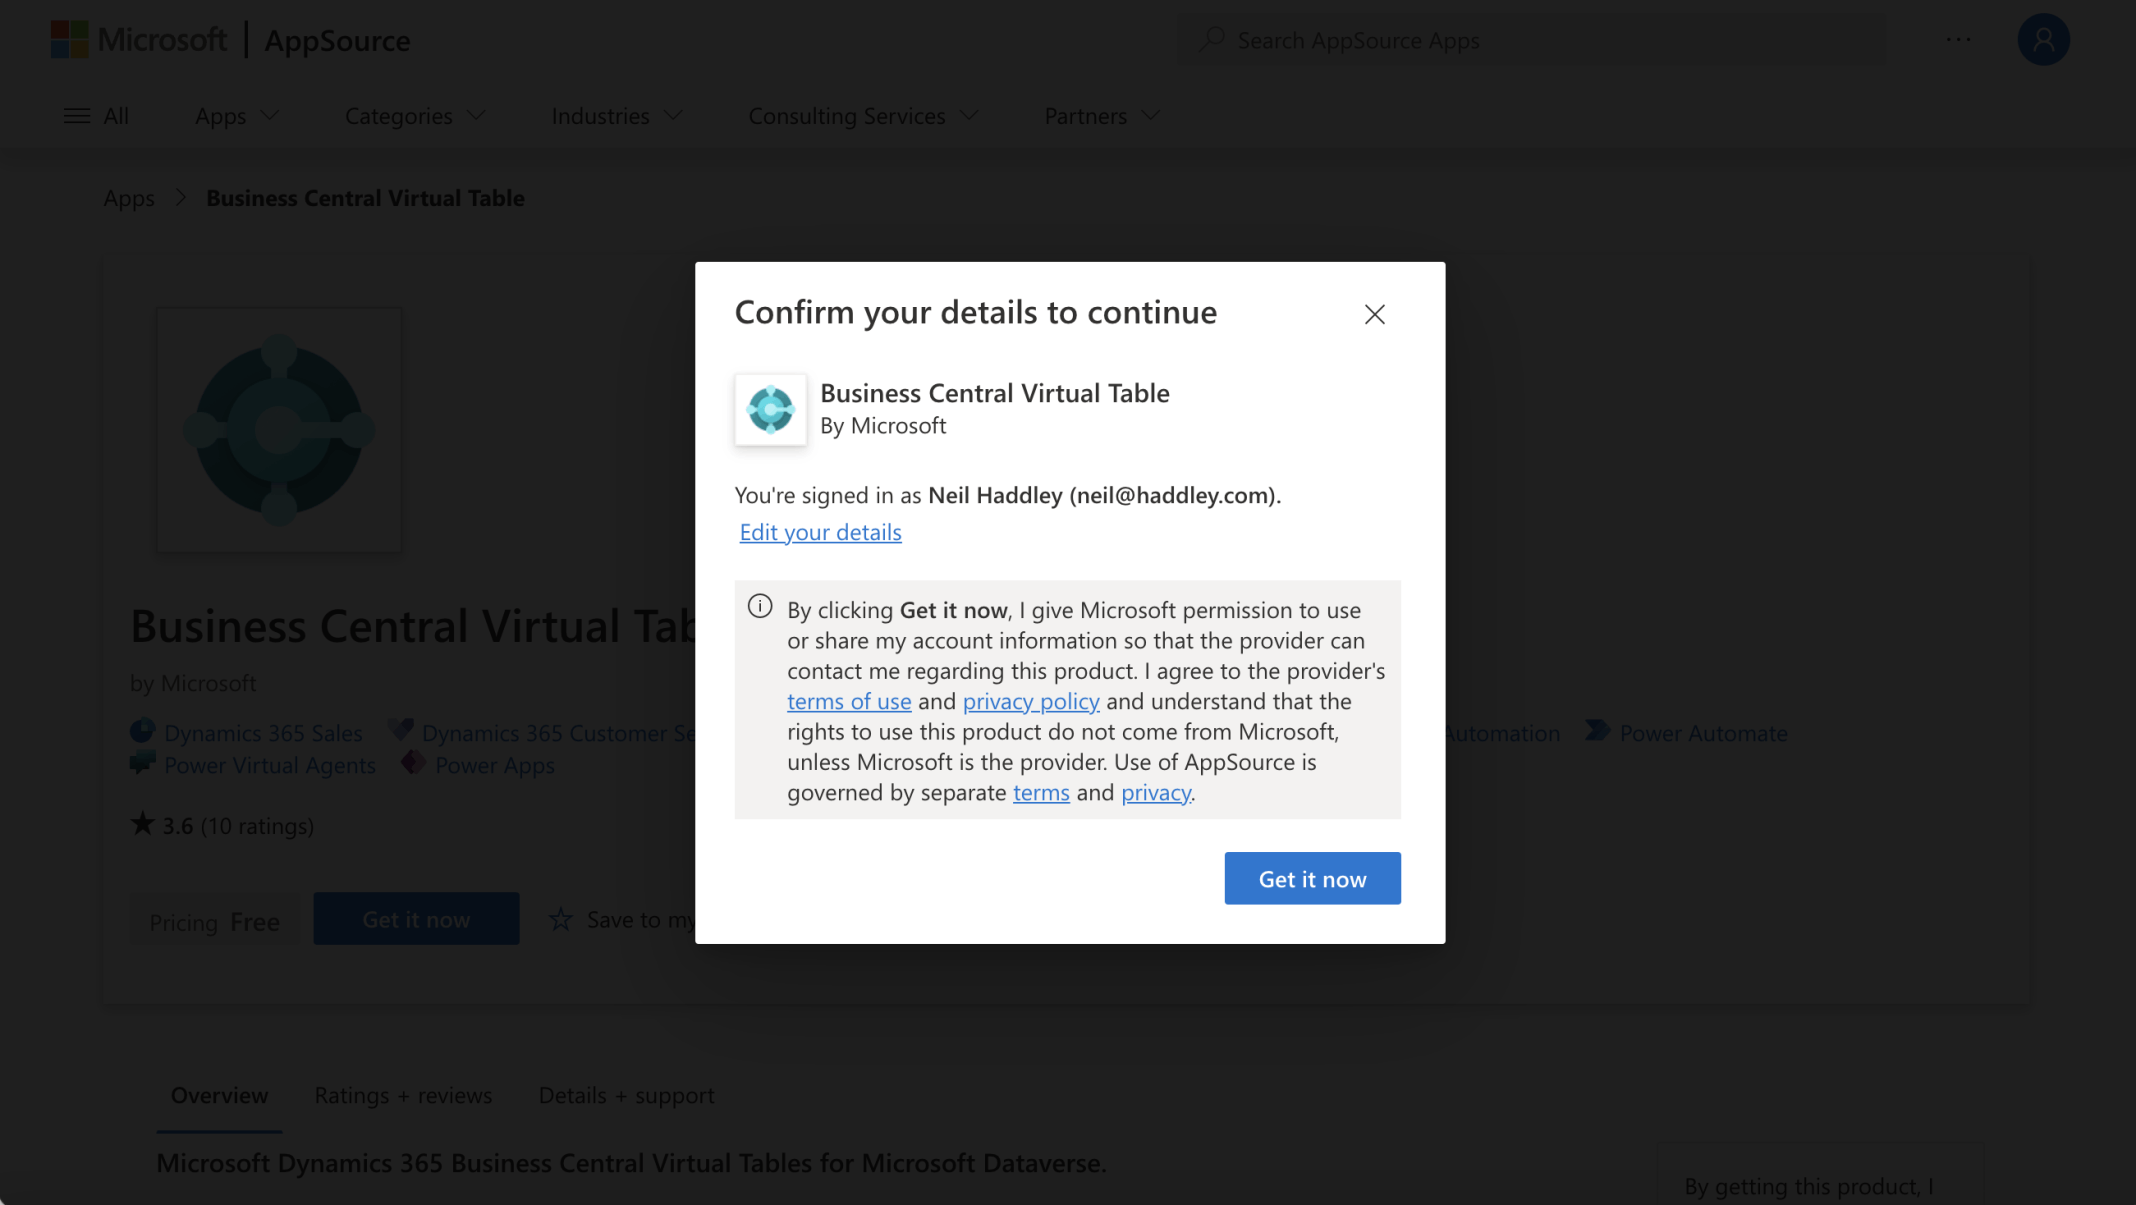
I clicked the Get it now button
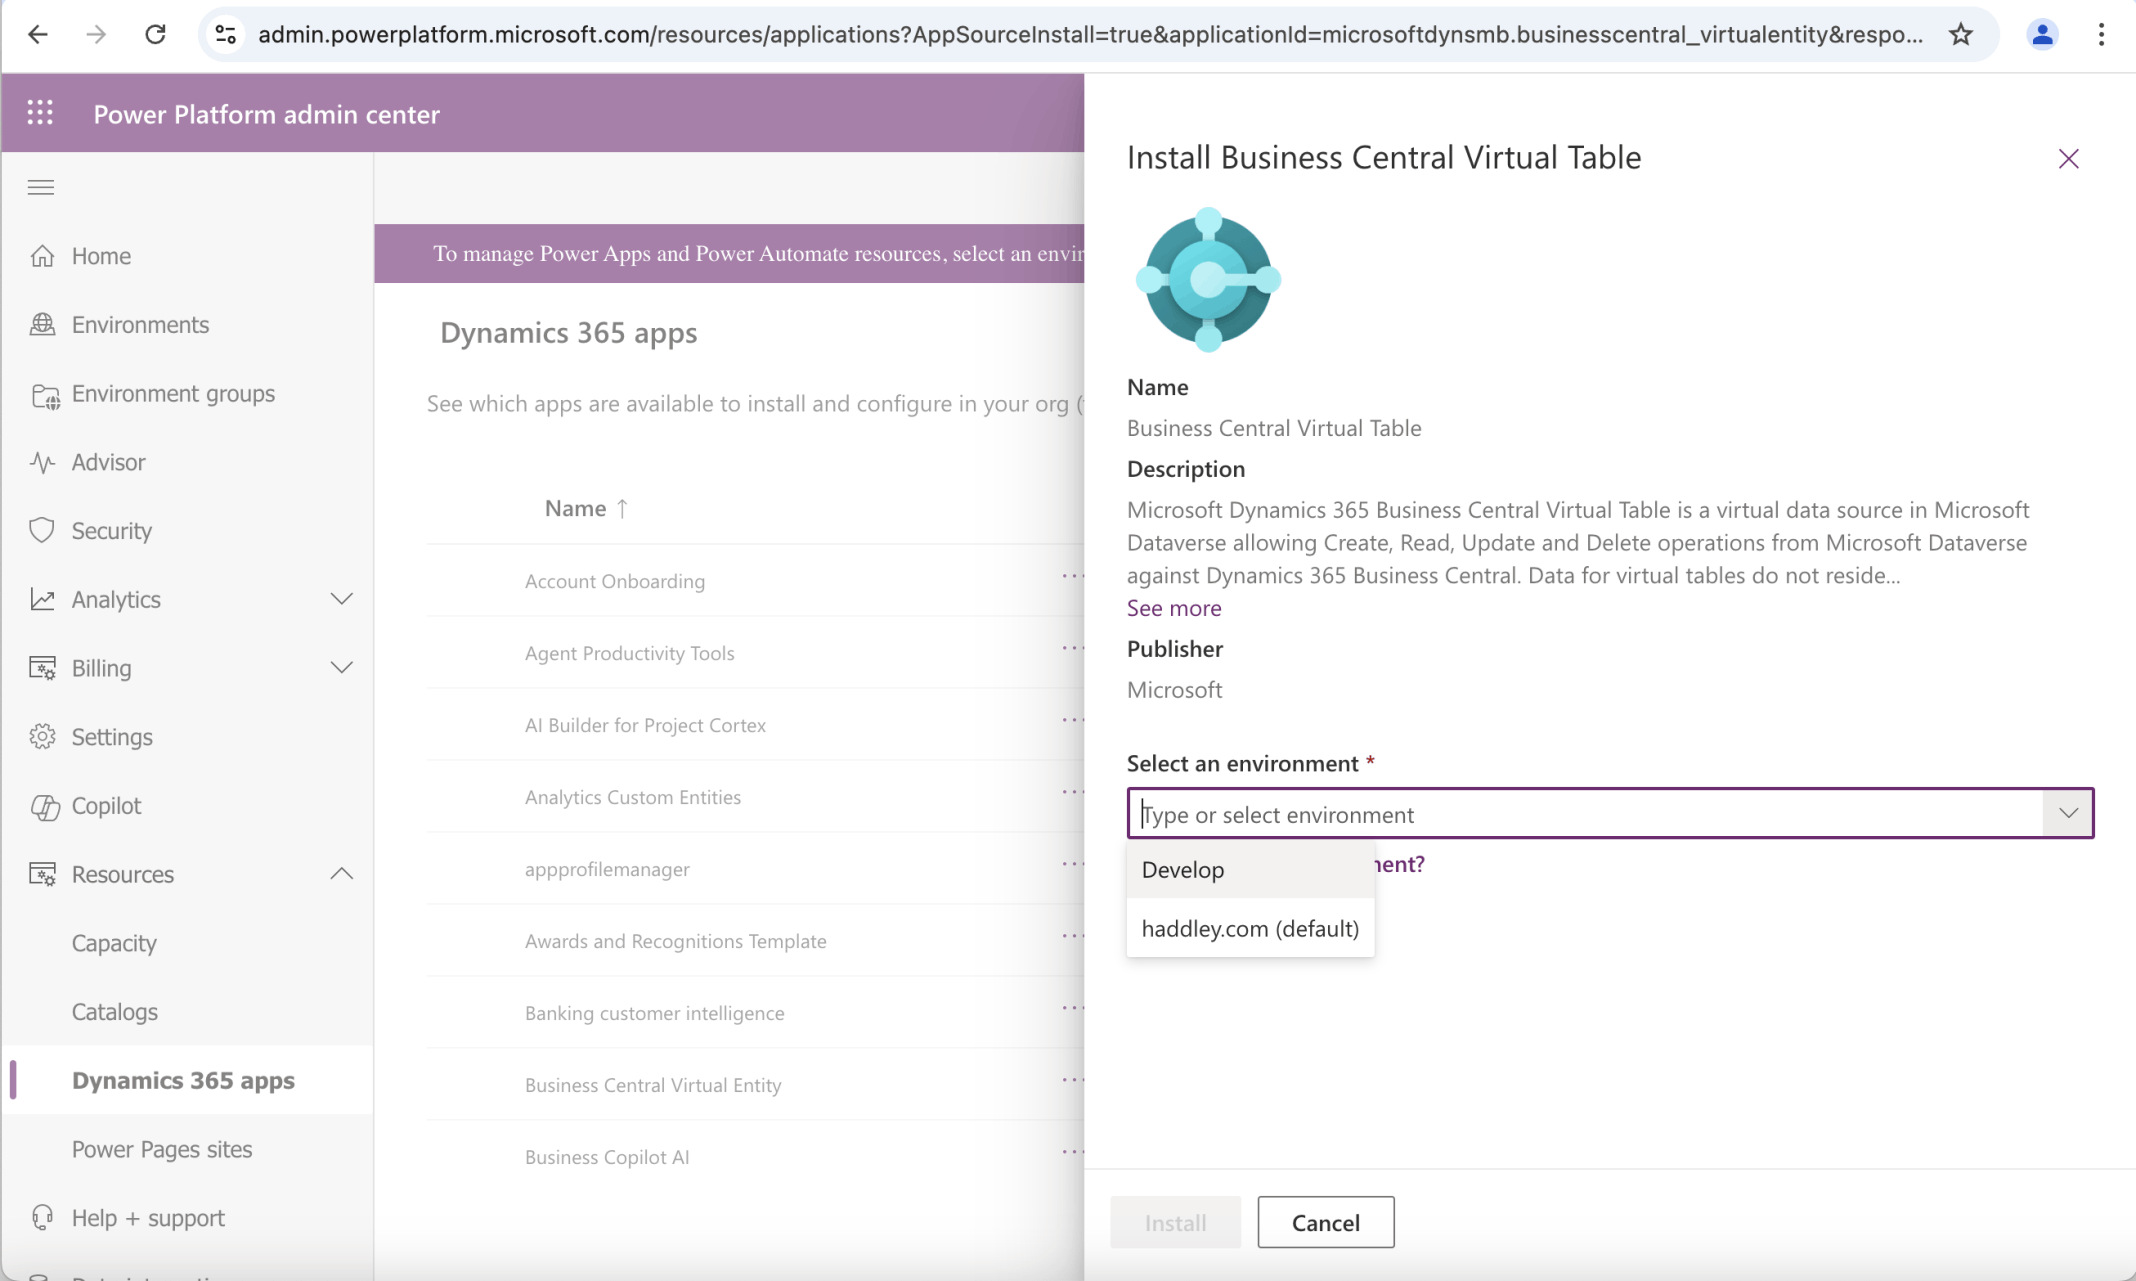
I selected the Develop environment
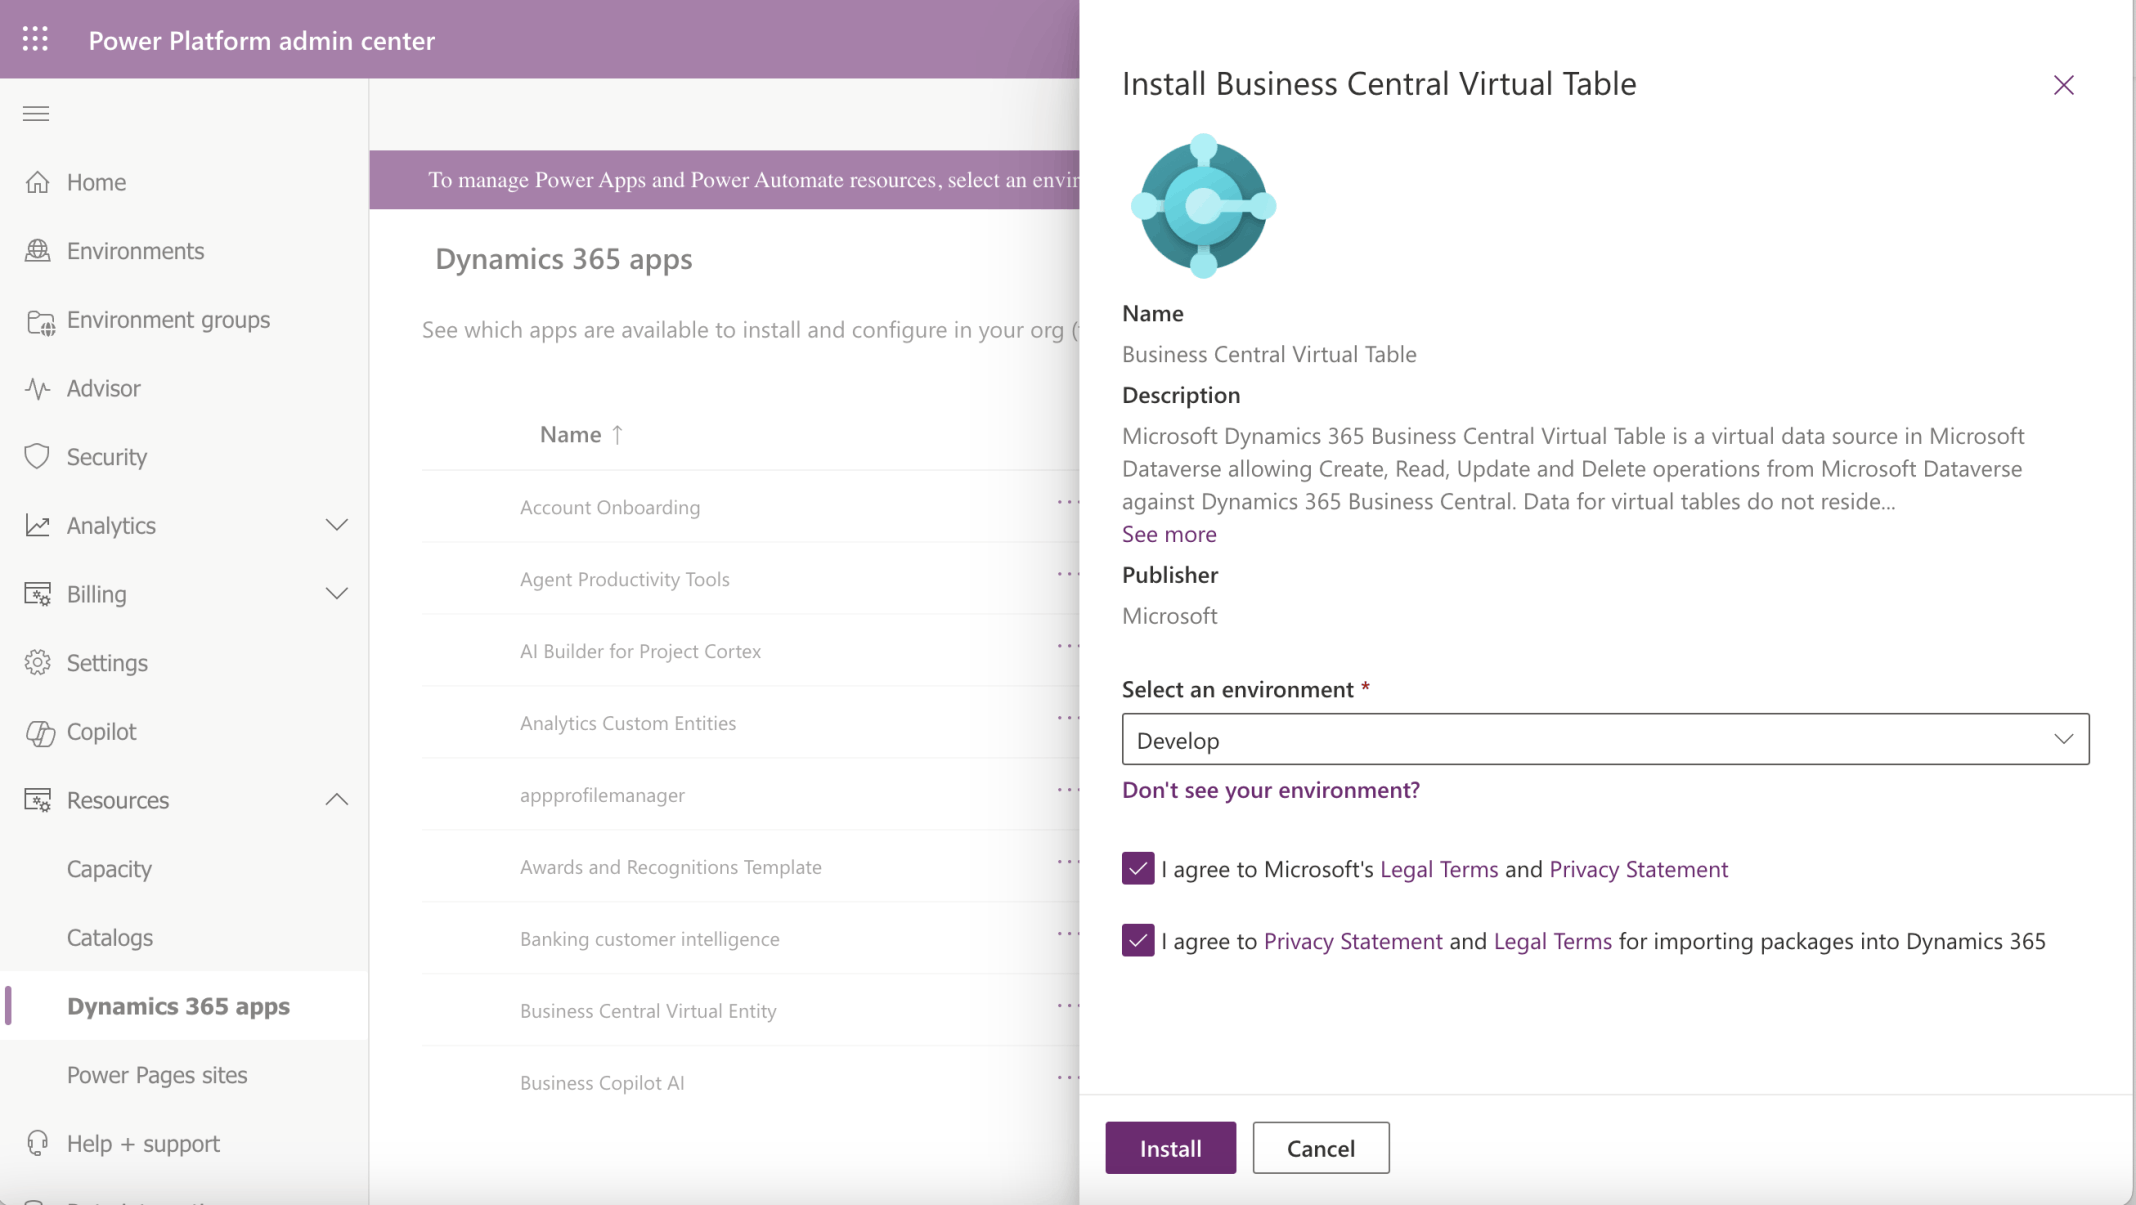
I checked the I agree boxes and clicked the Install button

Business Central Virtual Table was installed
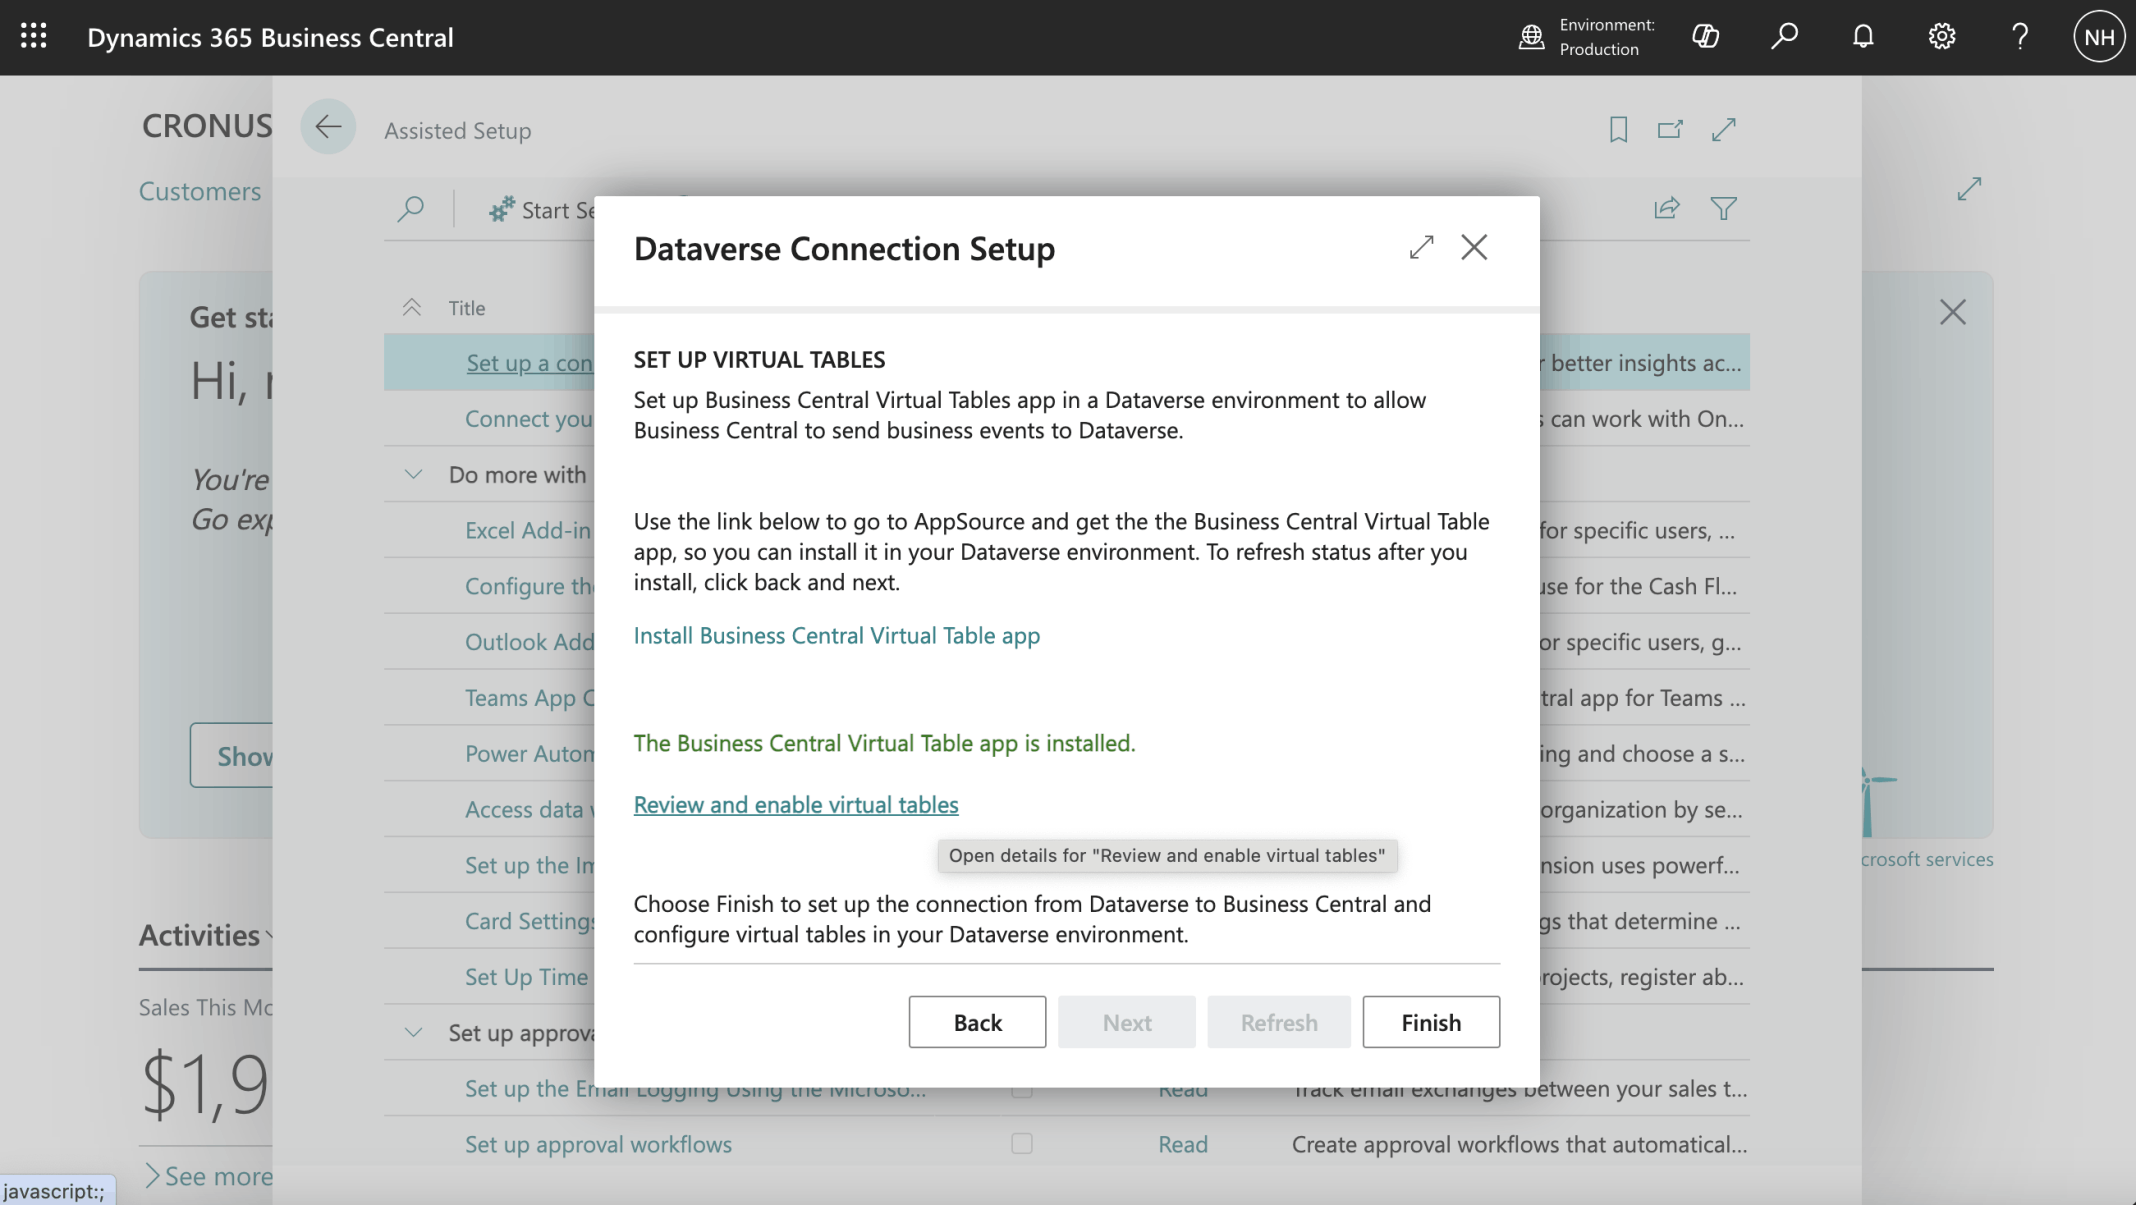
I clicked the Review and enable virtual tables link

I selected six Virtual Tables and clicked the Enable button

A job queue entry was created
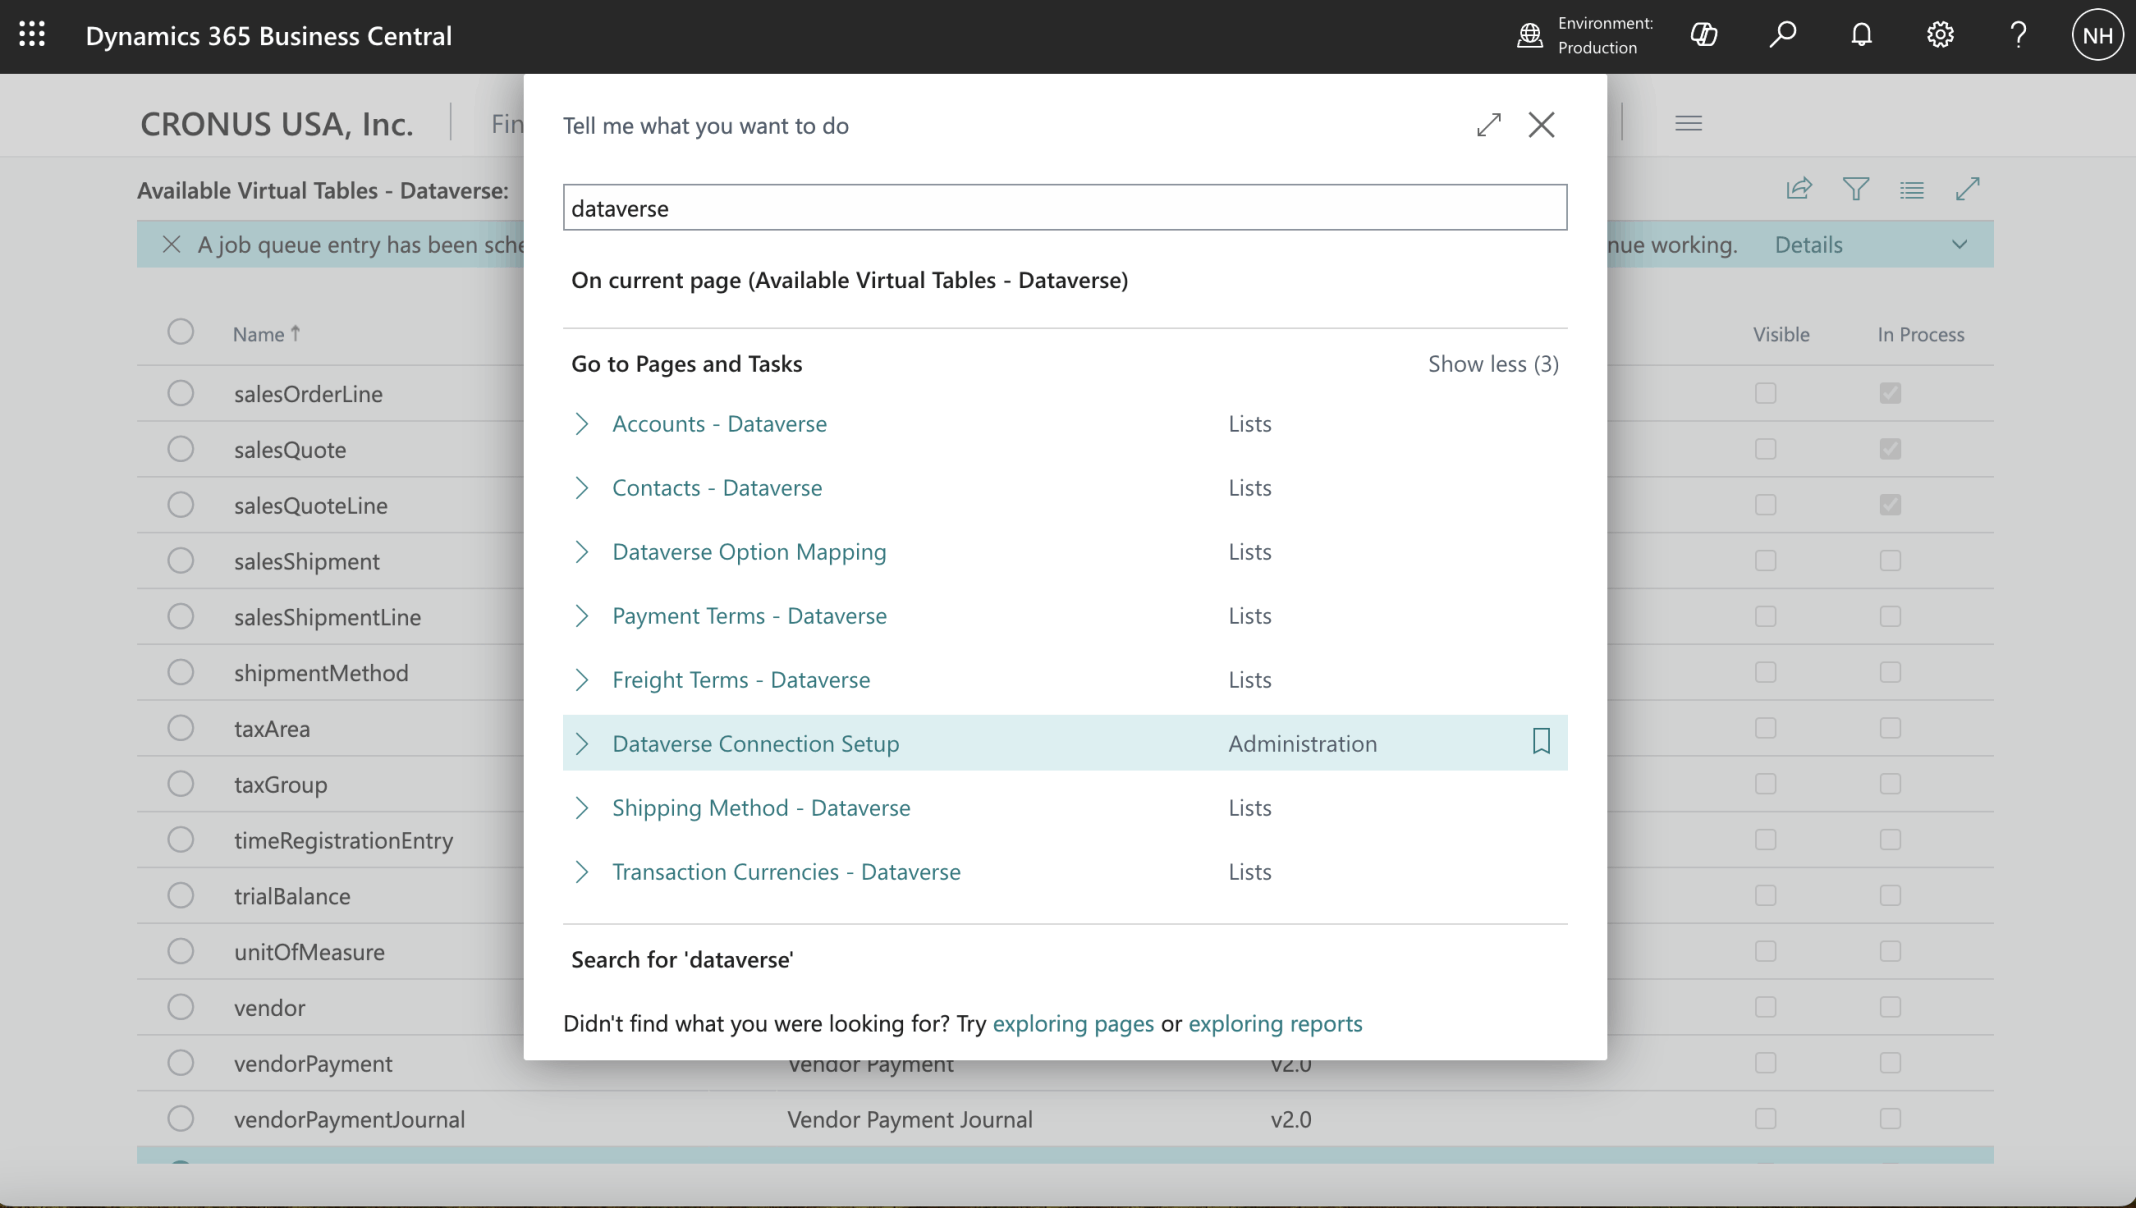
I navigated to the Dataverse Connection Setup page
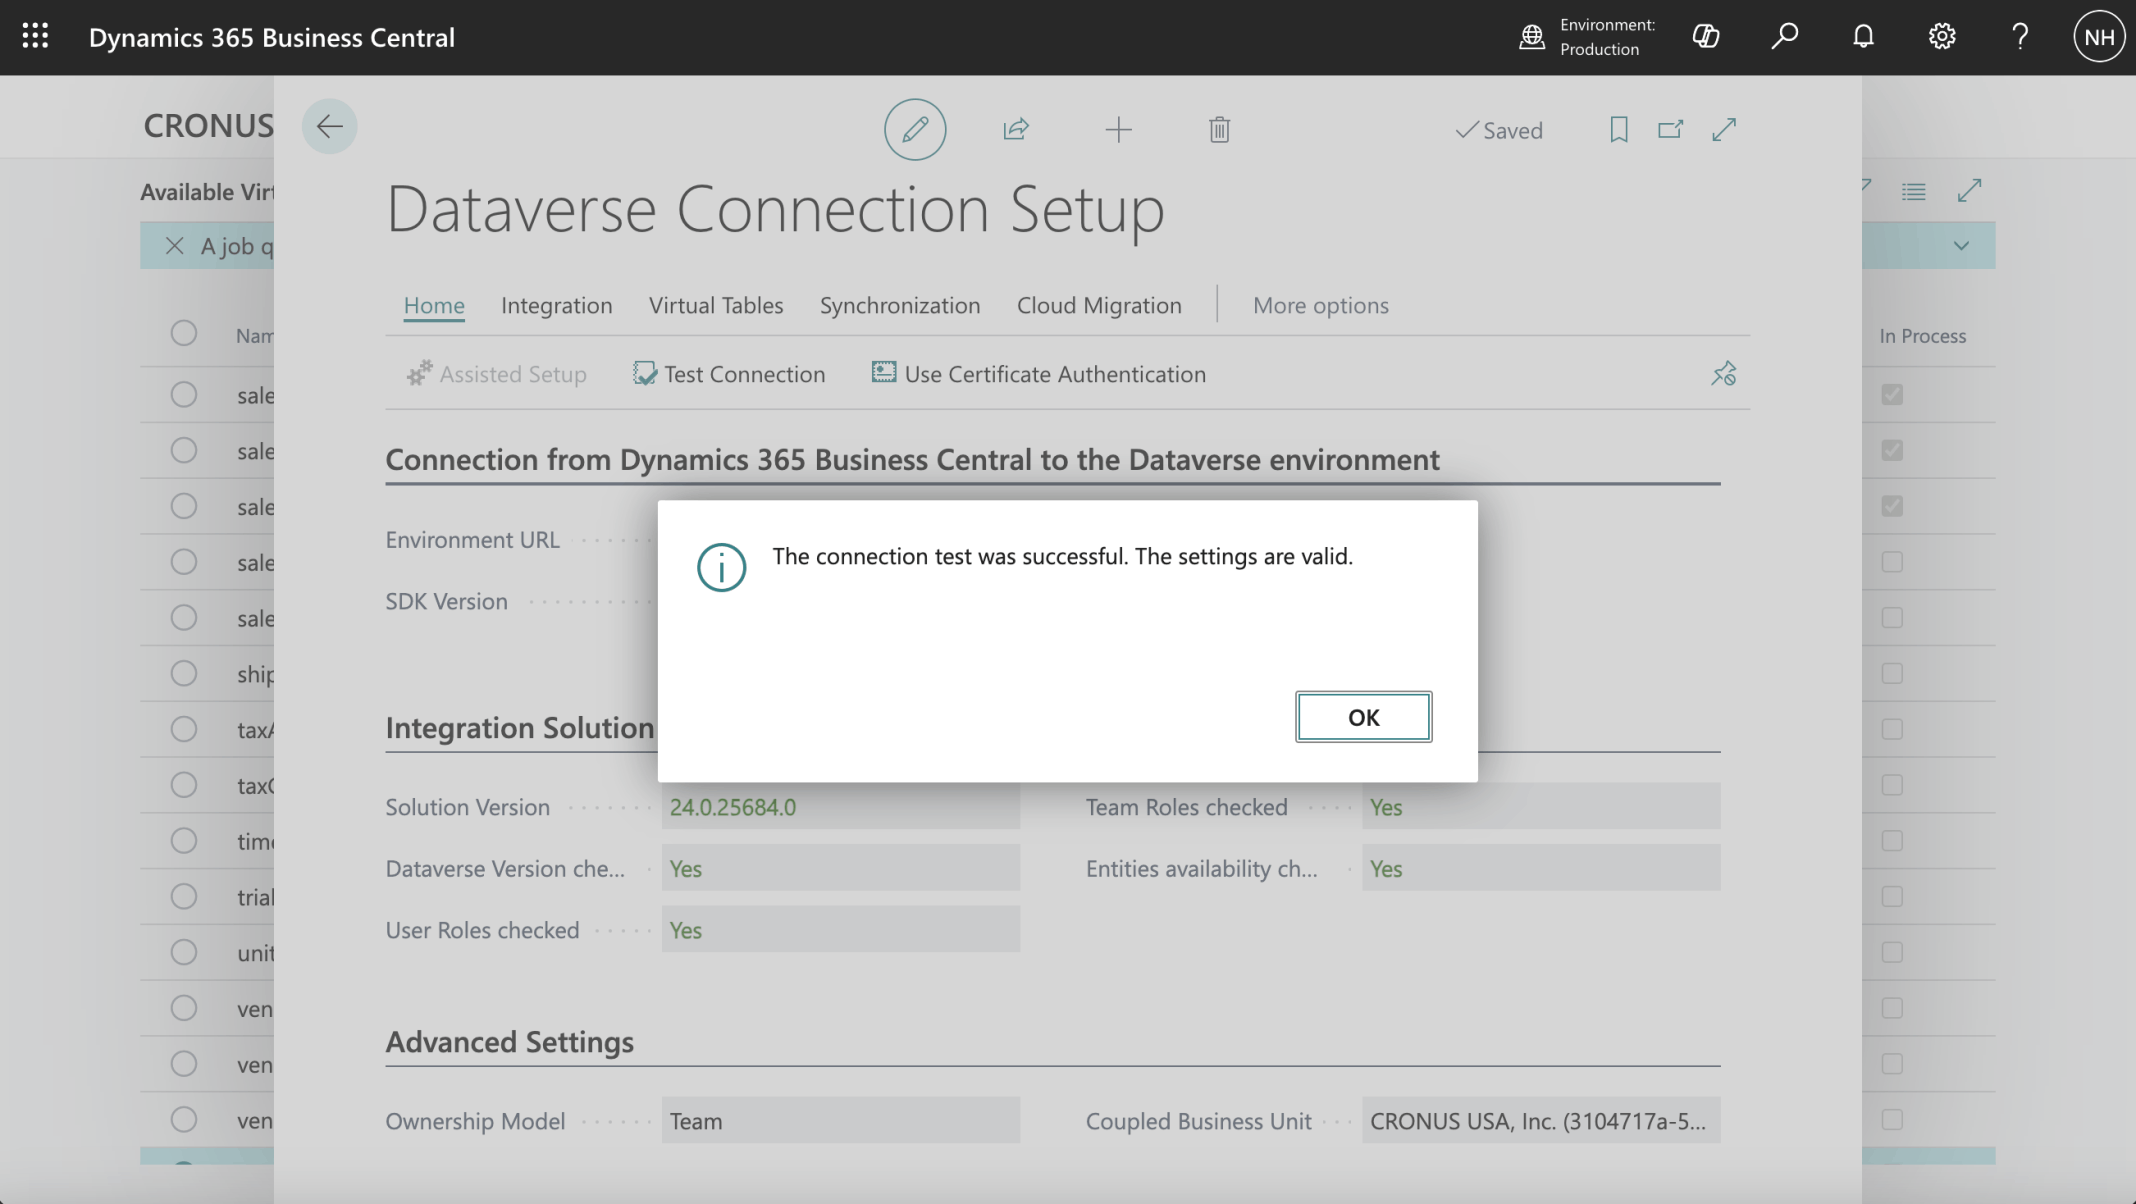
I clicked the Test Connection button
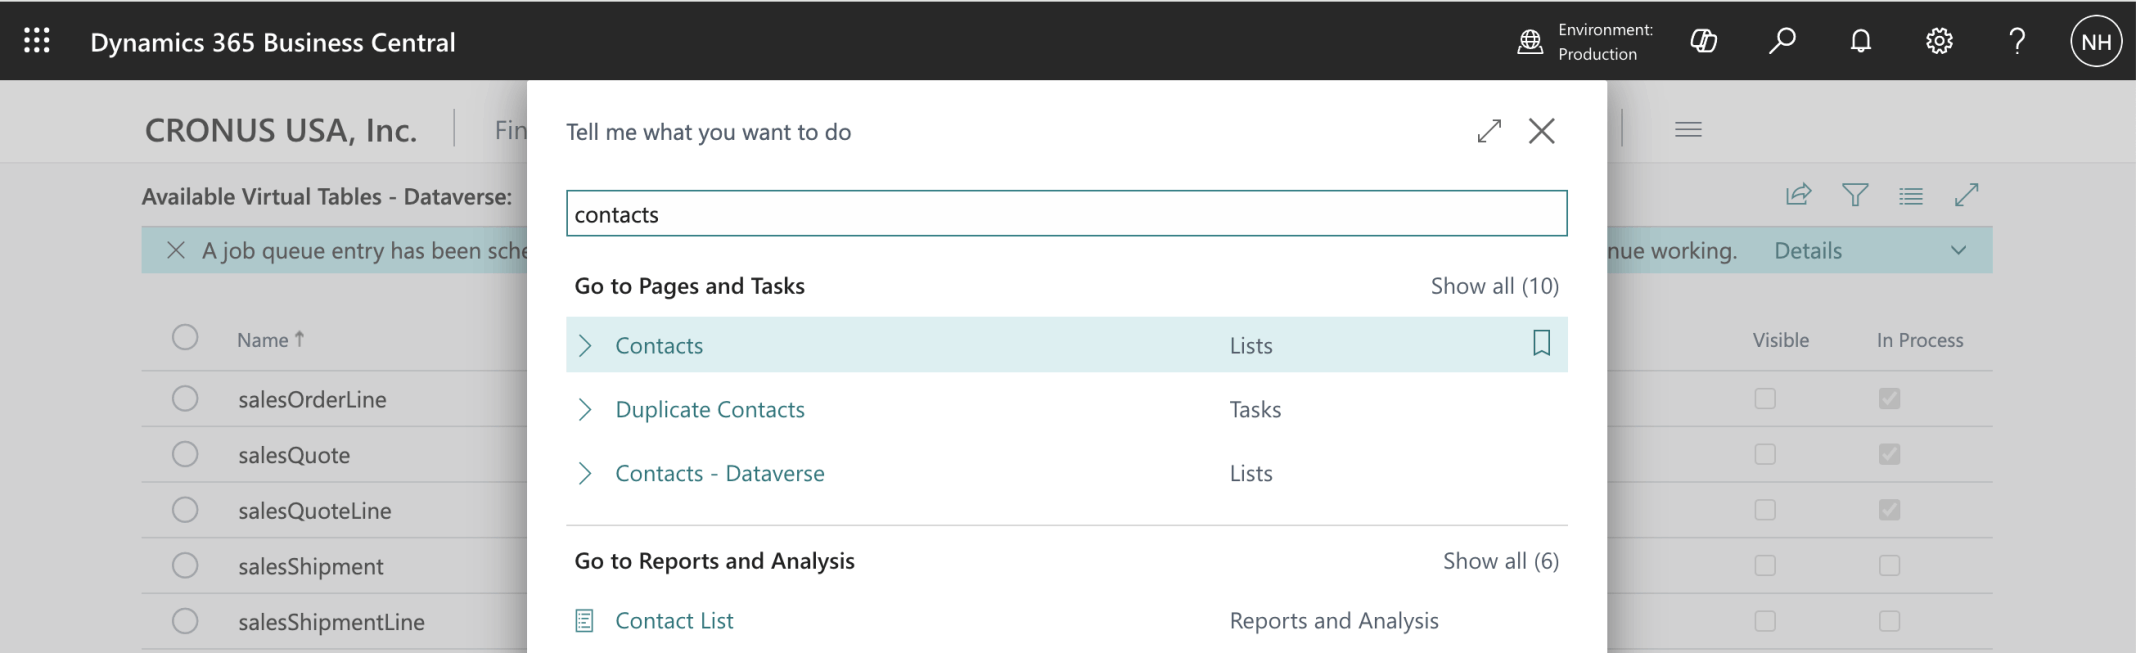
I navigated to the Contacts list
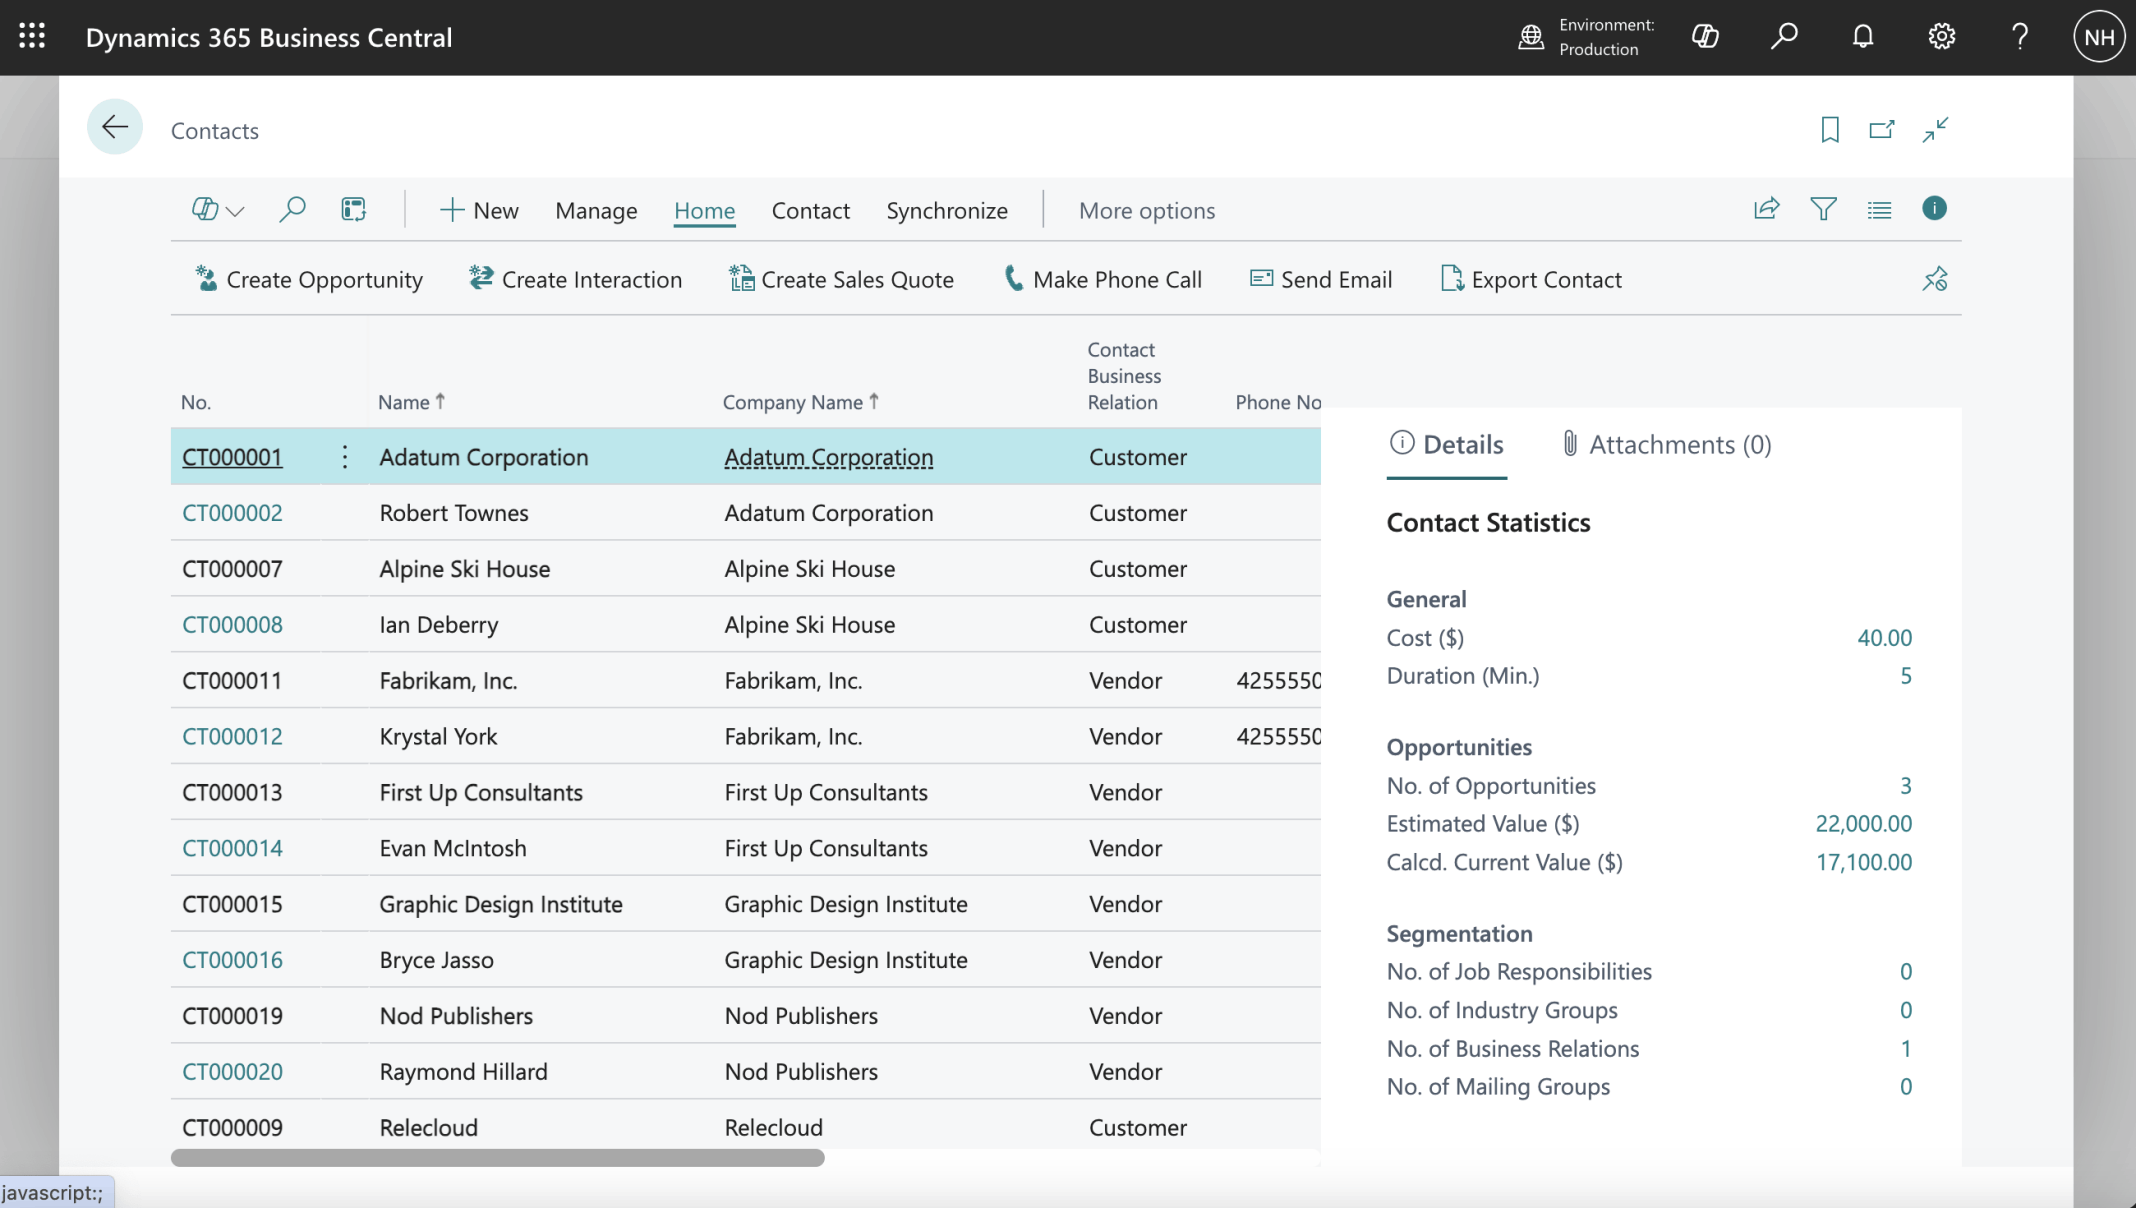
Business Central sample data includes example Contacts
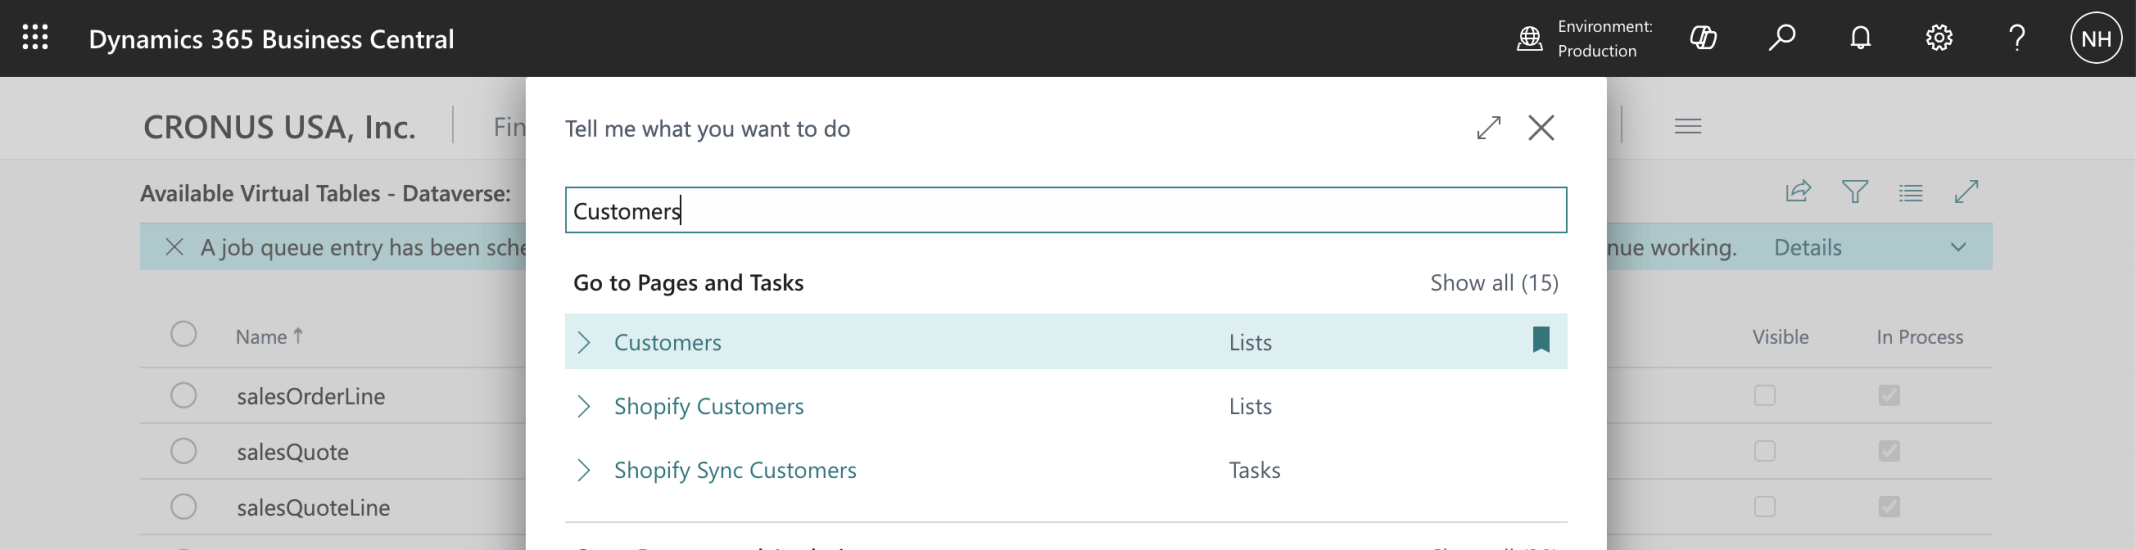
I navigated to the Customers list
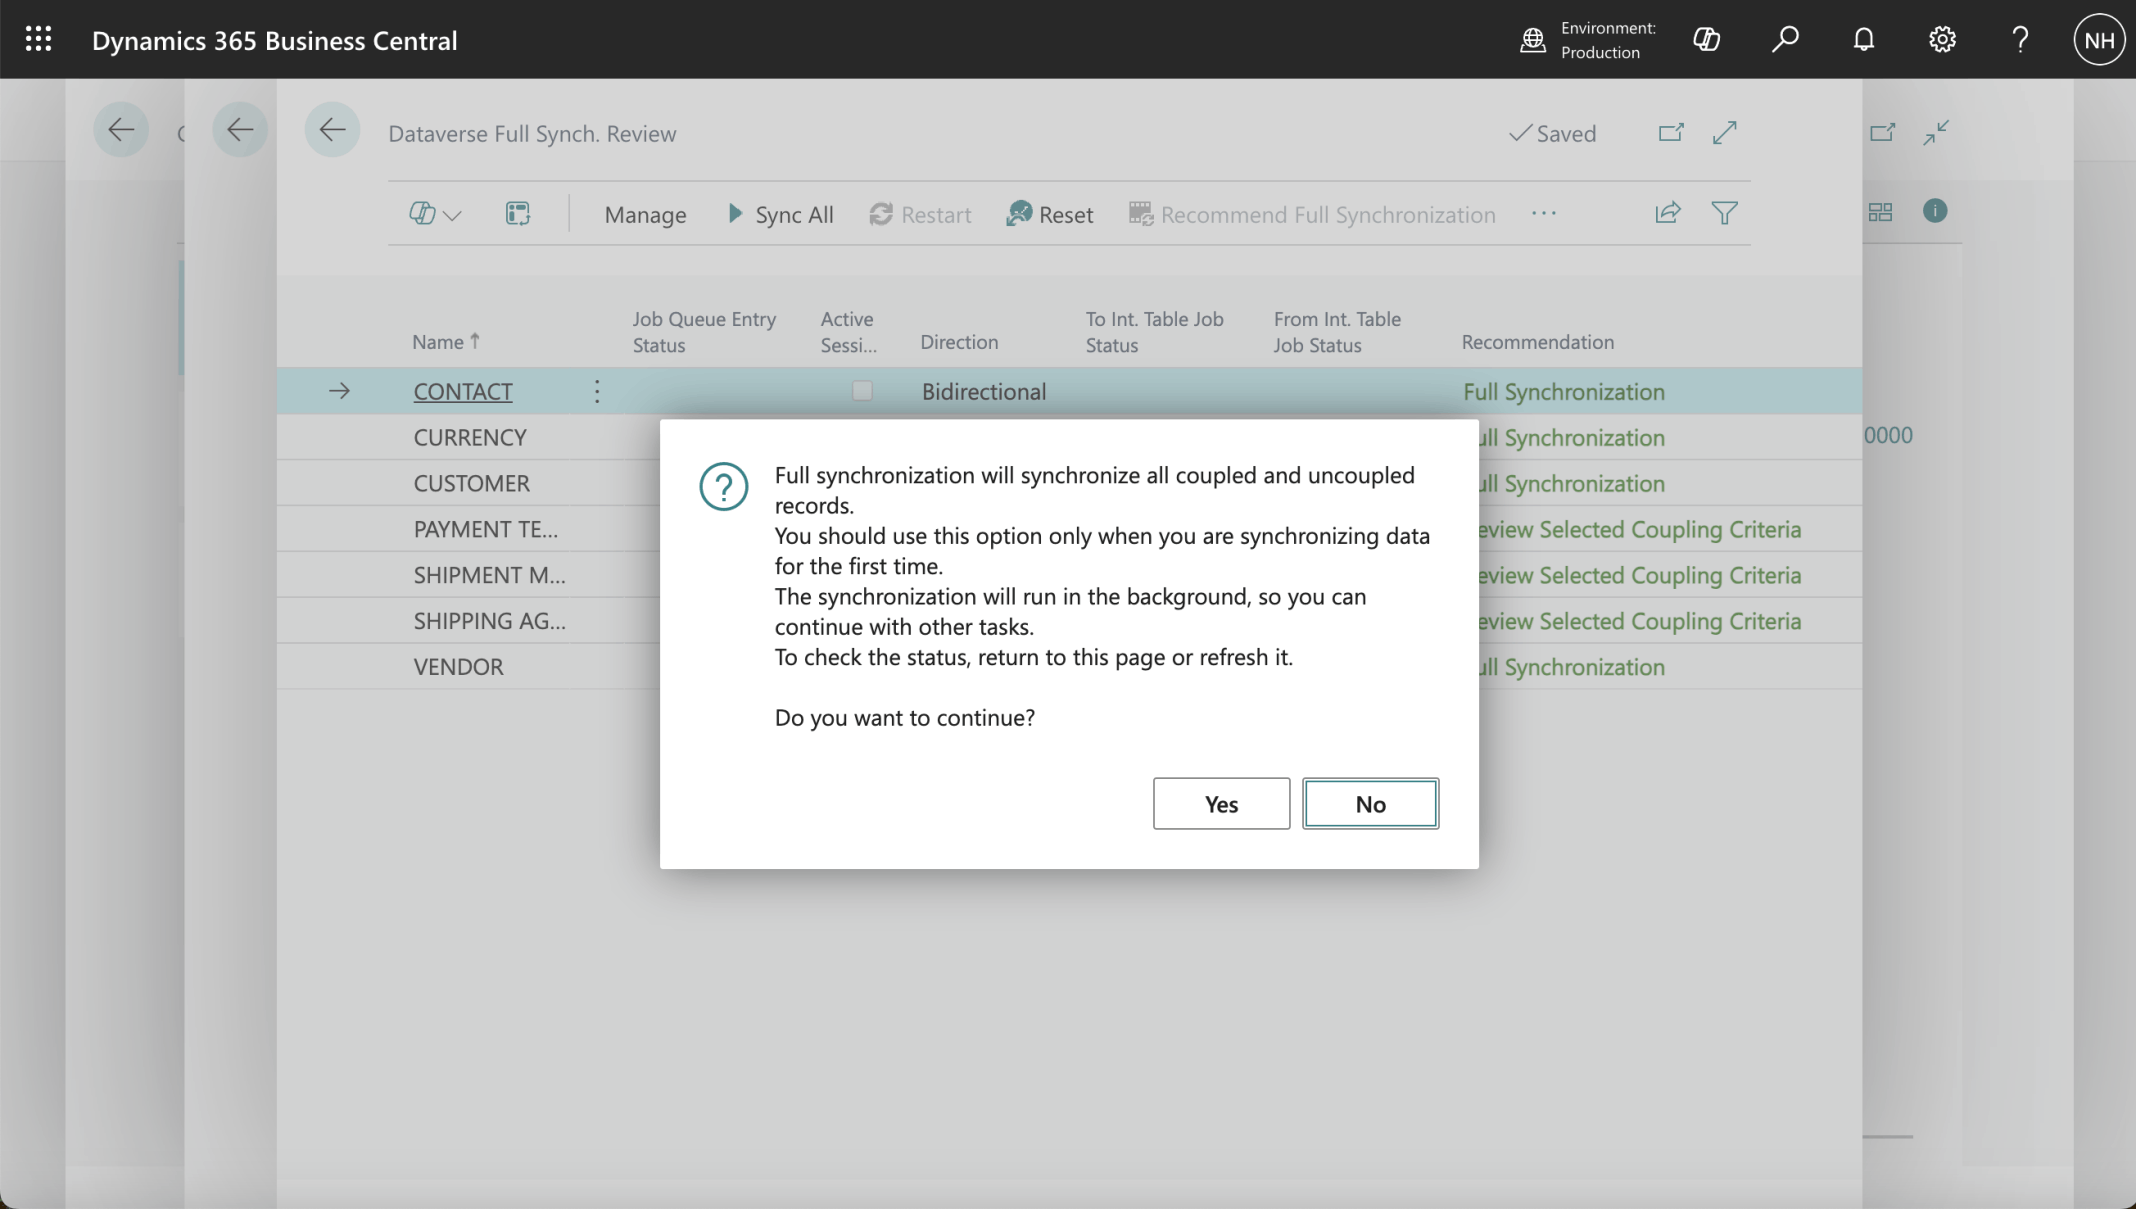
Business Central sample data includes example Customers and Vendors (Accounts).I started the Business Central to Dataverse synchronization process

The Contacts table in the Develop environment was initially empty

The Synchronization jobs copied Contact, Account and other details from Business Central to Dataverse
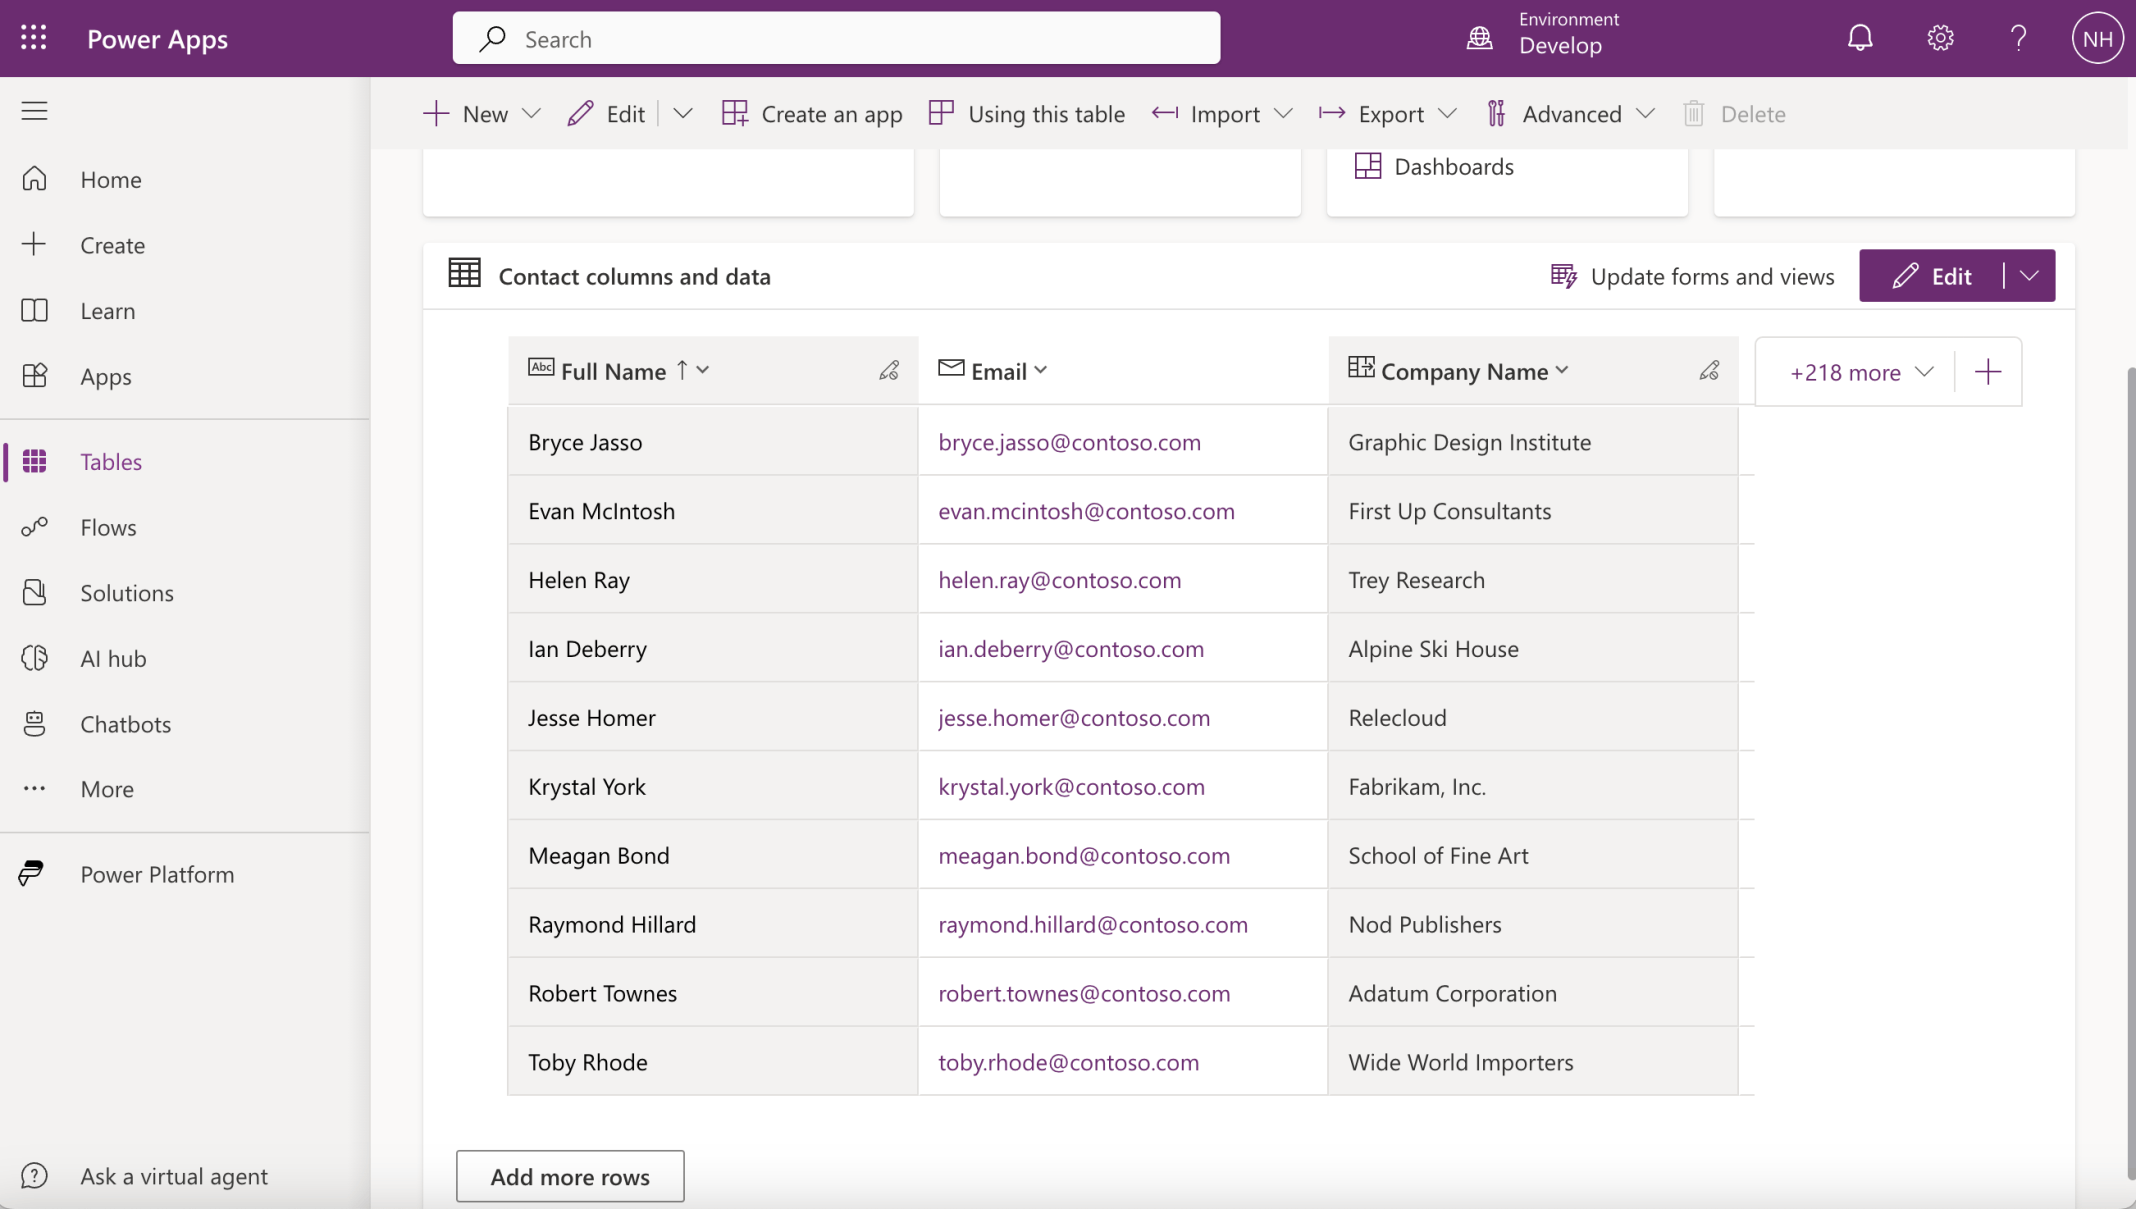
After the sync. the Contacts table included Contacts (connected to Accounts)
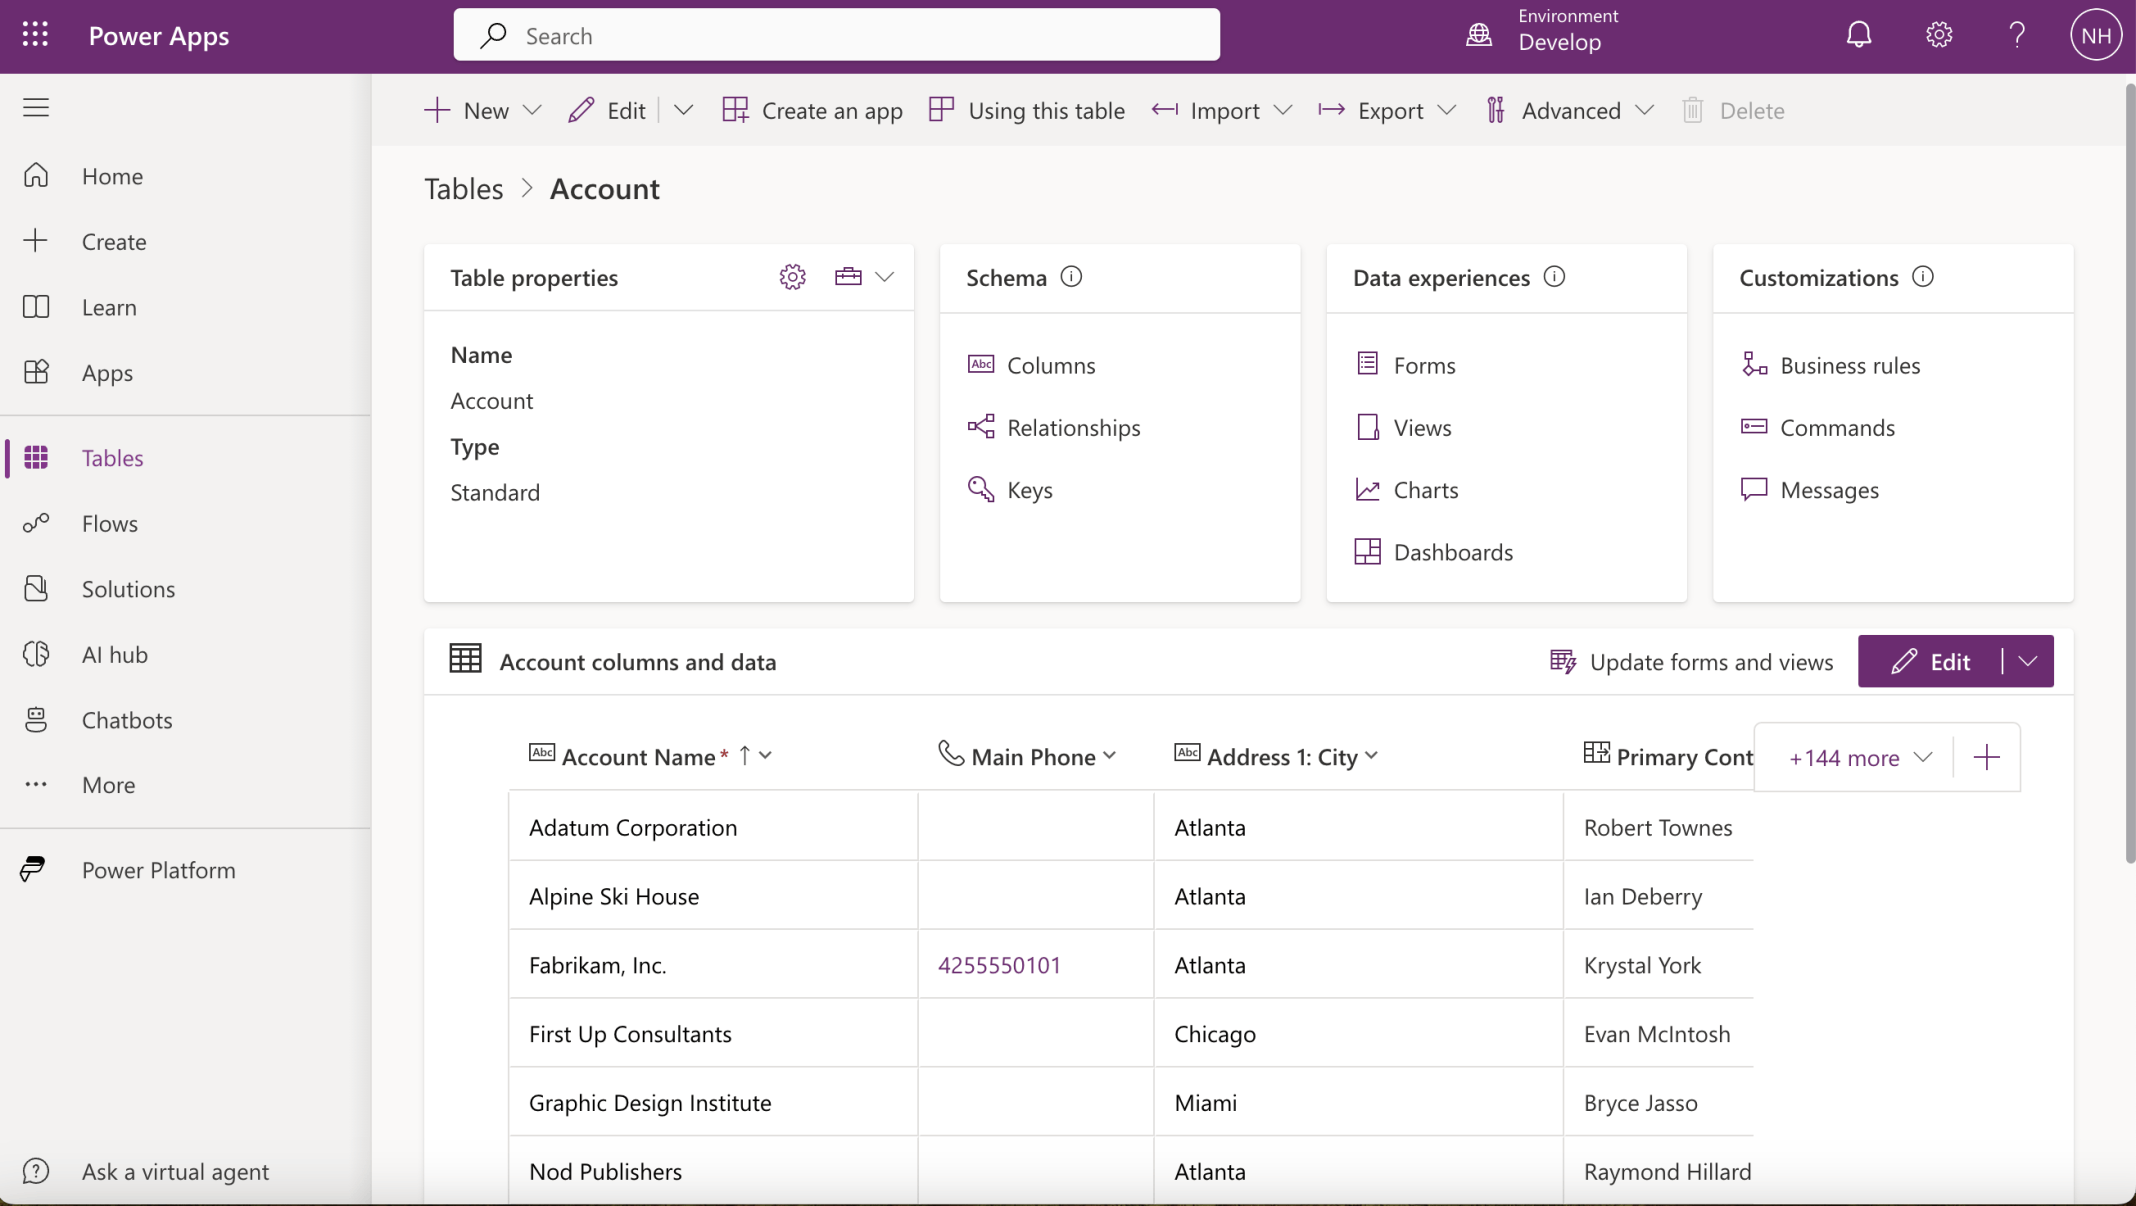
Customer and Vendor details were copied from Business Central to Dataverse
Sales Orders
I connected the Customer Portal to Business Central Sales Orders using virtual tables.

I navigated to the Sales Orders list

I reviewed the Sales Orders list
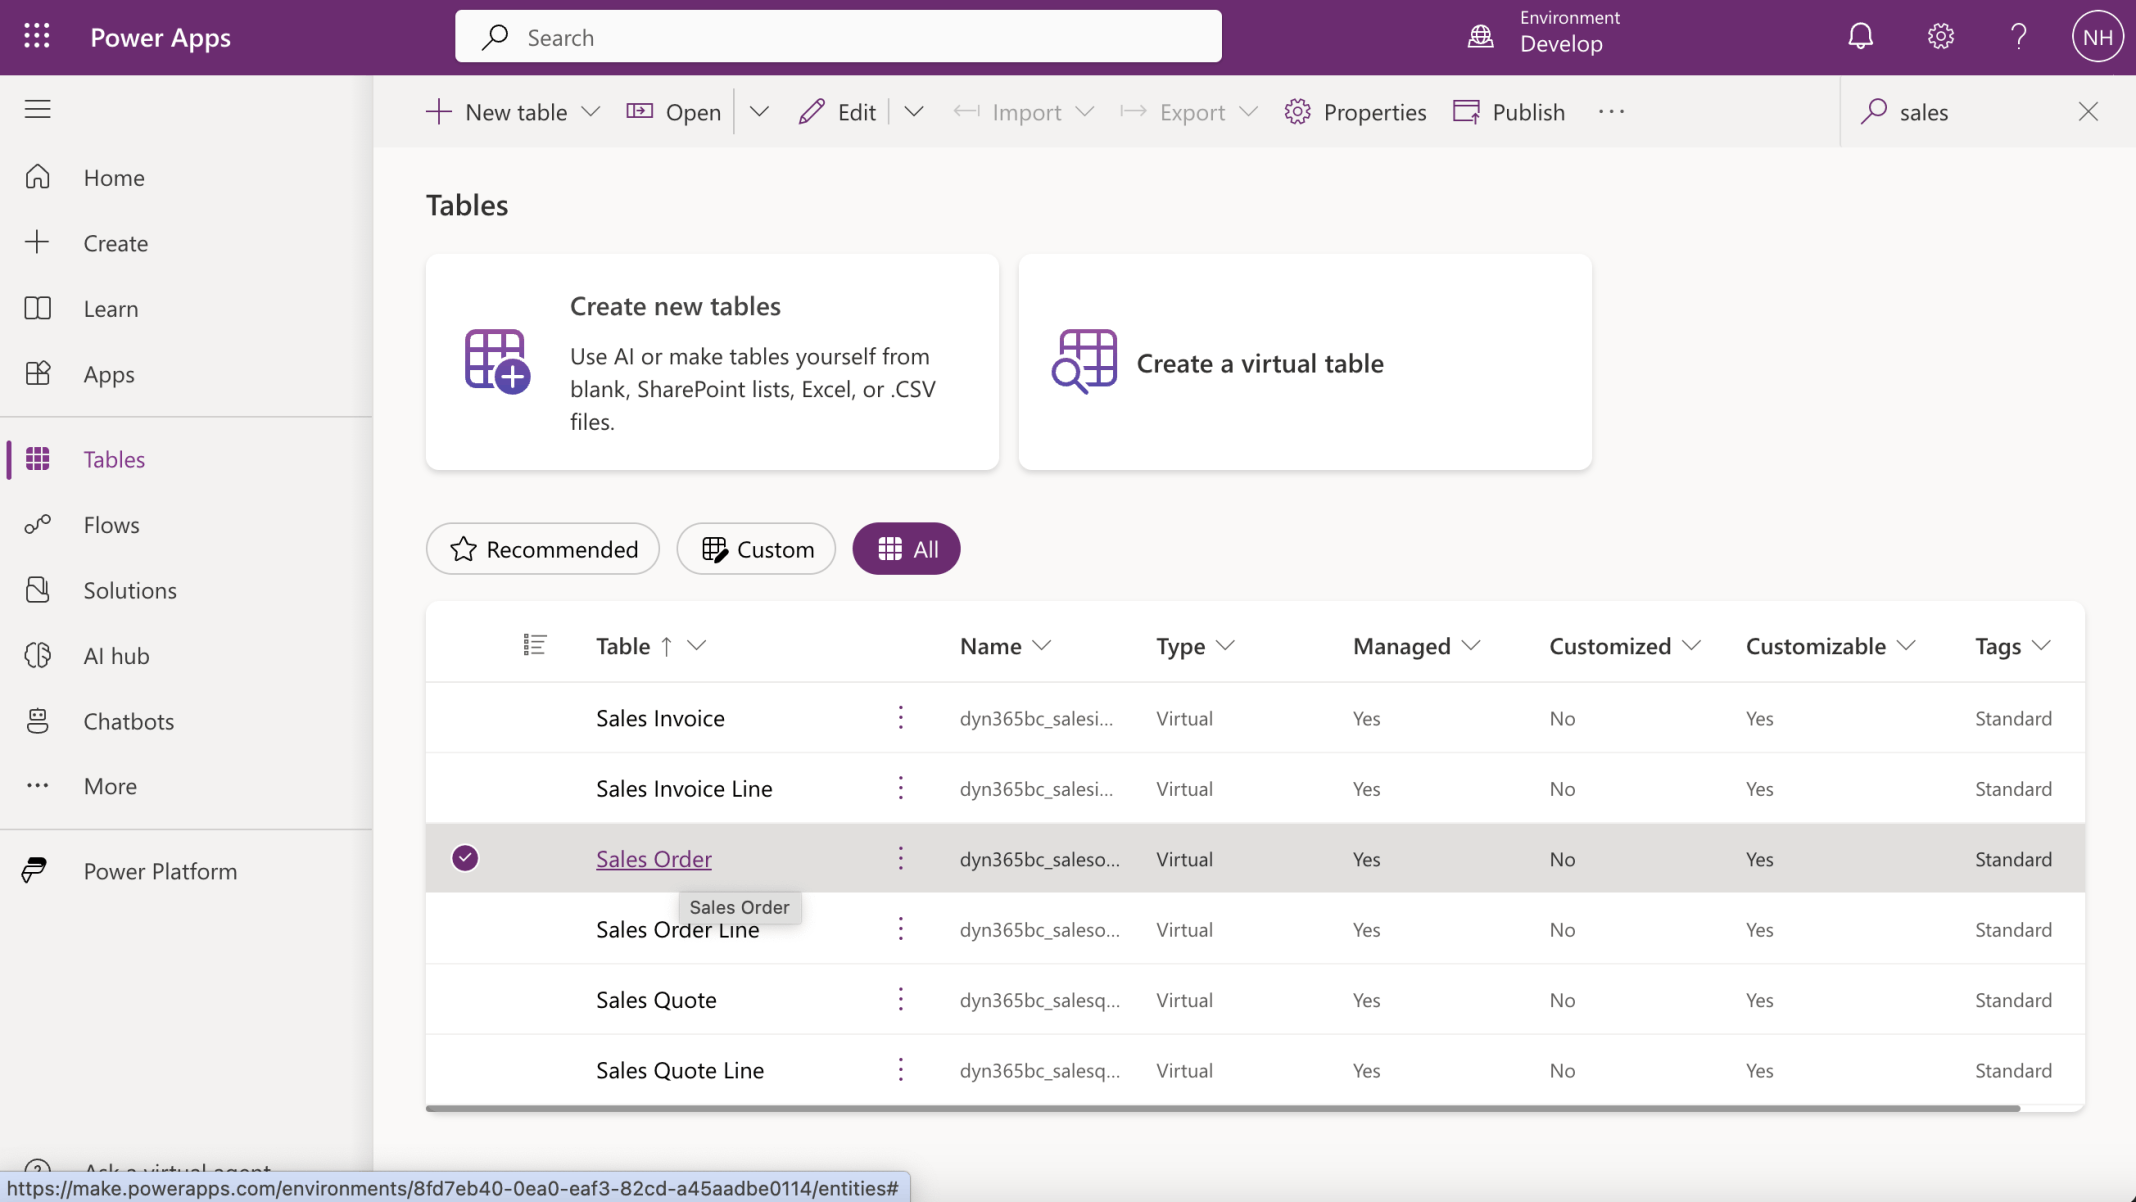
I navigated to the Sales Order Virtual Table
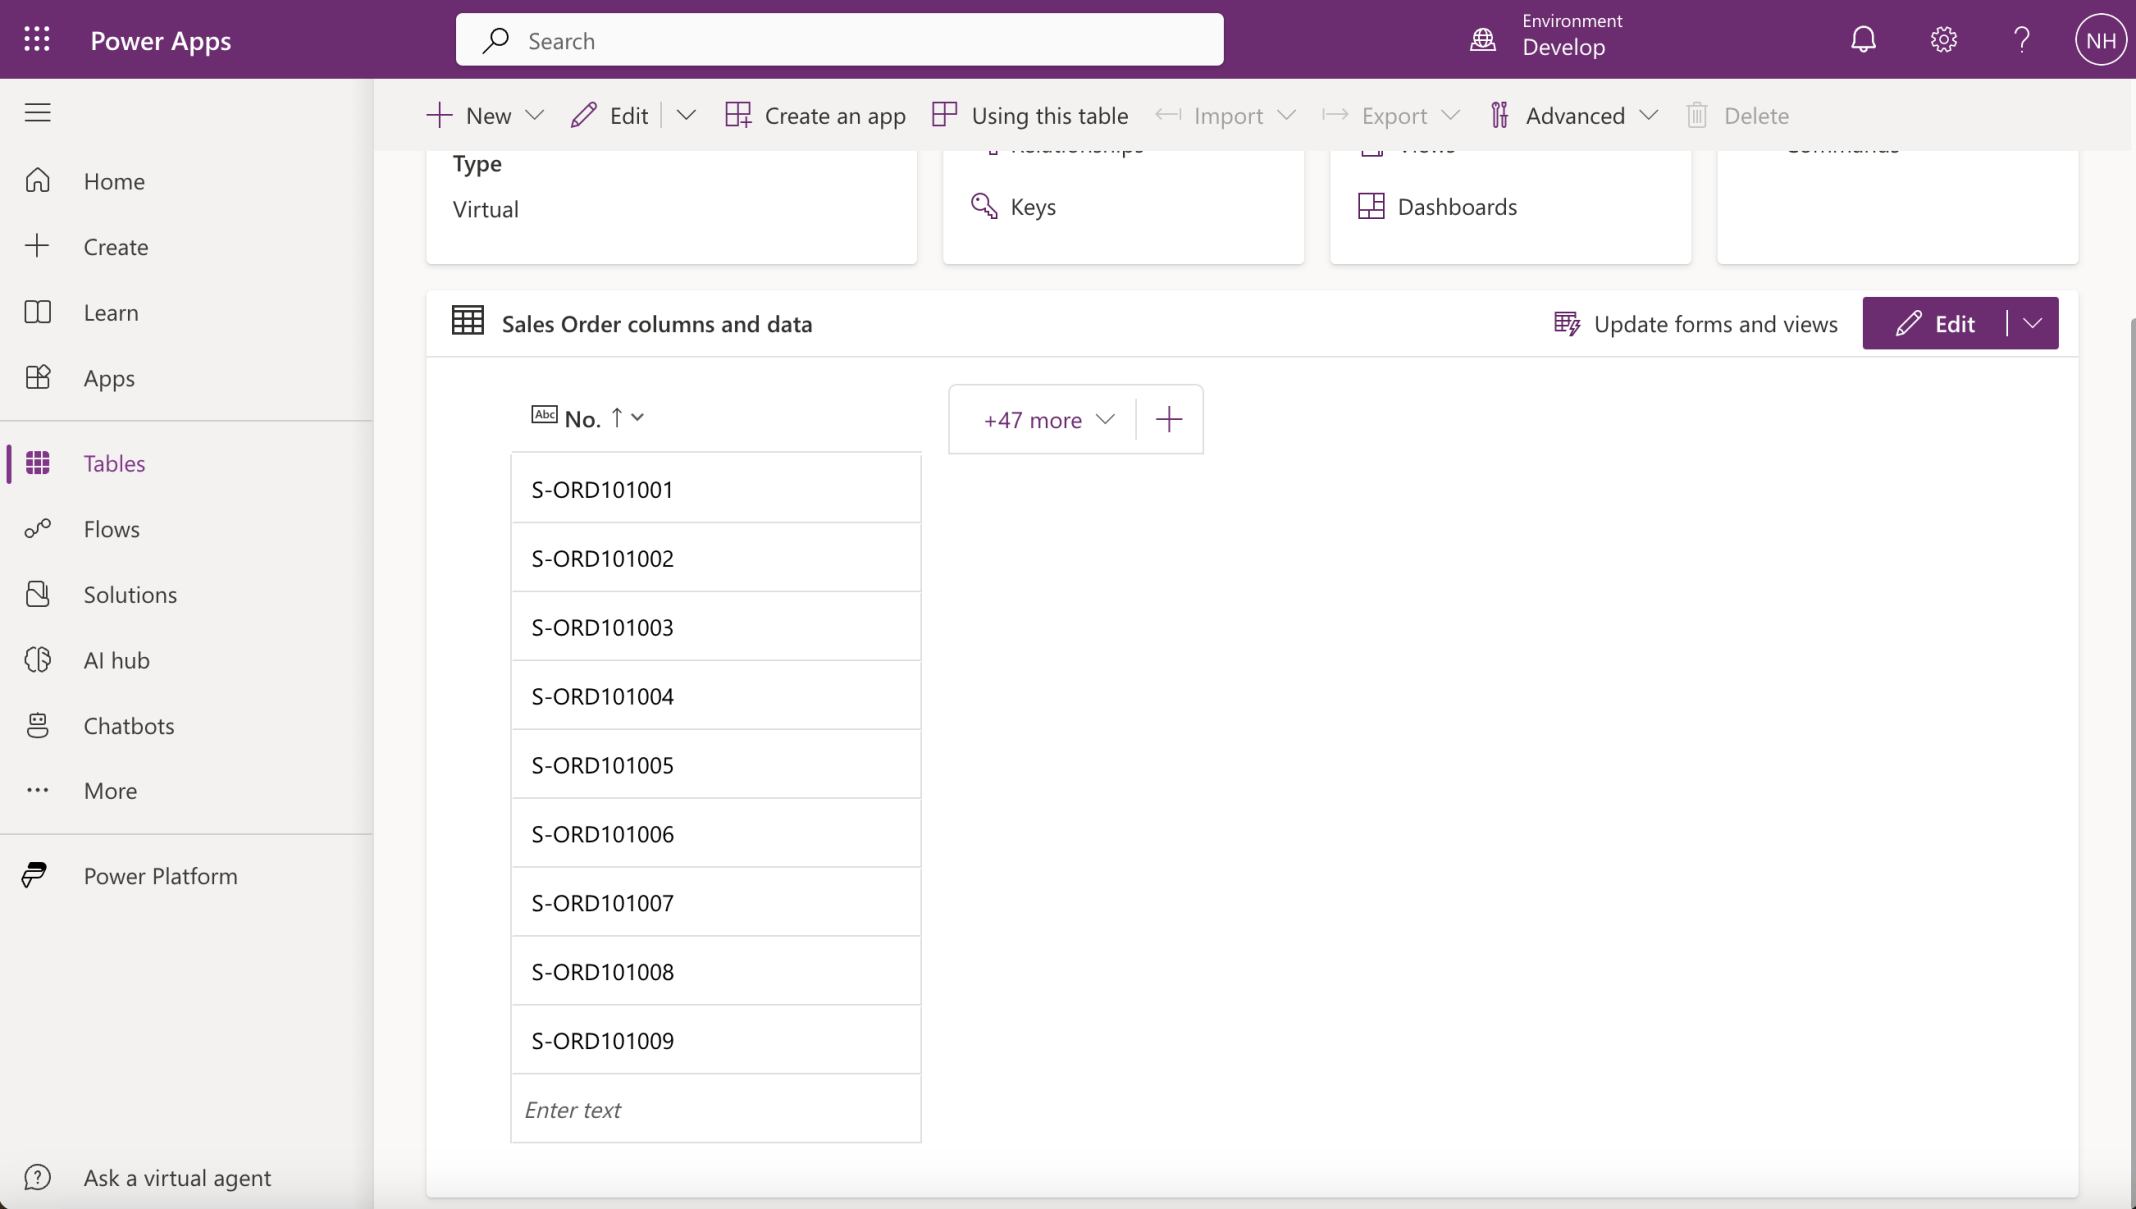
I was able to see the same records
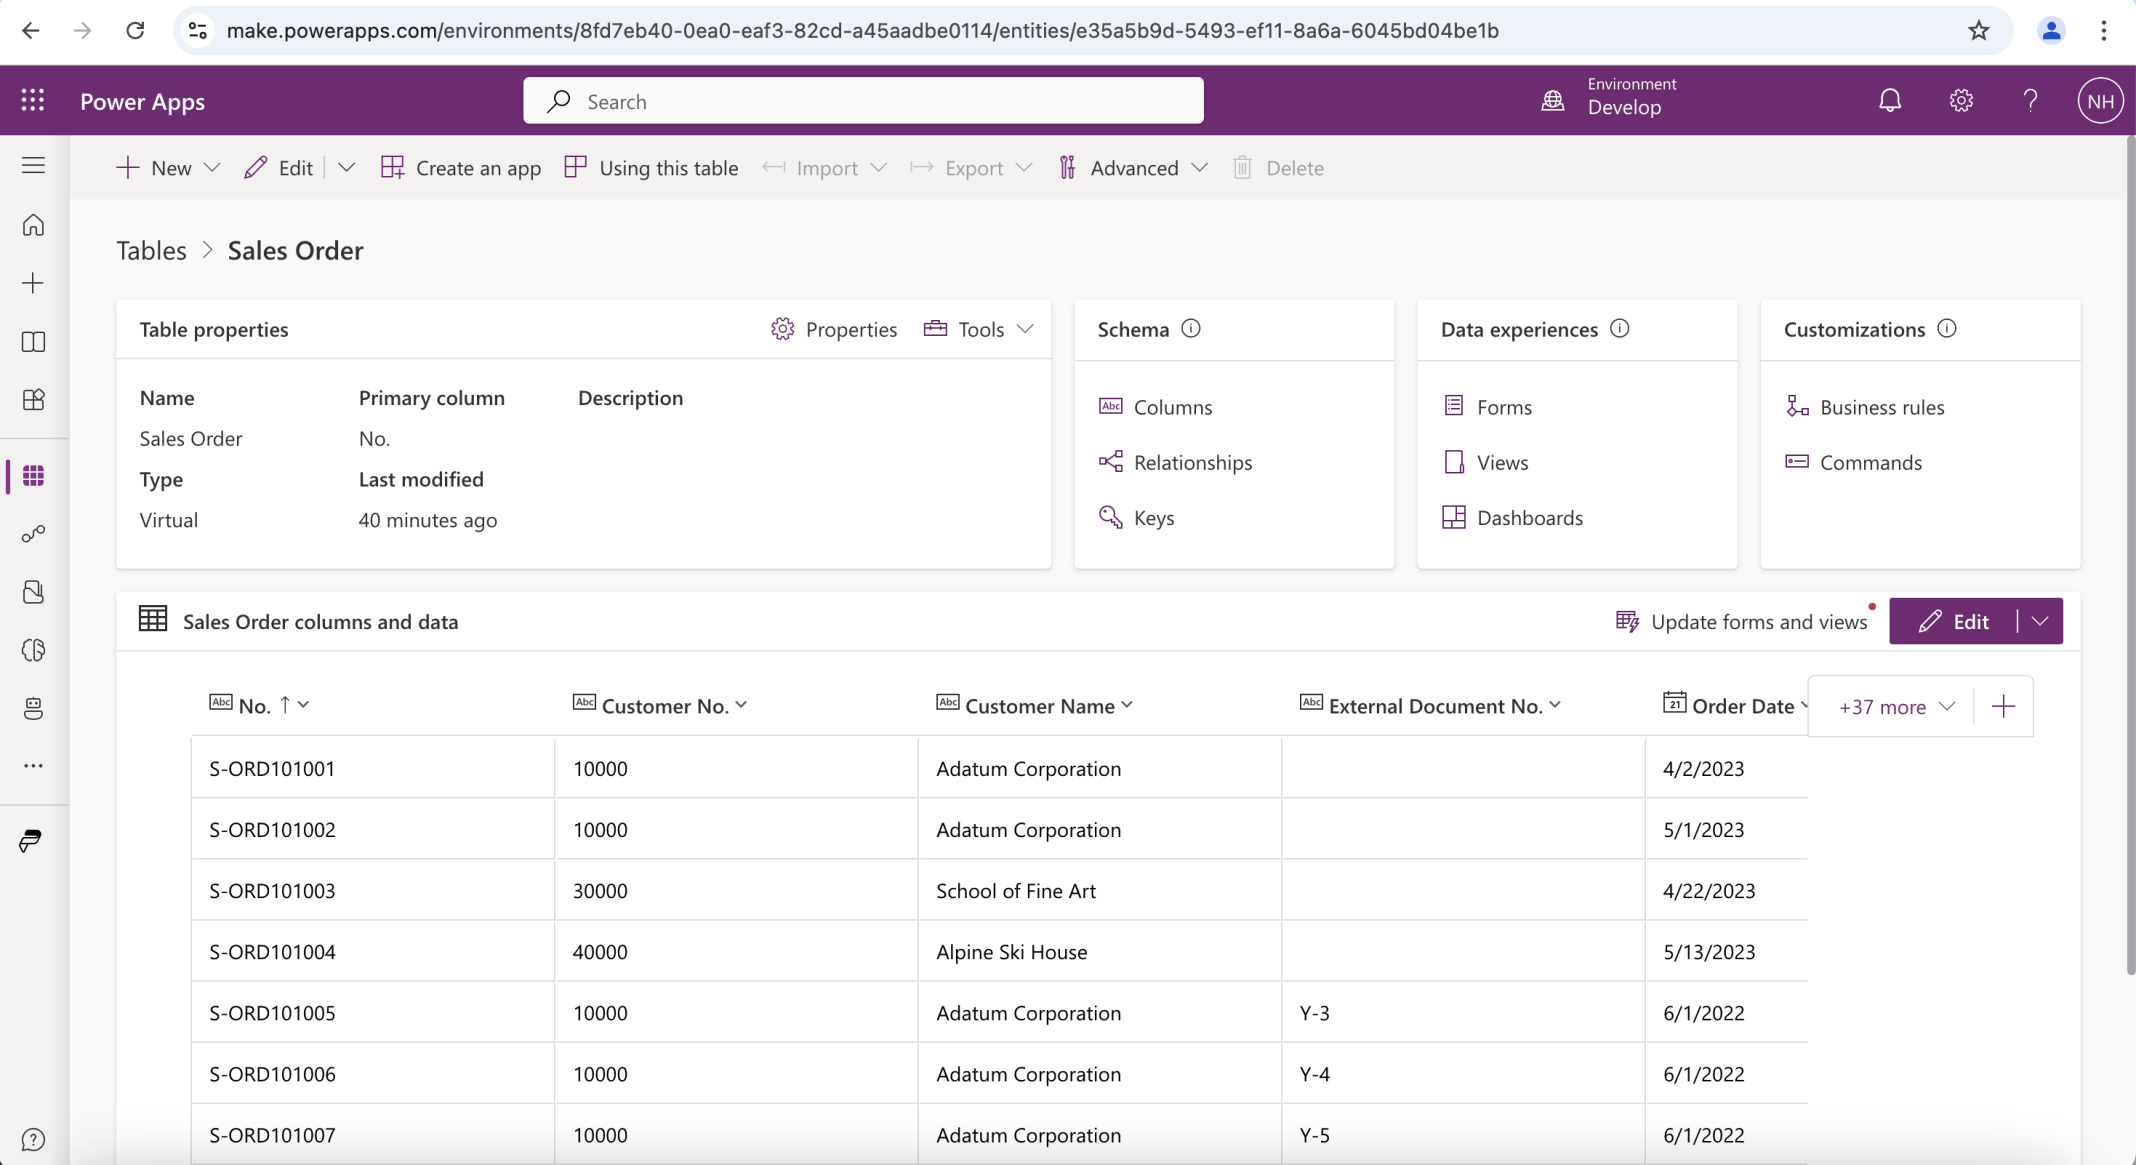
I added columns to the display
Solution
I created a Power Platform Solution
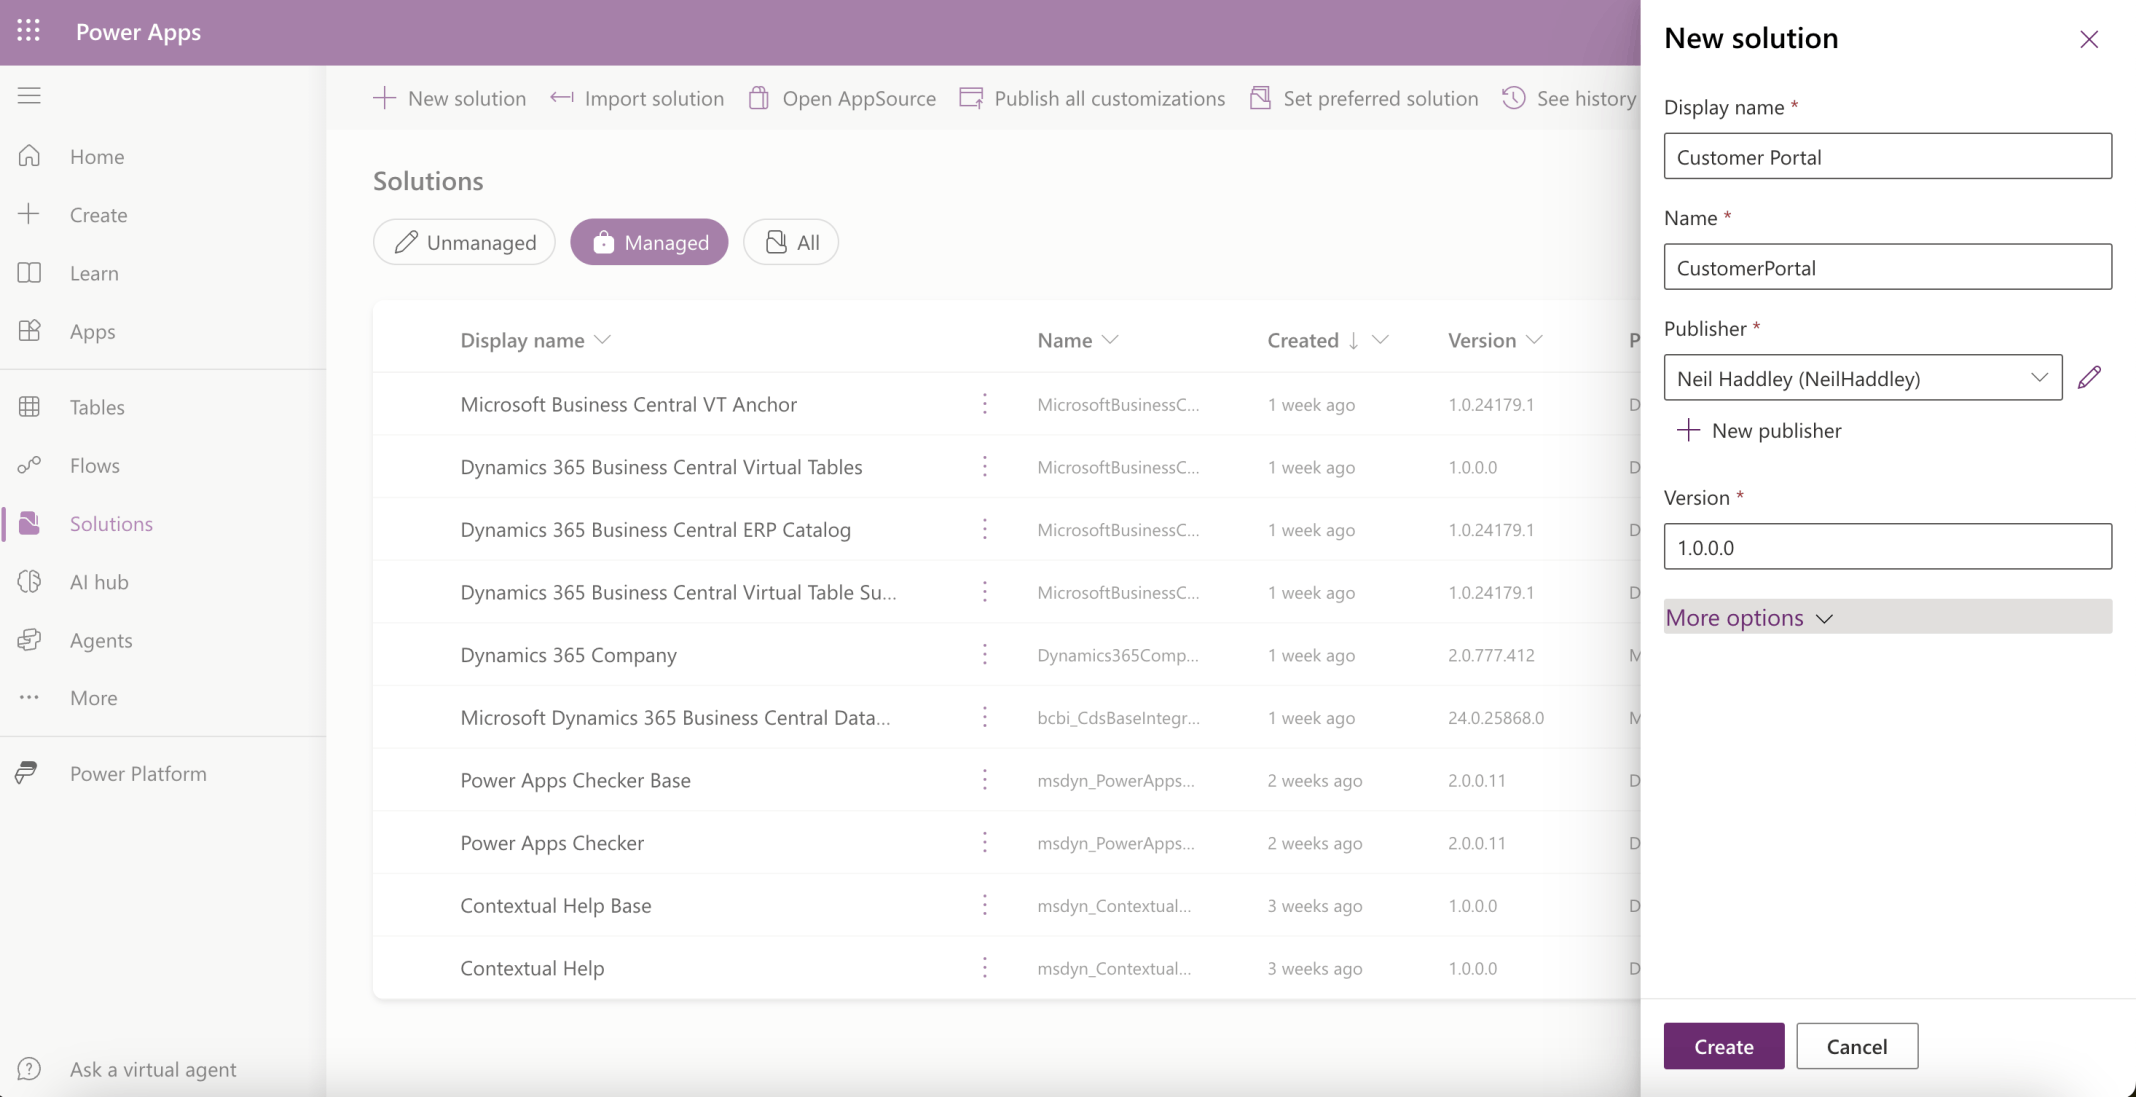
I created a Customer Portal Solution
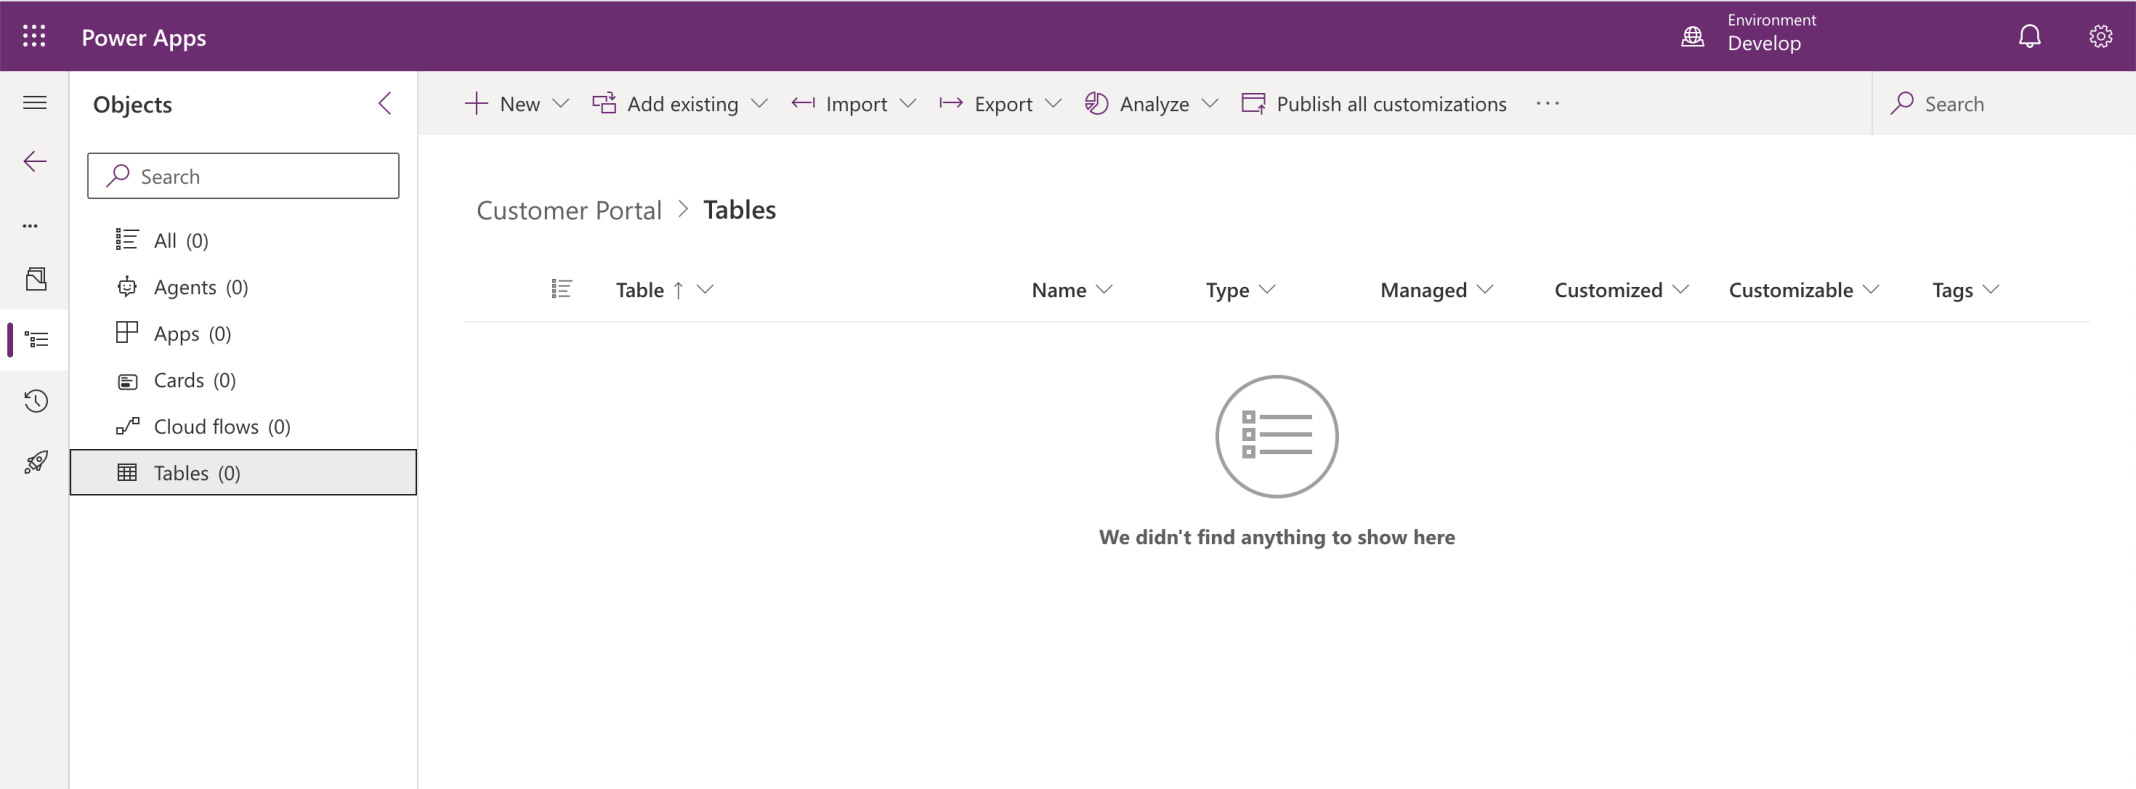
I navigated into the new solution
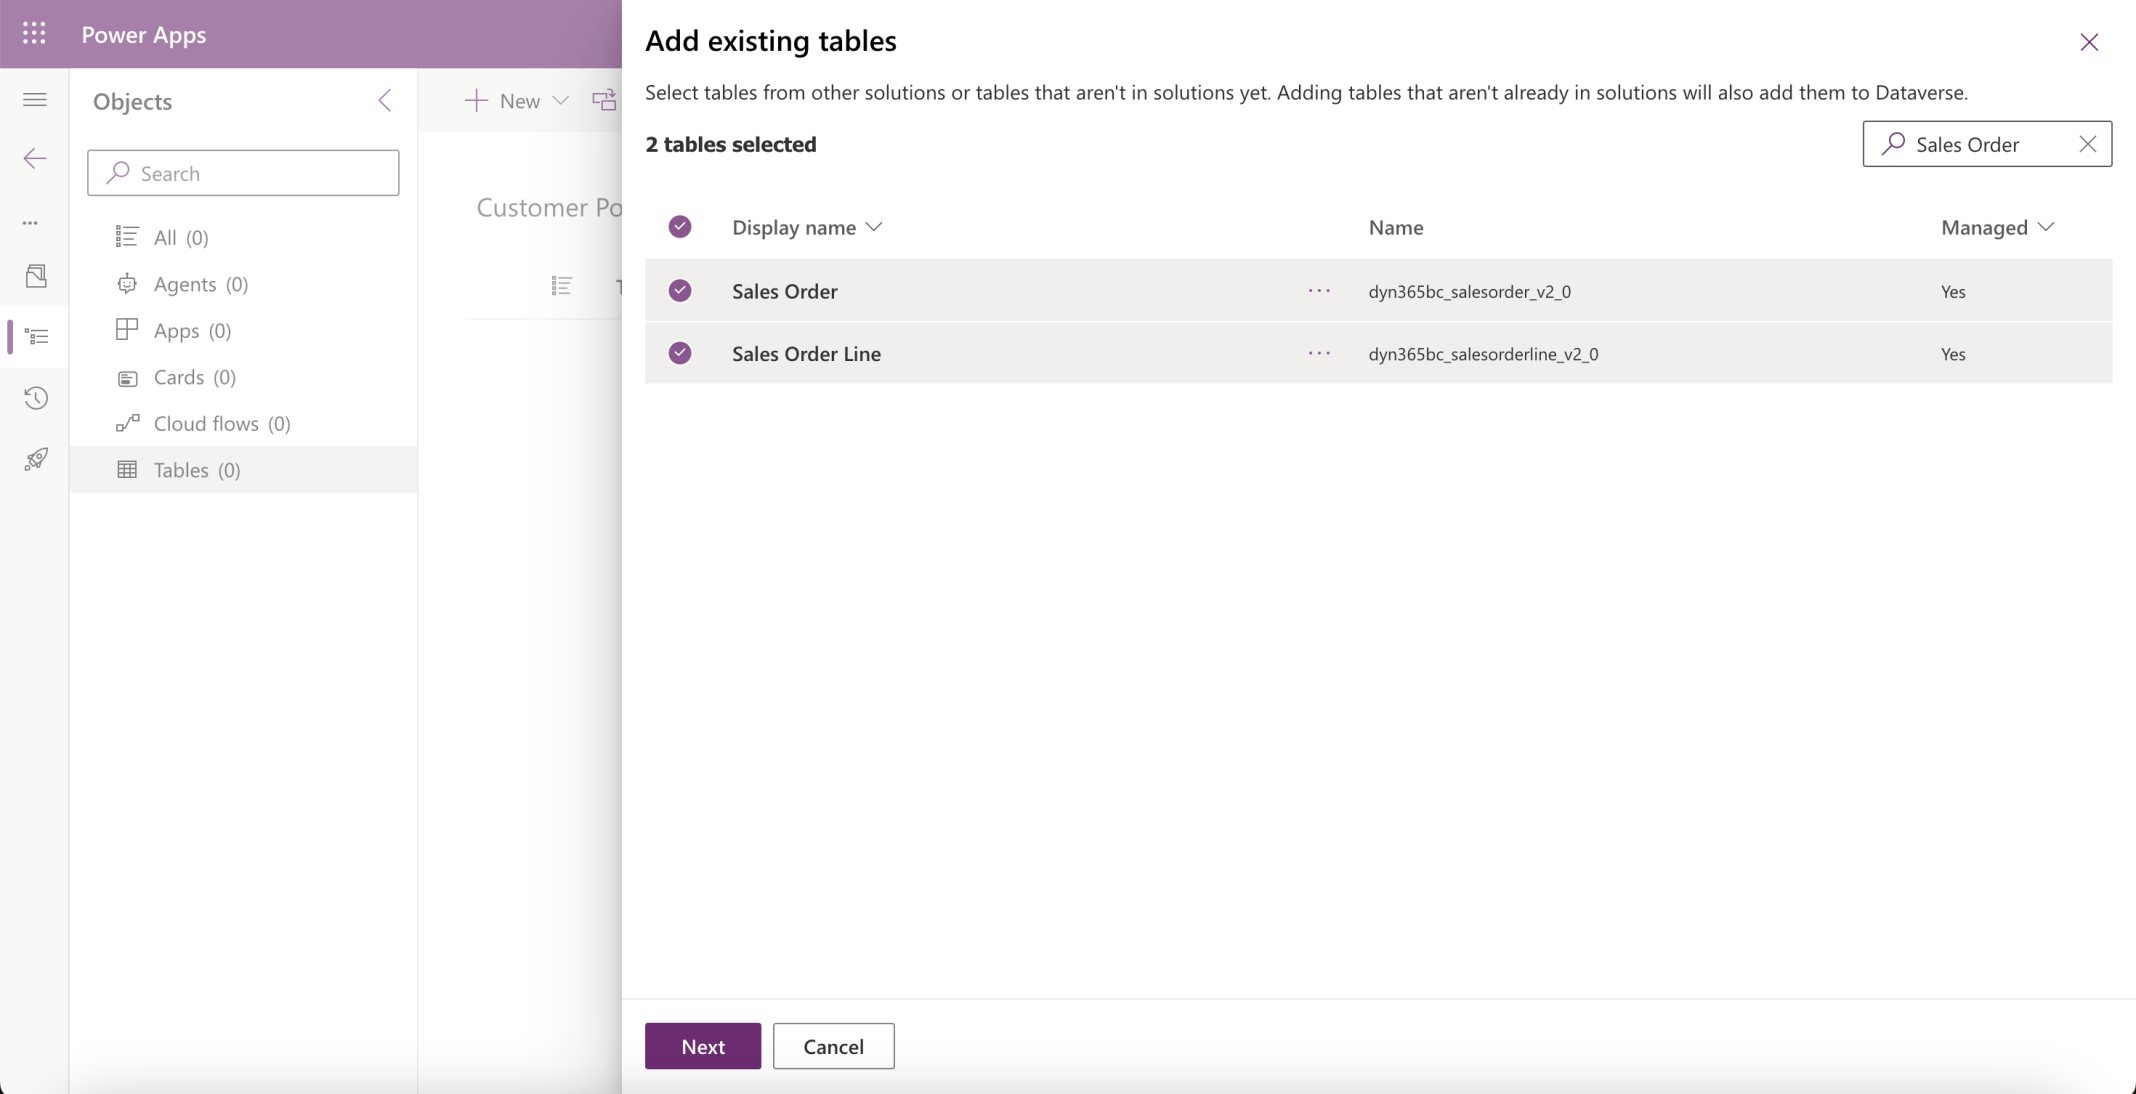
I added the Sales Order and Sales Order Line tables

Two tables would be added to the solution
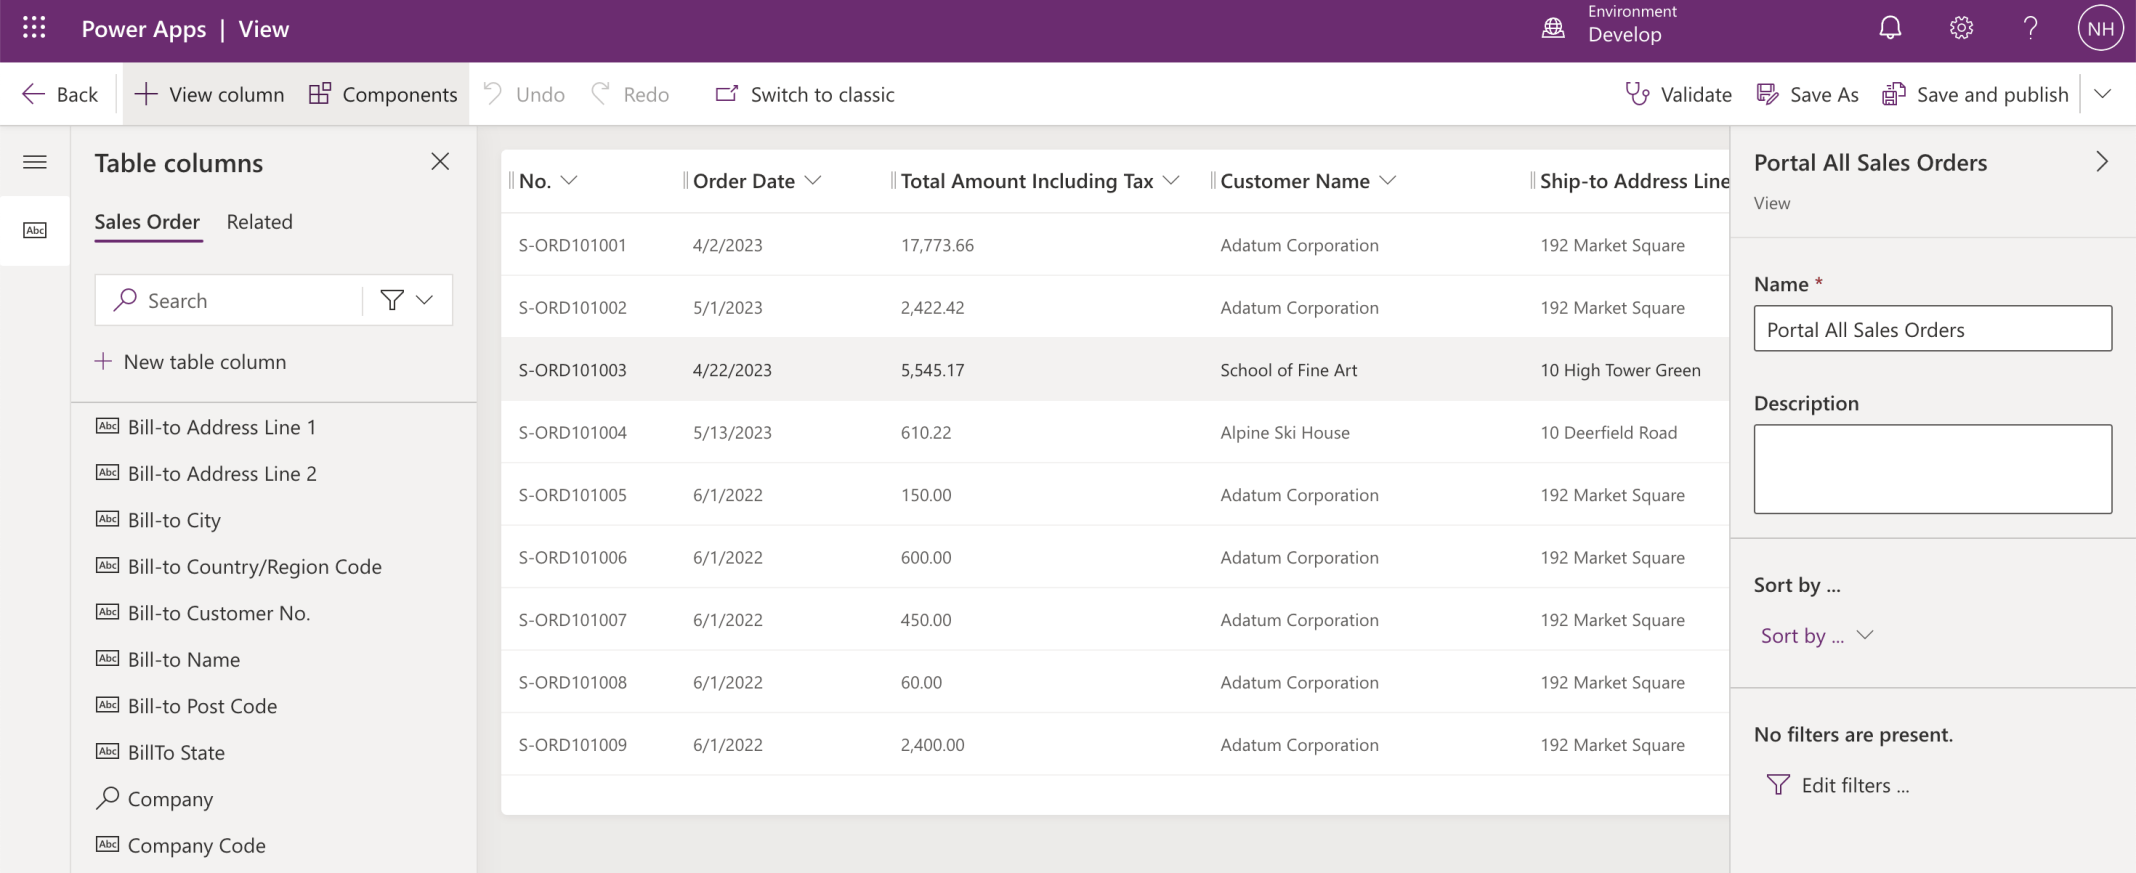
I added a Portal All Sales Orders view to the Sales Order table
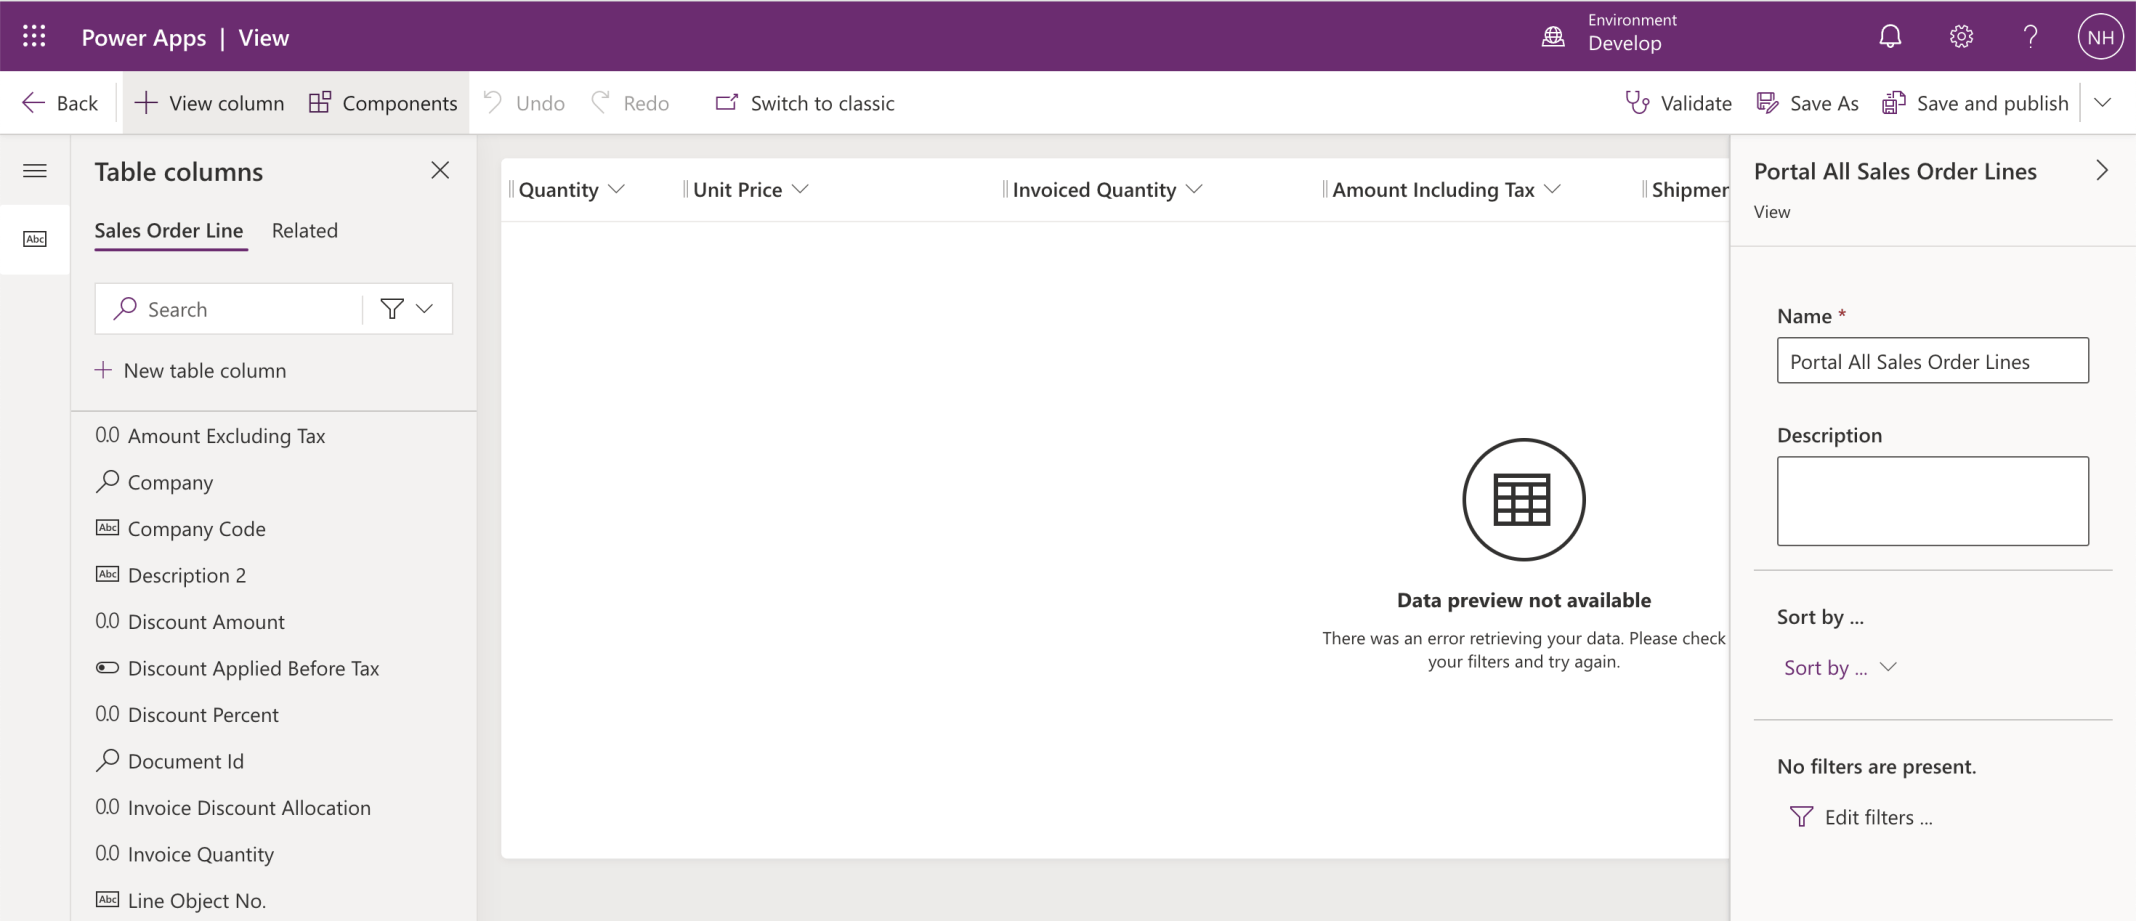
I added a Portal All Sales Orders Lines view to the Sales Order Line table
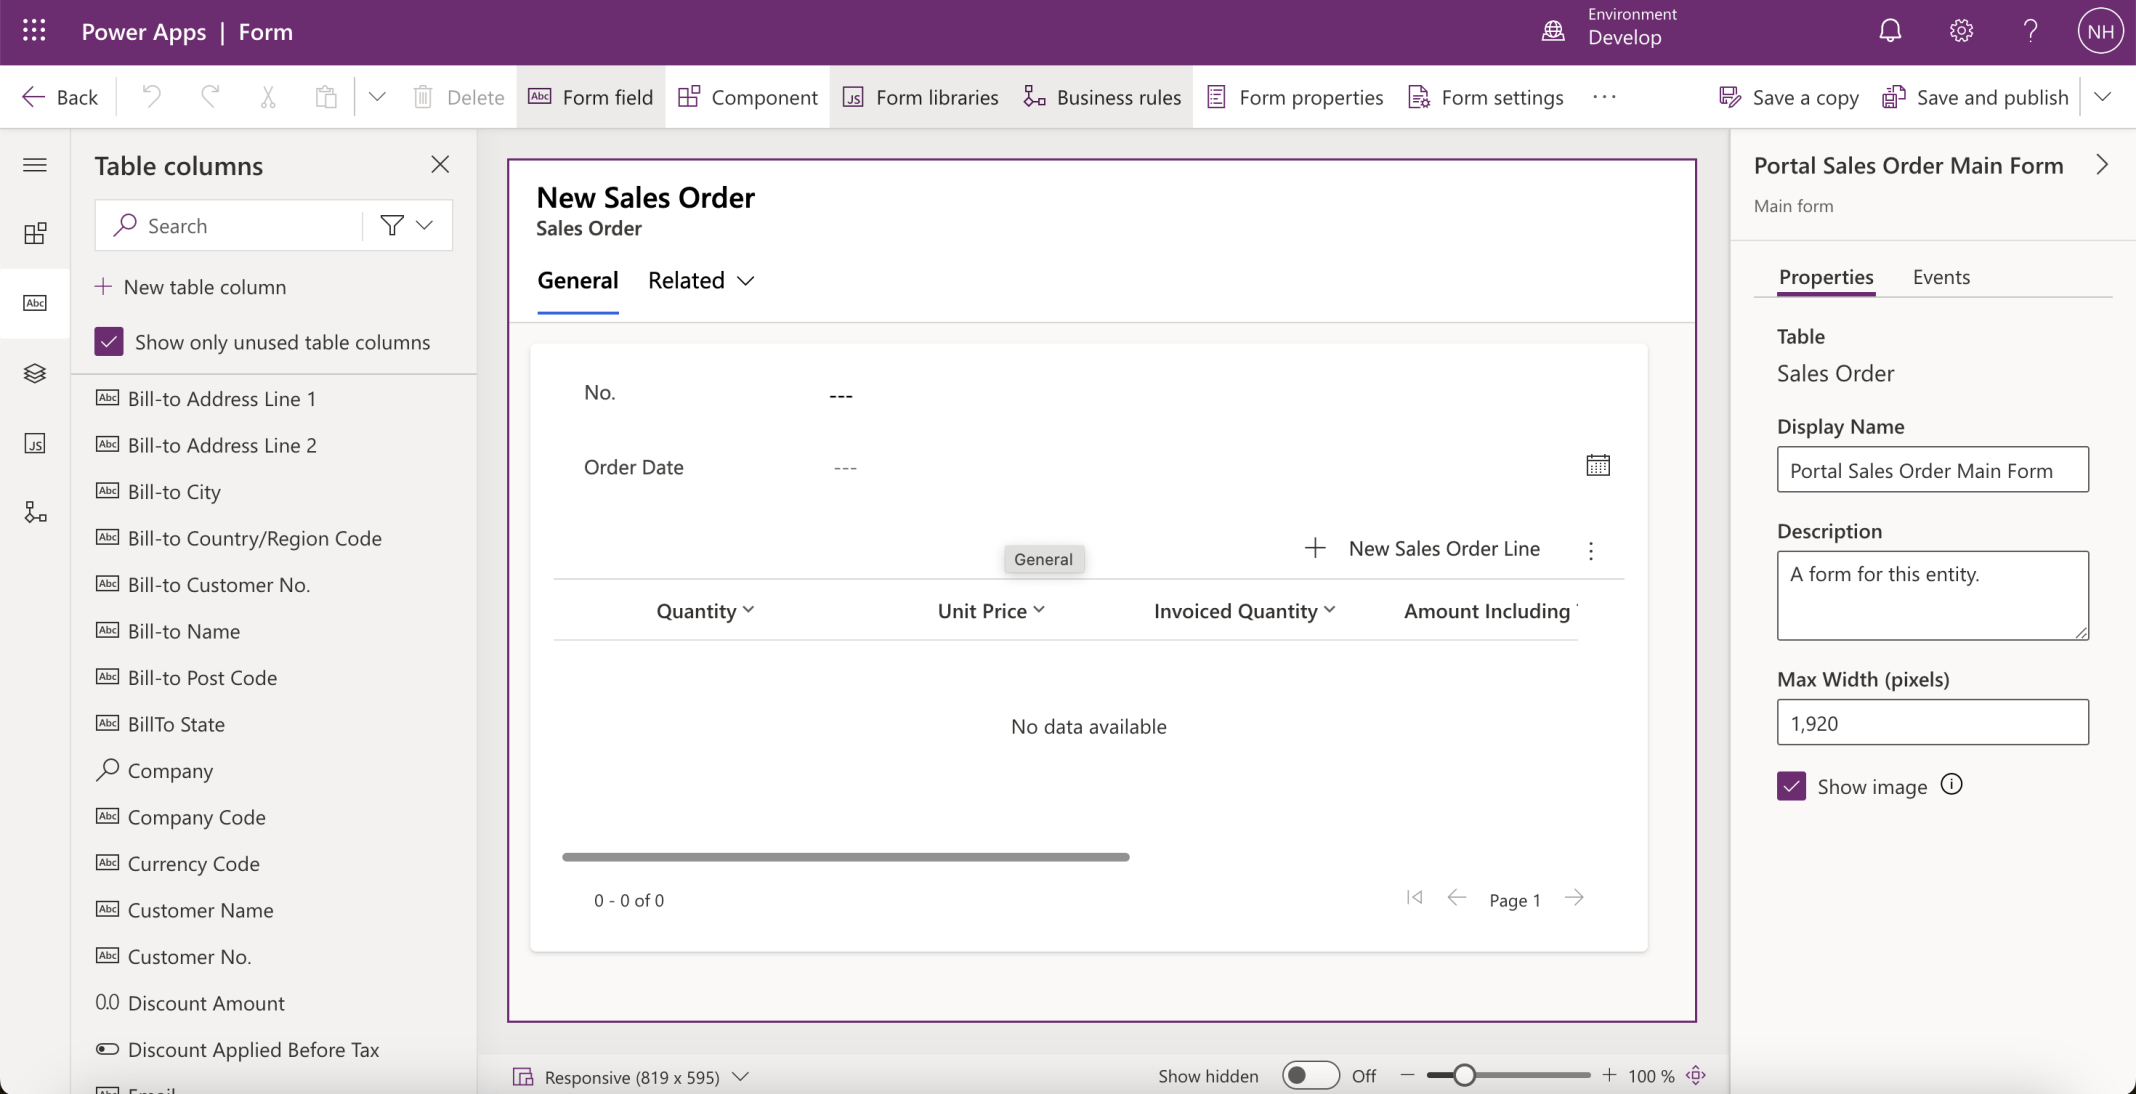
I added a Portal Sales Order Main Form to the Sales Order table

I added a Sales Orders application to the solution
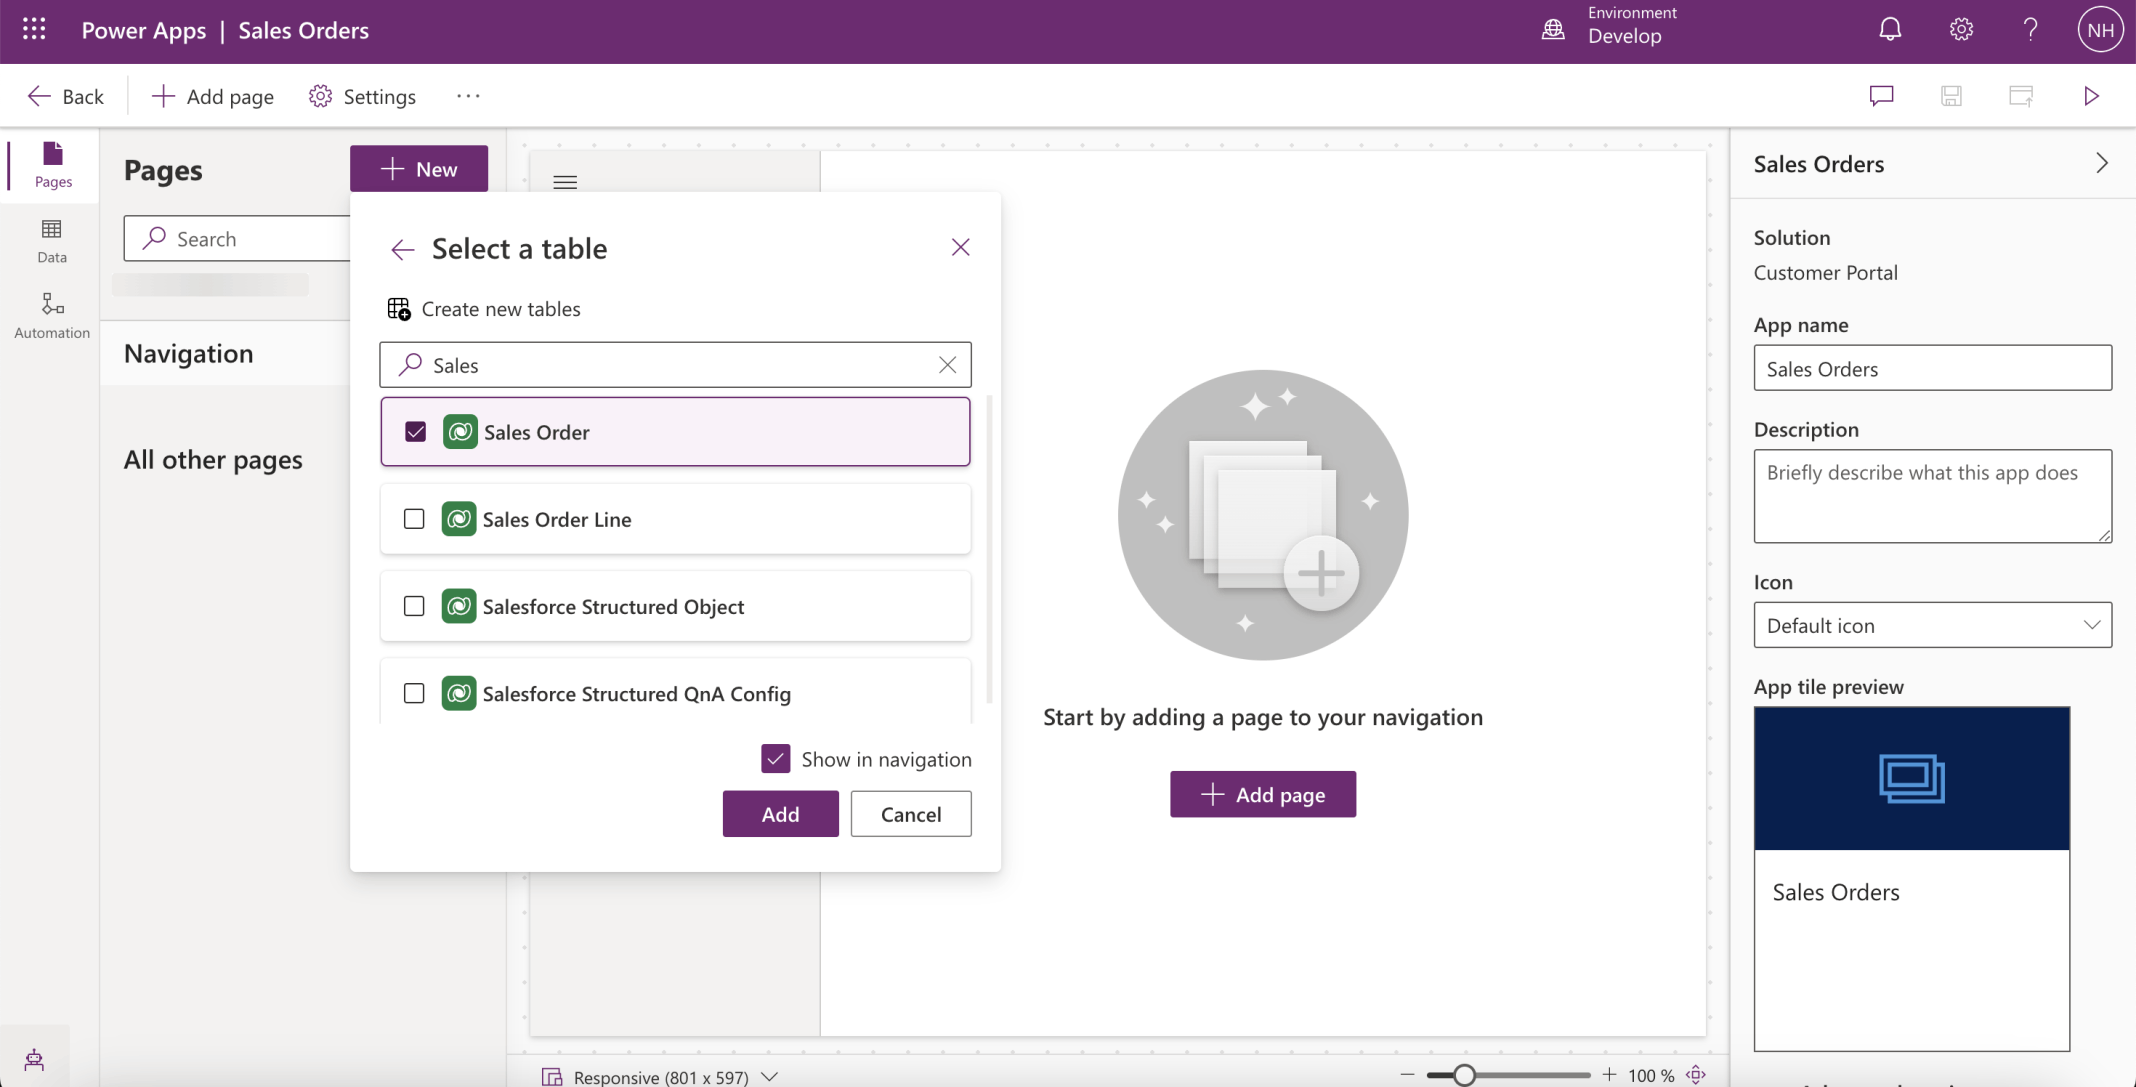
I added the Sales Order table to the Sales Orders application
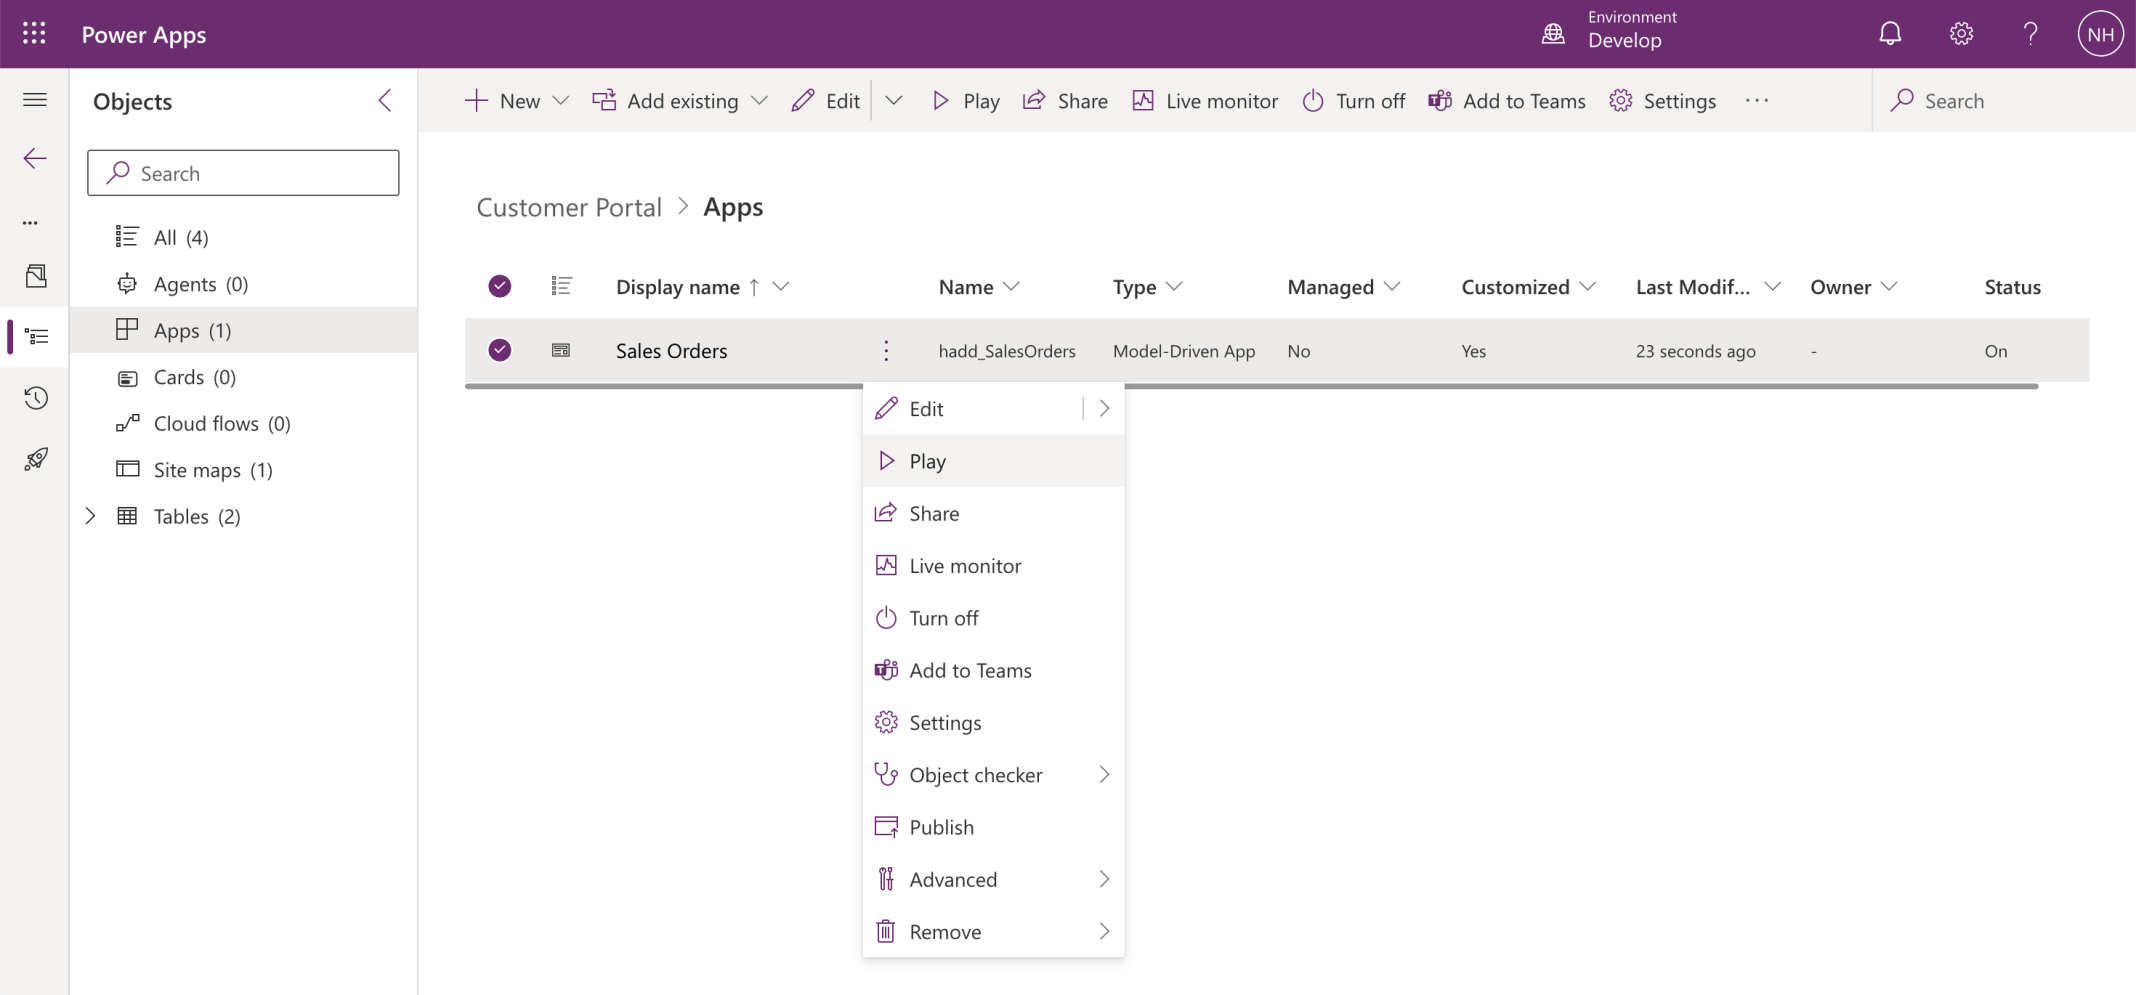
I clicked the Play button
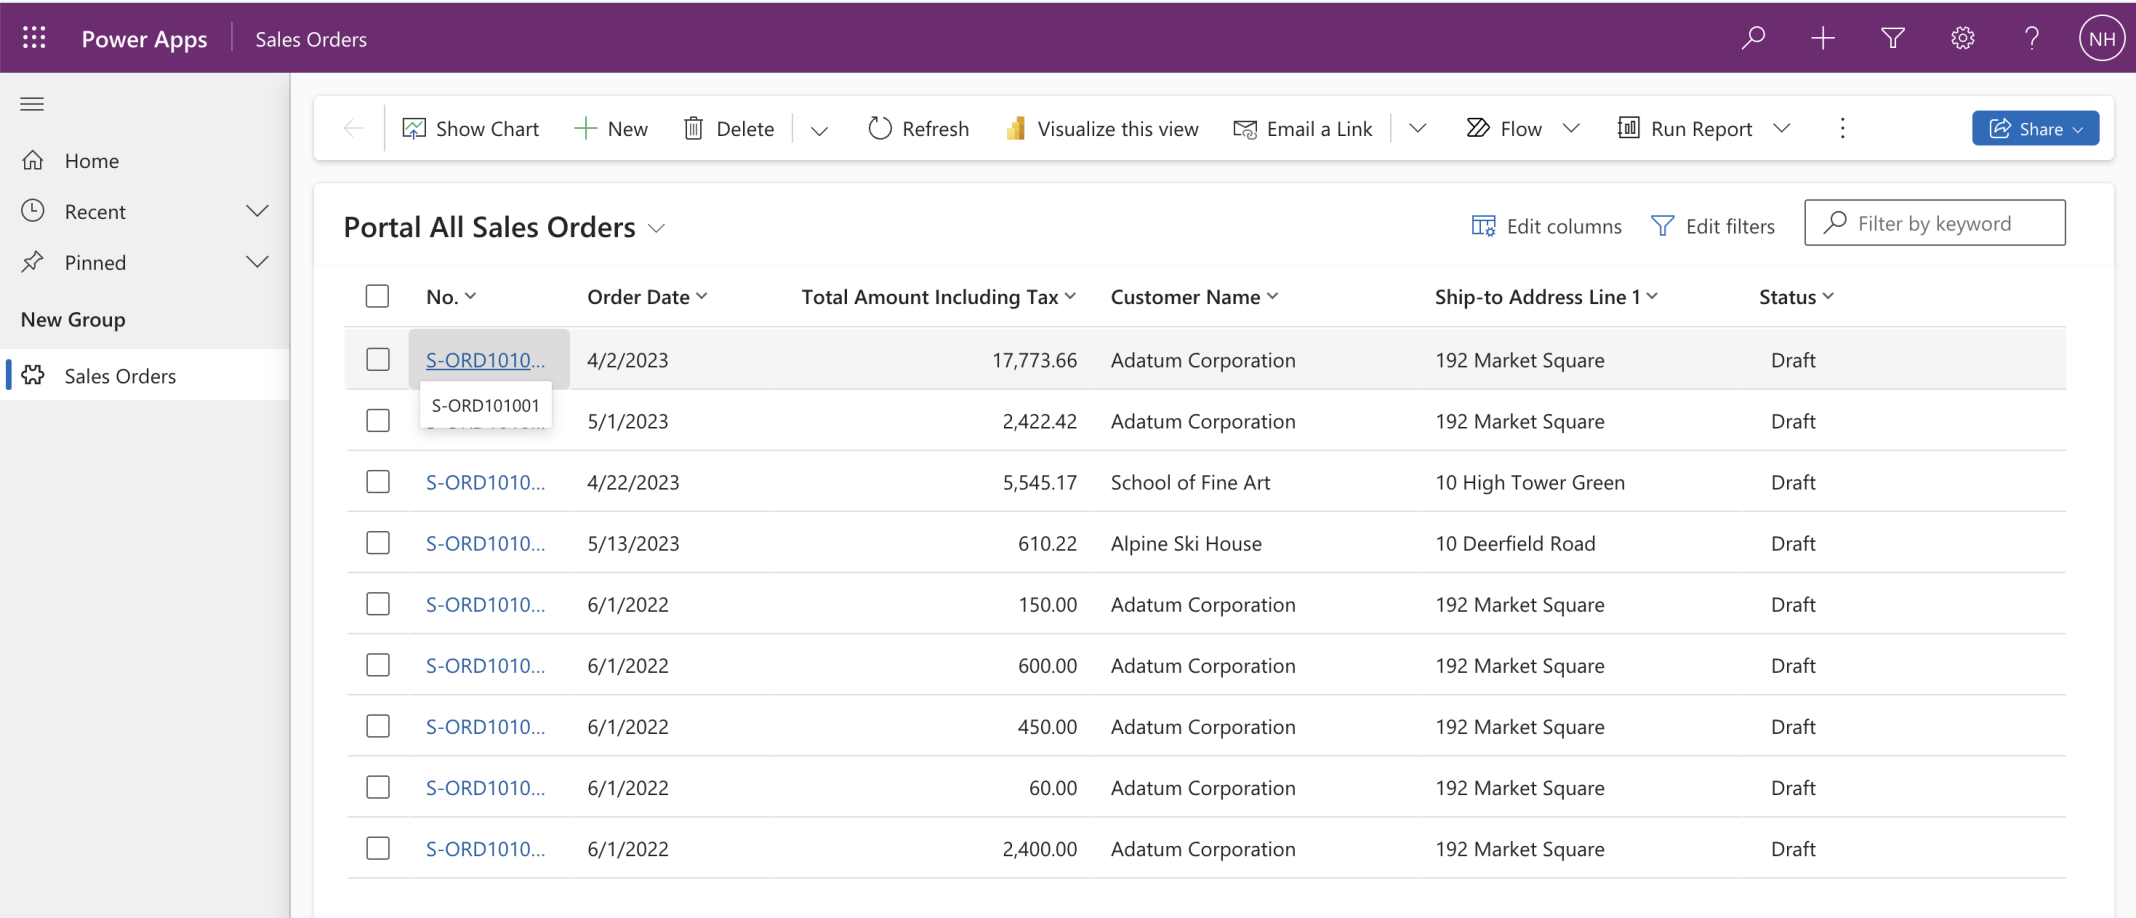
I selected a Sales Order

I reviewed the Sales Order Lines associated with the selected Sales Order
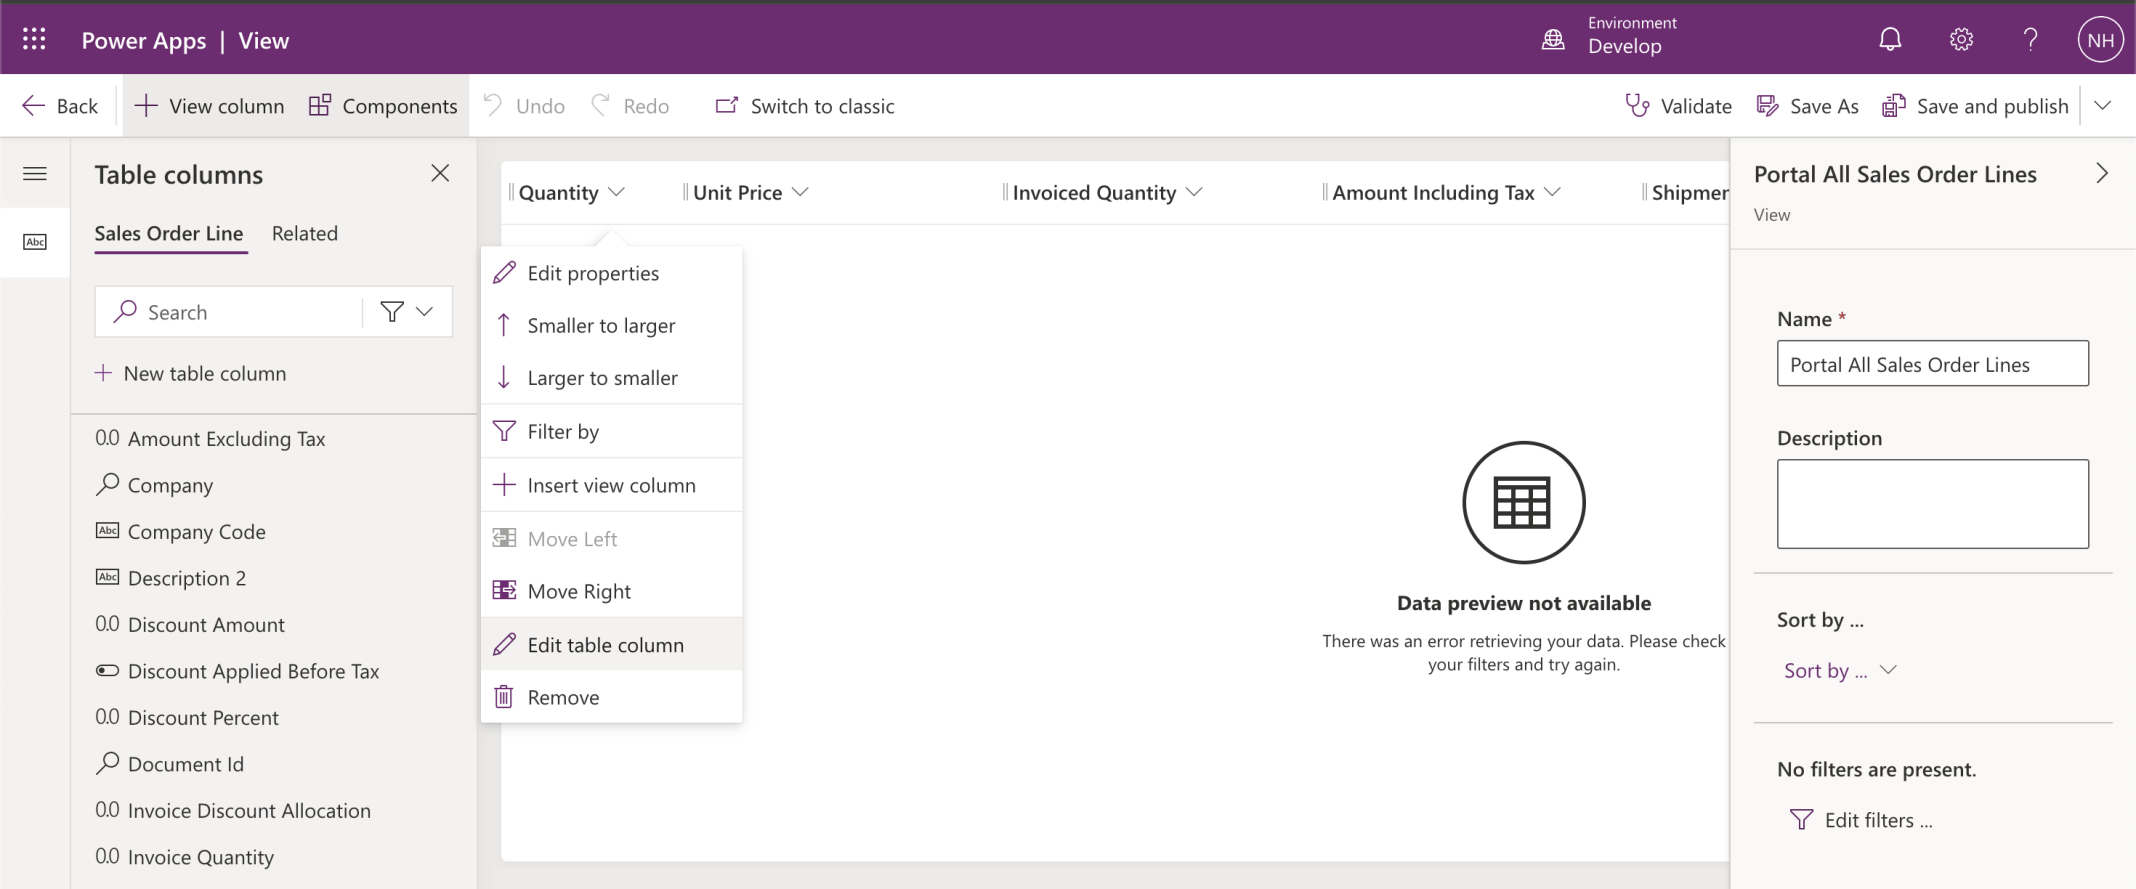
I edited the Quantity, Unit Price, Invoiced Quantity and Amount Including Tax table columns
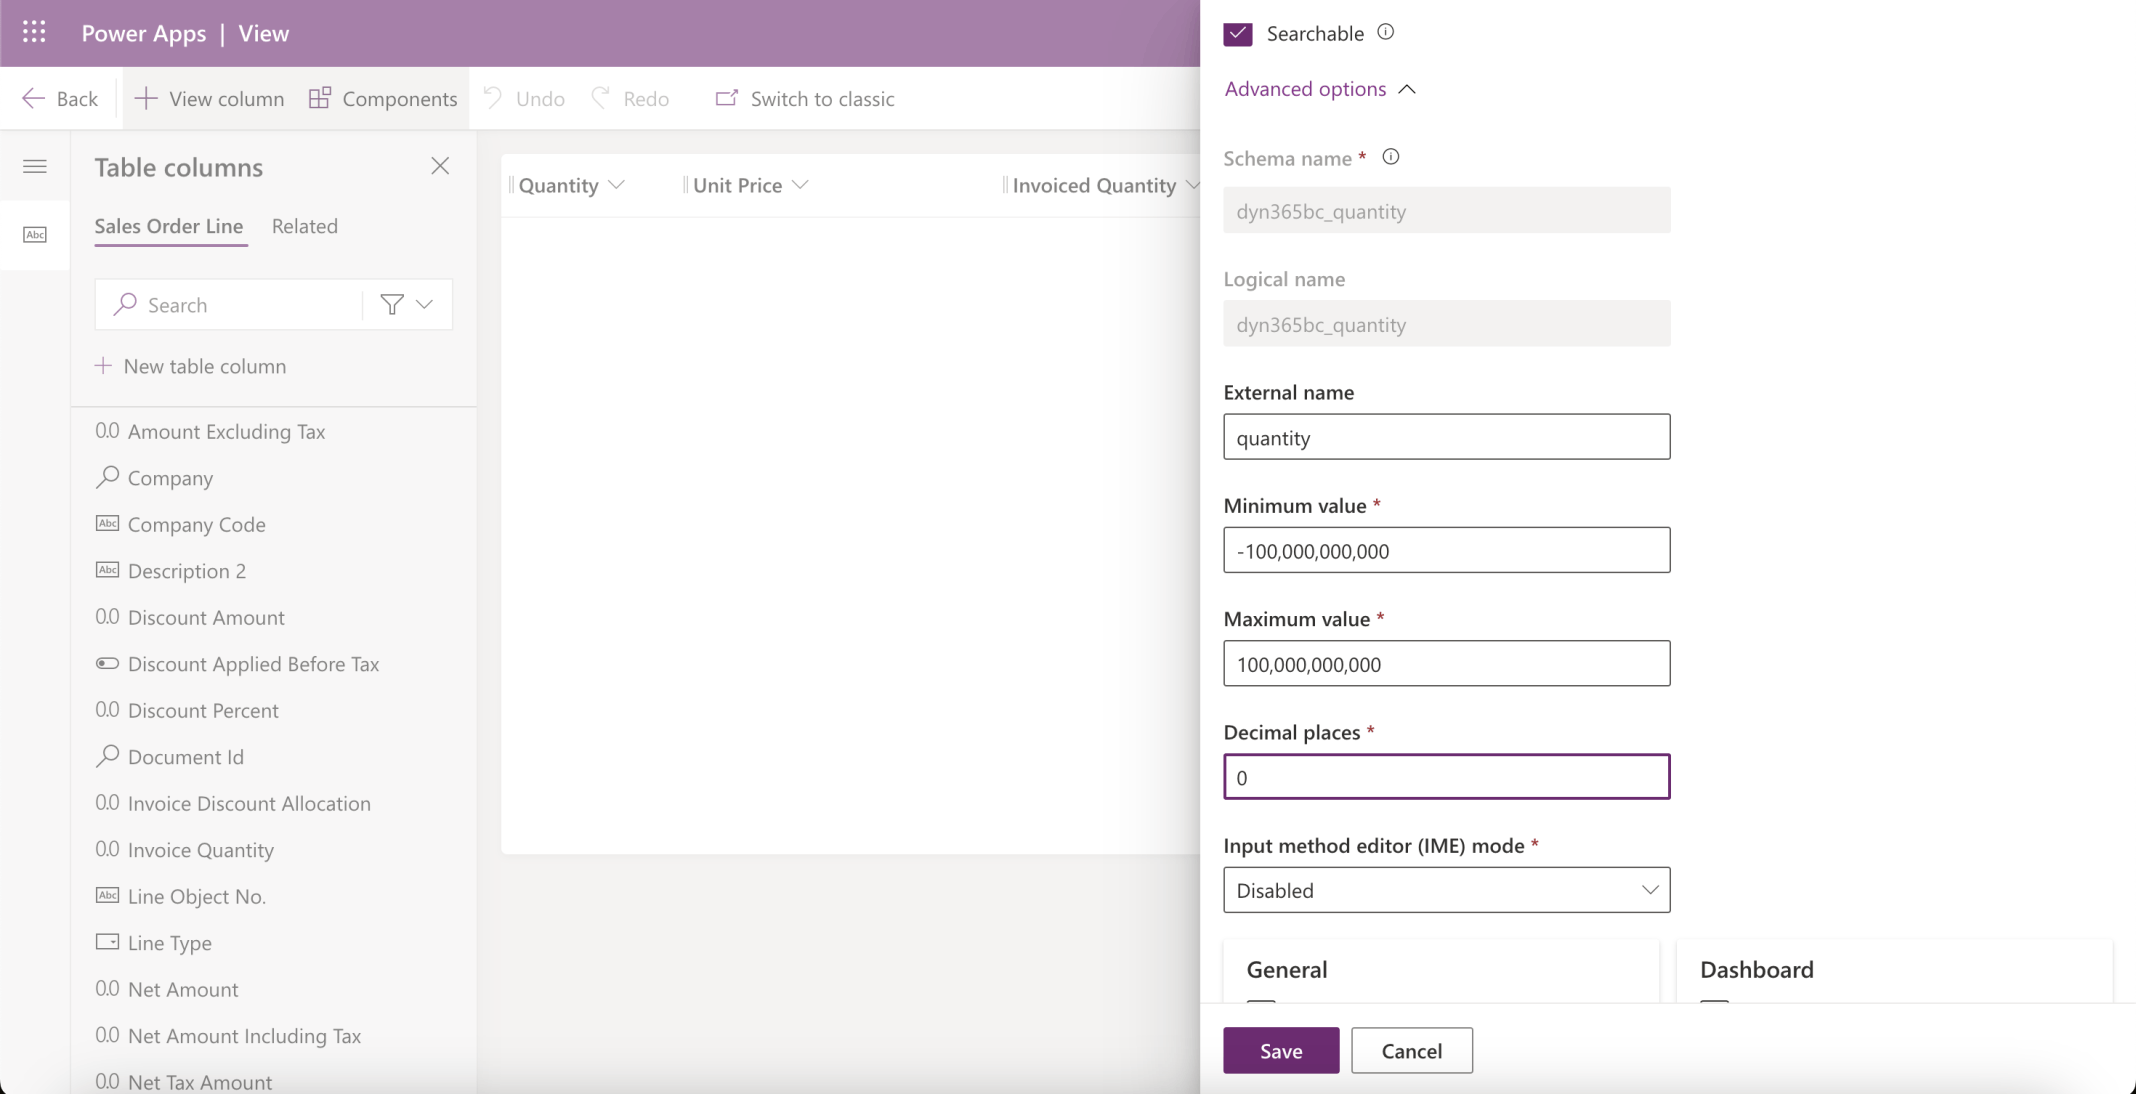
I updated the number of Decimal places

I reviewed the Sales Order Lines associated with the selected Sales Order
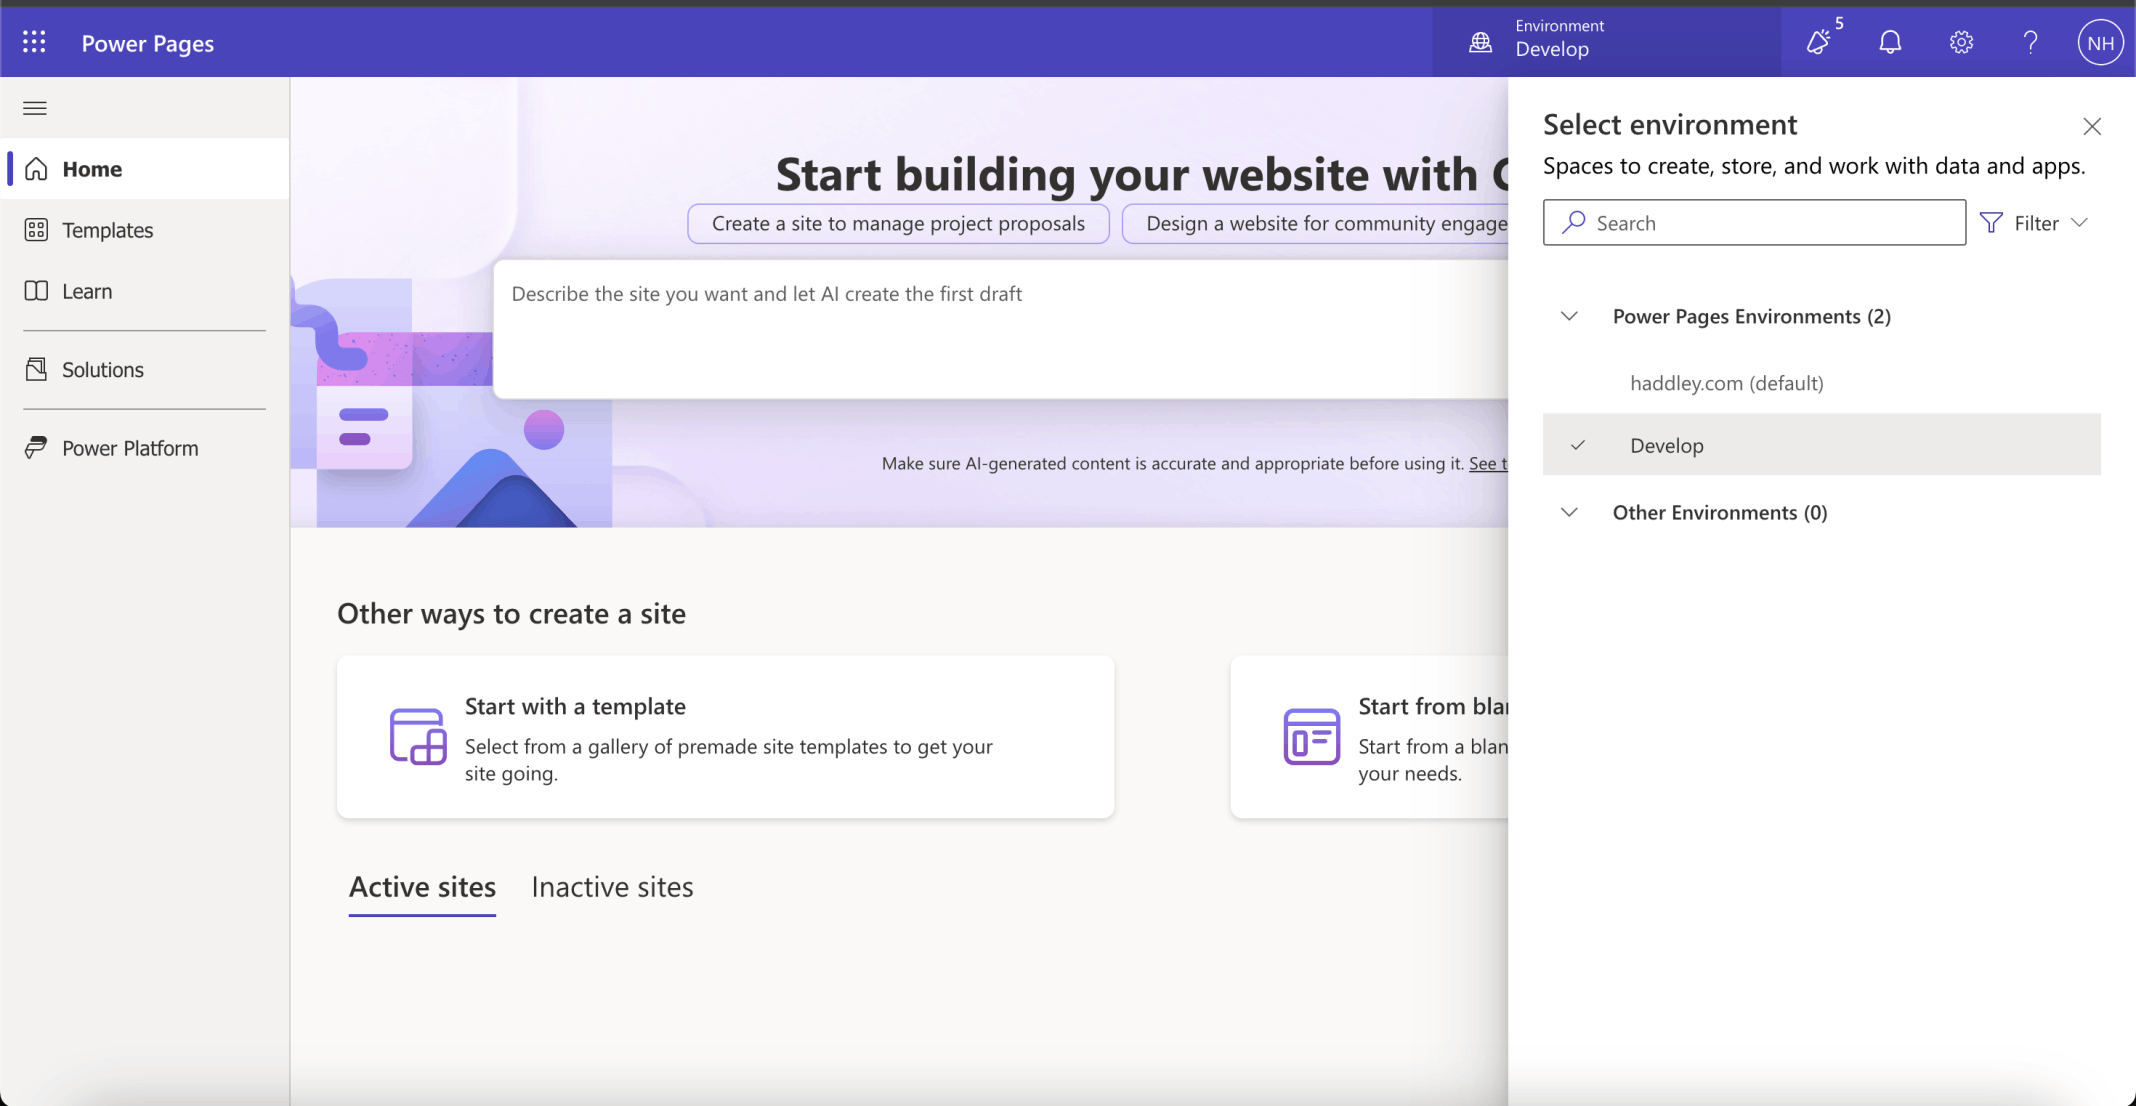
I navigated to https://make.powerpages.microsoft.com/

I selected web address https://haddleycustomerportal.powerappsportals.com/
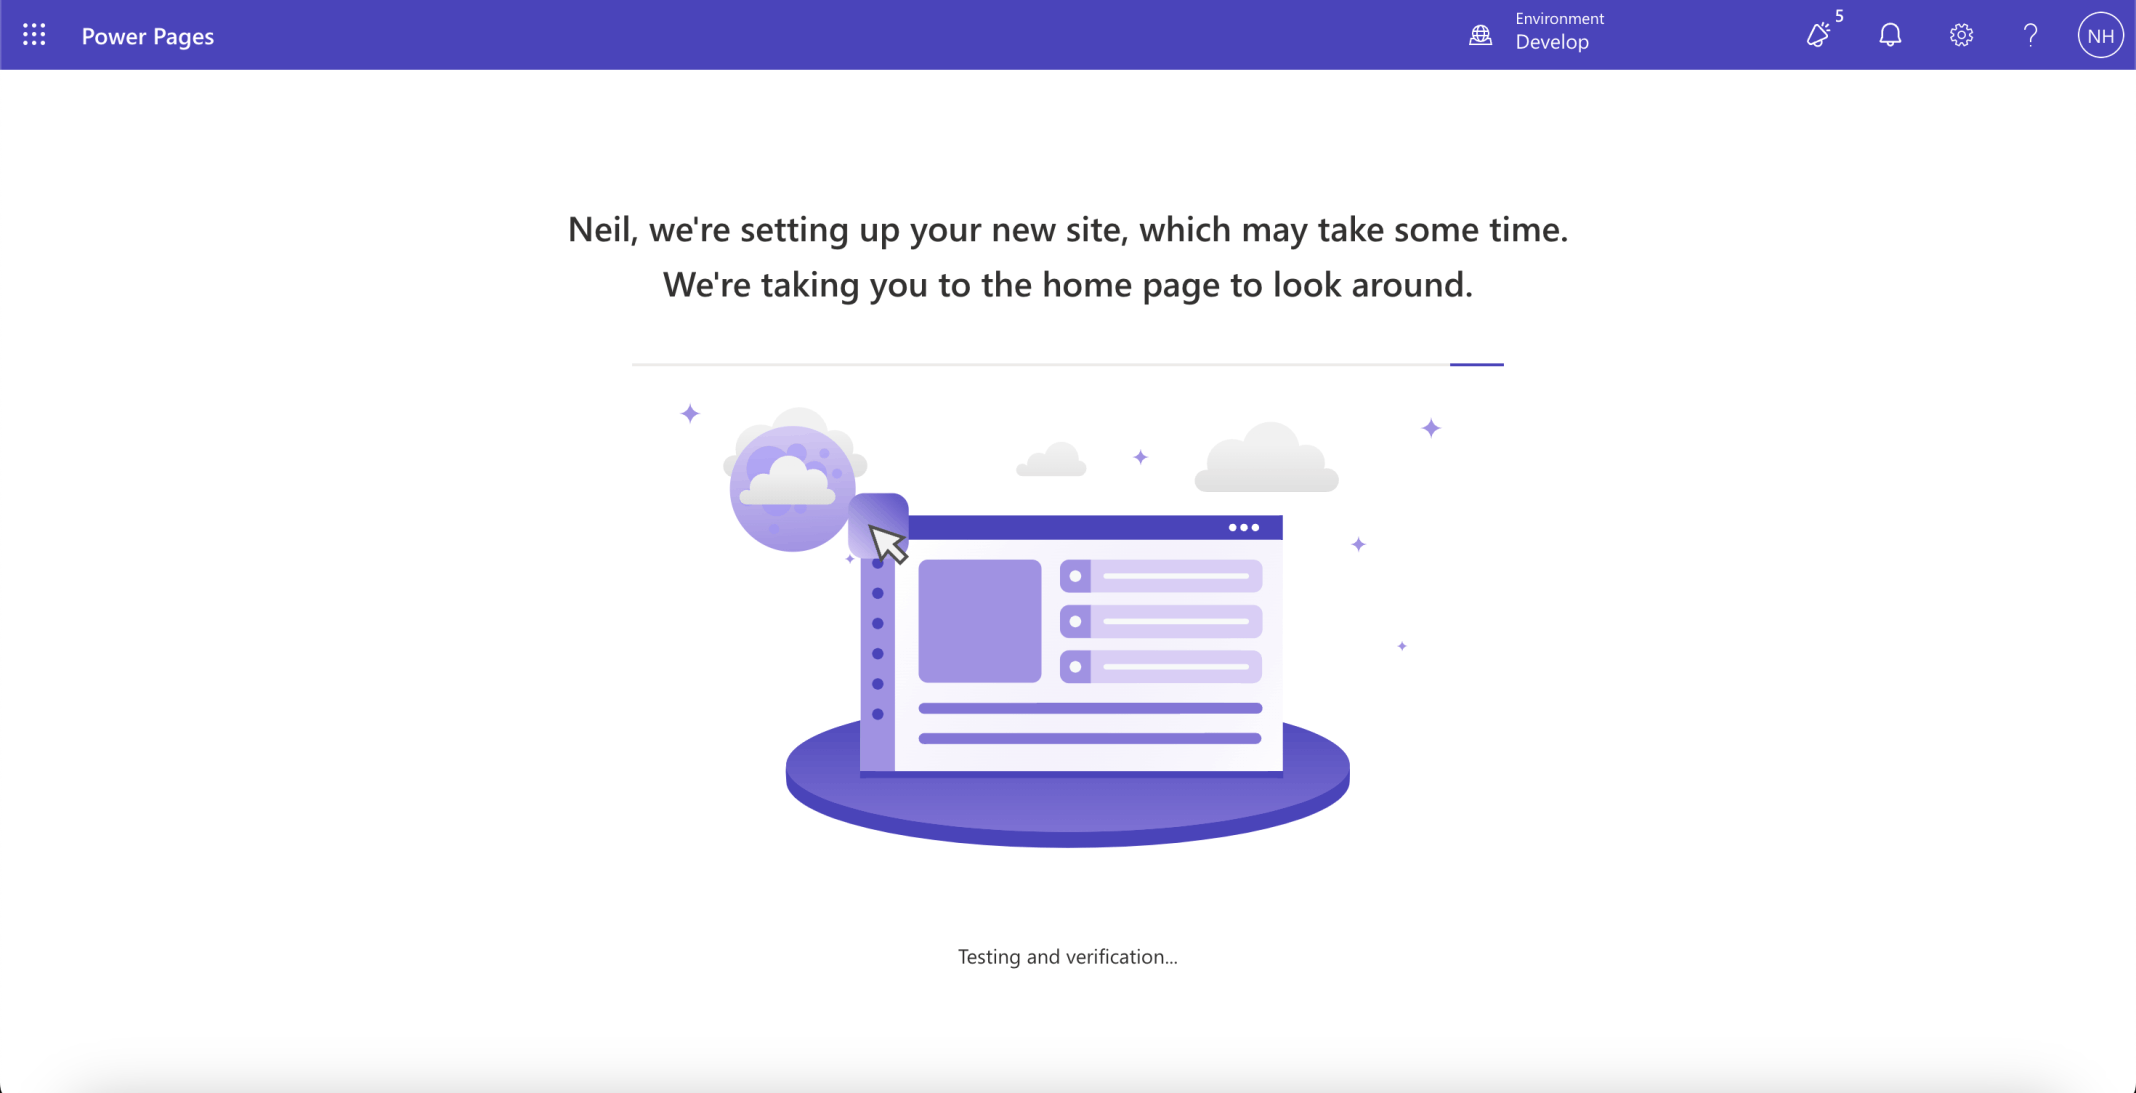
The new site was set up
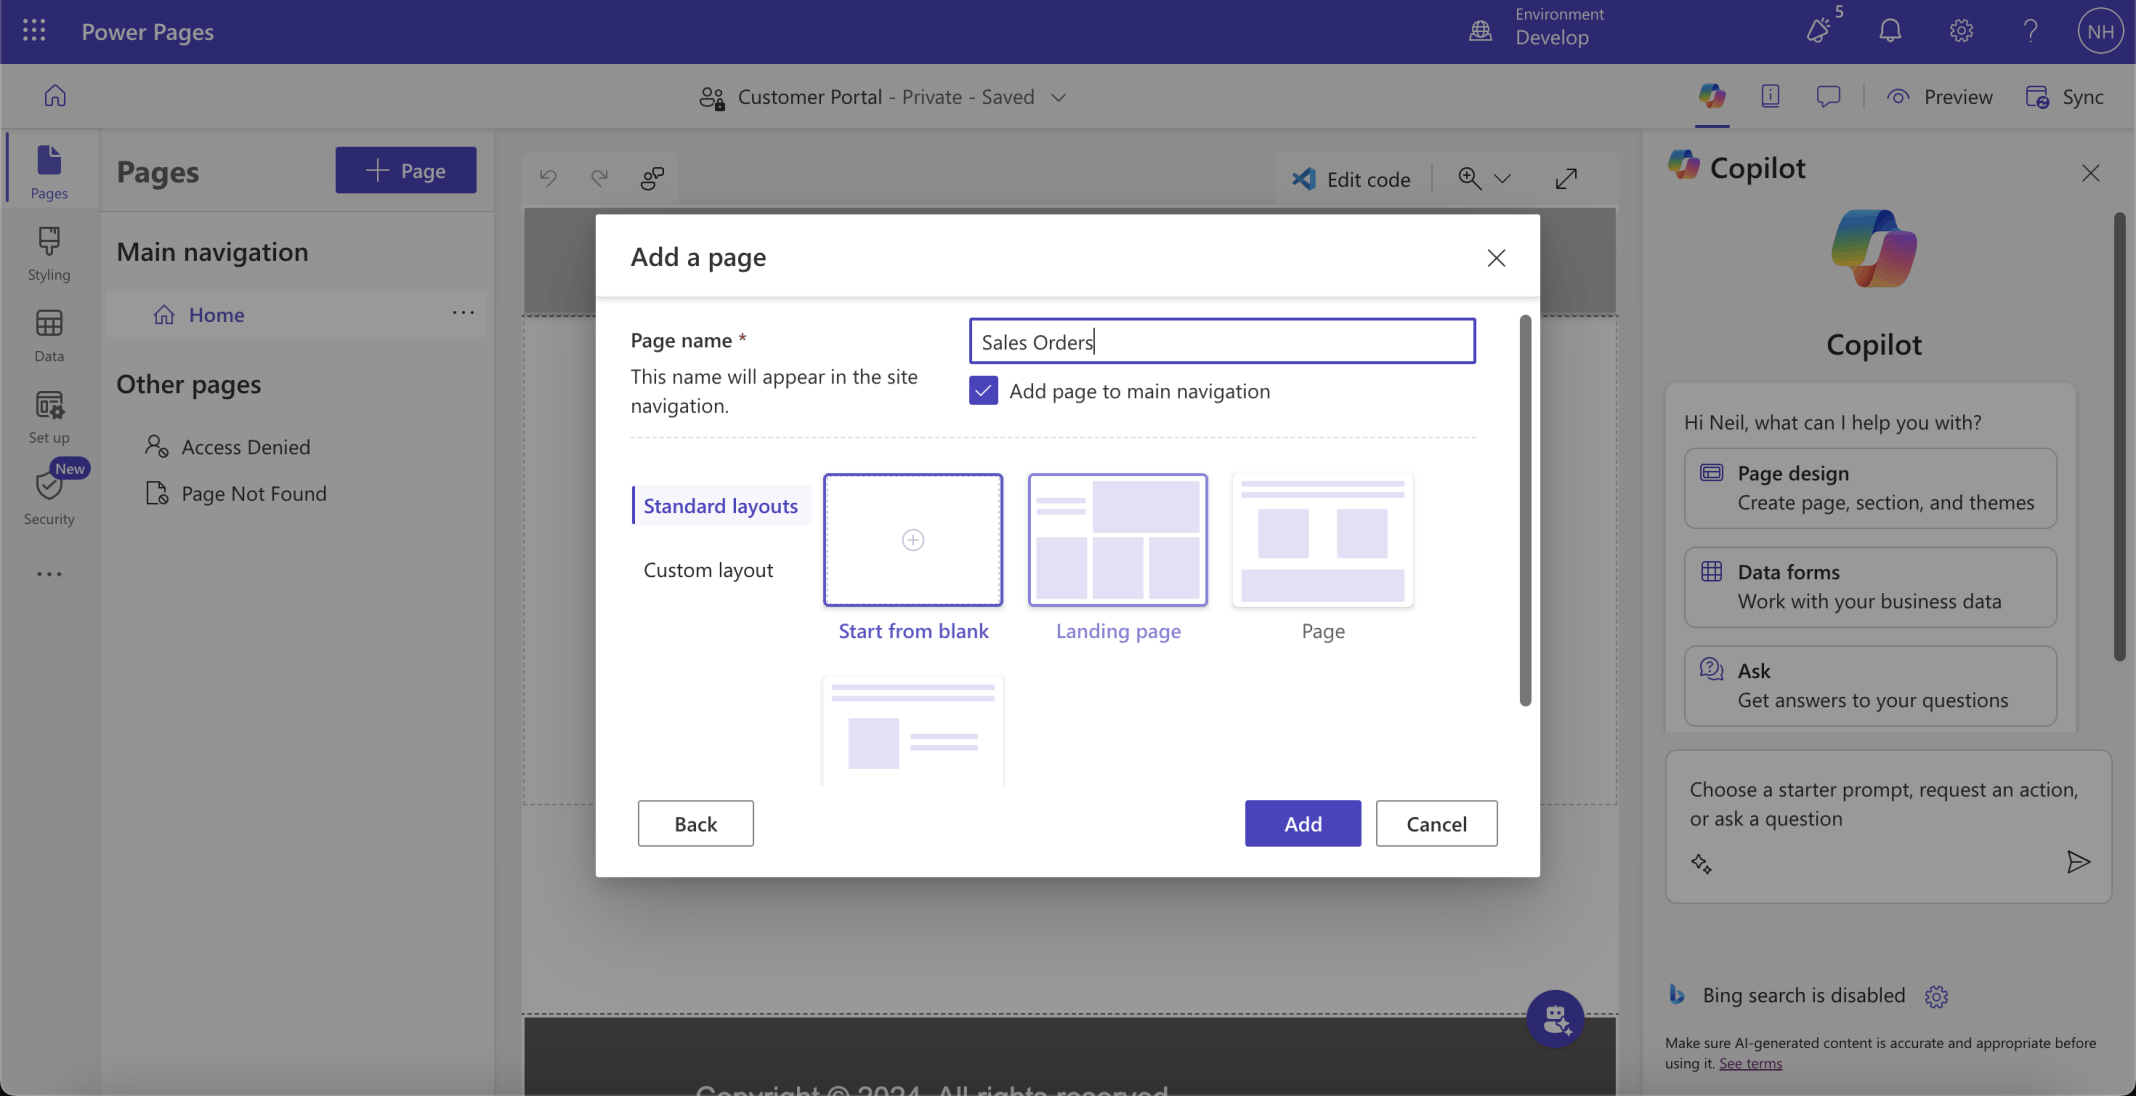
I added a Sales Orders page
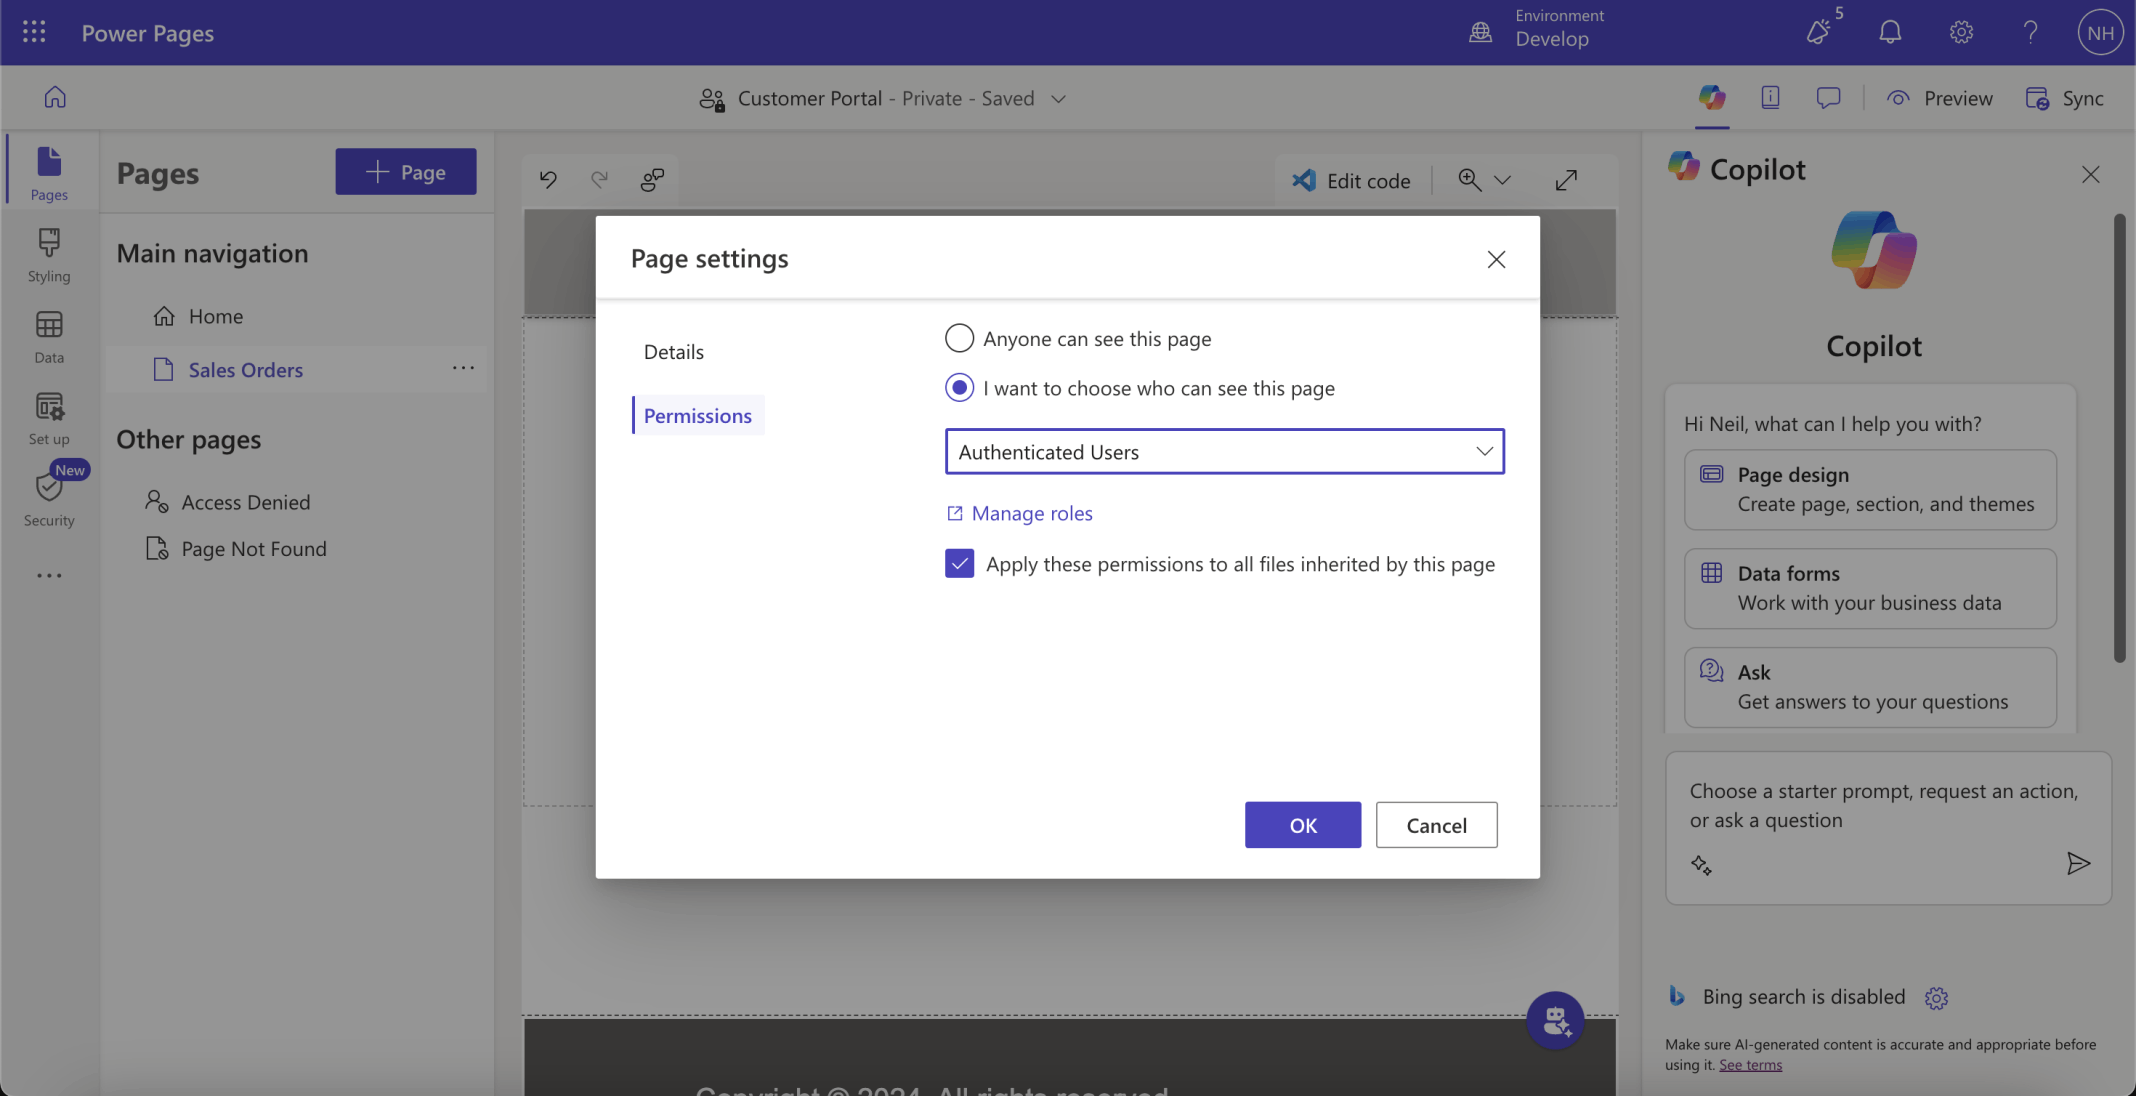
The Sales Orders page only shows when an authenticated user is logged in

I added an h1 Text component. I added a List component
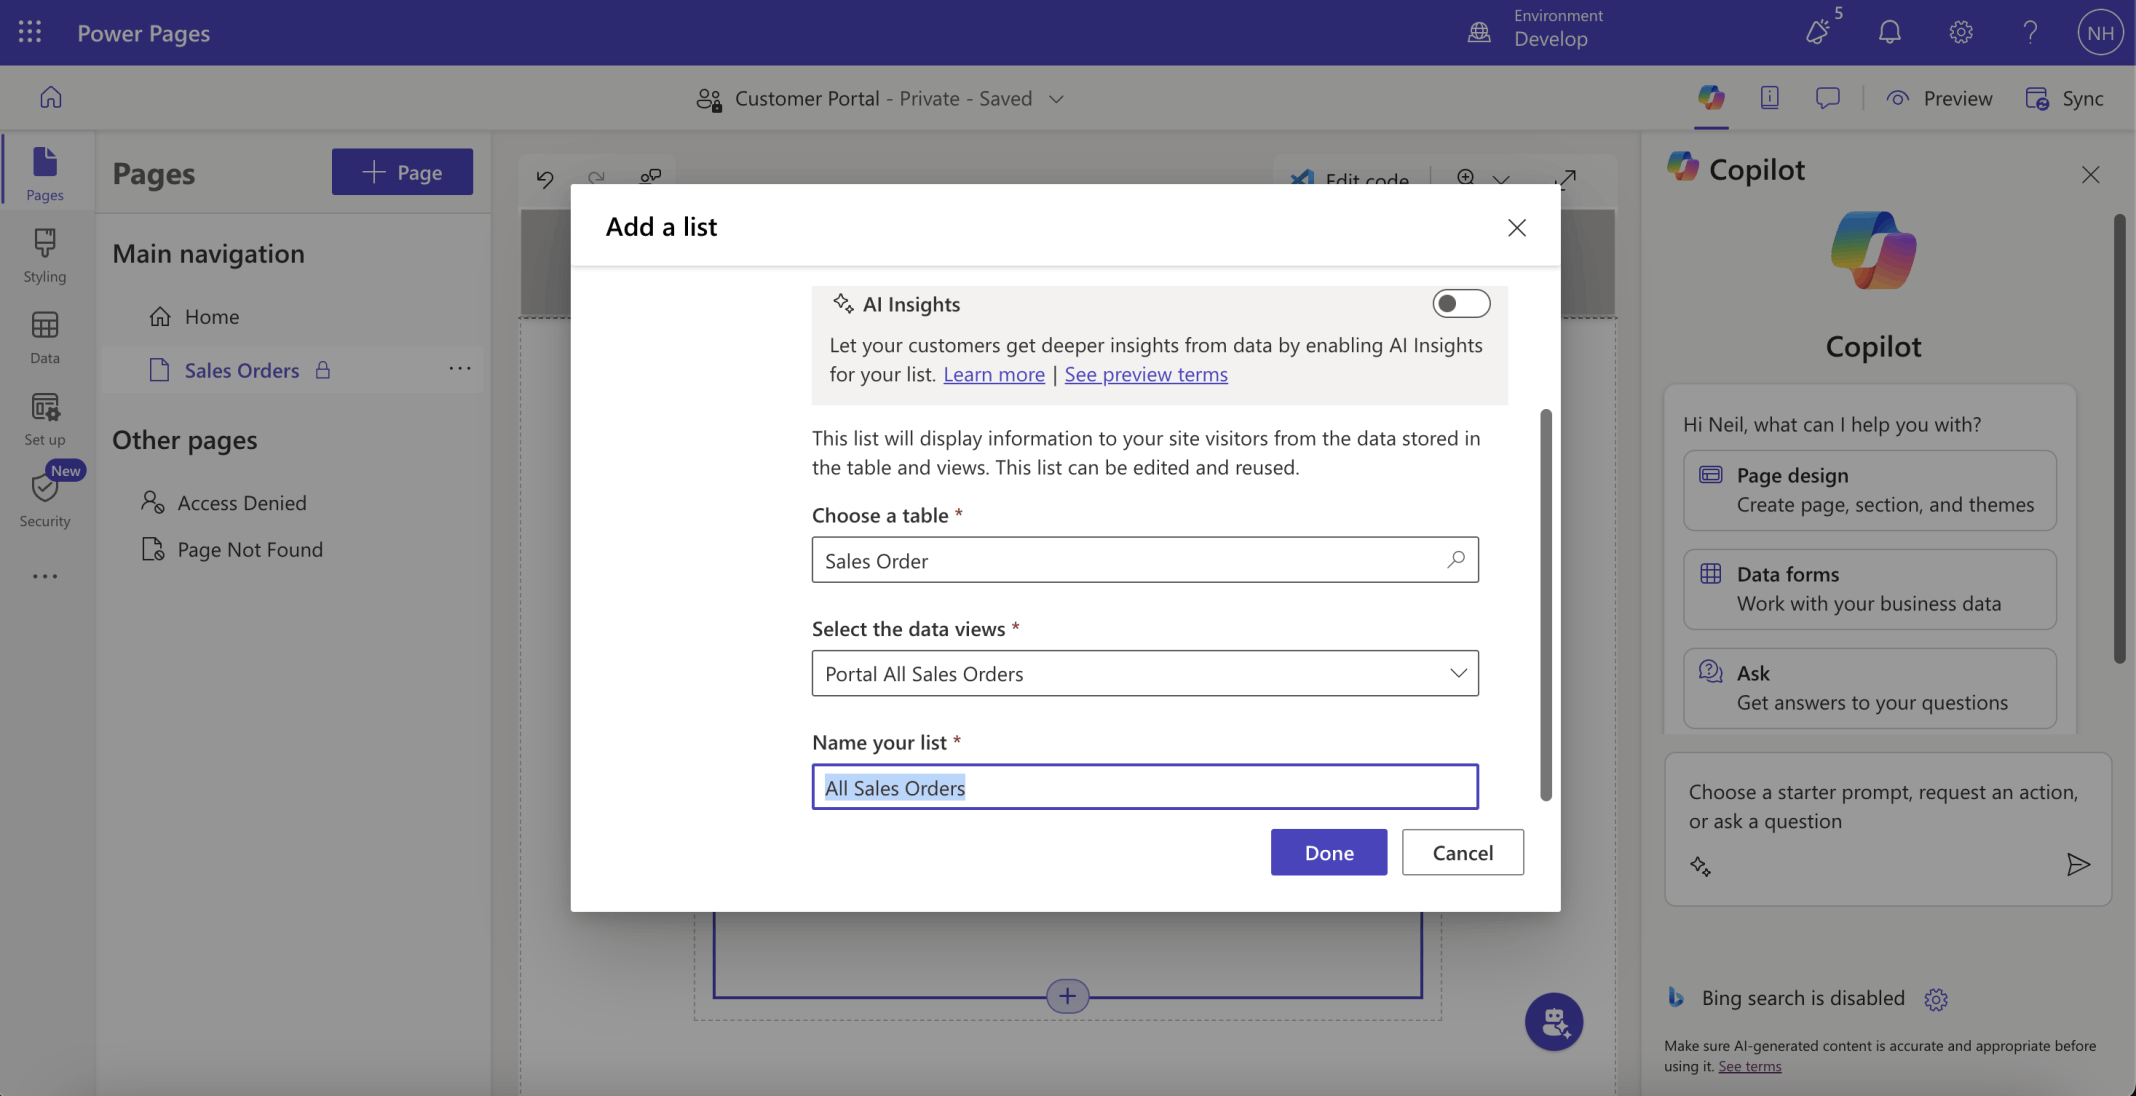
I selected the Sales Order table. I selected the Portal All Sales Orders view. I named the List All Sales Orders.
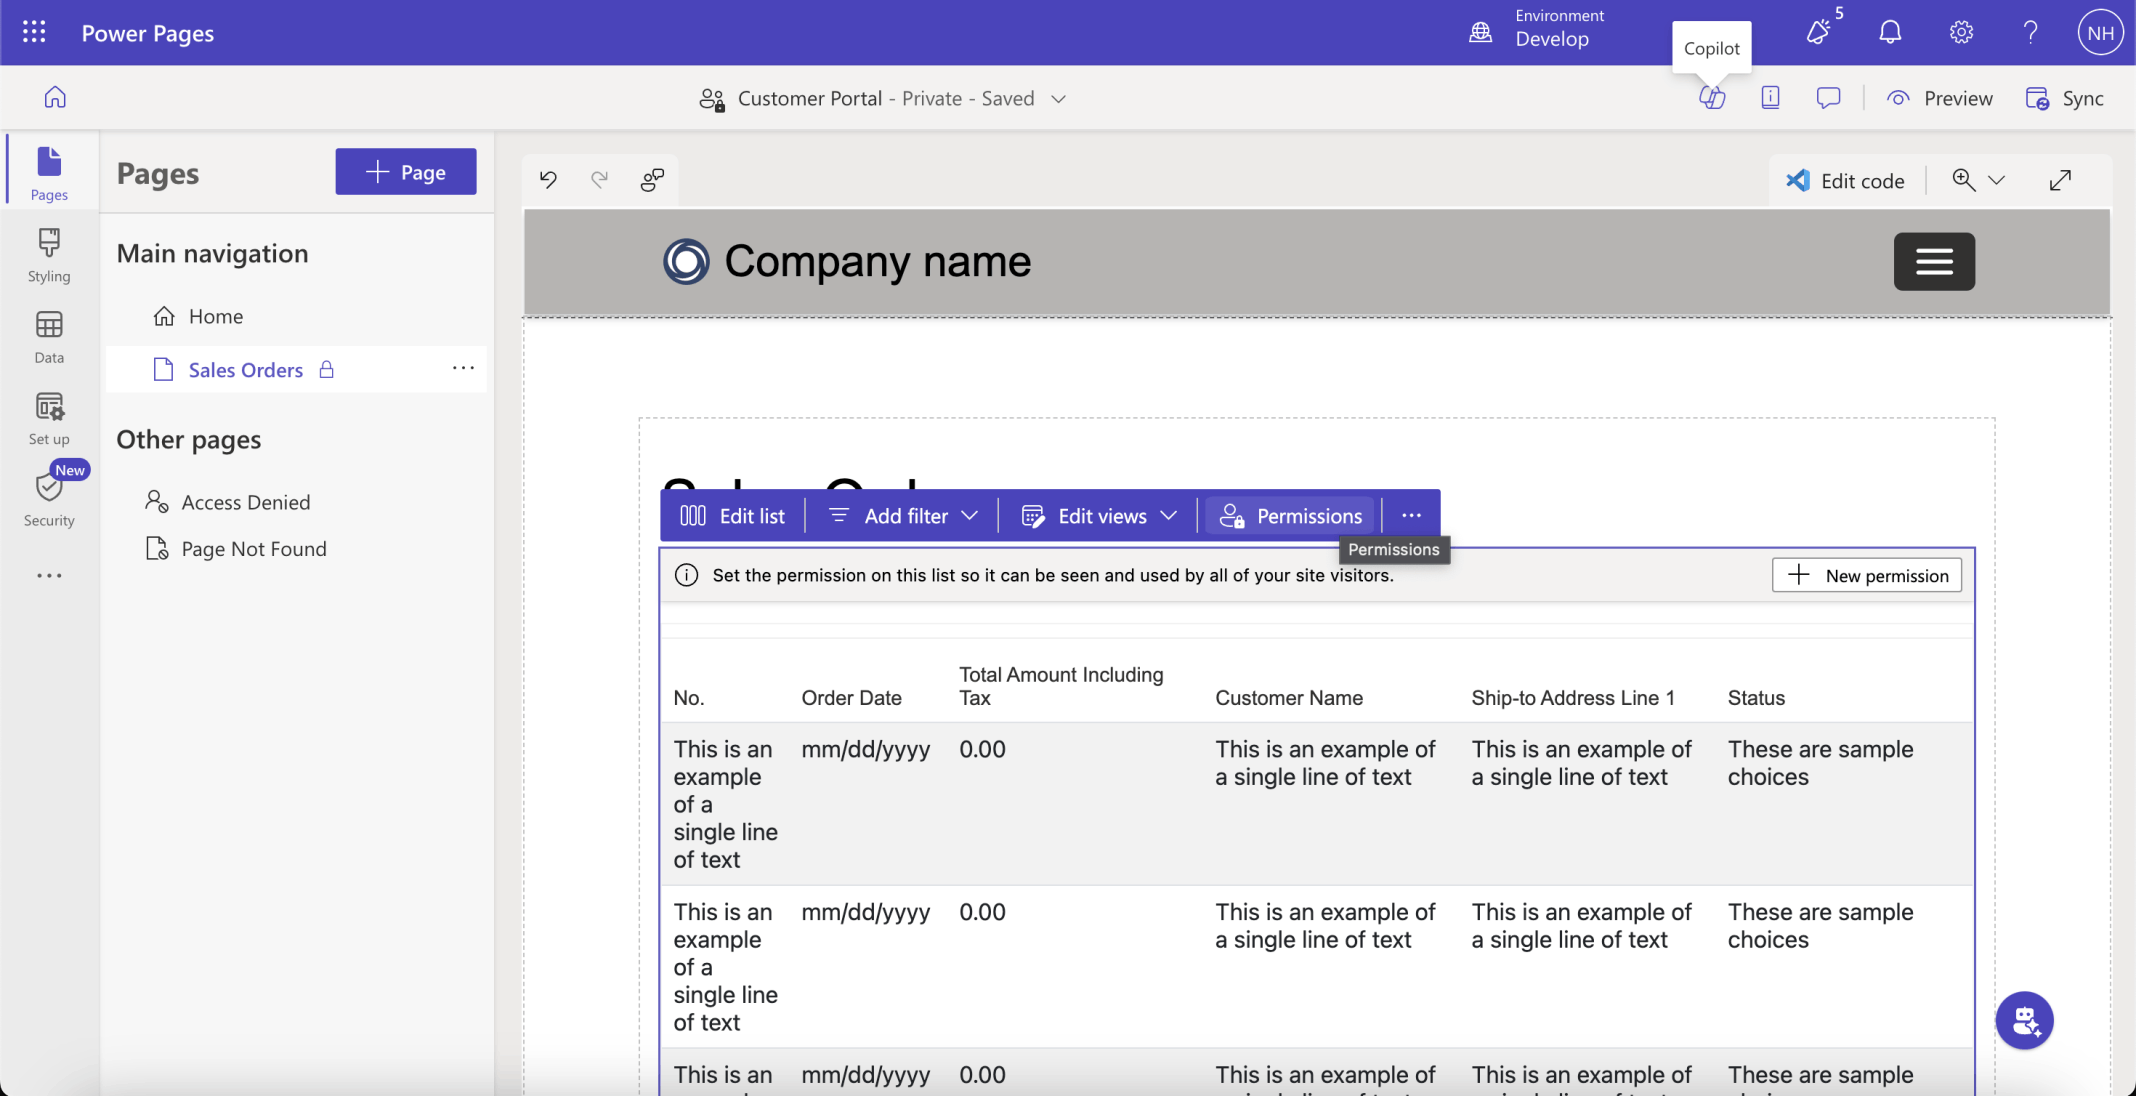
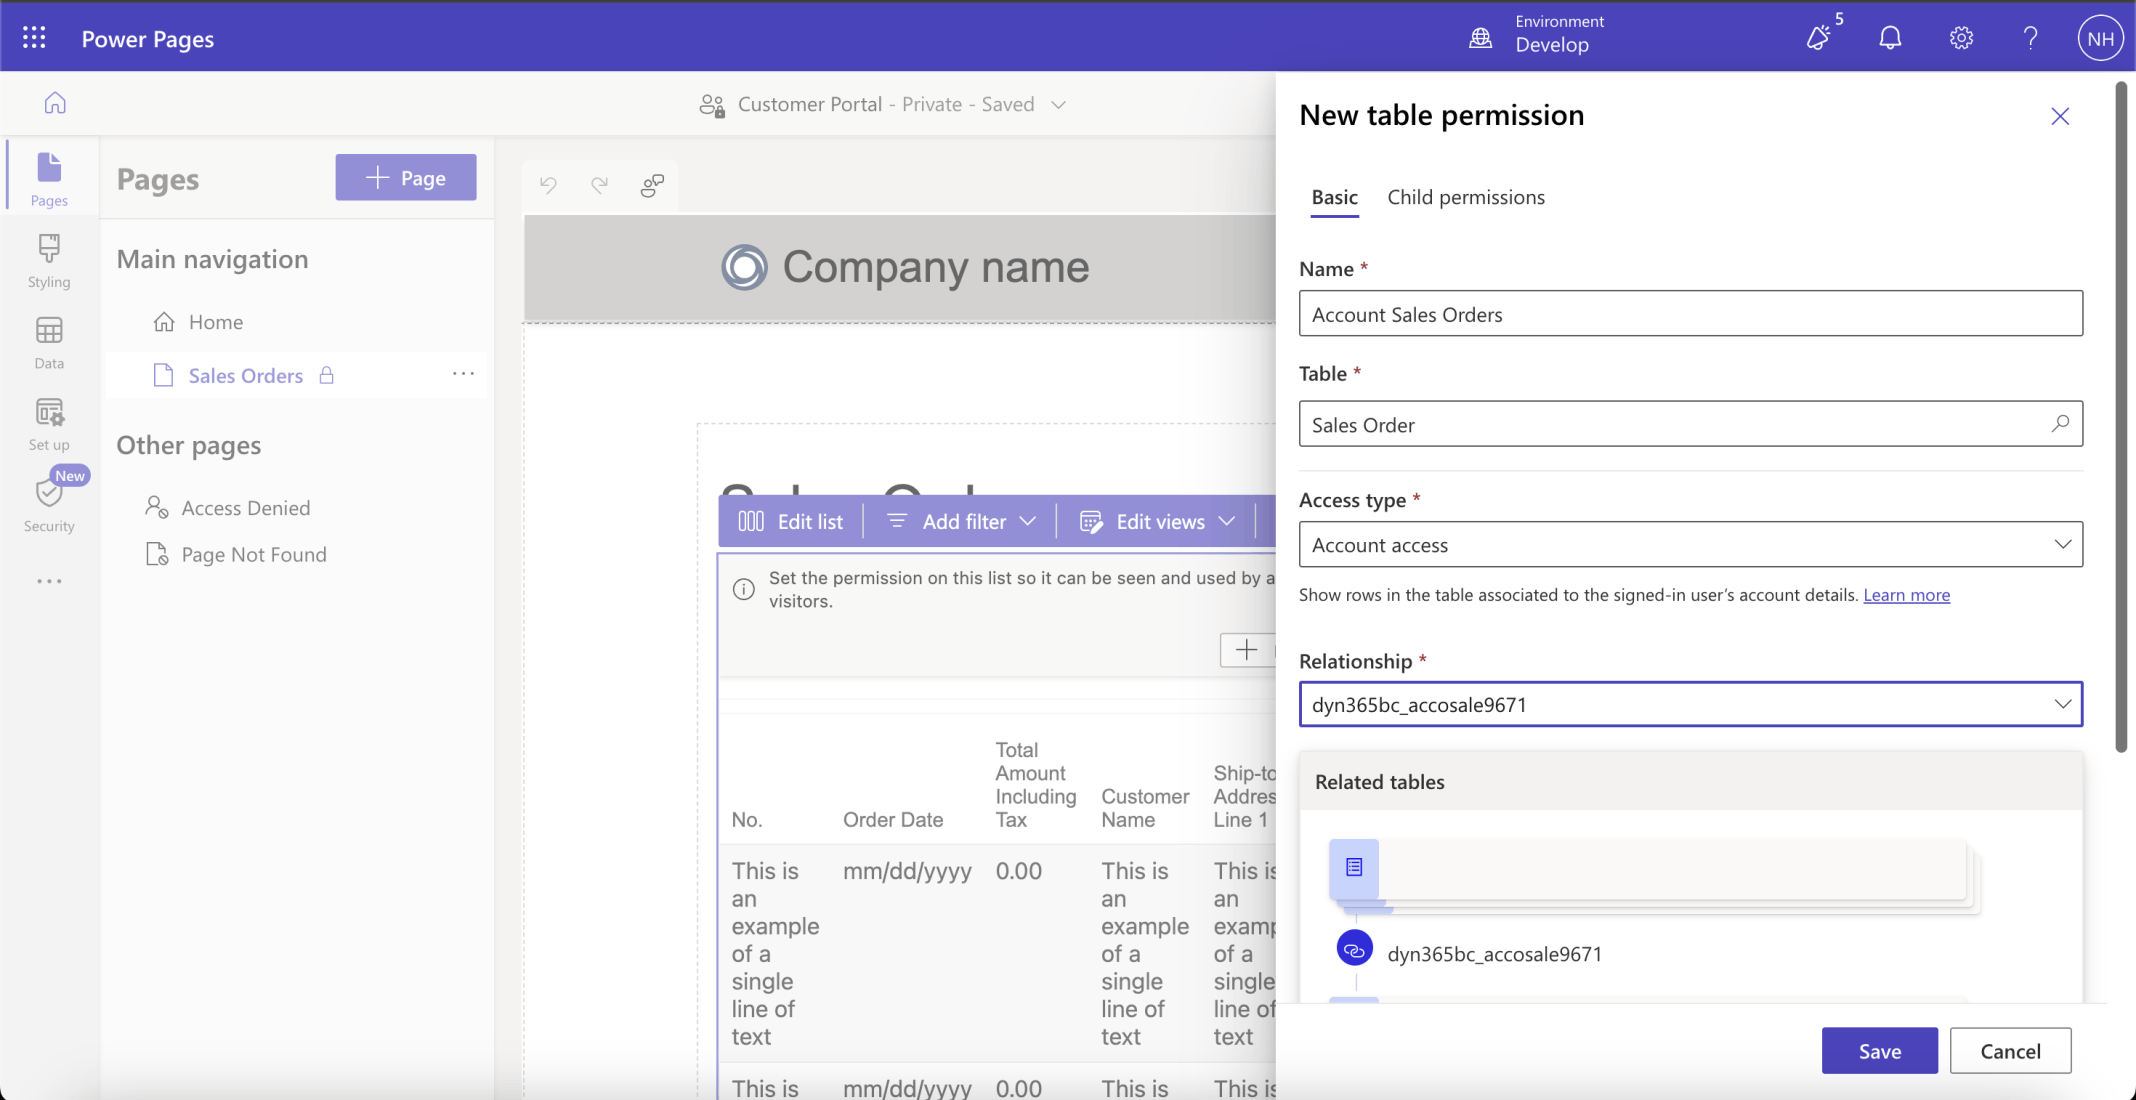
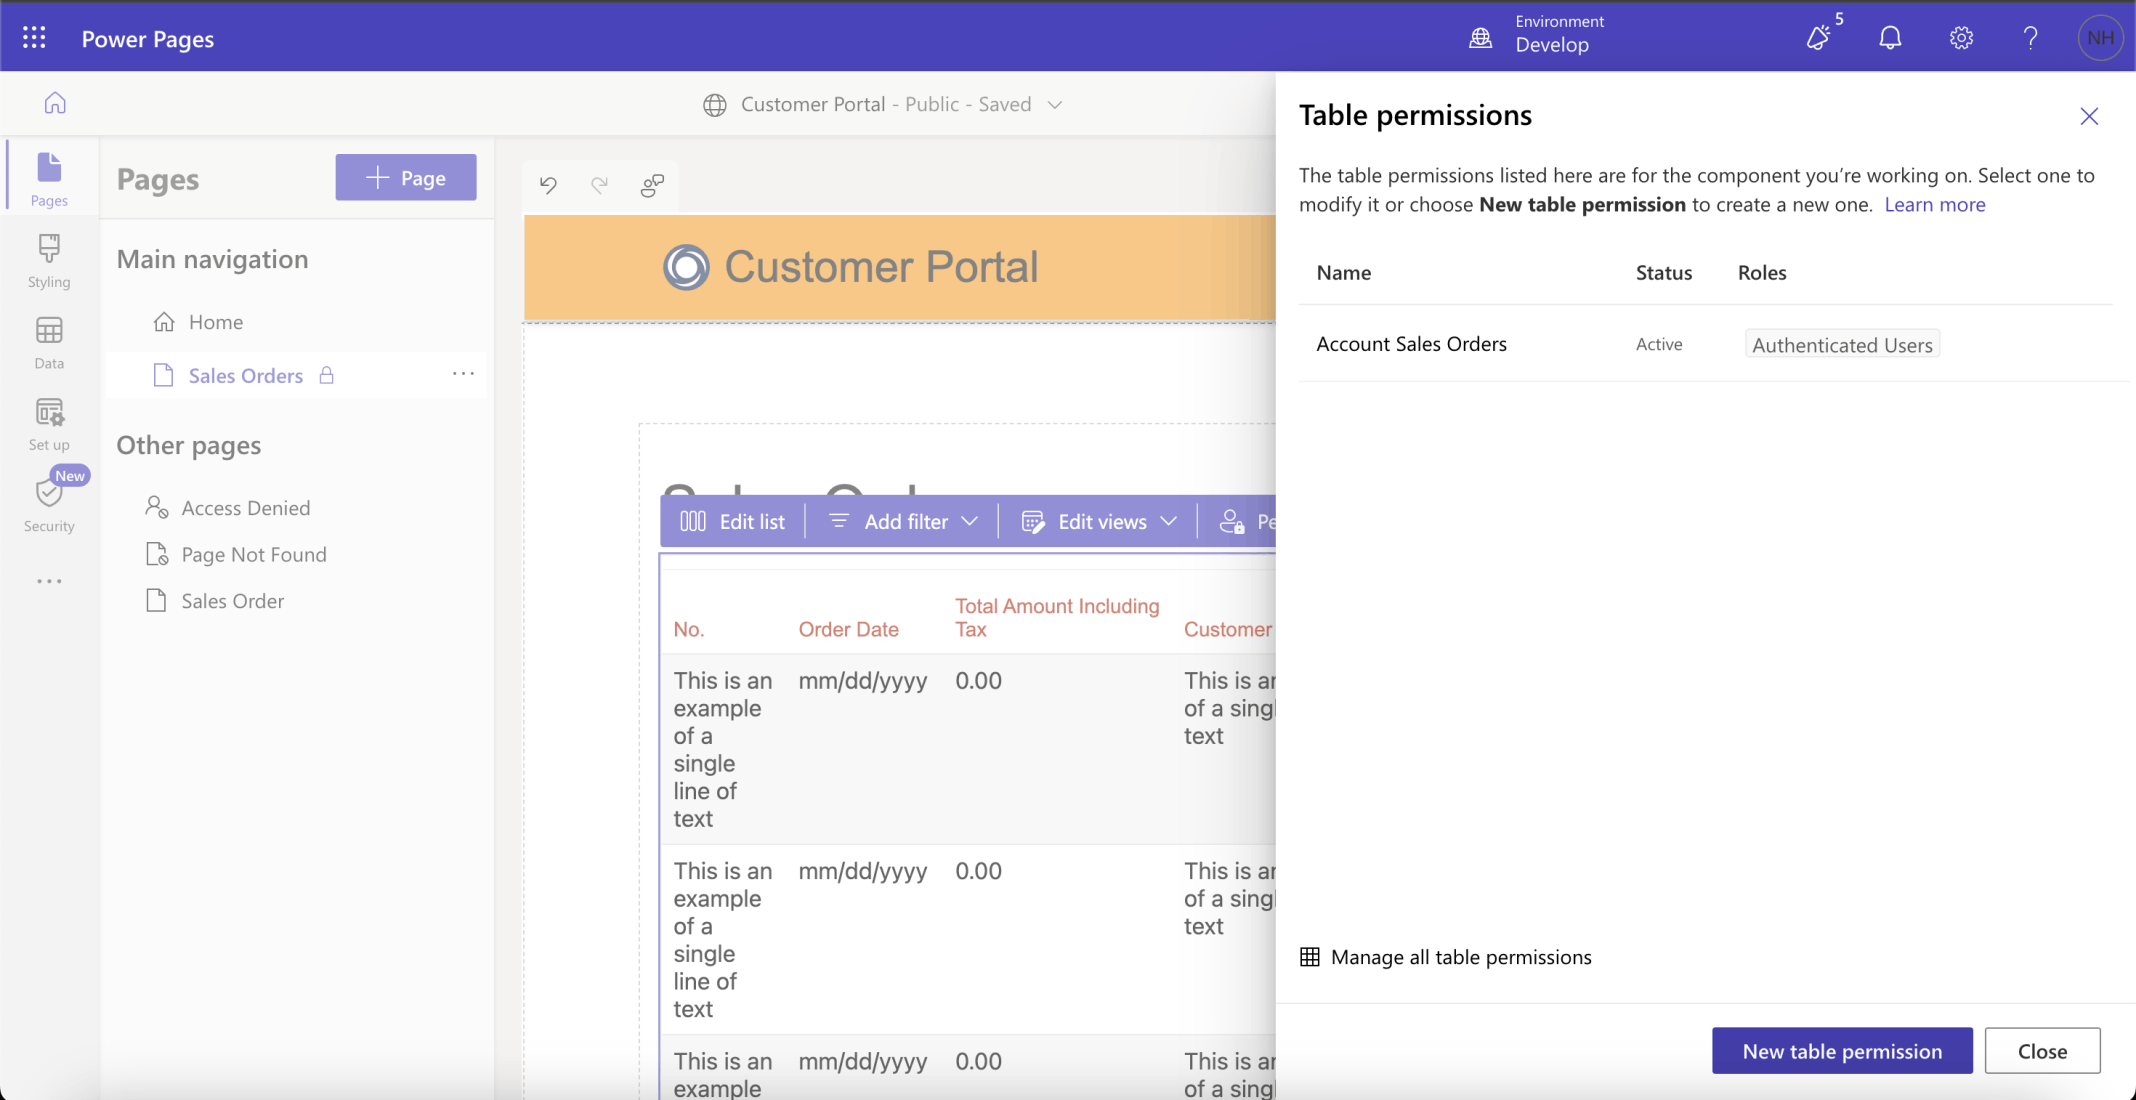
I added permissions
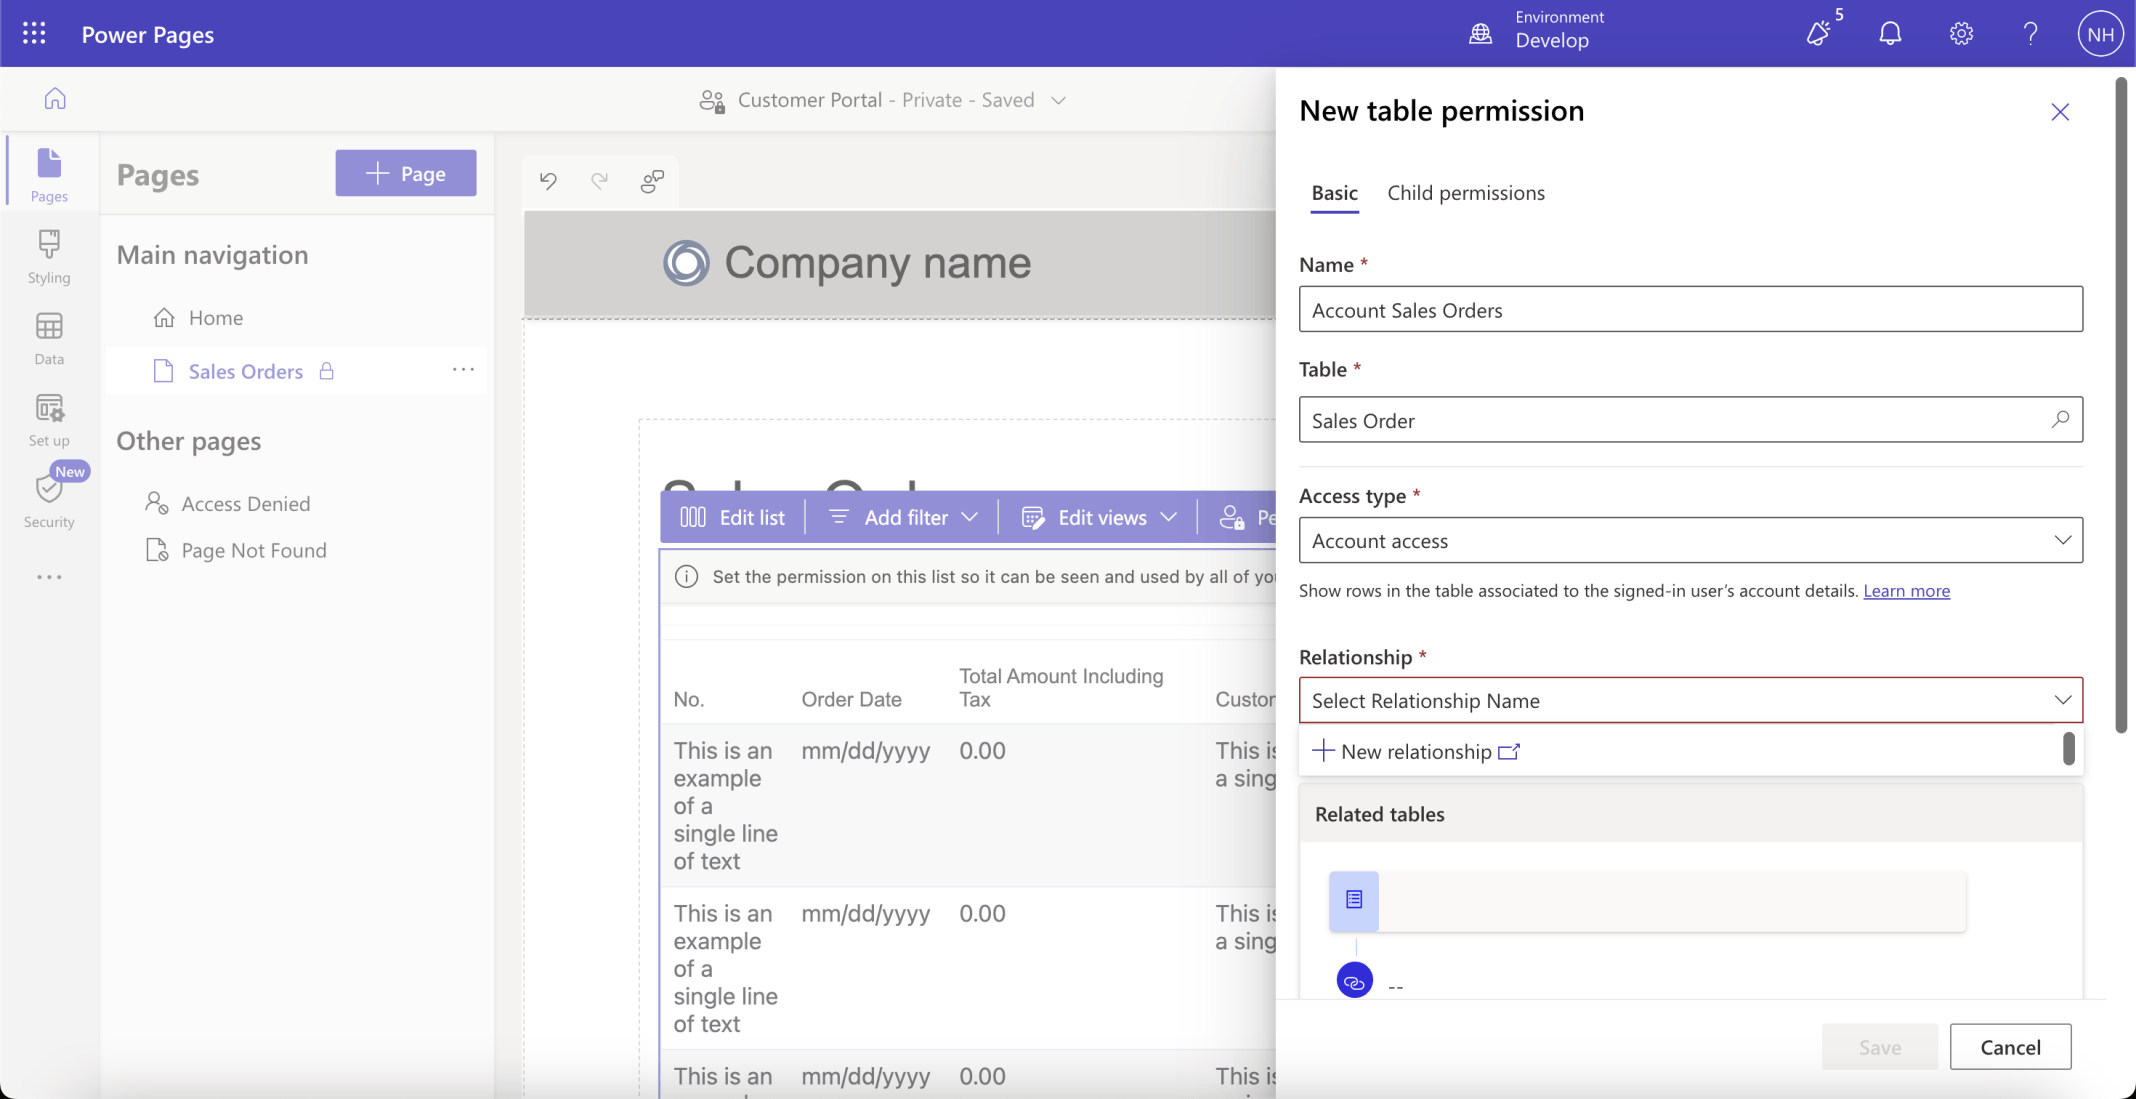
I added a table permission. The permission will allow users to see Sales Order rows that are associated with their company (Account).
I added a Synthetic Relation
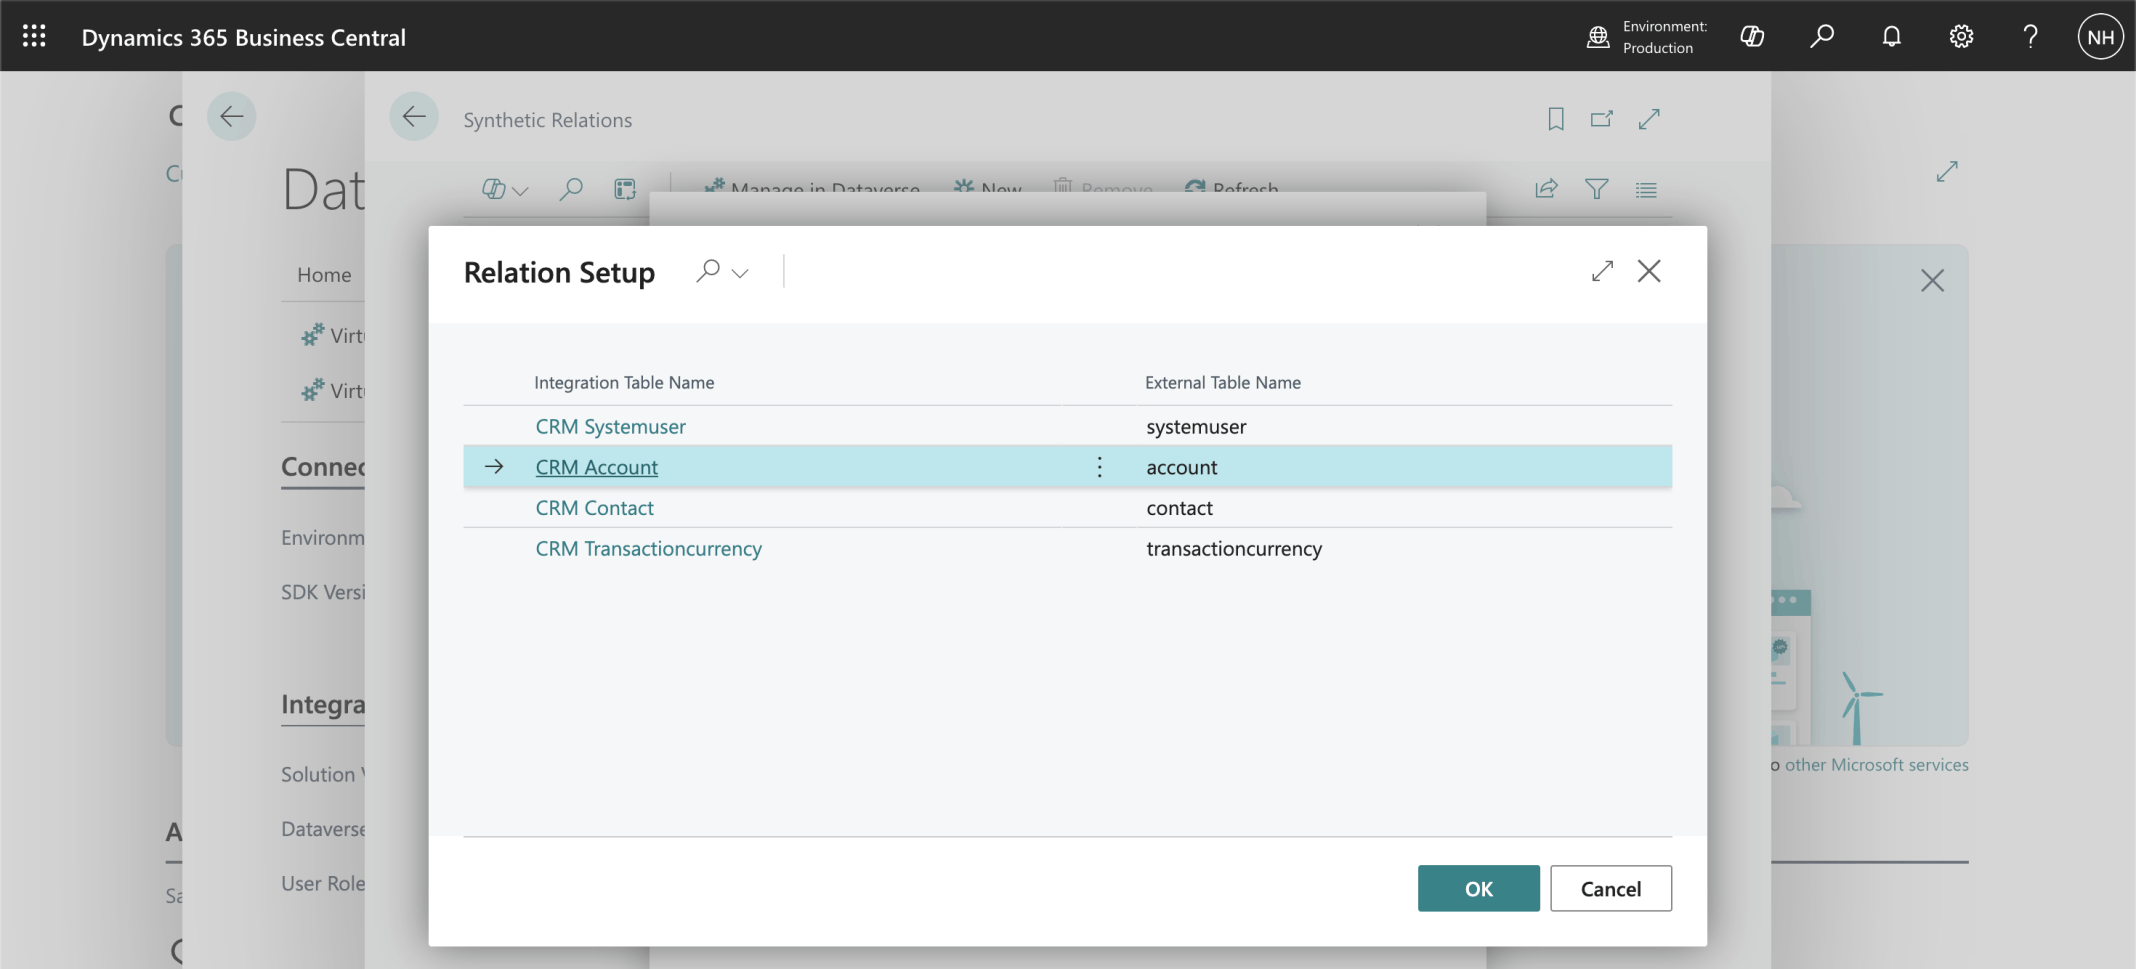
The Synthetic Relation connects CRM Account records...
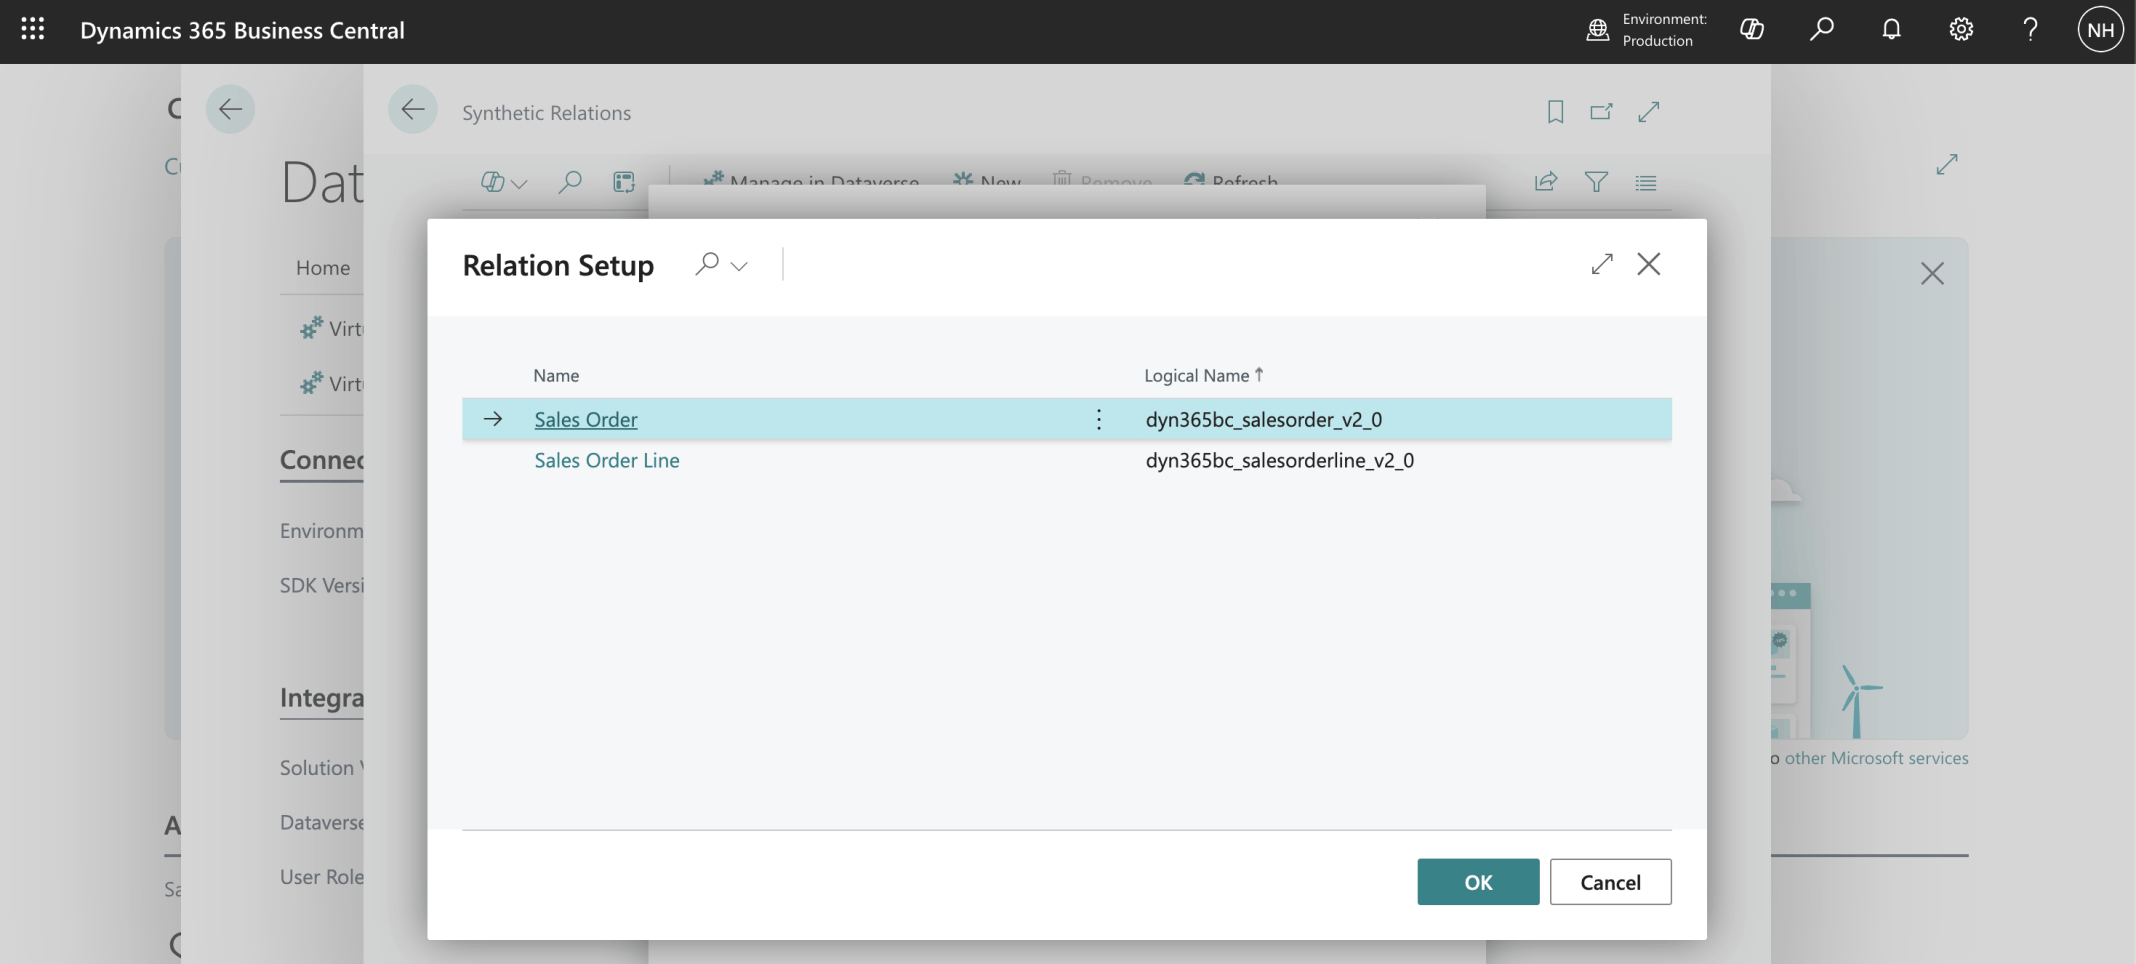
... to Sales Order records
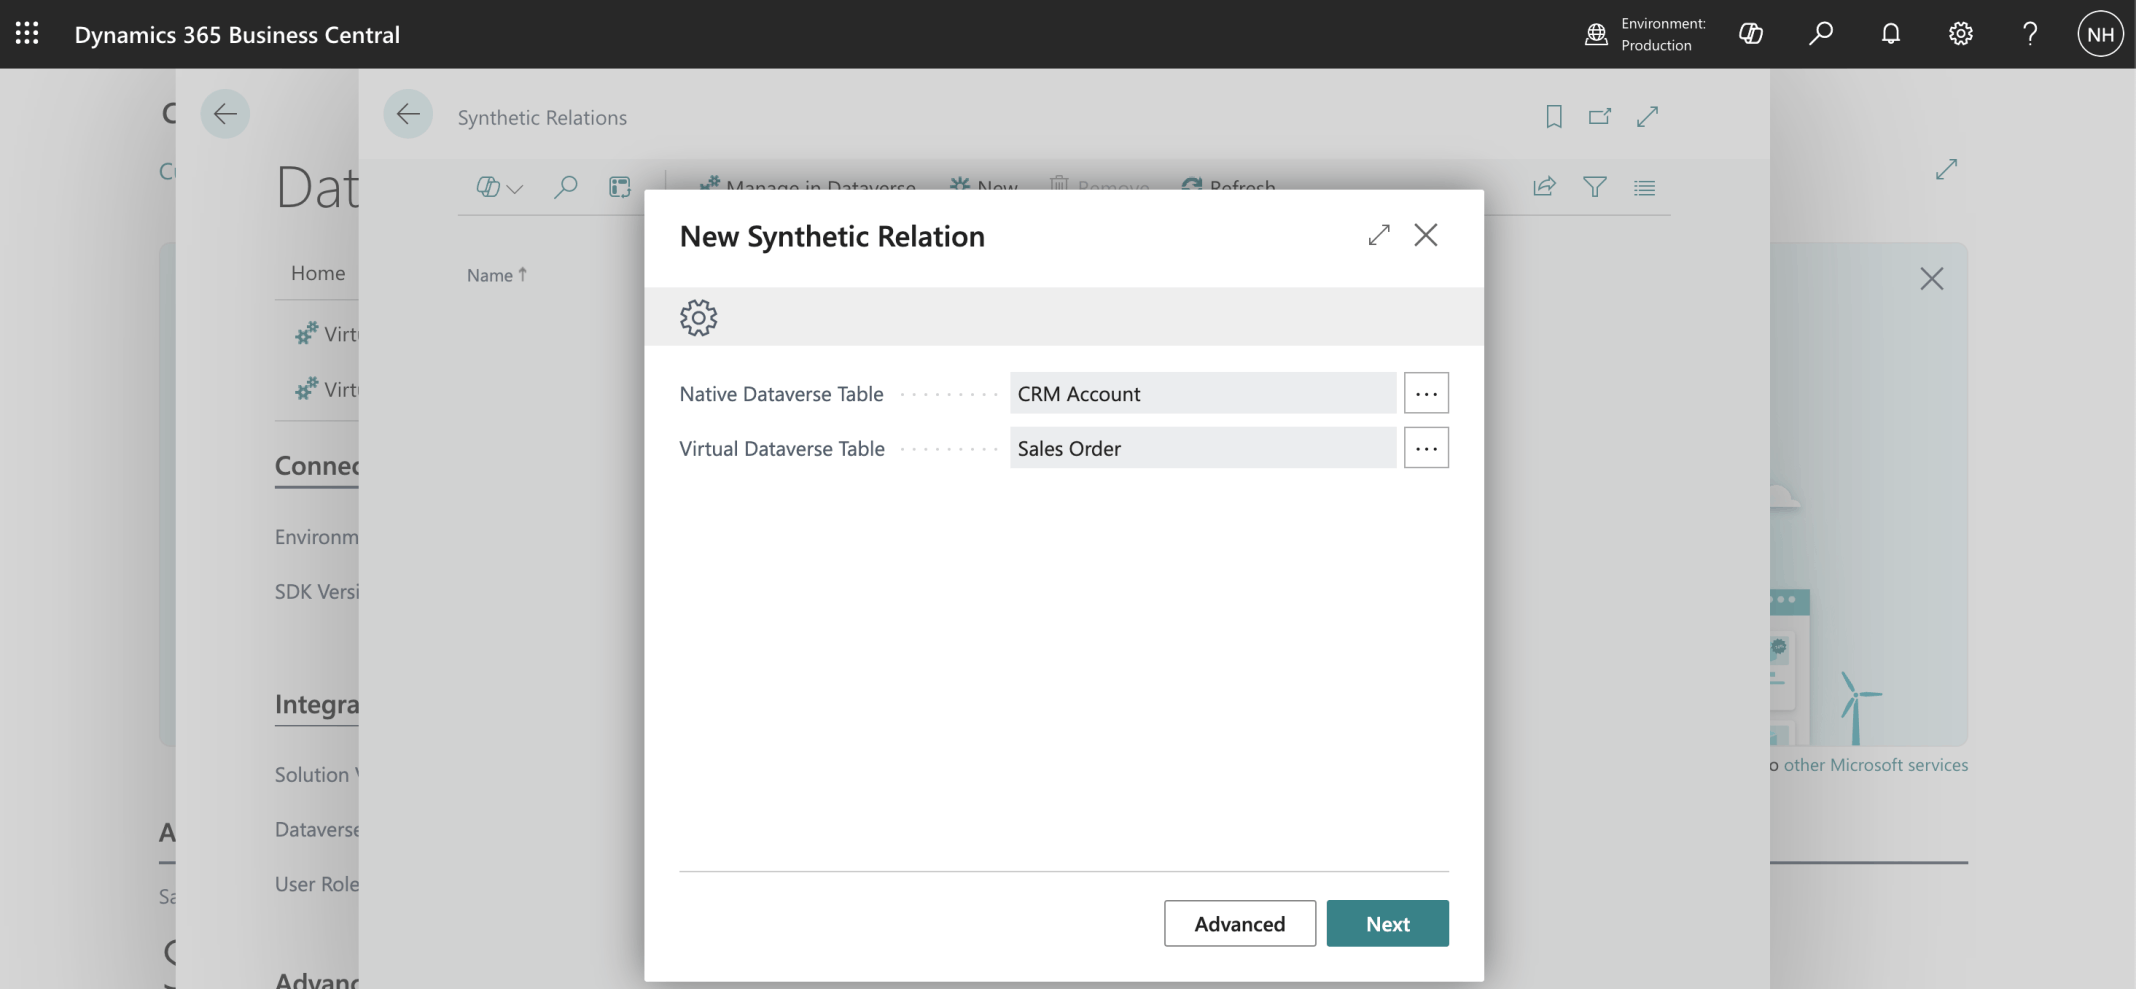
I clicked Next
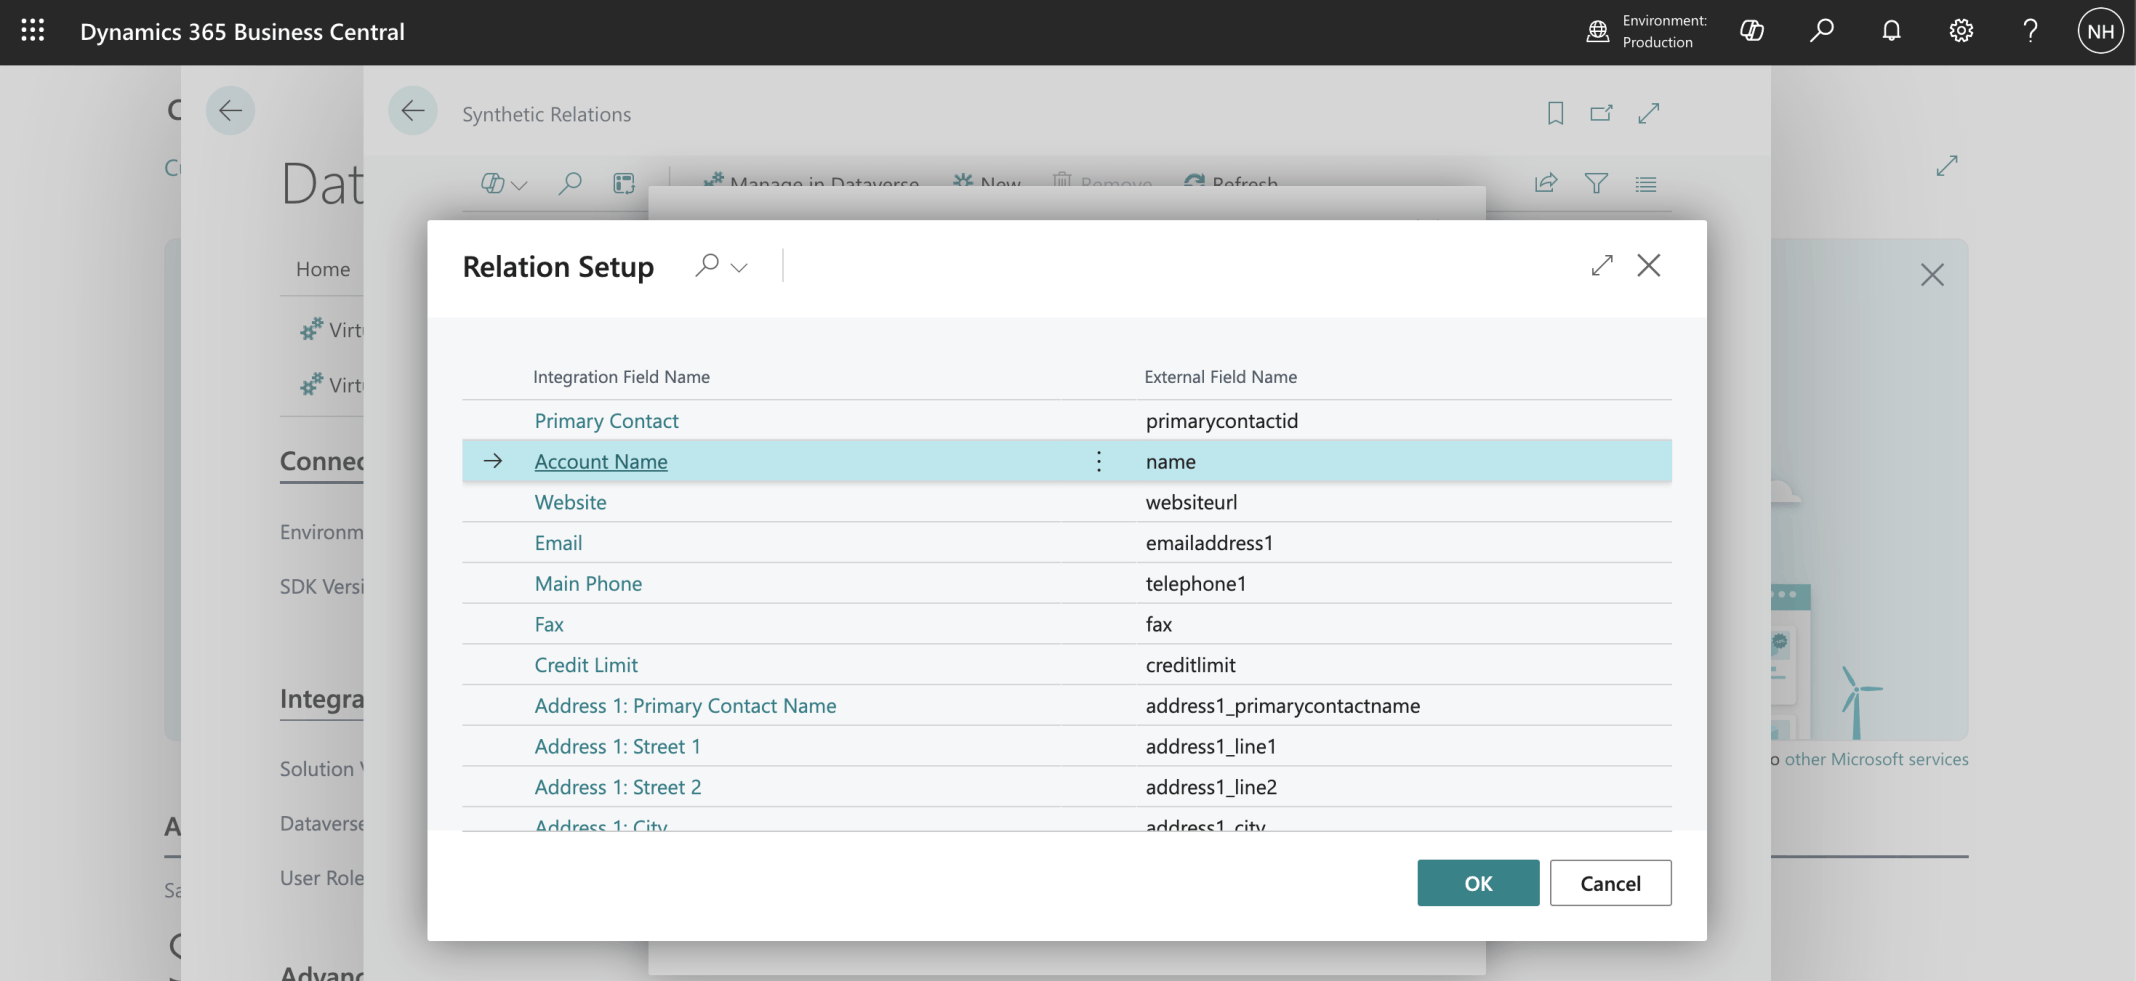
I selected the CRM Account | Account Name field
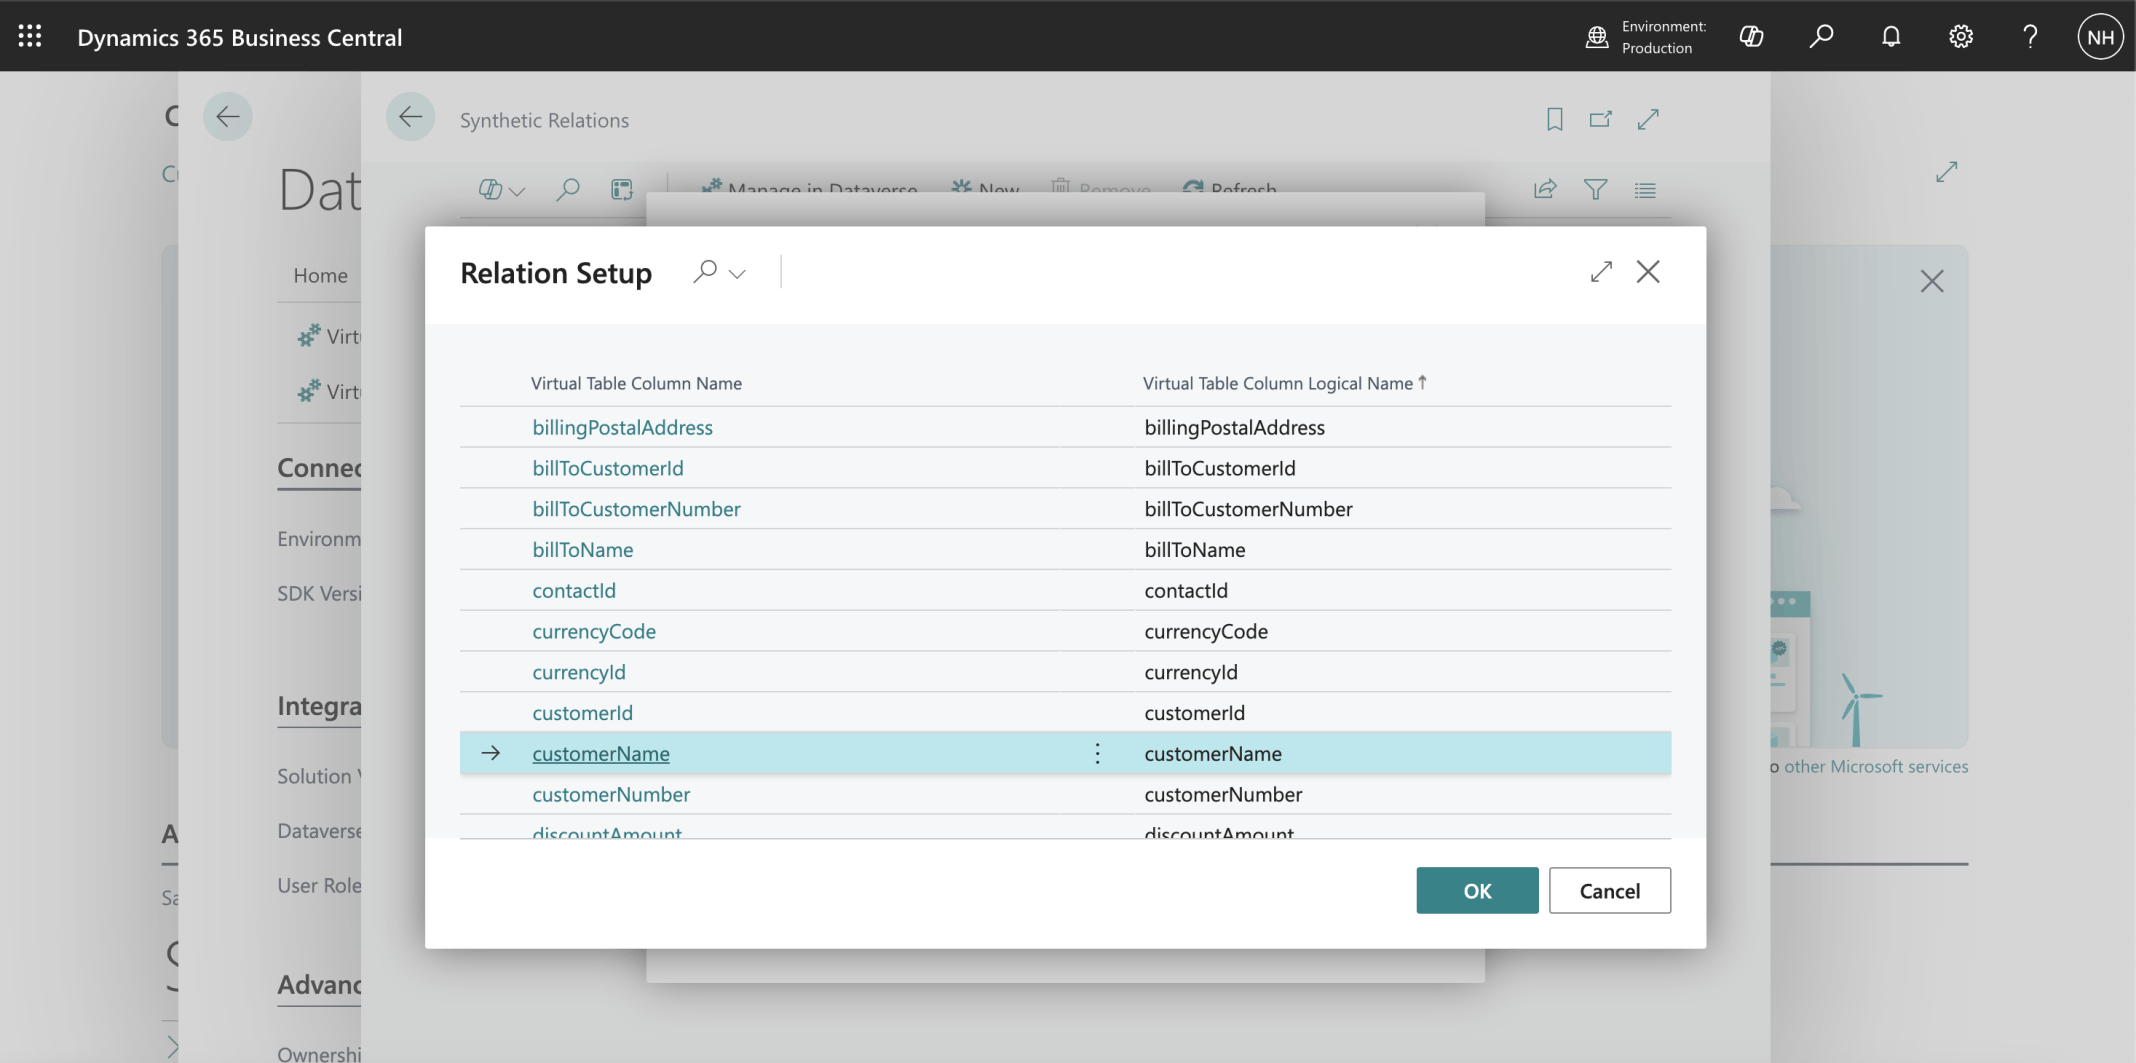
I selected the Sales Order | customerName field
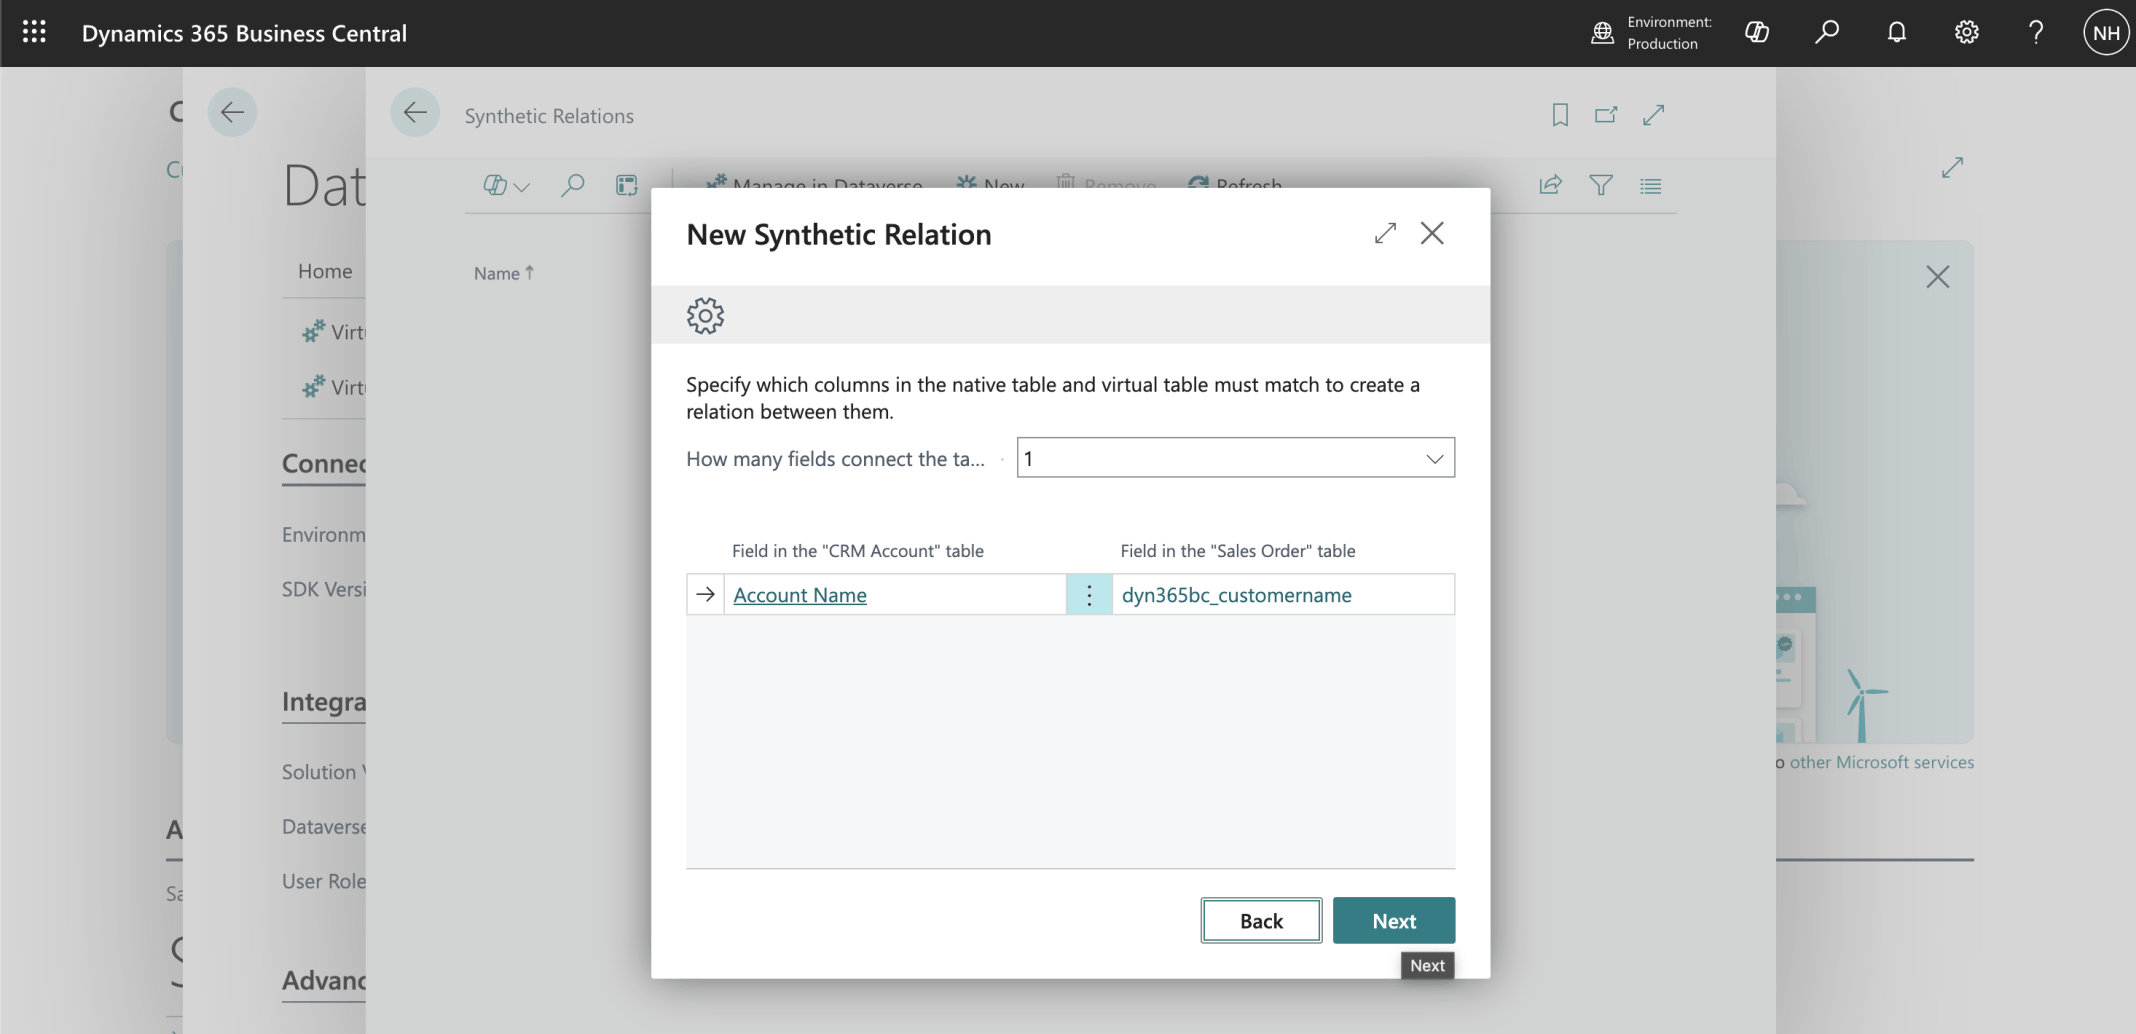
I clicked Next
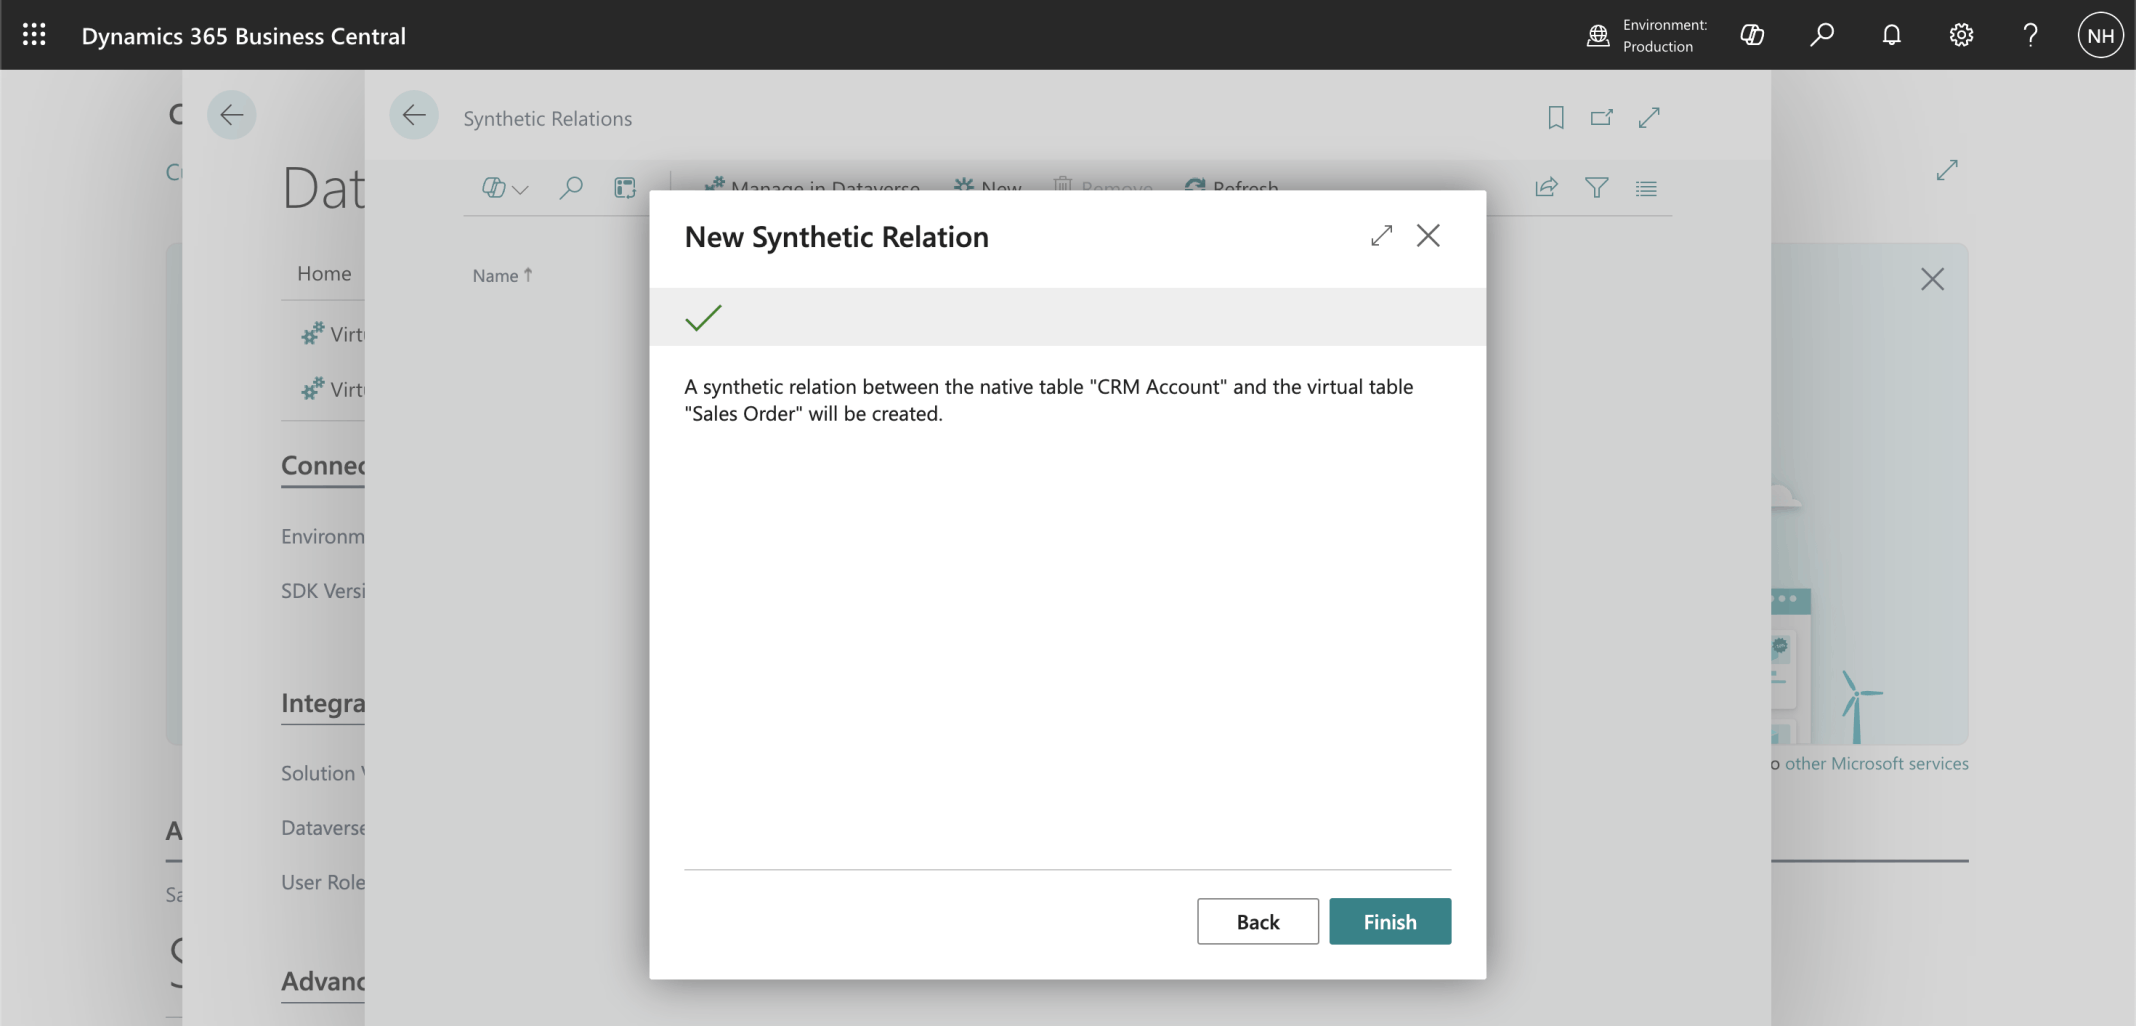
I clicked the Finish button
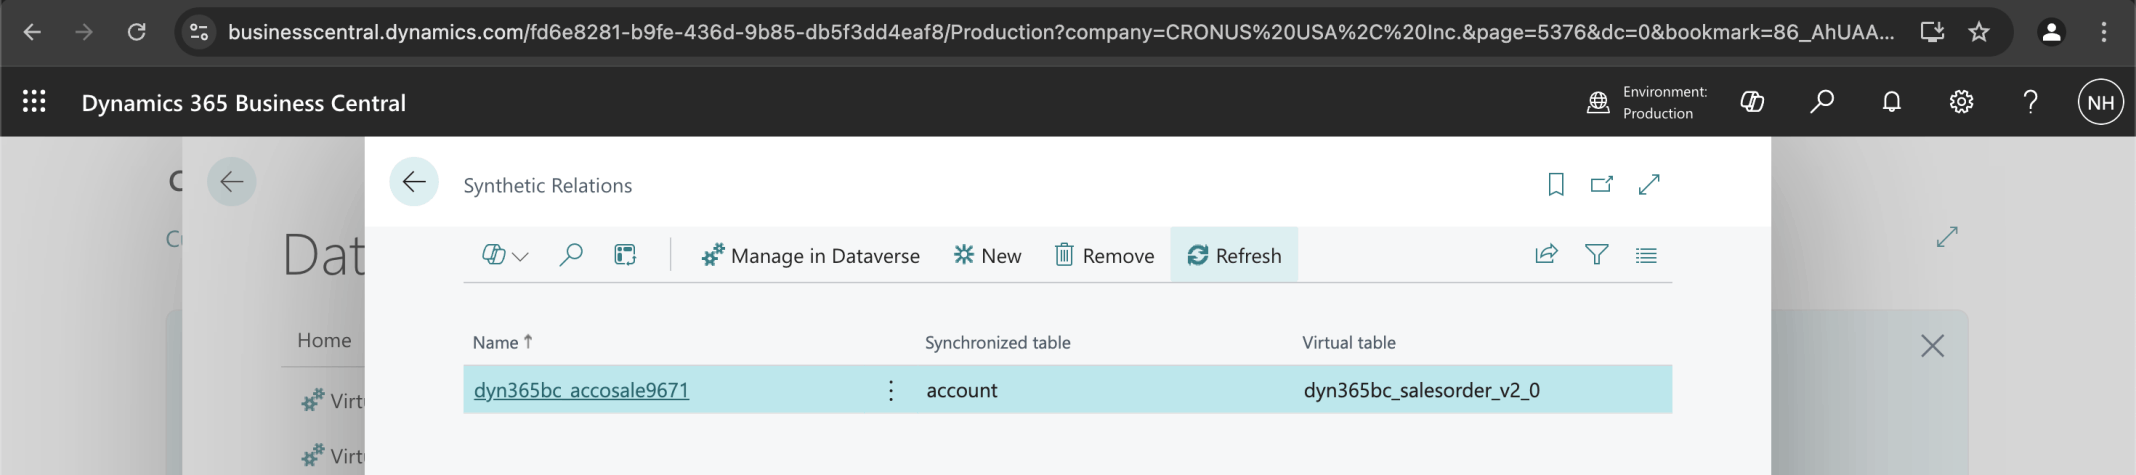
I clicked Refresh to view the new Synthetic Relation
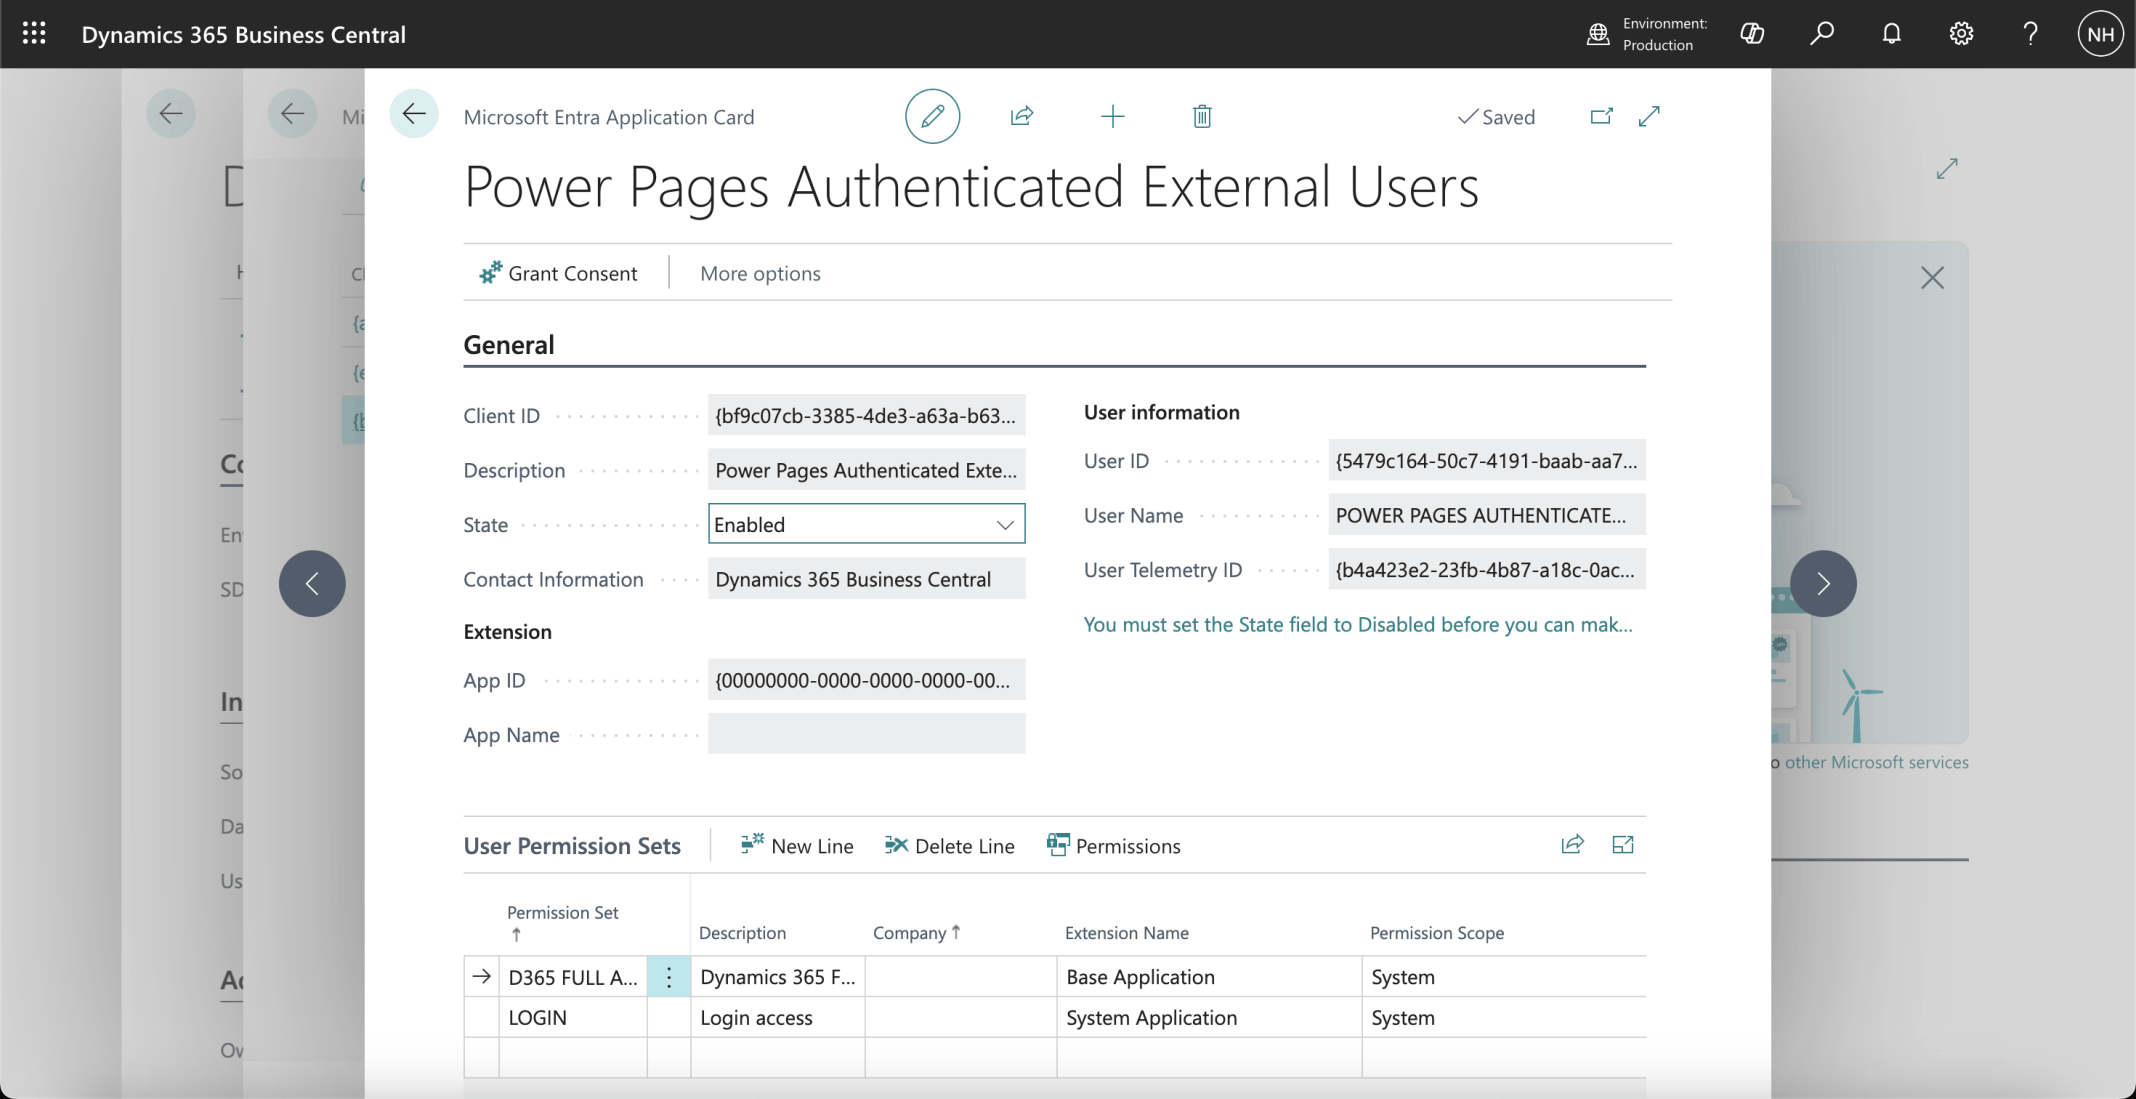
I updated the configuration of the Power Pages Authentication External Users Microsoft Entra Application
I selected the new Synthetic Relation
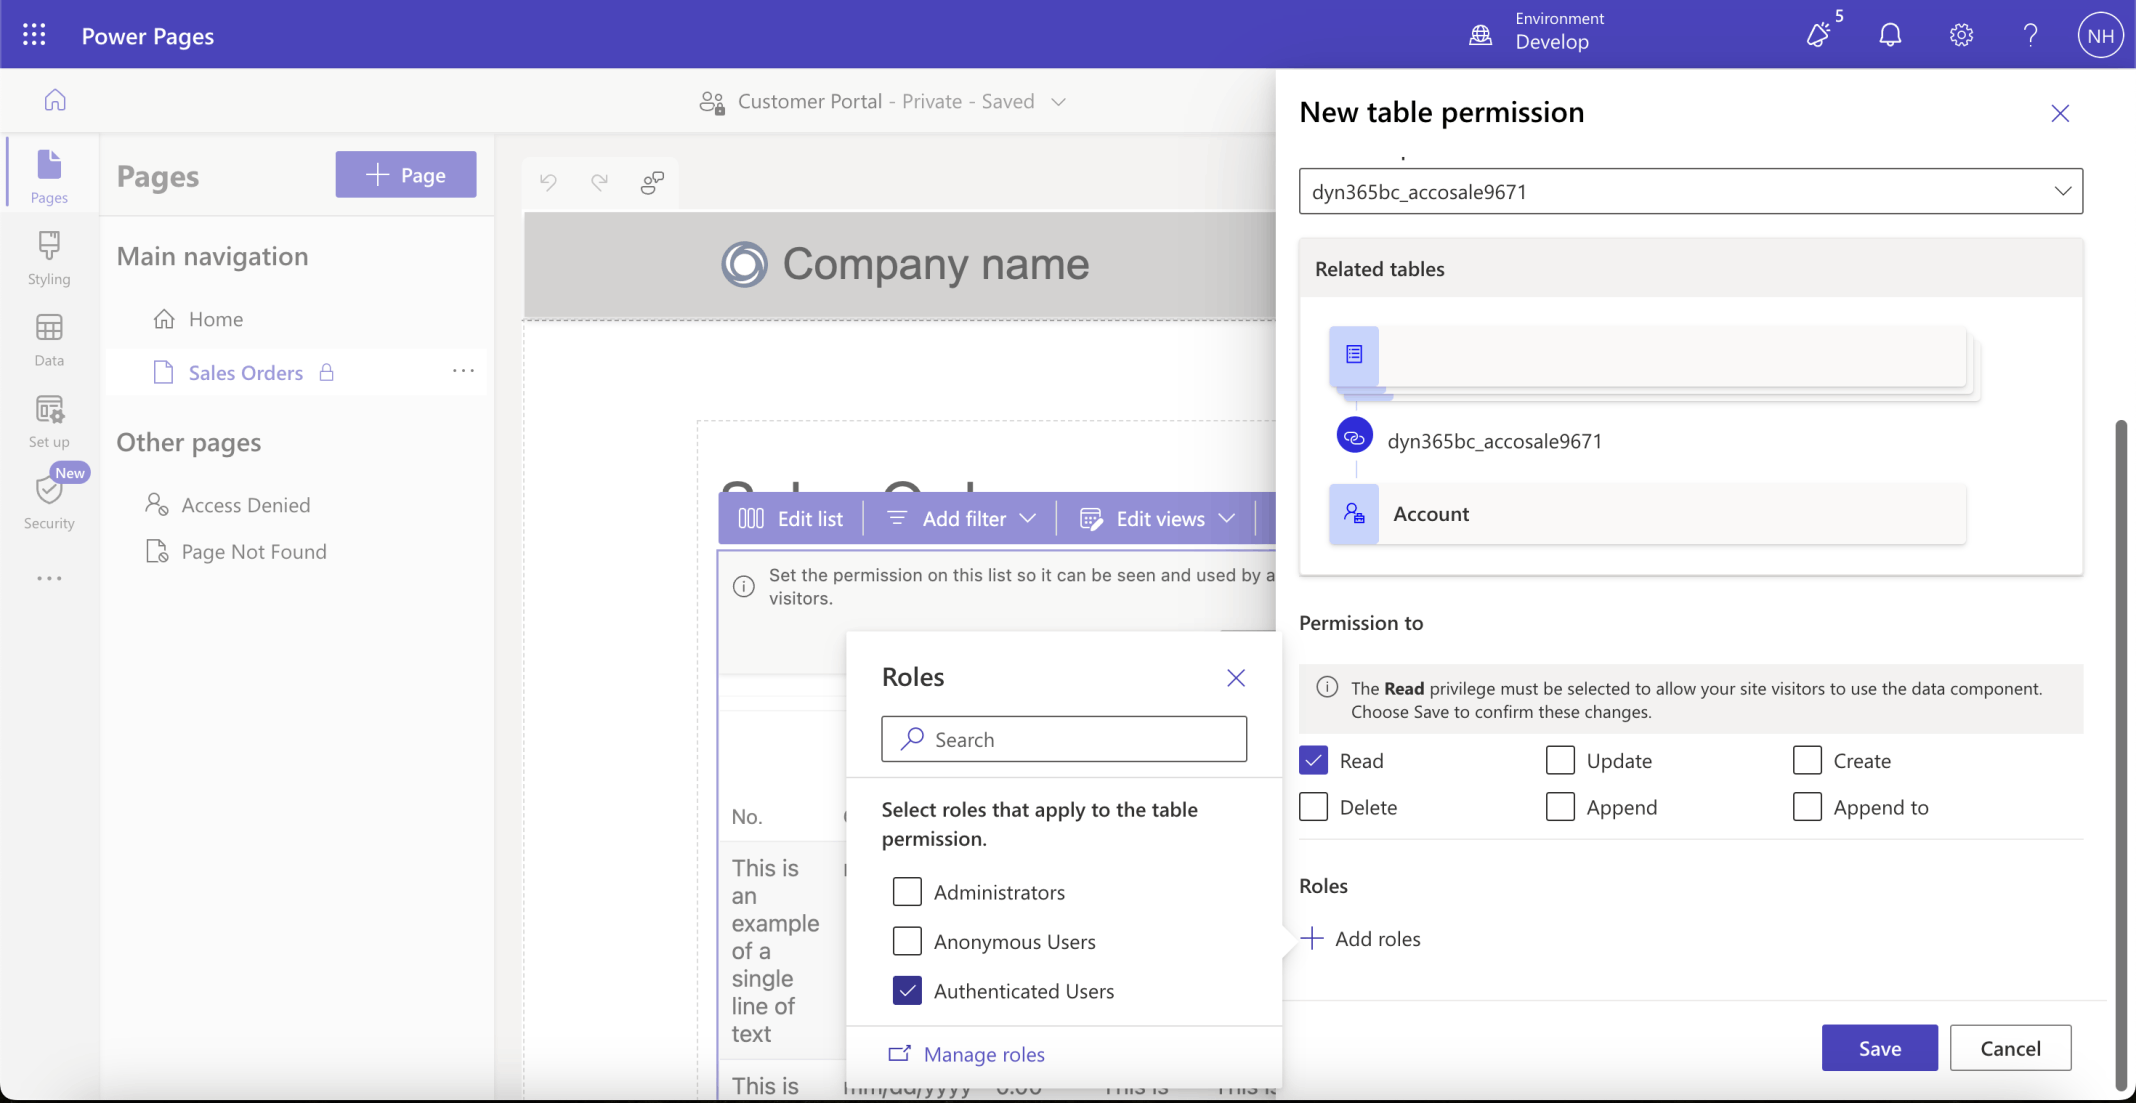
I added the Authenticated Users Role
I clicked the Close button
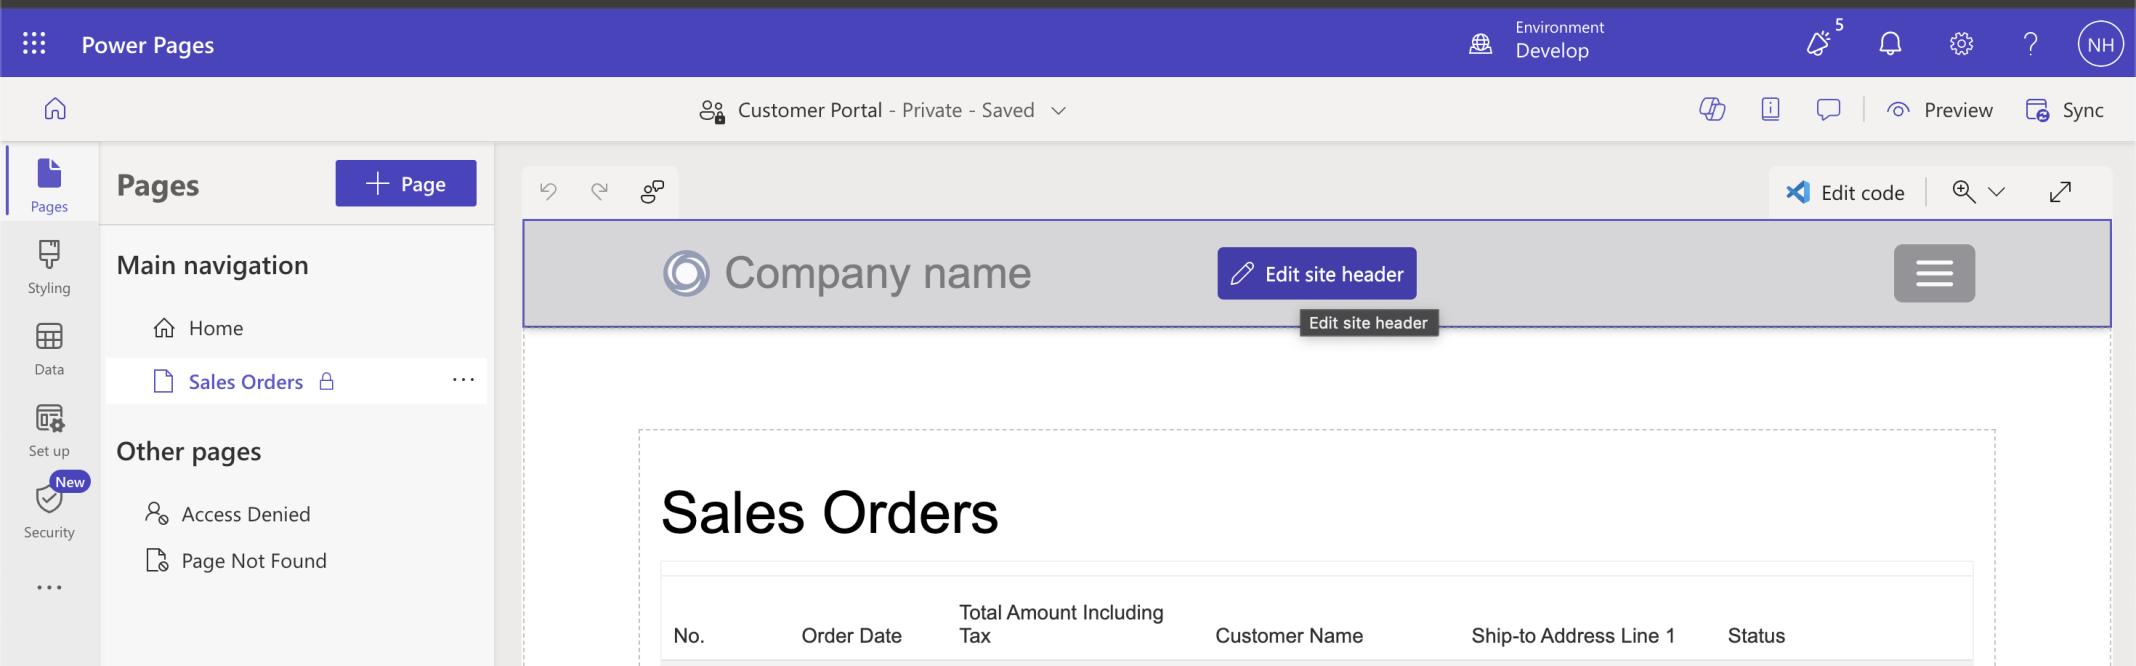
I used the Edit site header button to update the site title
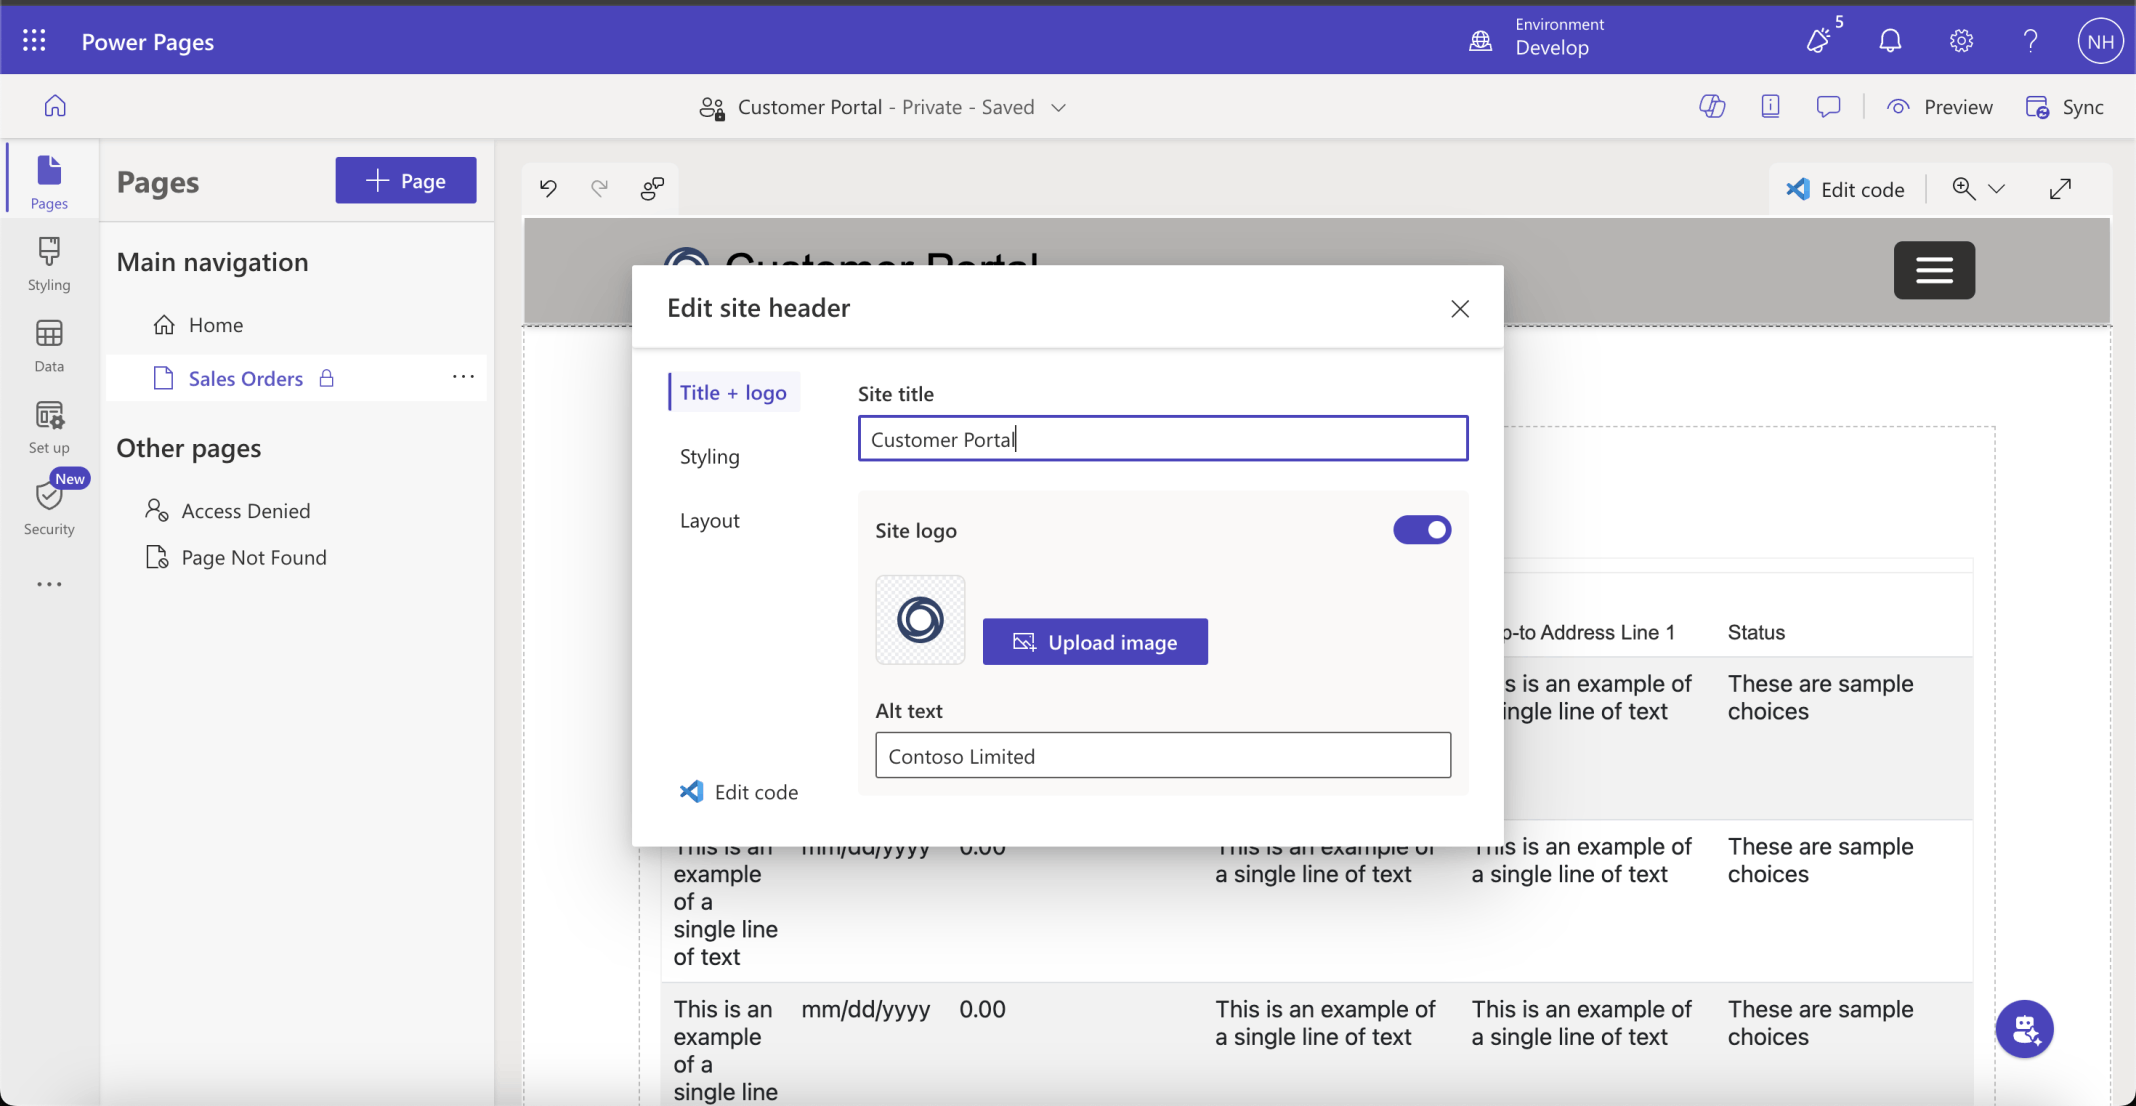
I set the site title to Customer Portal
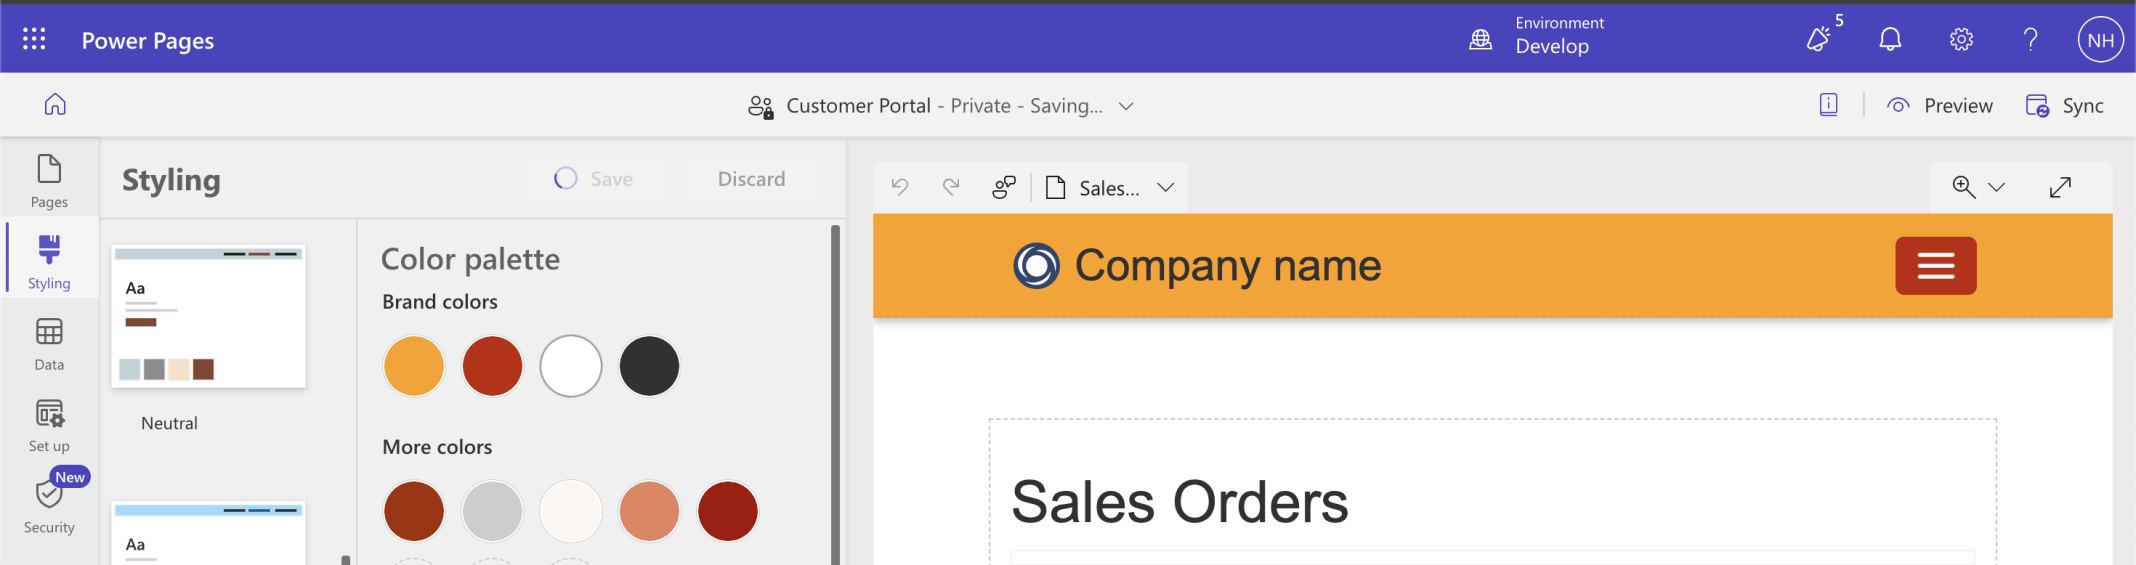
I updated the site Style
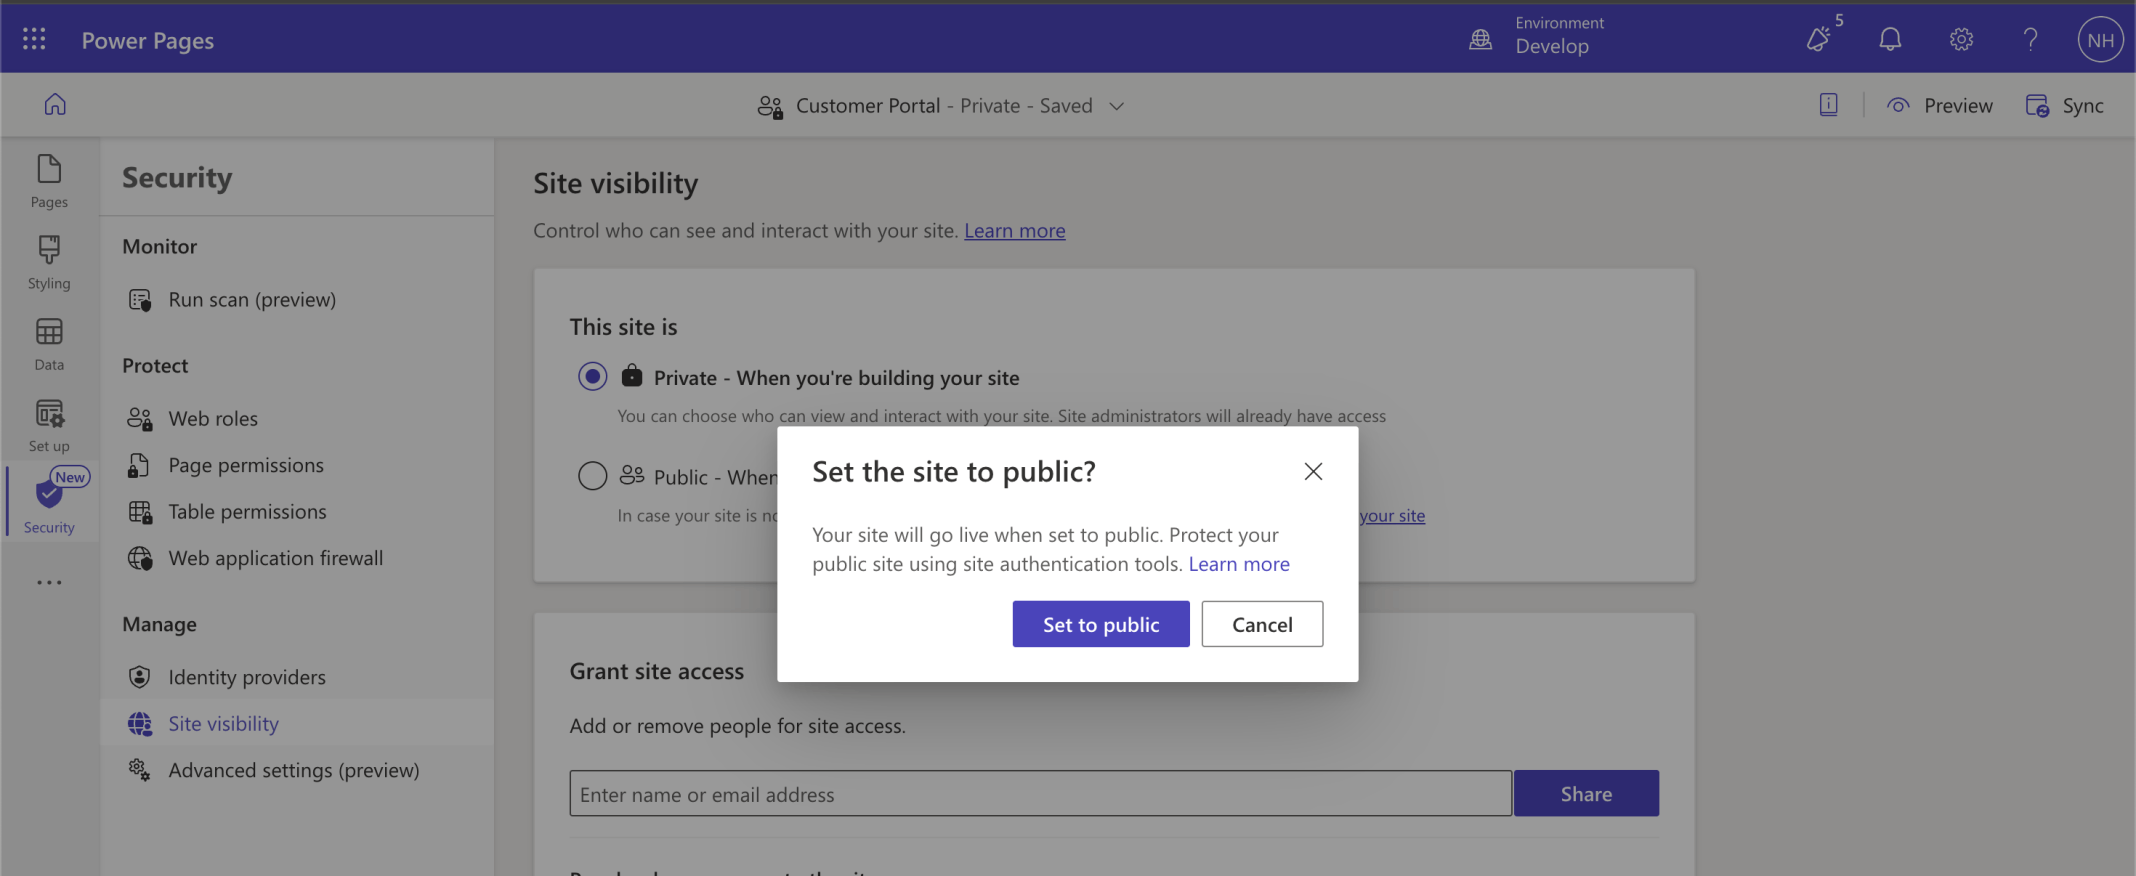
I set the site visibility to Public
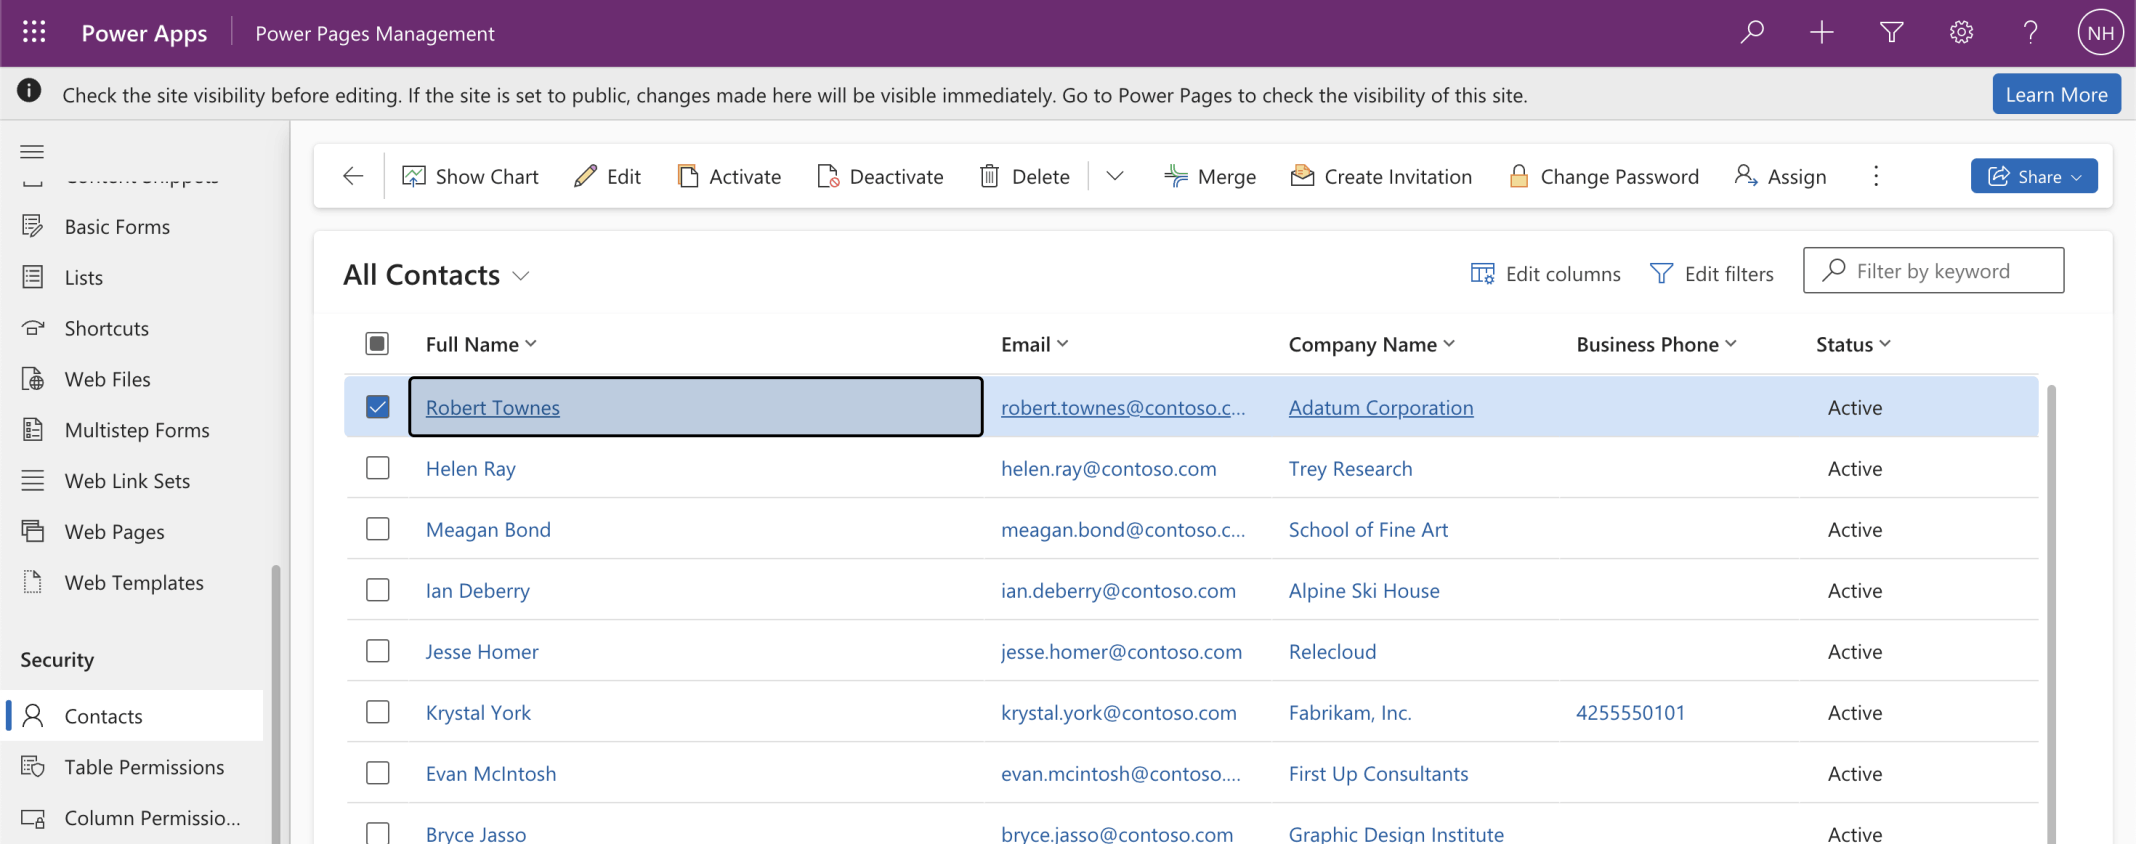
I navigated to the Robert Townes Contact record
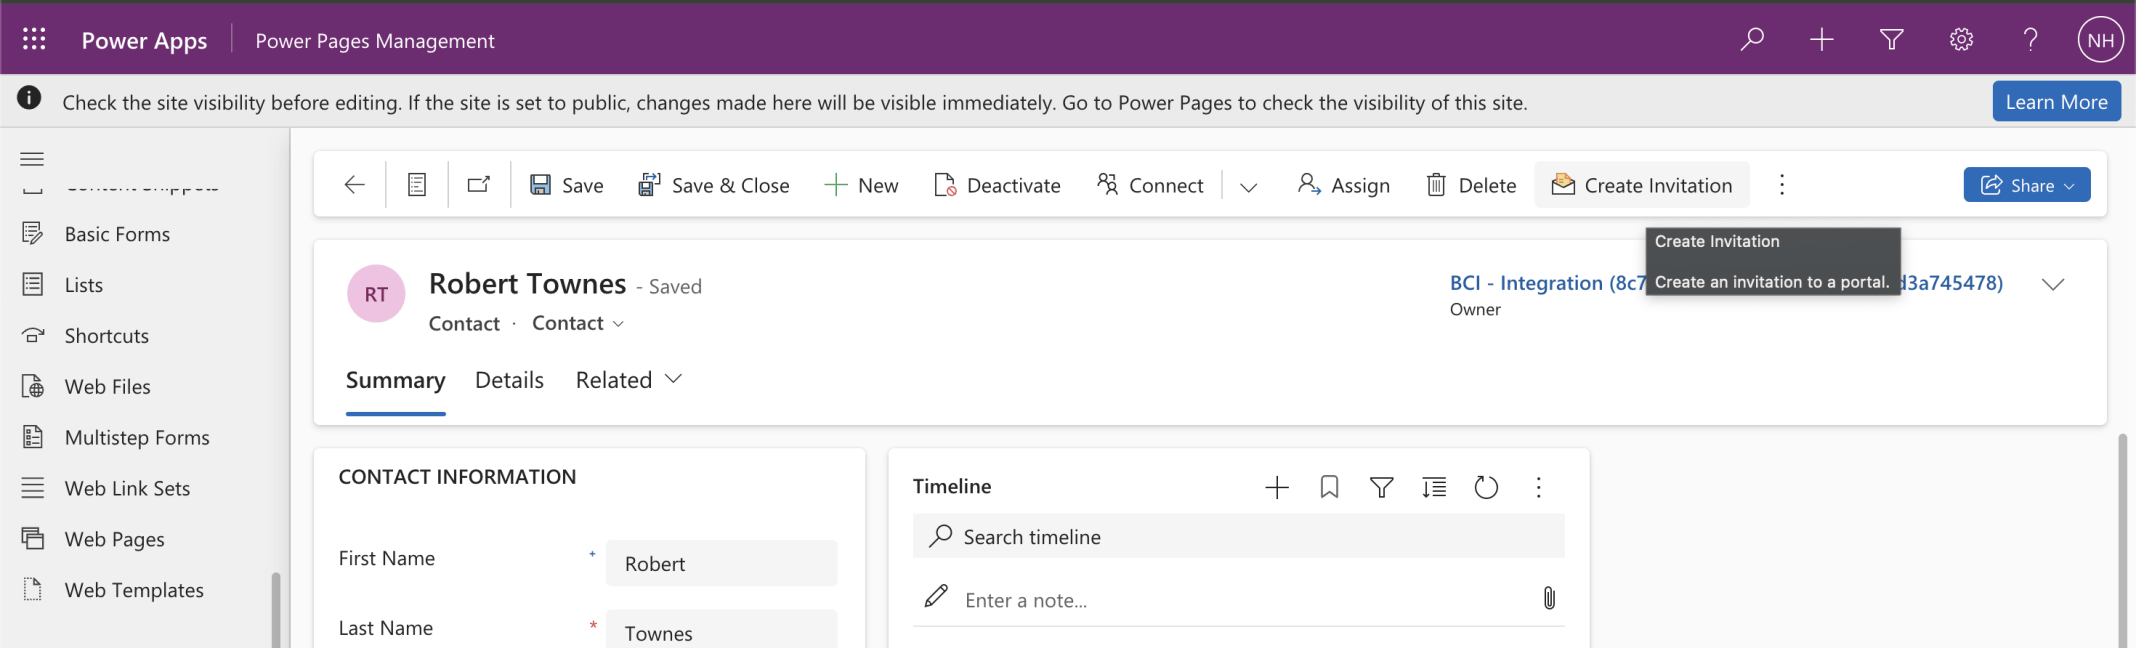
I clicked the Create Invitation button
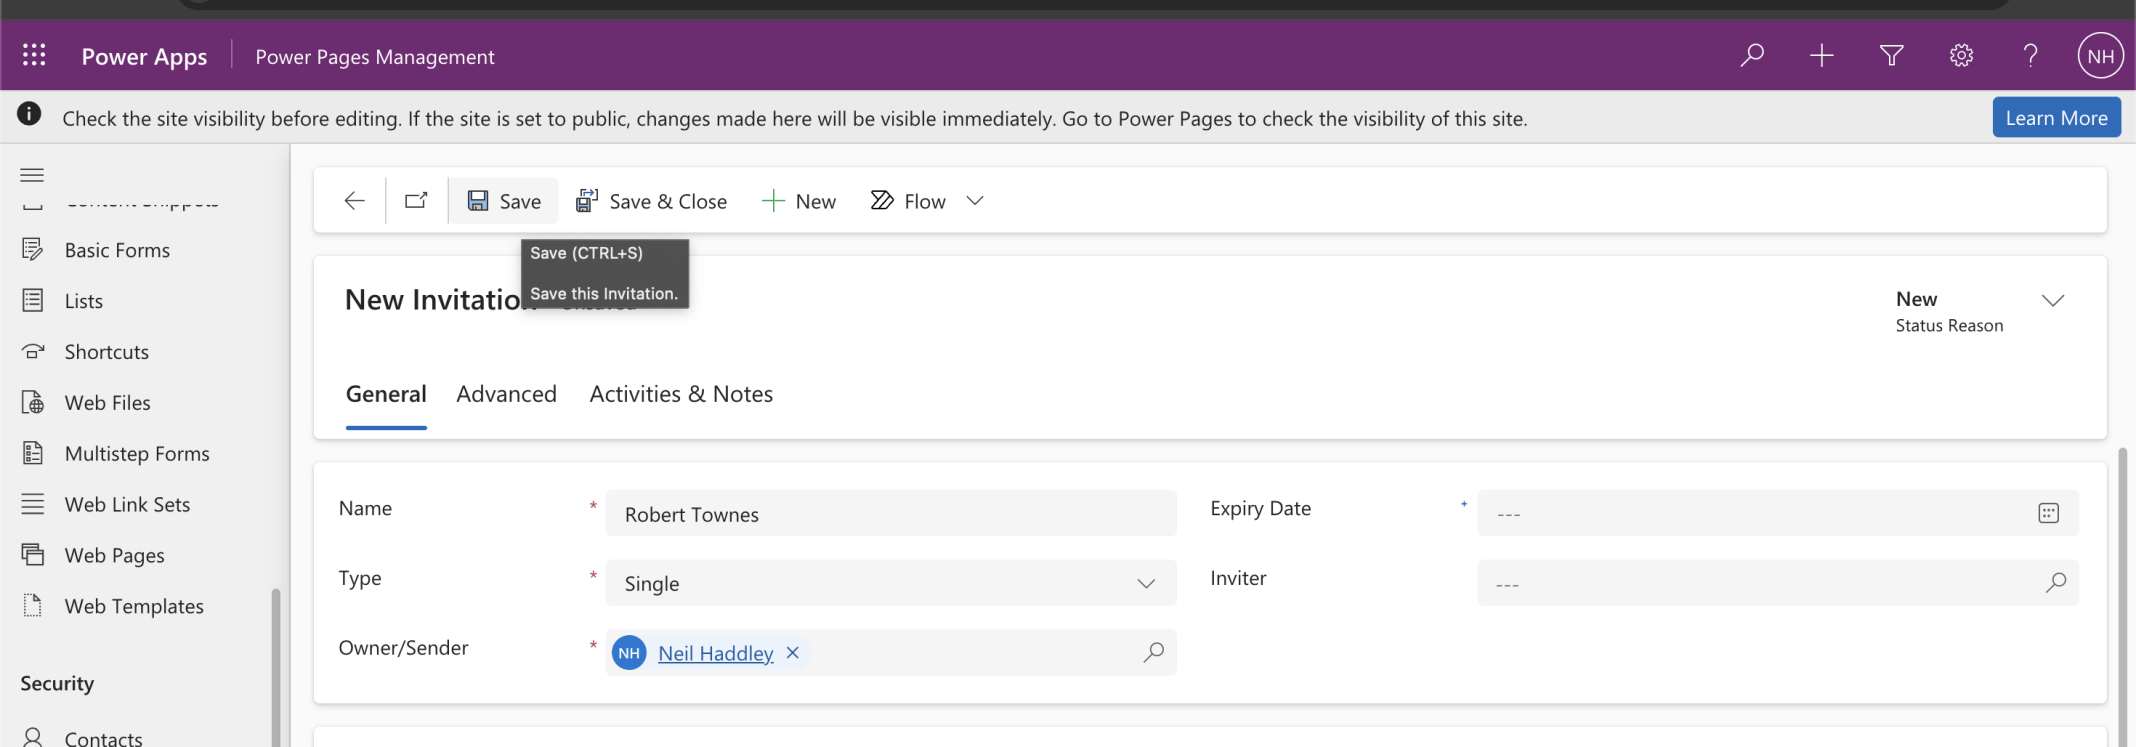
I clicked Save
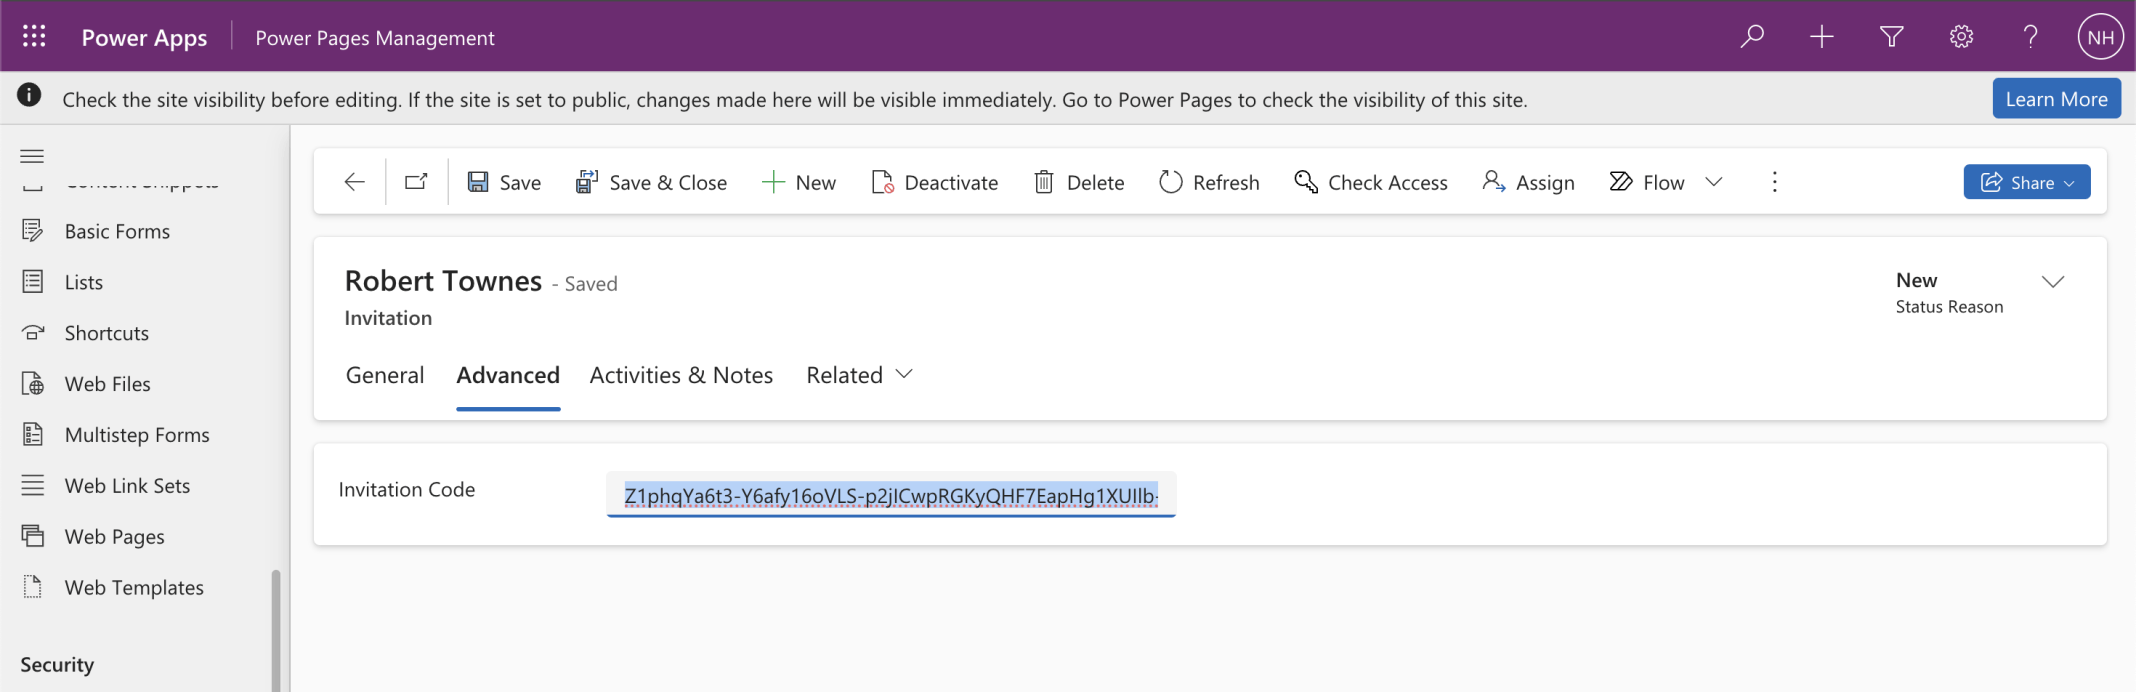
I copied the Invitation Code
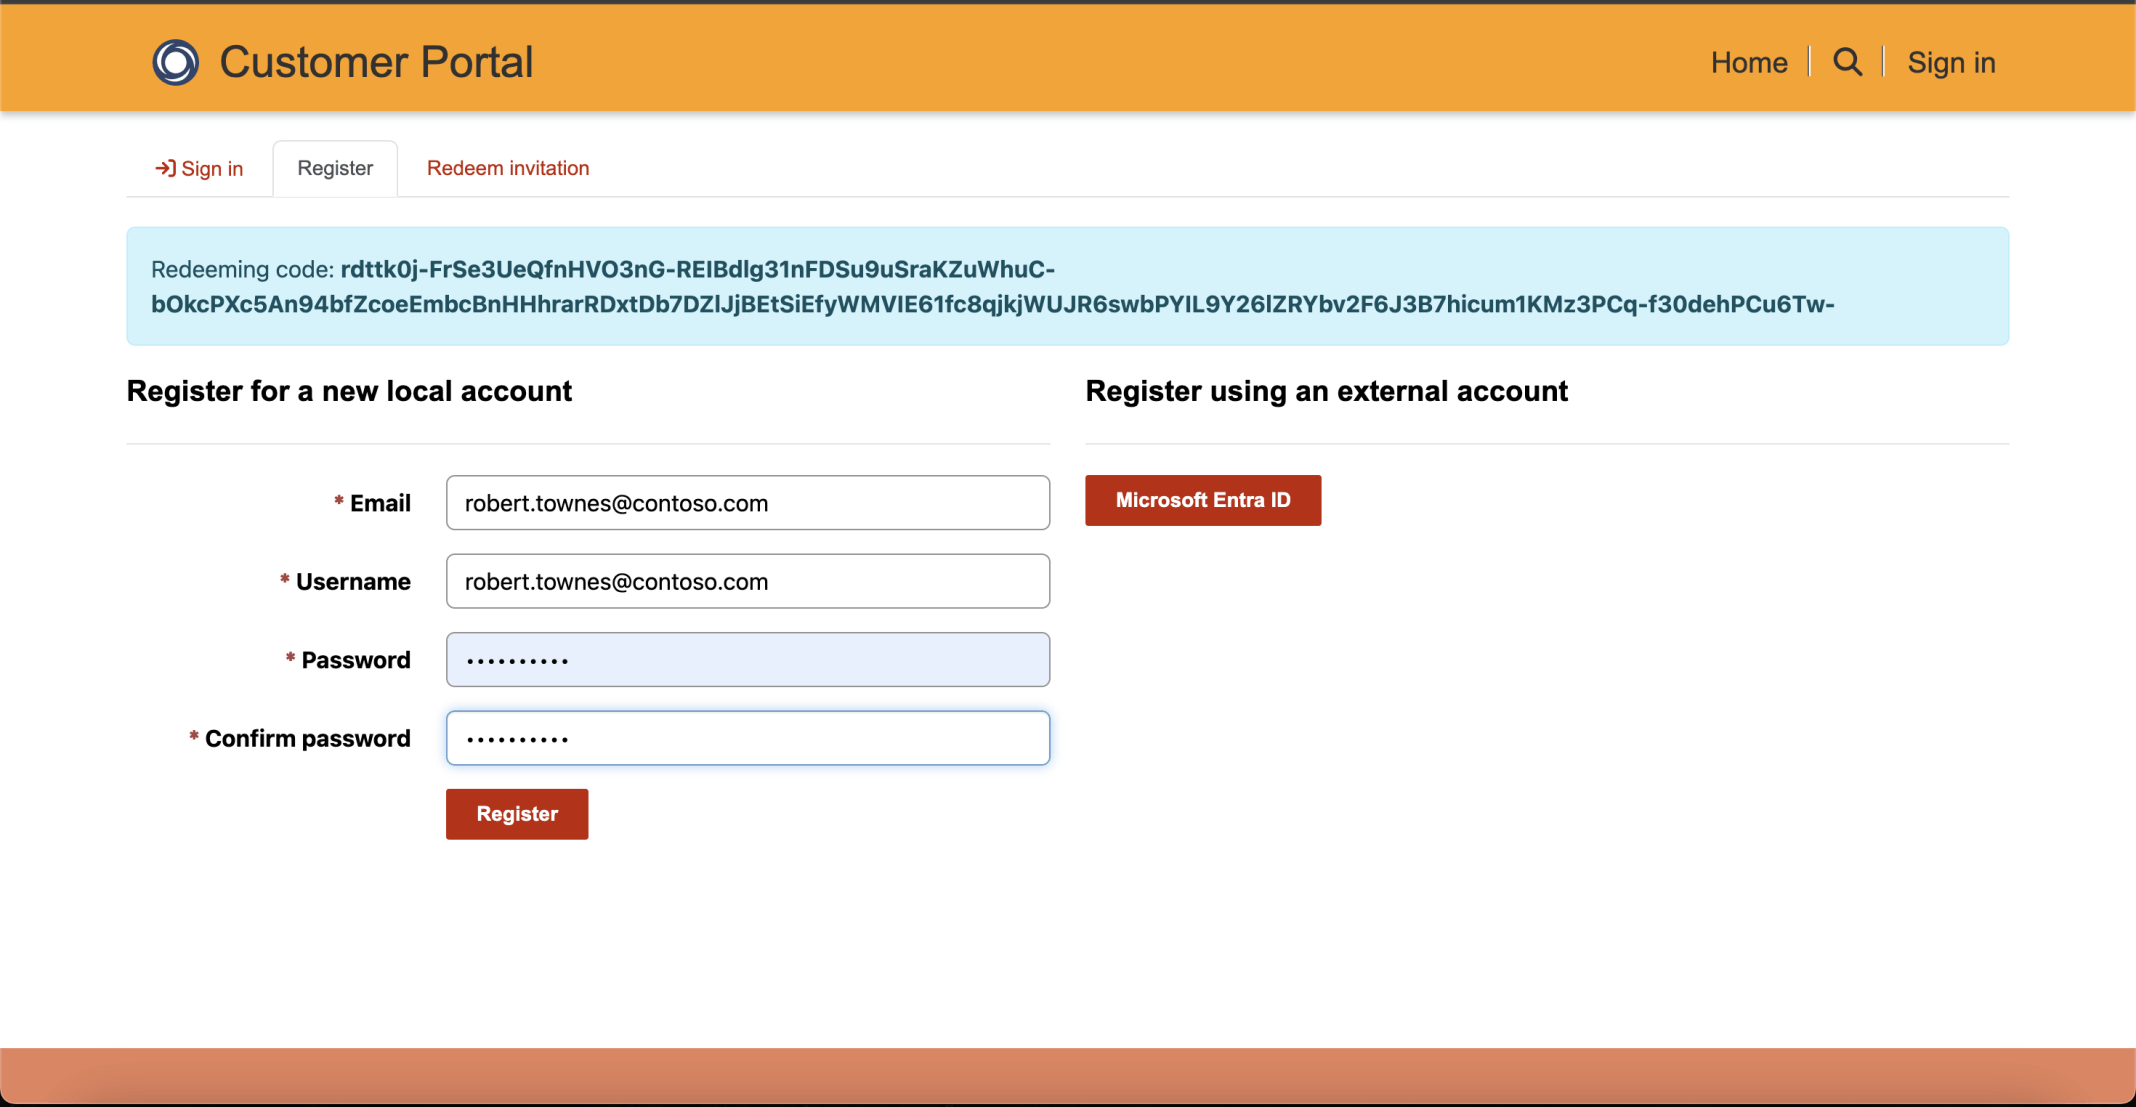
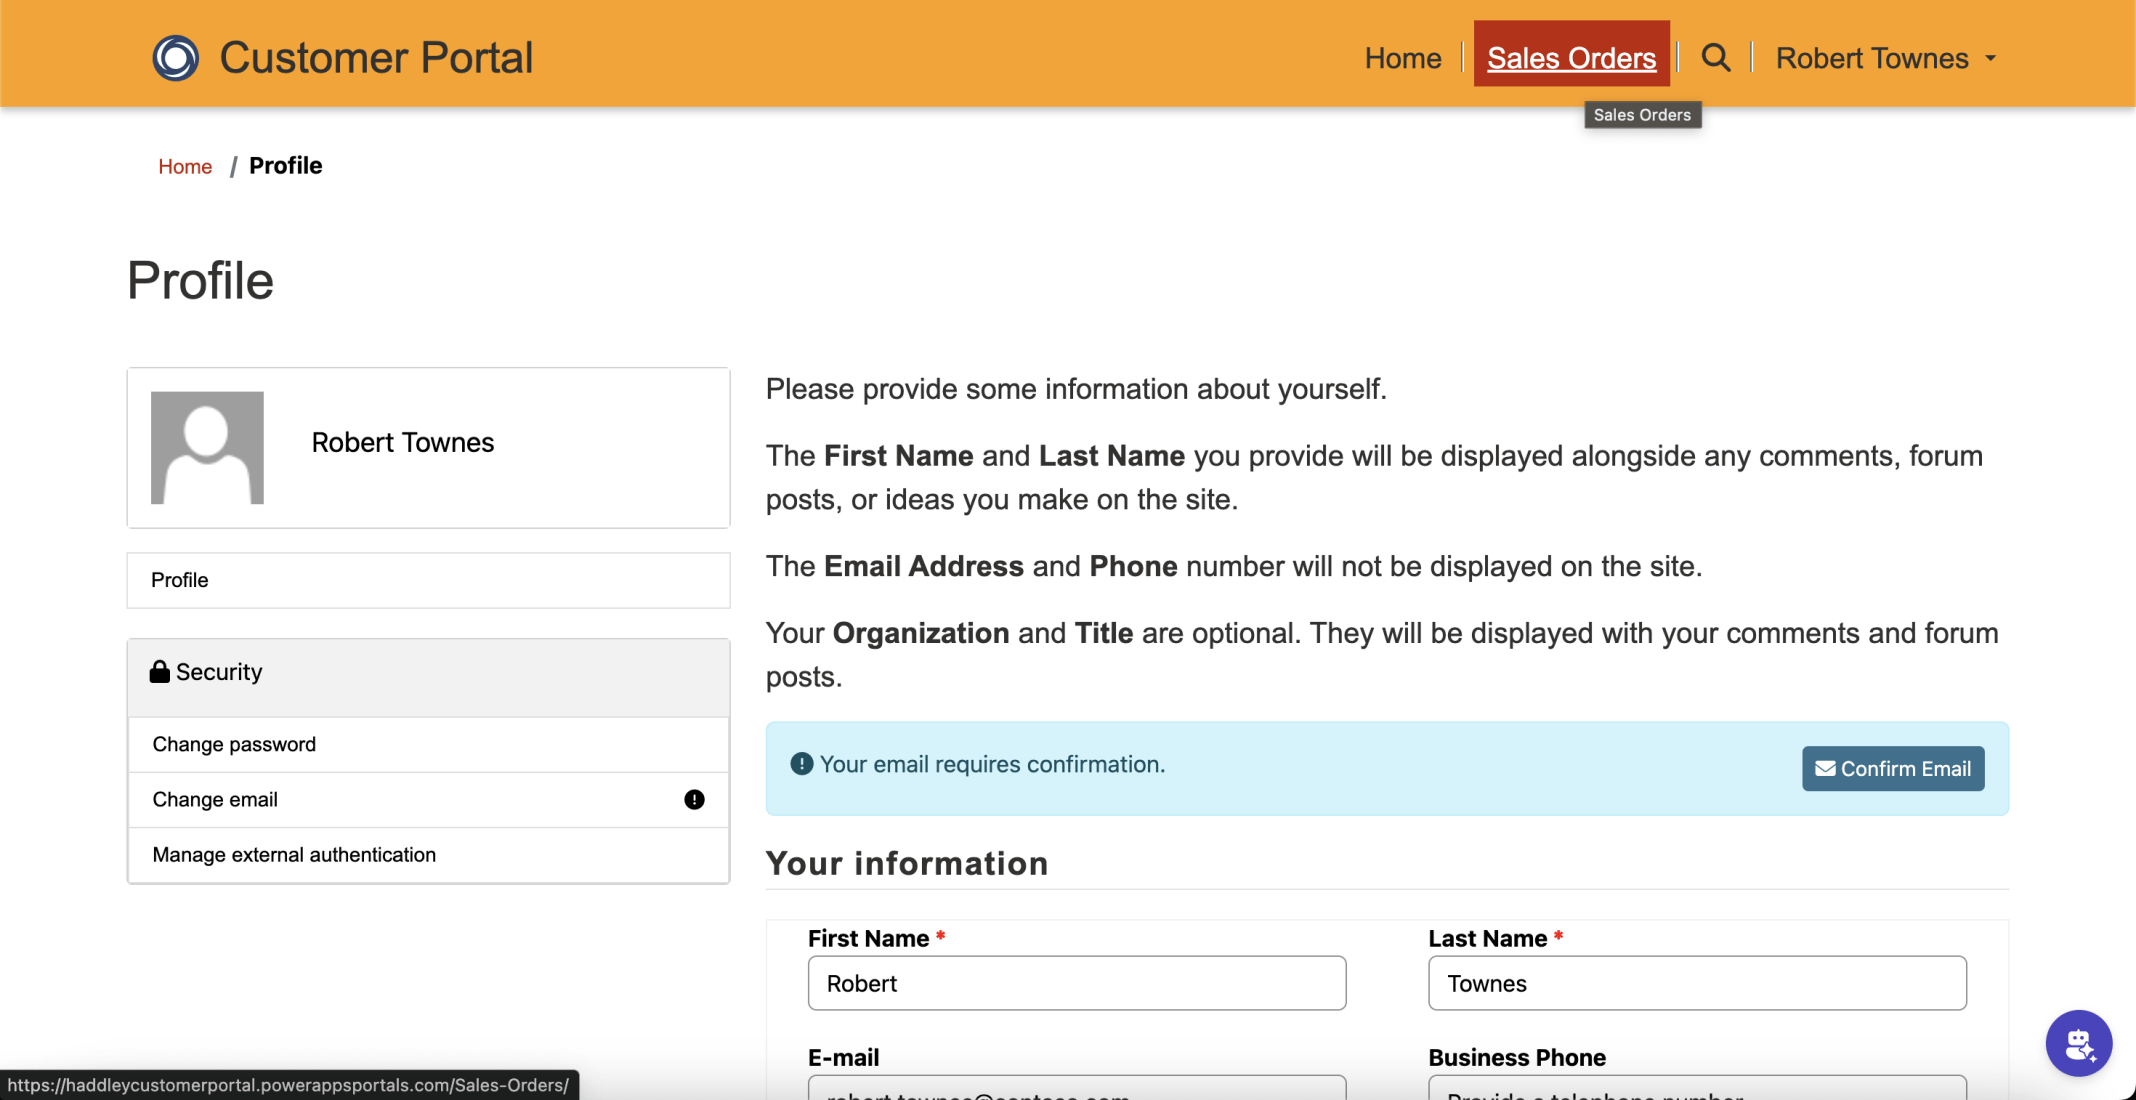
I used the invitation code to register robert
I clicked the Sales Orders menu item
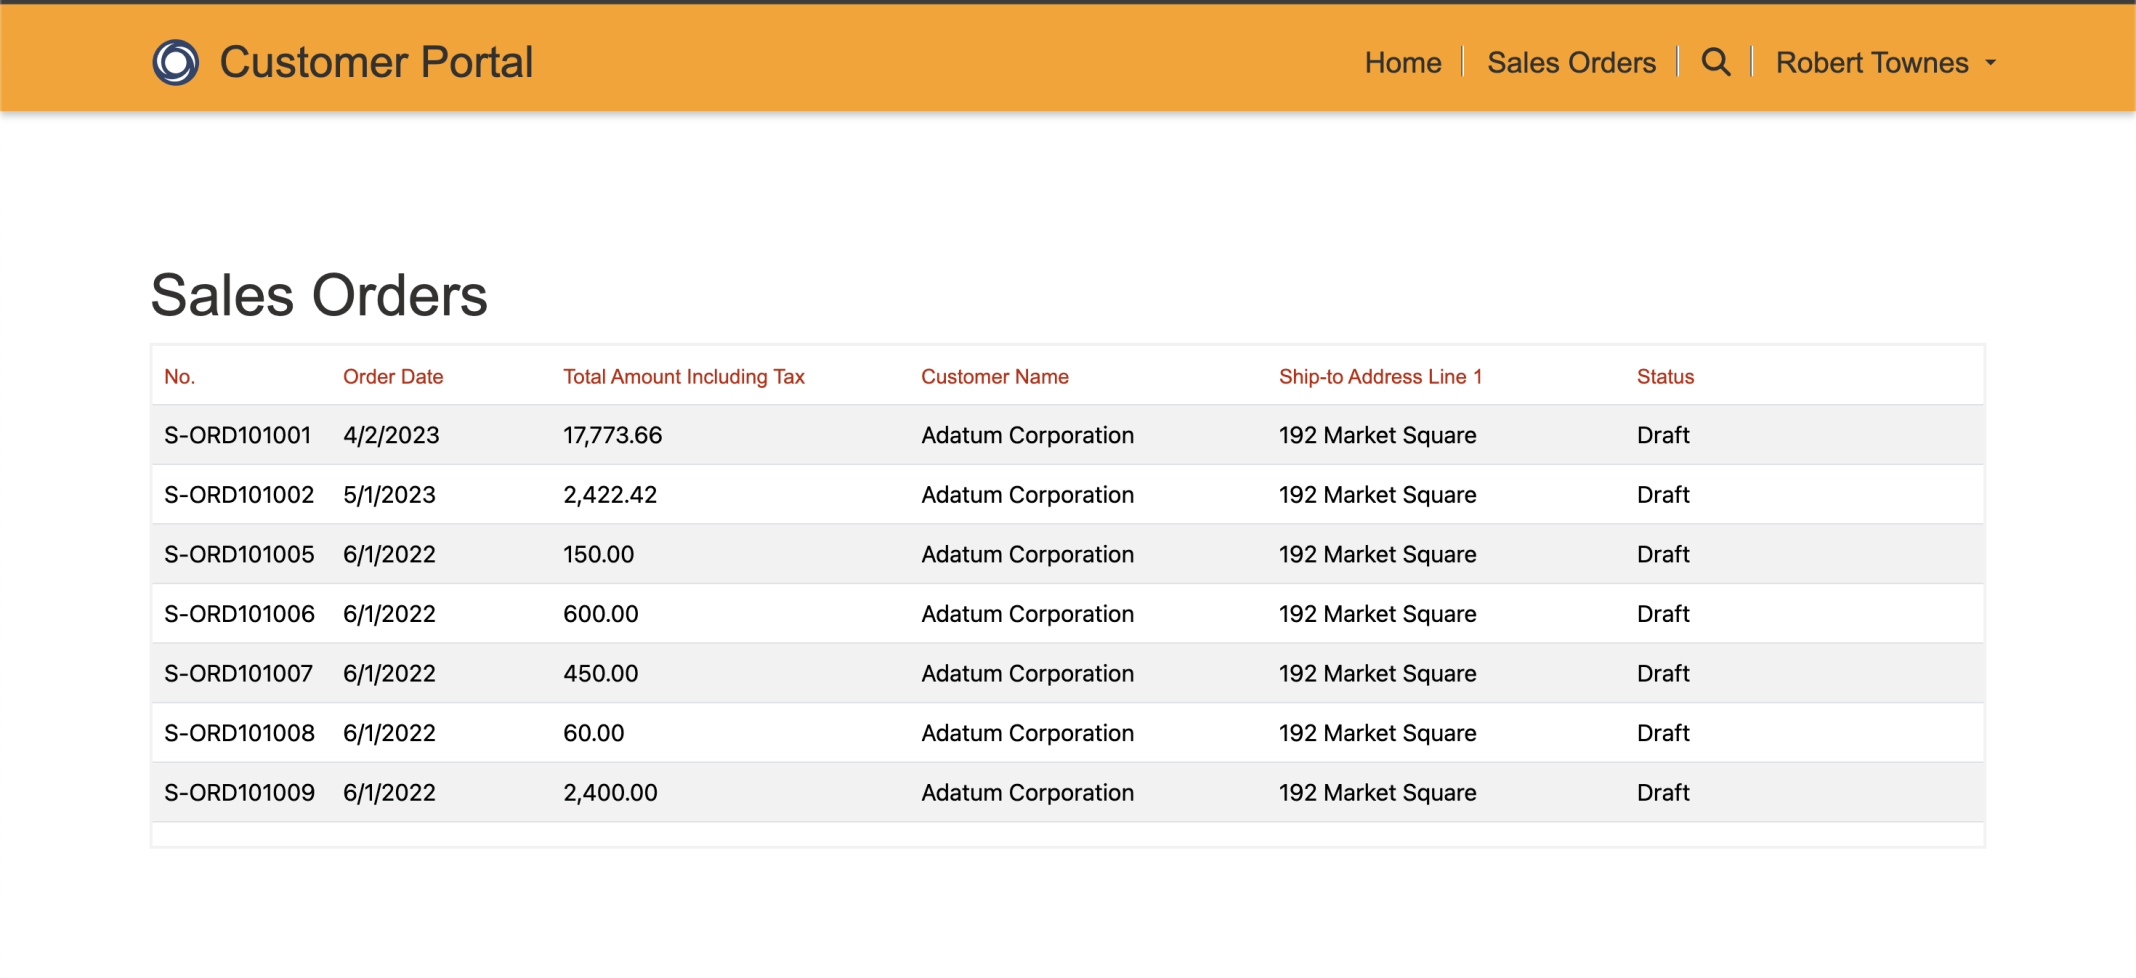
I reviewed the Adatum Corporation Sales Orders
I created a child permission
I selected the Authenticated Users role

I created a Sales Order page
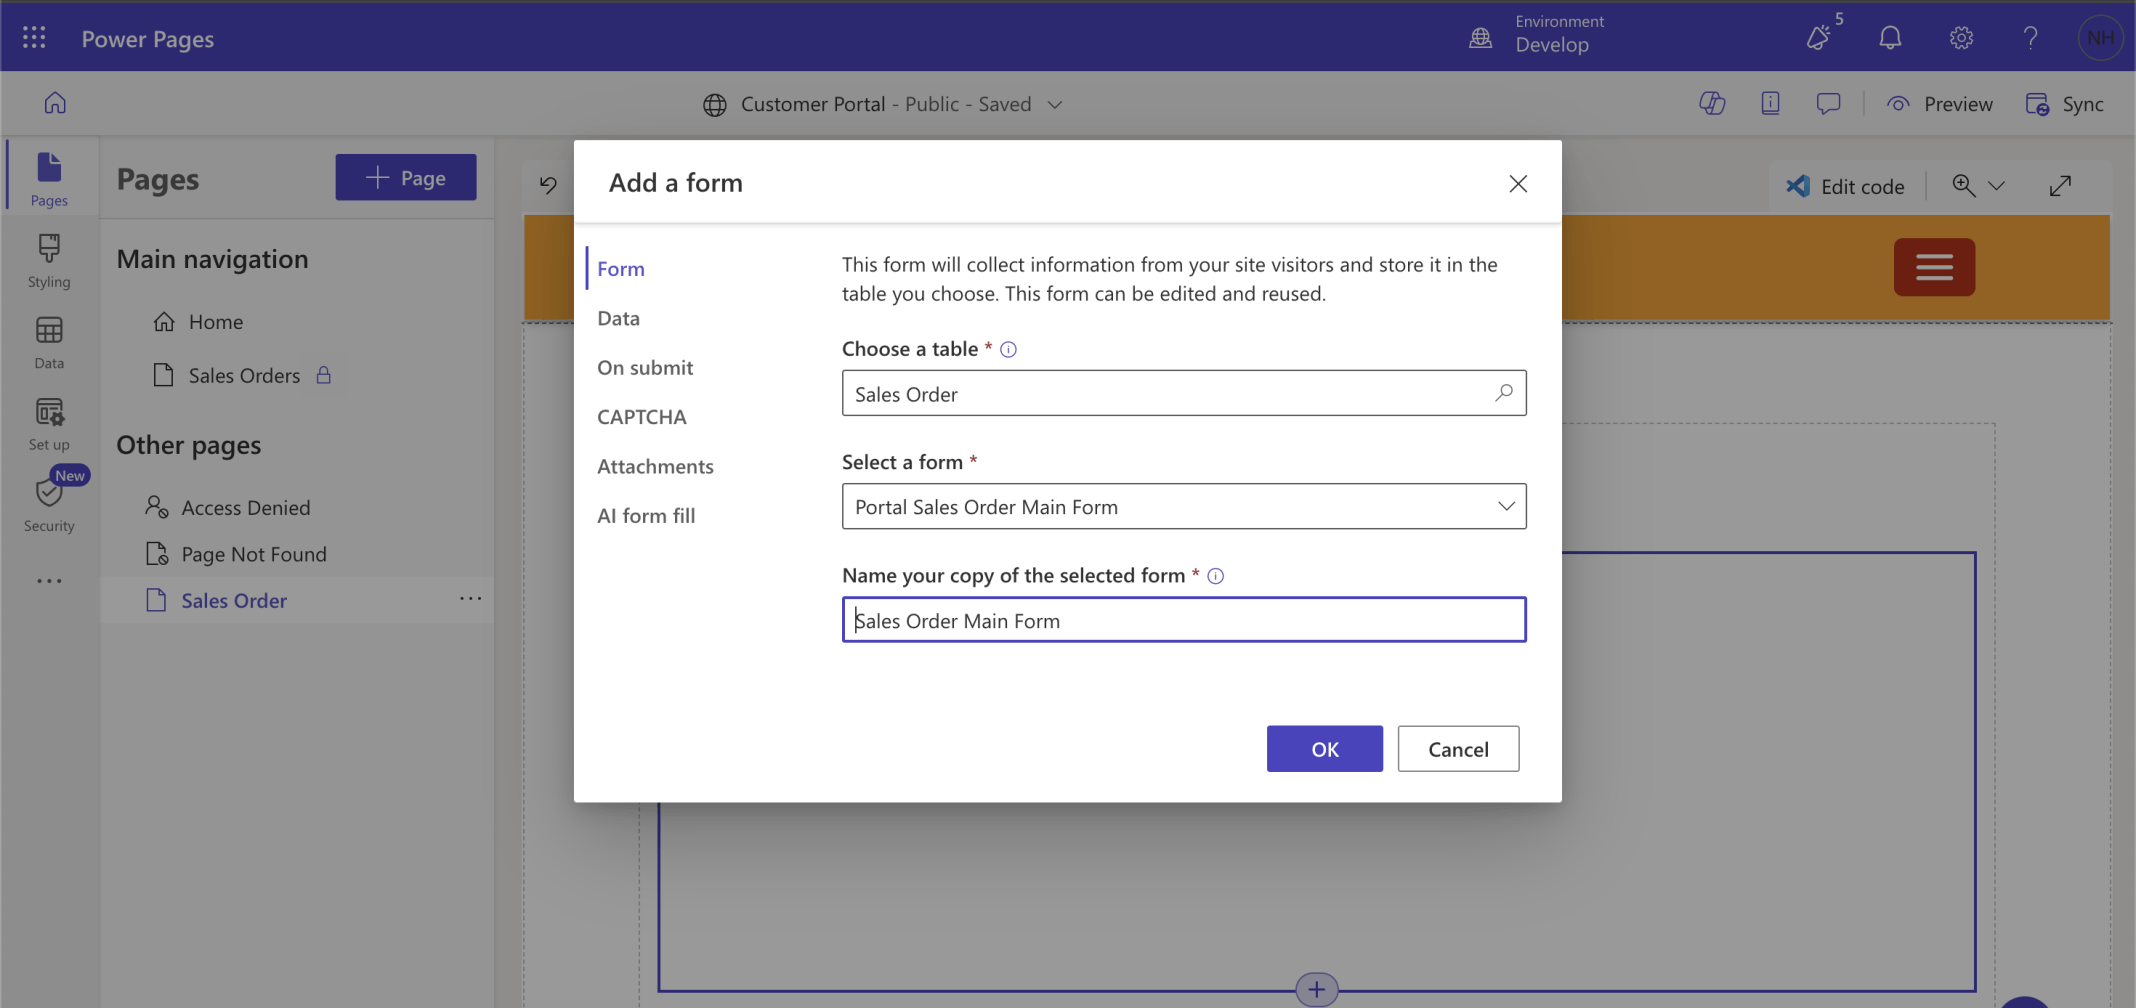
I added a text component and a form to the web site. I selected the Portal Sales Order Main Form
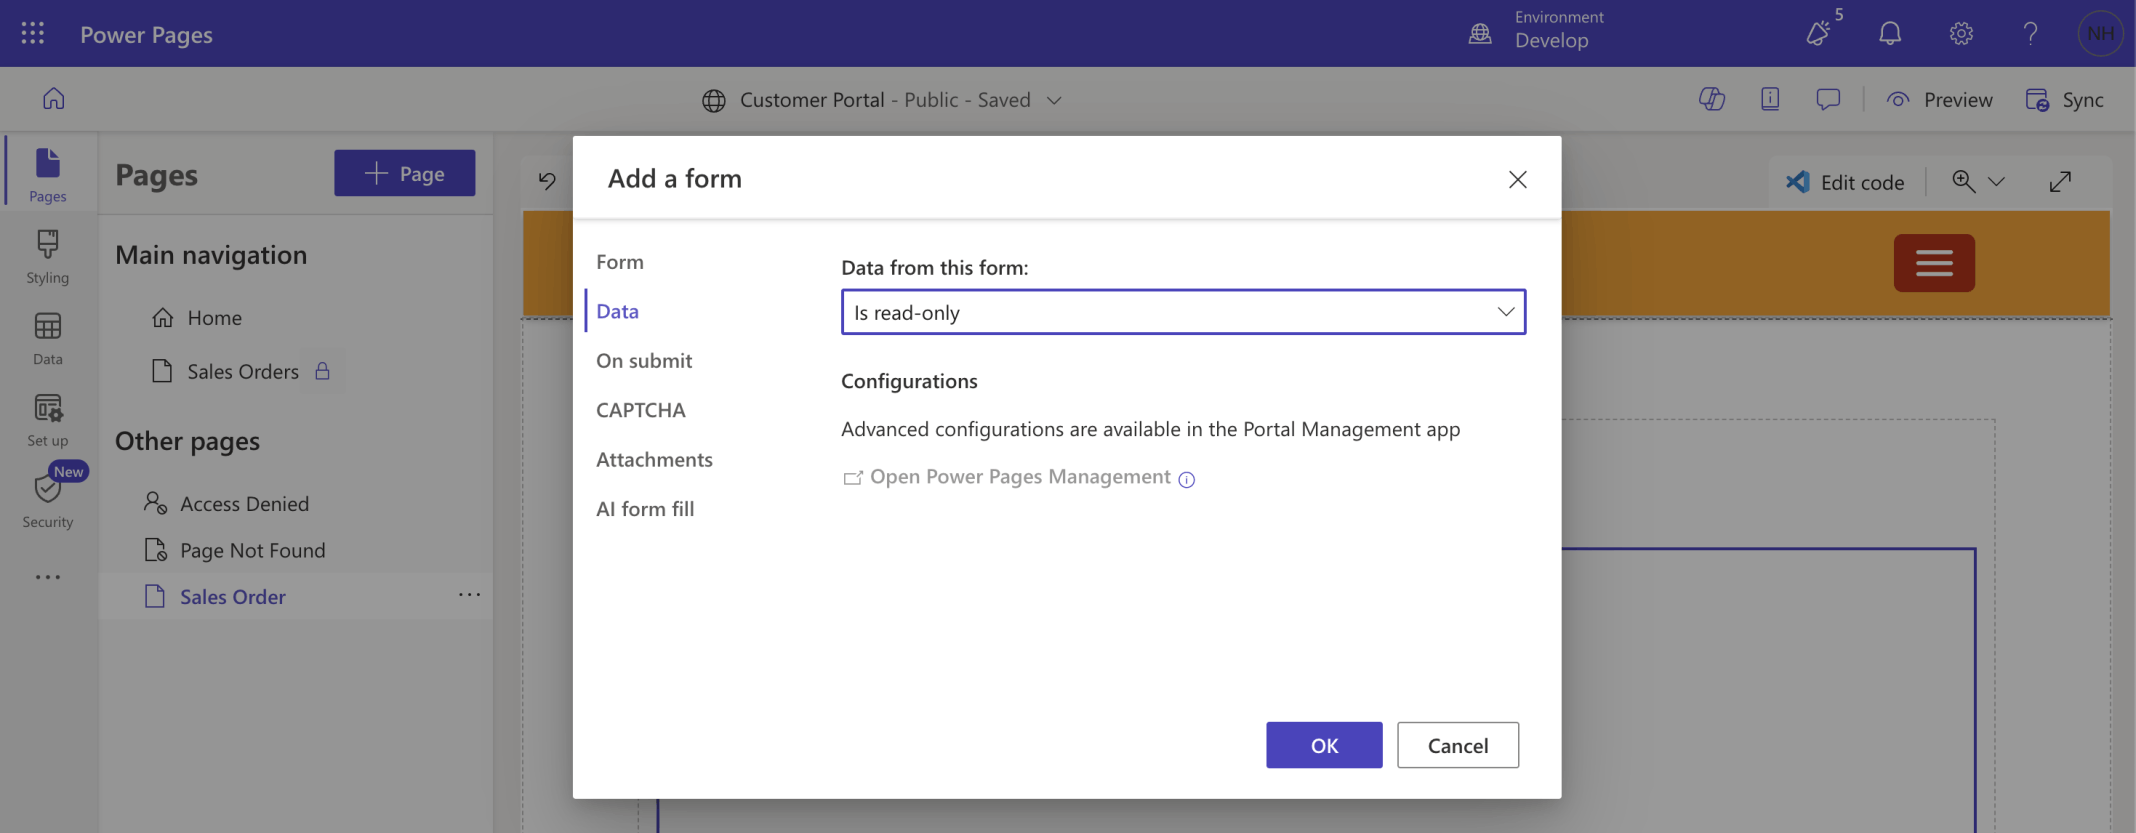
The form is read-only
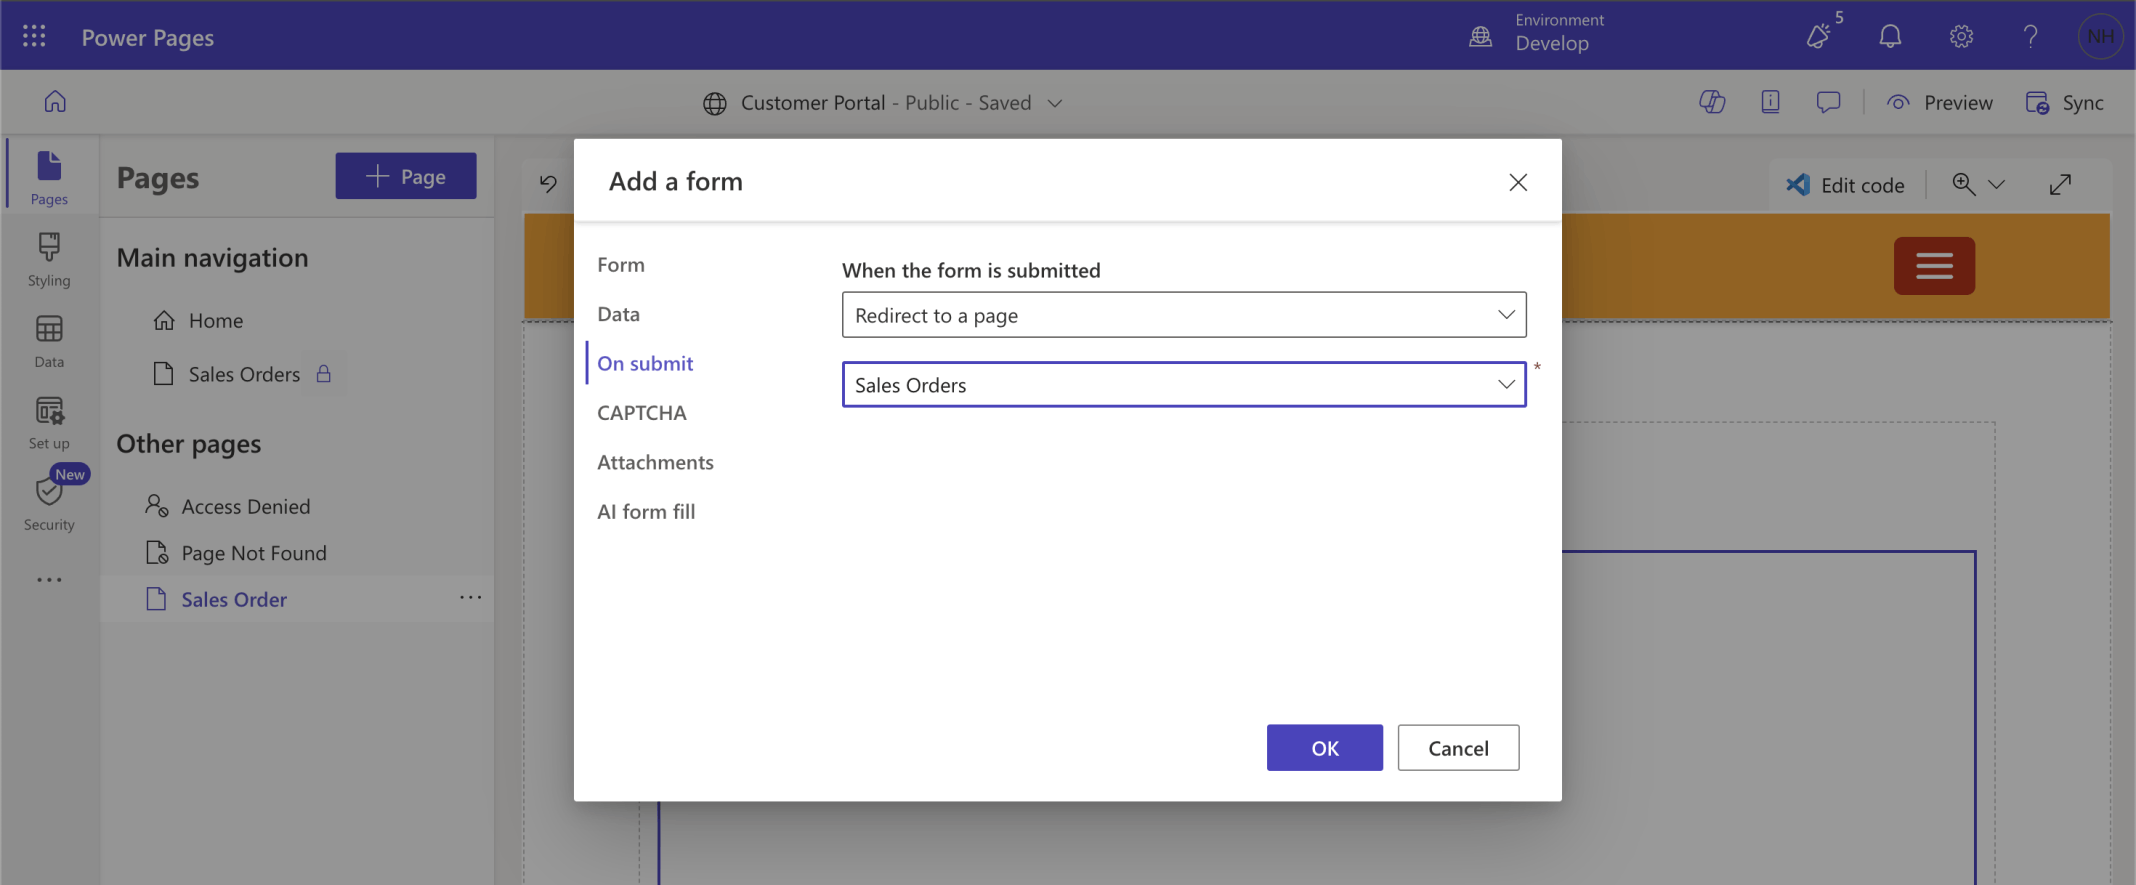
On submit, the user is redirected back to the Sales Orders list page
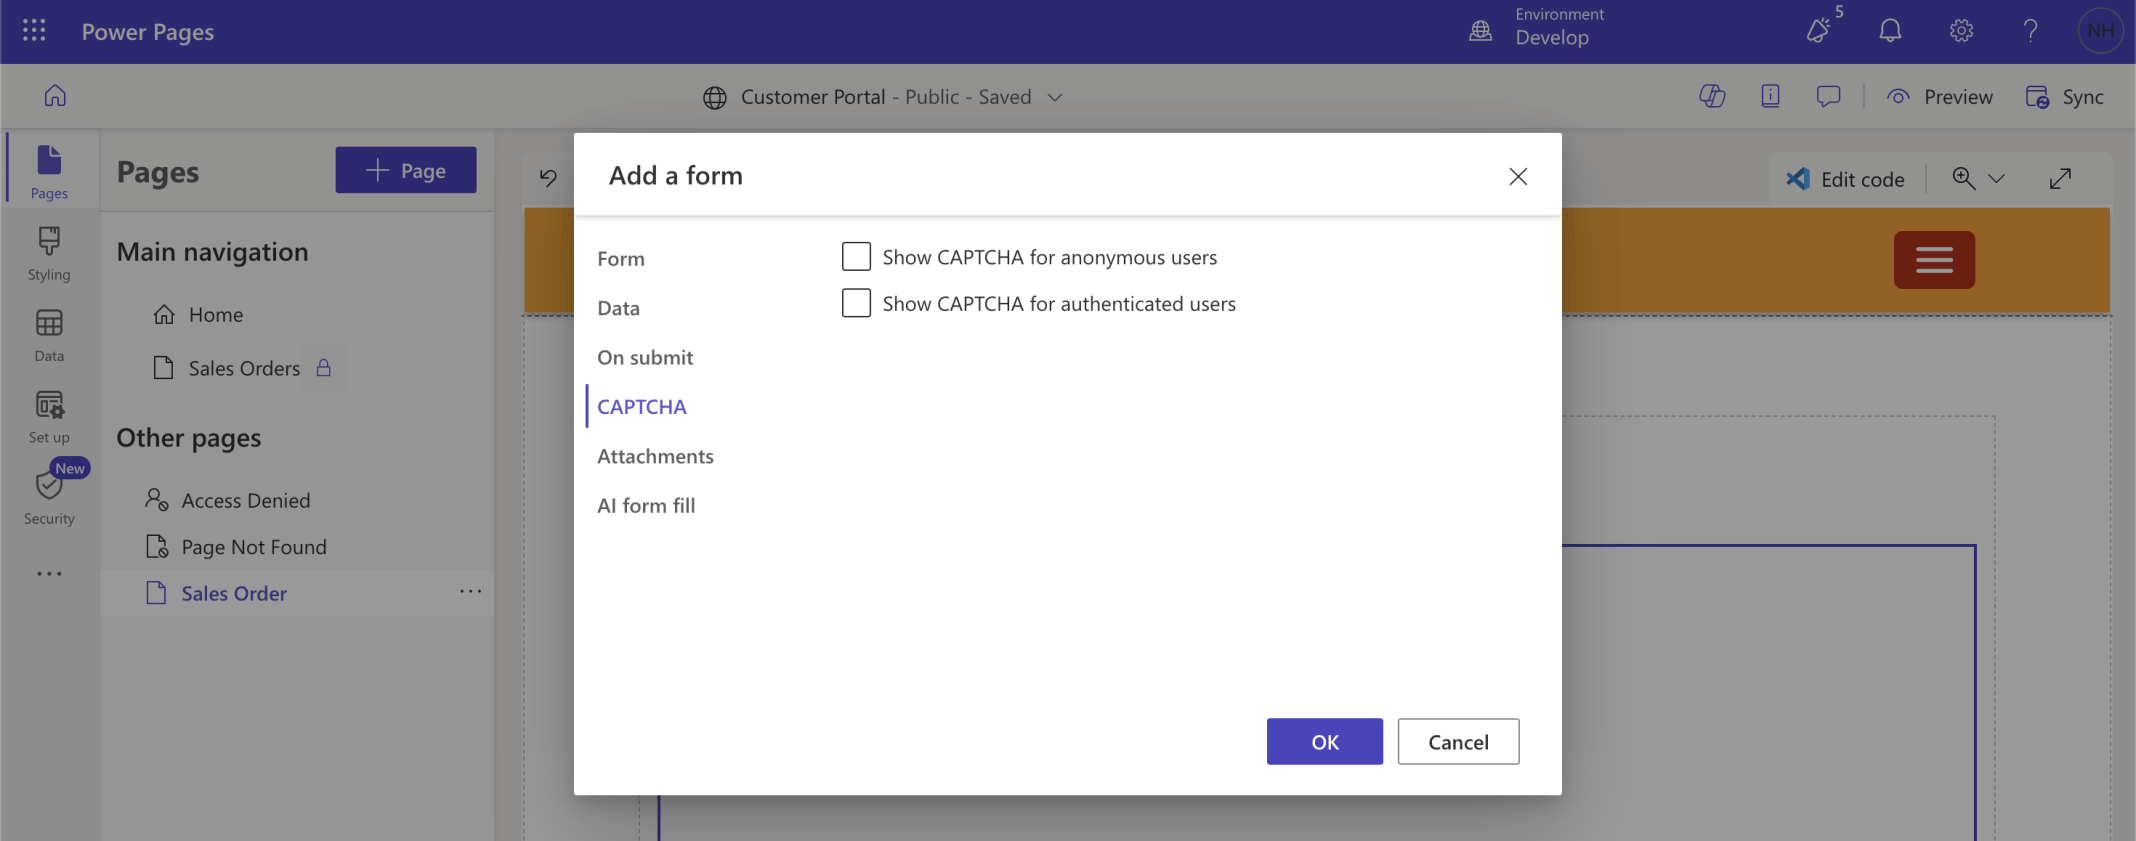
I turned off the CAPTCHA

I turned off AI form fill
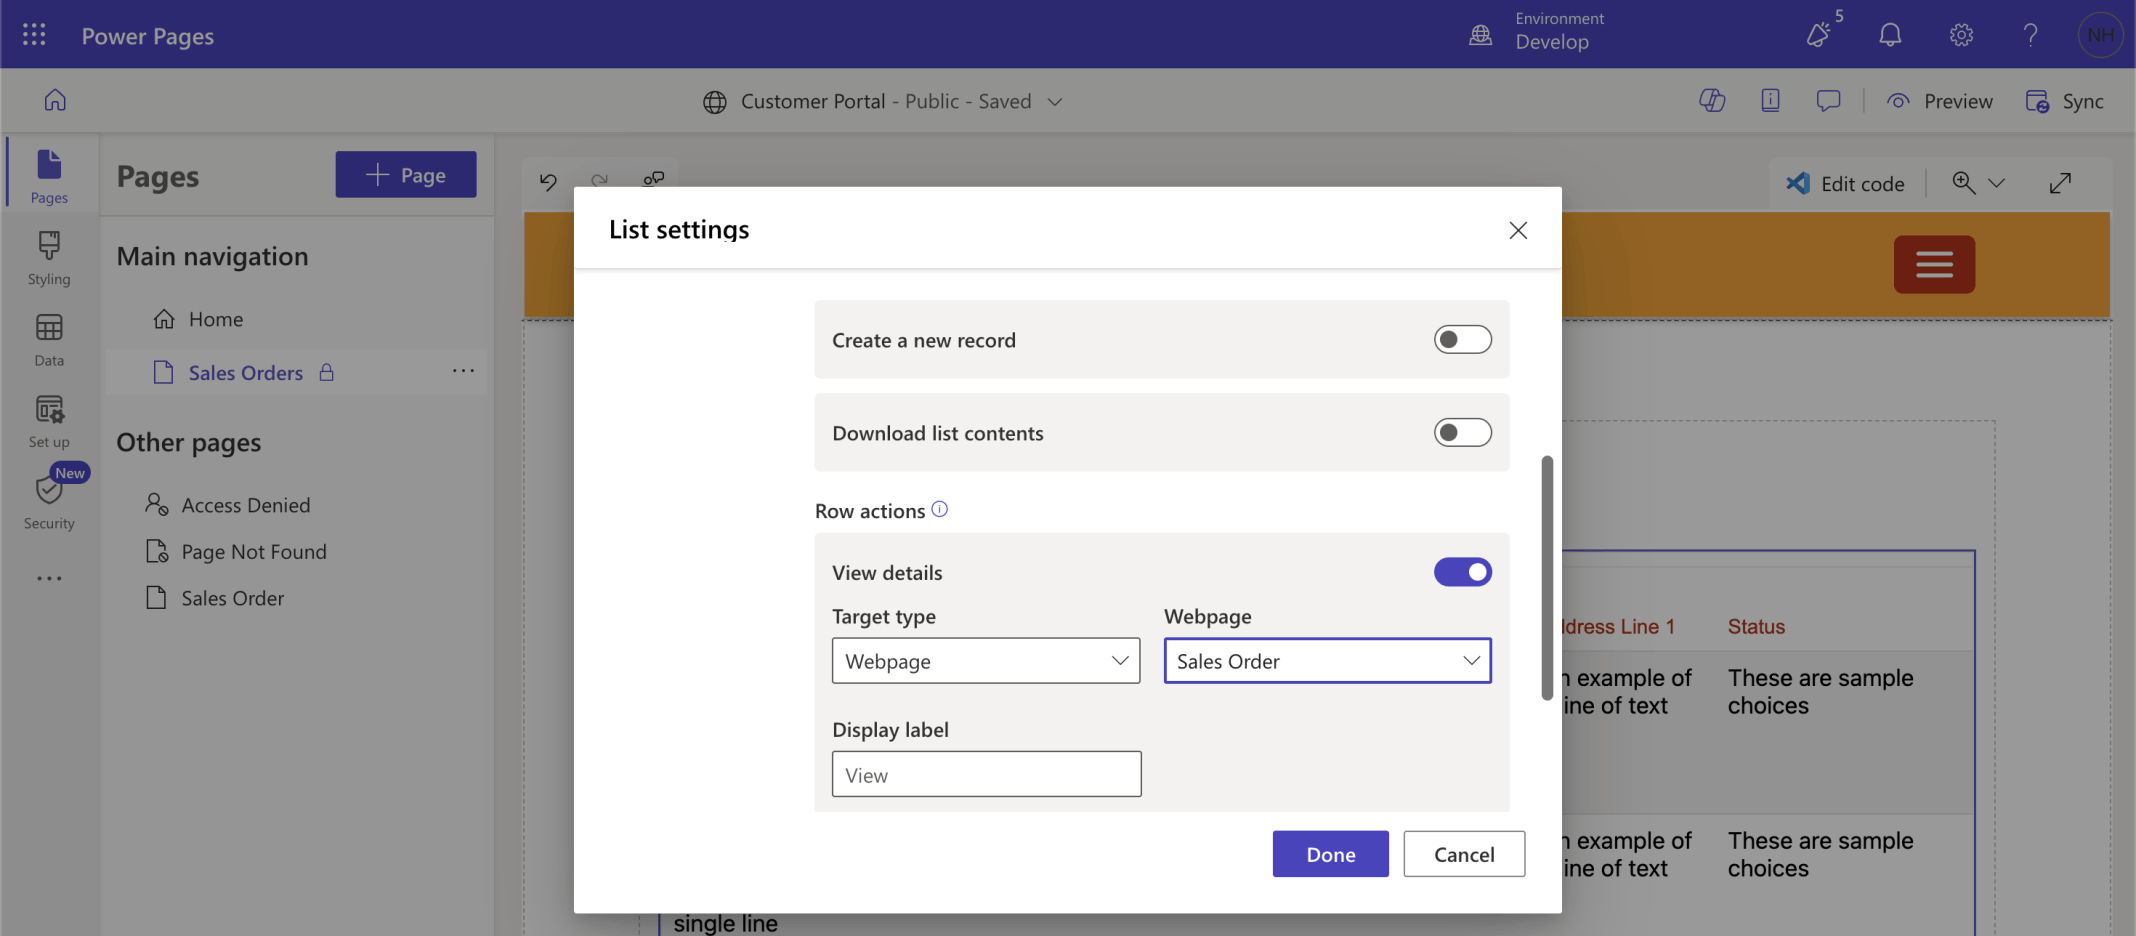
I updated the List. I added a View details action that will navigate the user to the Sales Order page
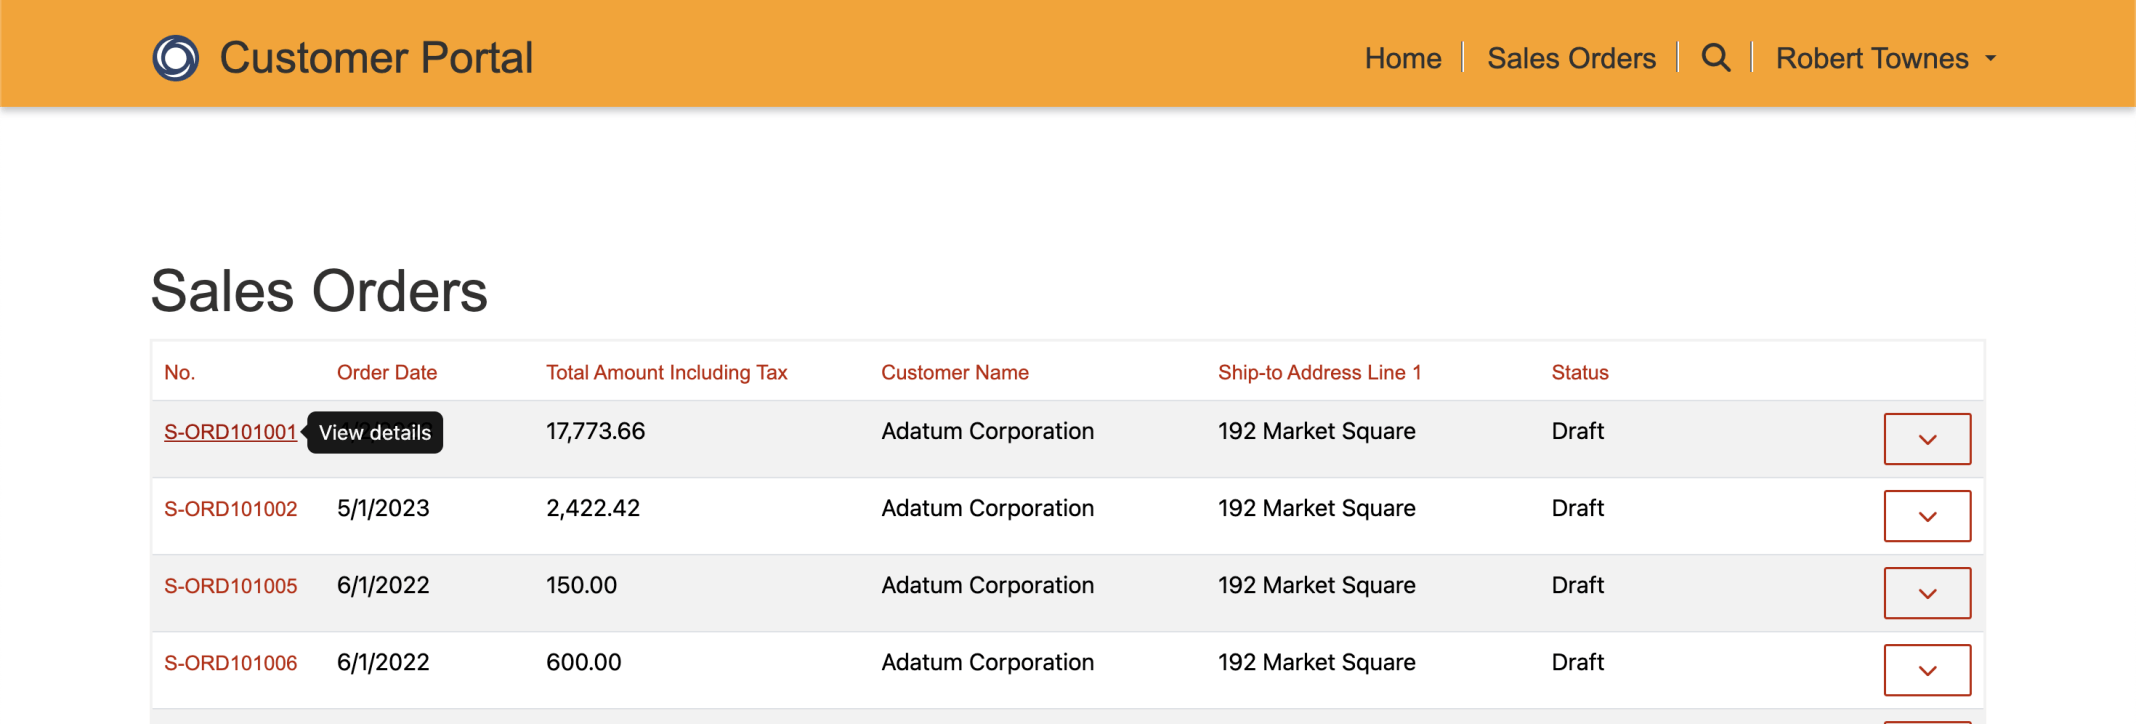
I clicked on the View details link
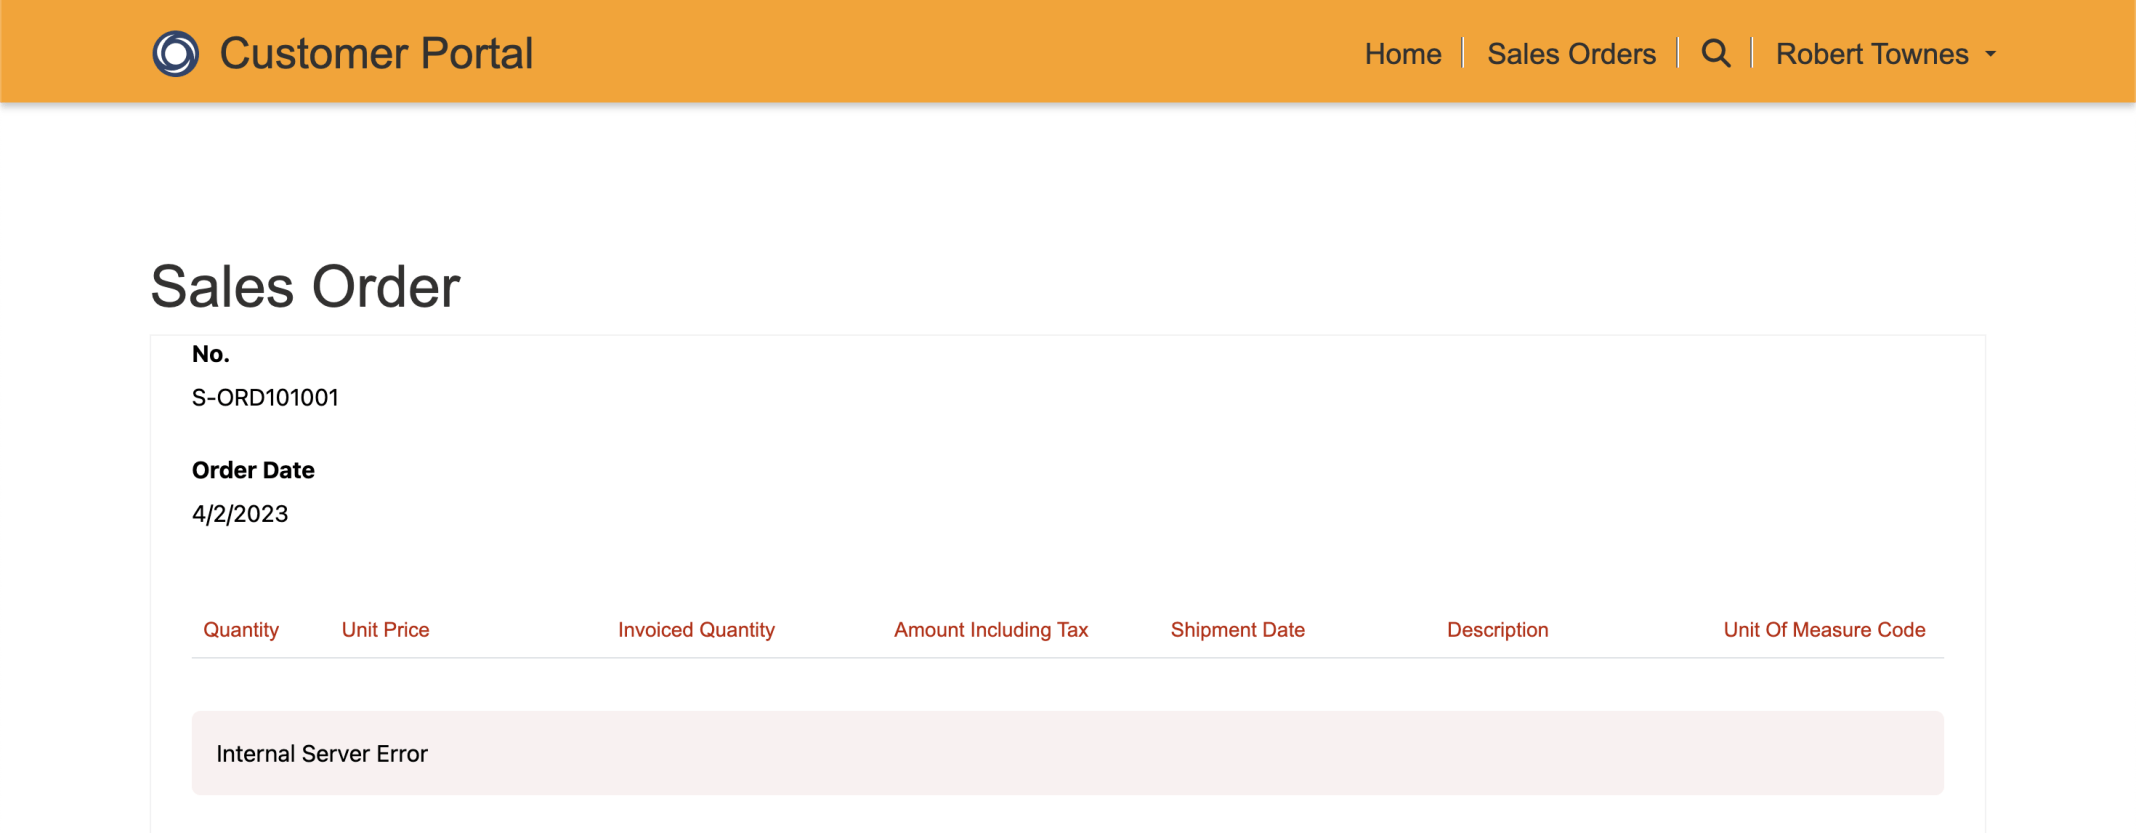
An Internal Server Error was generated
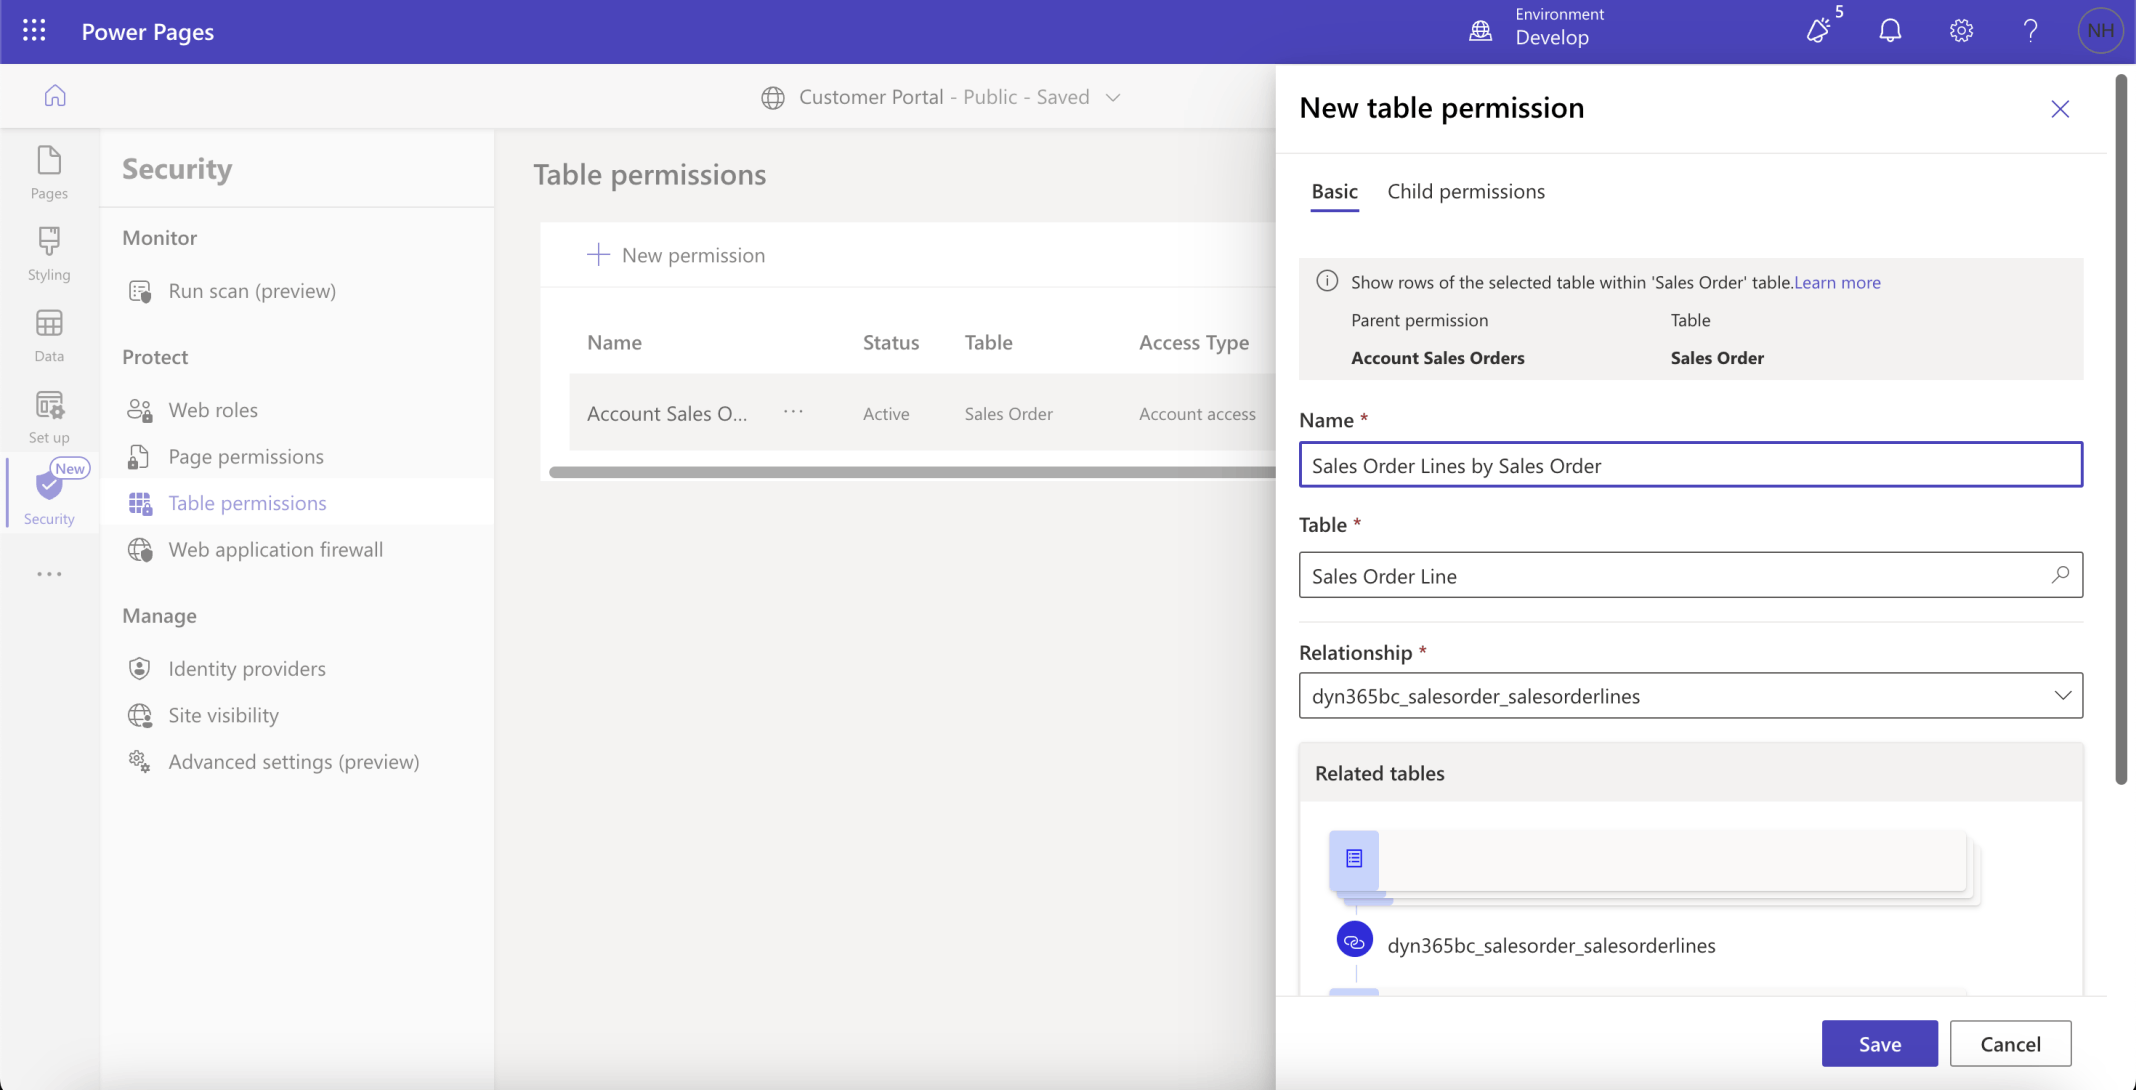
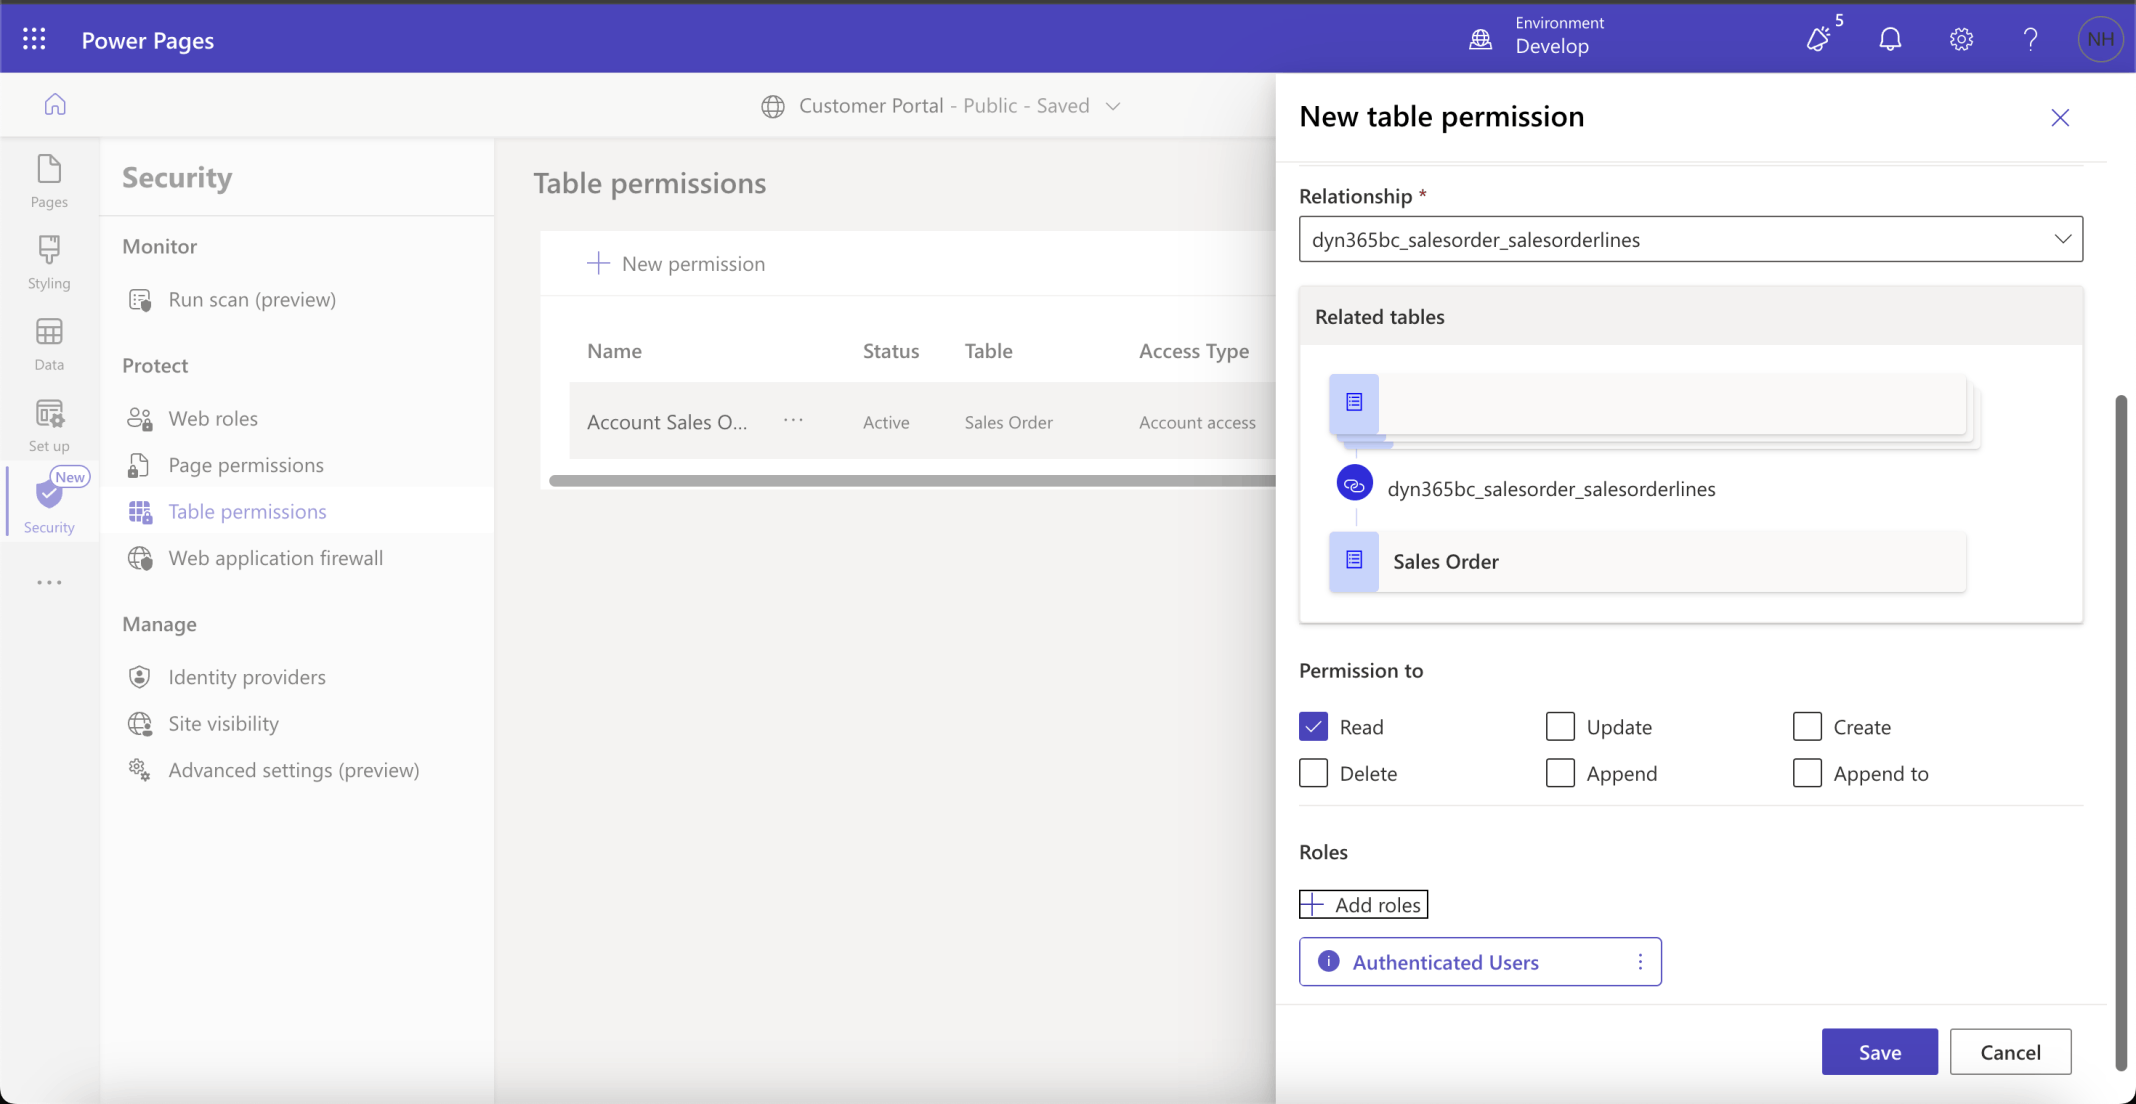
I added a New table permission
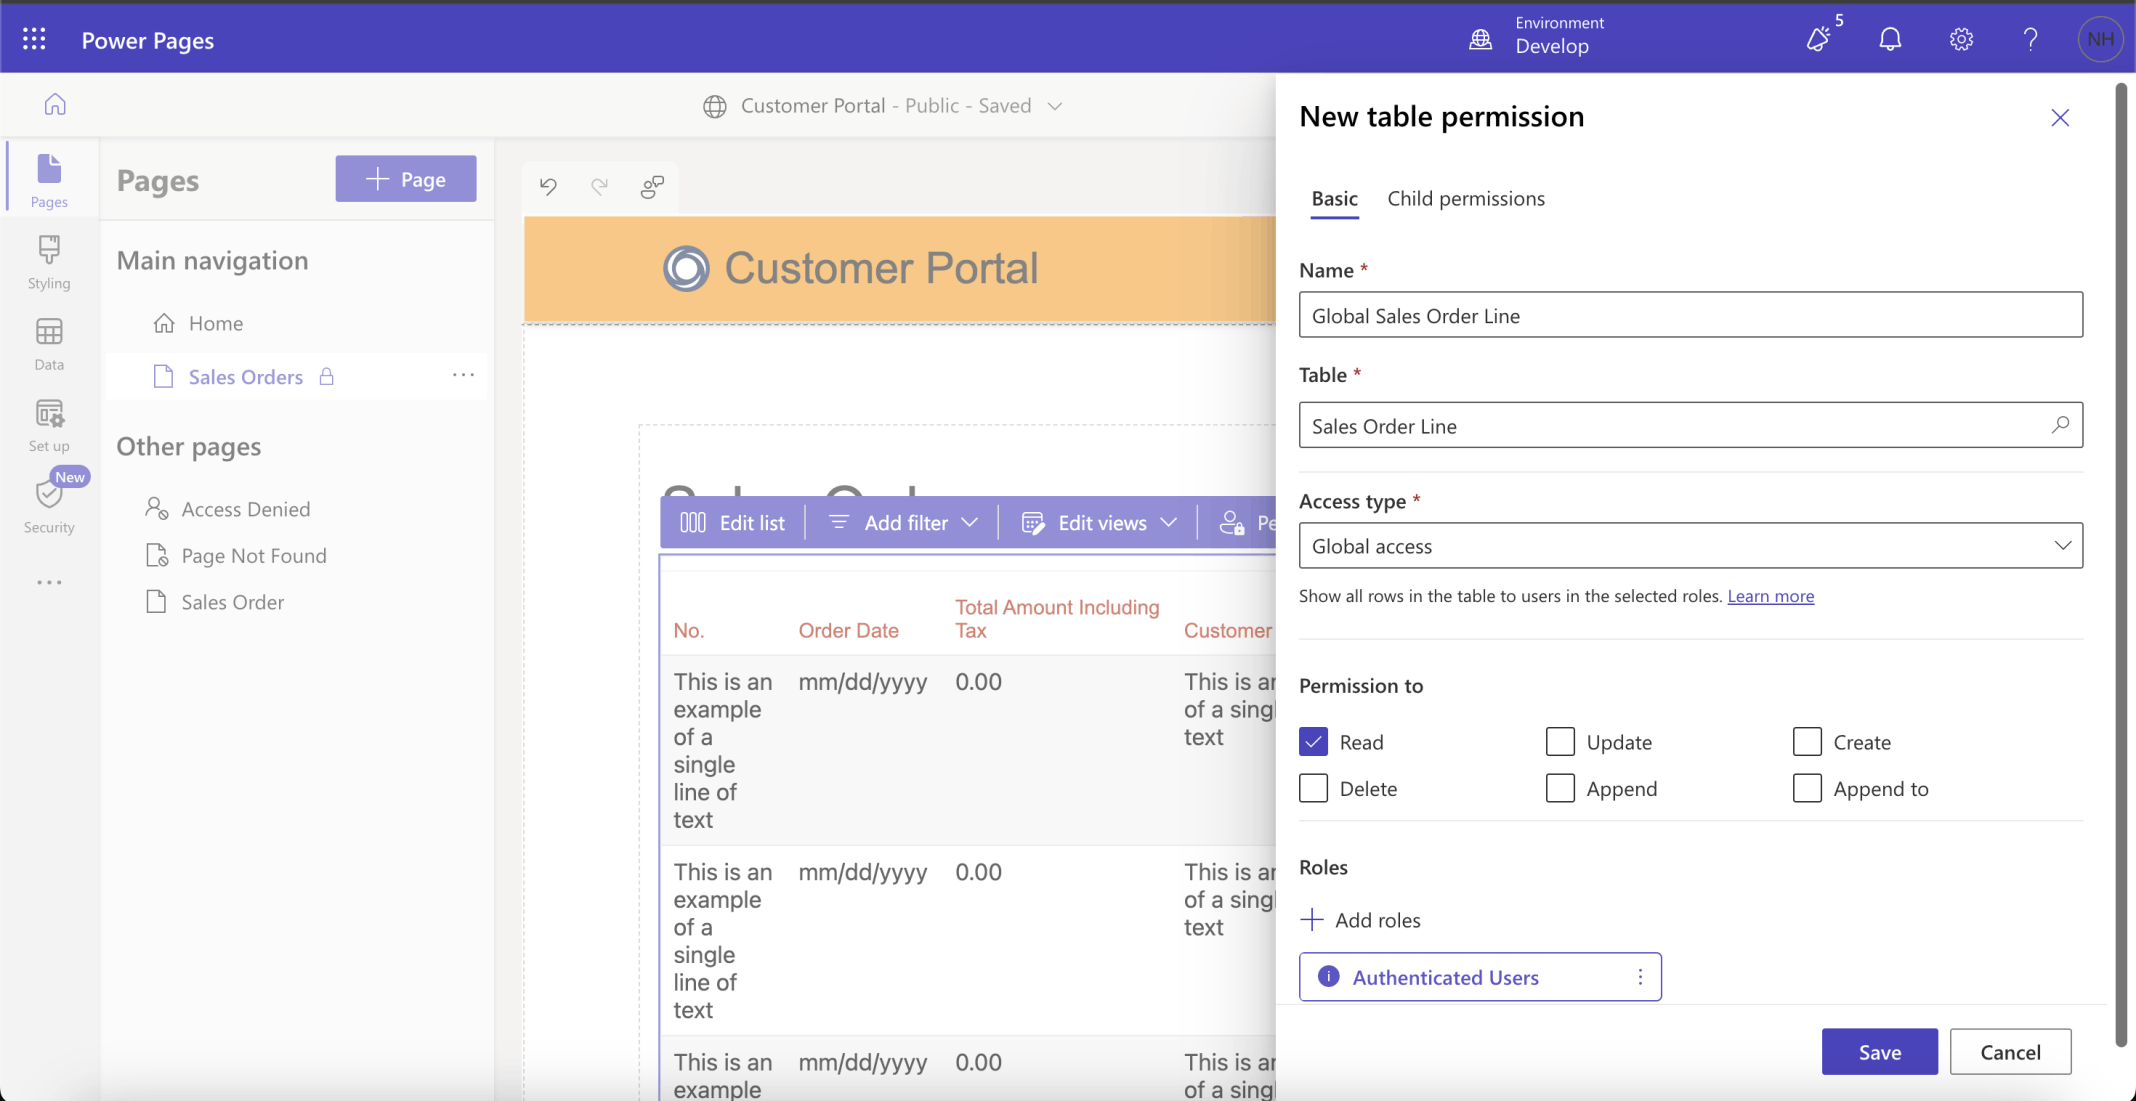
I added a Global permission
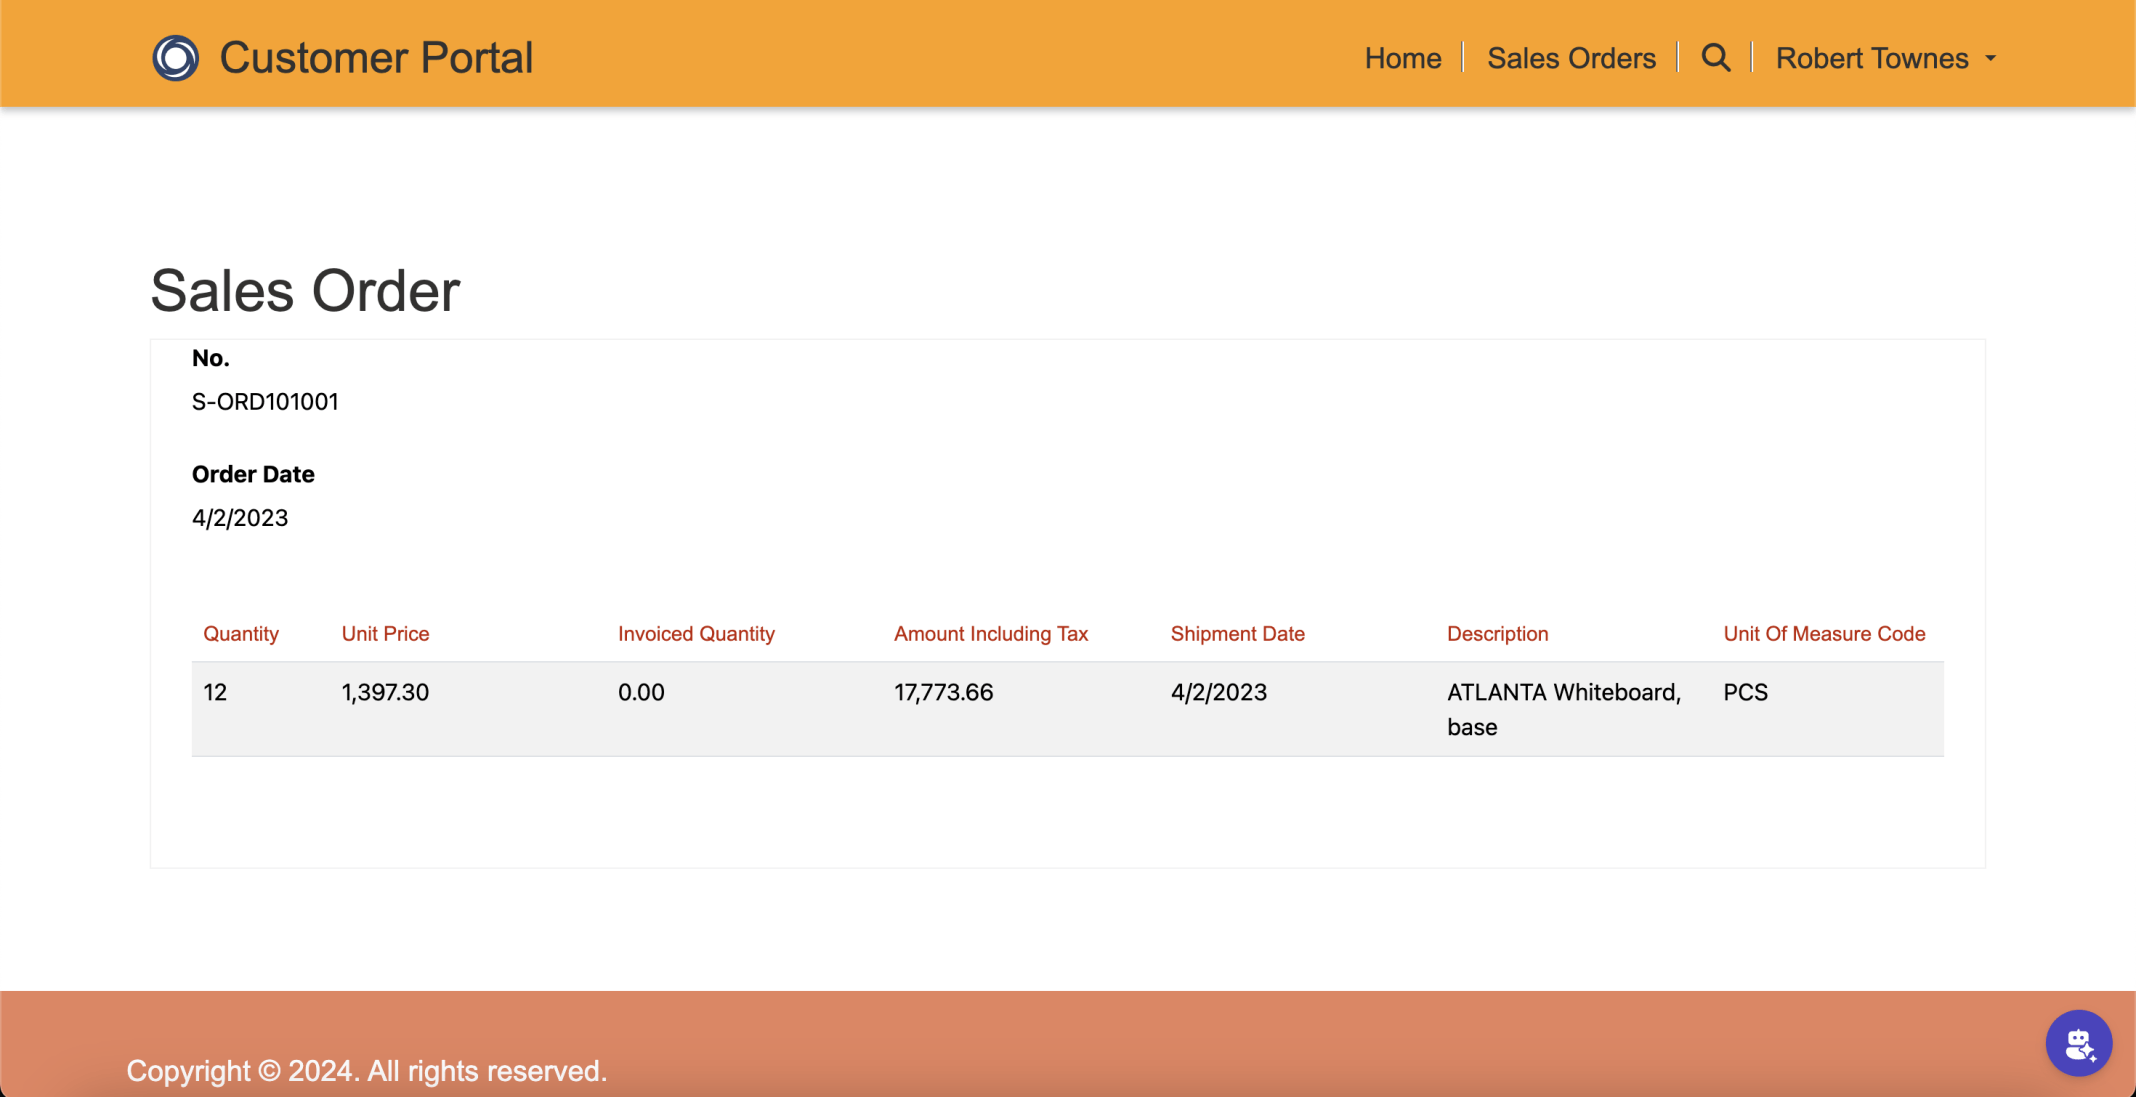
Logged in as Robert I was able to review Sales Order Lines associated with the selected Sales Order
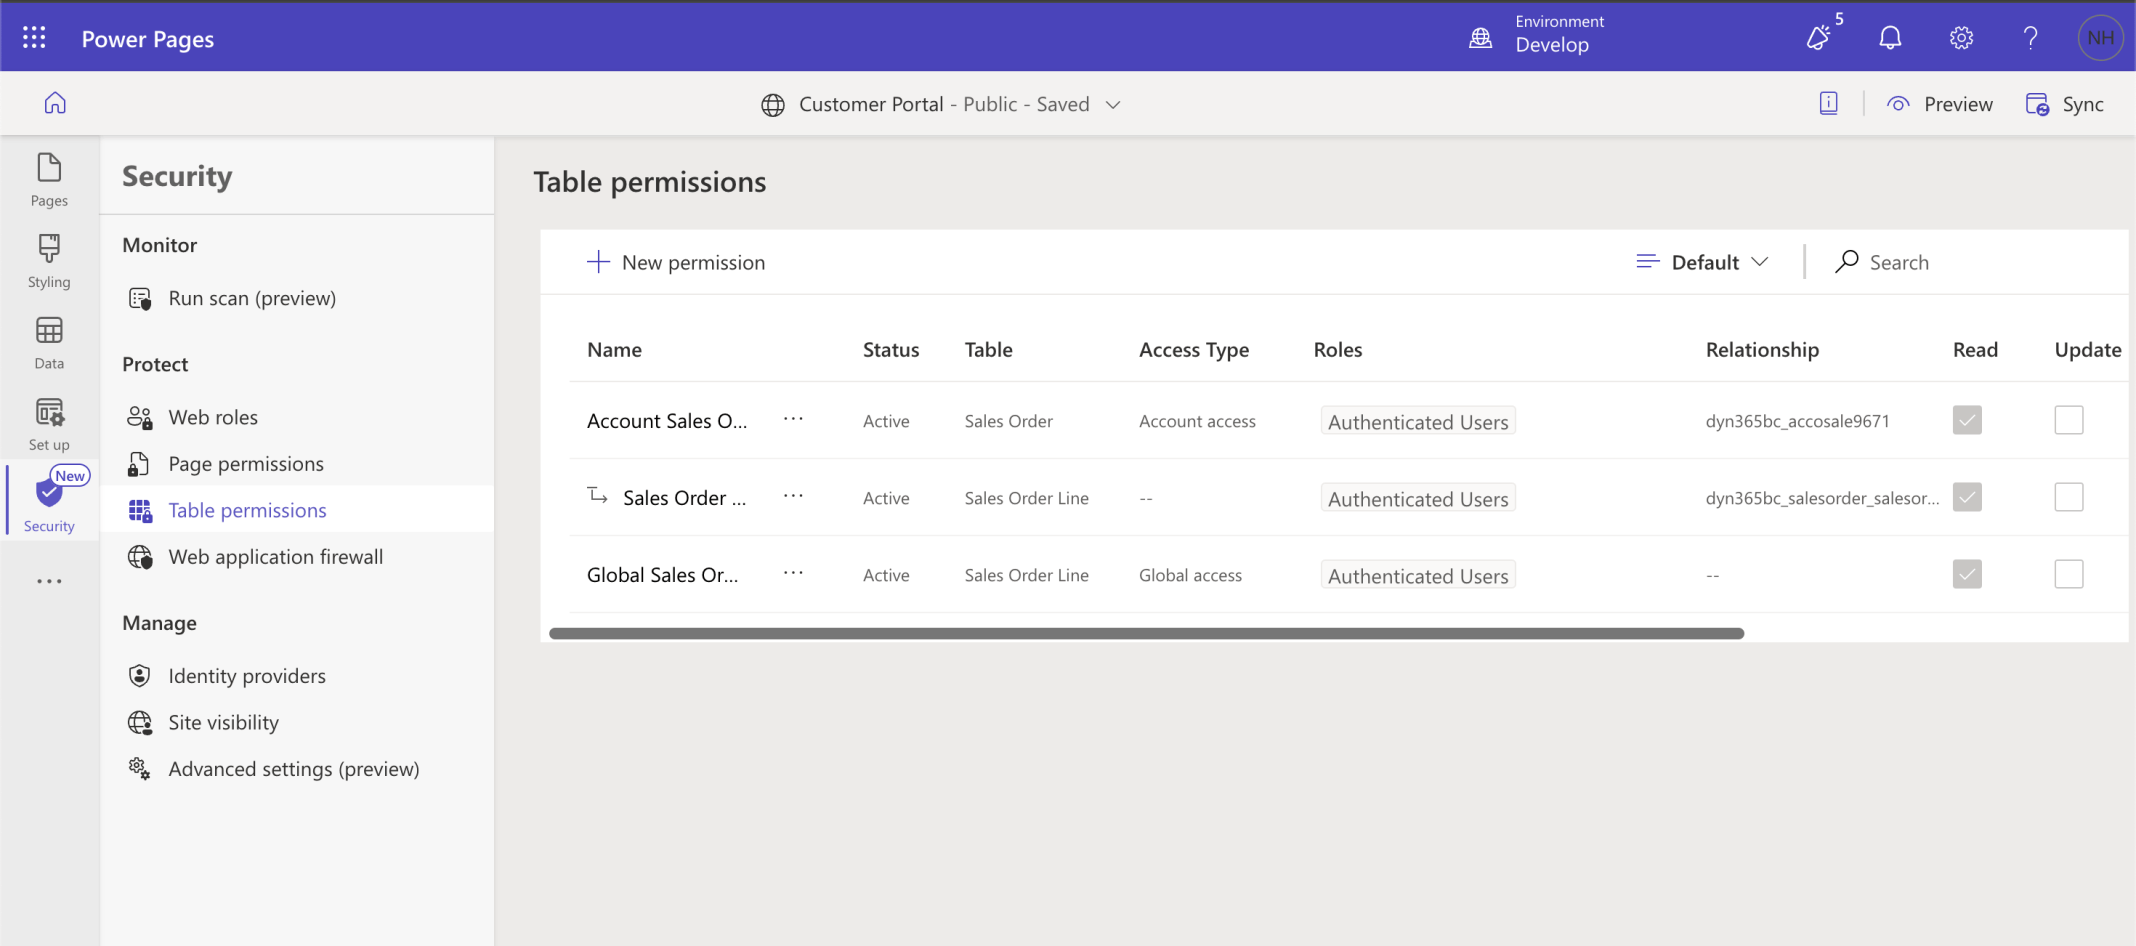
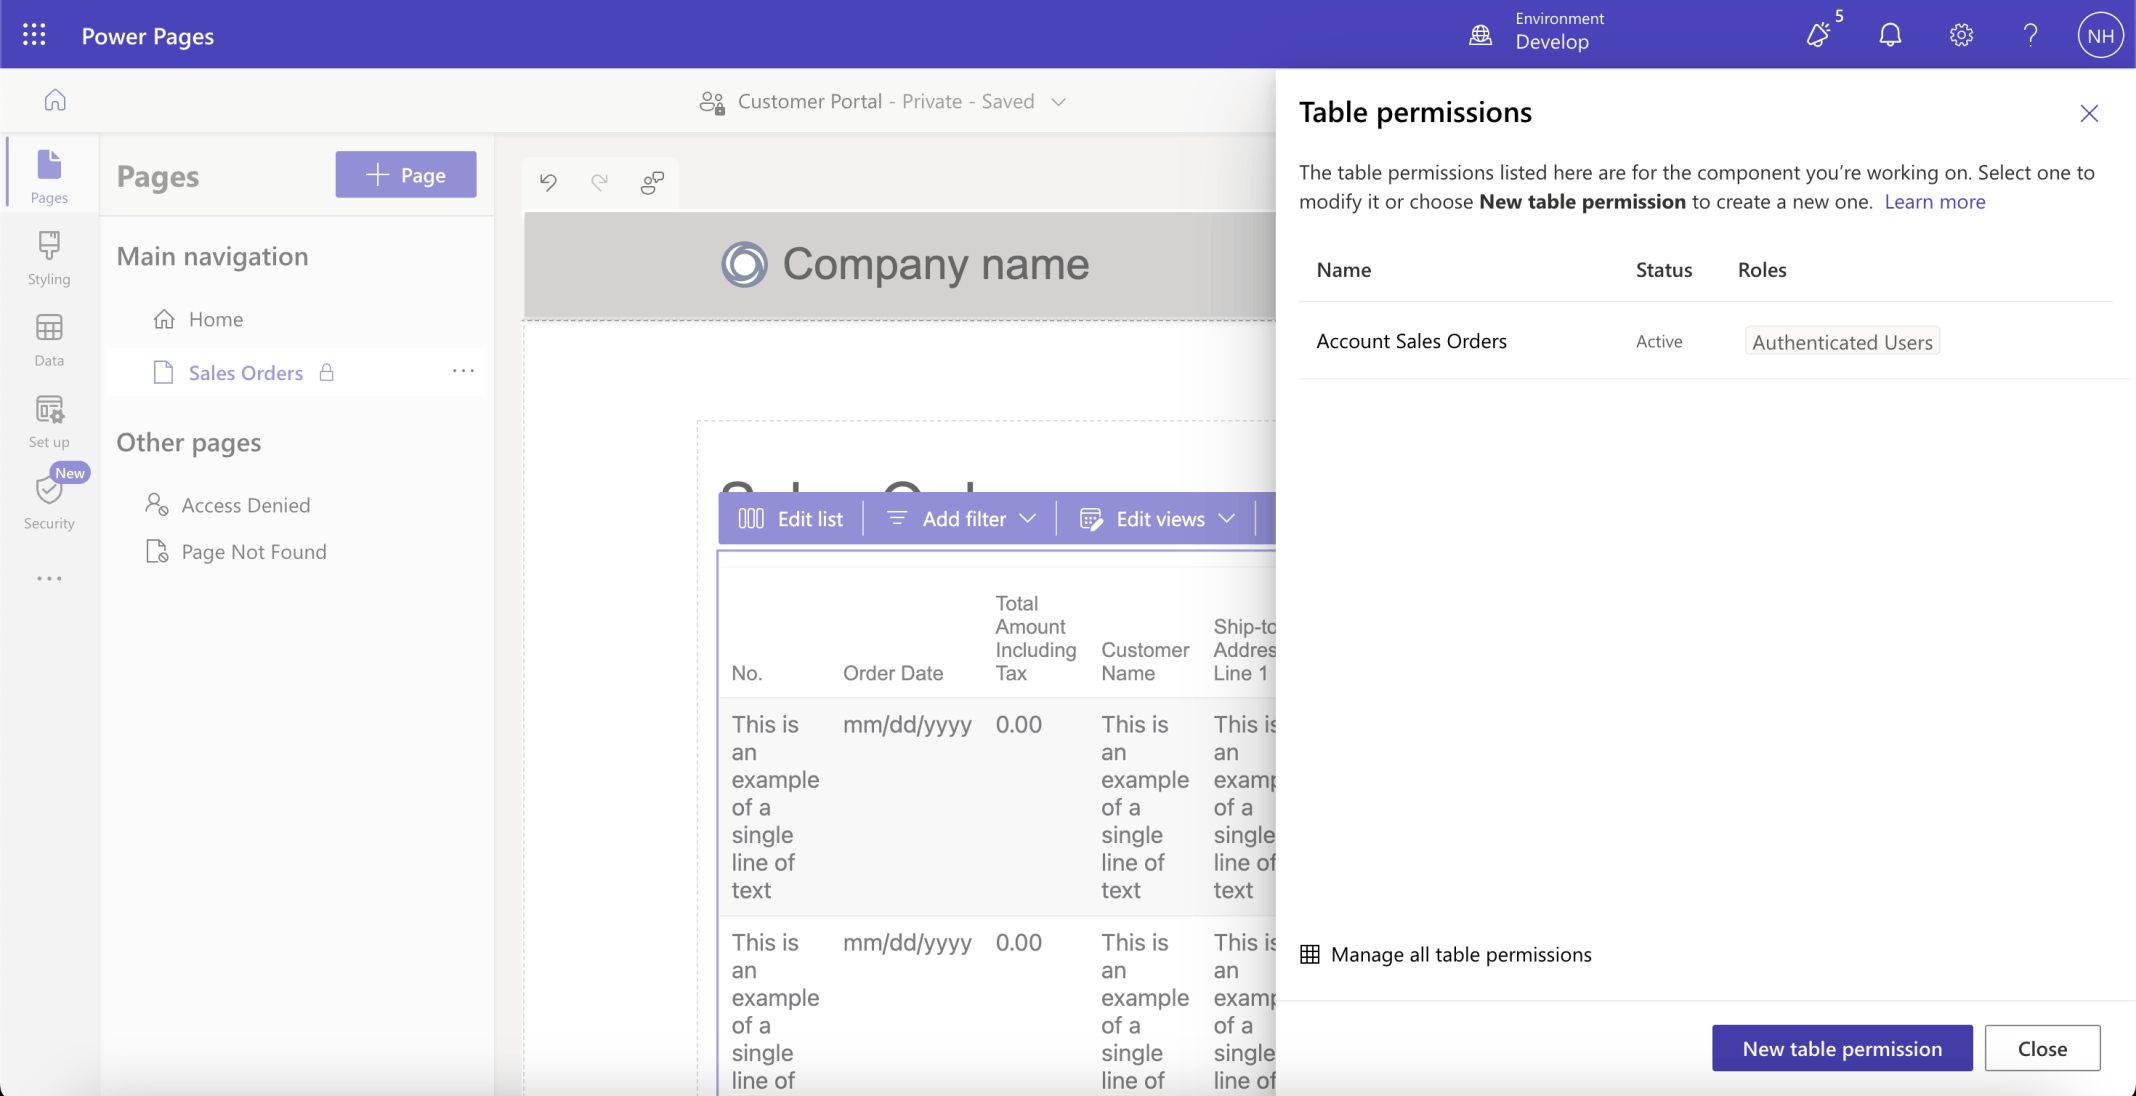
I reviewed the Table permissions
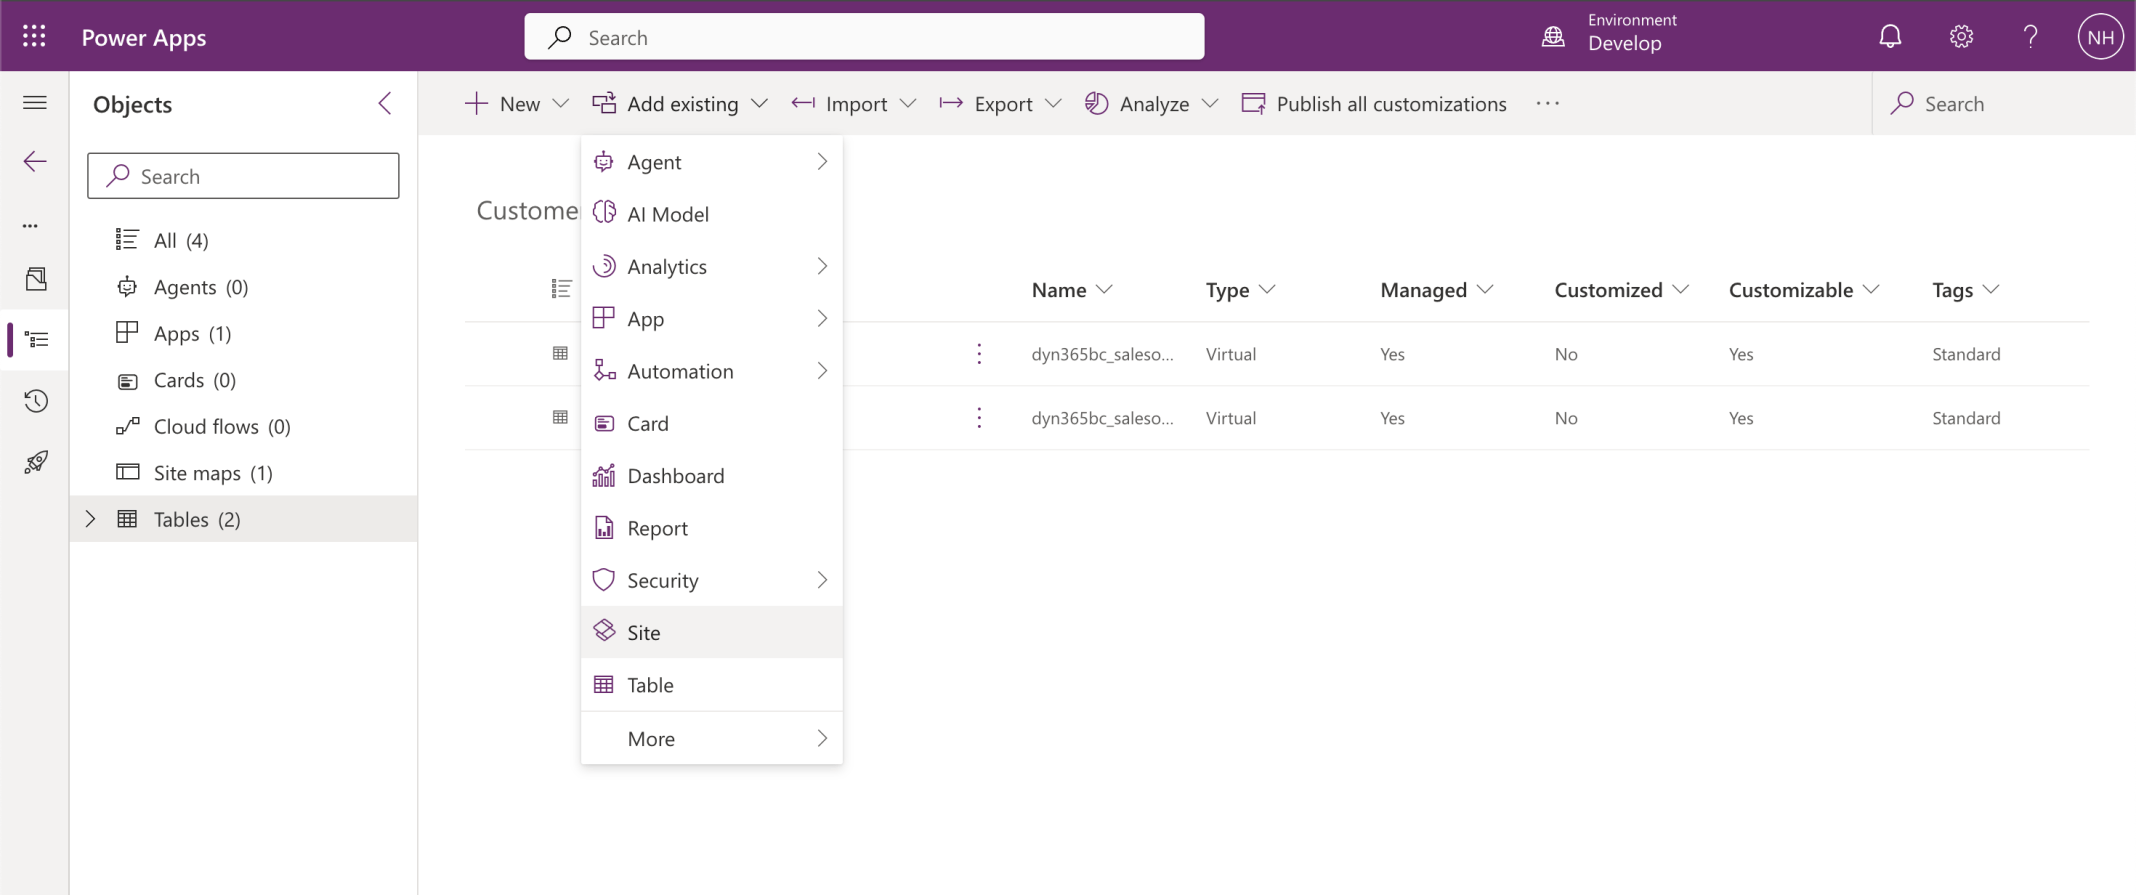
I added the Customer Portal Site to the solution
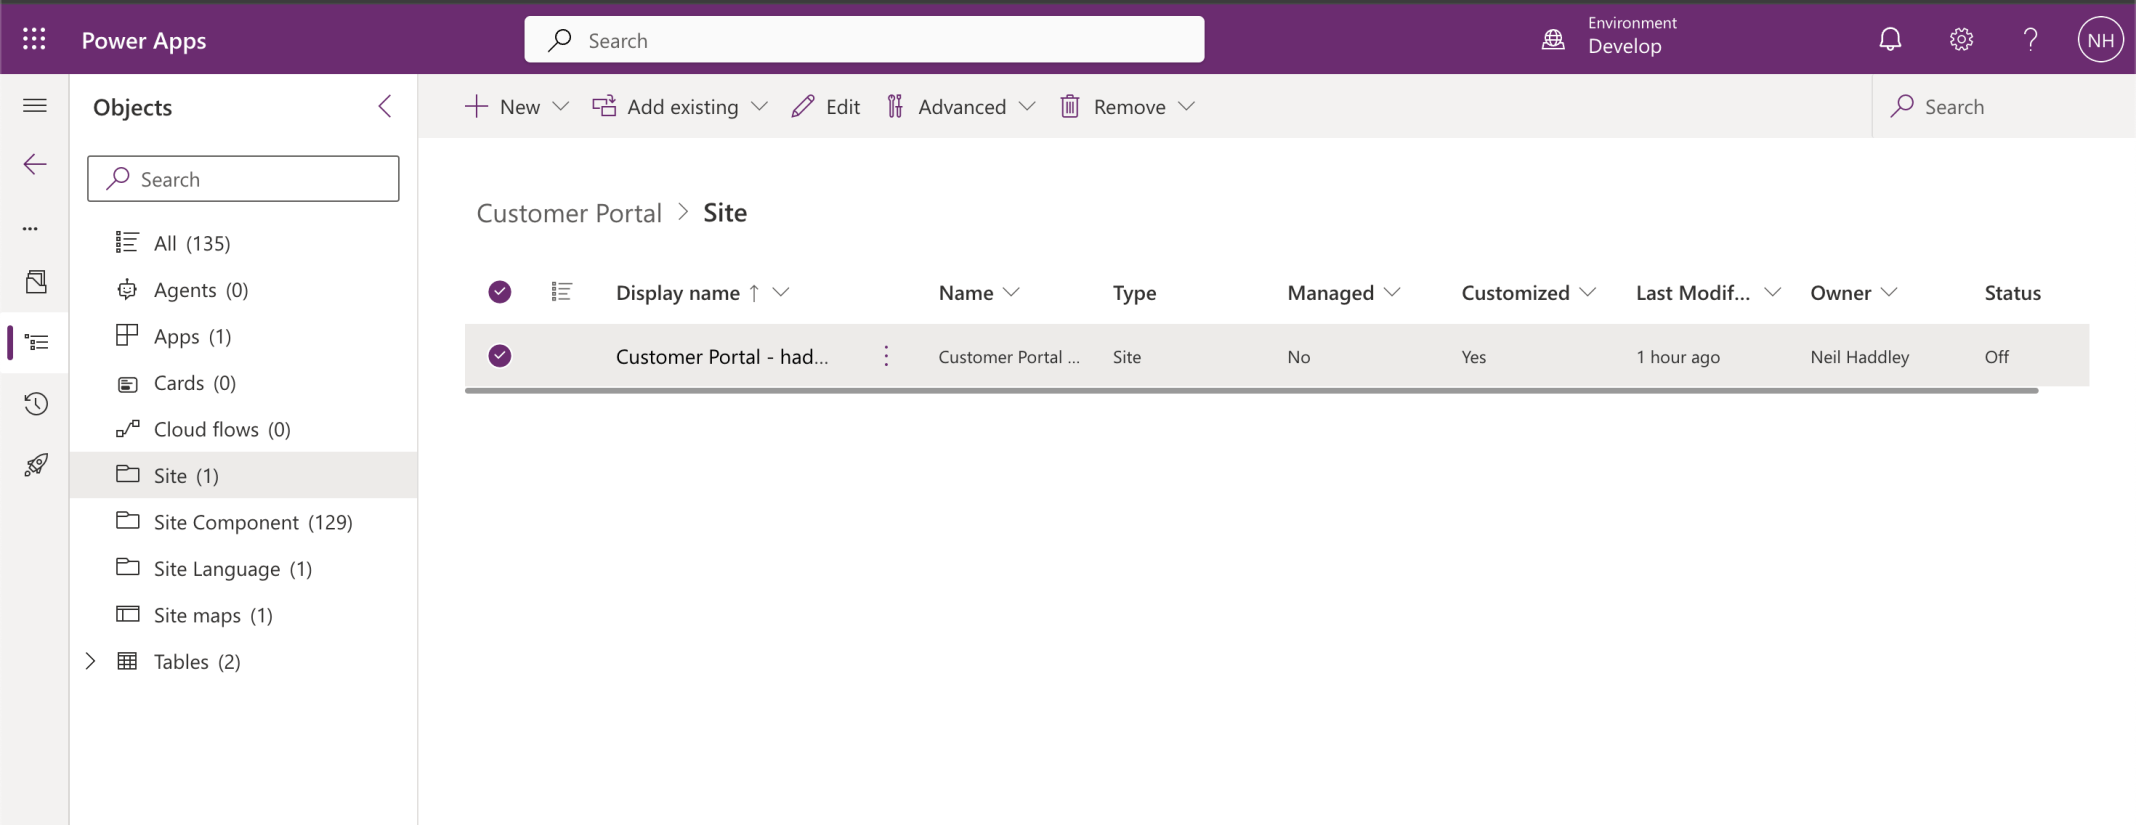
The Customer Portal solution was ready to be exported