I used Prompt flow for Visual Studio Code to create and run a flow in a Docker container
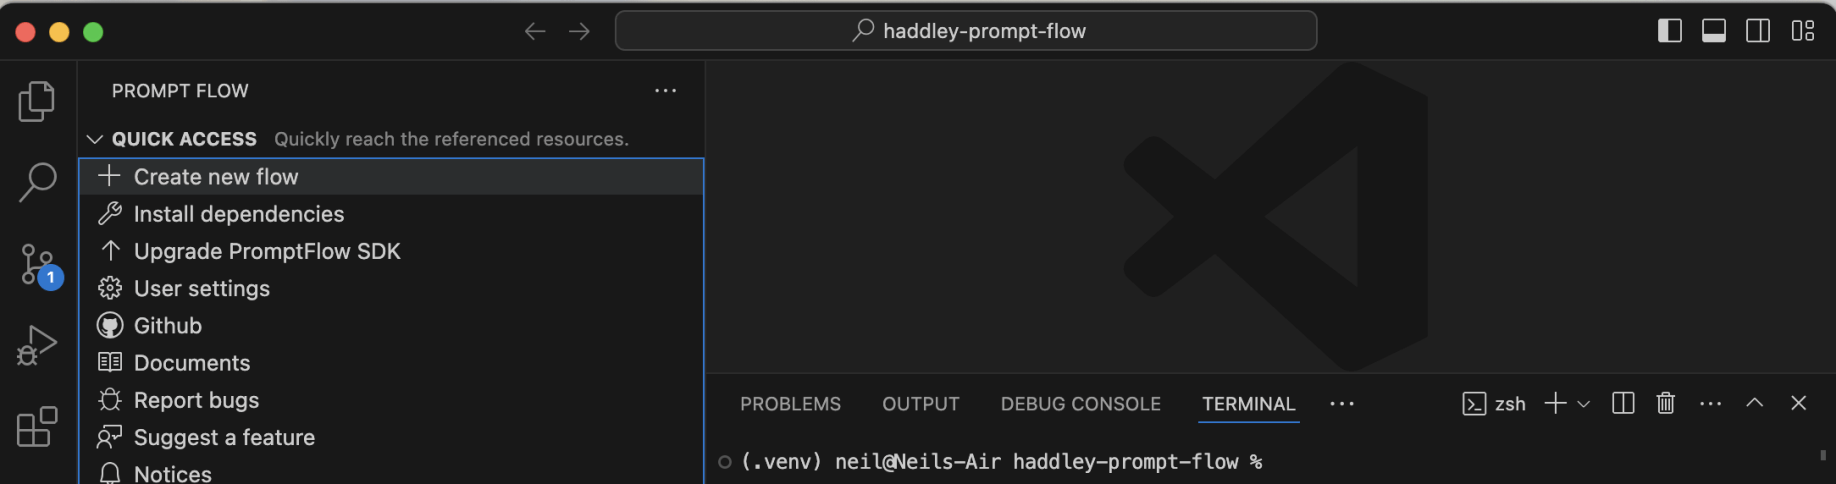
I created a new flow
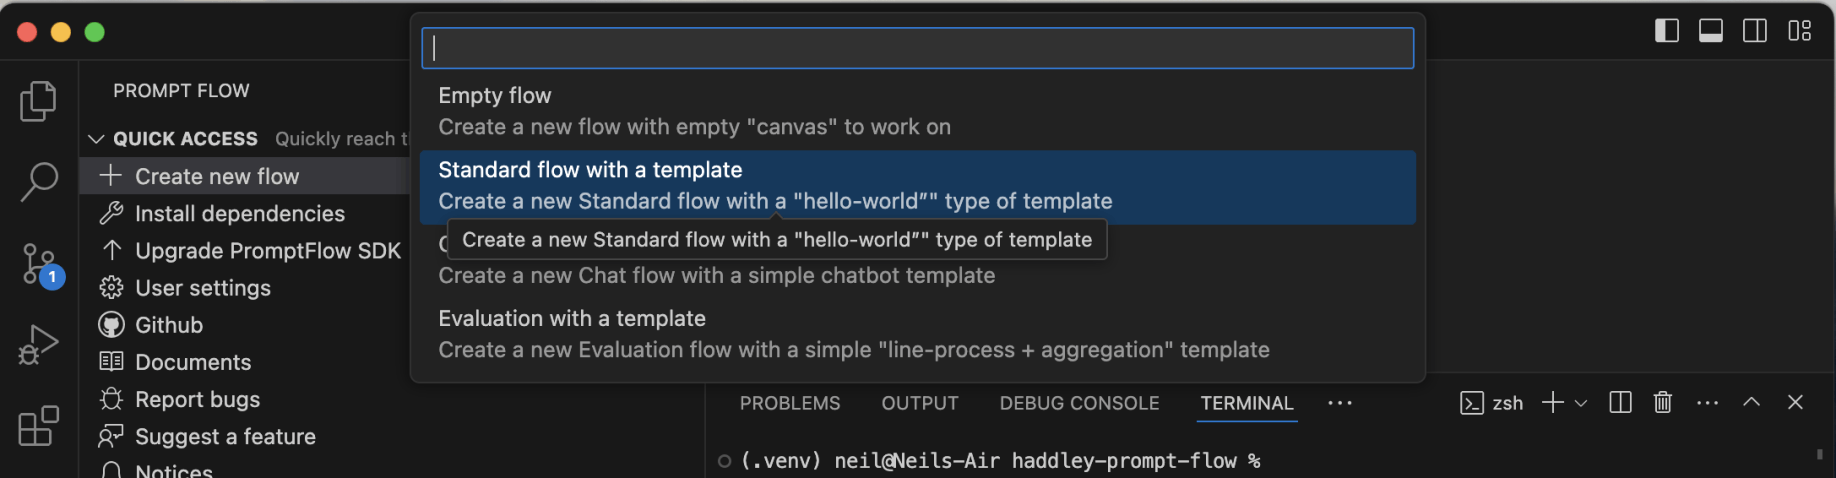
I created a standard flow

I accepted the default flow name
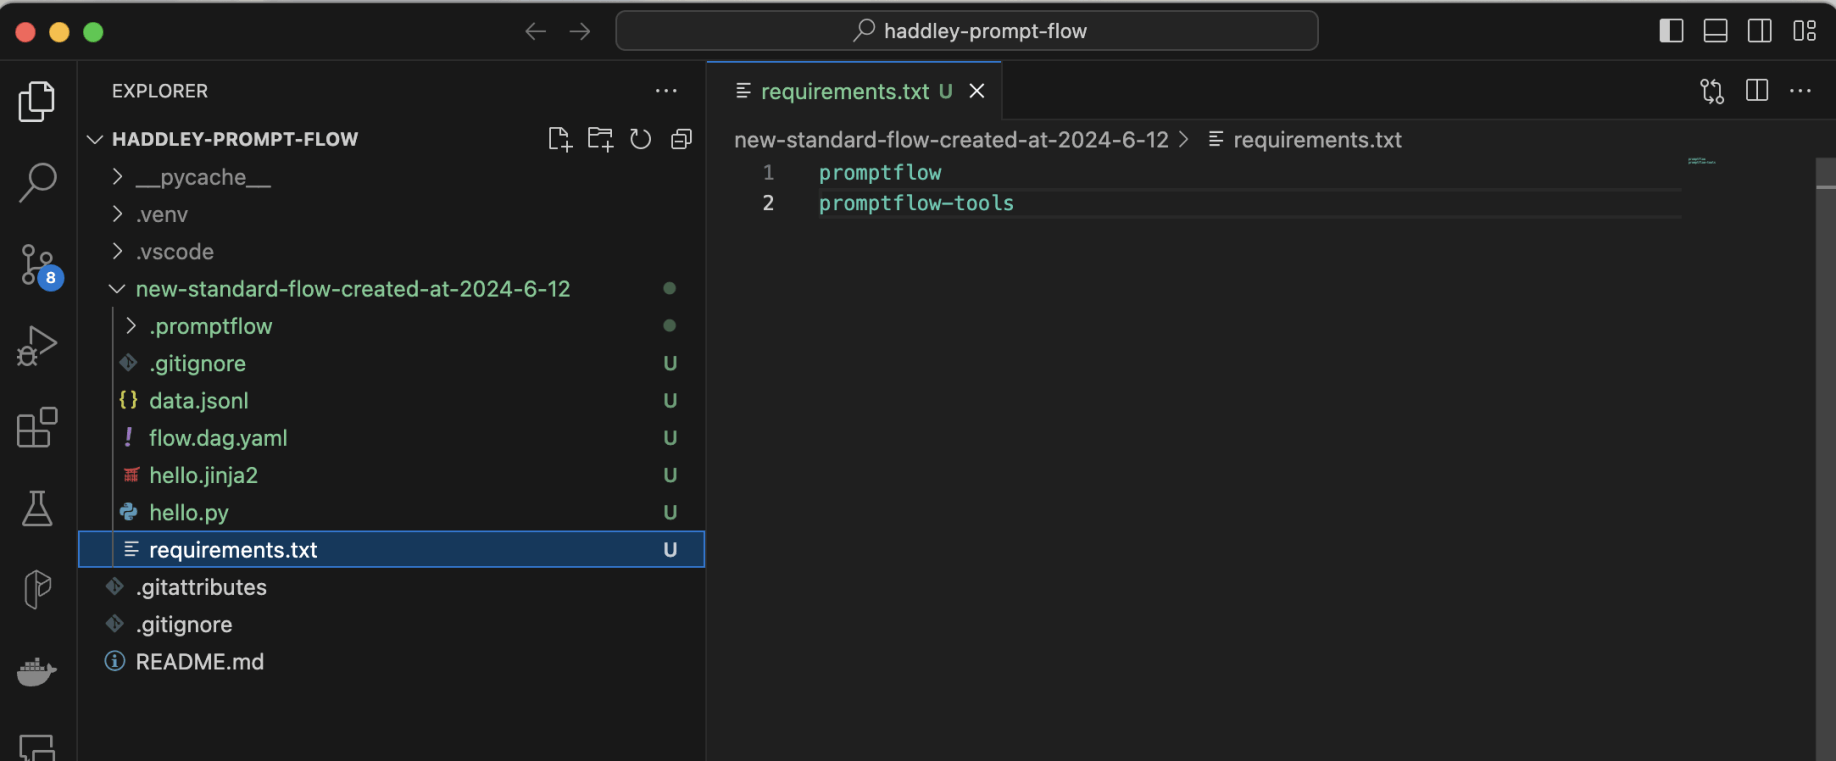
I manually added promptflow-tools to the requirements.txt file
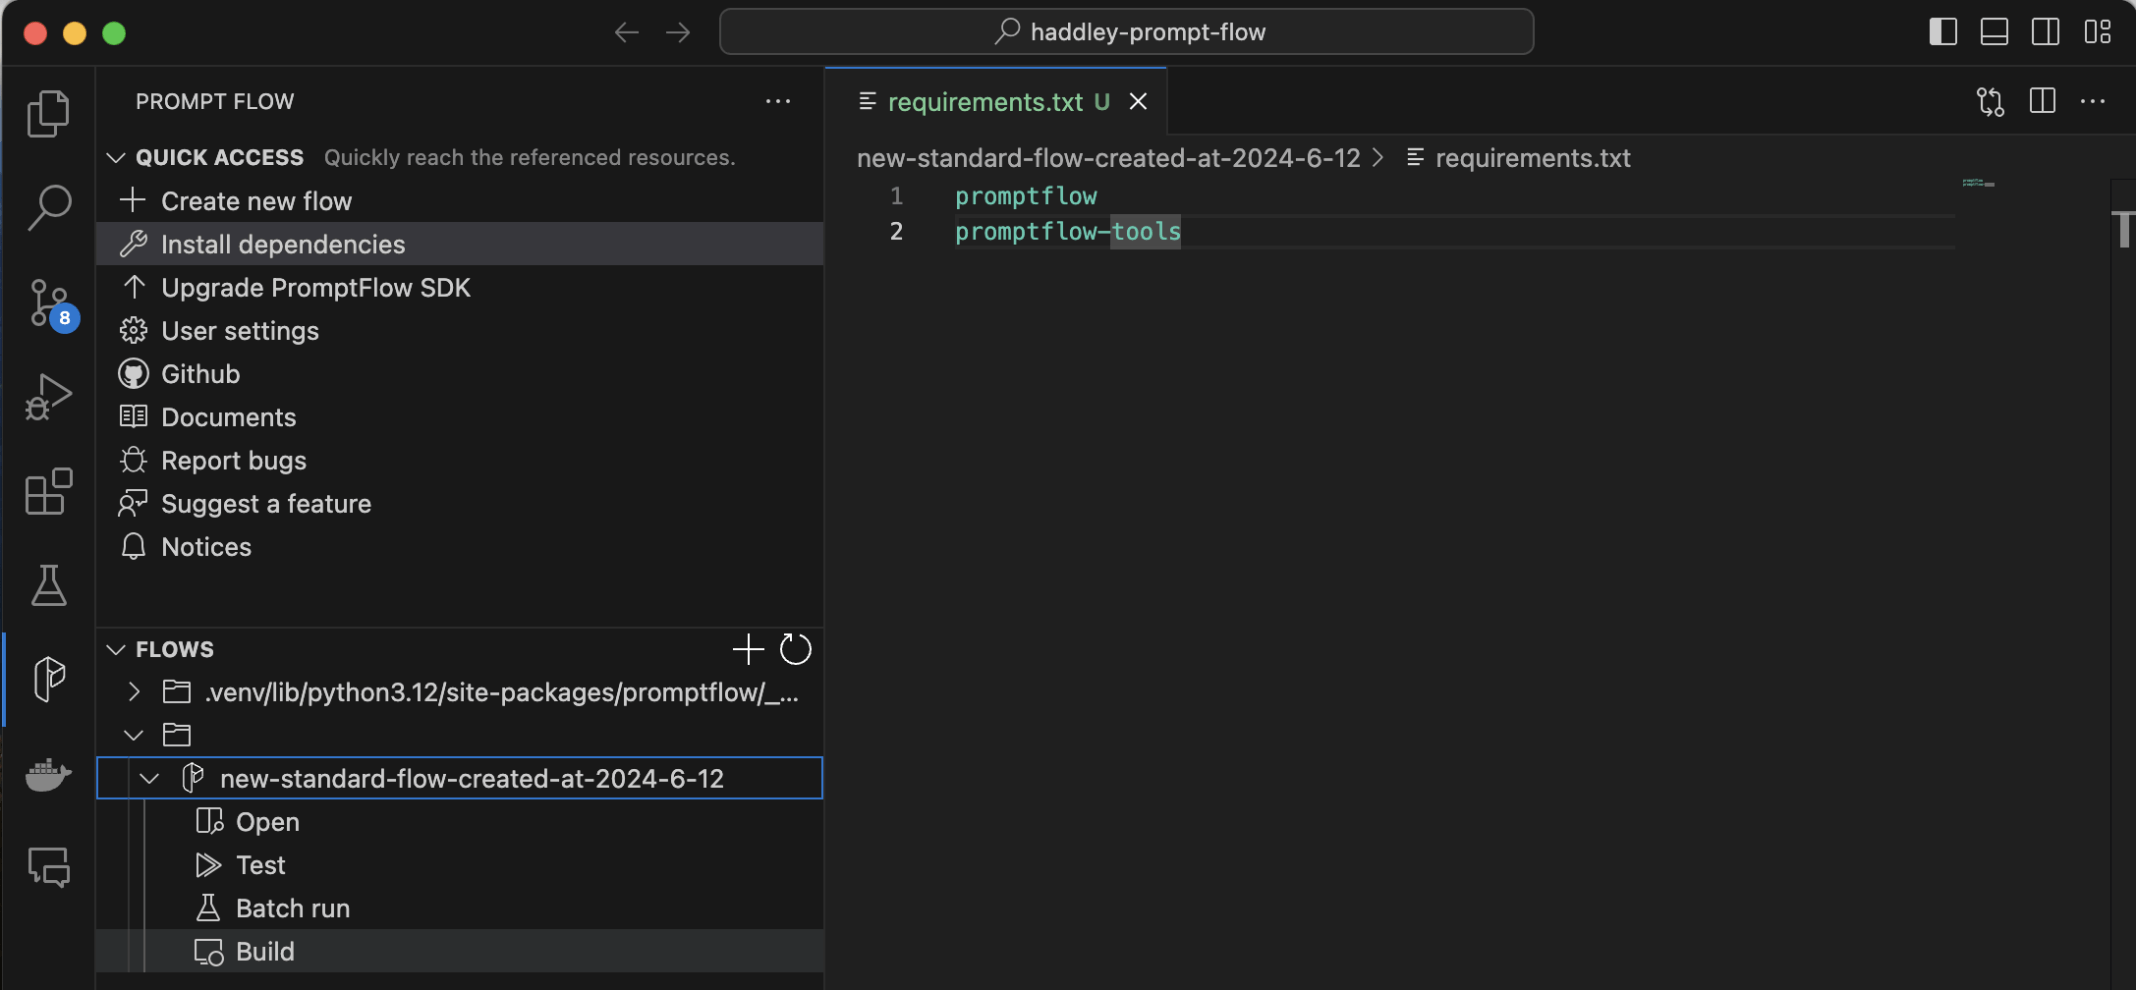
I selected the flow and the Build menu item

I selected the Build as docker option
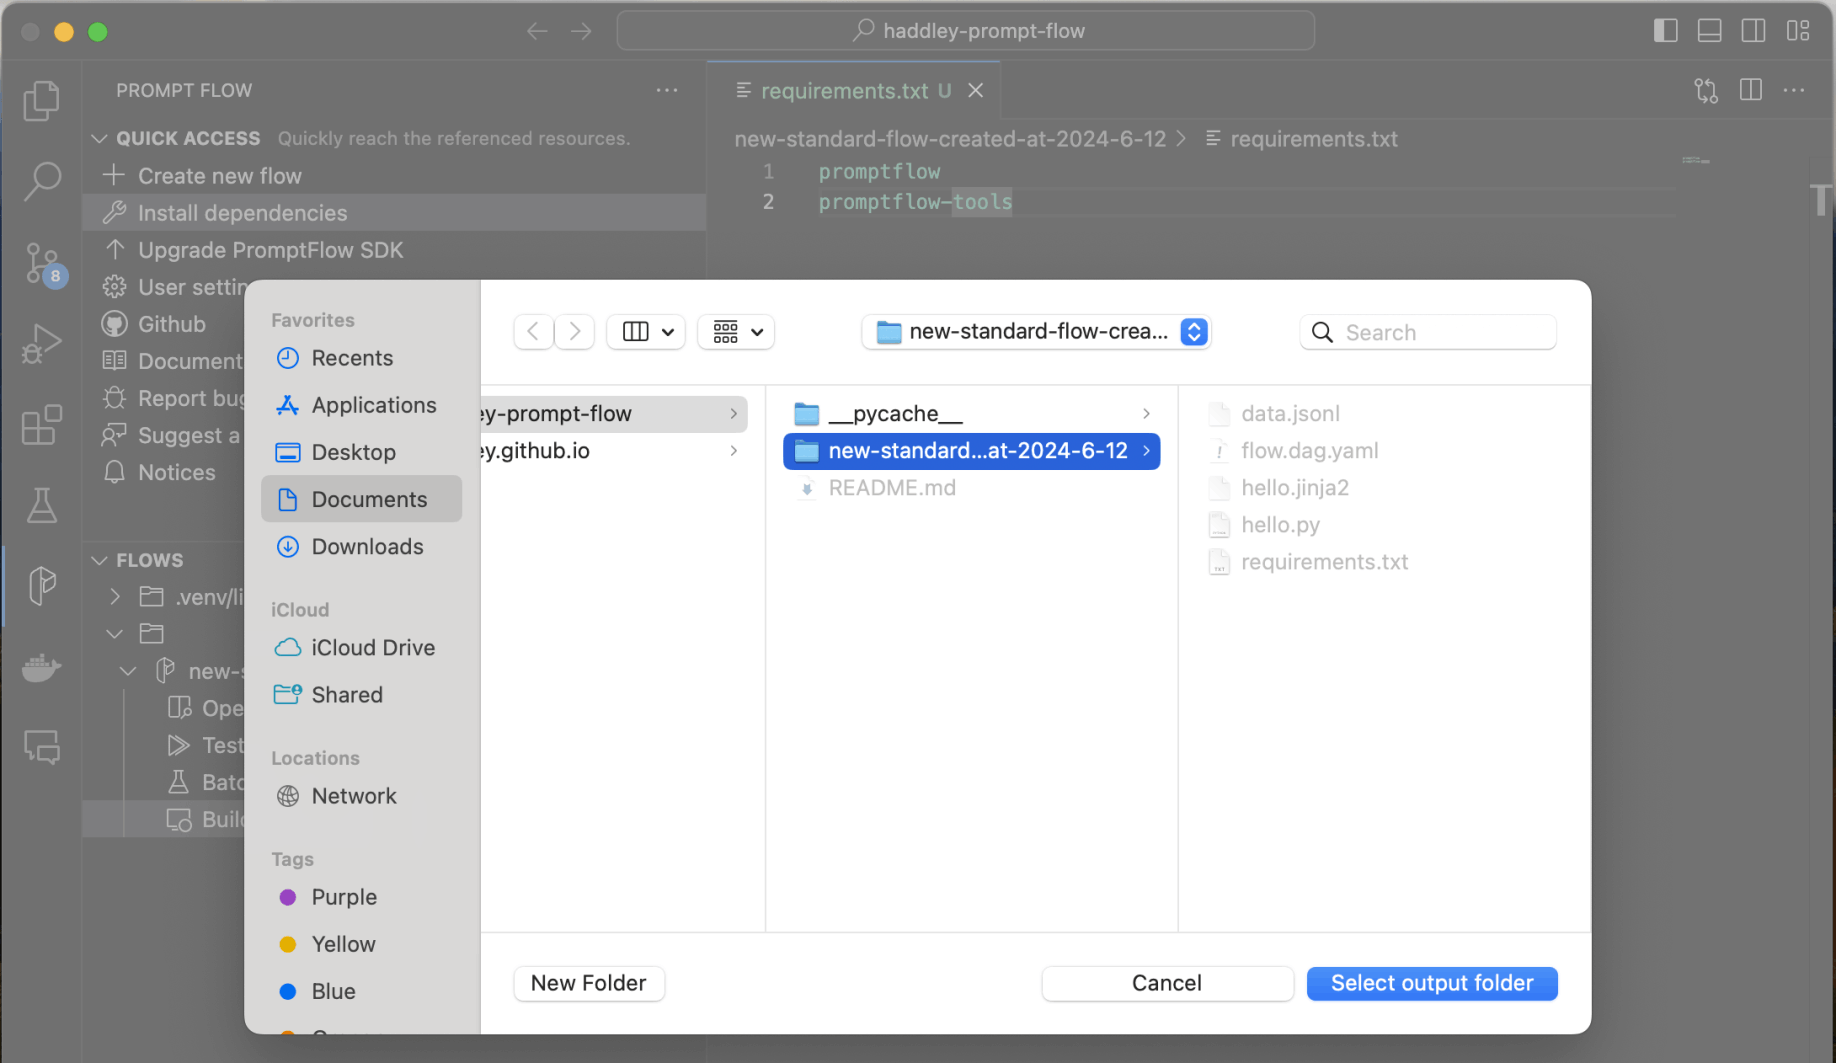
I selected the output folder
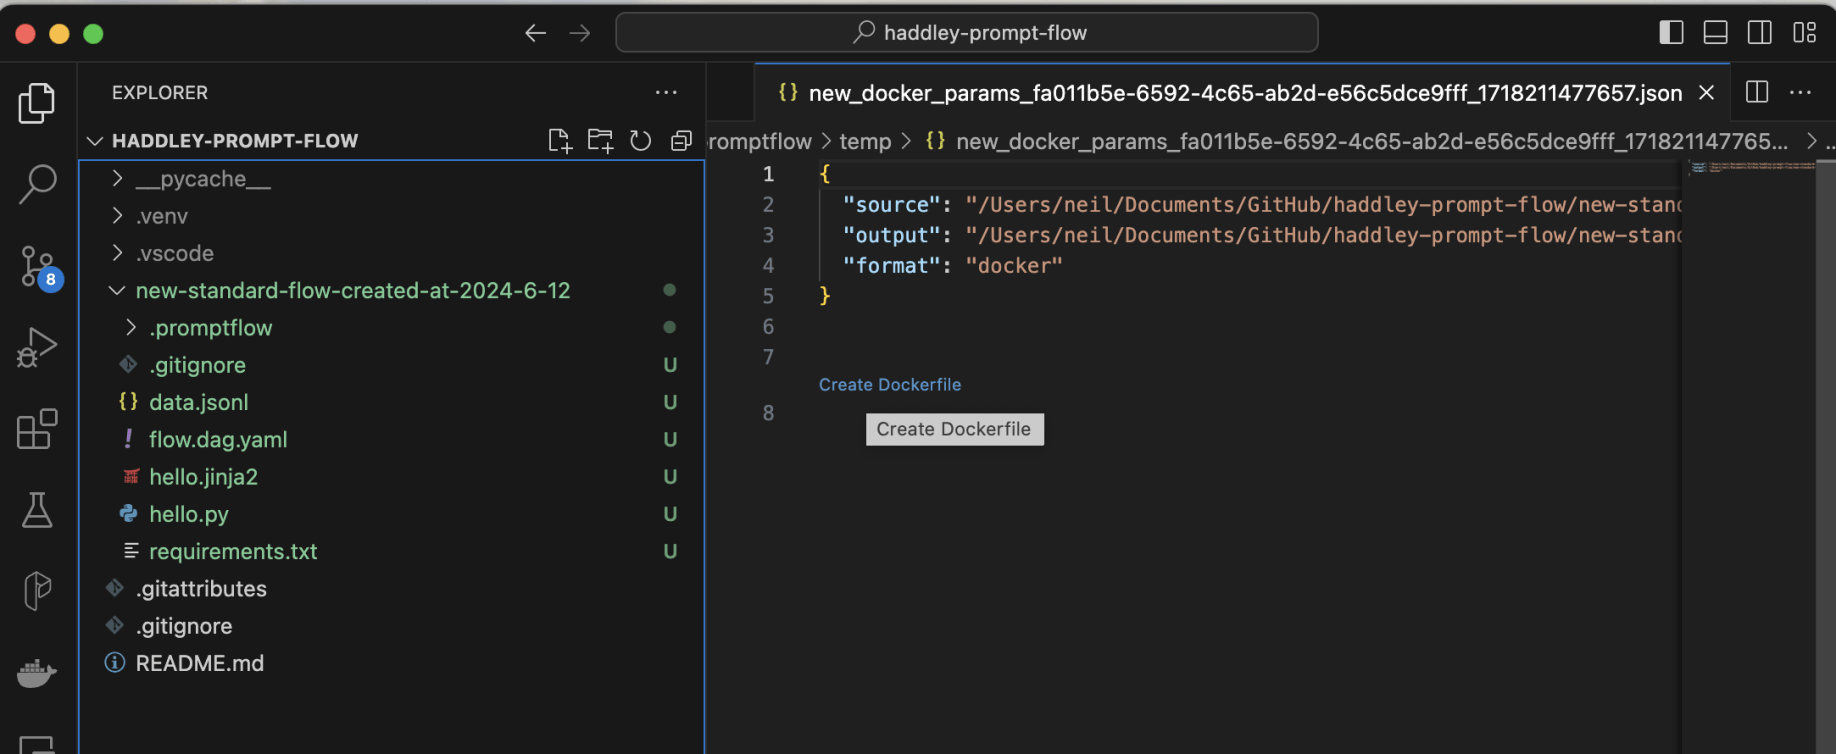
I clicked the Create Dockerfile link

I reviewed the generated Dockerfile
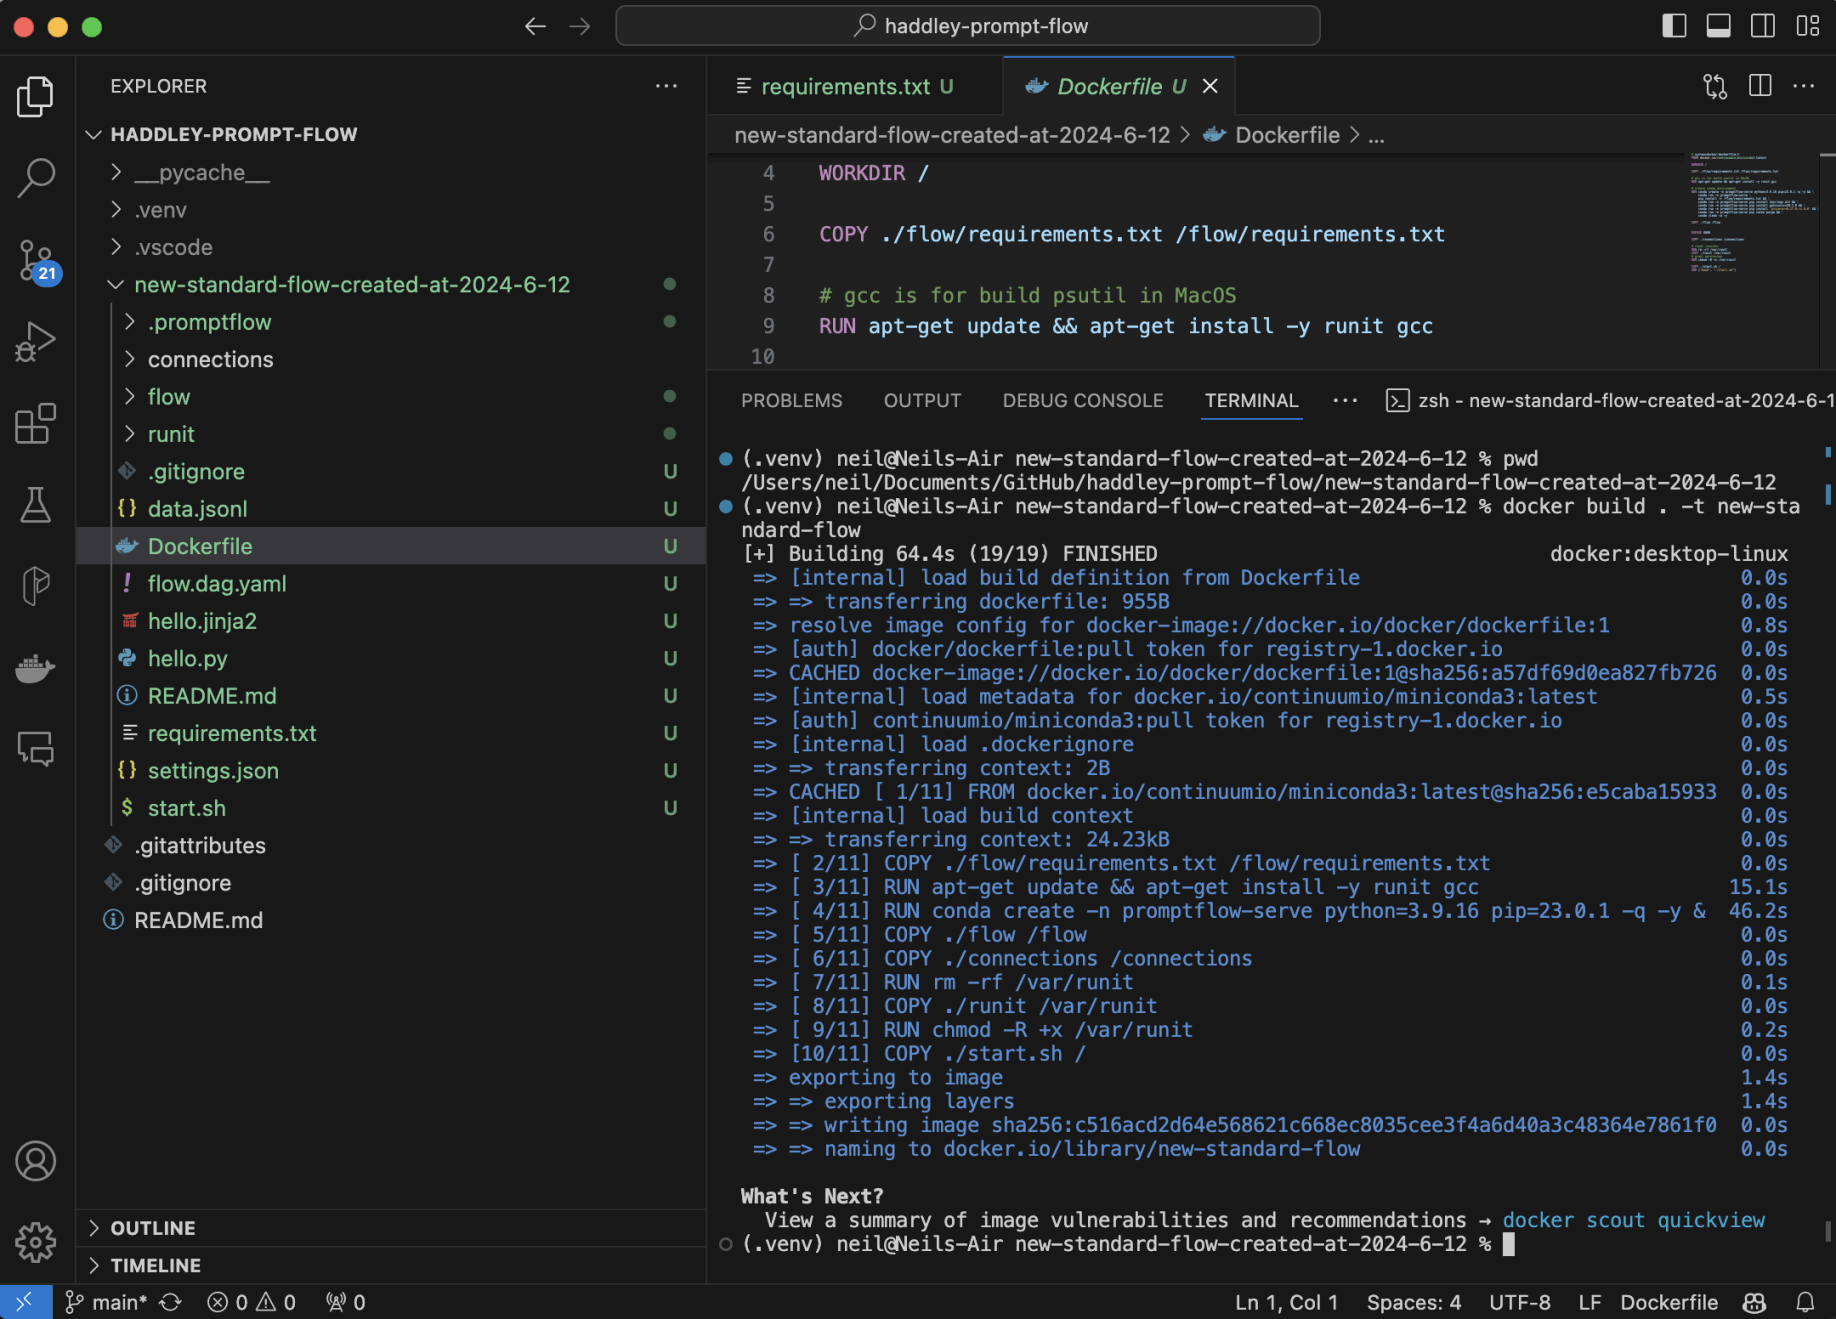
I ran docker build
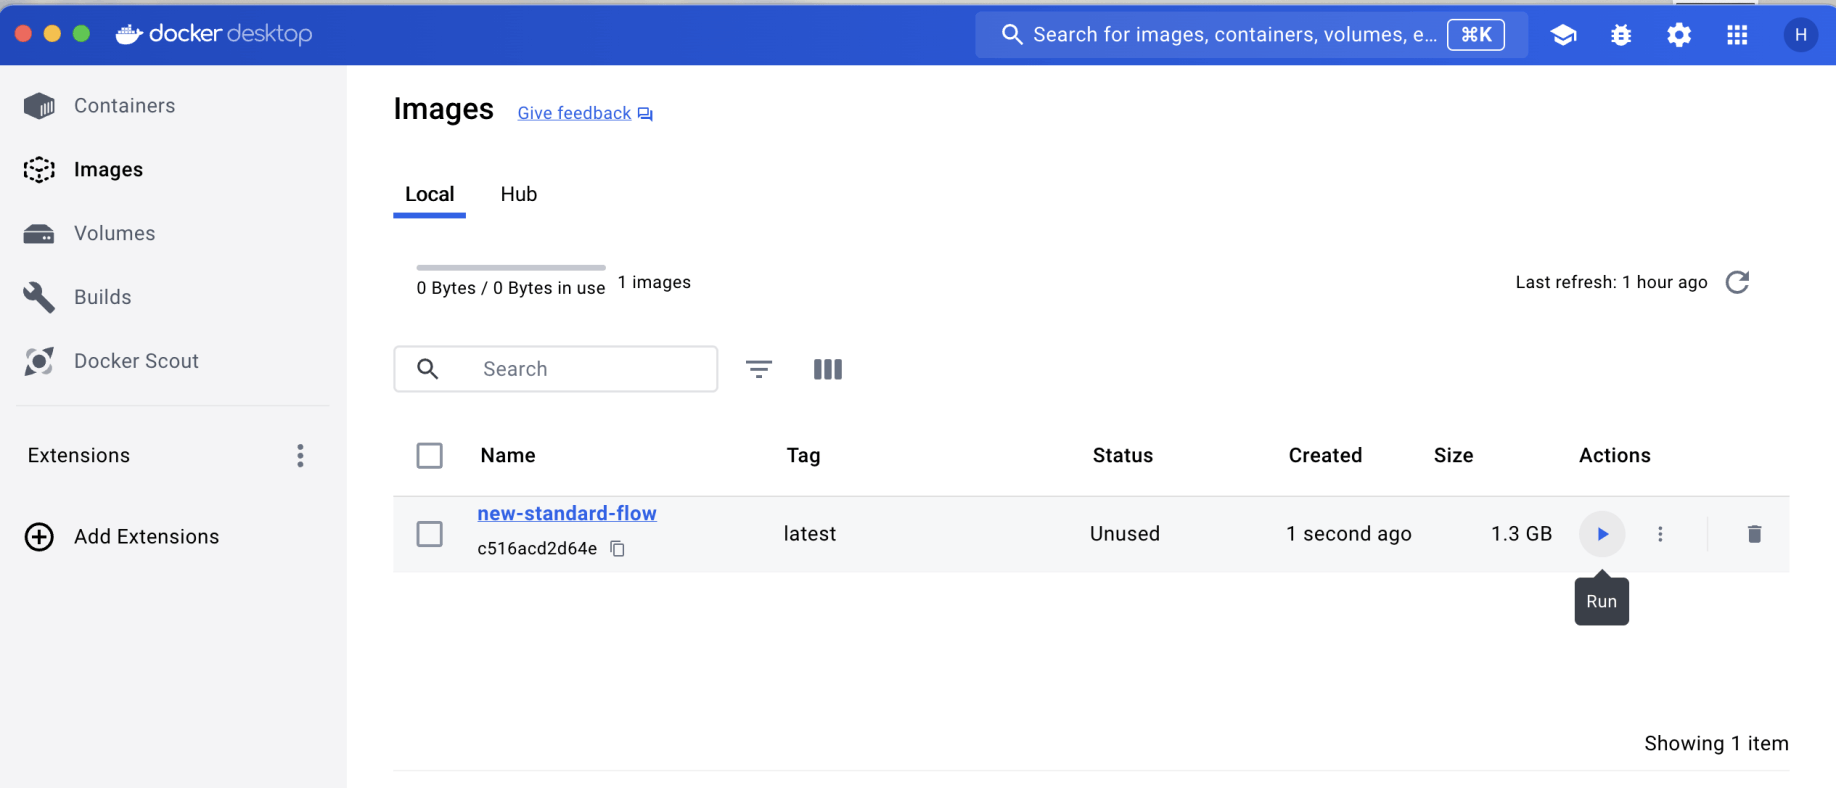
I opened Docker desktop, found the image and clicked the Run action
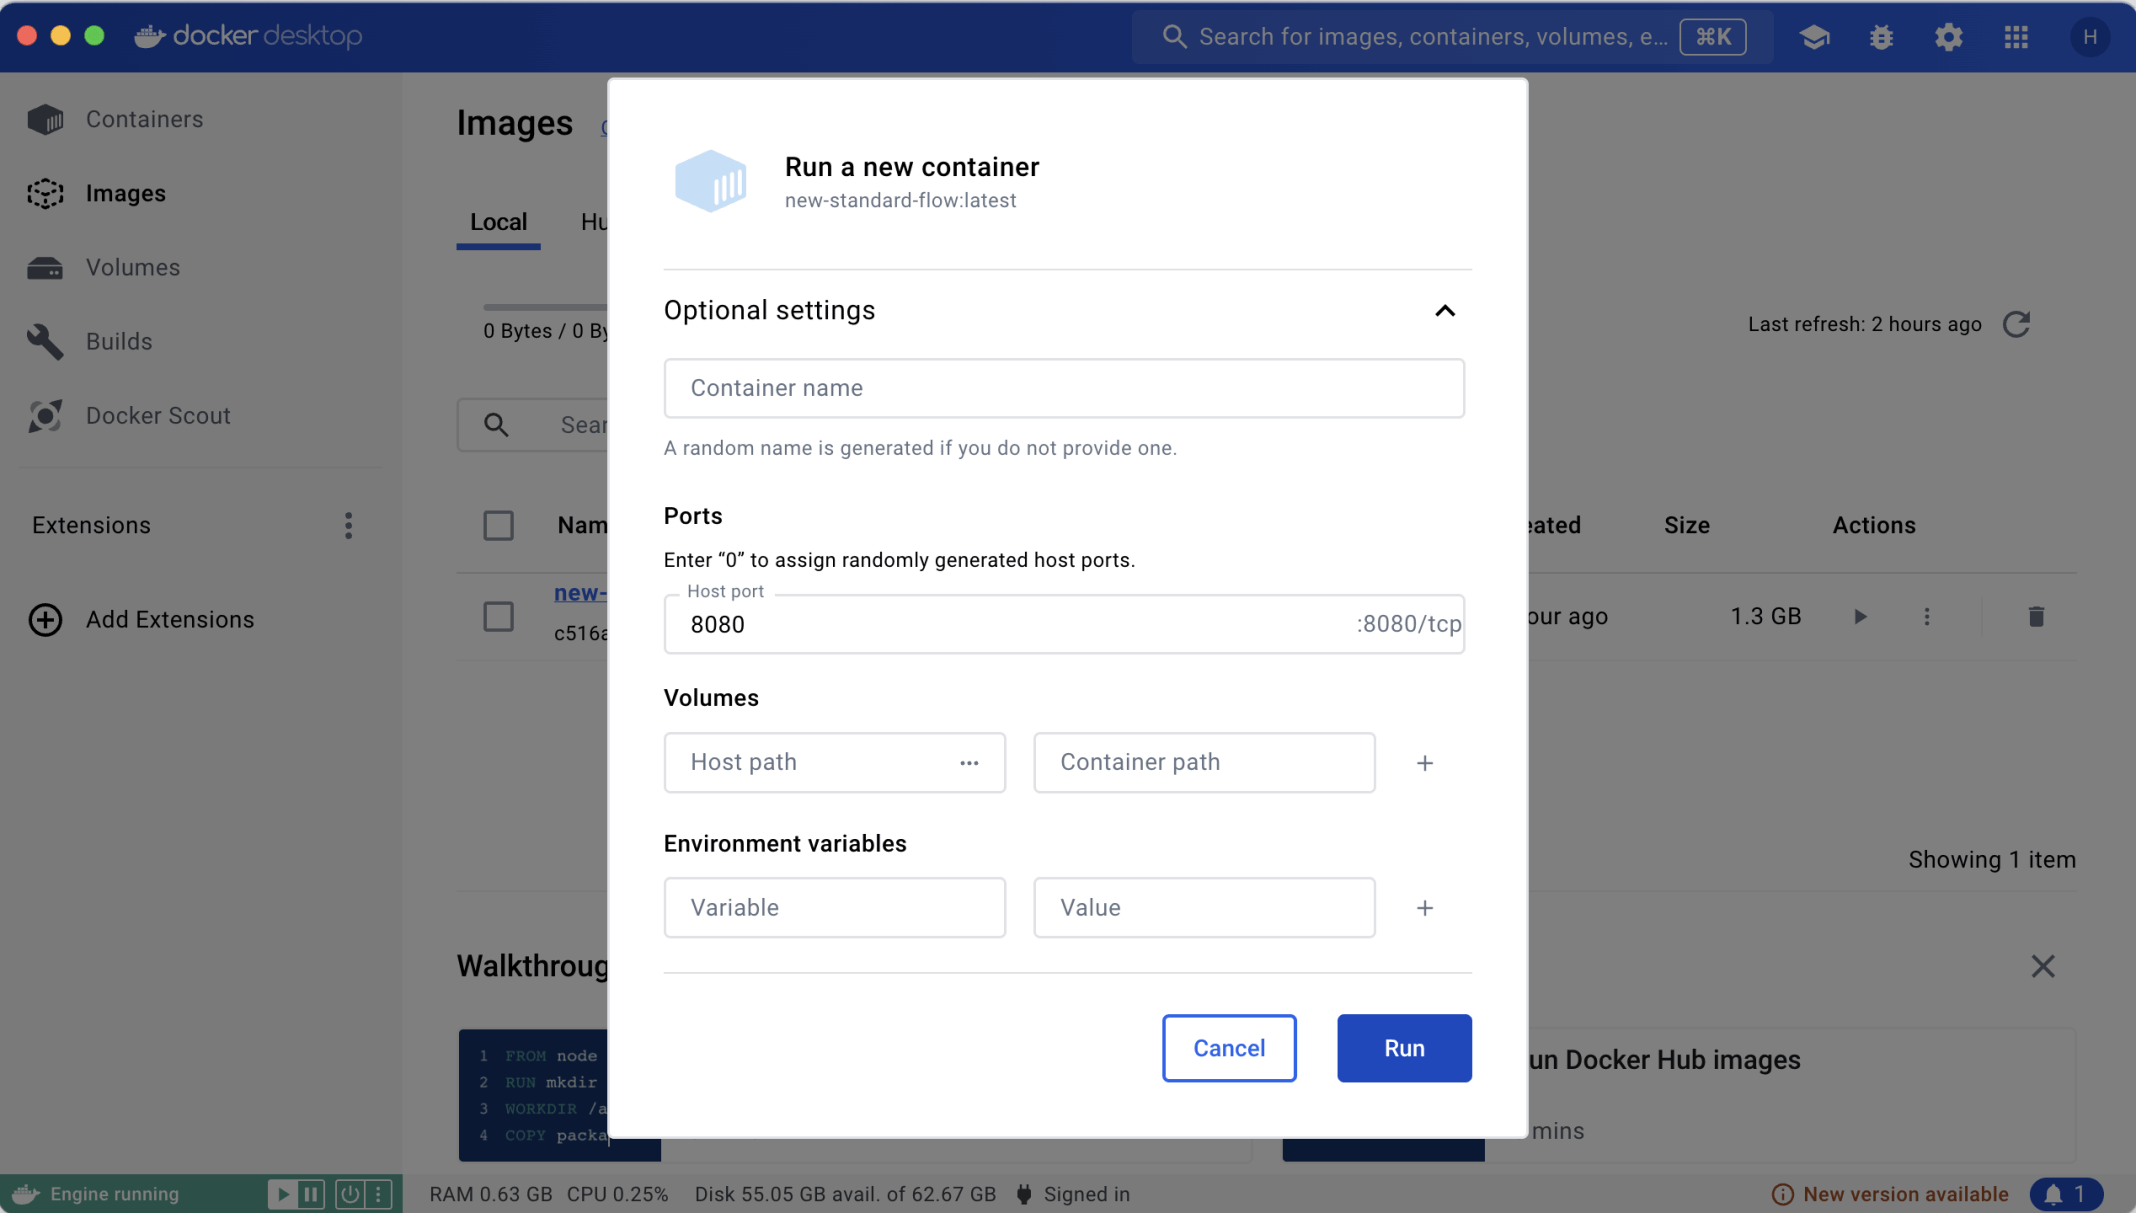
I mapped the Docker container's port 8080 to localhost 8080
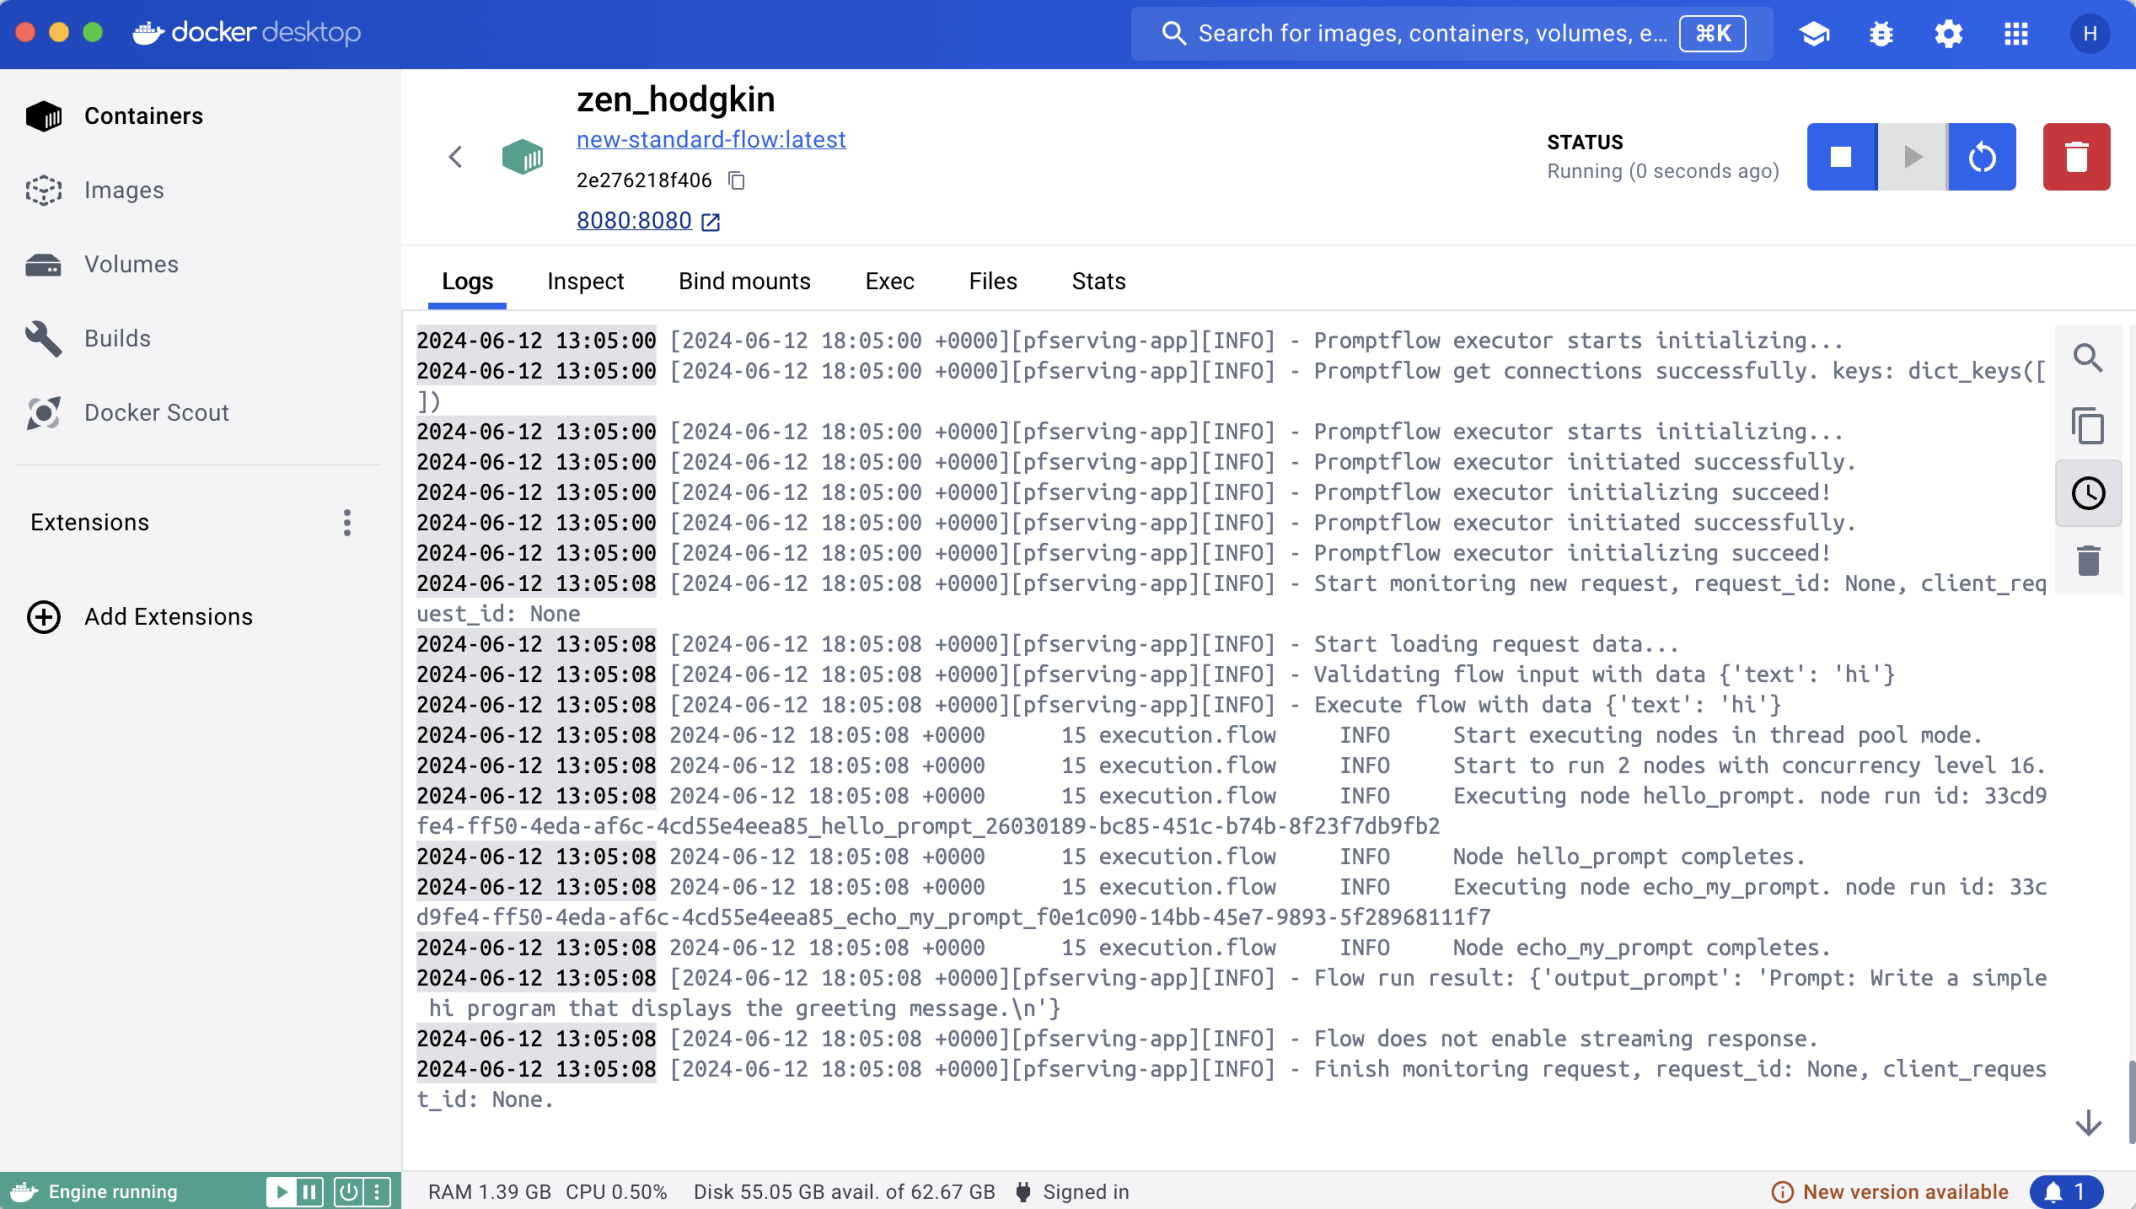
The container started without issue
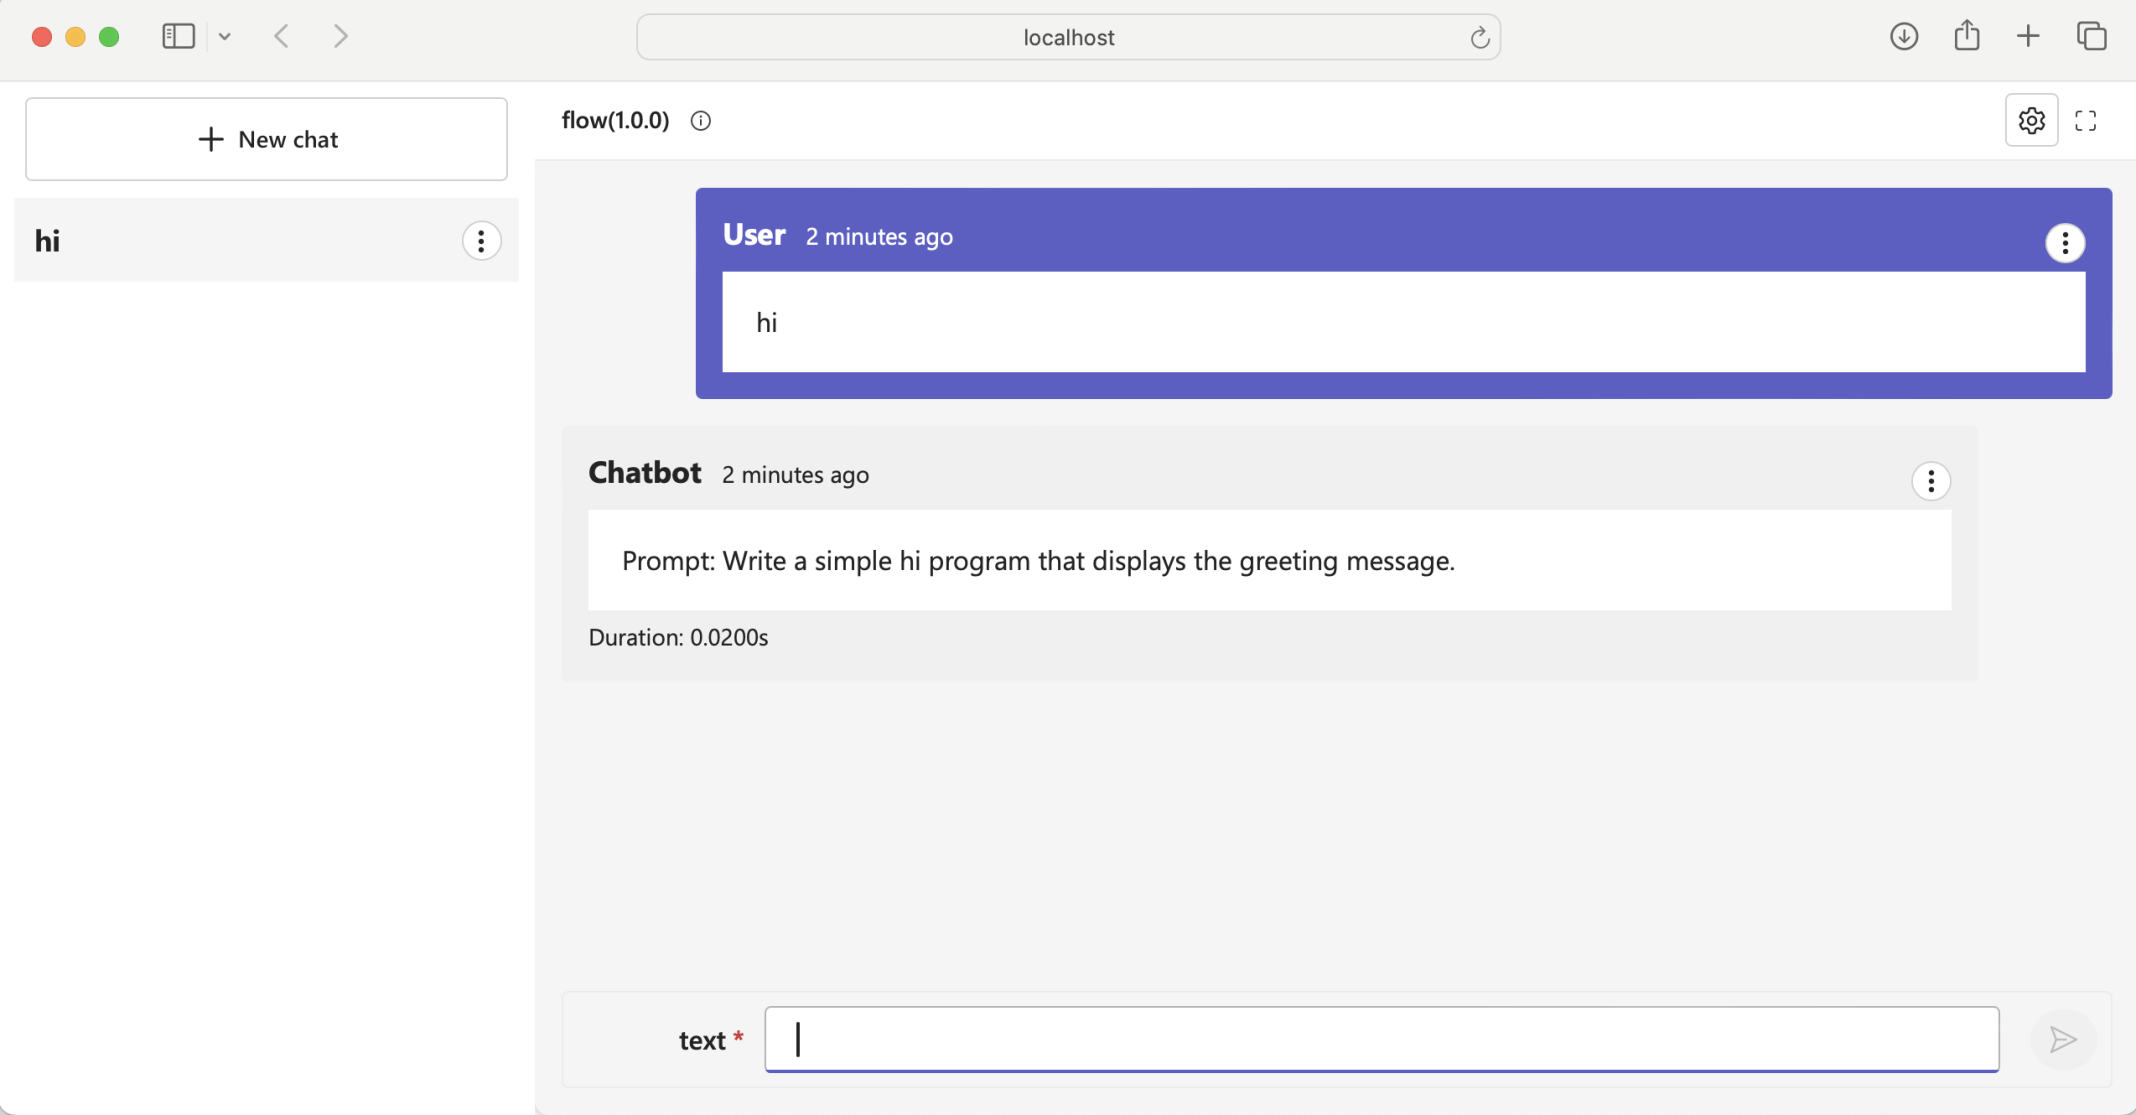
I tested the Prompt flow by navigating to localhost 8080. Notice that in this case gunicorn is used to serve the prompt flow over http
OpenAI connection
I created a second flow with an OpenAI connection
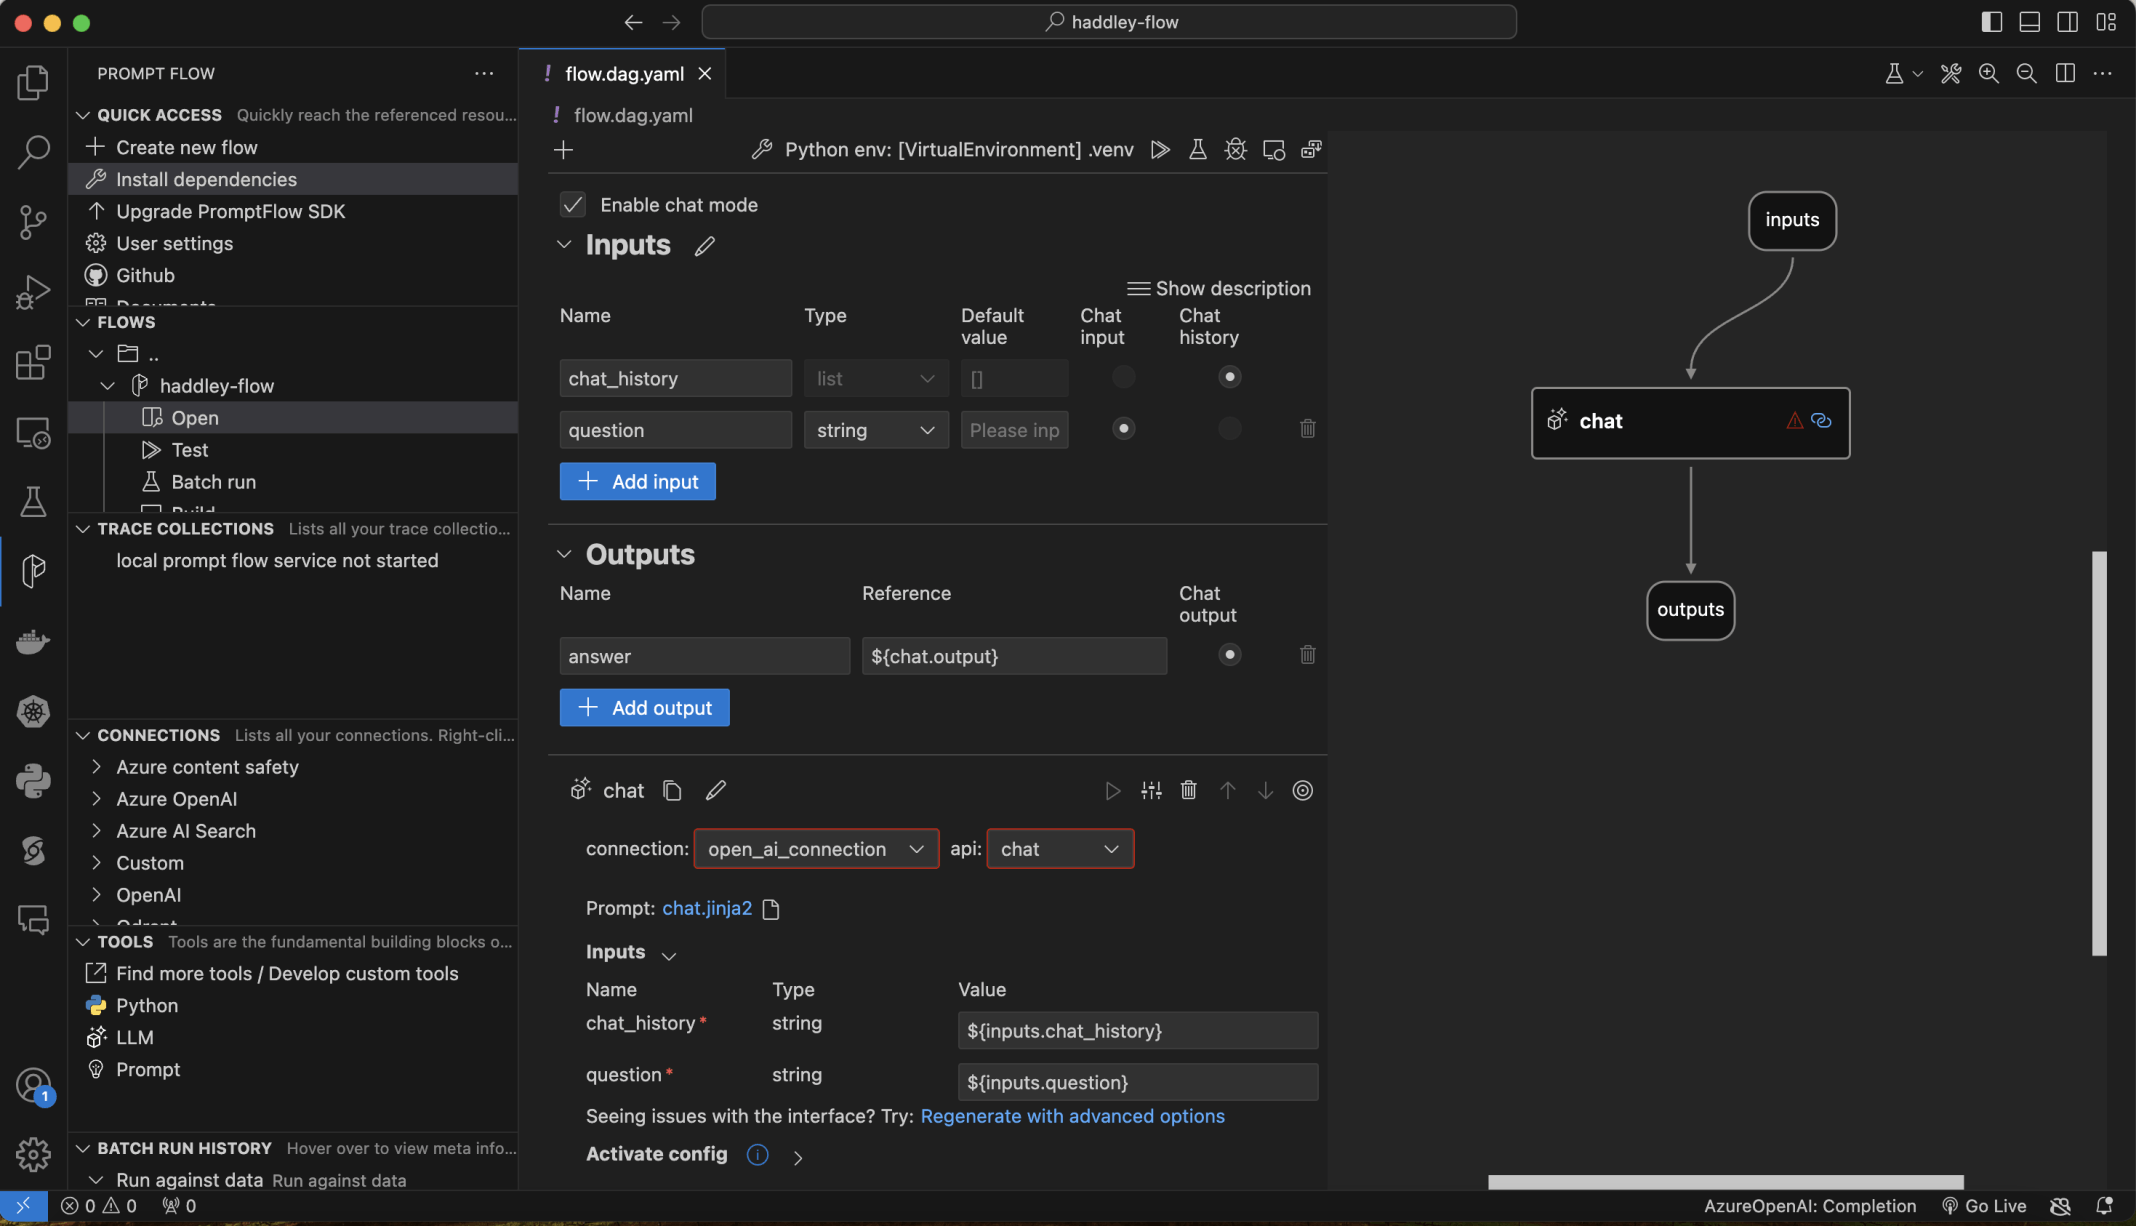
I created a Chat Flow
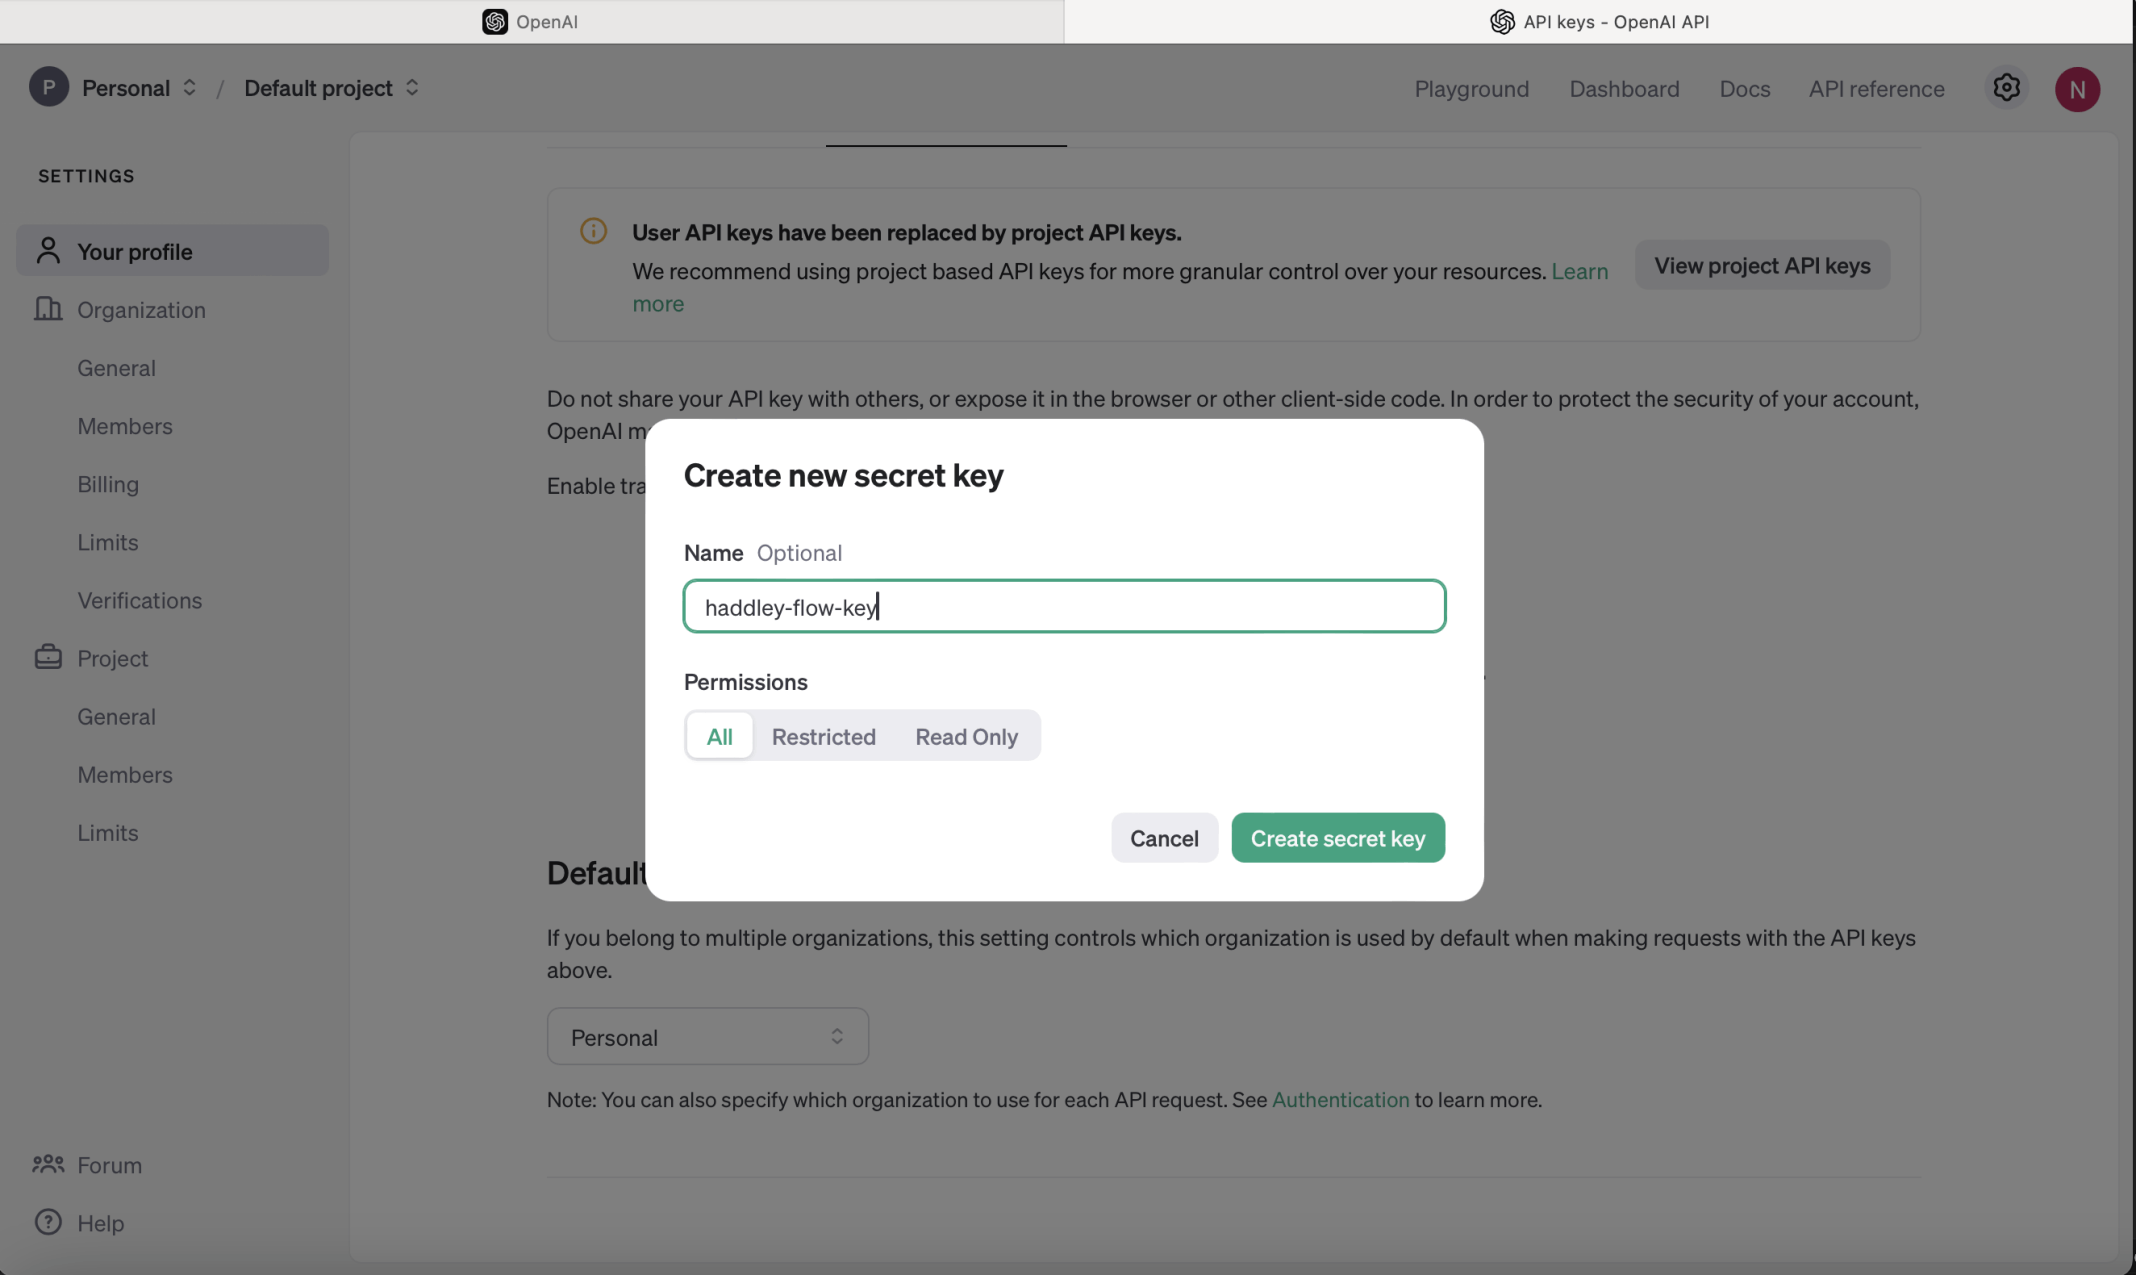
I created an OpenAI key
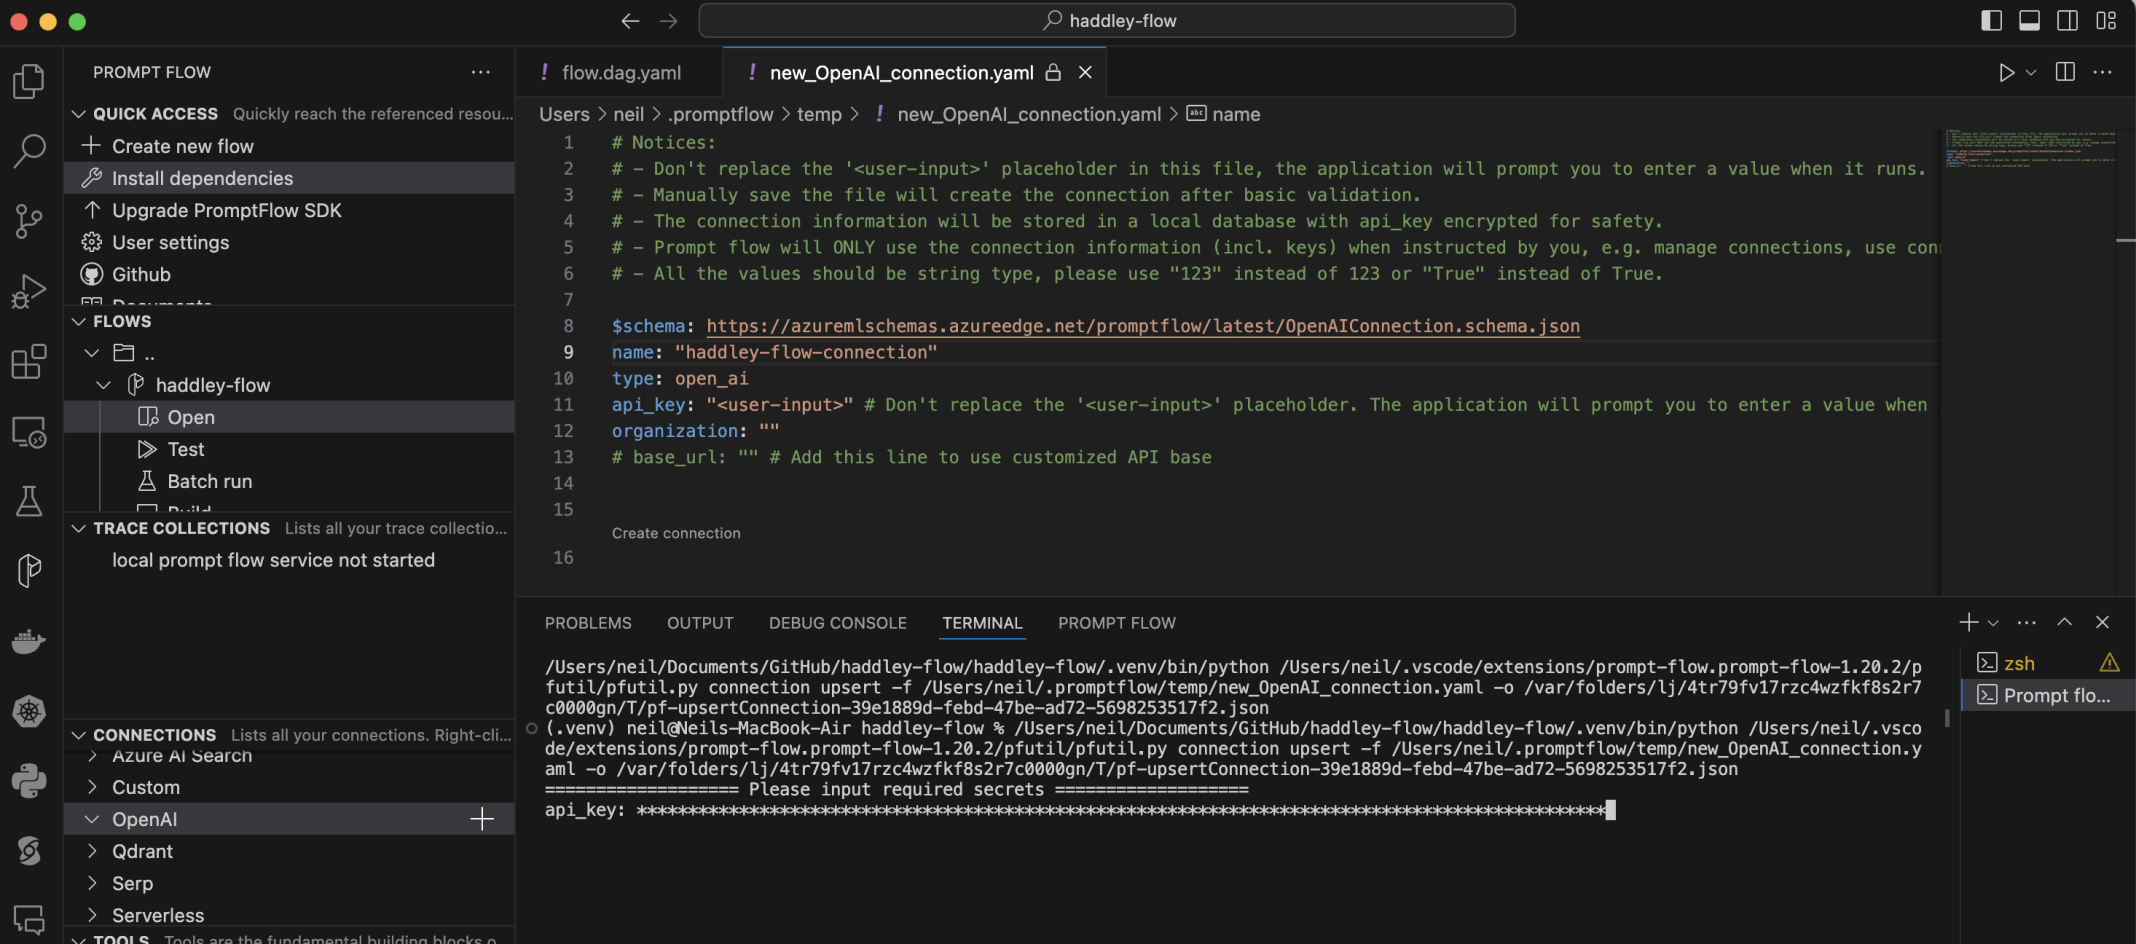
I created a haddley-flow-connection Open AI connection. I pasted the key value
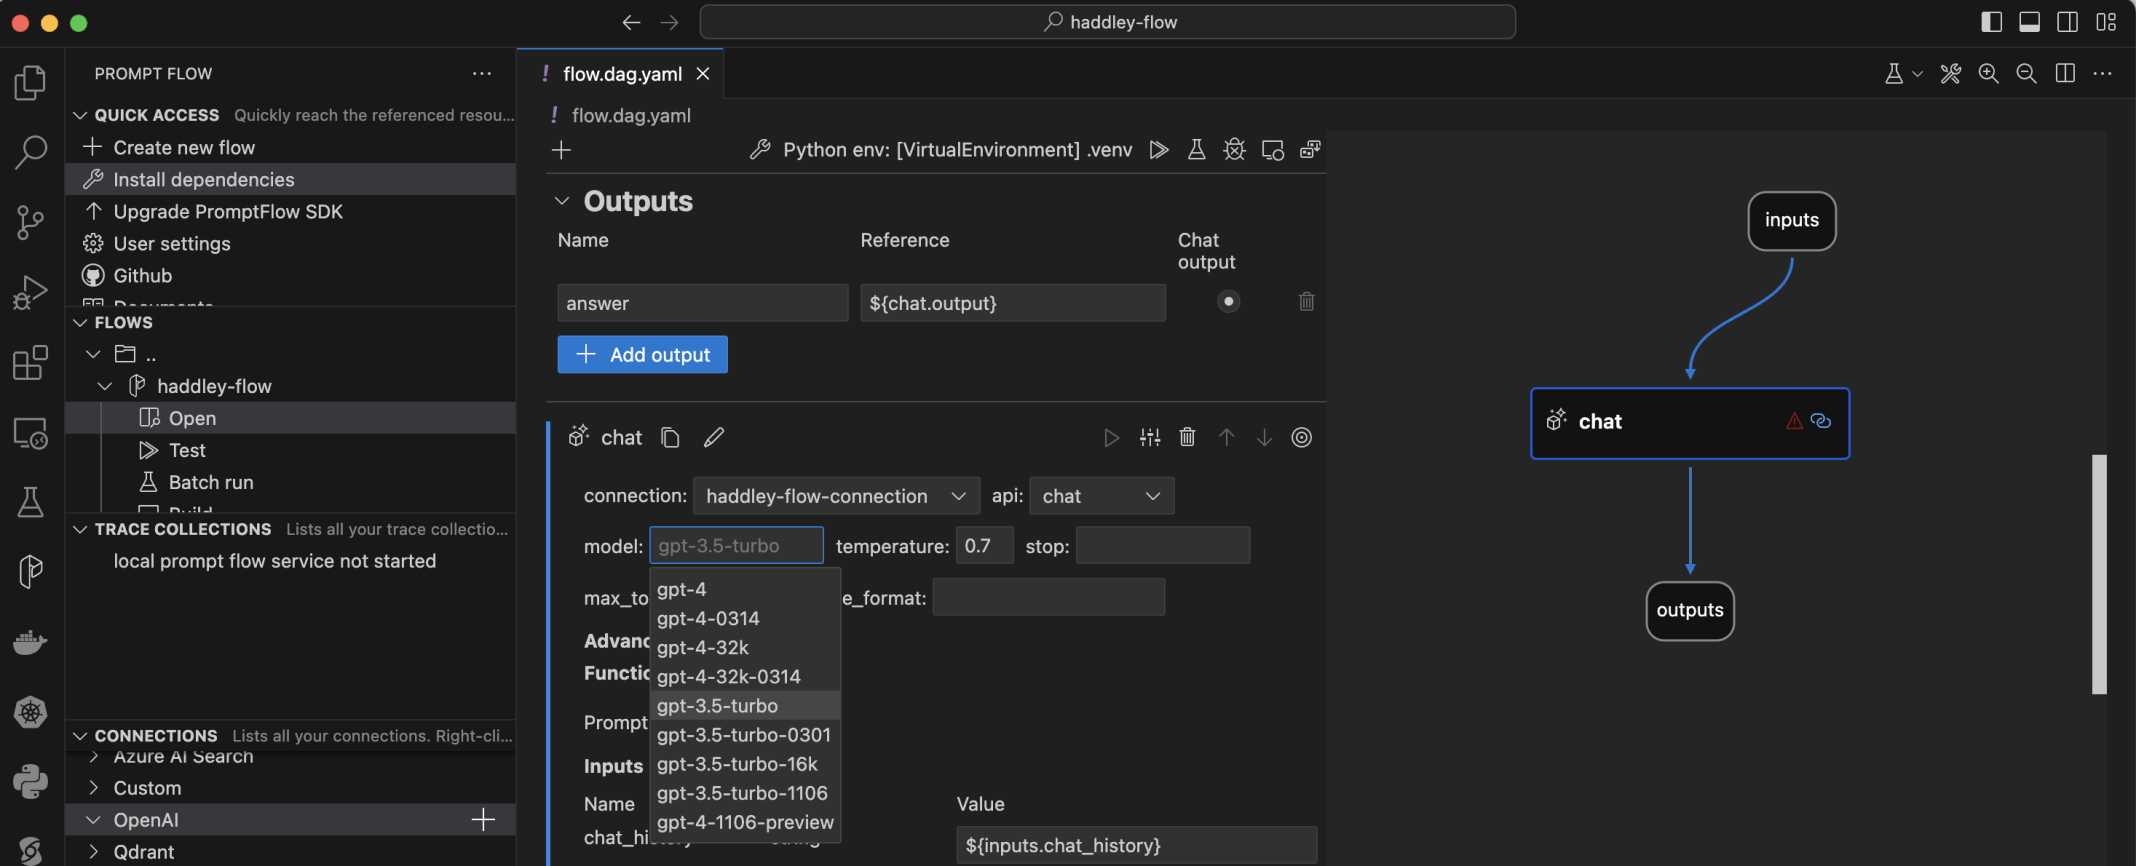
I selected the gpt-3.5-turbo model

I tried to test the flow
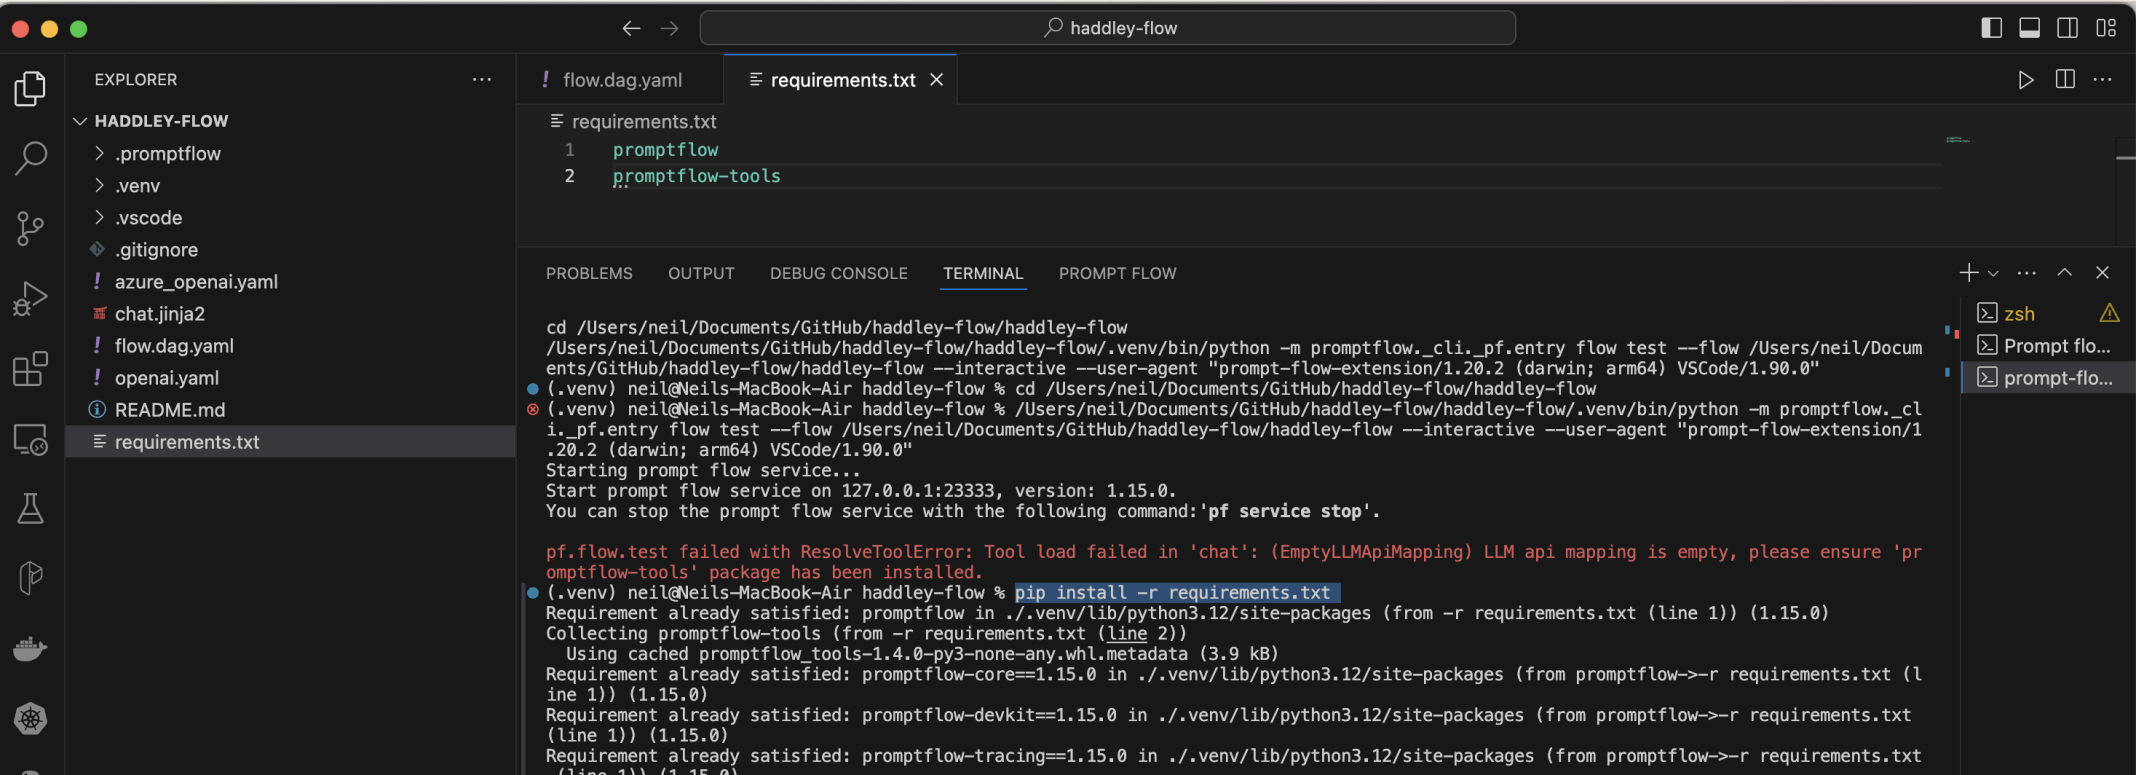
I updated requirements.txt and using pip install -r requirements.txt to install promptflow-tools
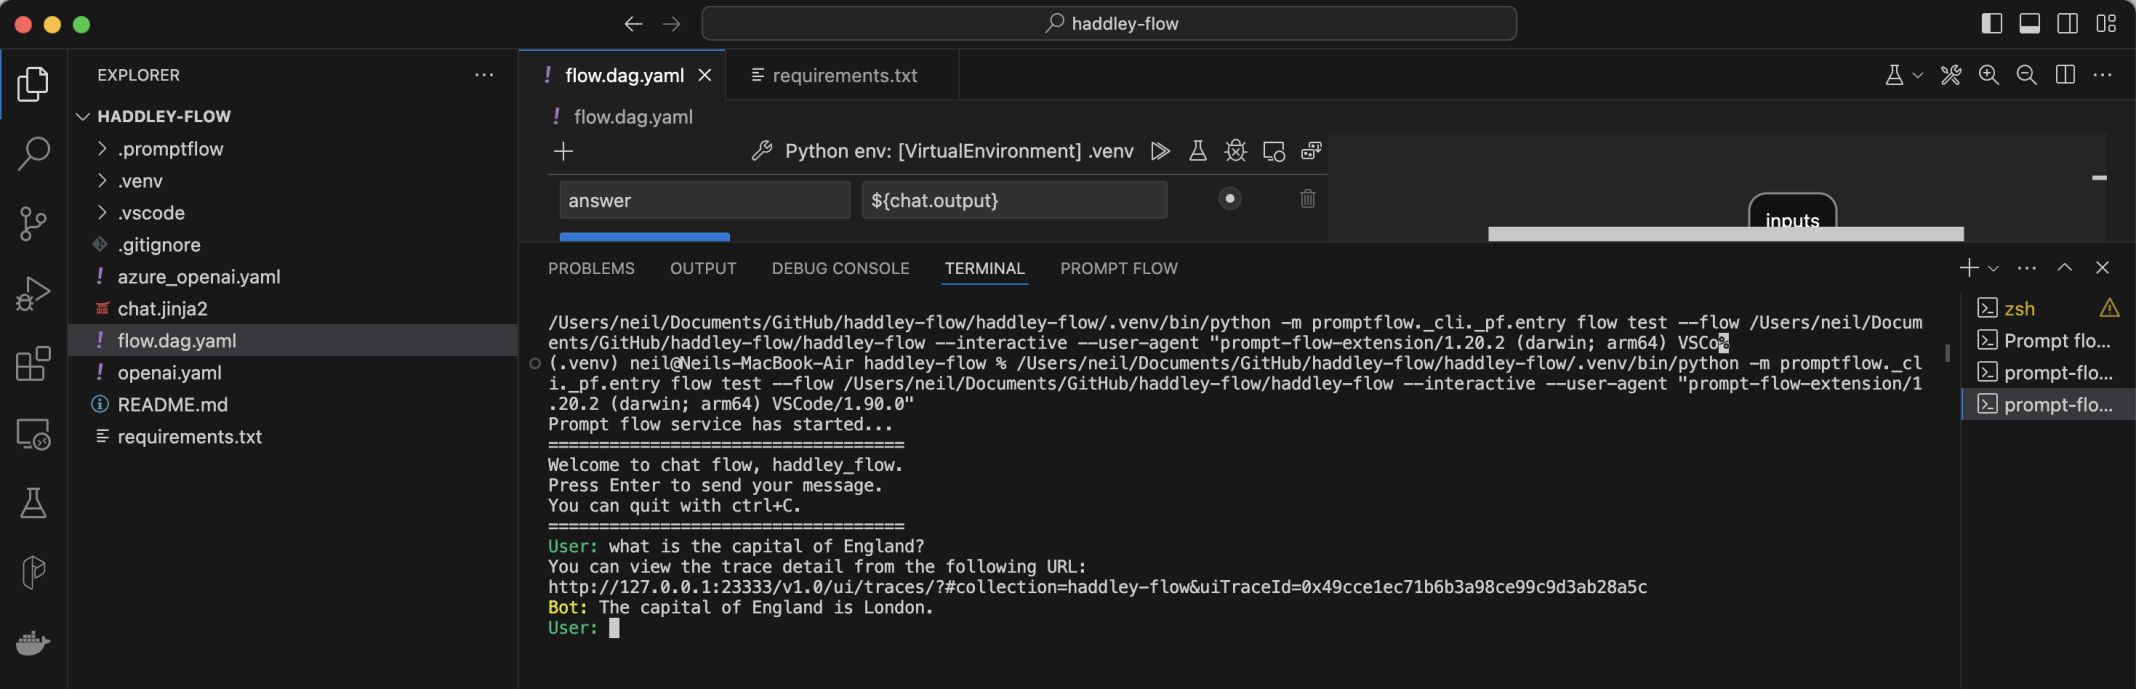
I tested the flow

I selected the build button
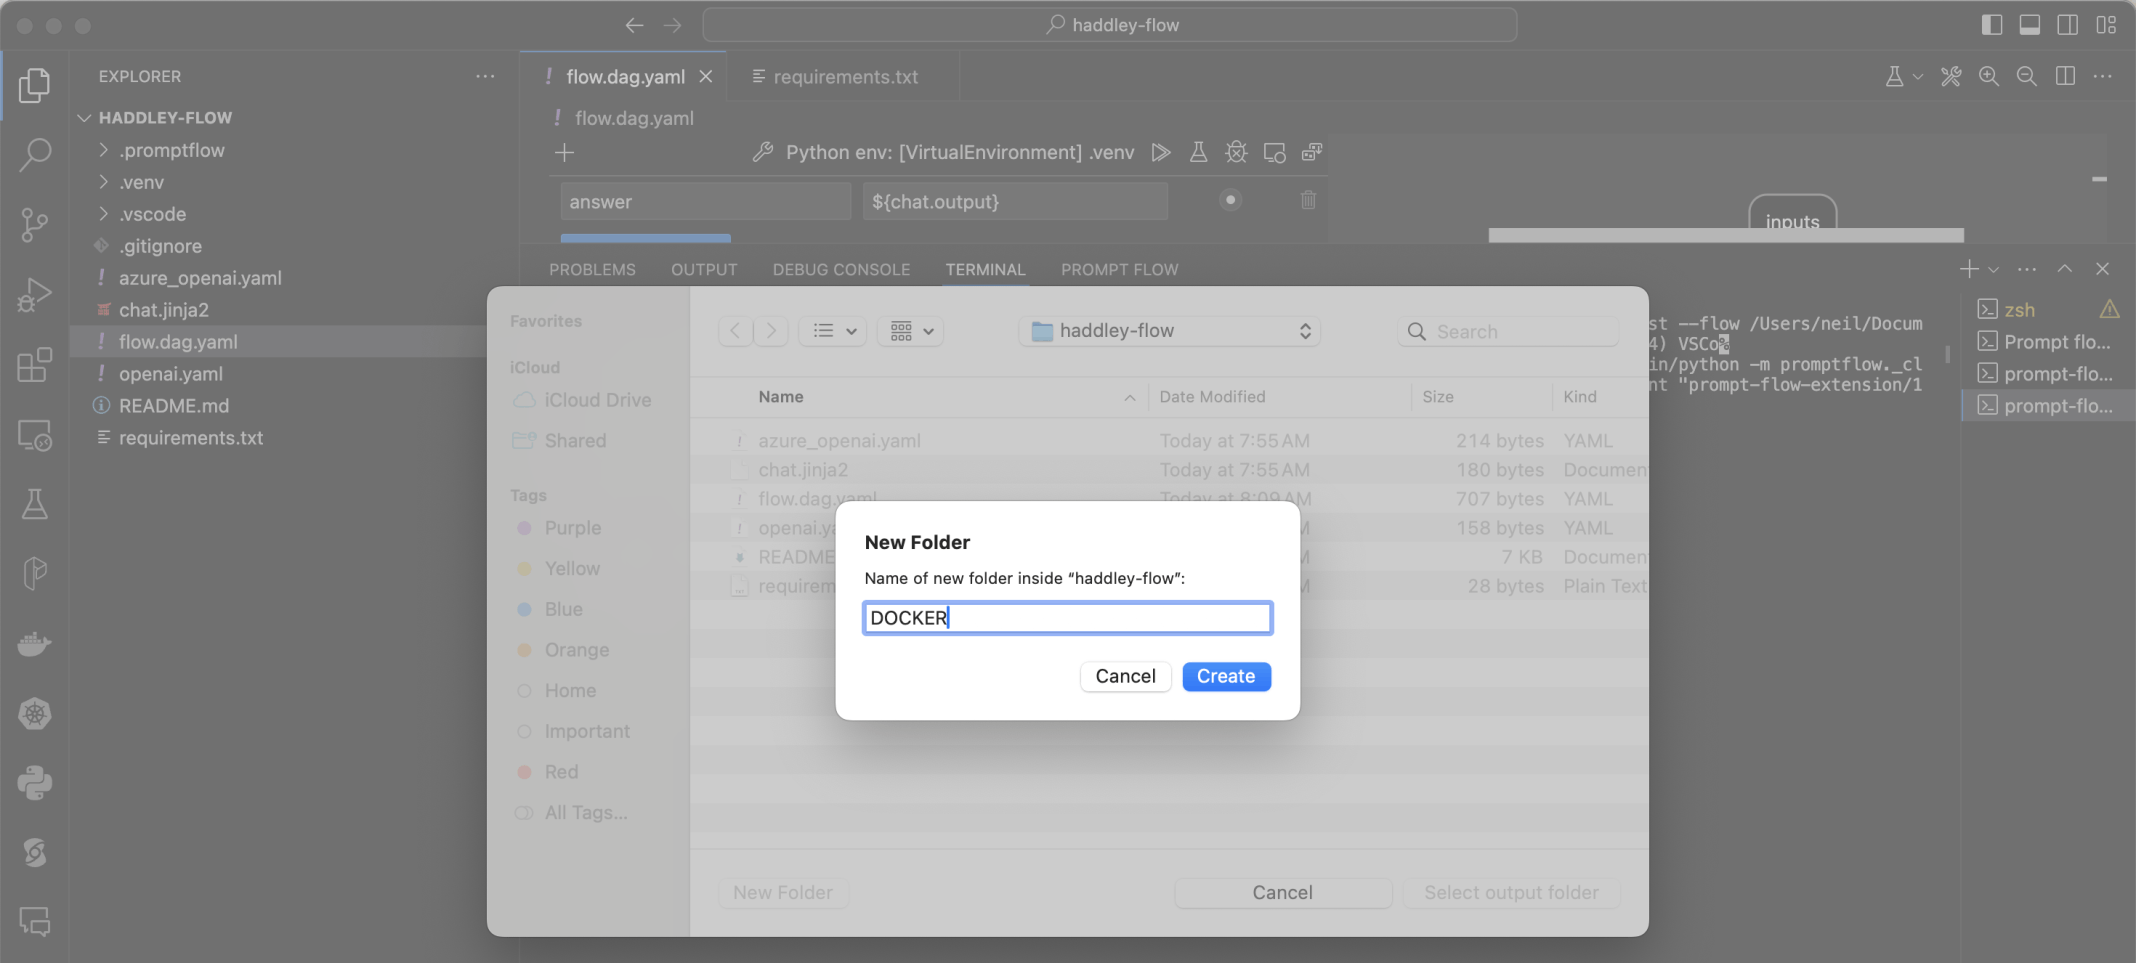
I created a DOCKER folder
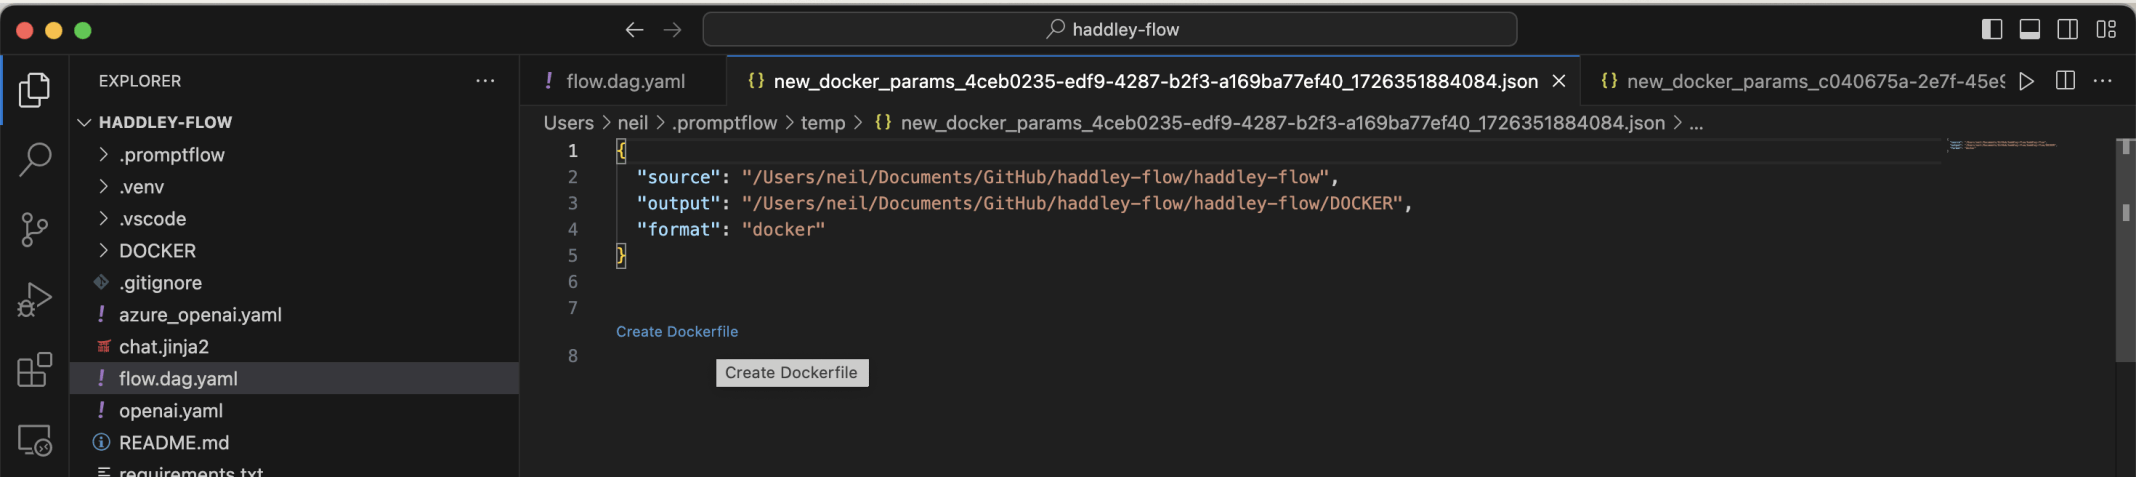
I clicked the Create Dockerfile link
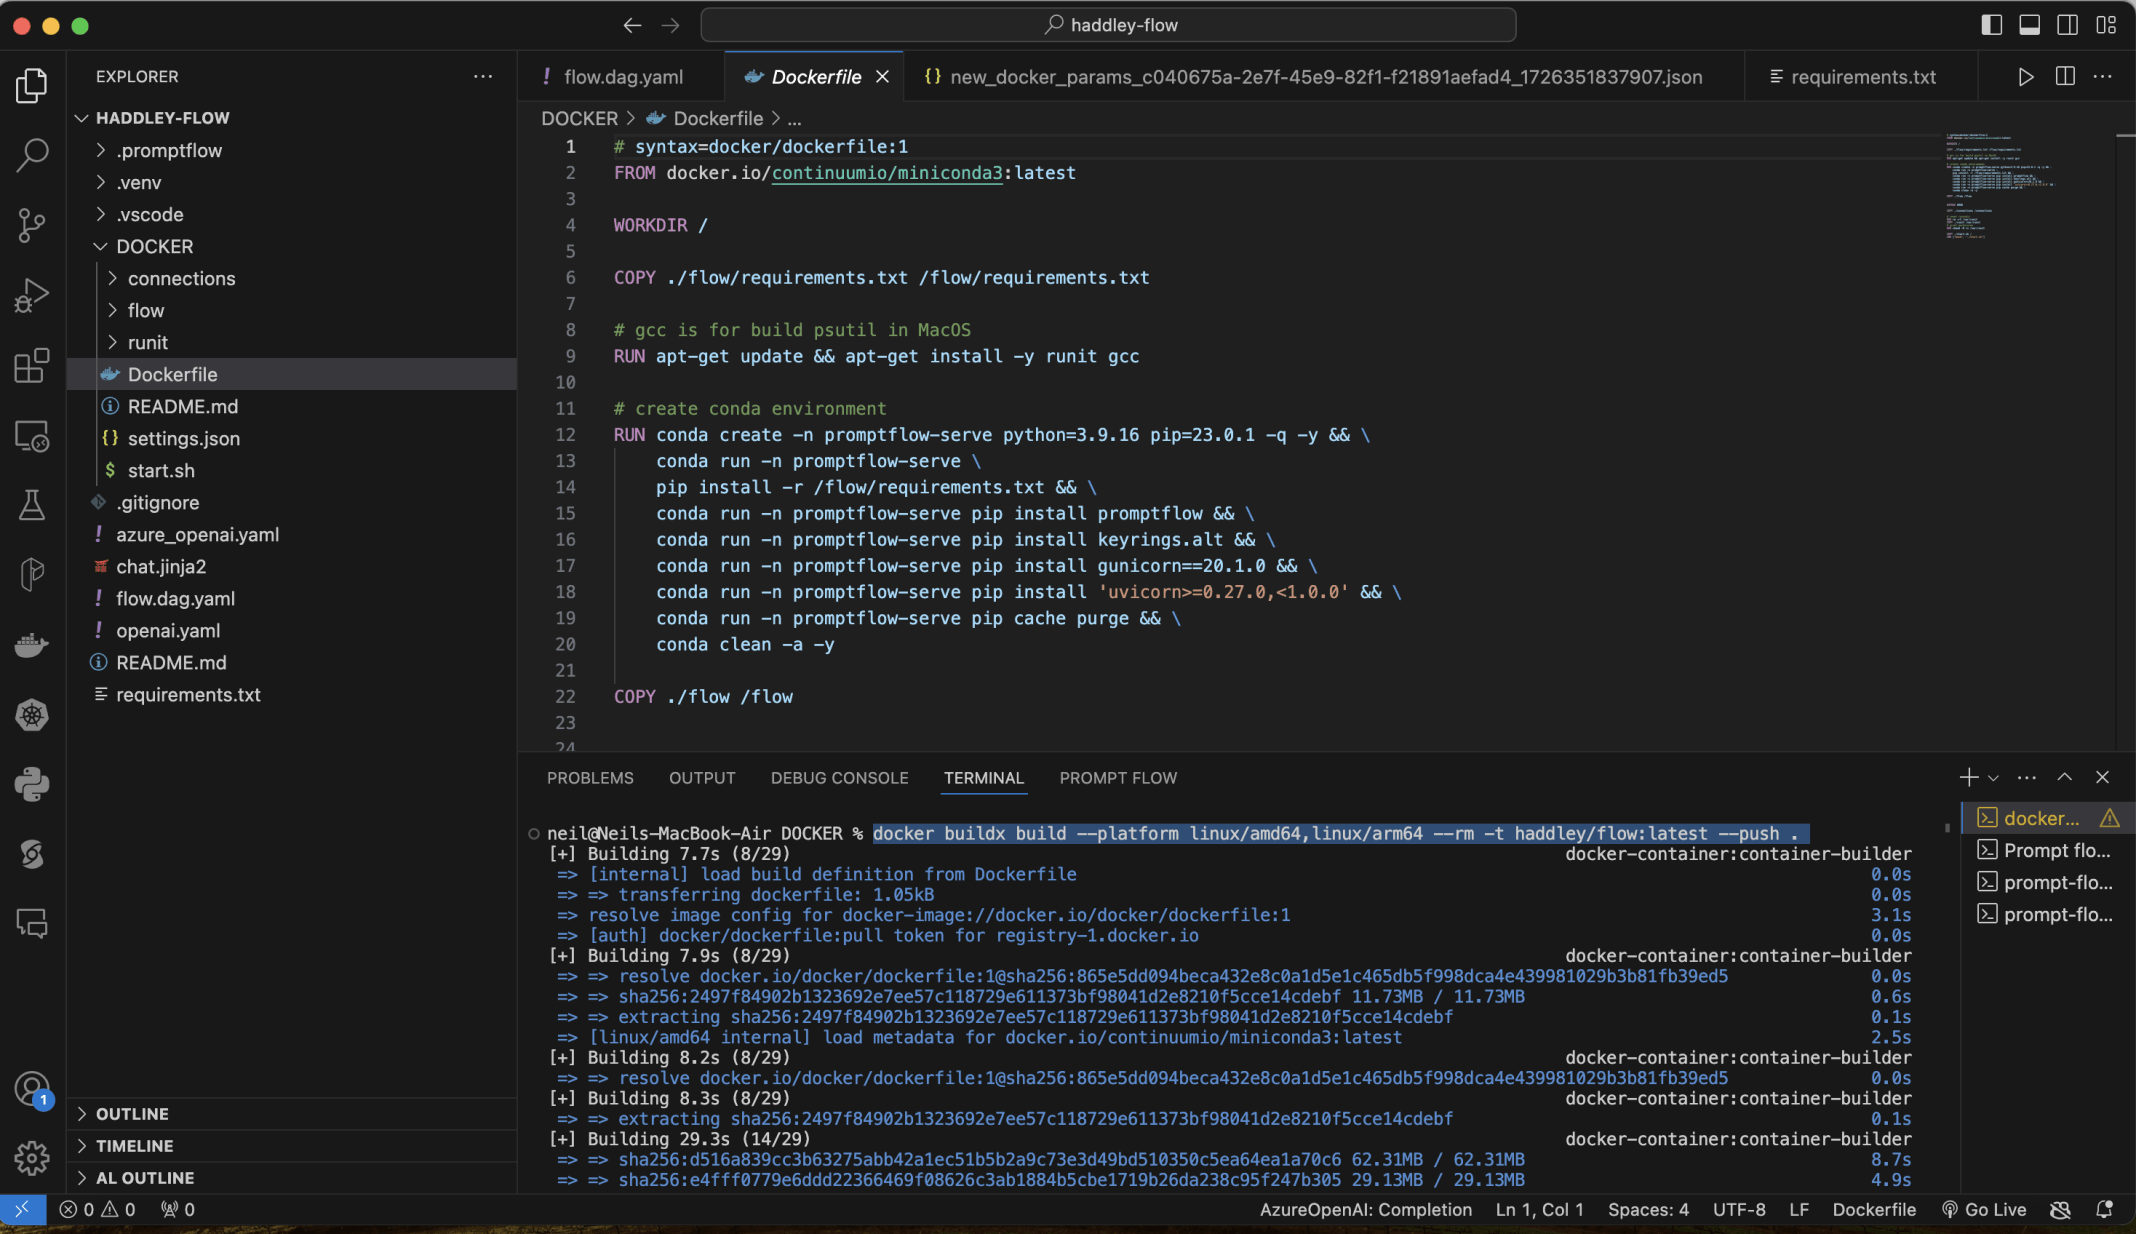
I used docker to build an image and to upload the image to dockerhubdocker buildx build --platform linux/amd64,linux/arm64 --rm -t haddley/flow:latest --push .

The image was published to dockerhub
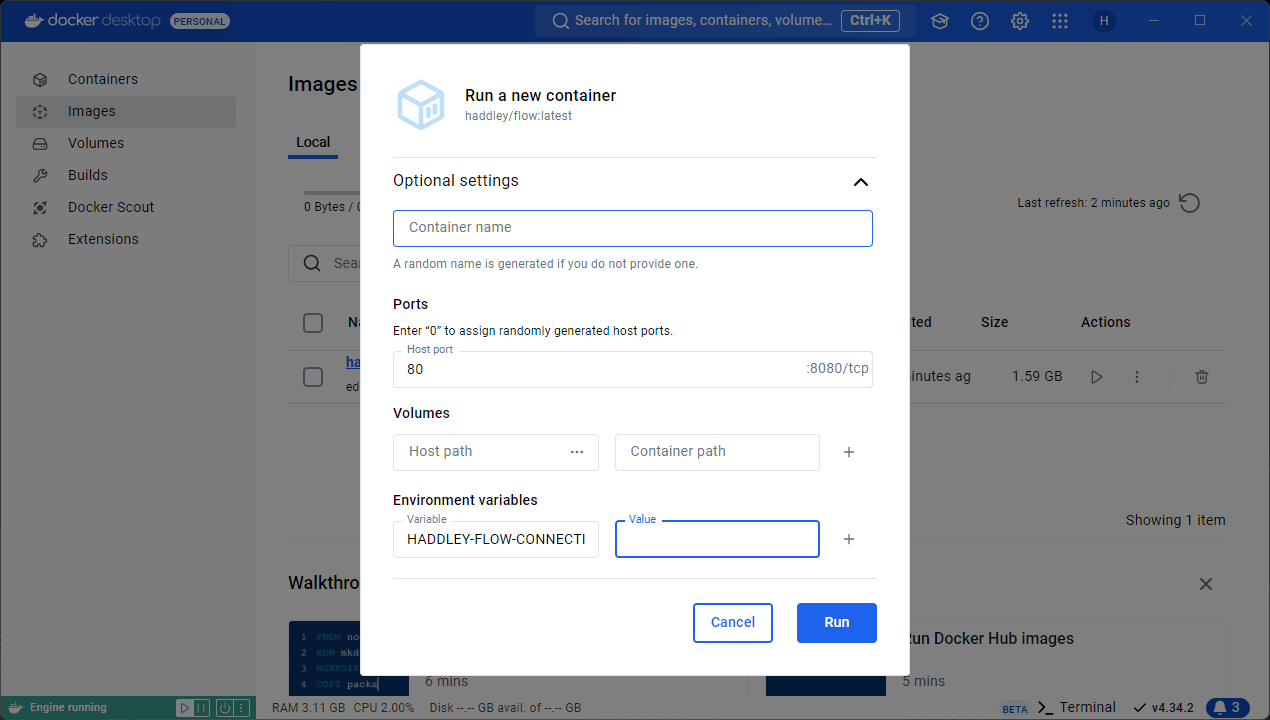
I set the HADDLEY-FLOW-CONNECTION_API_KEY environment variable to the OpenAI key value
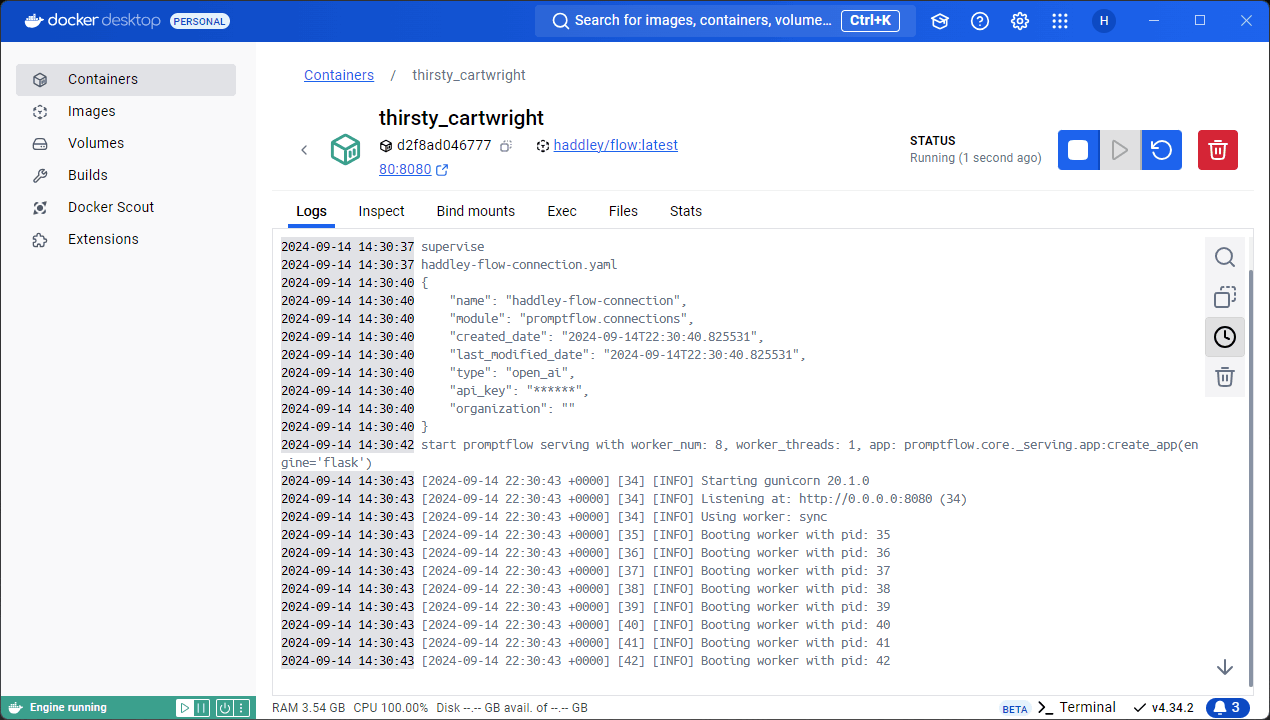
I ran the image
Dockerfile
TEXT
1# syntax=docker/dockerfile:1
2FROM docker.io/continuumio/miniconda3:latest
3
4WORKDIR /
5
6COPY ./flow/requirements.txt /flow/requirements.txt
7
8# gcc is for build psutil in MacOS
9RUN apt-get update && apt-get install -y runit gcc
10
11# create conda environment
12RUN conda create -n promptflow-serve python=3.9.16 pip=23.0.1 -q -y && \
13    conda run -n promptflow-serve \
14    pip install -r /flow/requirements.txt && \
15    conda run -n promptflow-serve pip install keyrings.alt && \
16    conda run -n promptflow-serve pip install gunicorn==20.1.0 && \
17    conda run -n promptflow-serve pip install 'uvicorn>=0.27.0,<1.0.0' && \
18    conda run -n promptflow-serve pip cache purge && \
19    conda clean -a -y
20
21COPY ./flow /flow
22
23
24EXPOSE 8080
25
26COPY ./connections /connections
27
28# reset runsvdir
29RUN rm -rf /var/runit
30COPY ./runit /var/runit
31# grant permission
32RUN chmod -R +x /var/runit
33
34COPY ./start.sh /
35CMD ["bash", "./start.sh"]