SharePoint
Neil Haddley • May 2, 2026
Device Request (Part 1)
I built a Device Request list in SharePoint Online to let IT staff submit requests for new equipment. The list uses a custom Power Apps form that locks the Status field so only an approver can change it, keeping the Pending/Approved/Rejected workflow clean. A Power Automate flow then fires on every new submission and emails a confirmation back to the requester automatically.
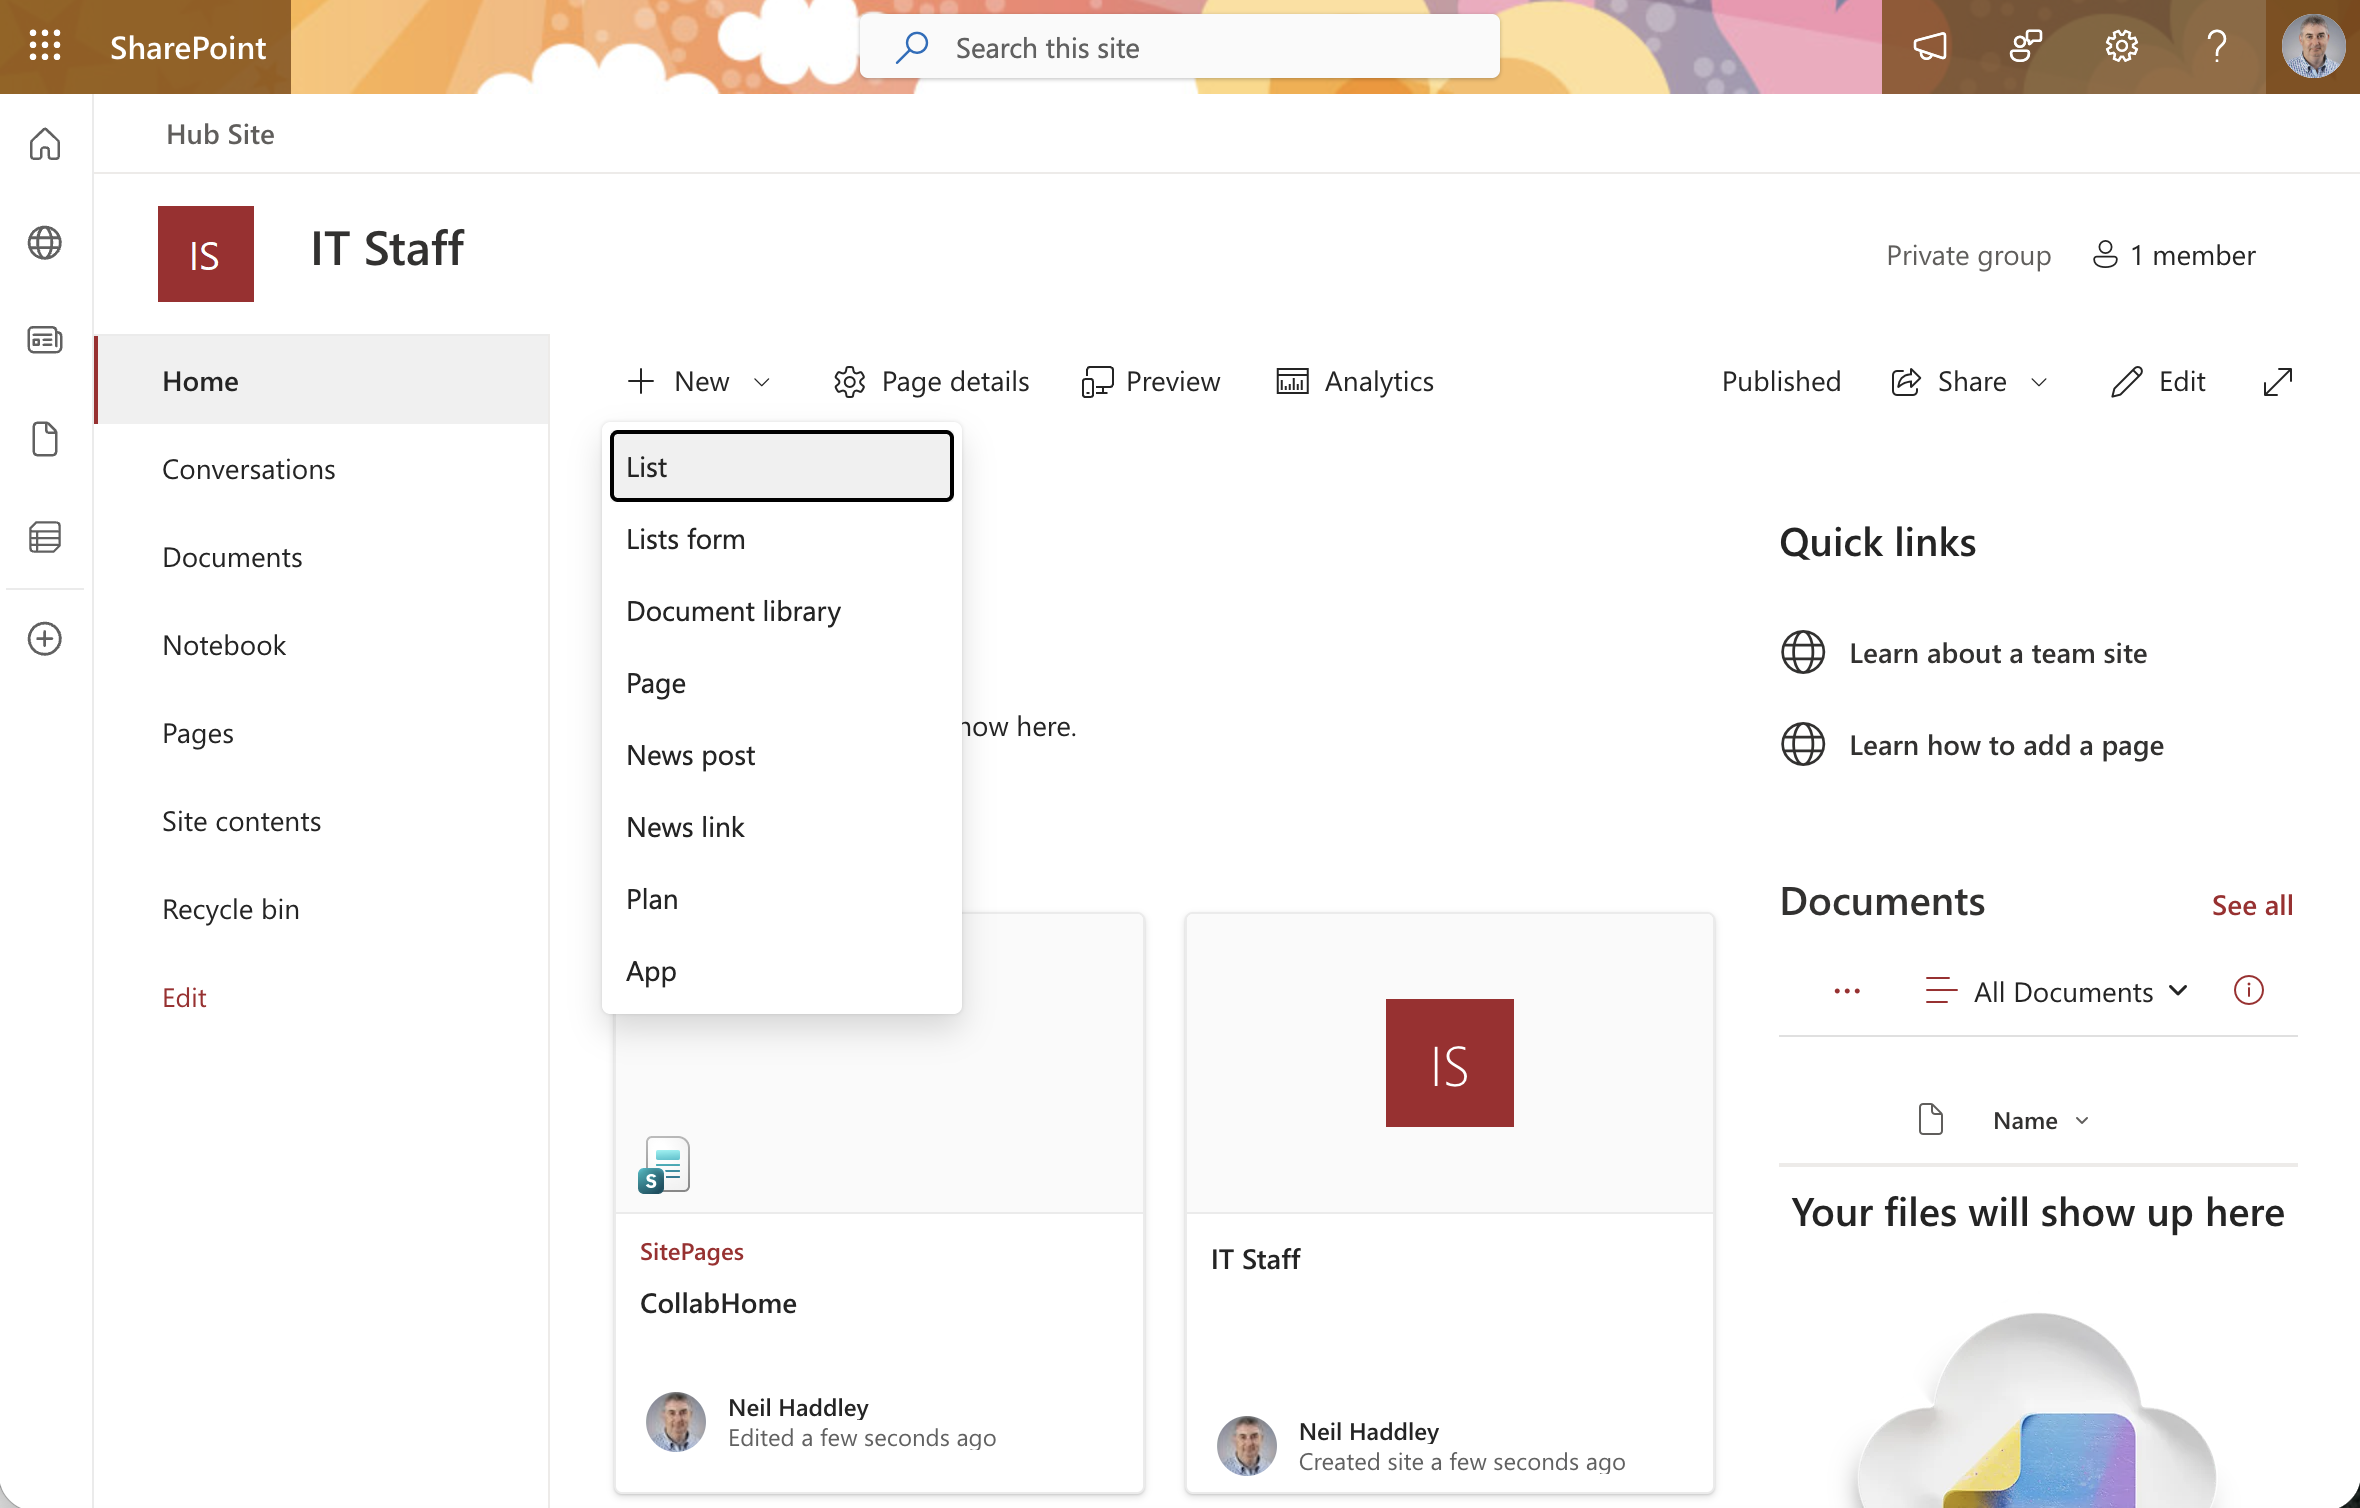
I opened the IT Staff SharePoint site and clicked New > List to create a new list
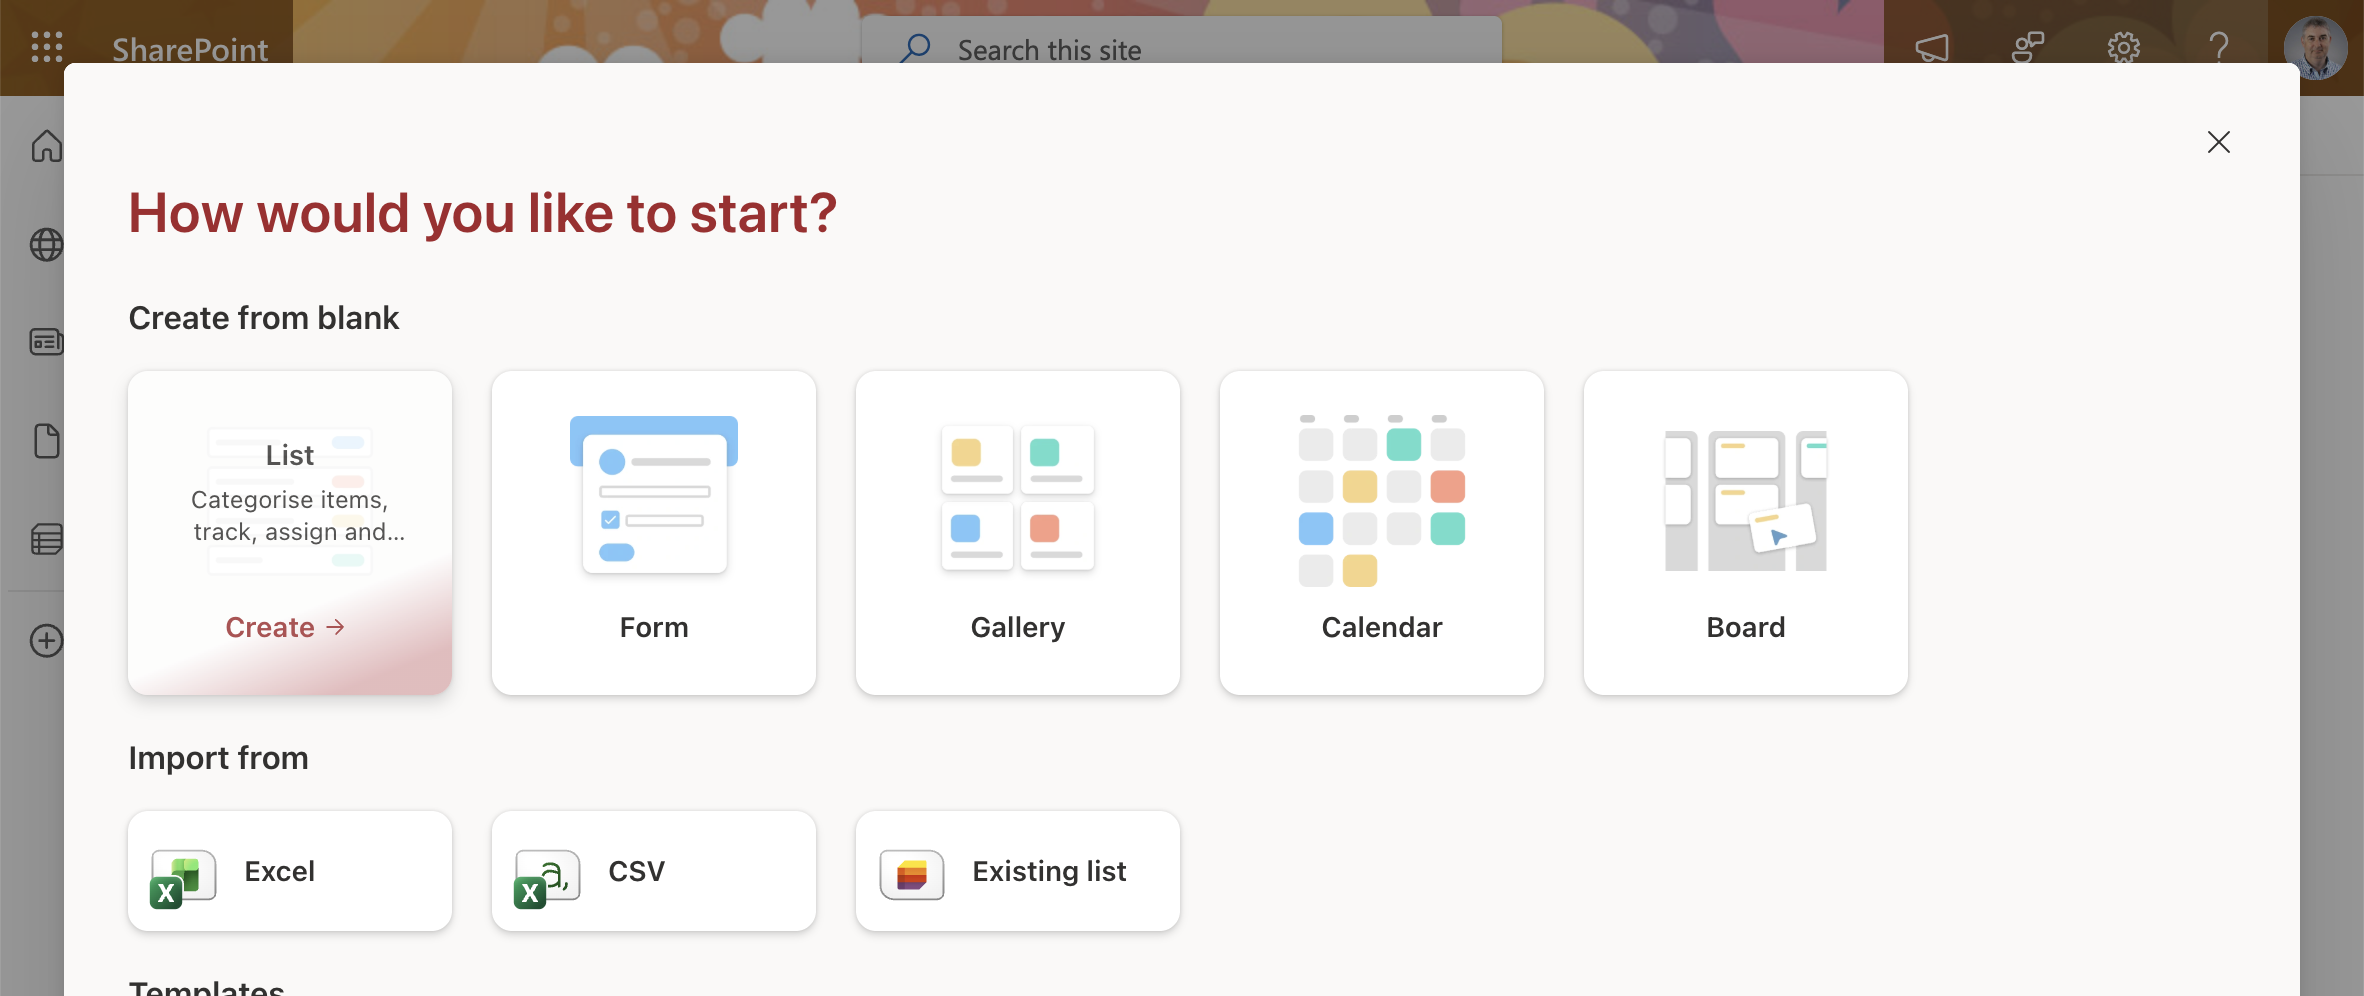
The "How would you like to start?" dialog appeared — I chose to create a blank List
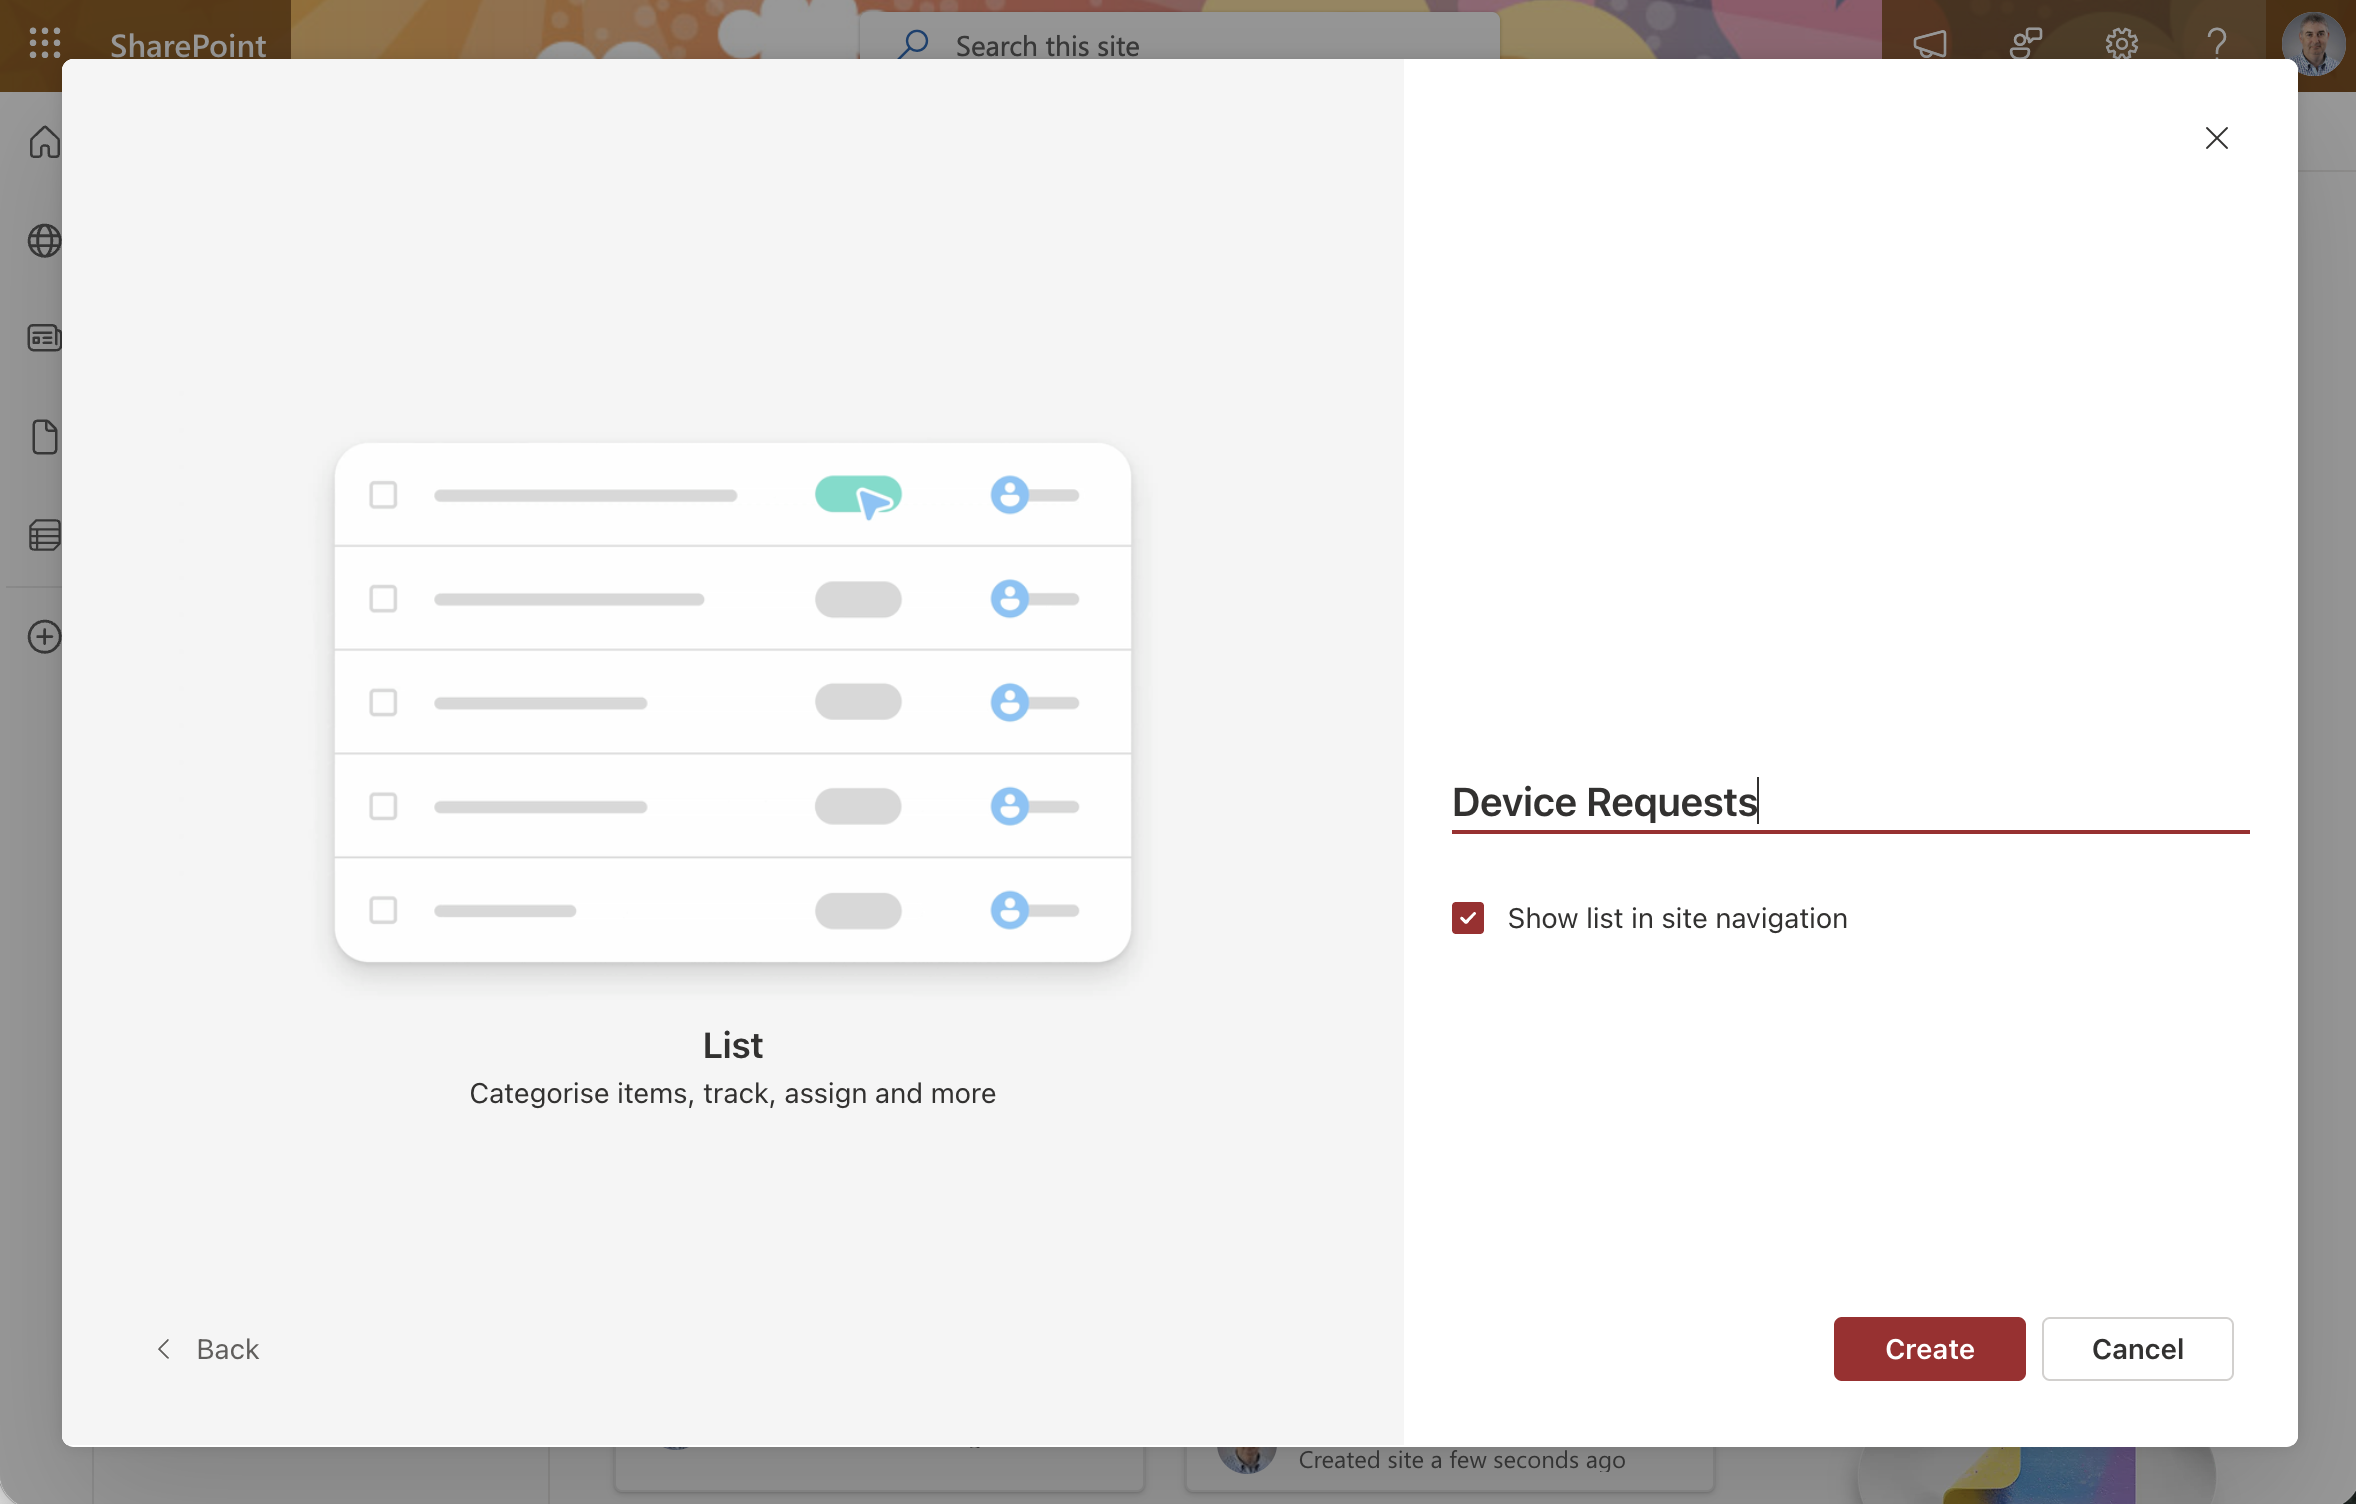
I named the new list "Device Requests" and clicked Create
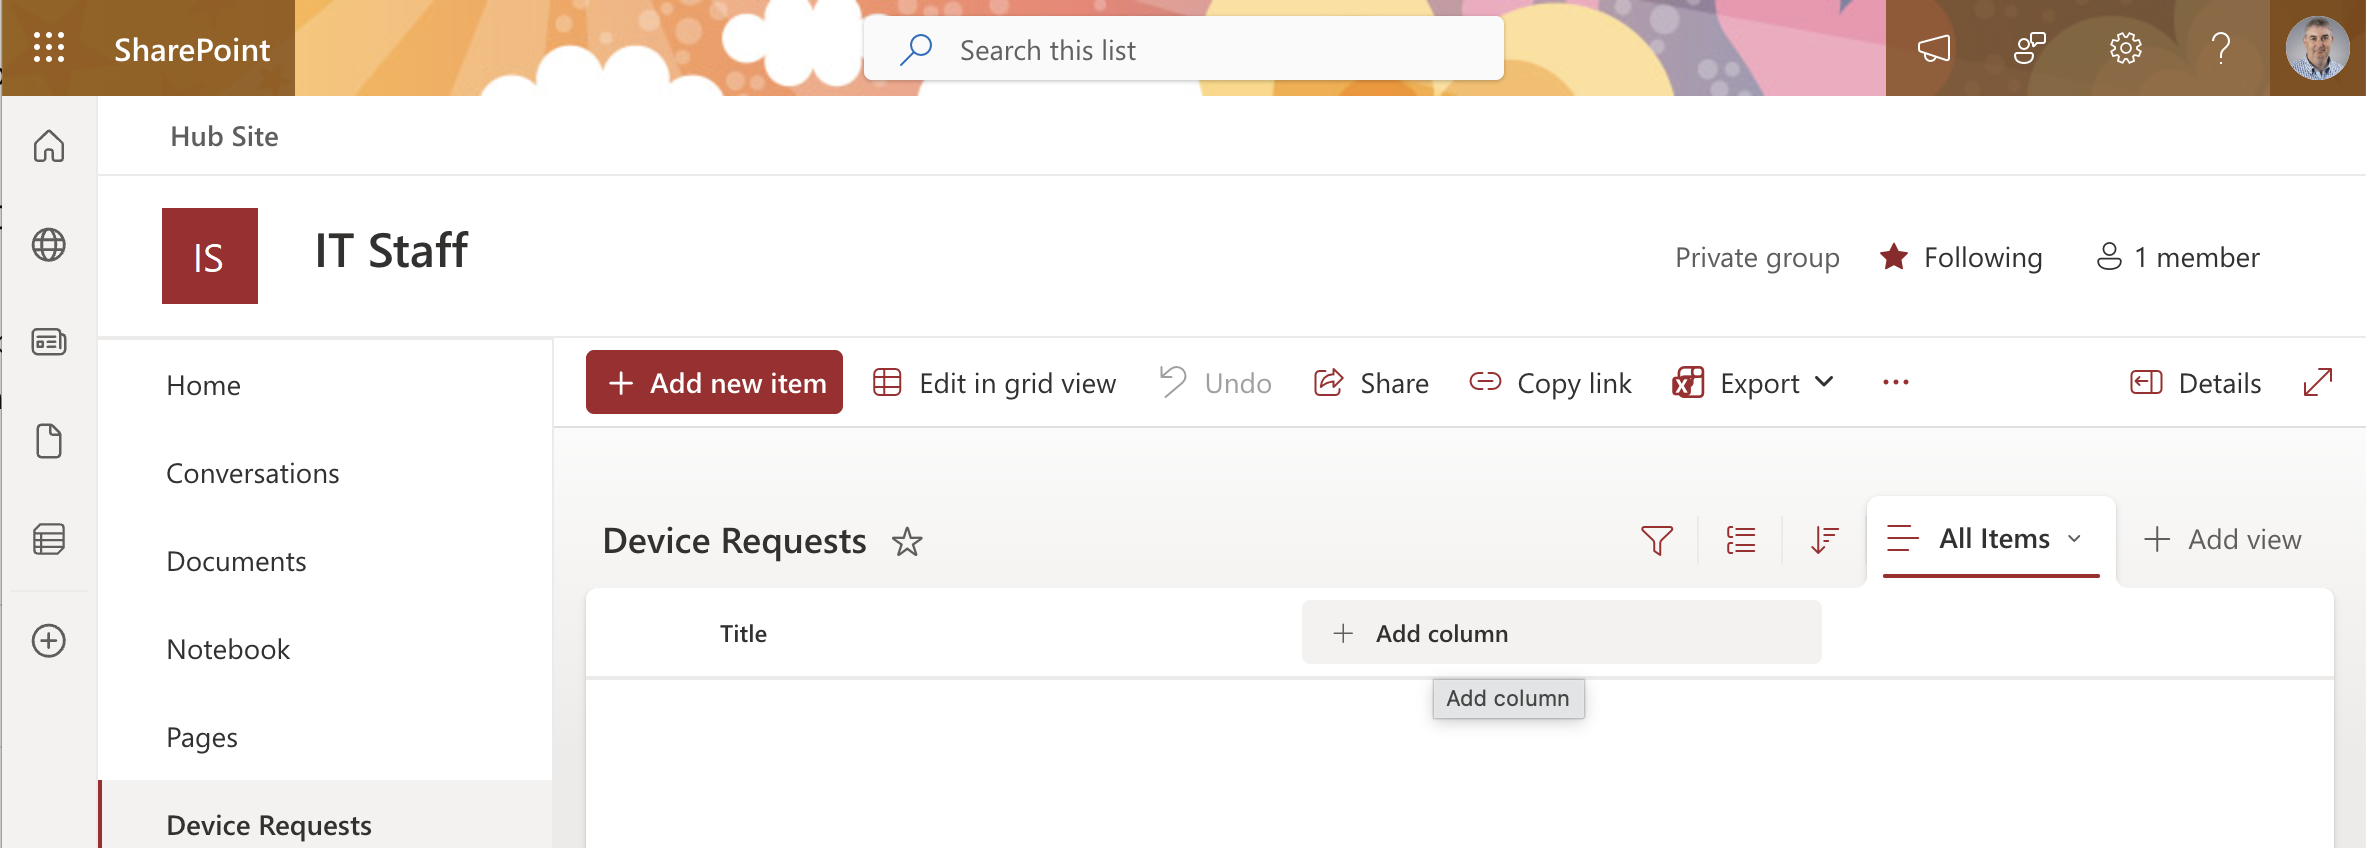
The empty Device Requests list was created with just a Title column
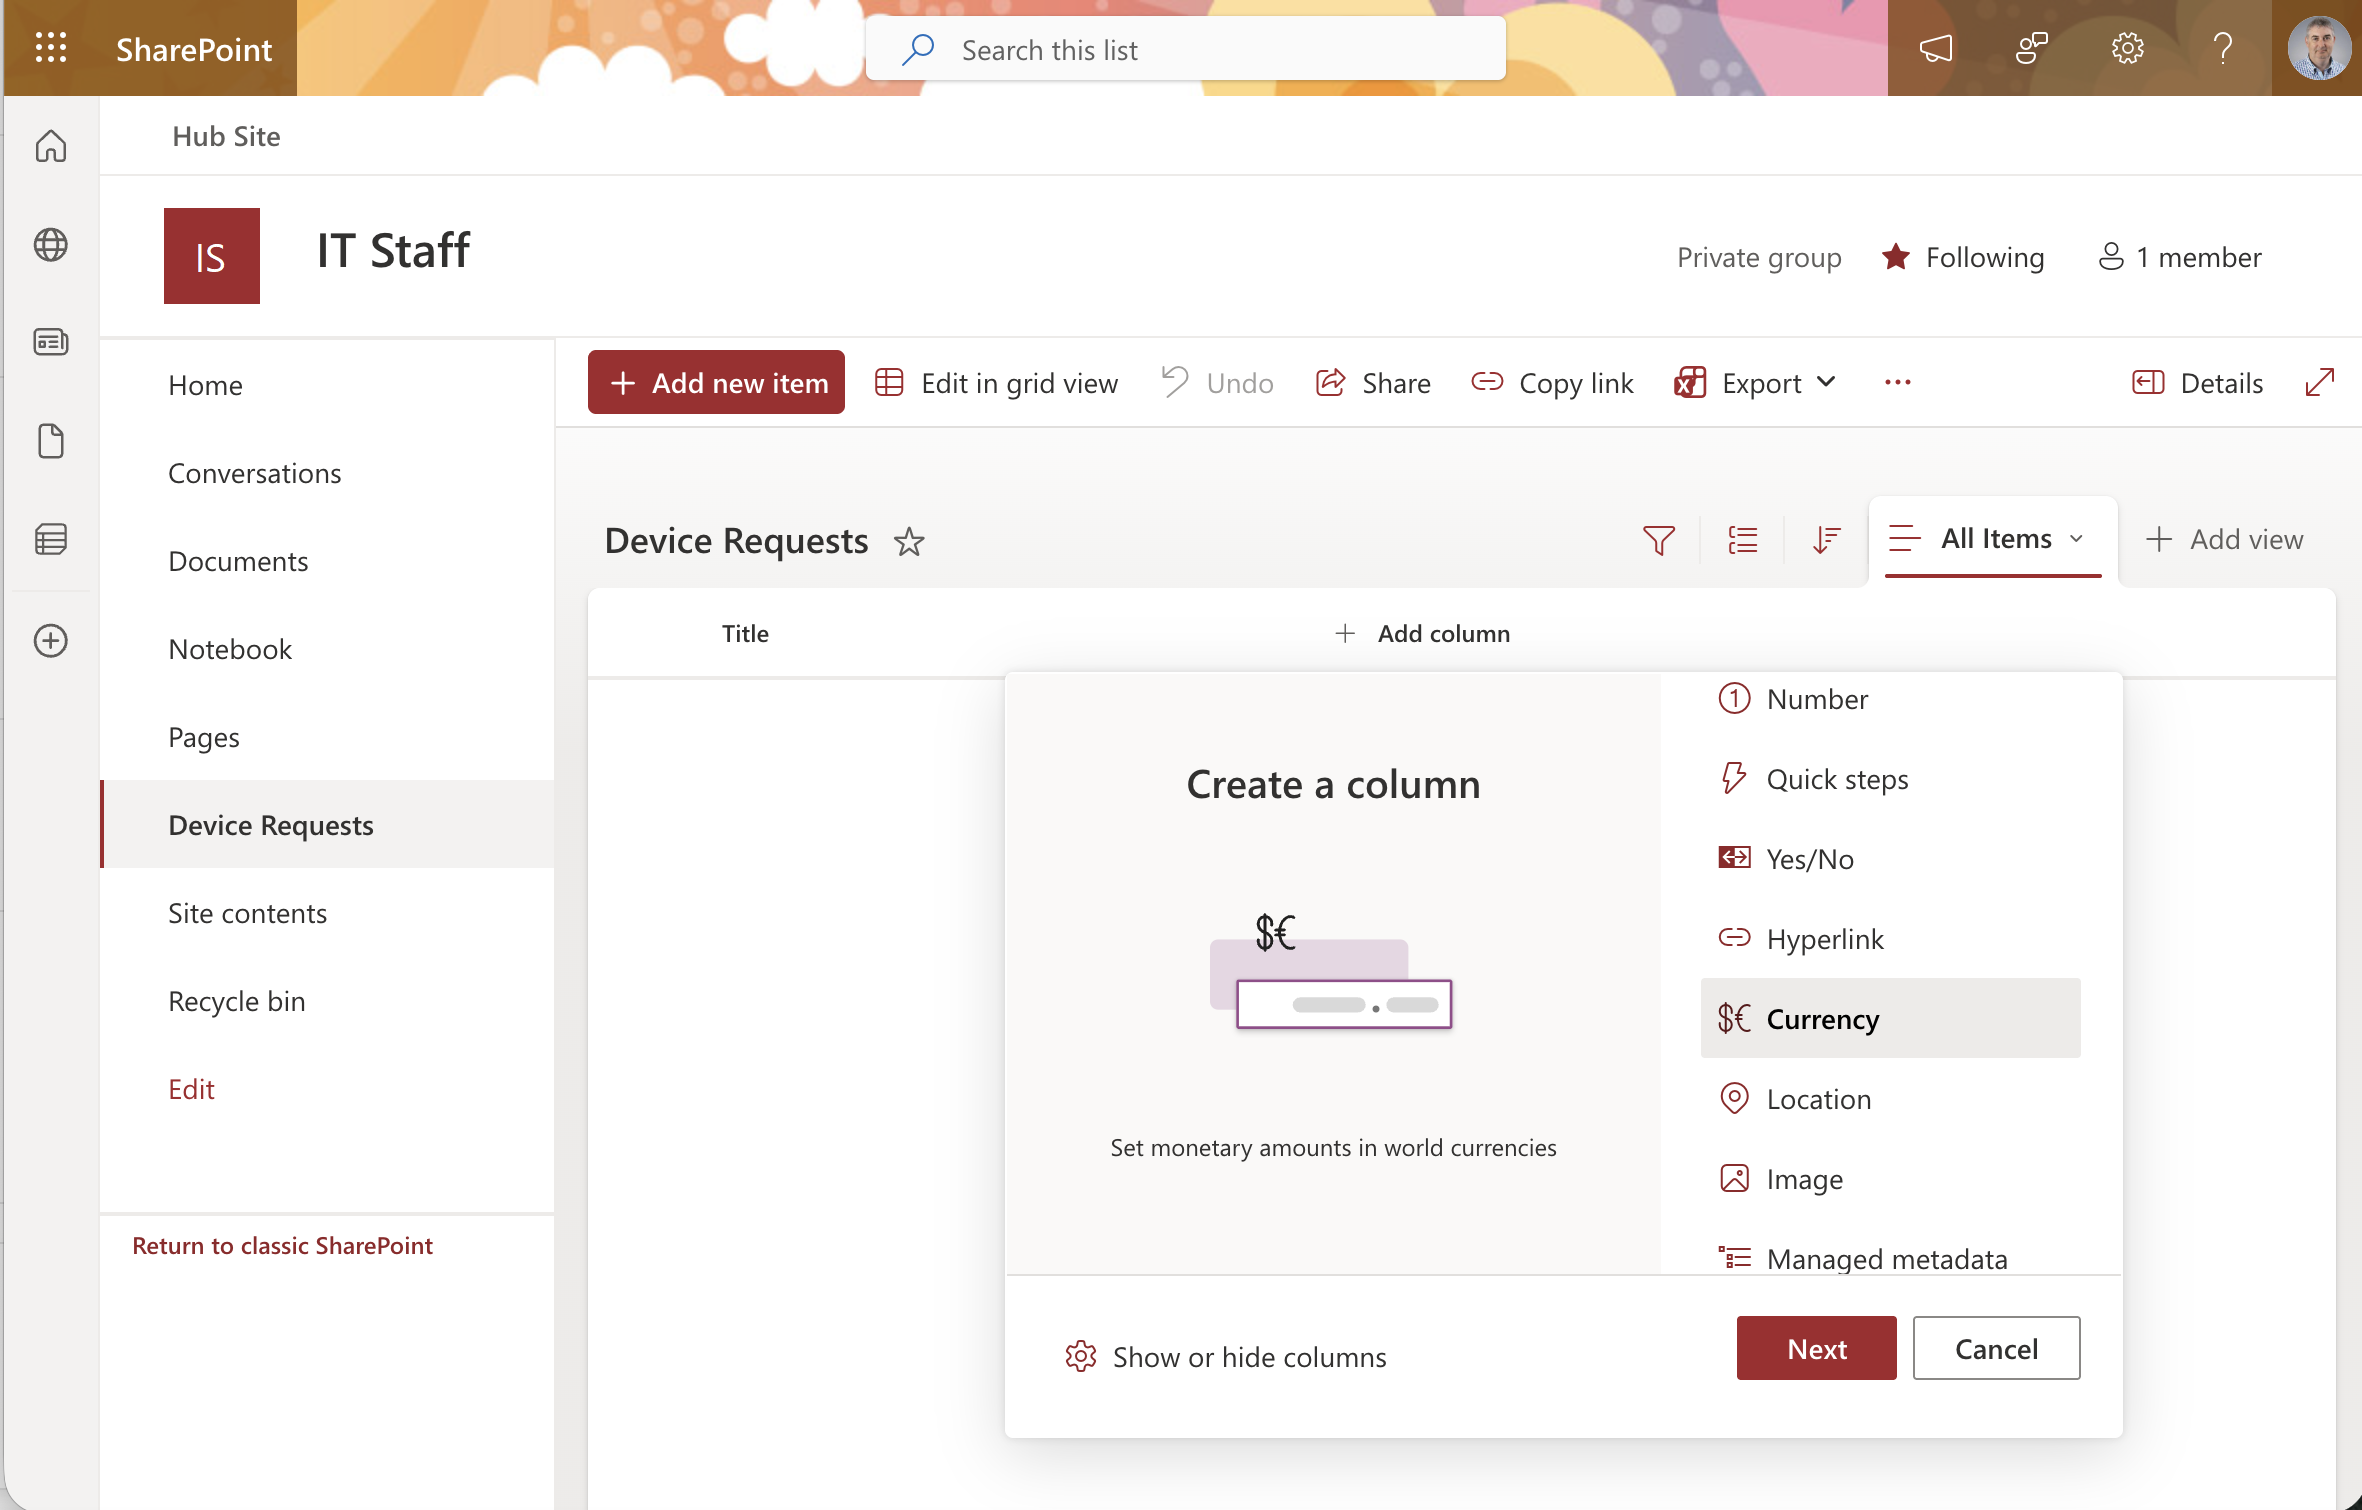
I clicked Add column and selected Currency as the column type
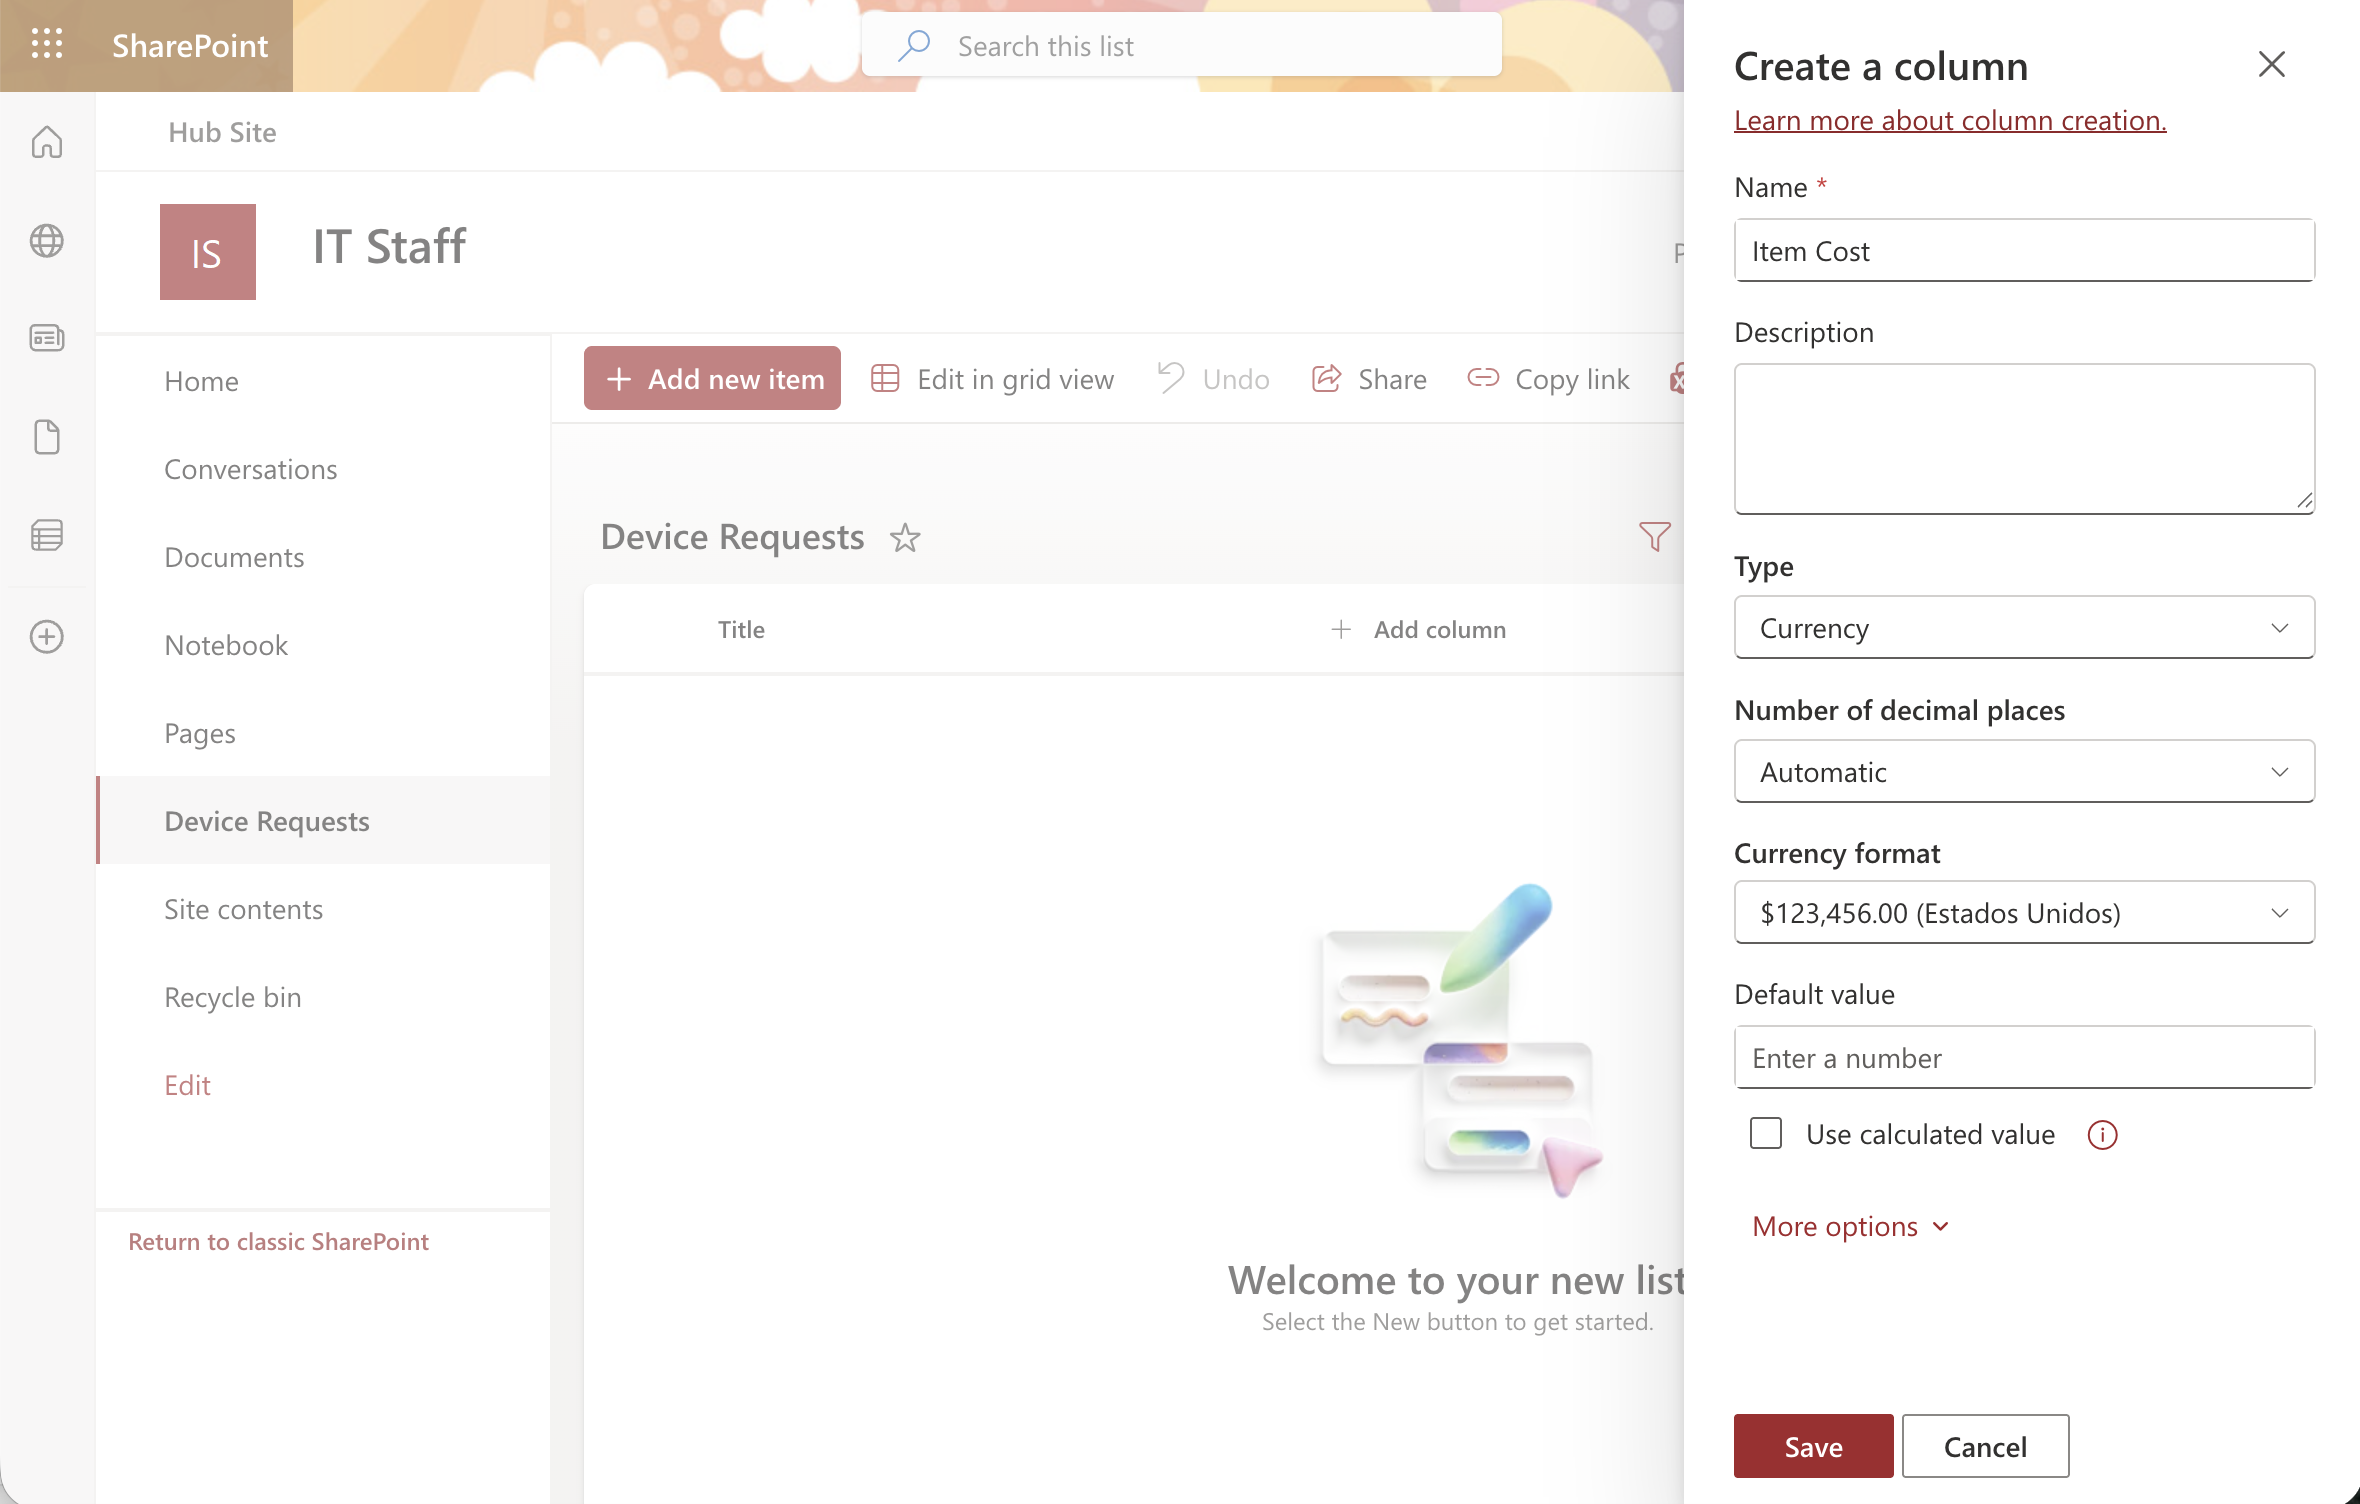
I created an "Item Cost" column with the Currency type and saved it
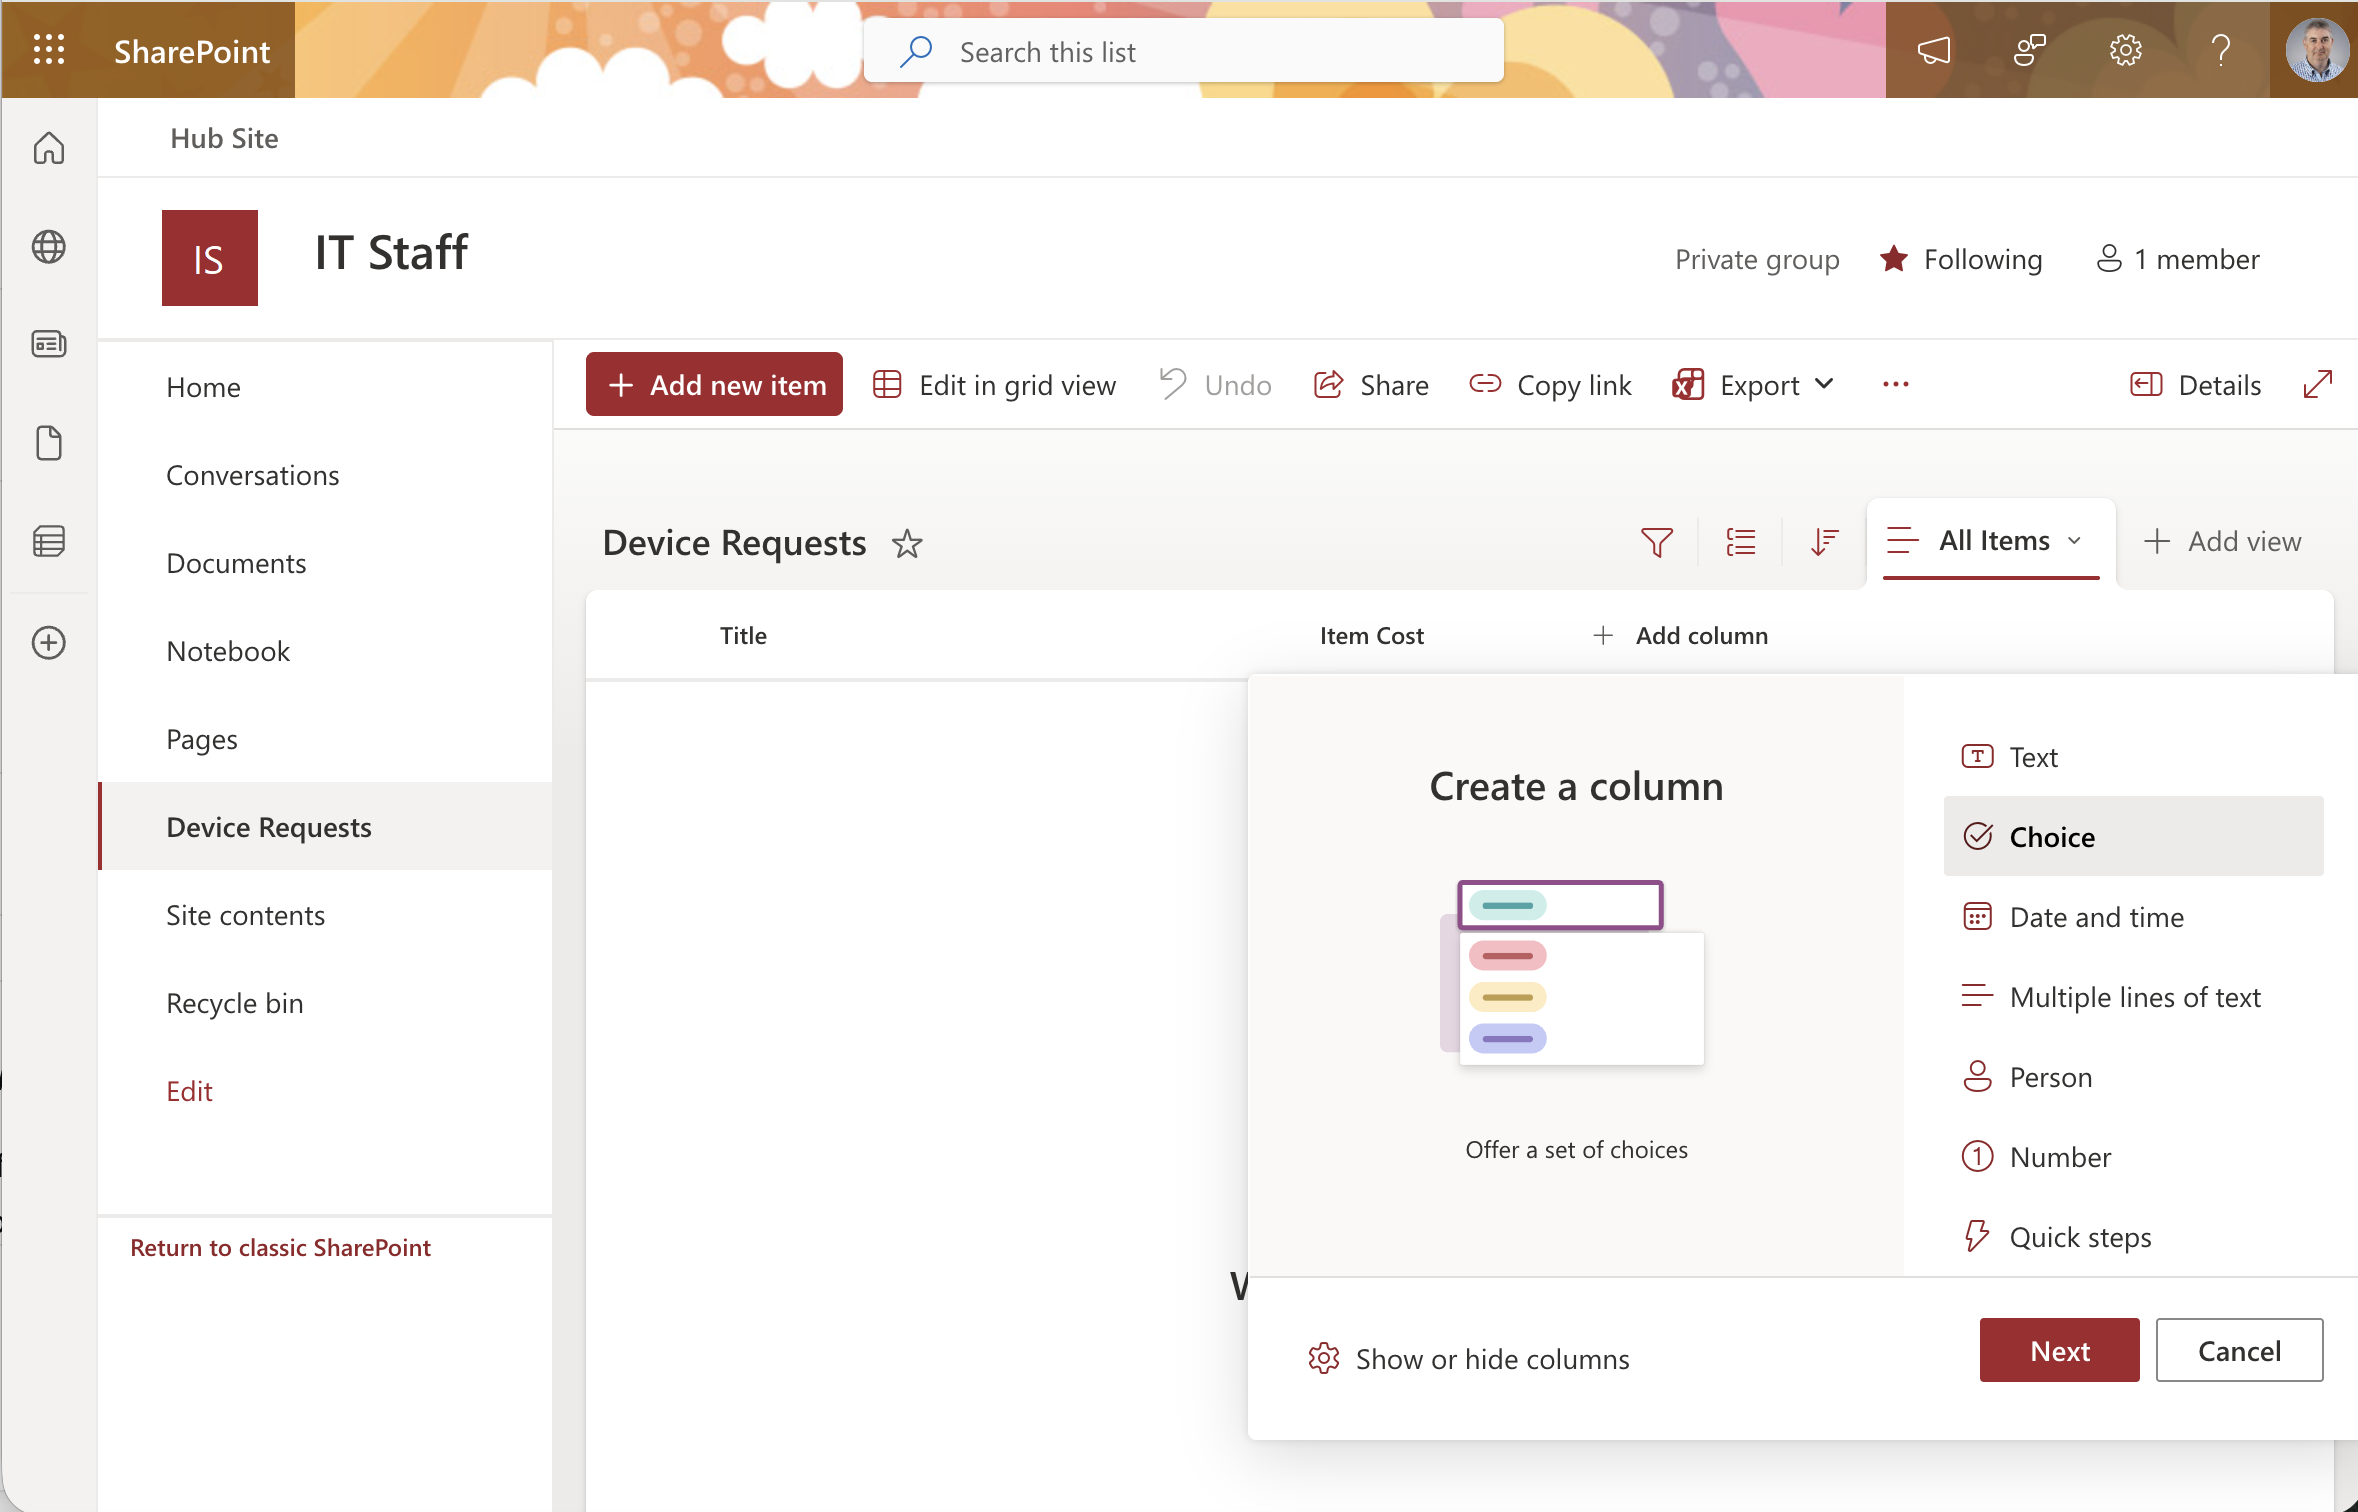
I created a "Status" column as a Choice type with options: Pending, Approved, and Rejected
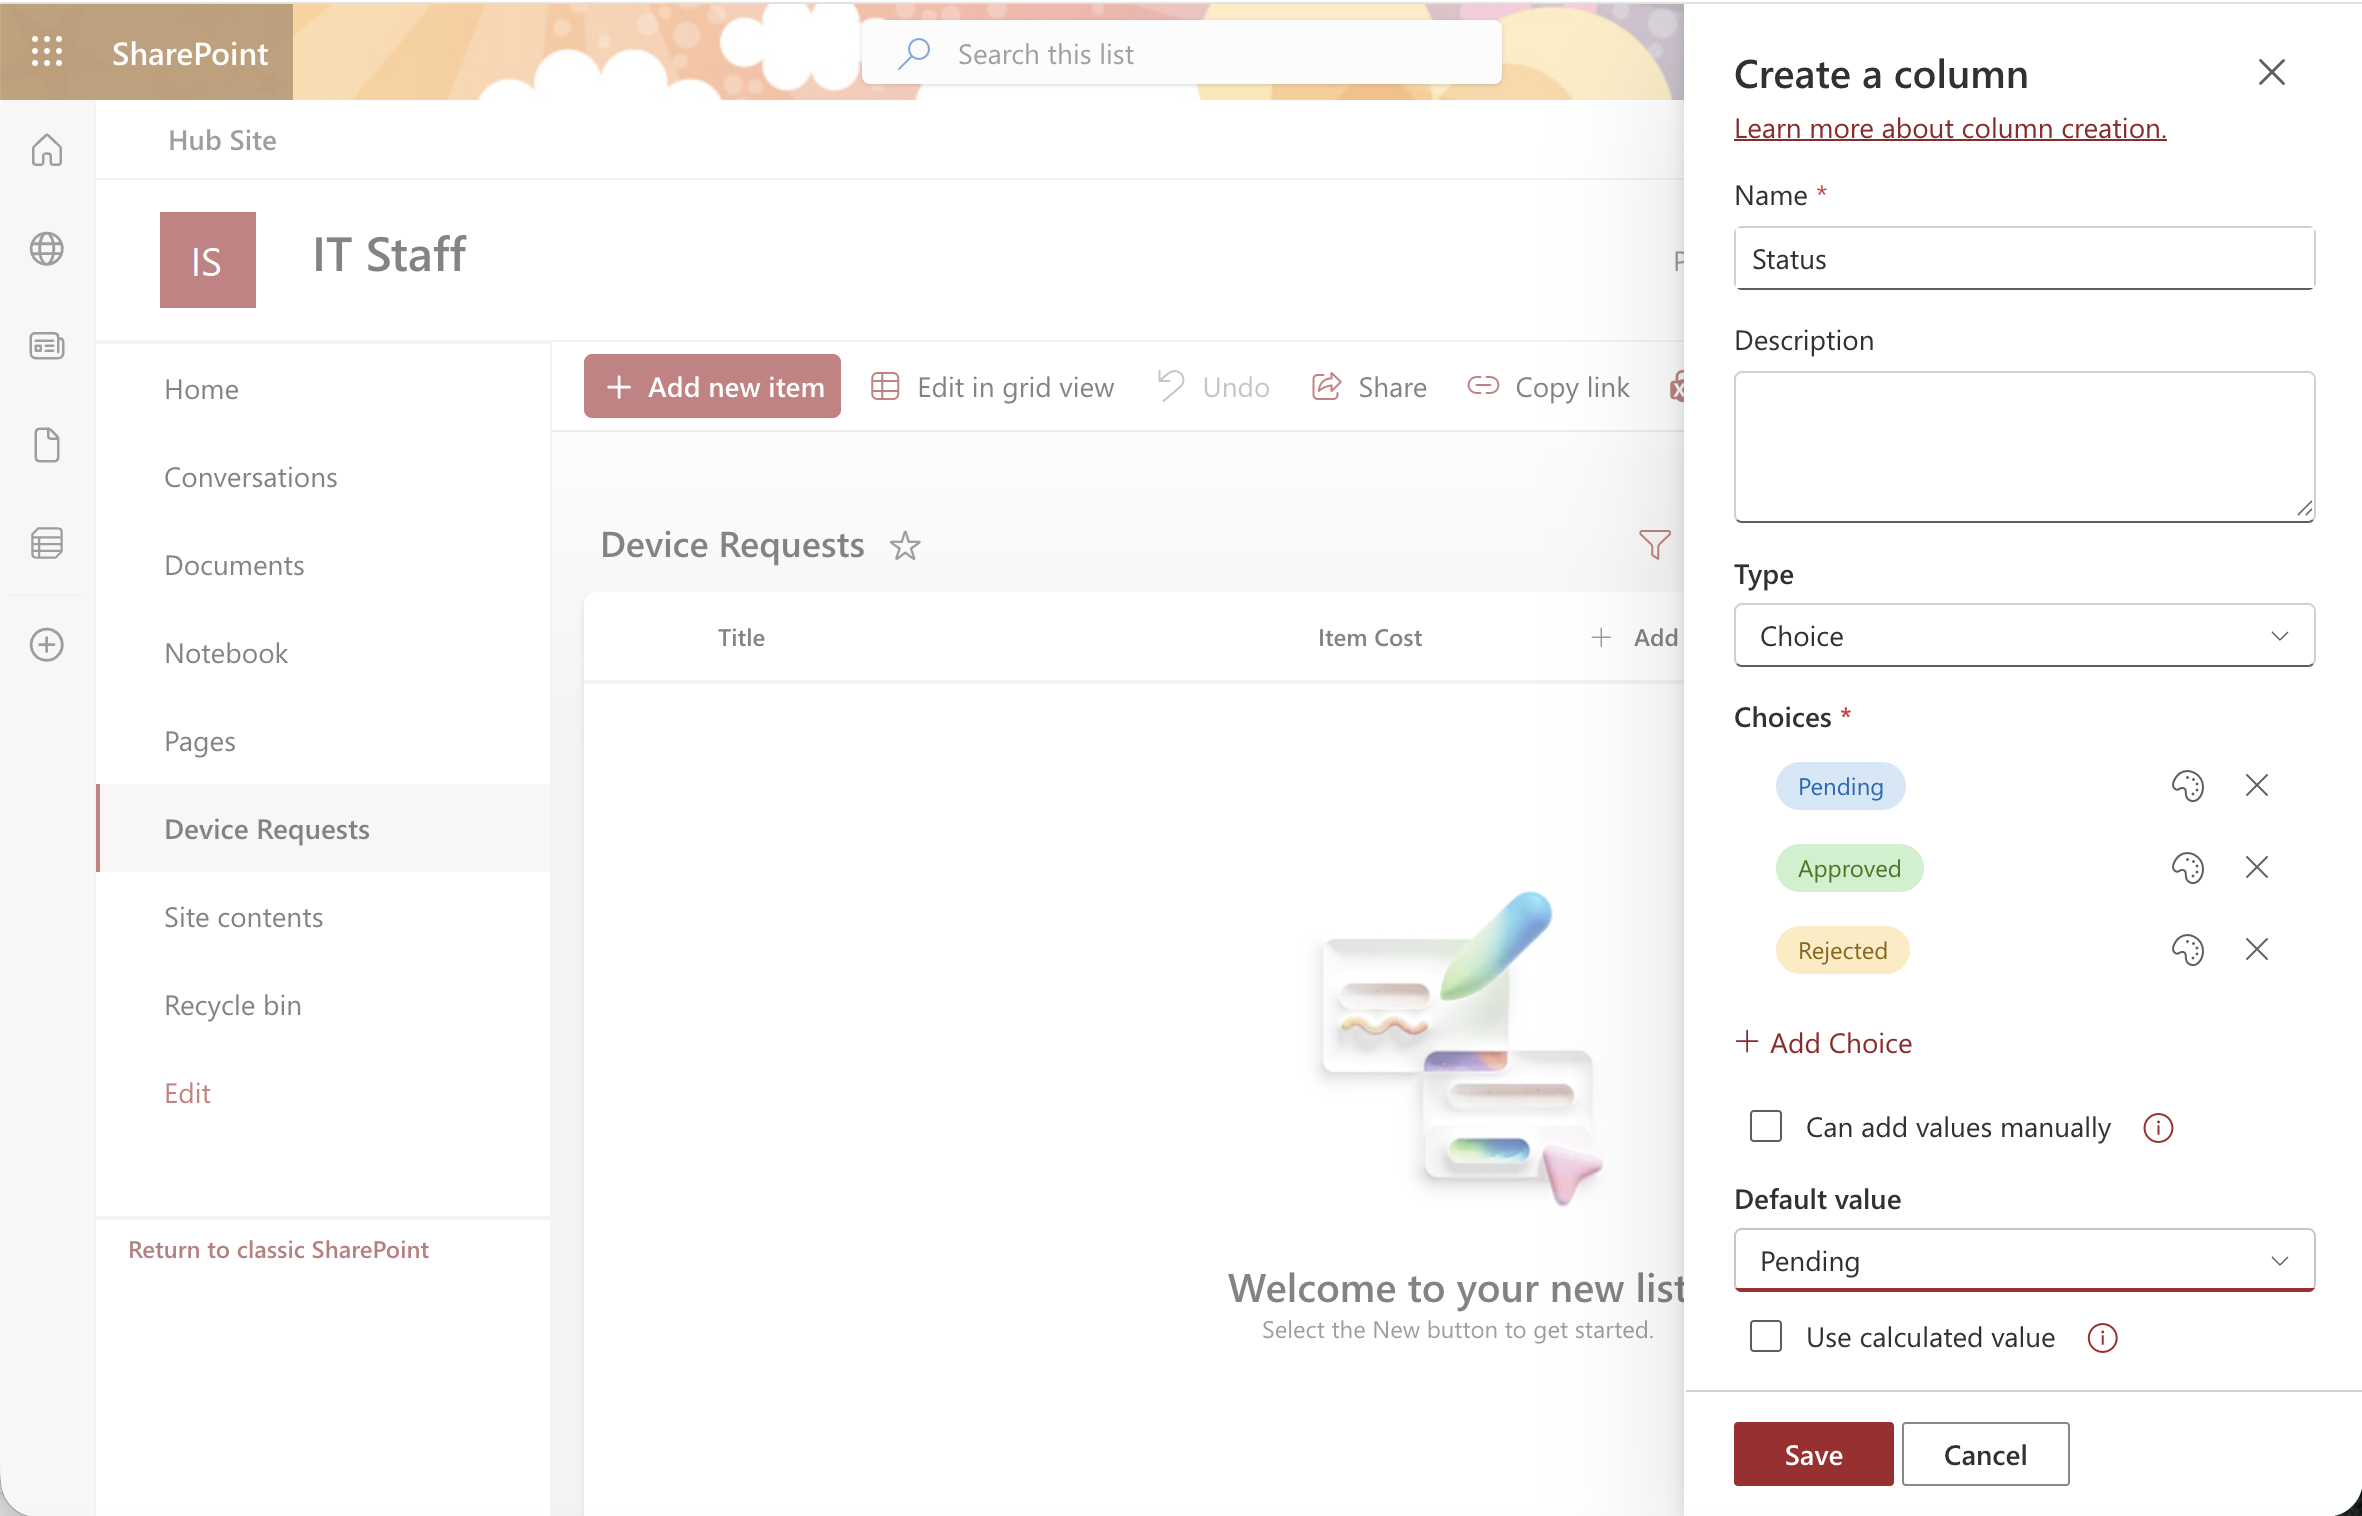
I set Pending as the default value for the Status column and saved
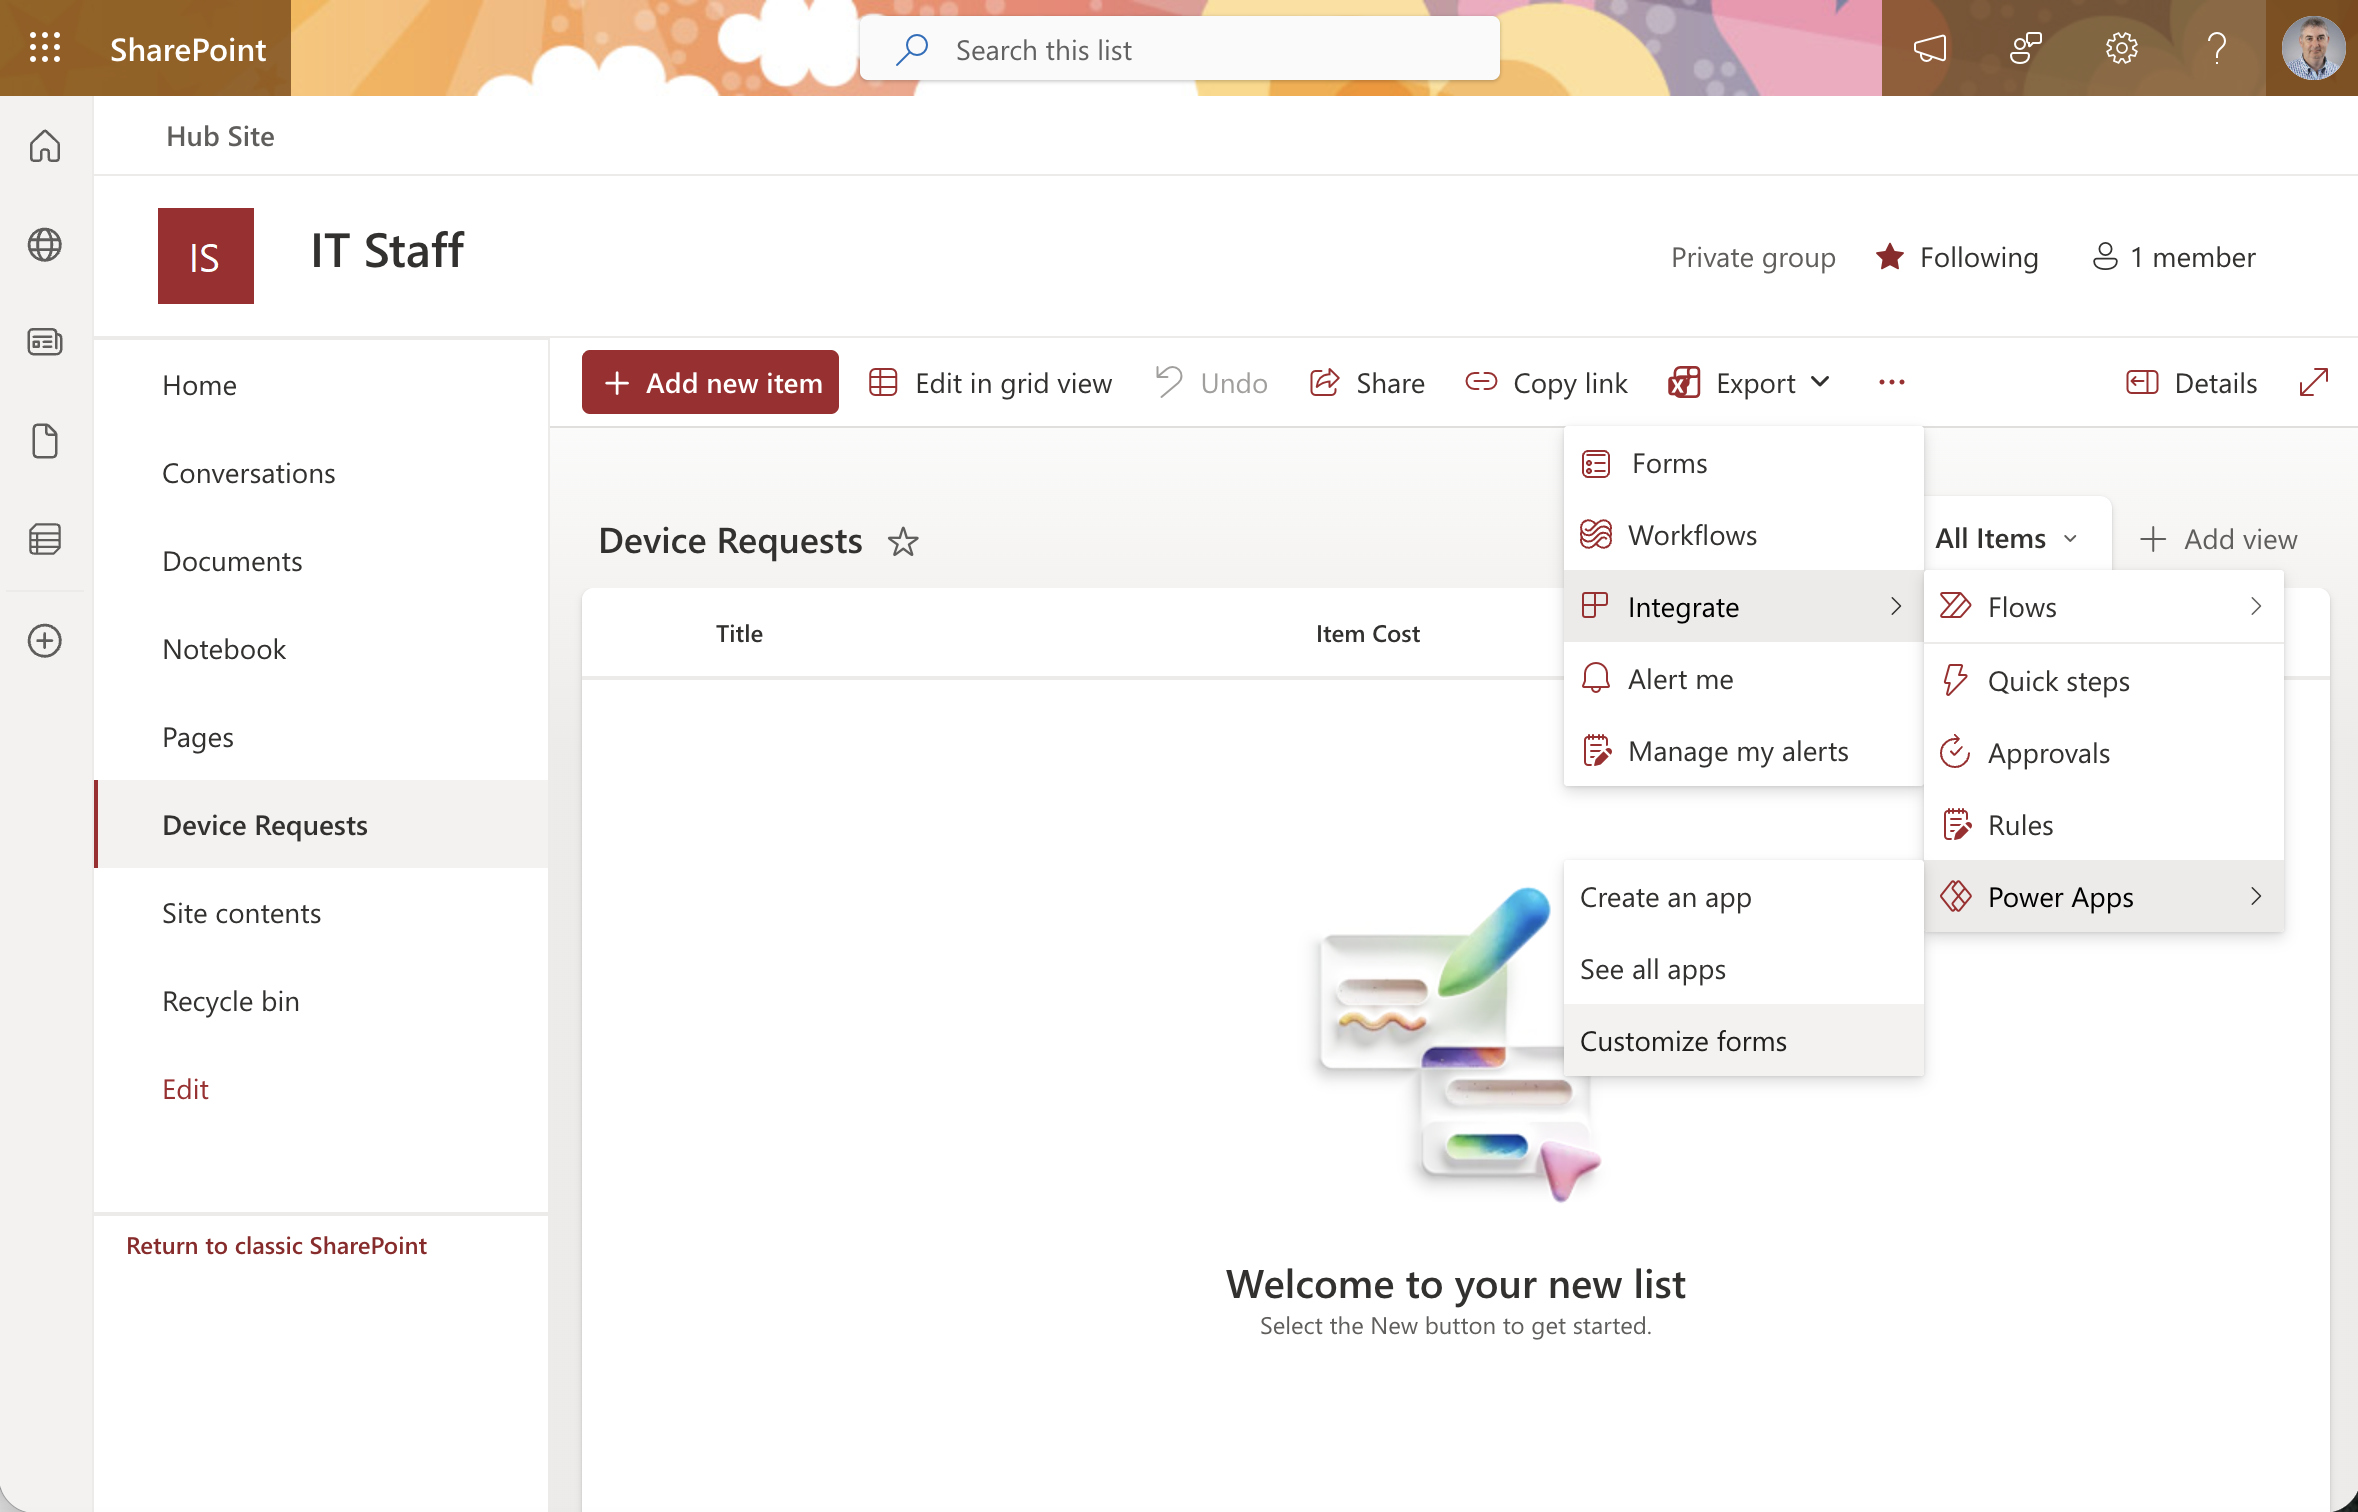
I opened the Integrate menu and selected Power Apps to customise the list form

Power Apps Studio opened with the Device Requests form
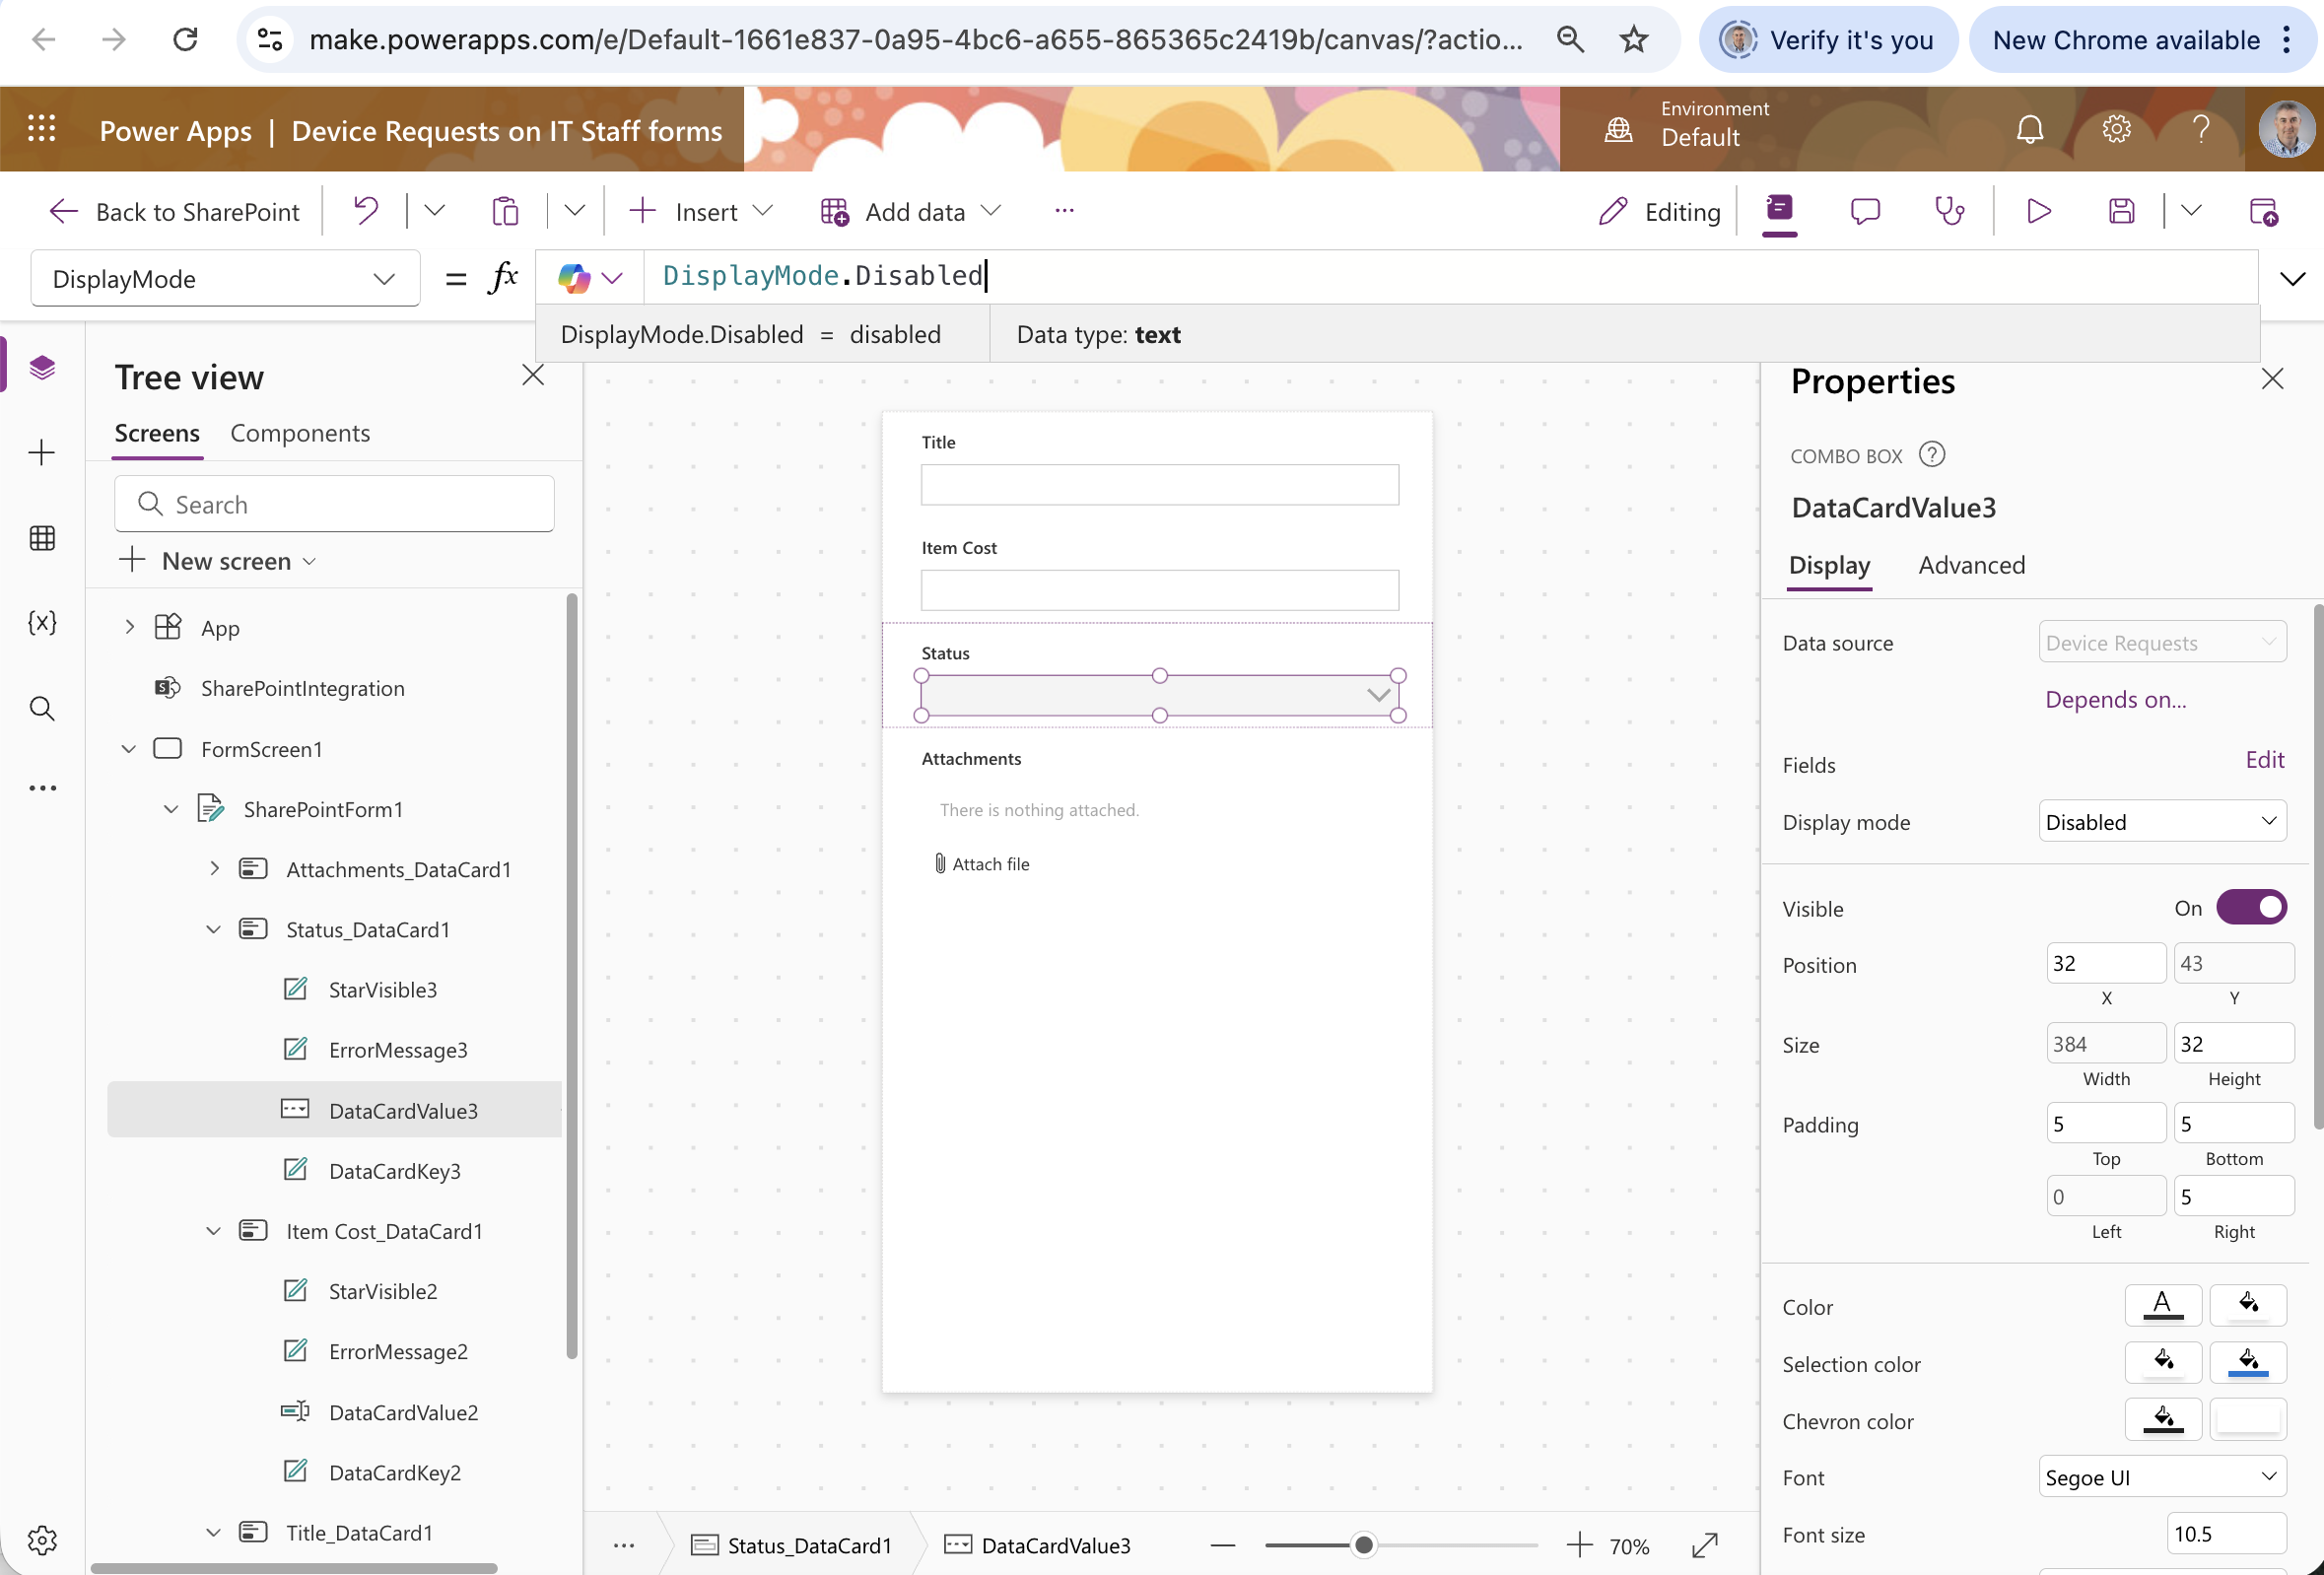
I selected the Status field and set its DisplayMode to Disabled so users cannot edit the status when submitting a request
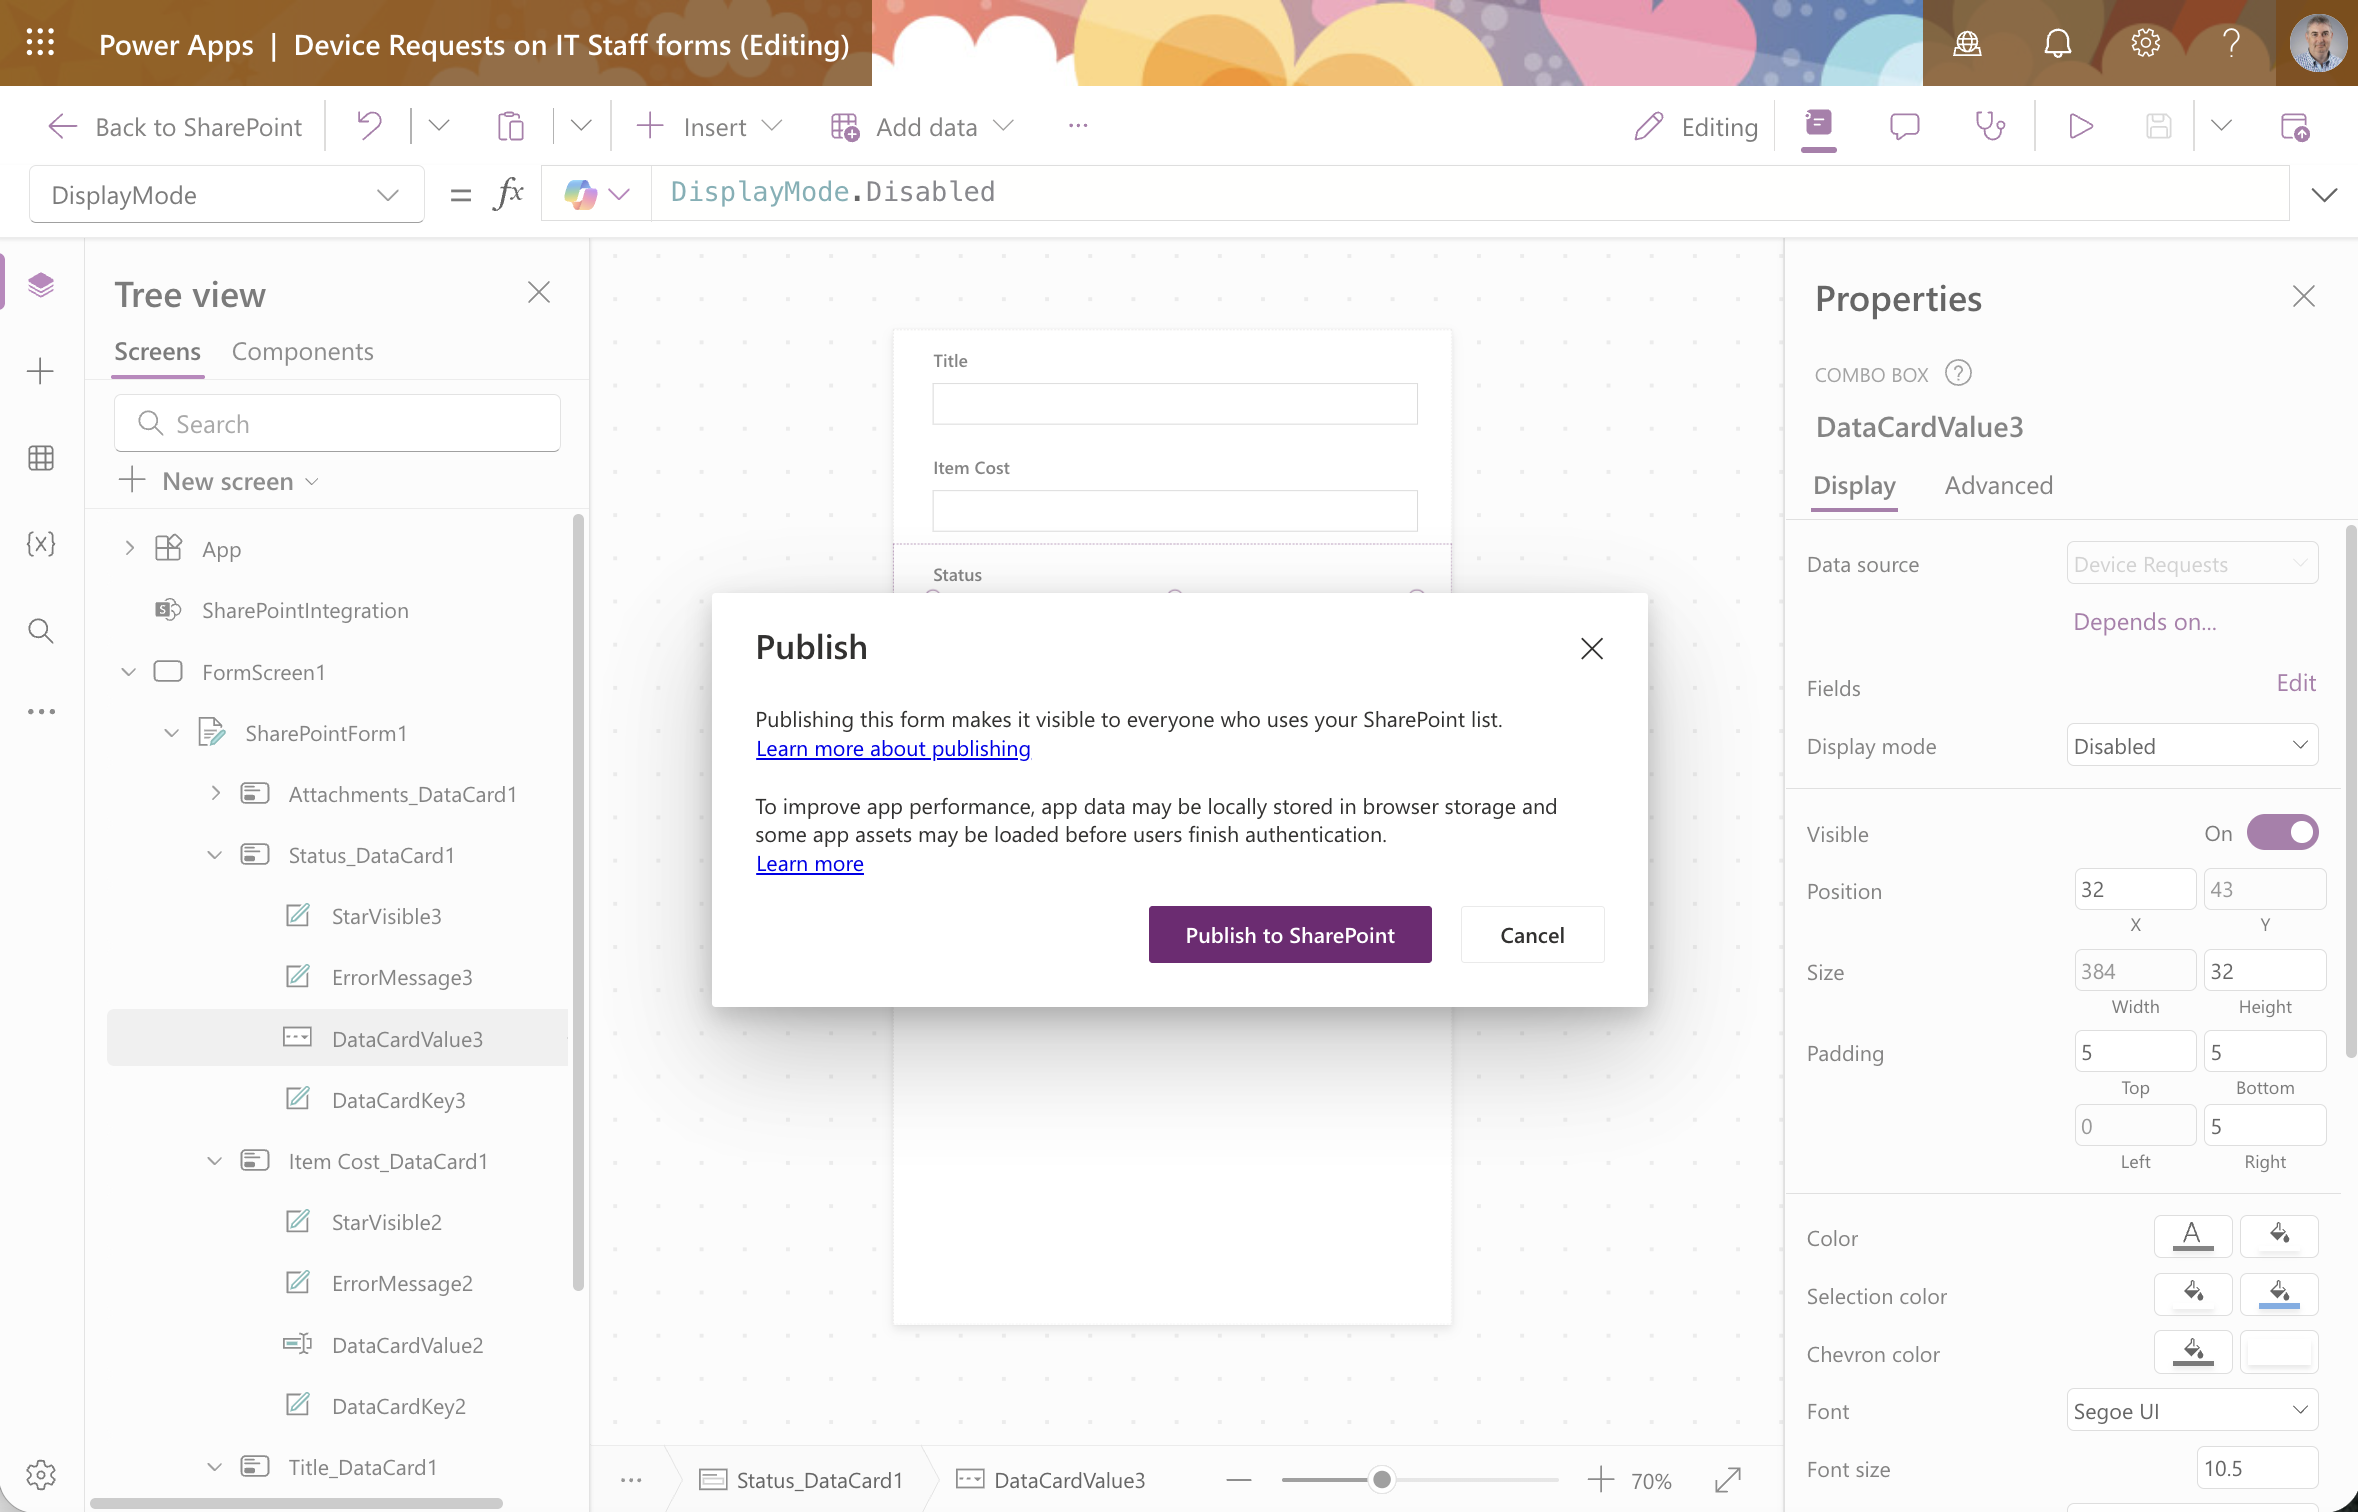
I published the customised form back to SharePoint
The Device Requests list was ready with the published form
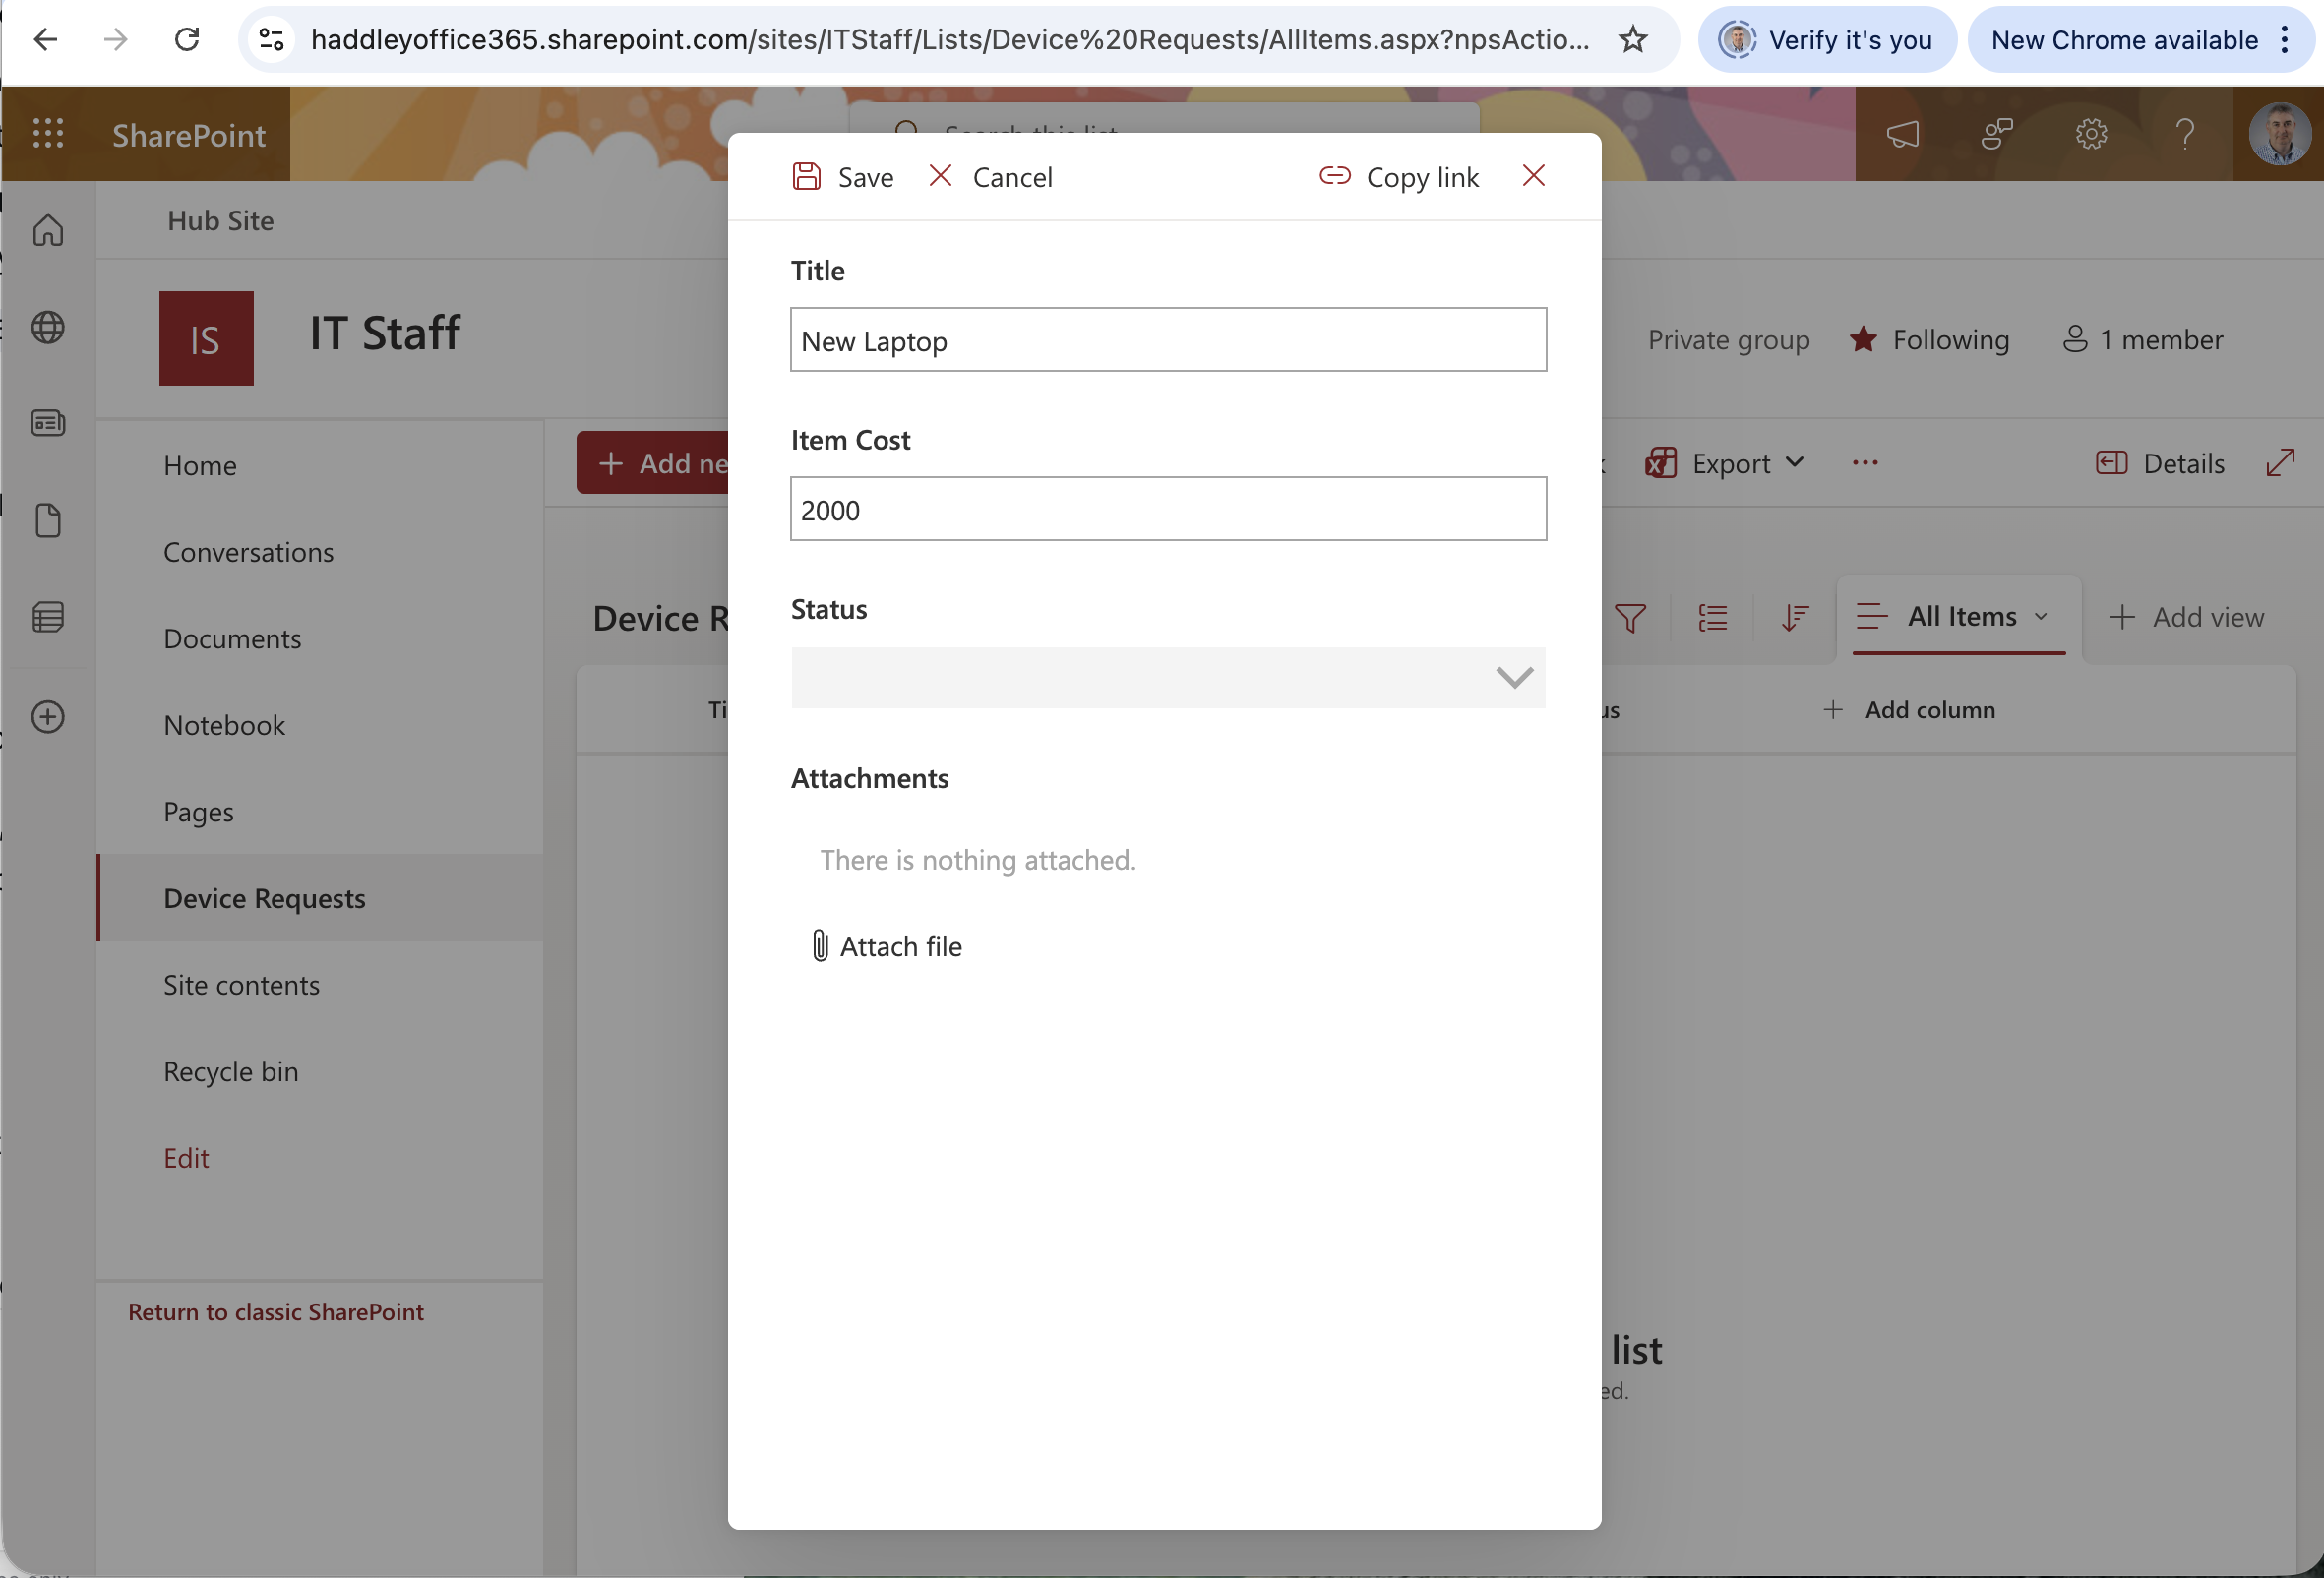
I clicked Add new item and the custom form opened — the Status field was greyed out as intended
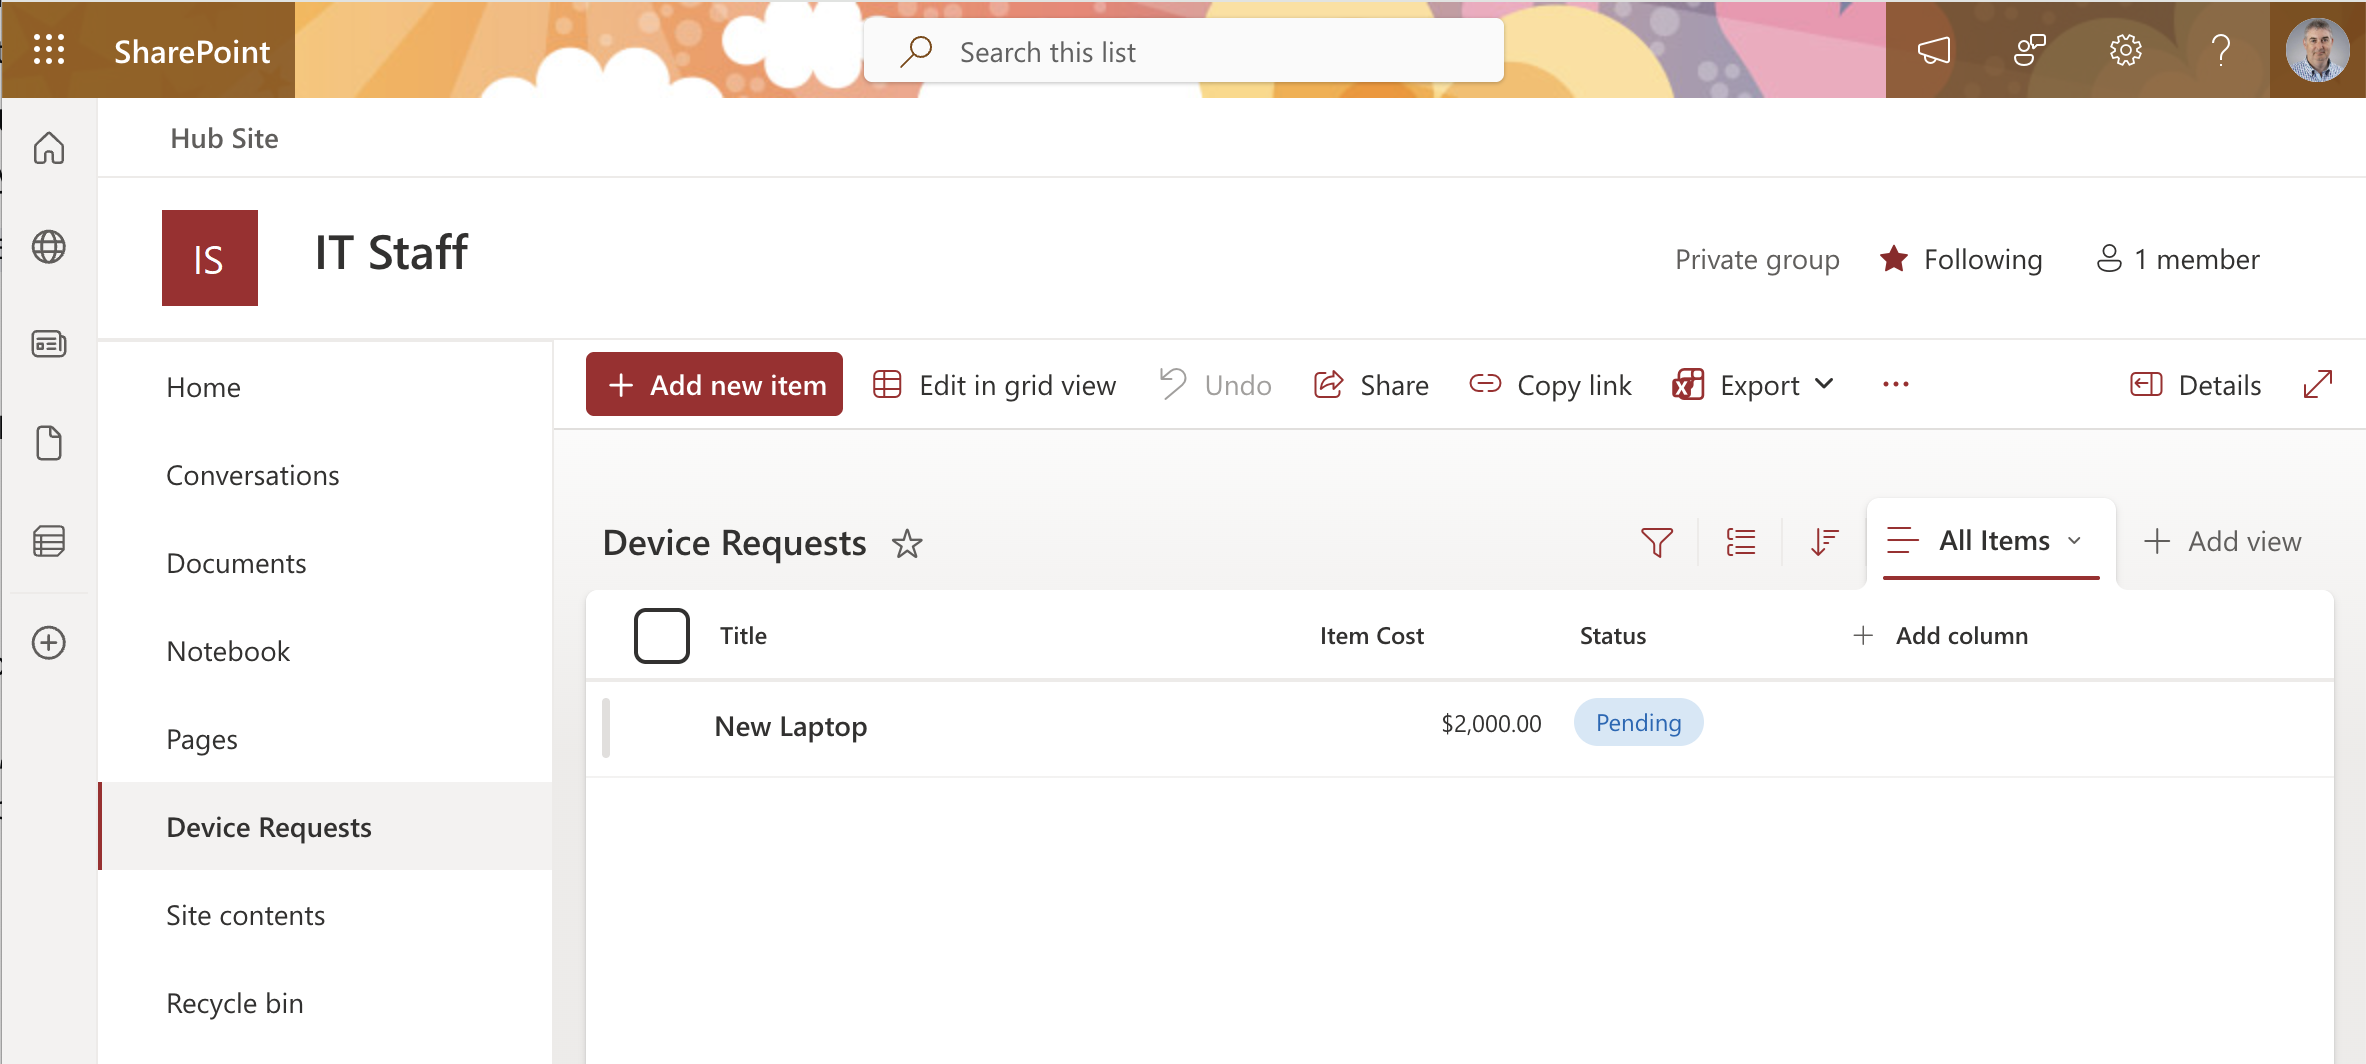
The "New Laptop" request appeared in the list with a cost of $2,000 and Status set to Pending
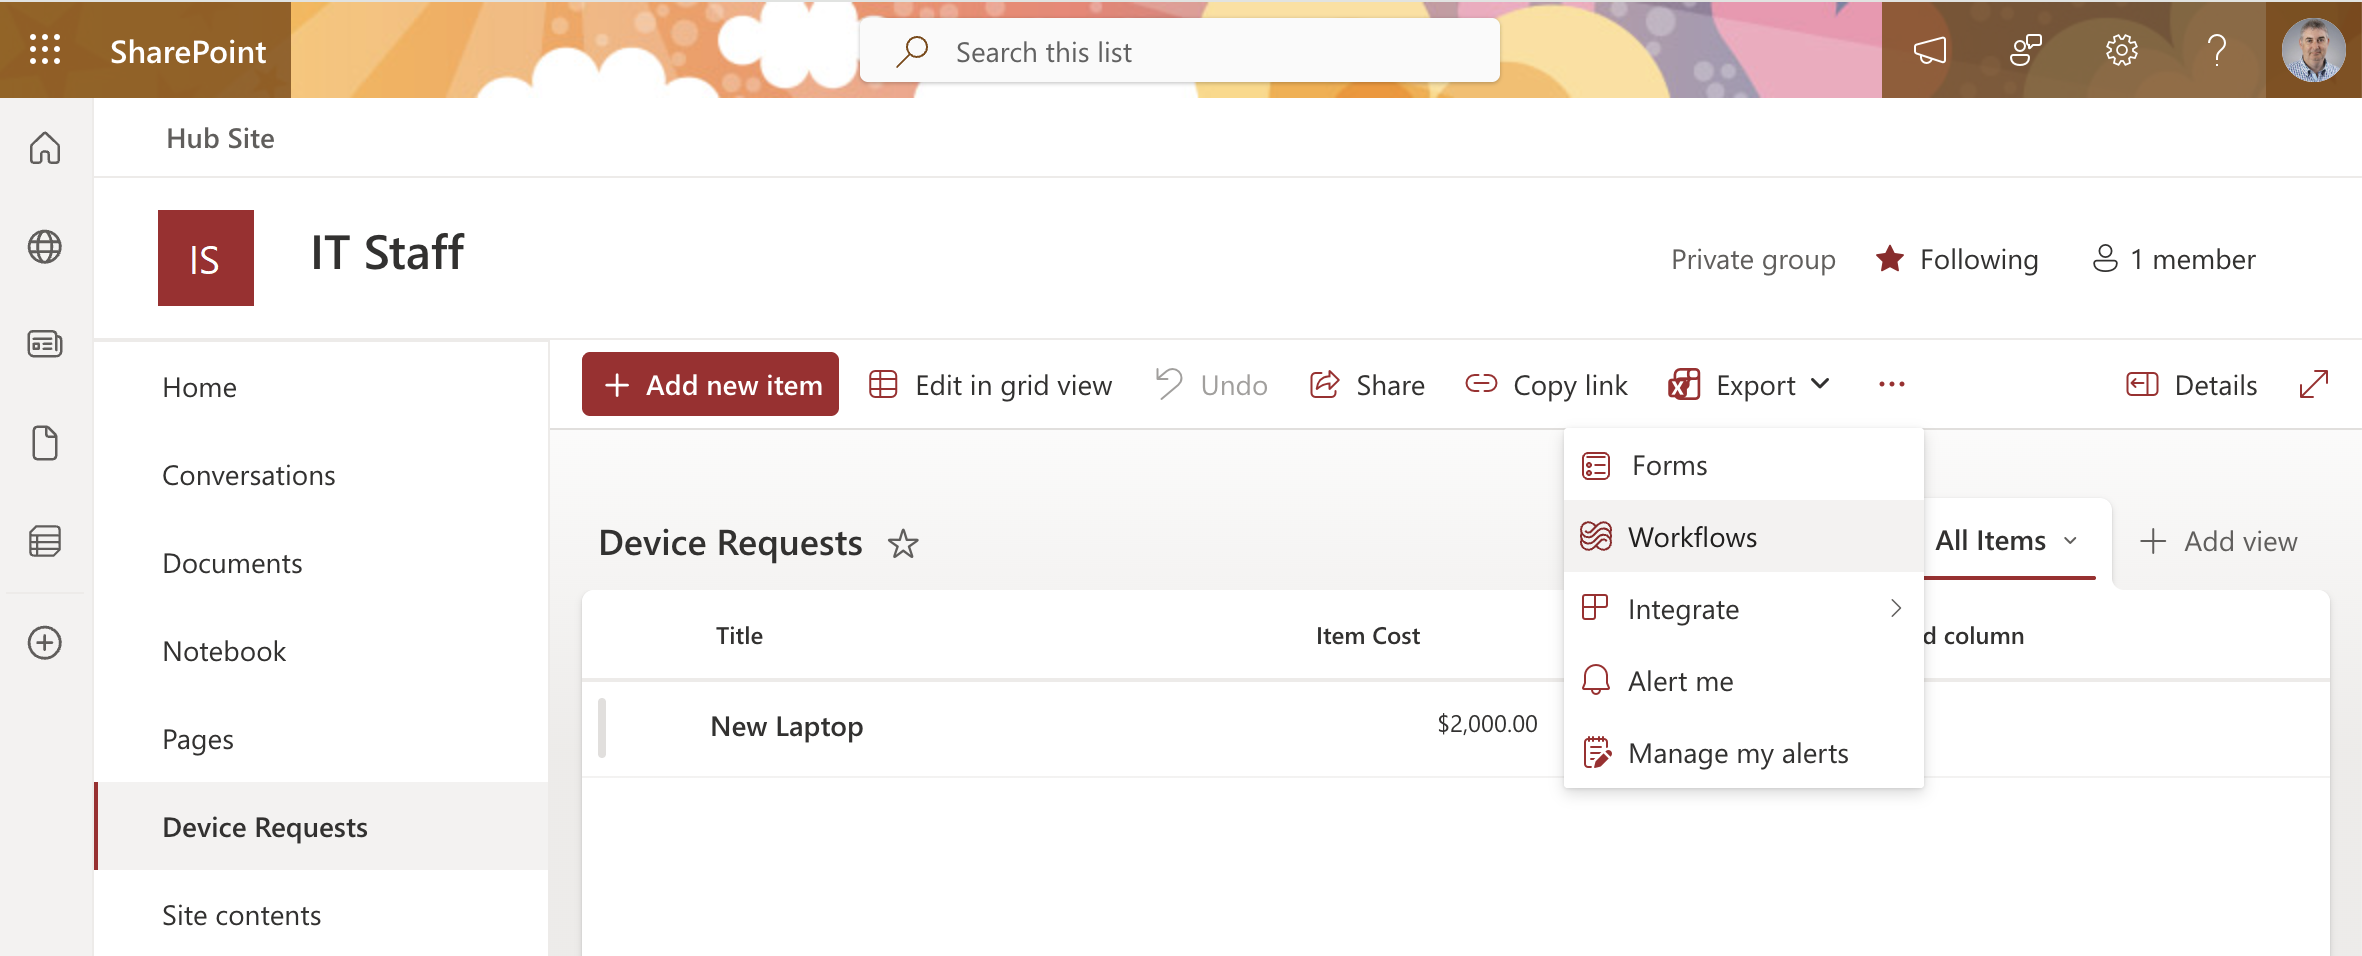
I opened the Integrate menu and selected Workflows to add a Power Automate flow
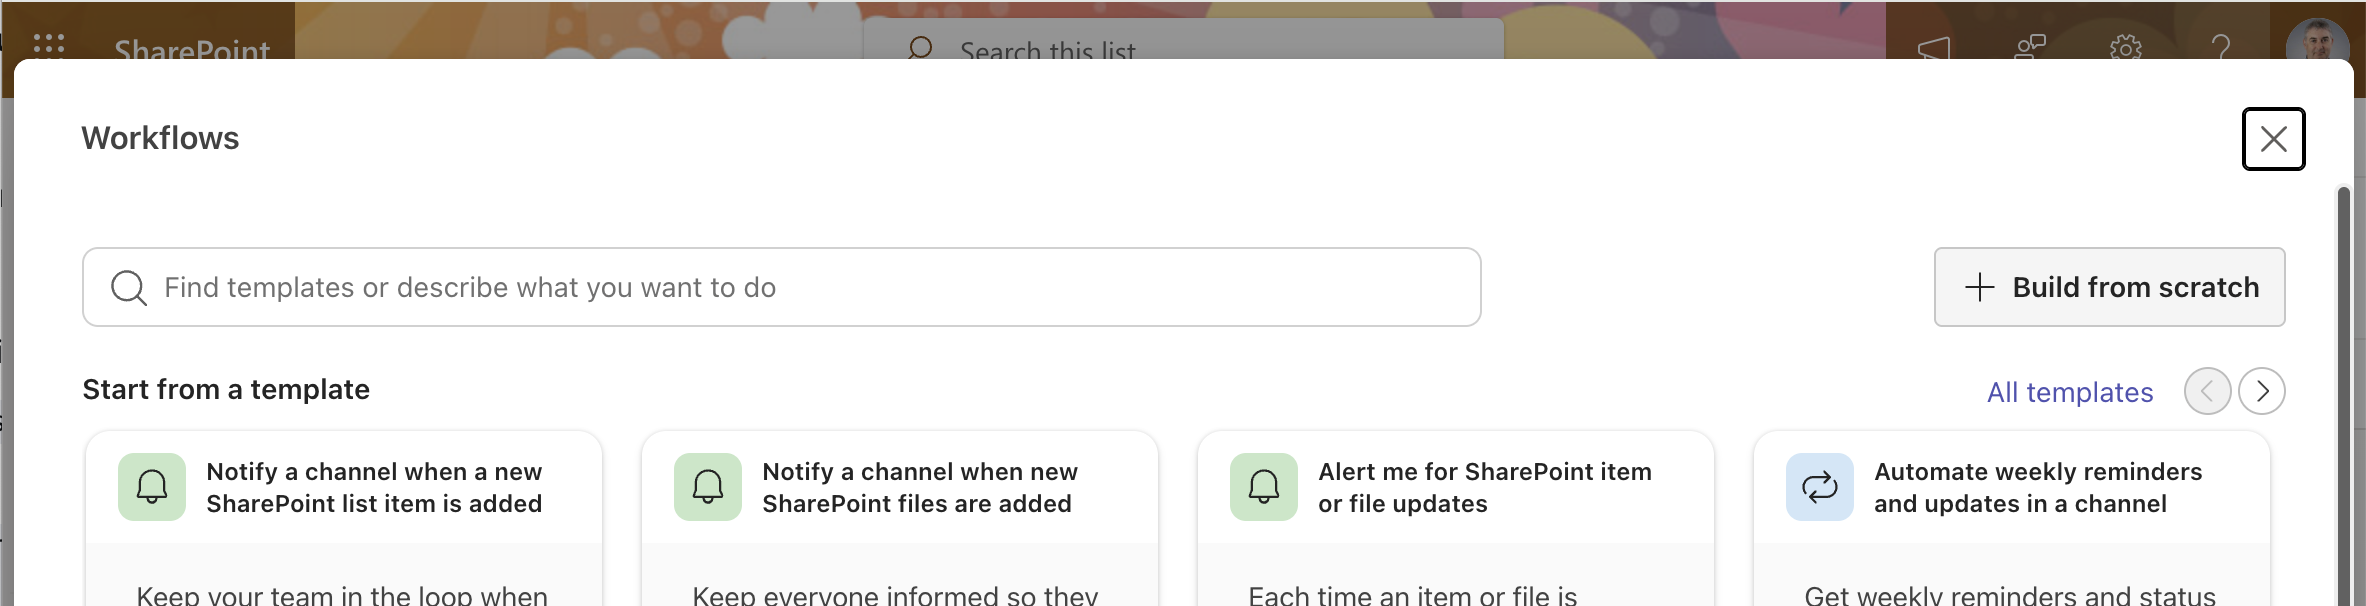
The Workflows panel opened showing available workflow templates
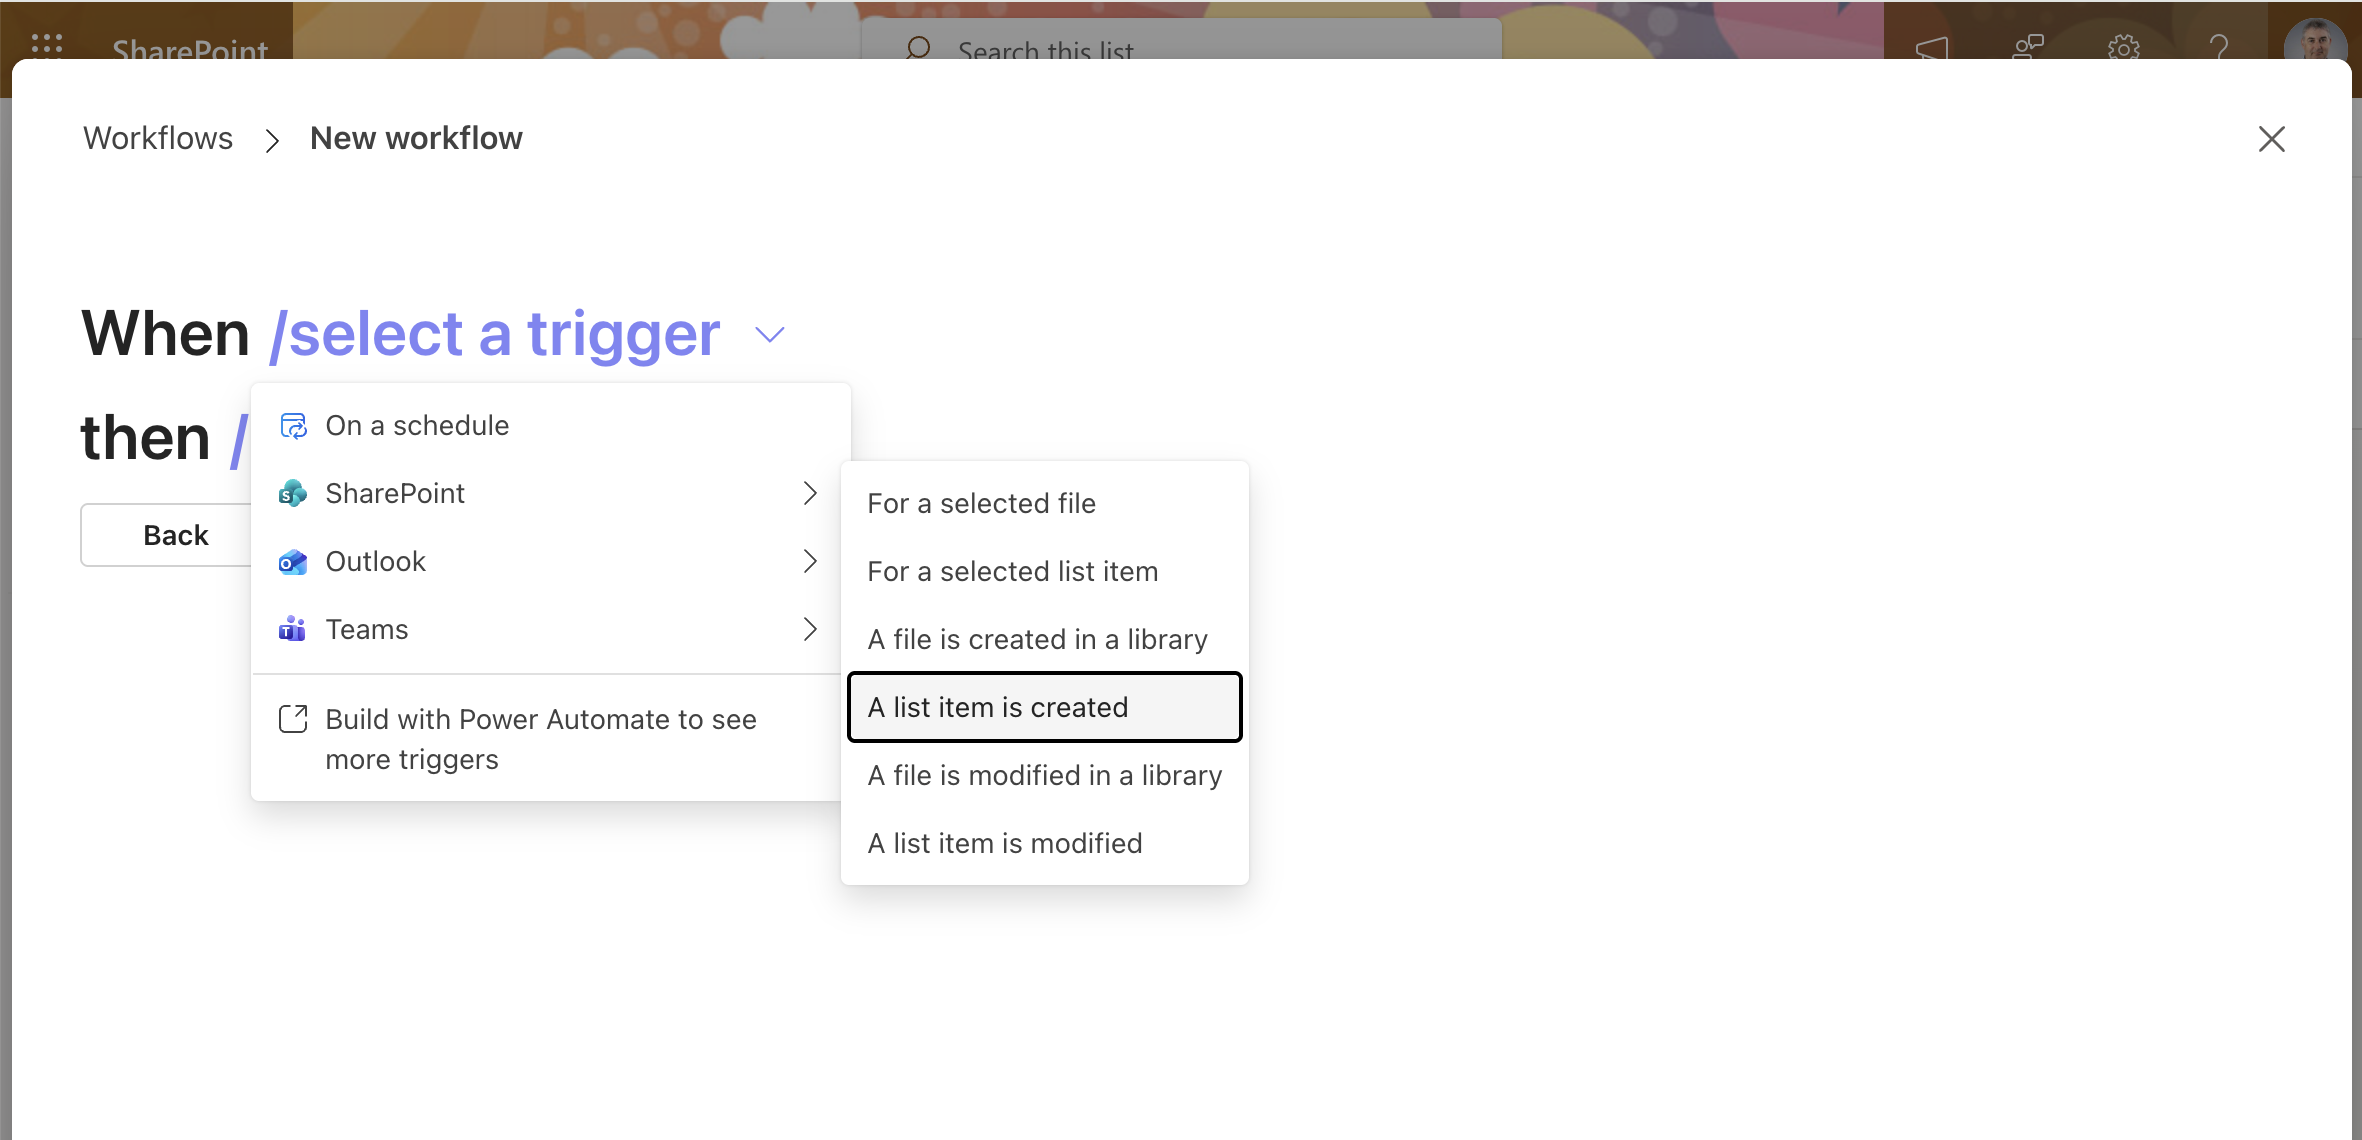
I created a new workflow and selected SharePoint > "A list item is created" as the trigger
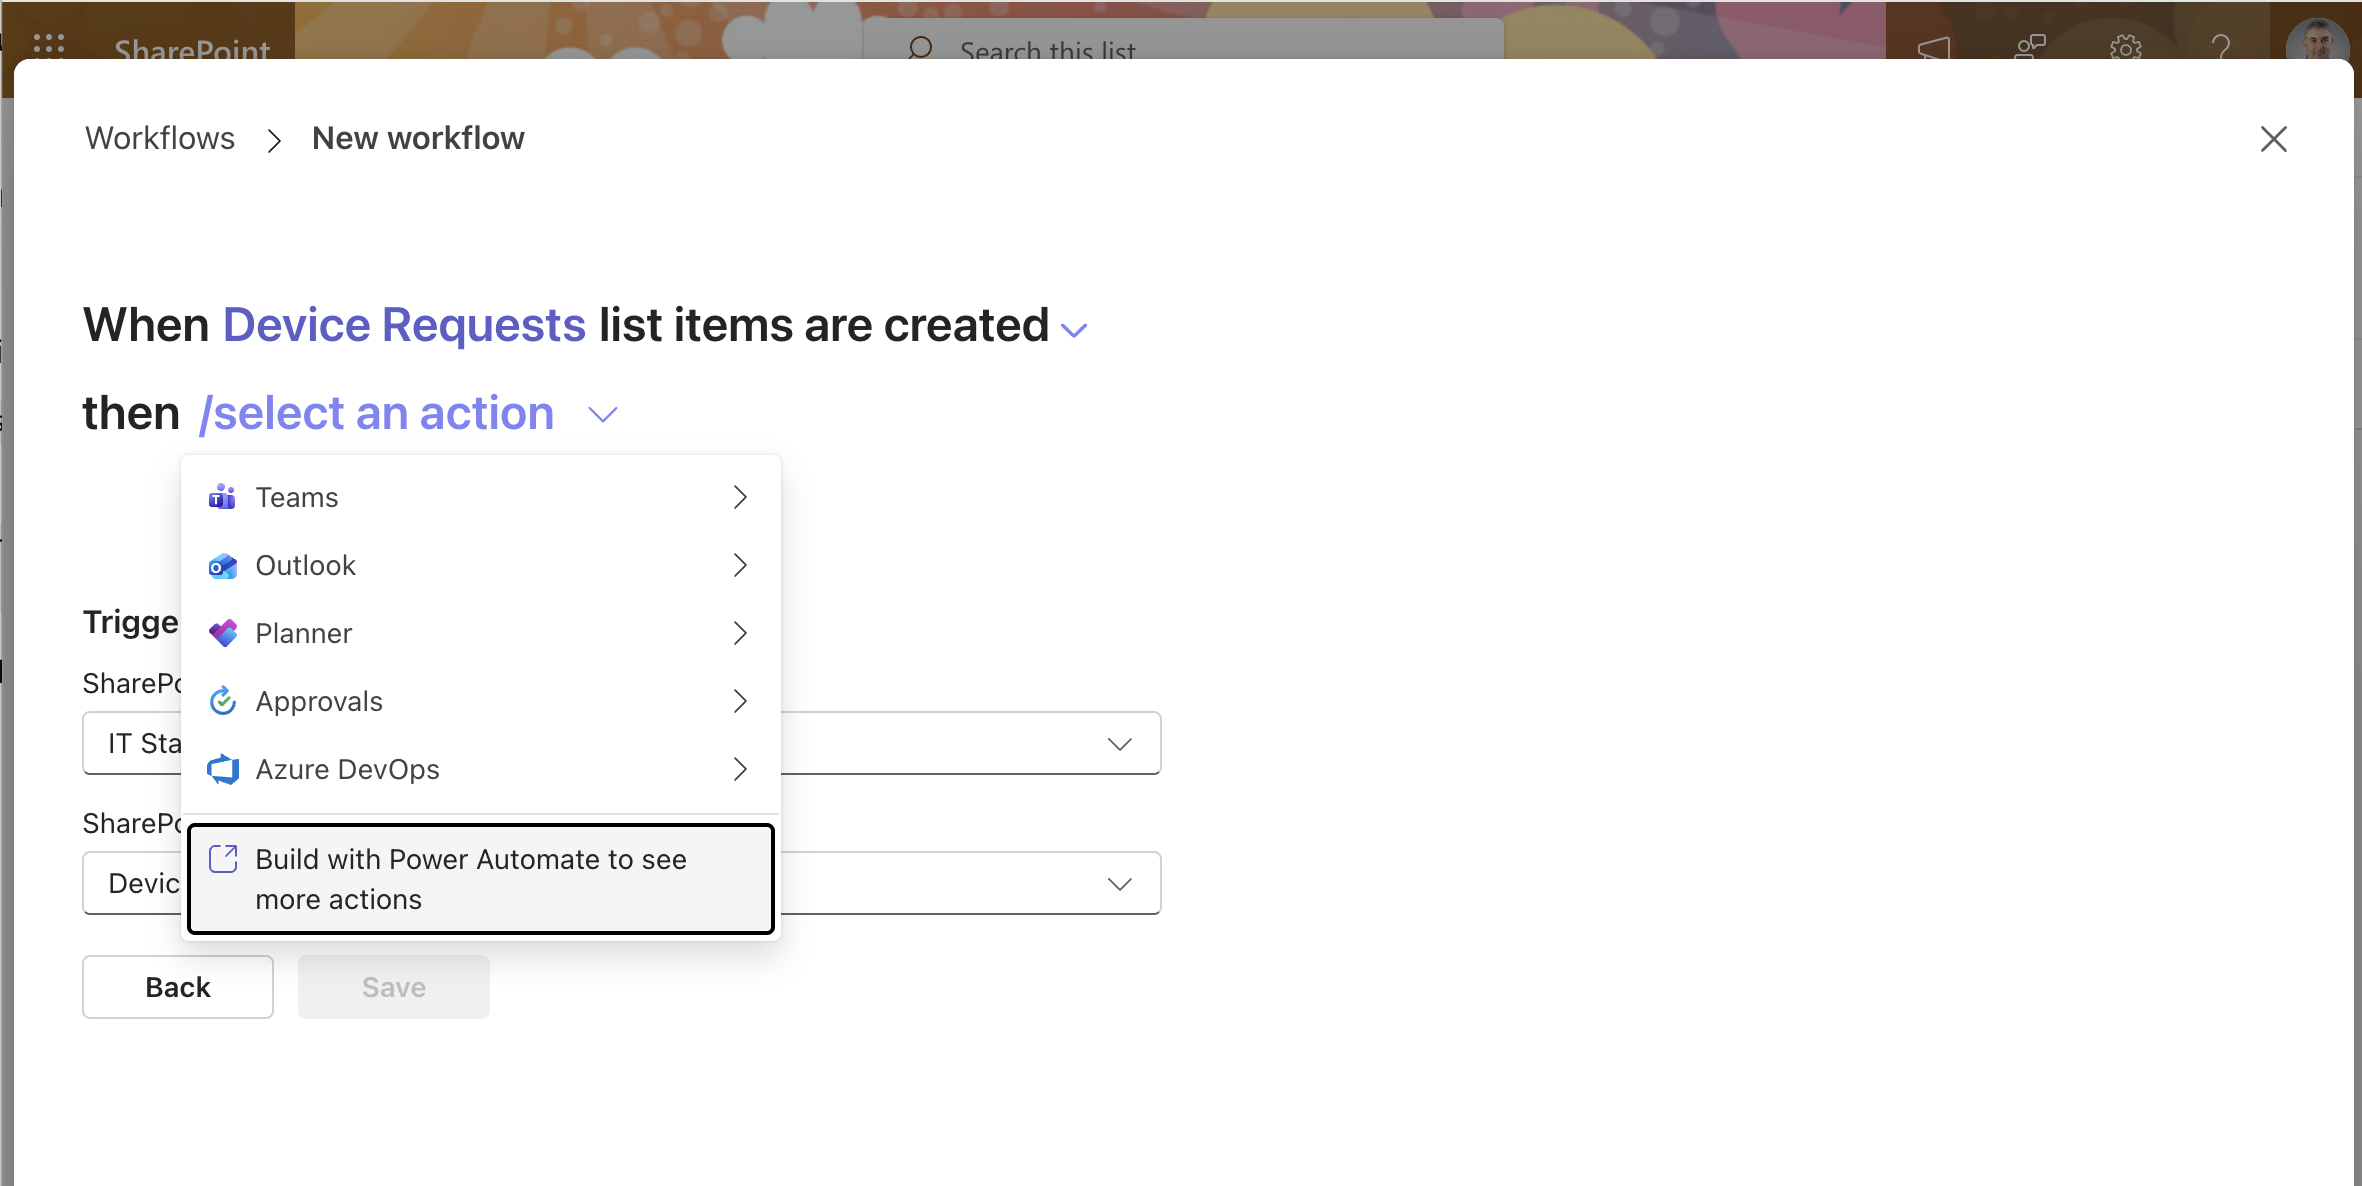
The trigger was set to fire when Device Requests items are created — I chose to build the action in Power Automate for more options
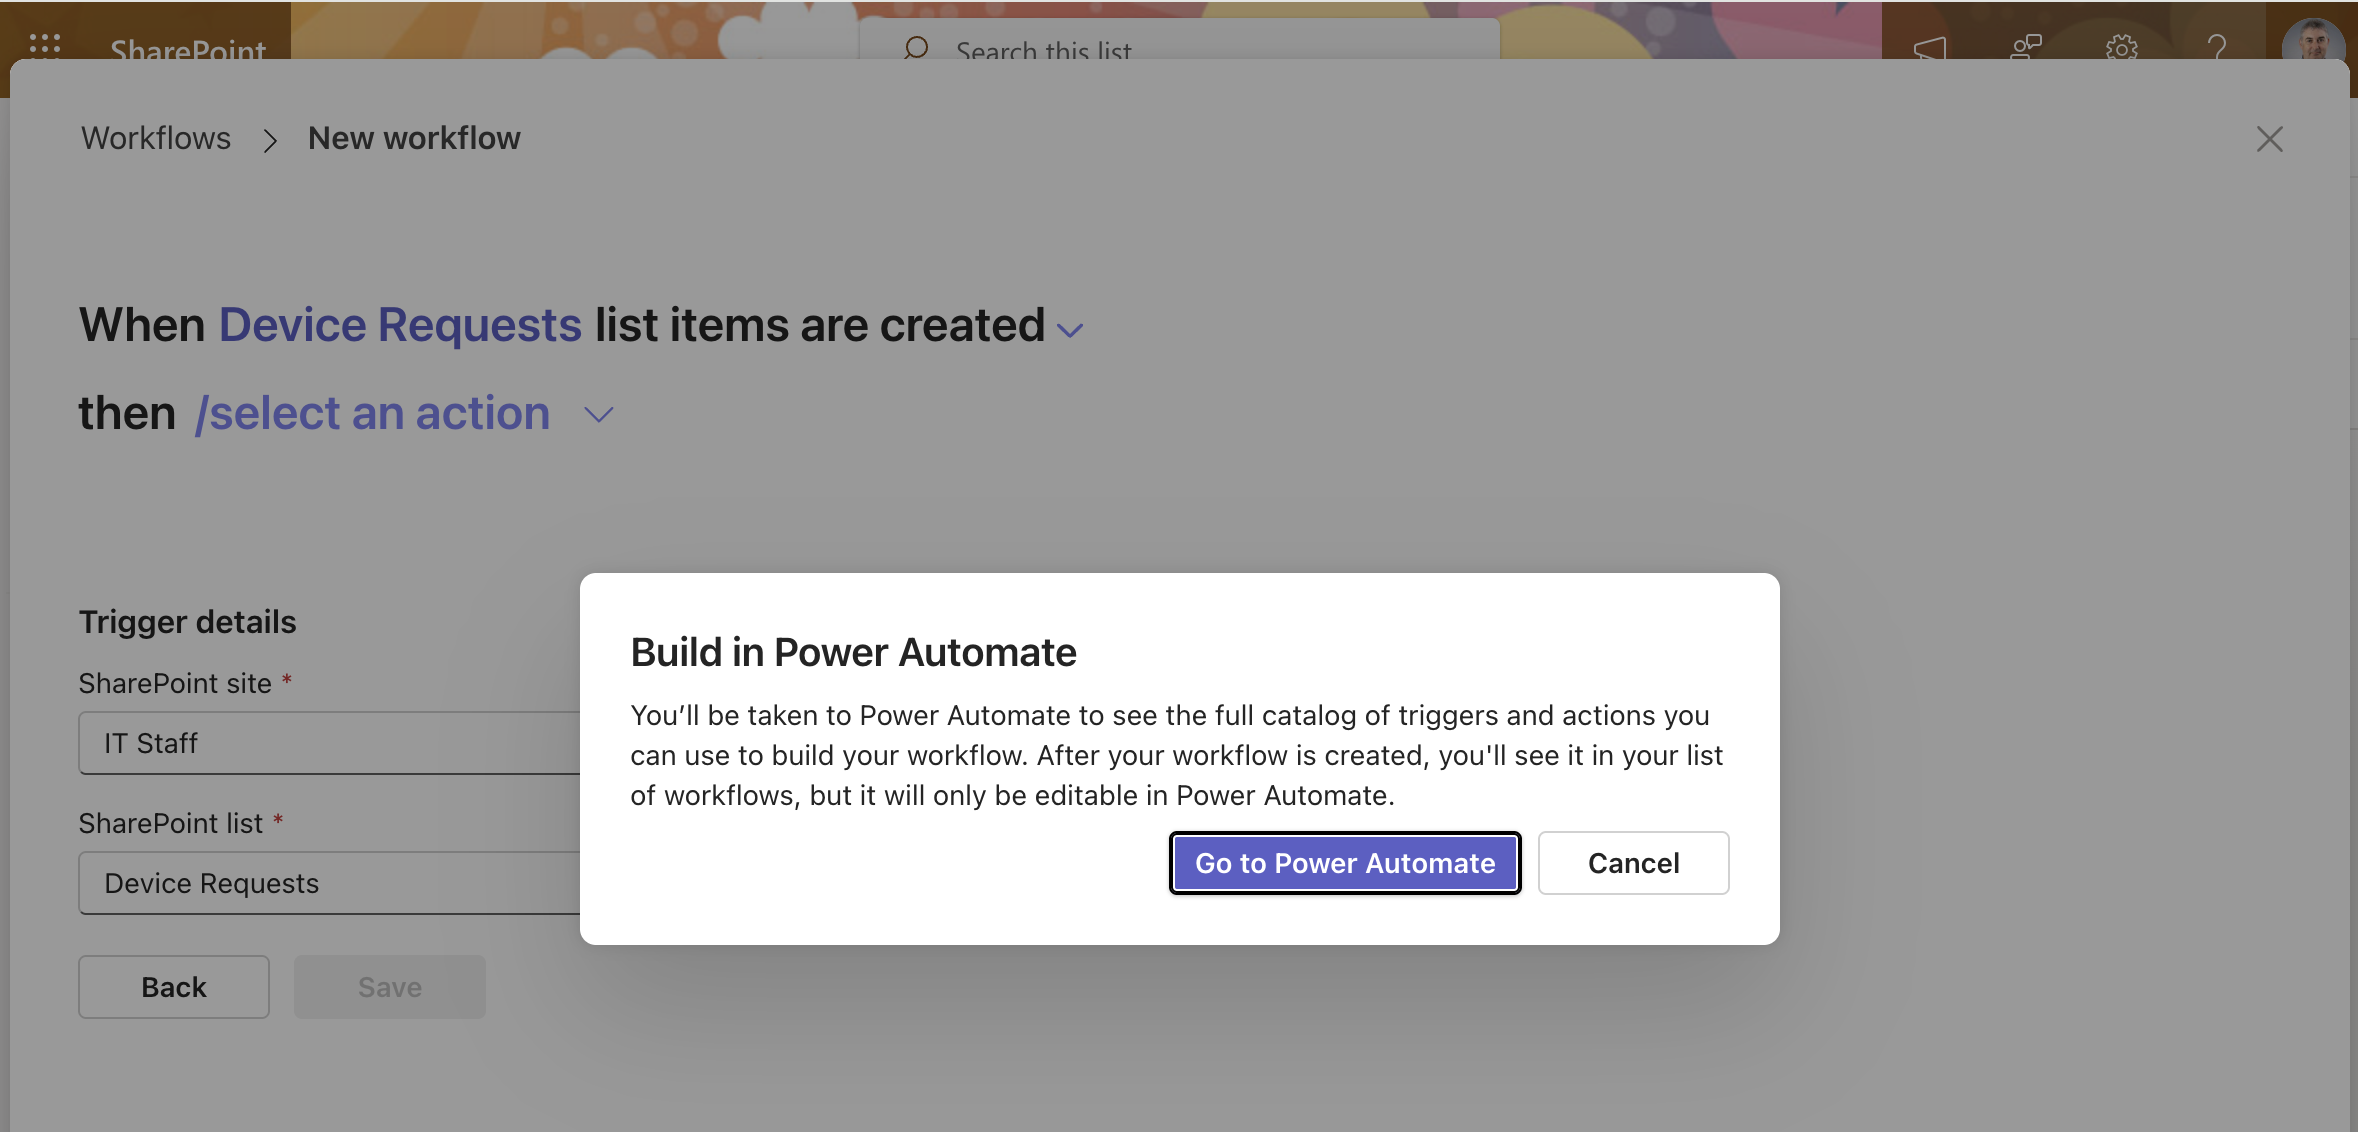
A dialog confirmed I'd be taken to Power Automate to build the full workflow
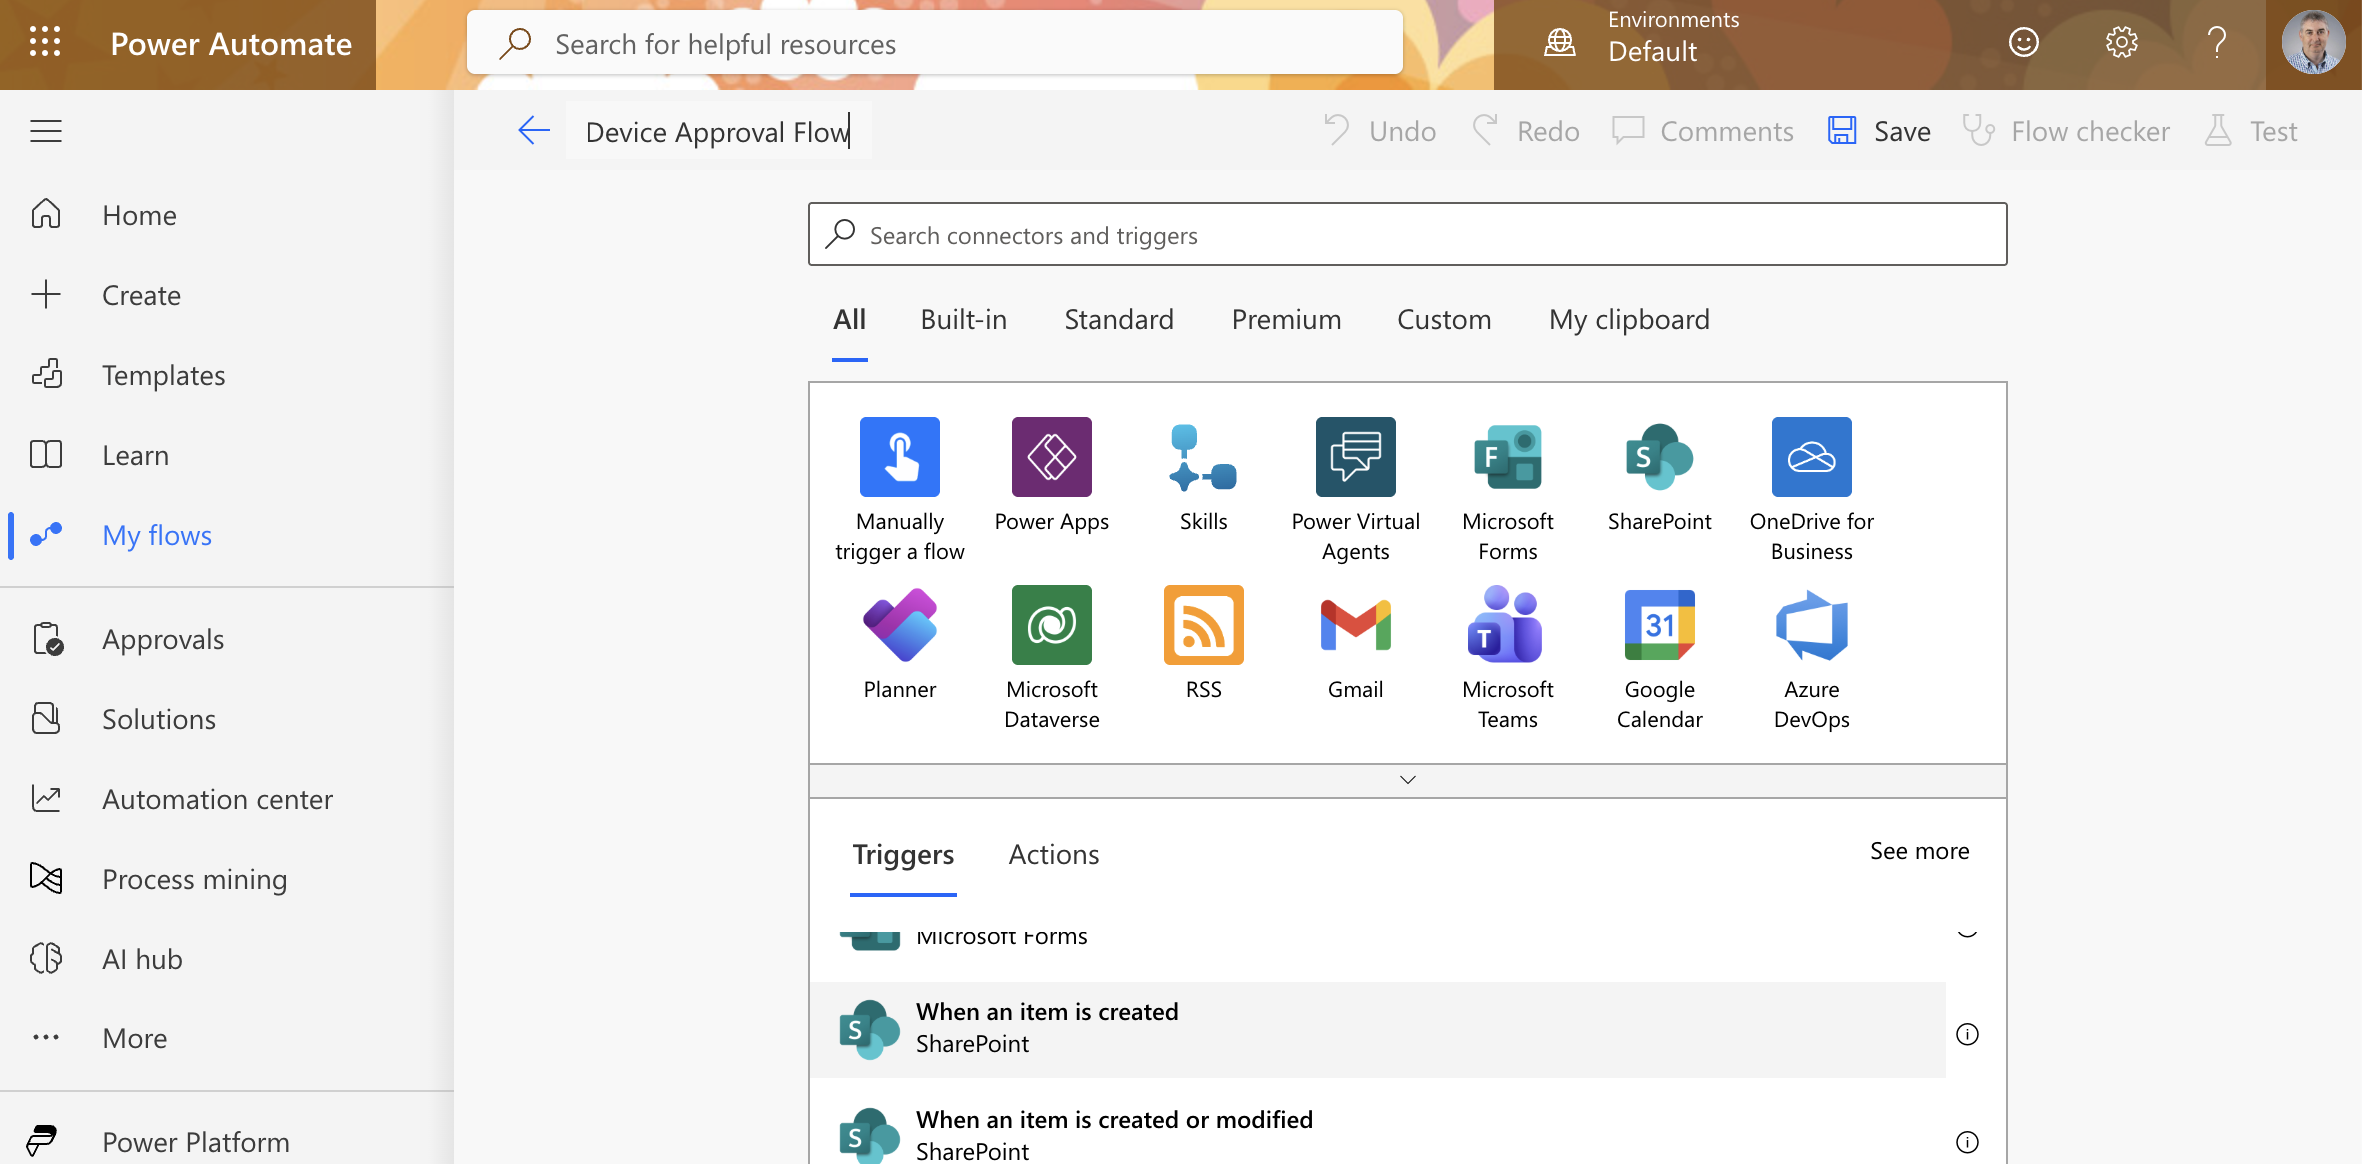
Power Automate opened with a new flow named "Device Approval Flow" and the SharePoint trigger connectors visible
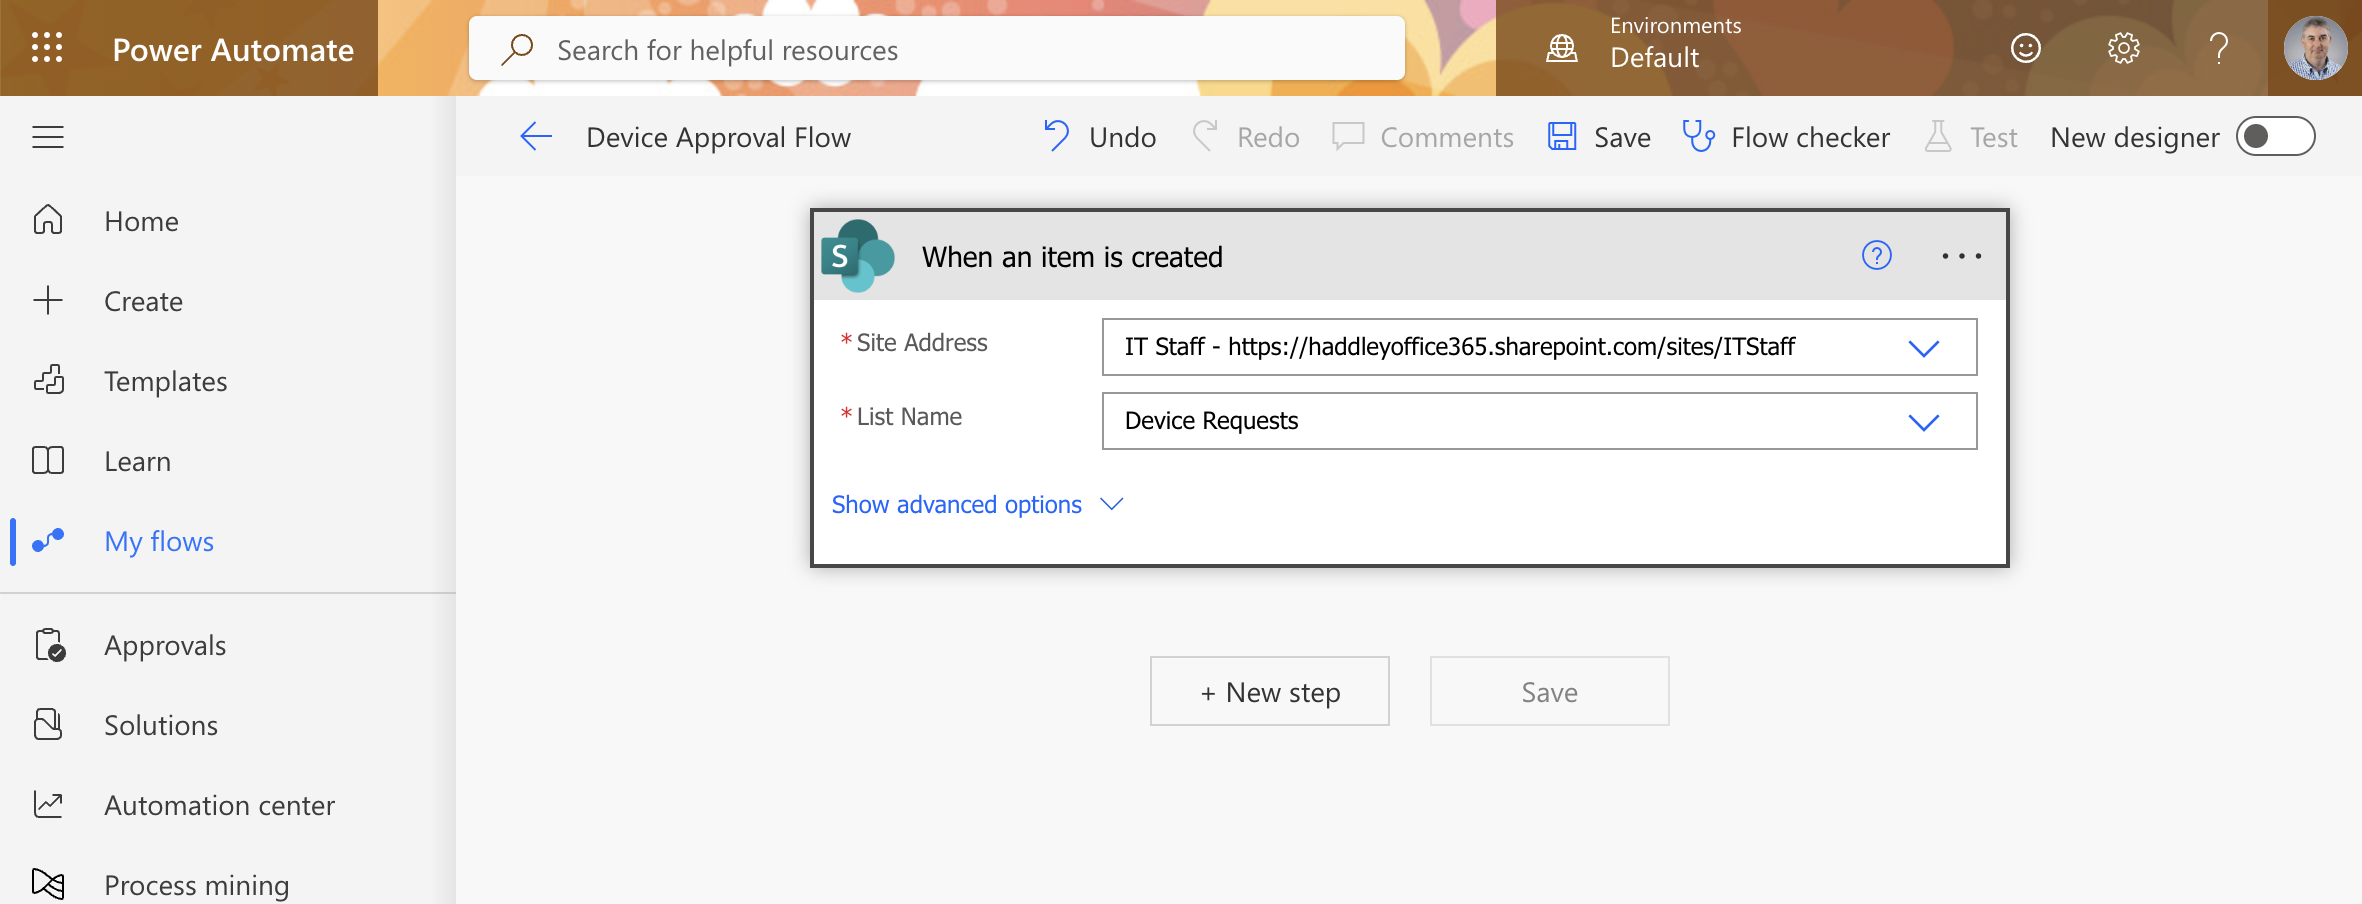
I configured the trigger with the IT Staff site and Device Requests list
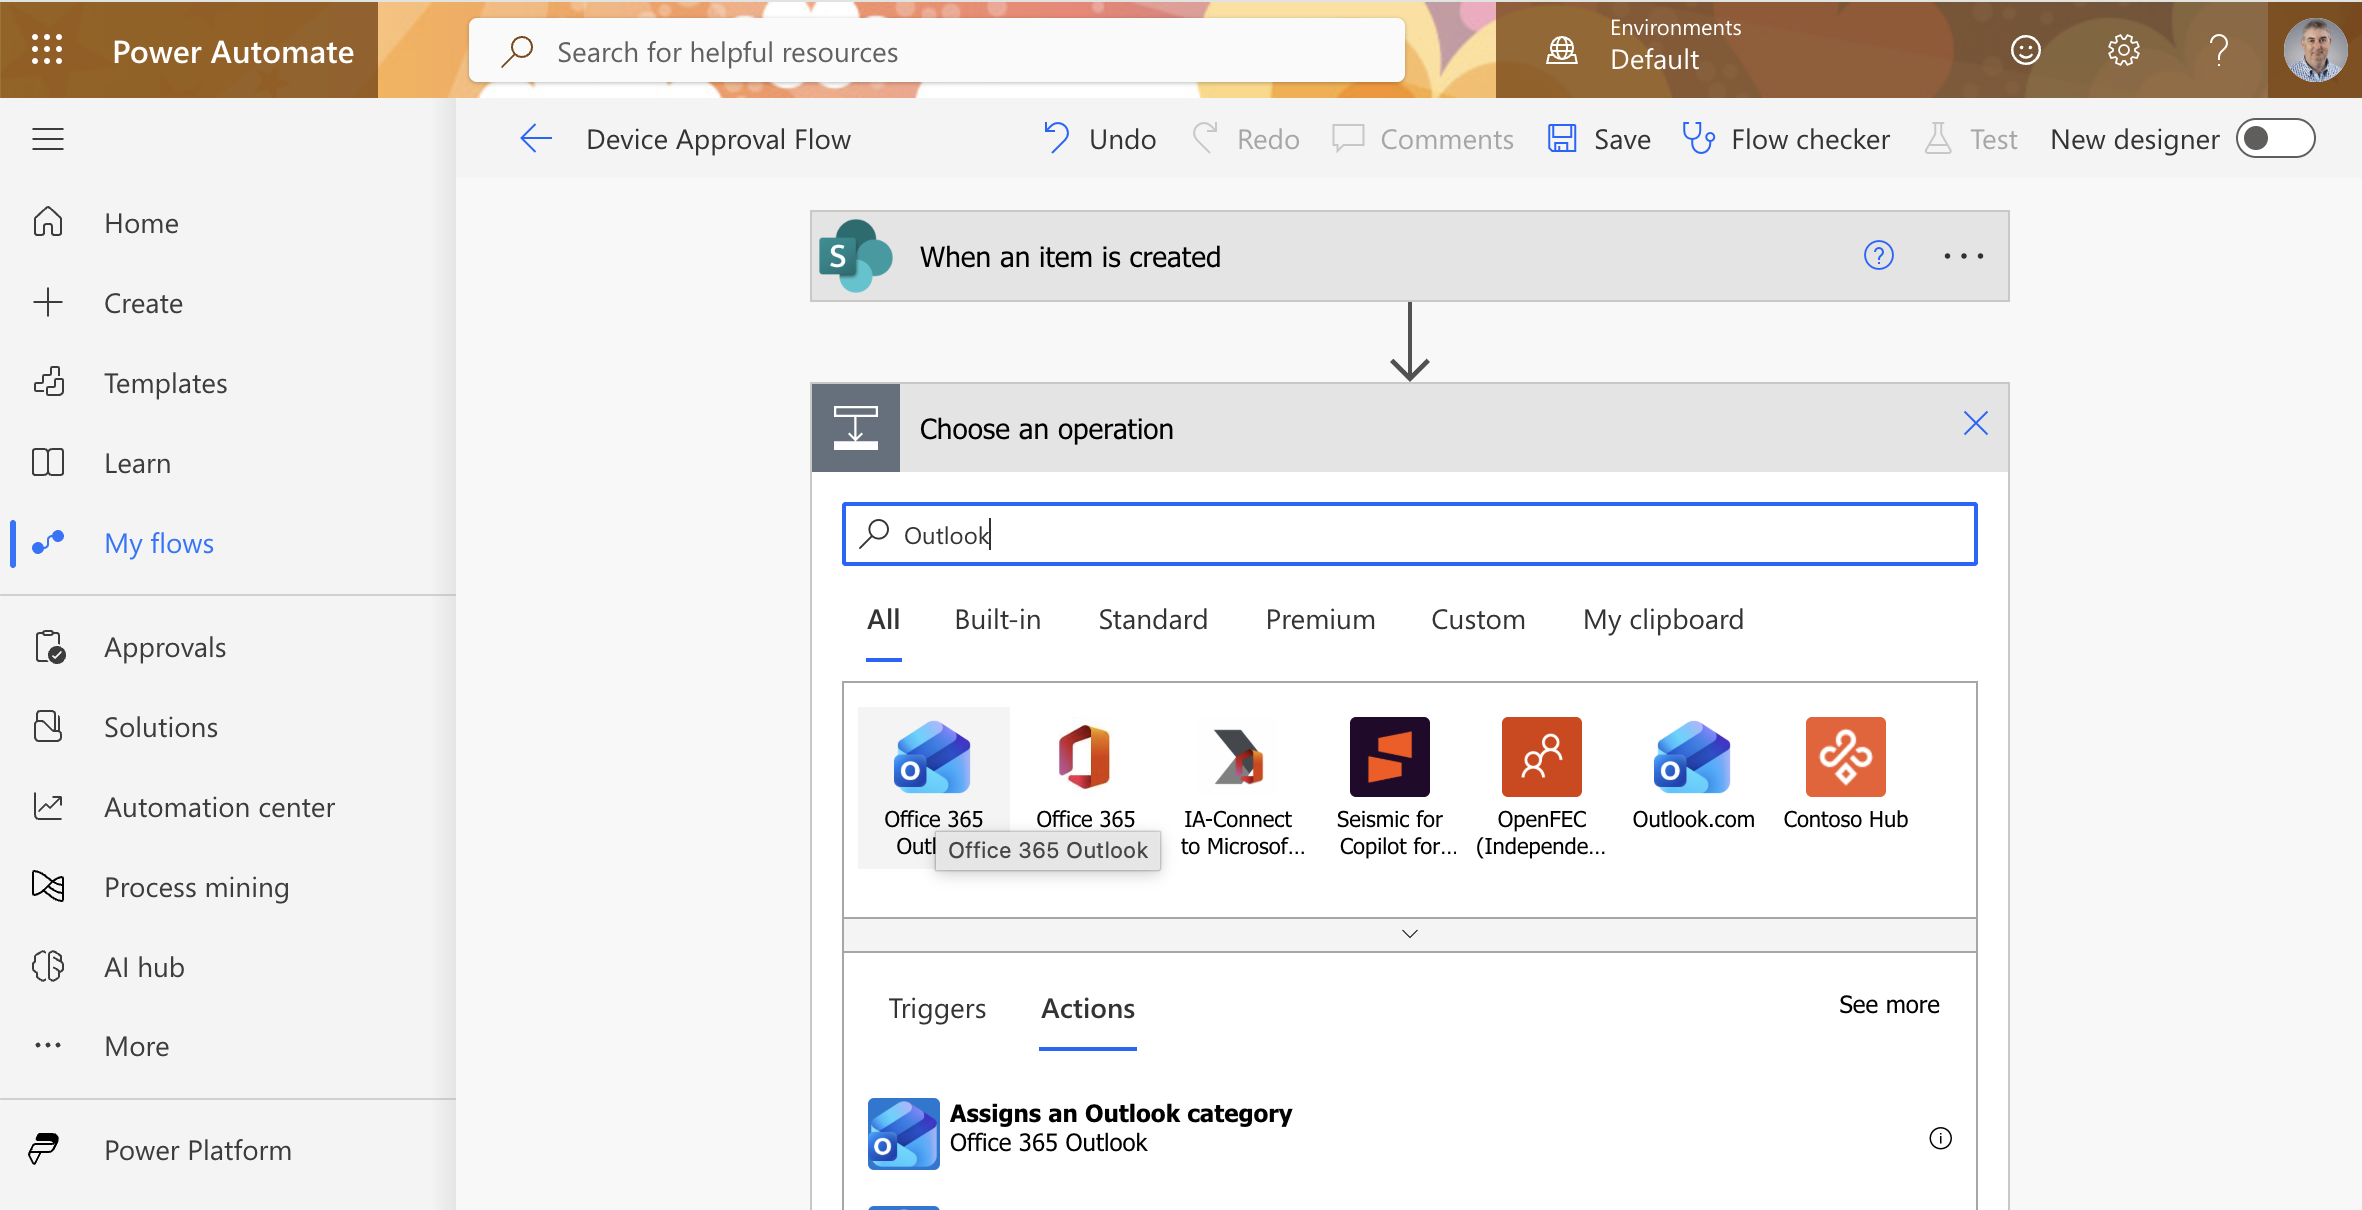
I added a new step and searched for Outlook to add an email action
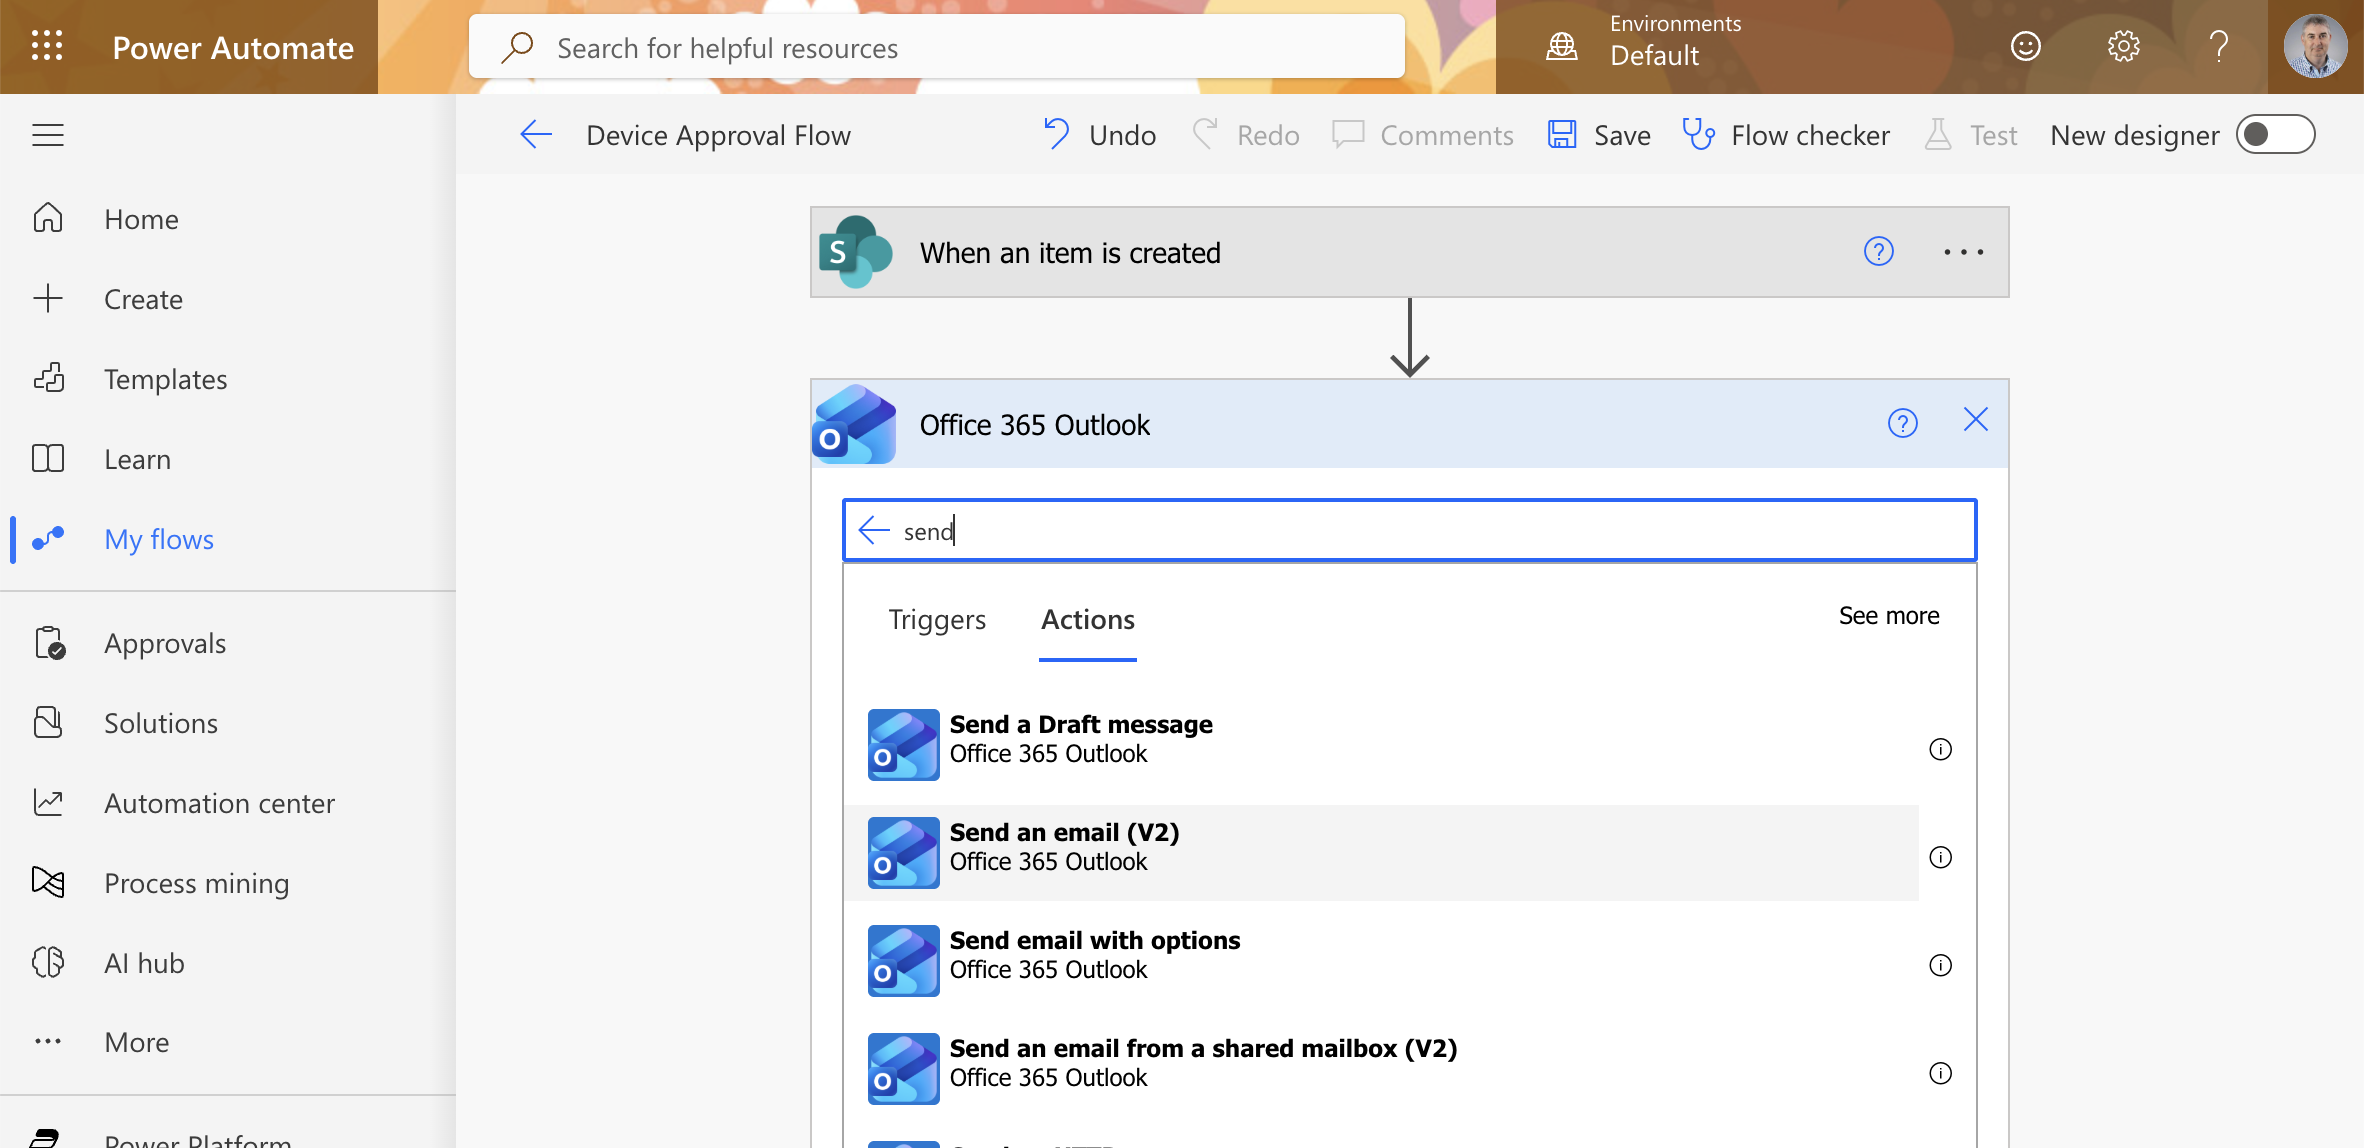
I searched for "send" within Office 365 Outlook and selected "Send an email (V2)"
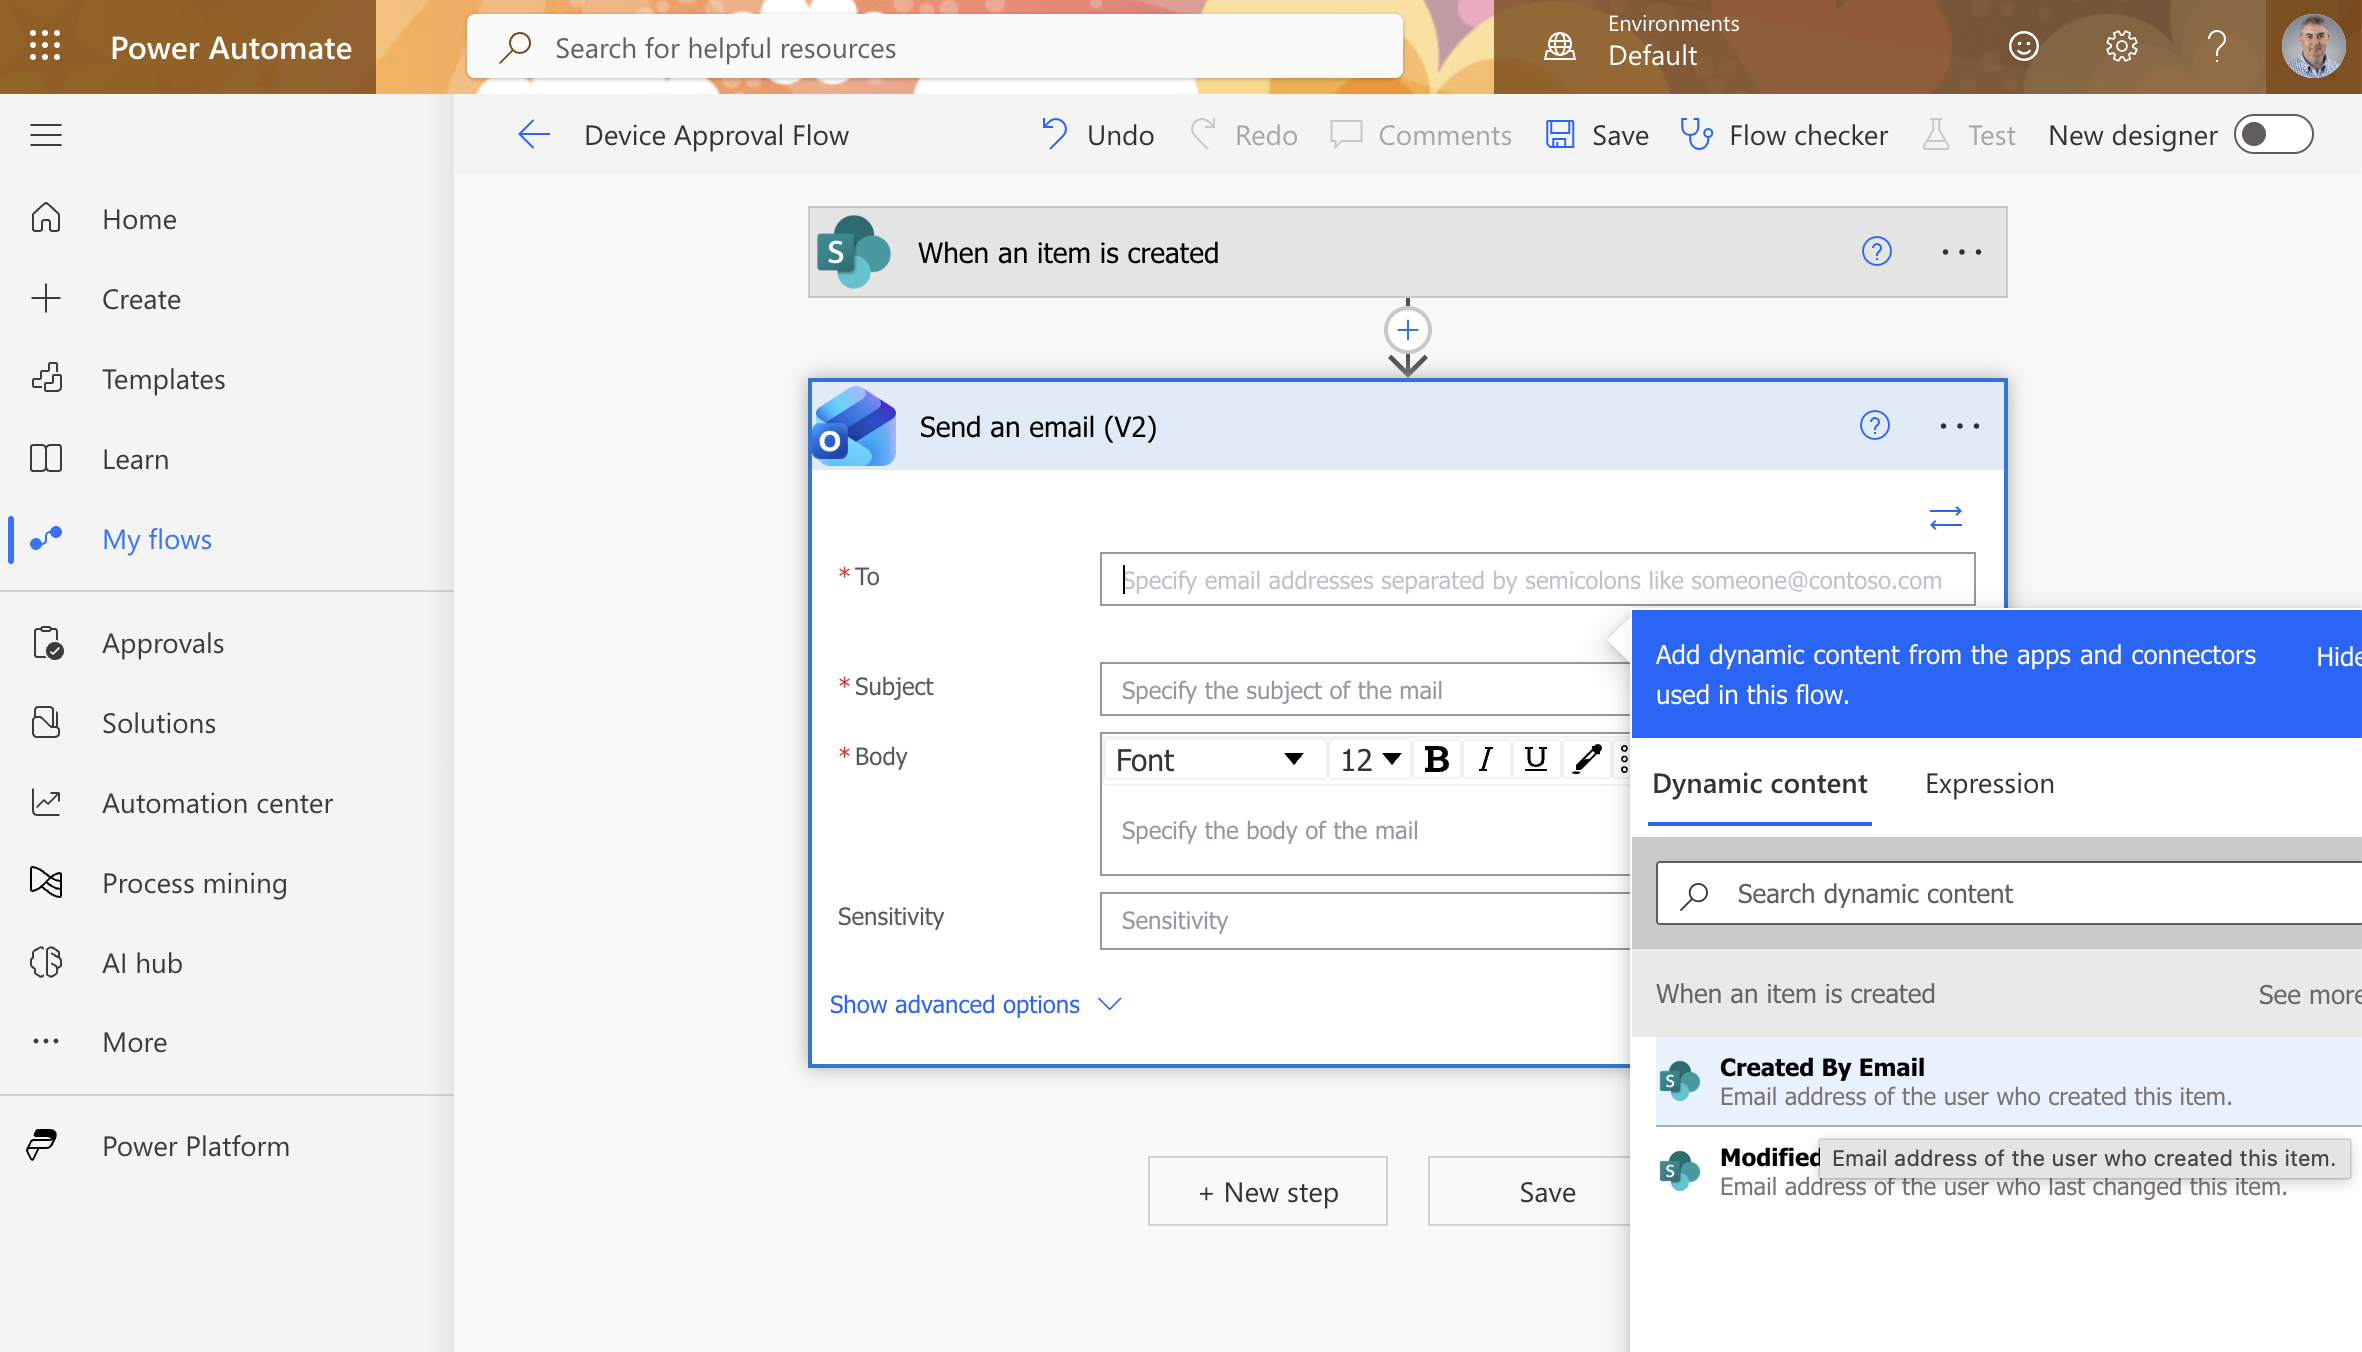
The Send an email action expanded with the Dynamic content panel open, showing "Created By Email" as the recipient
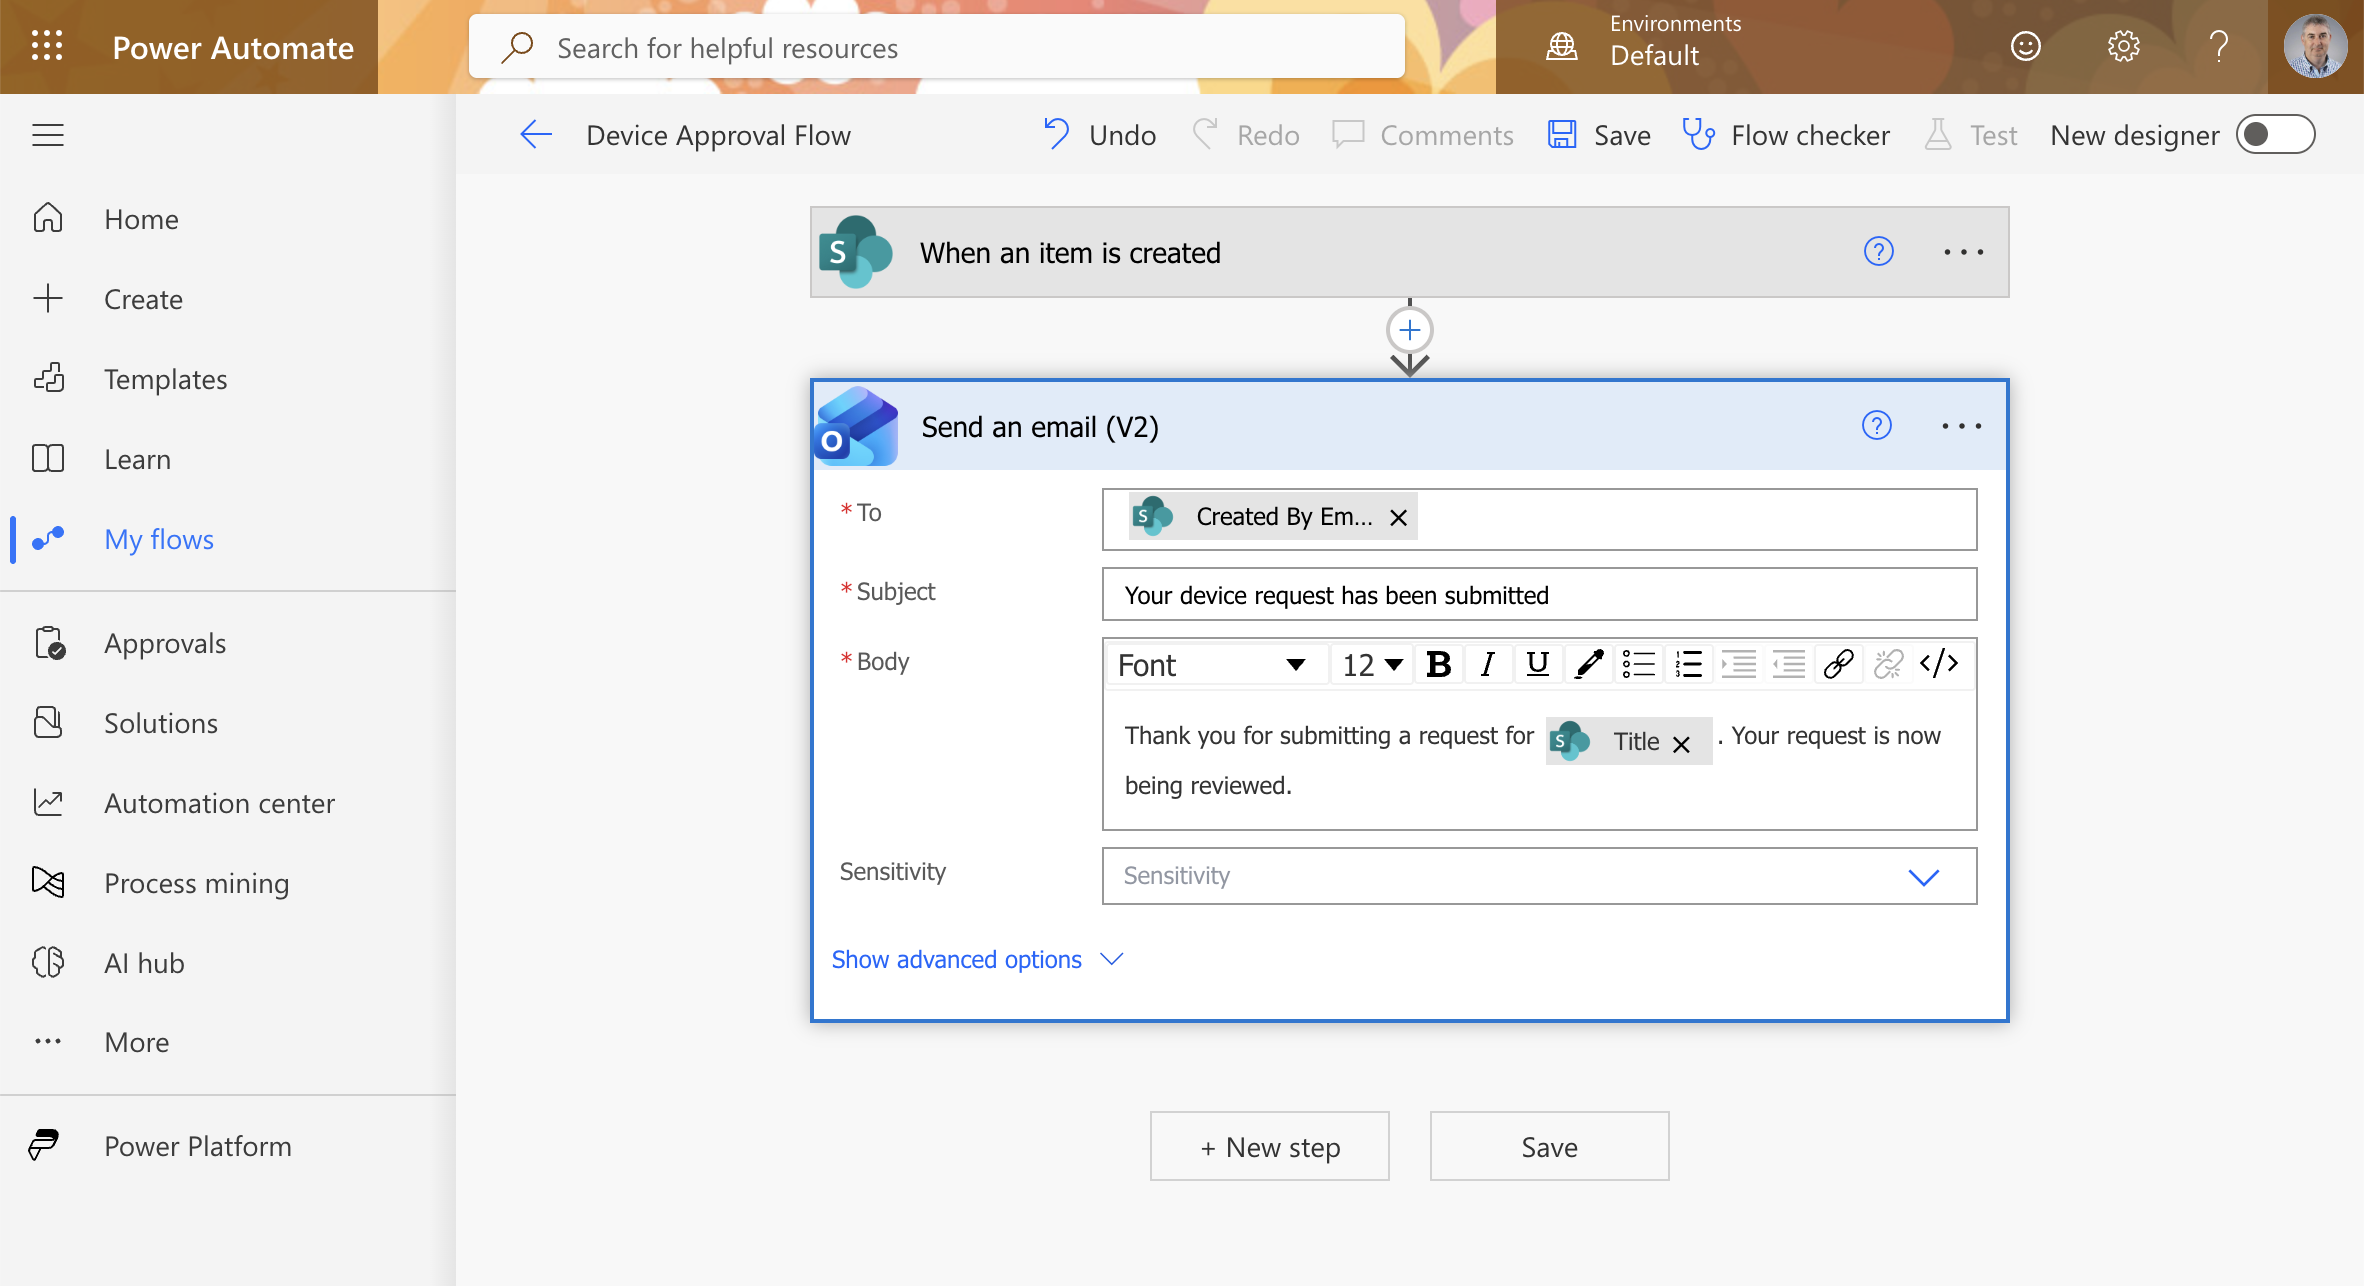
I completed the email action: To = Created By Email, Subject = "Your device request has been submitted", Body referencing the Title field
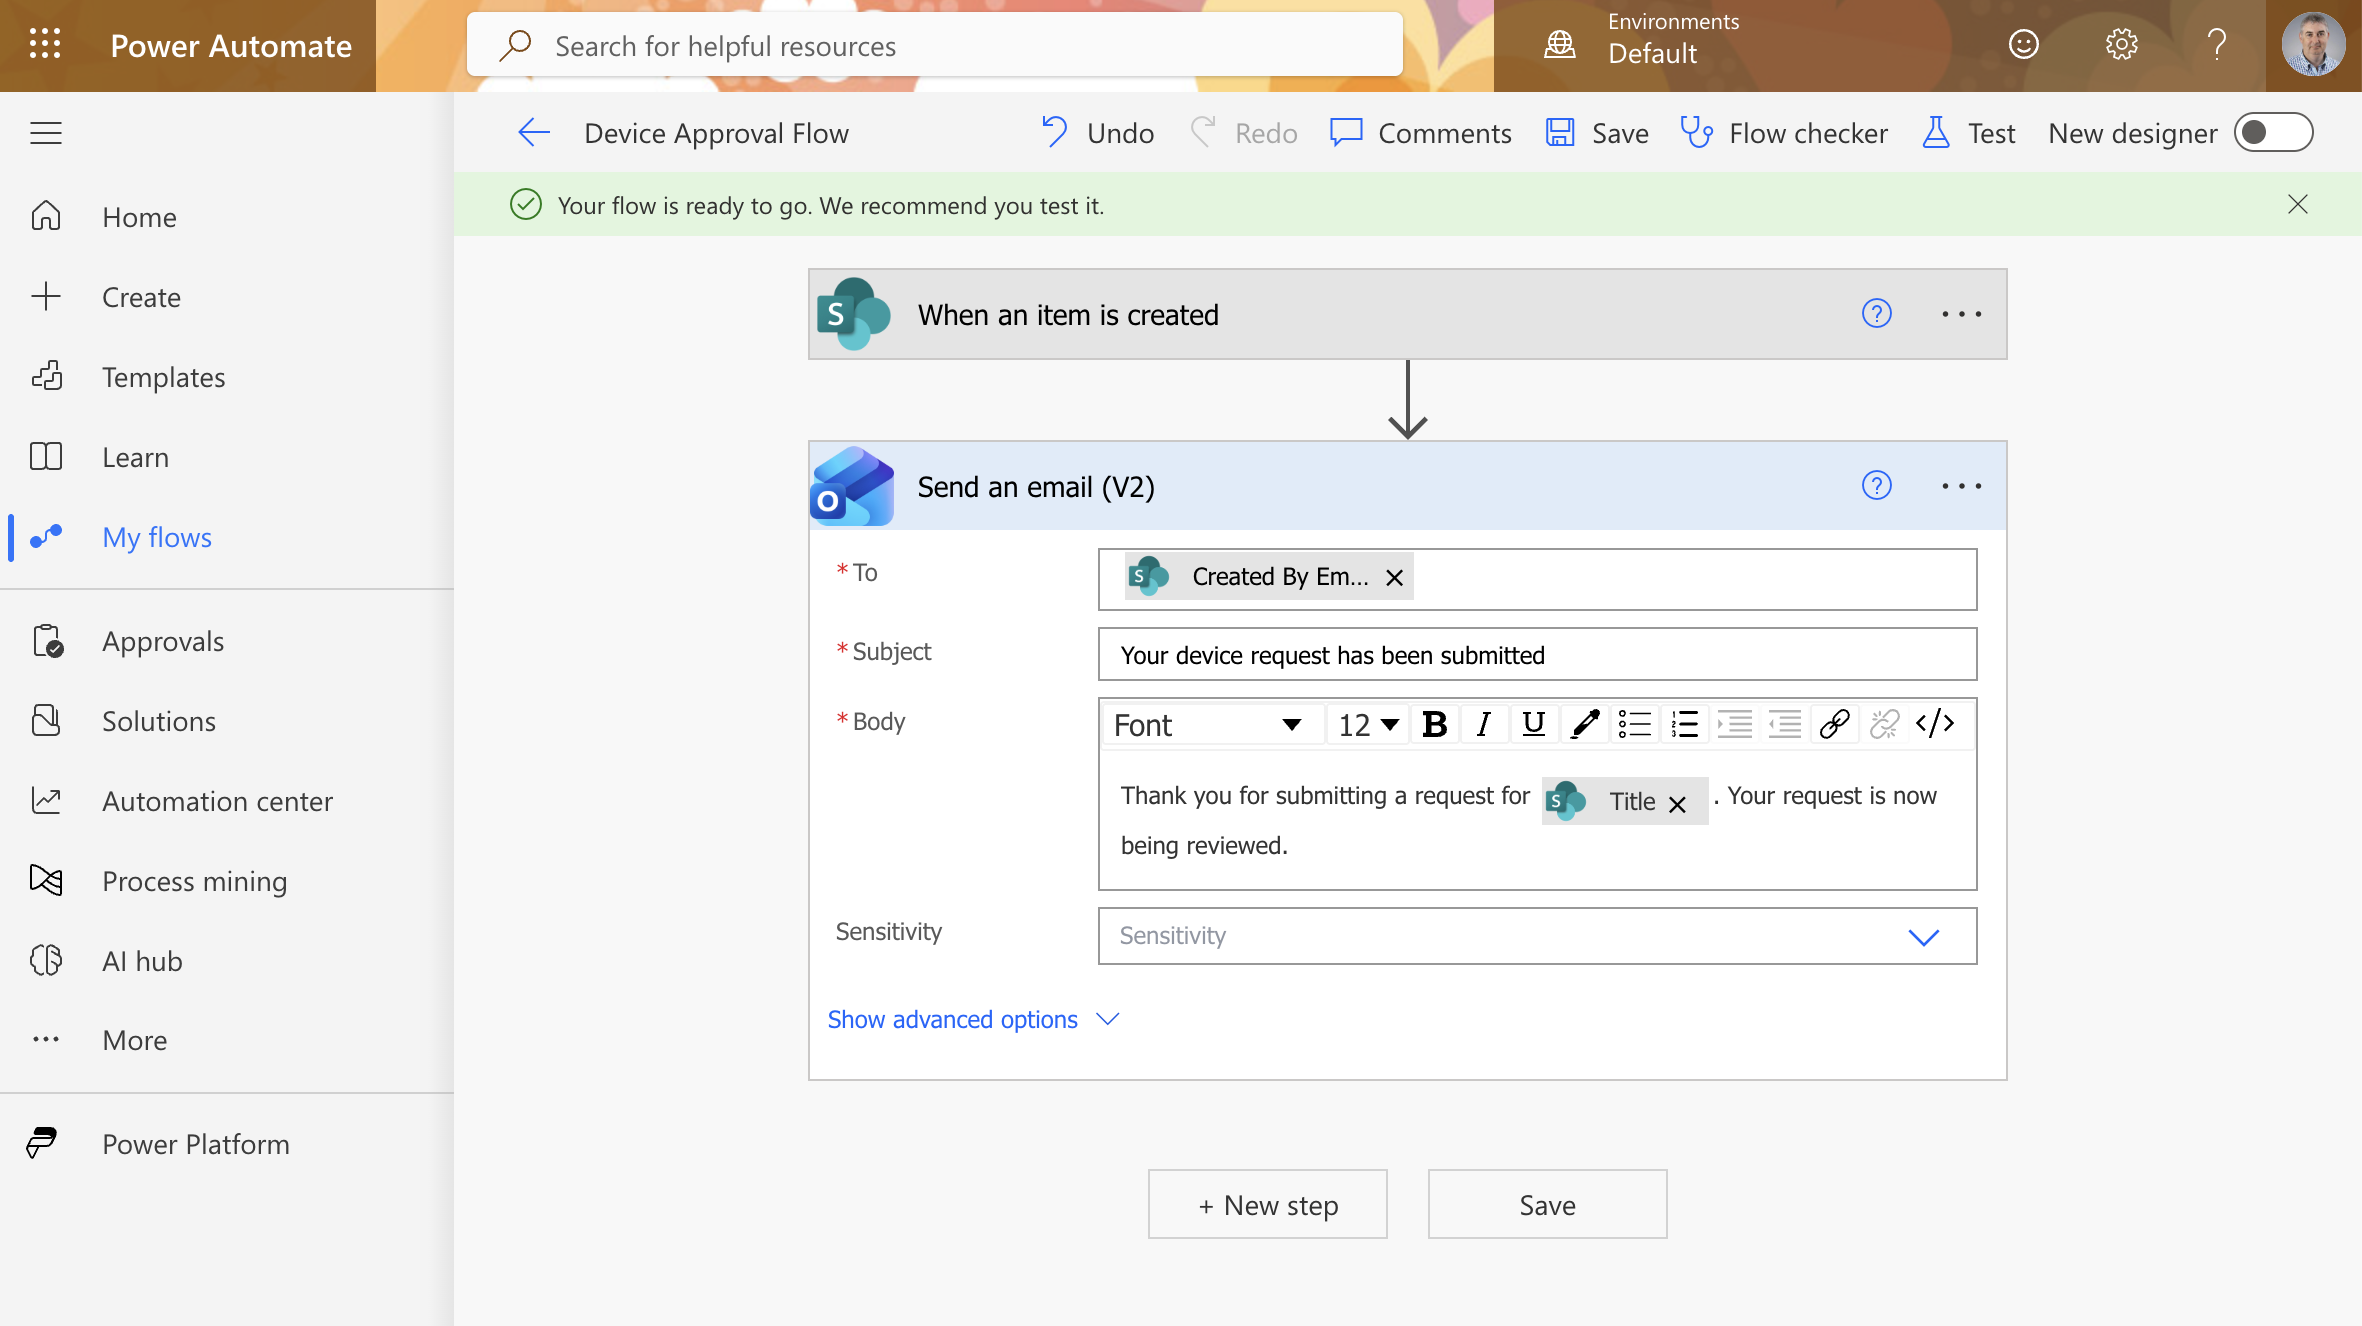
Power Automate confirmed the flow was saved and ready to test
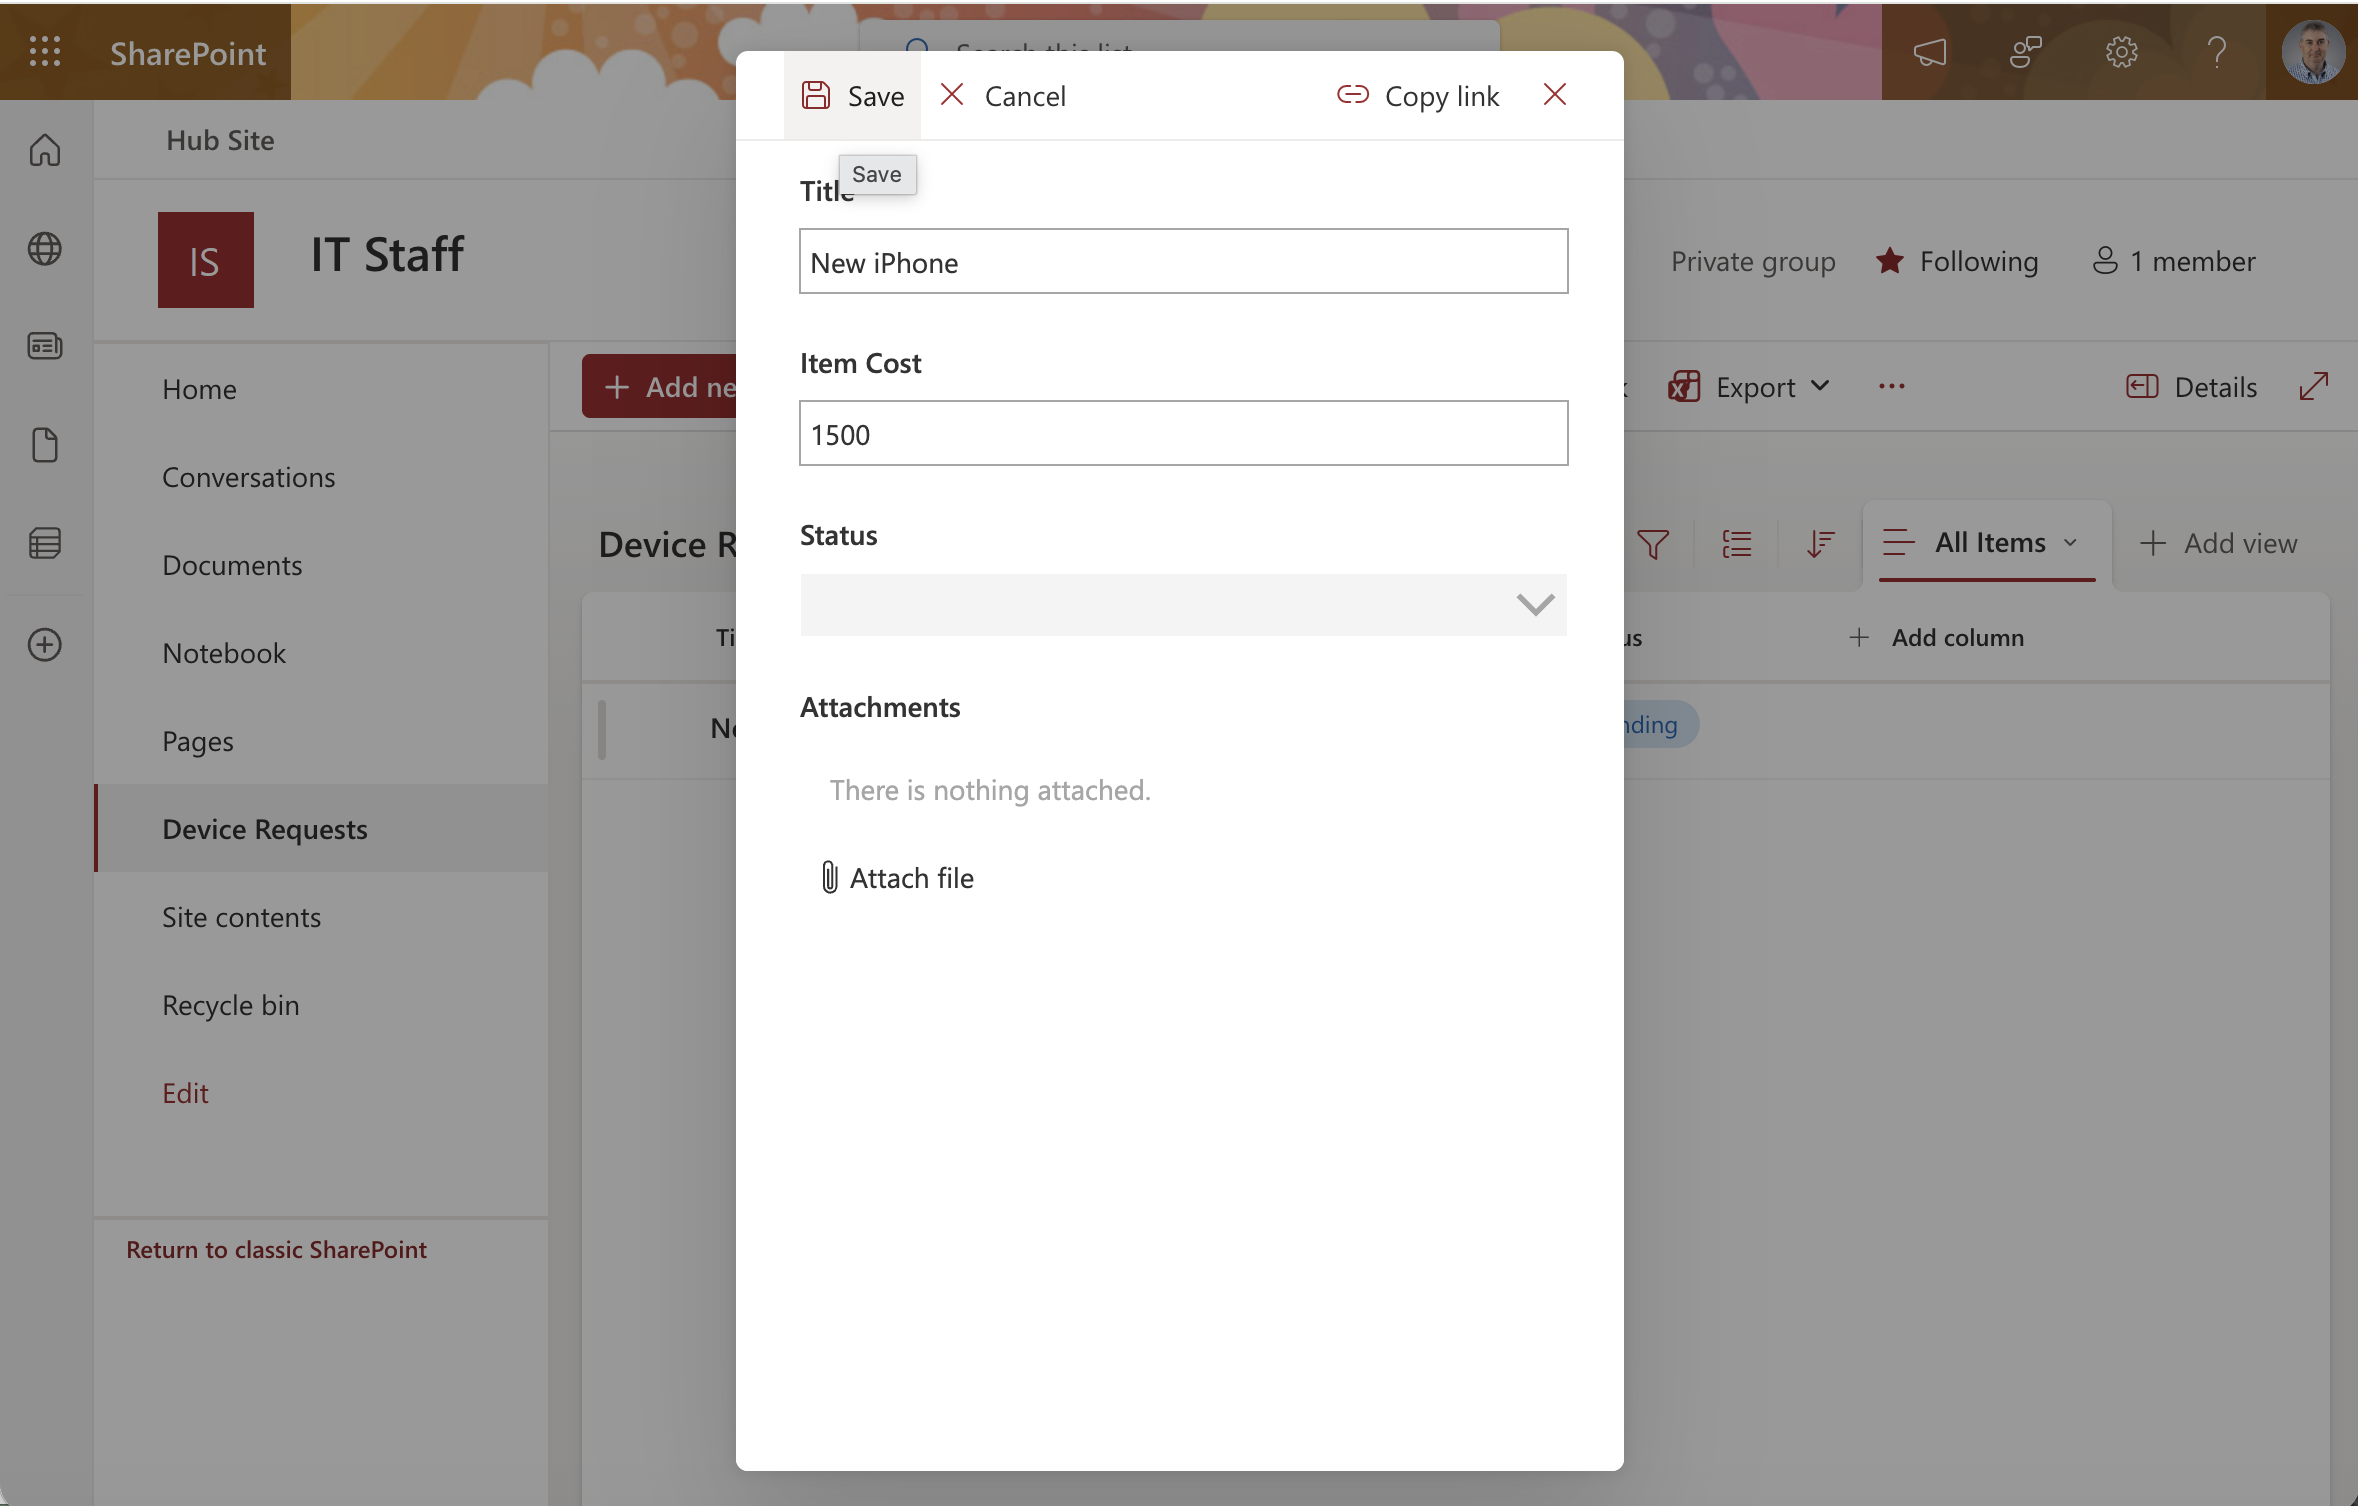
I returned to the list and submitted a new request for a "New iPhone" at $1,500
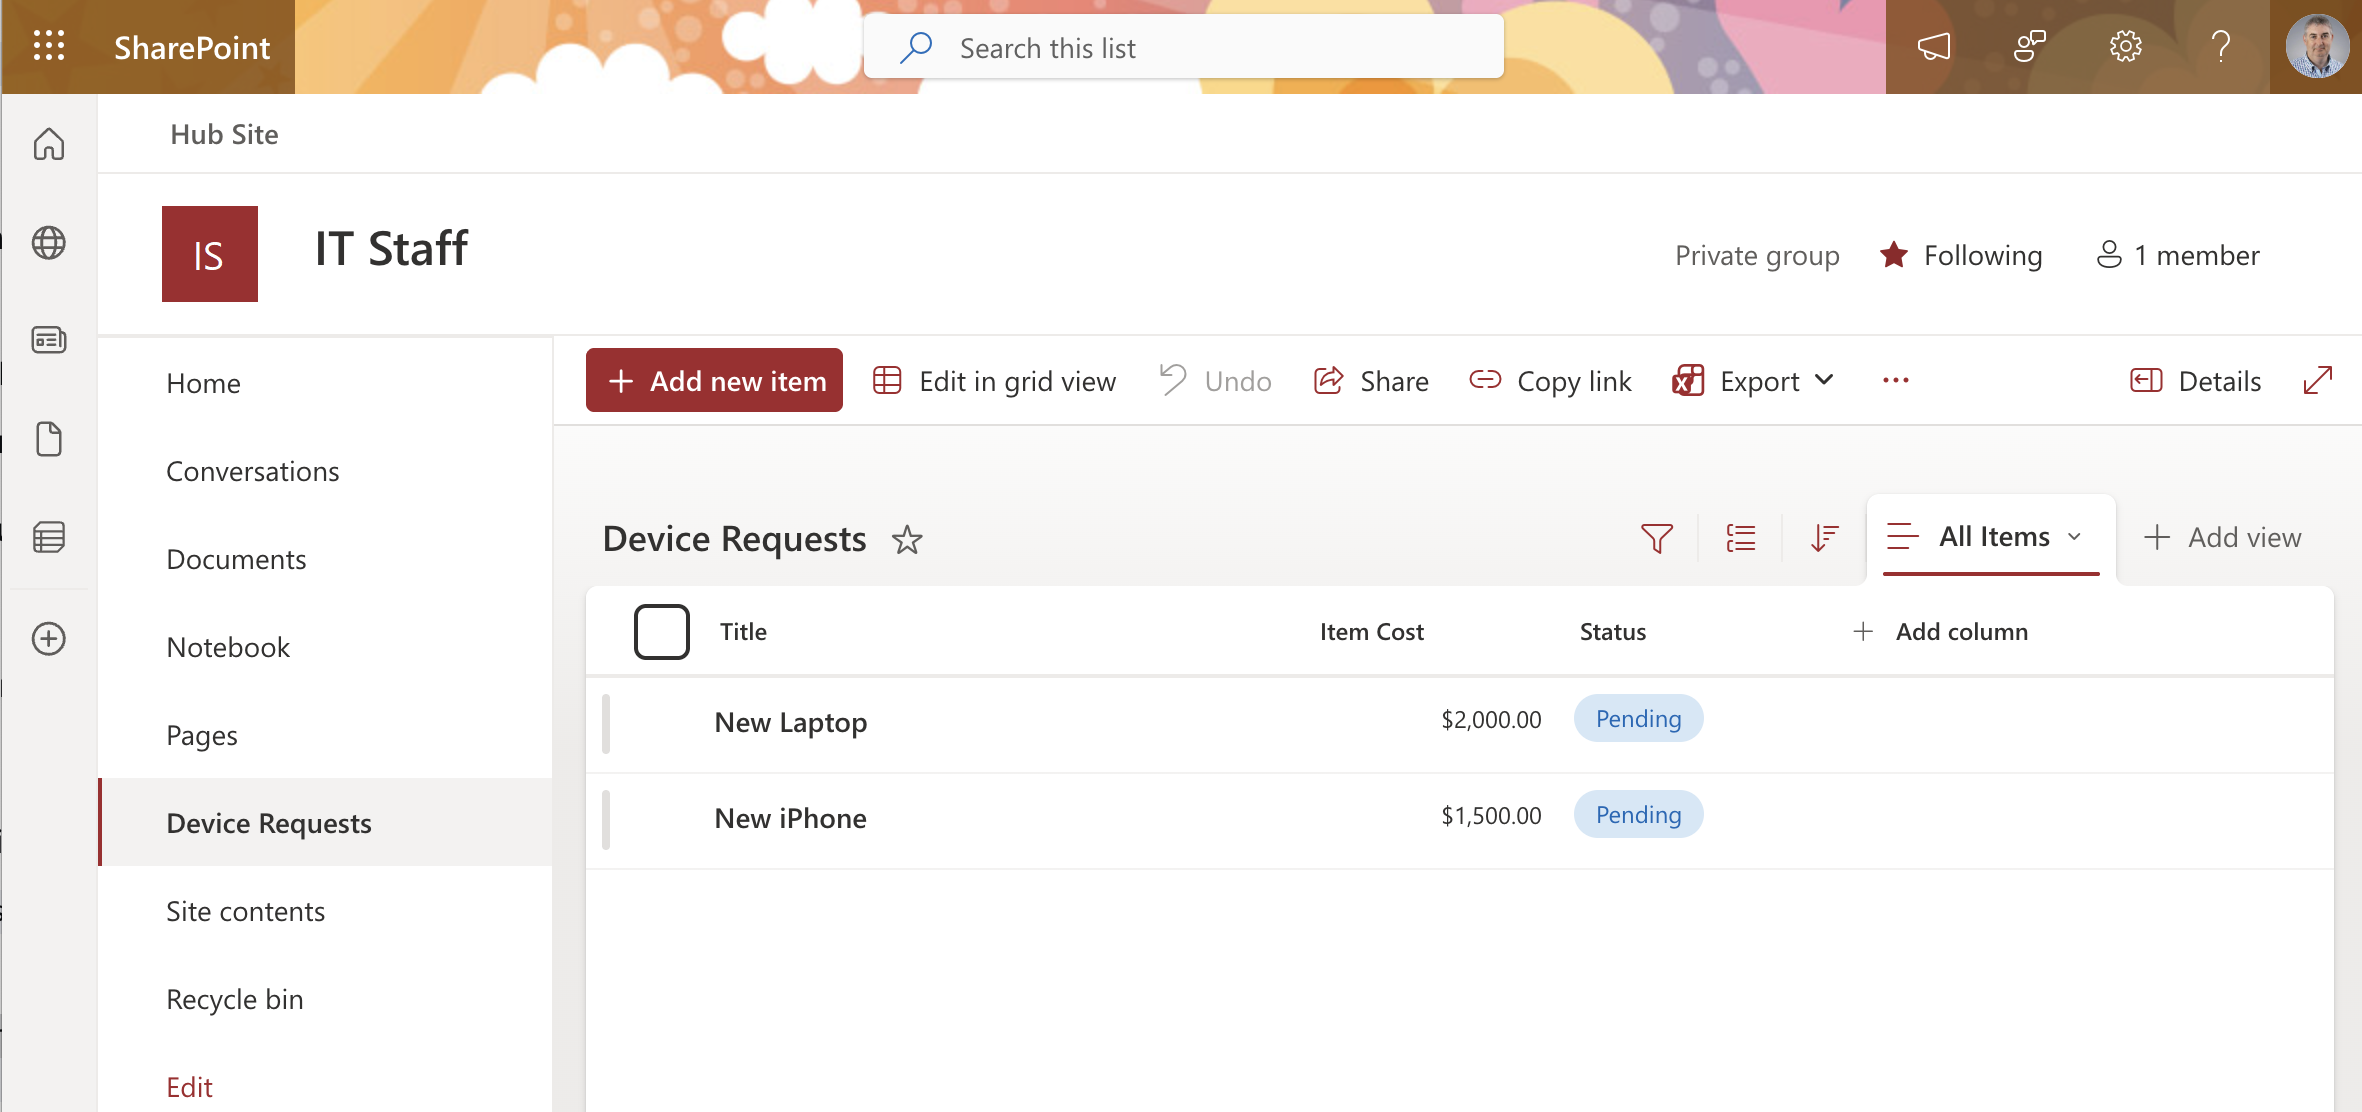
The list now showed both requests — New Laptop and New iPhone — each with Pending status
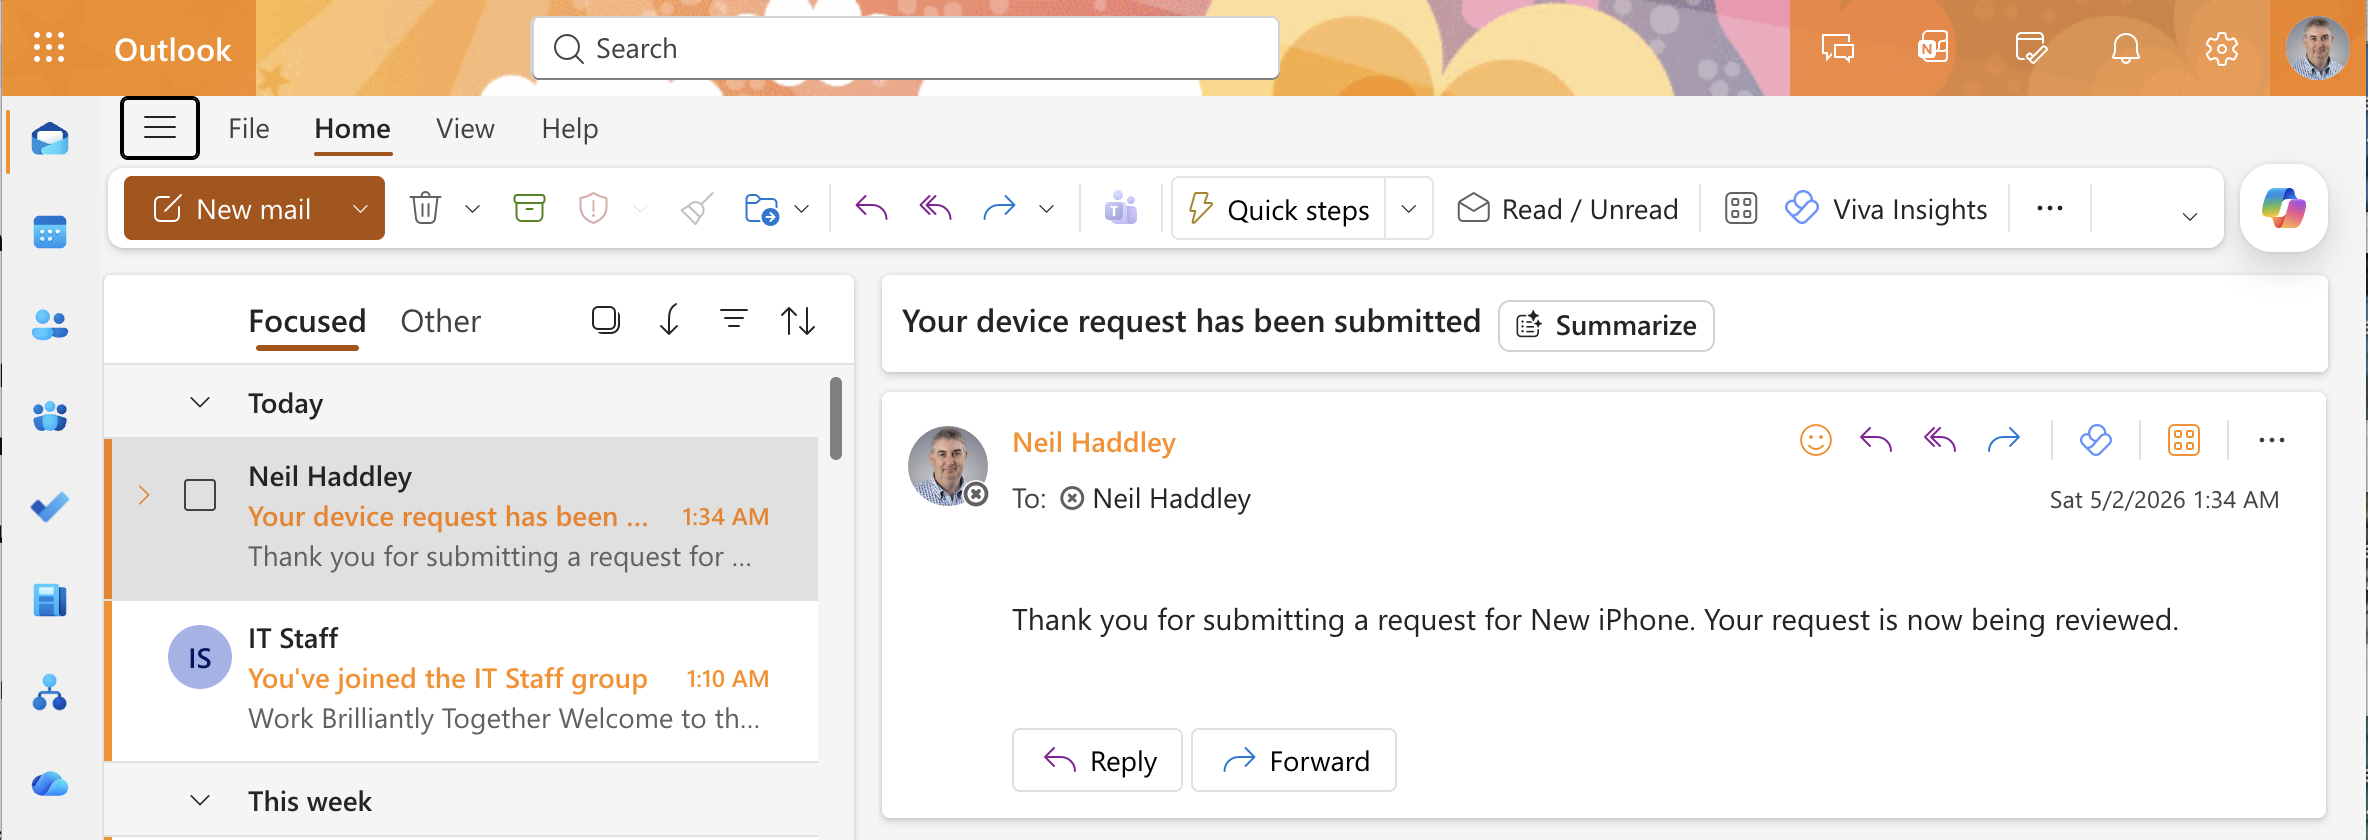
The Power Automate flow triggered automatically and sent a confirmation email: "Thank you for submitting a request for New iPhone. Your request is now being reviewed."
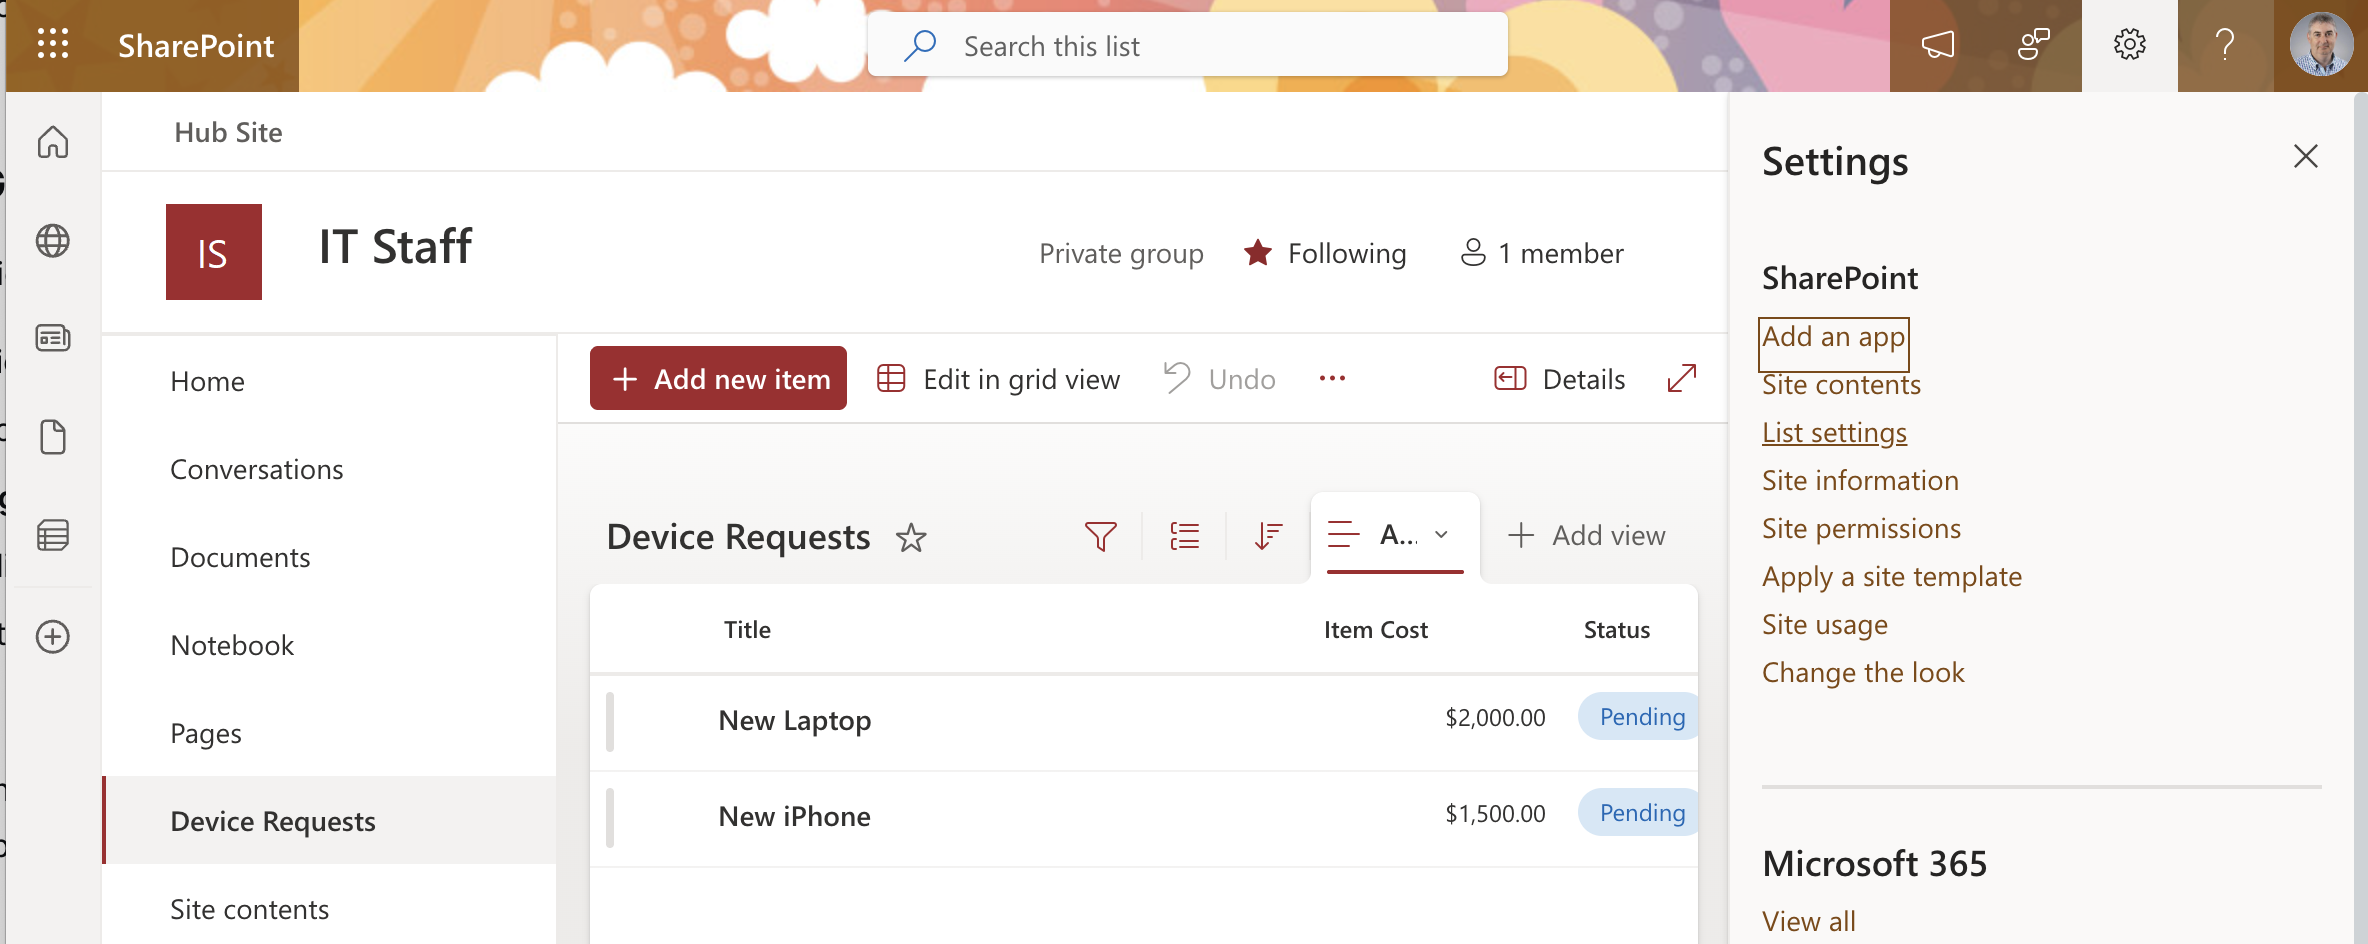
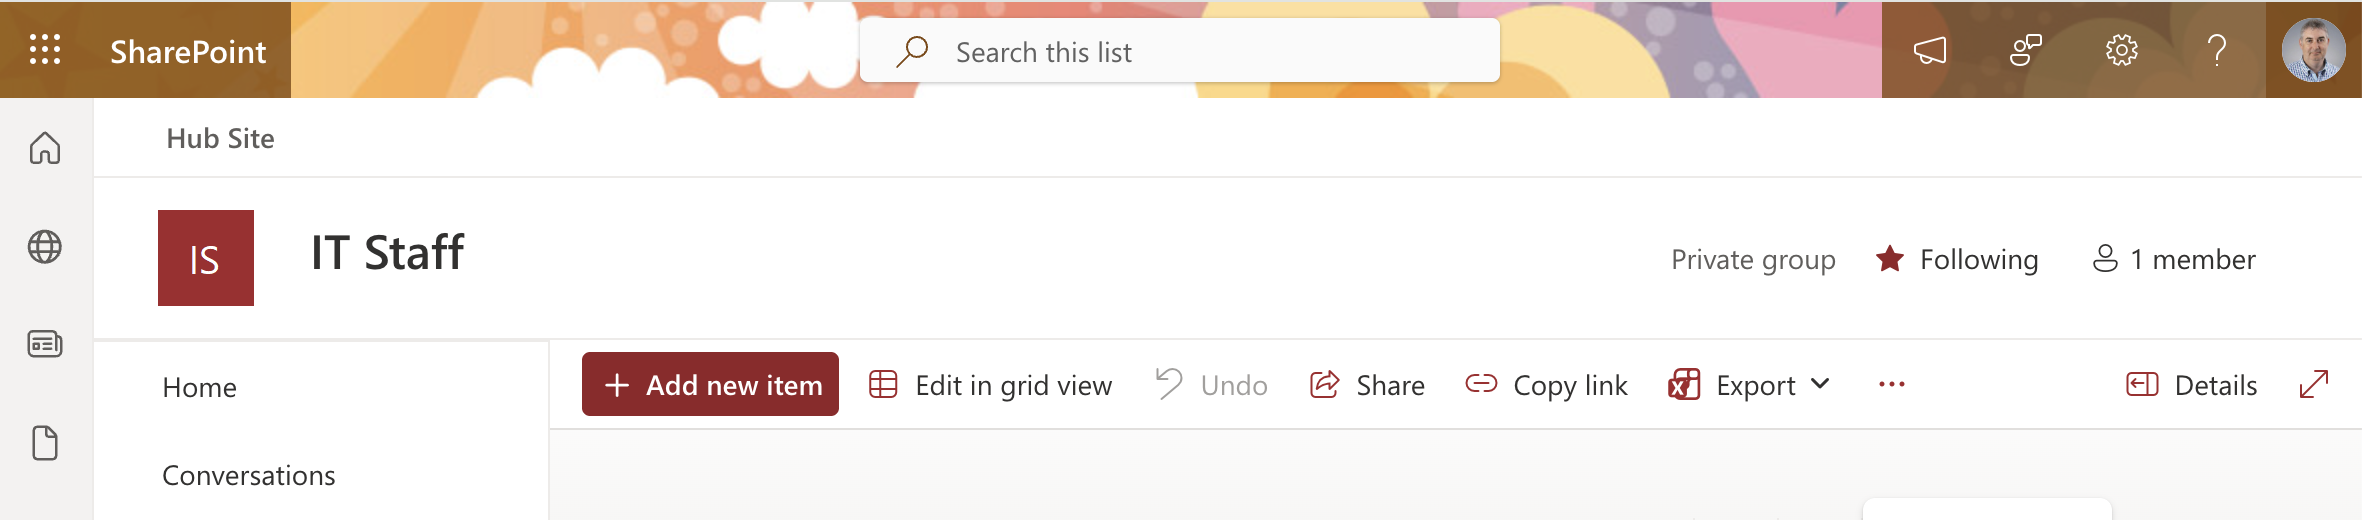
I noticed the Edit in grid view button was gone from the toolbar after publishing the Power Apps form, and the settings panel confirmed the list was now read-only
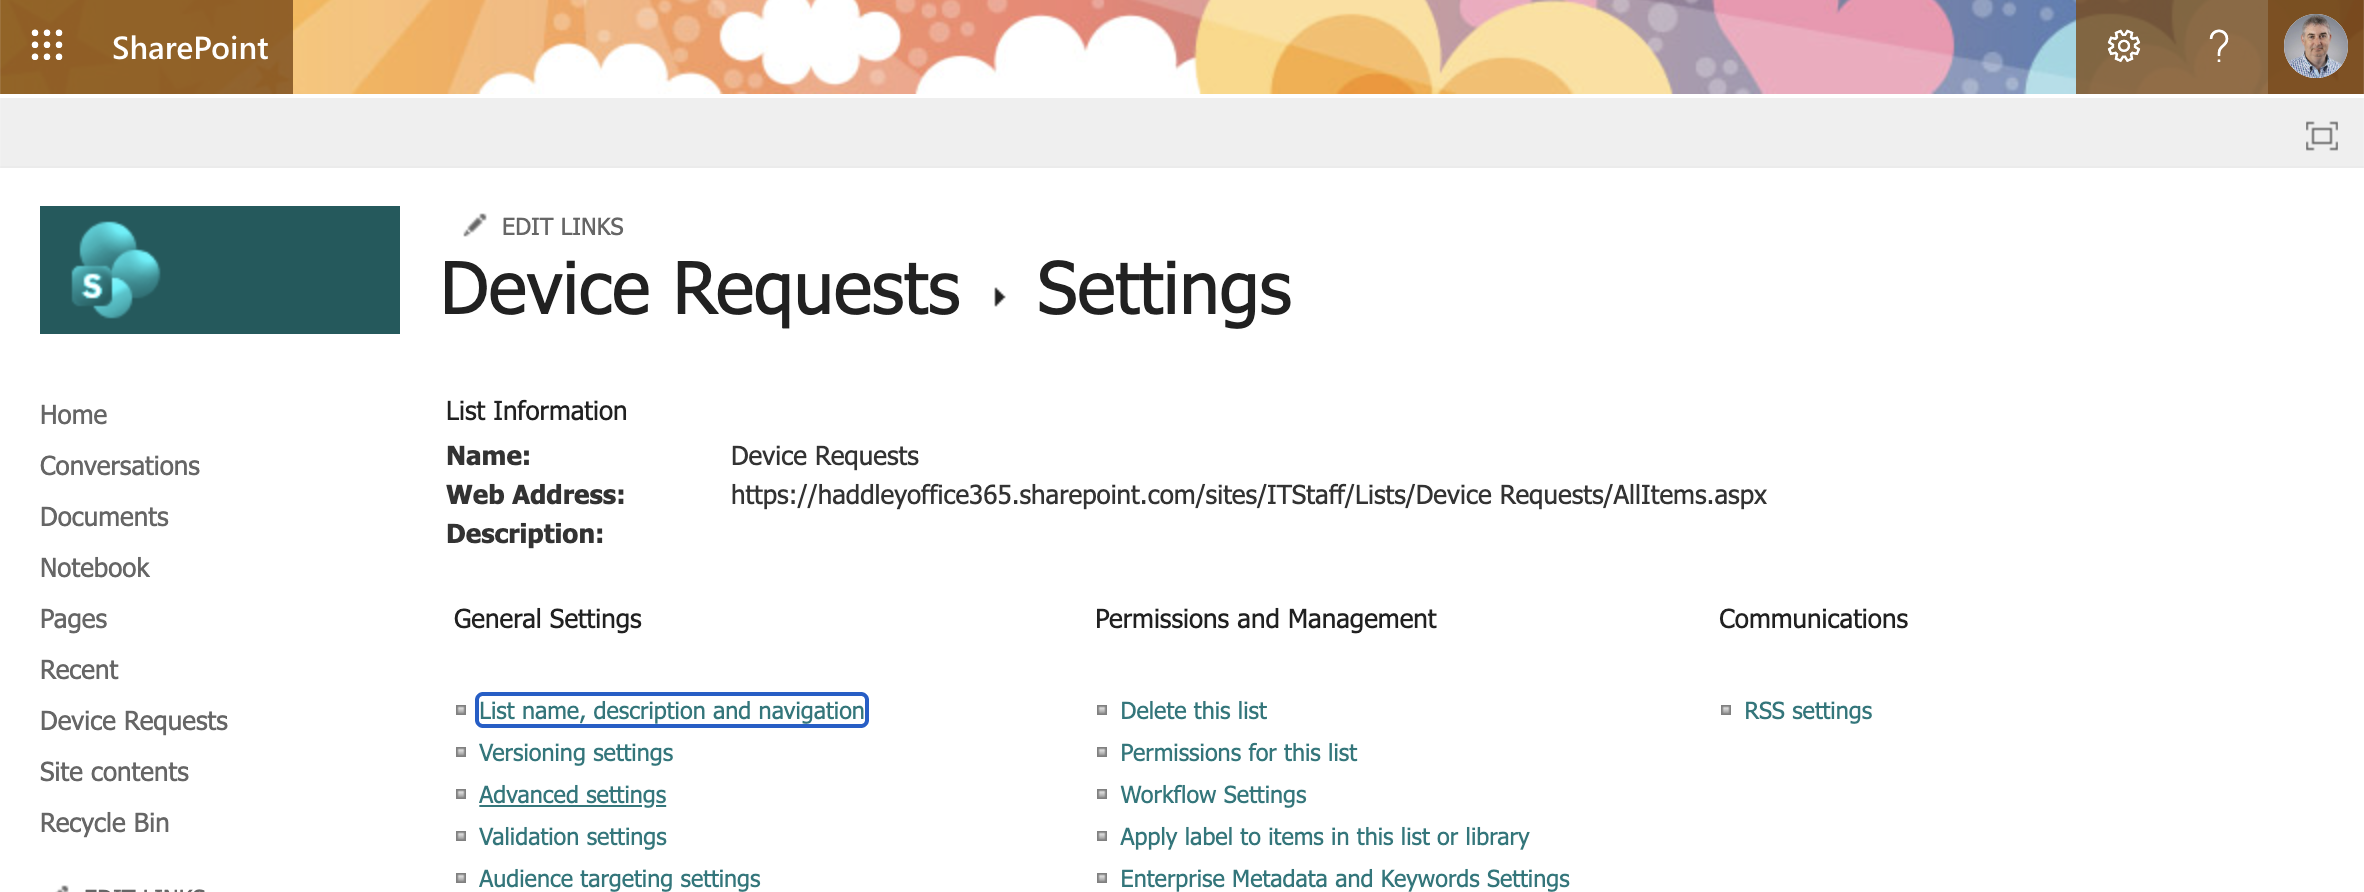
I opened the Device Requests Settings page to navigate to Advanced settings
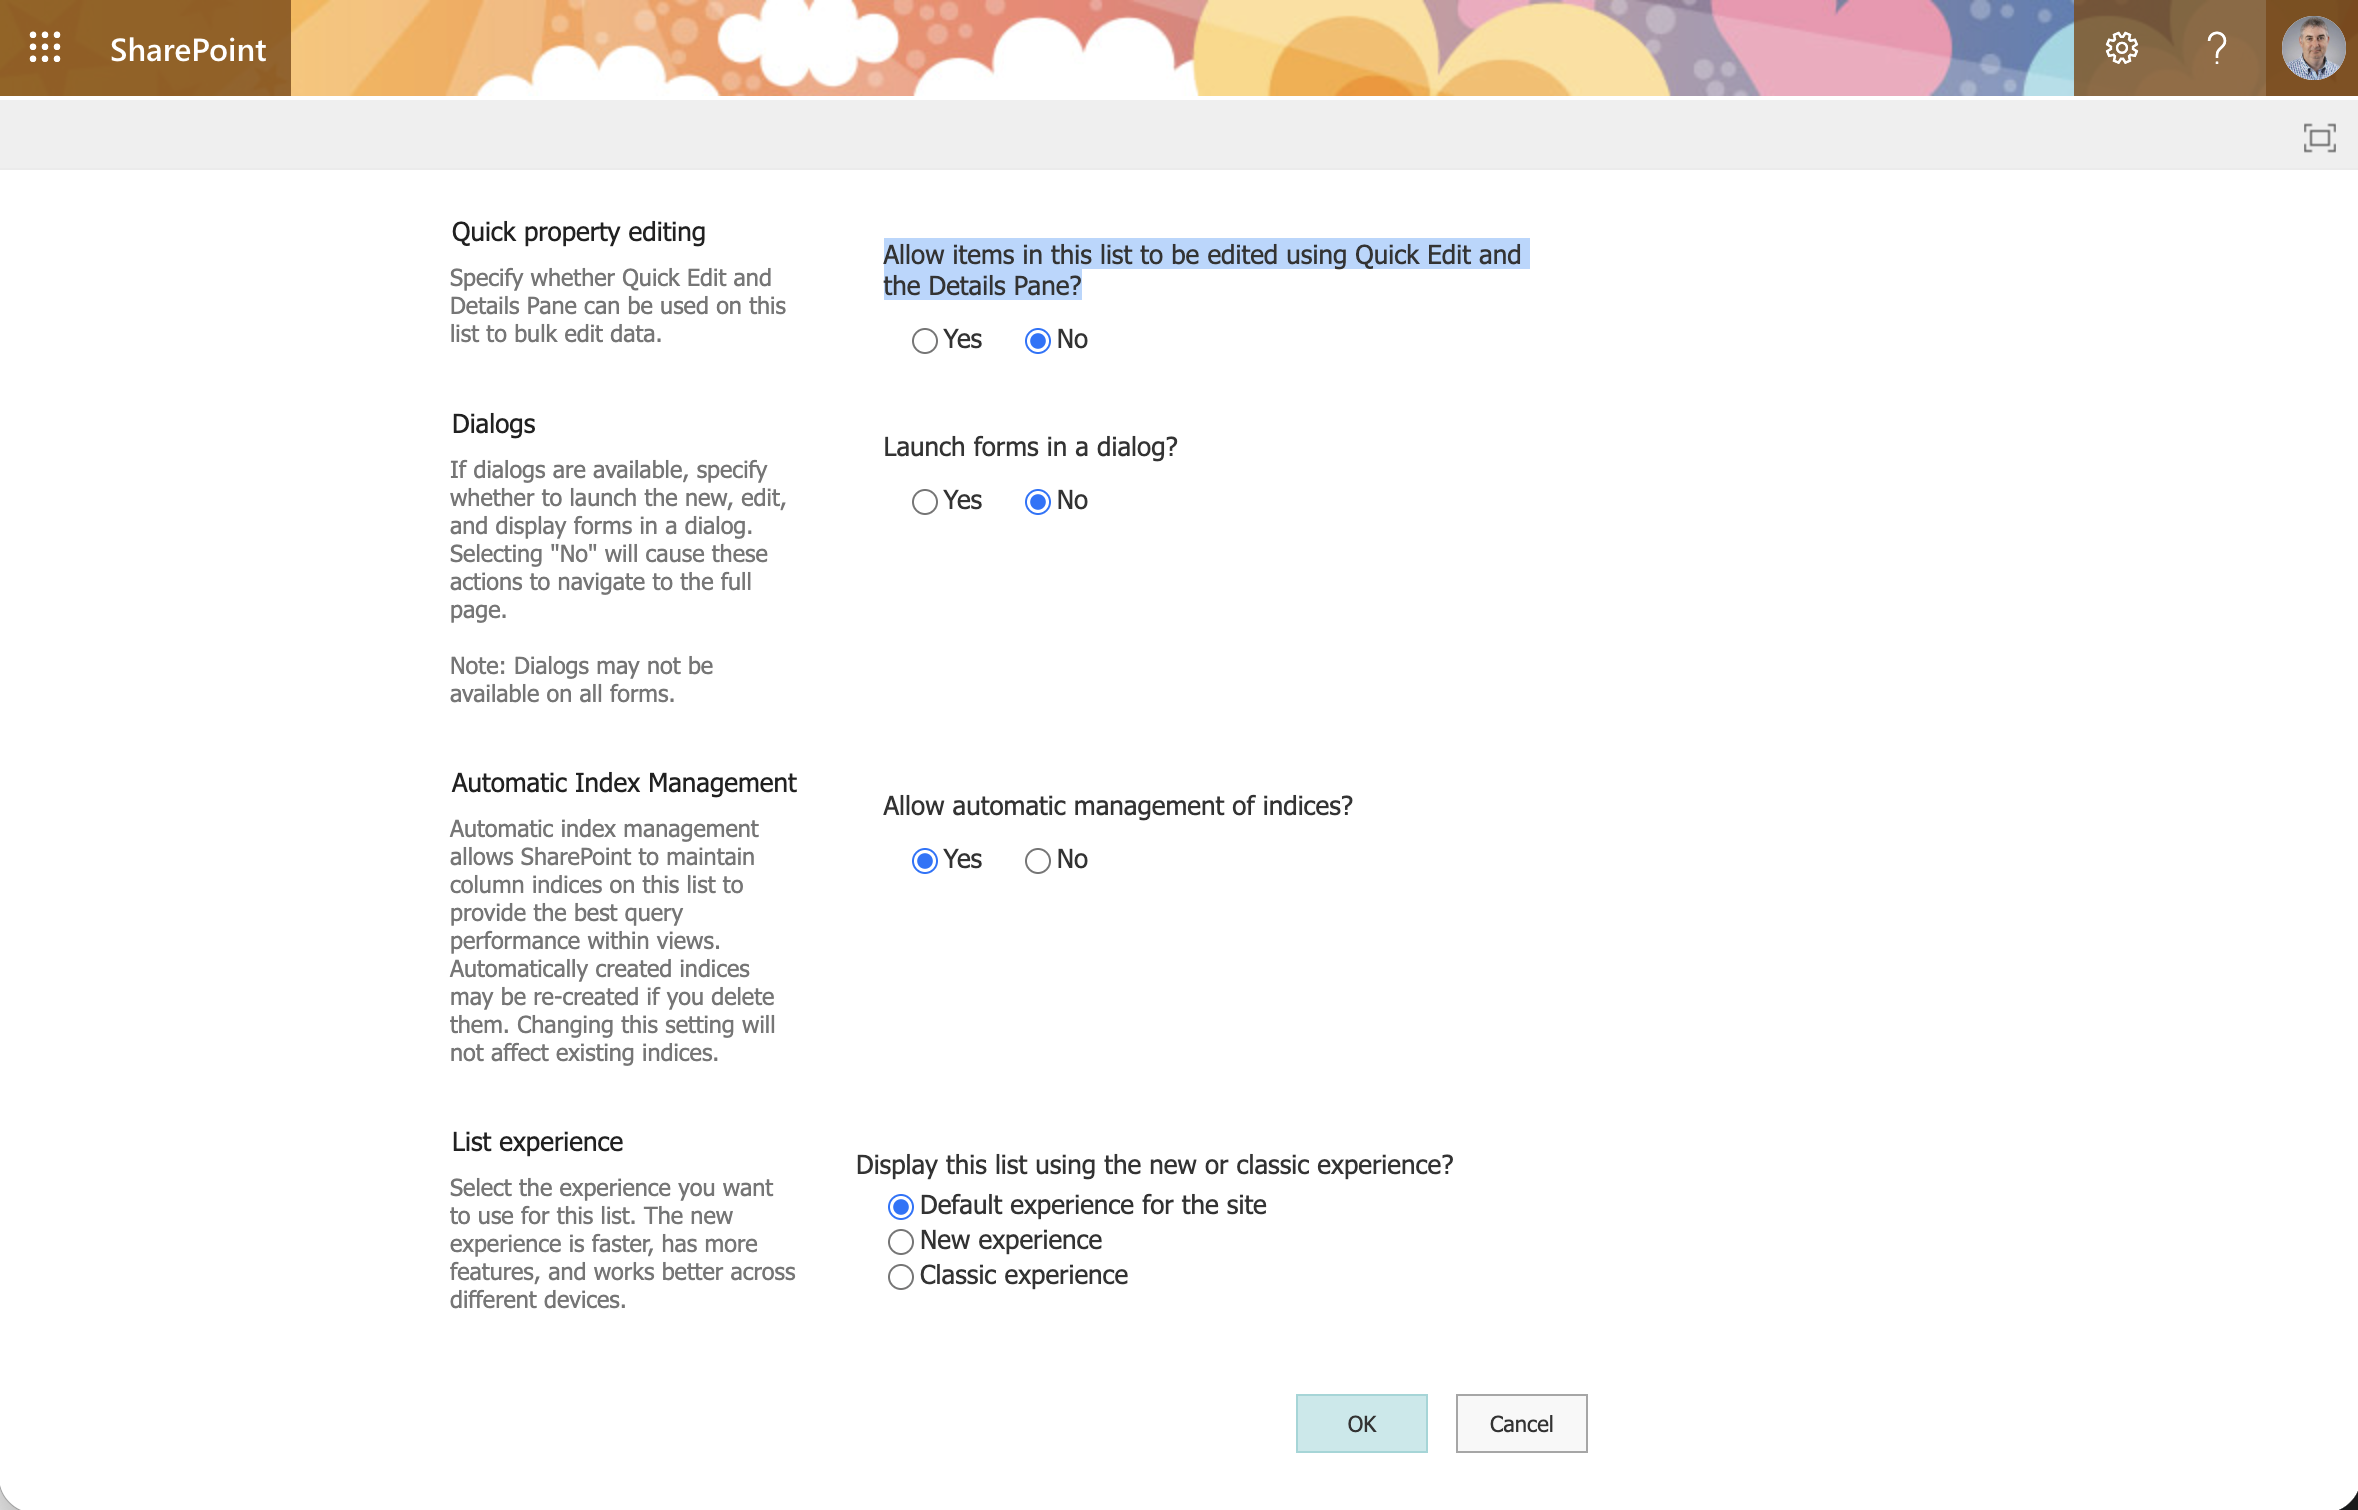
I set "Allow items in this list to be edited using Quick Edit and the Details Pane?" to No to disable inline grid editing and clicked OK to save
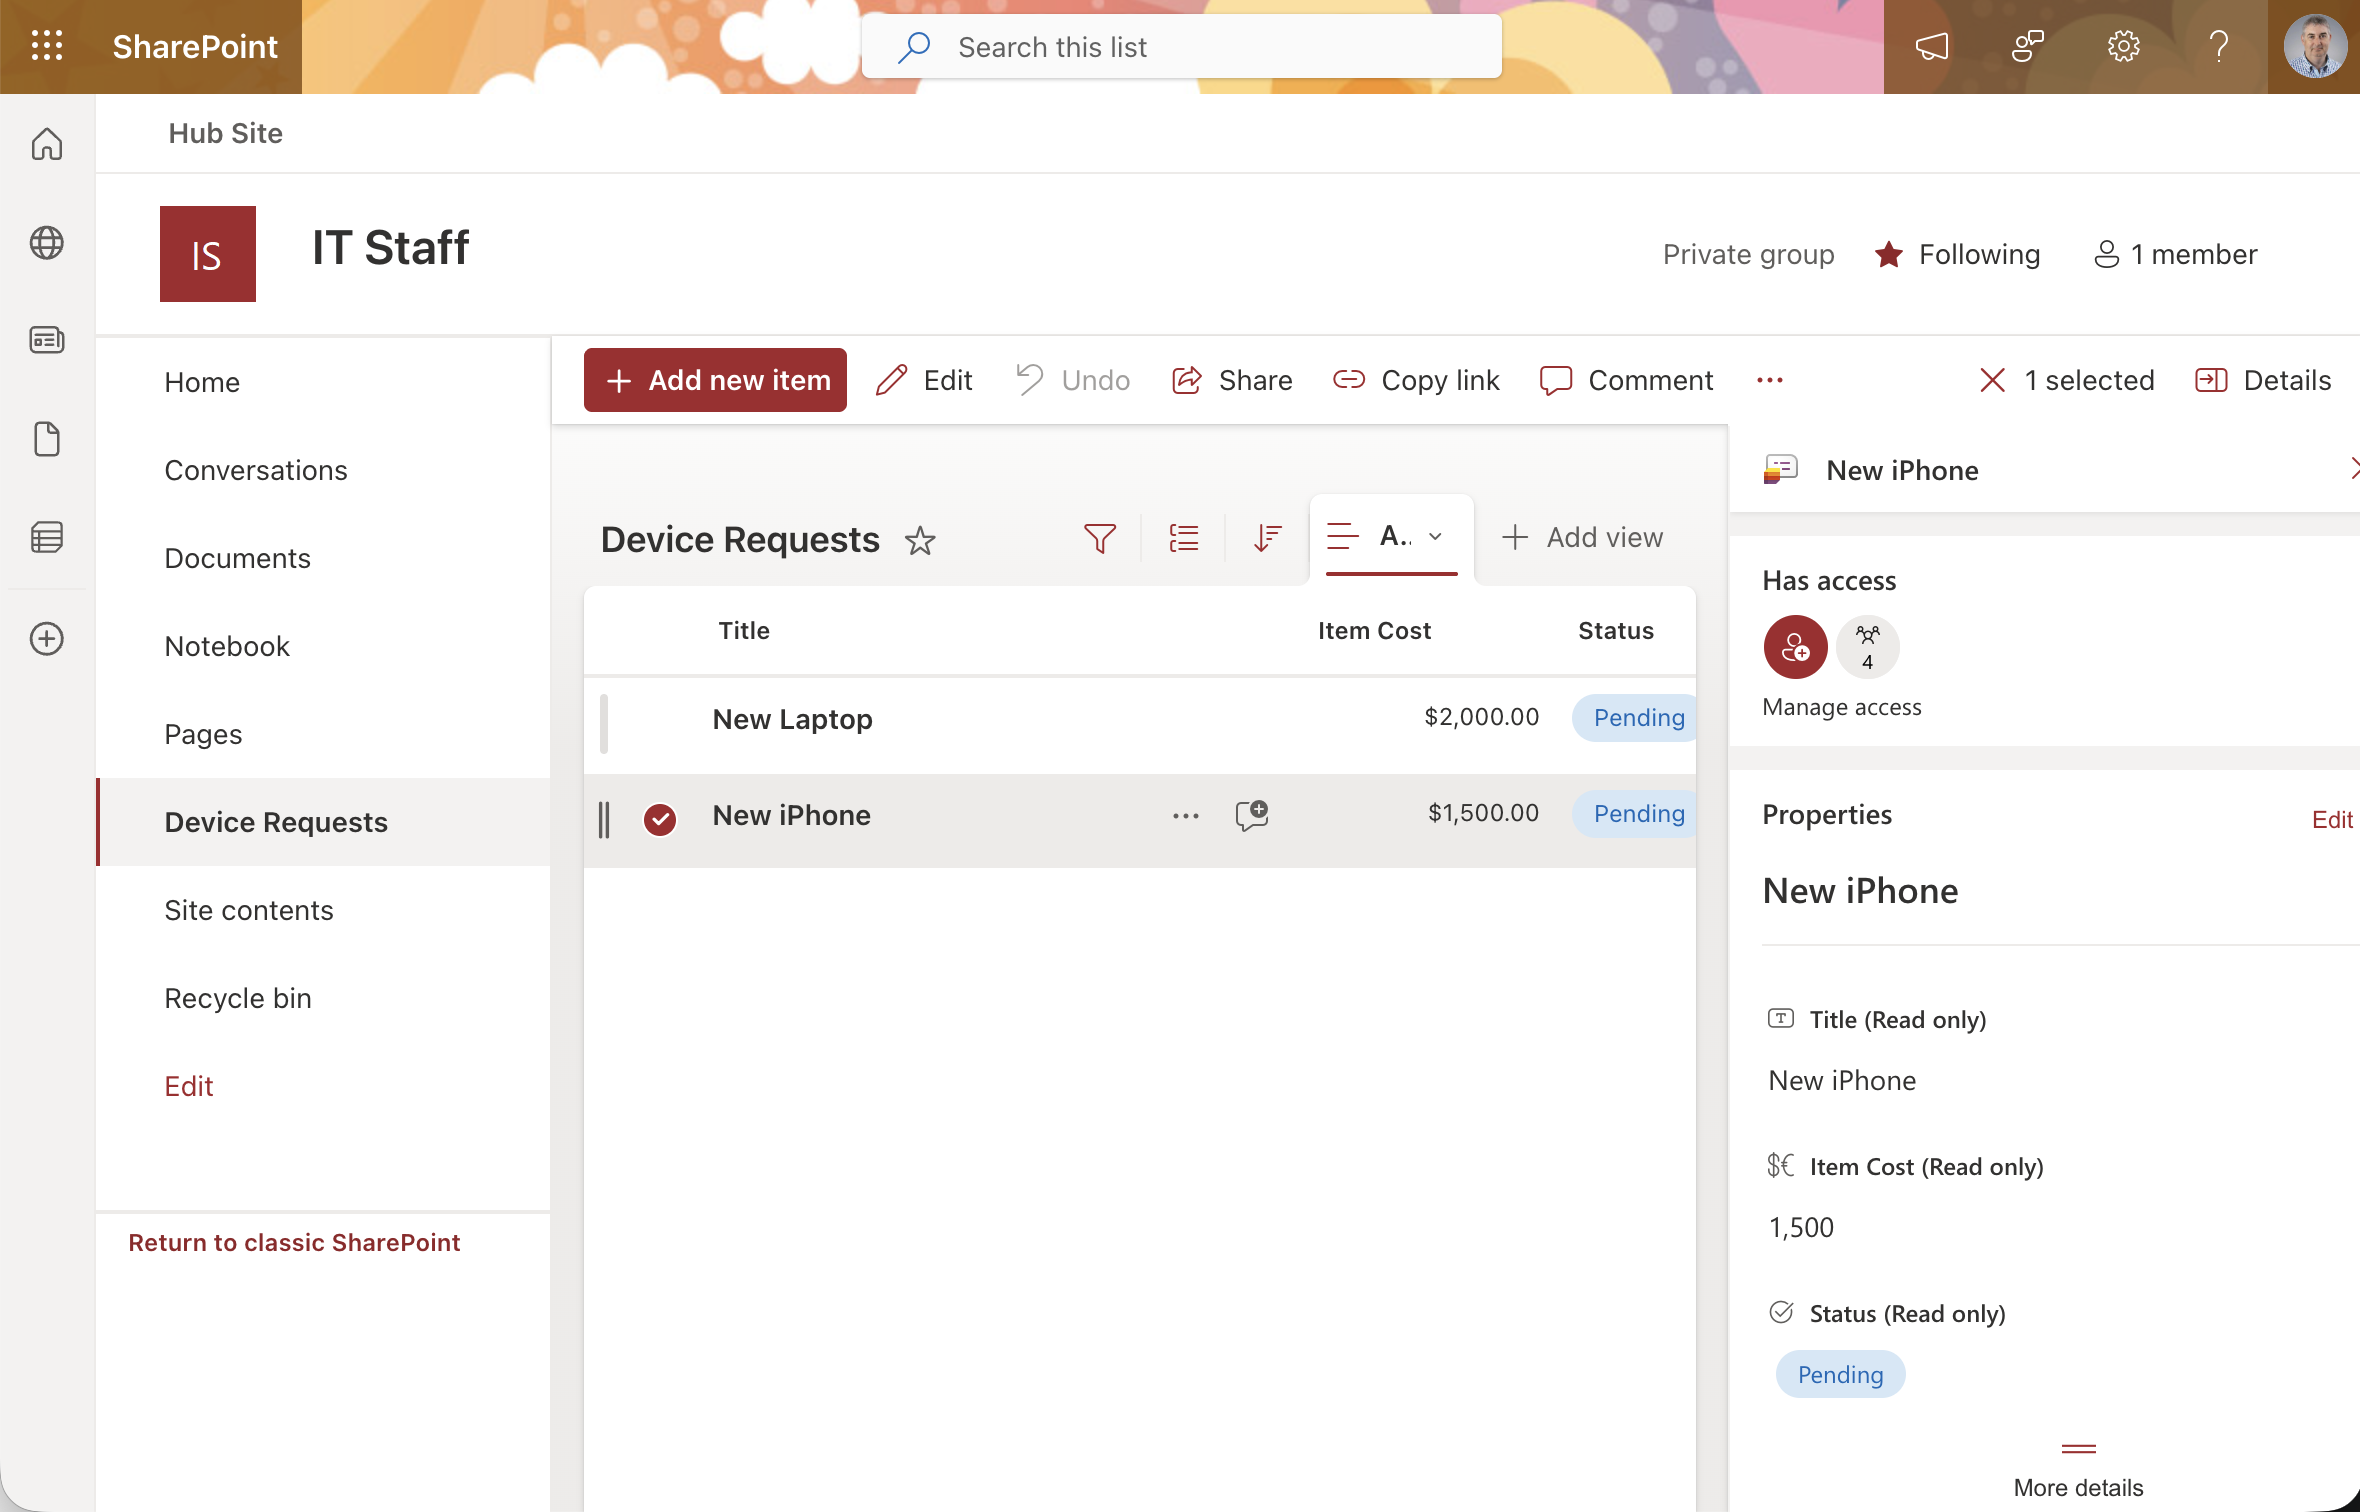
I selected the New iPhone item and the Details pane showed all fields as read only