Warehouse Management Put away
Neil Haddley • August 19, 2023
Warehouse Management - Put-away
I created a walkthrough of how businesses receive, pick, and ship items using Business Central's warehouse management features.
I updated my role to Inventory Manager
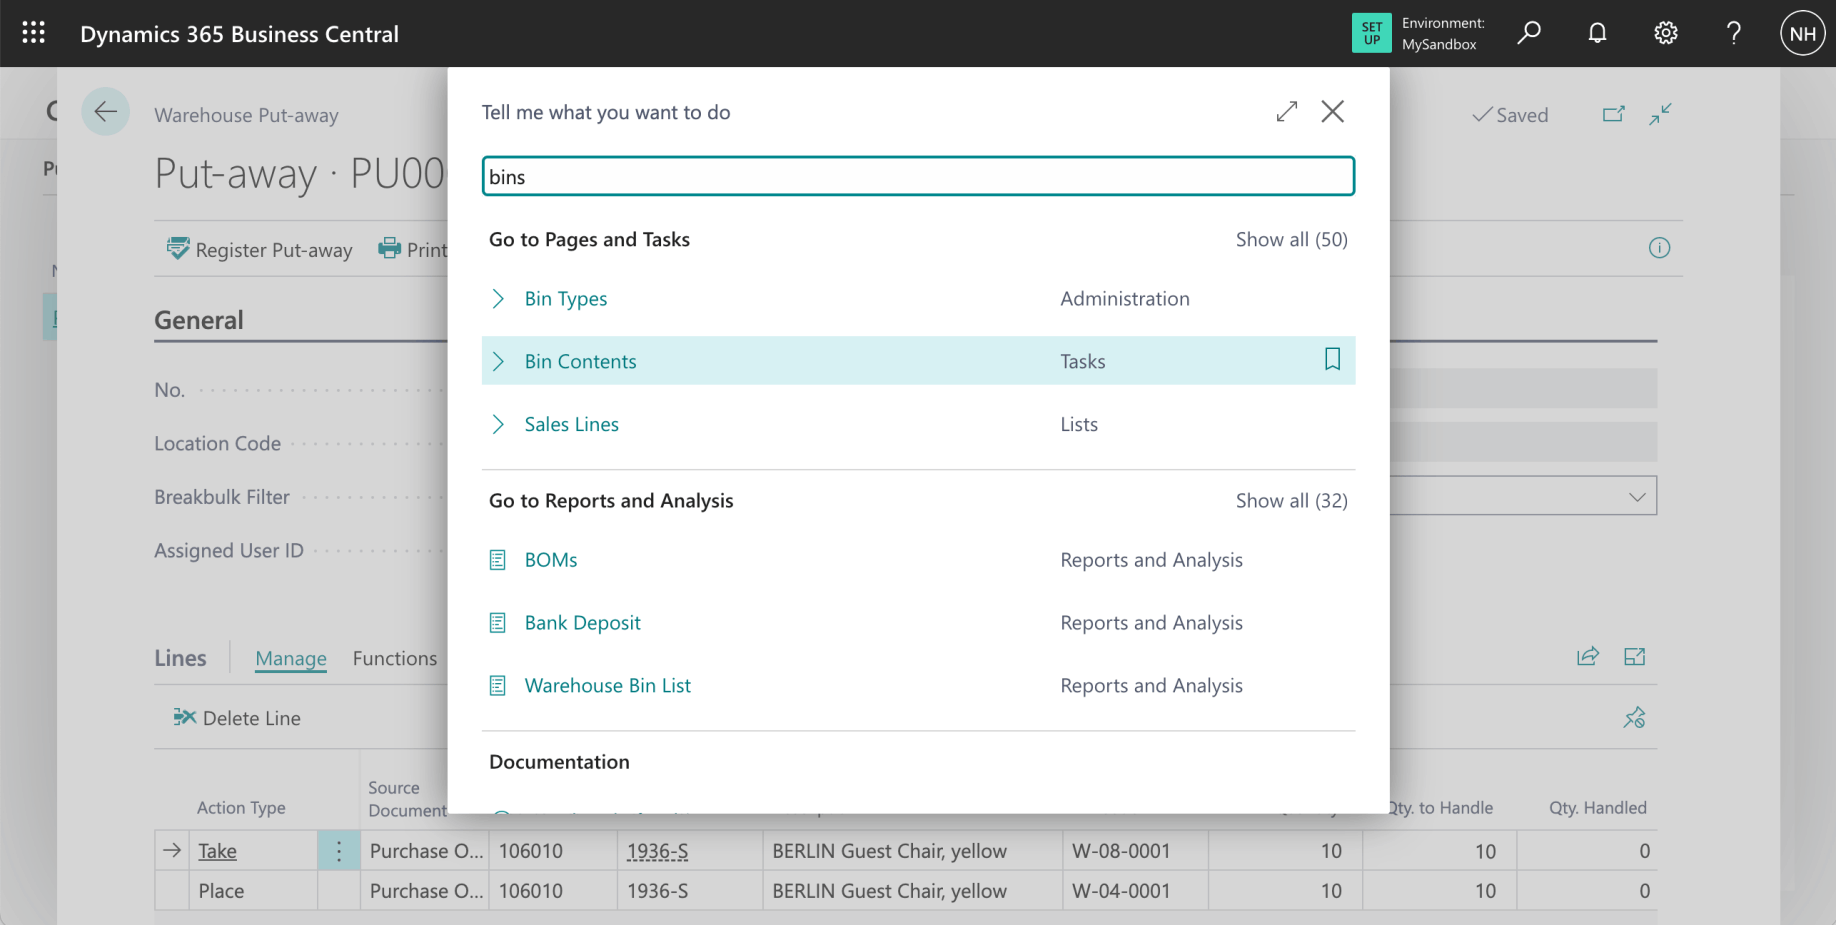
I clicked the Bin Content link
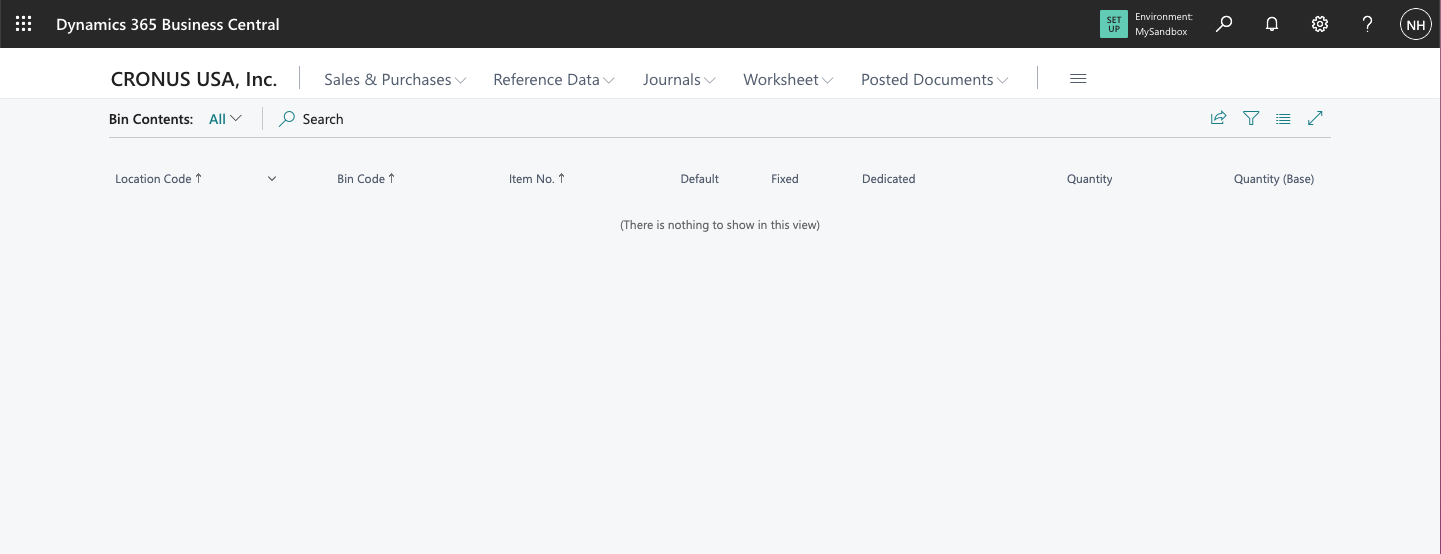
At this point there seems to be nothing in the Warehouse.
I clicked Locations link
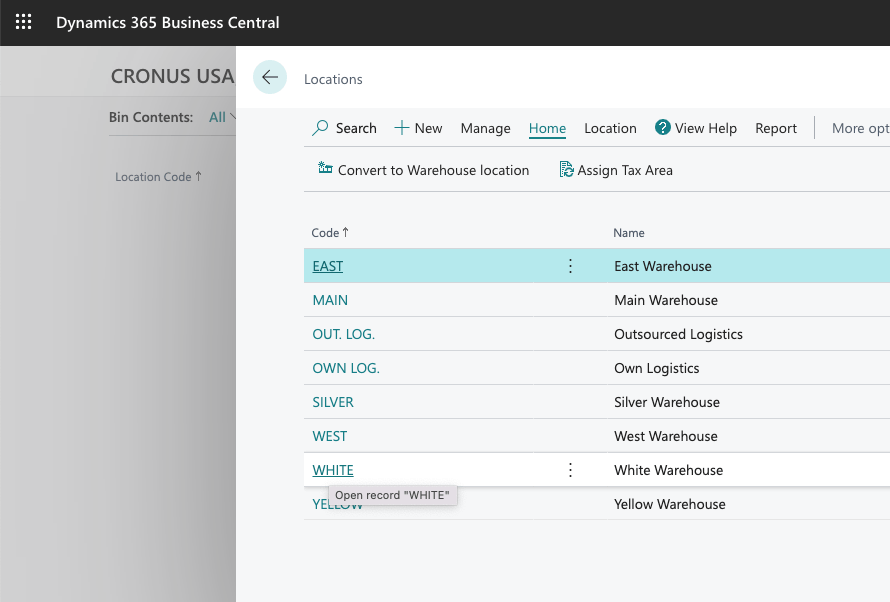
I clicked on the White Warehouse link
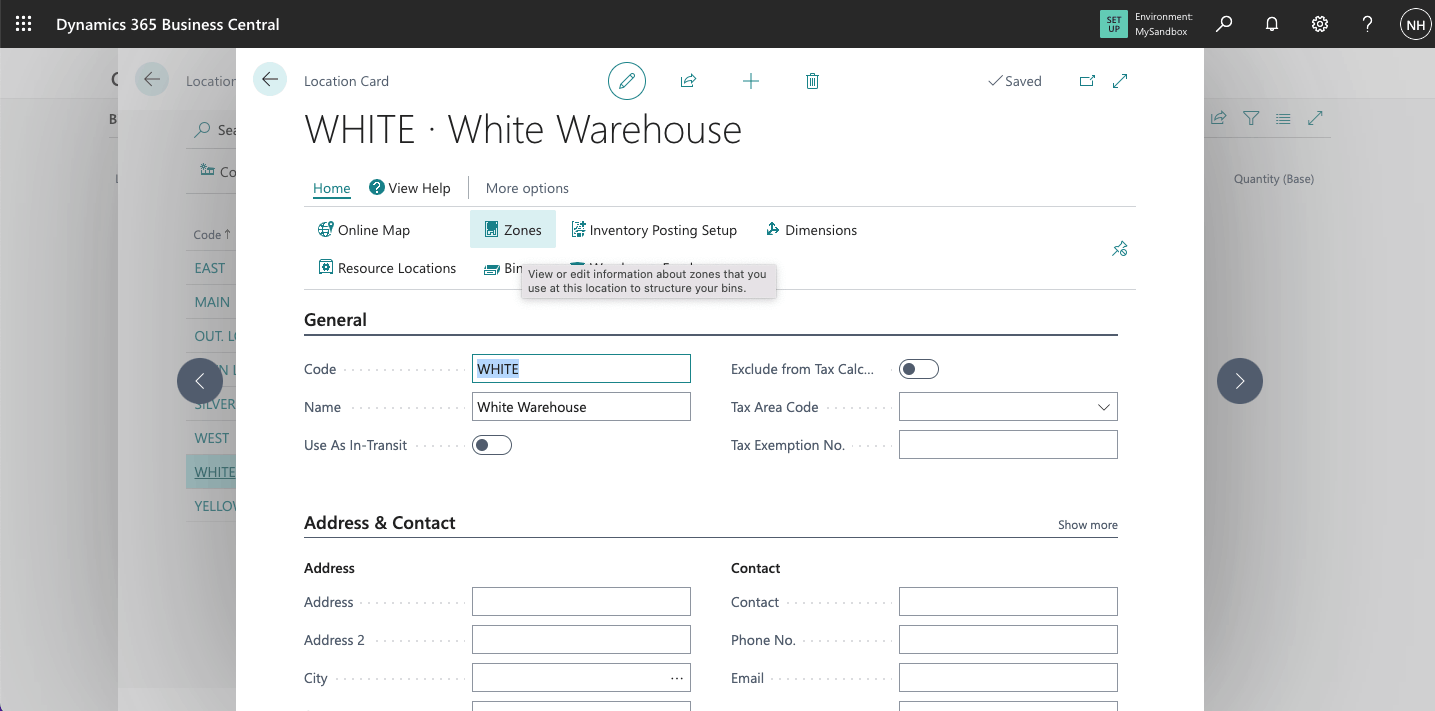
I clicked on the Zones link
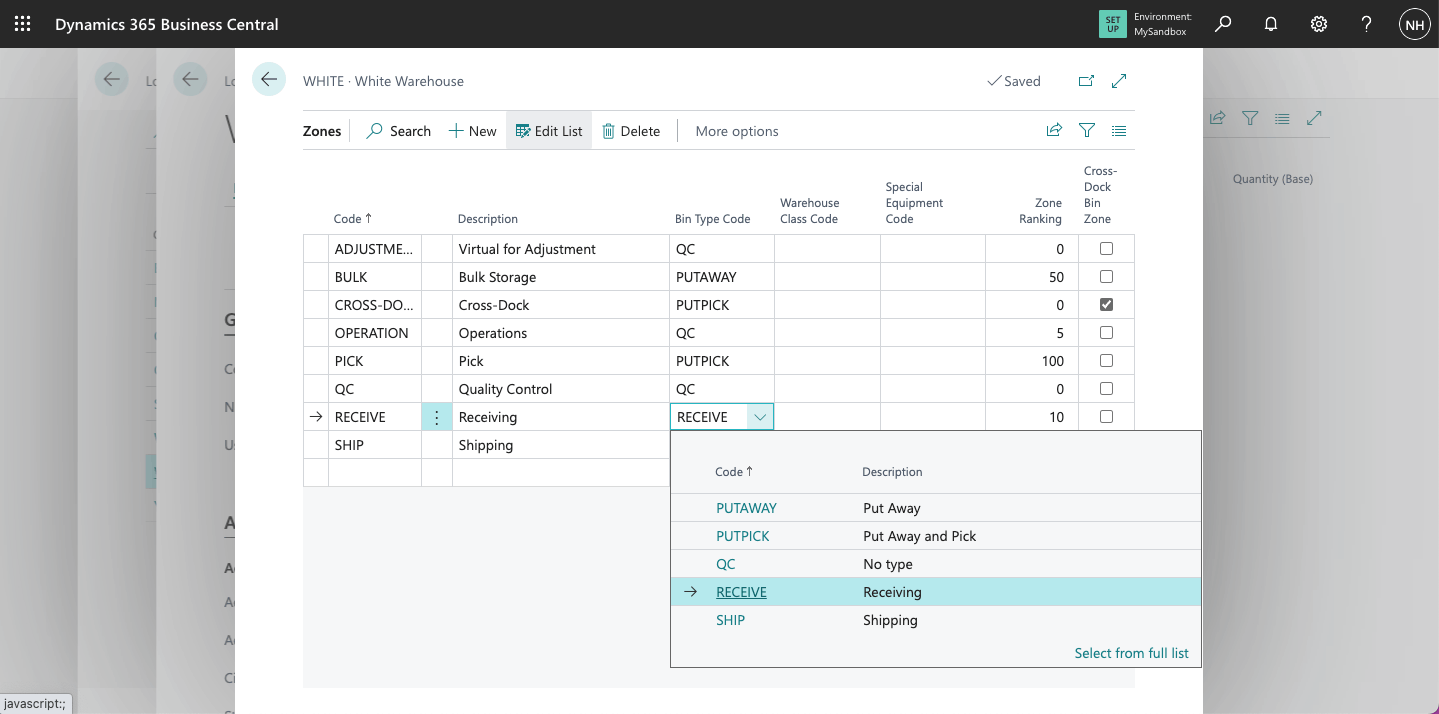
I saw the White Warehouse was divided into 8 zones, each with a Bin Type
Bin Type
I noted that the bin type determines how a bin is used when processing the flow of items through the warehouse. Incoming goods are unloaded to a "Receive" bin, moved to a "Put Away" bin, removed from a "Pick" bin, and sent from a "Ship" bin.
In this example I used these Bin Types: PICK (Pick), PUTAWAY (Put Away), PUTPICK (Put Away and Pick), RECEIVE (Receive) and SHIP (Ship). QC (None) bins are used for items excluded from normal item flows.
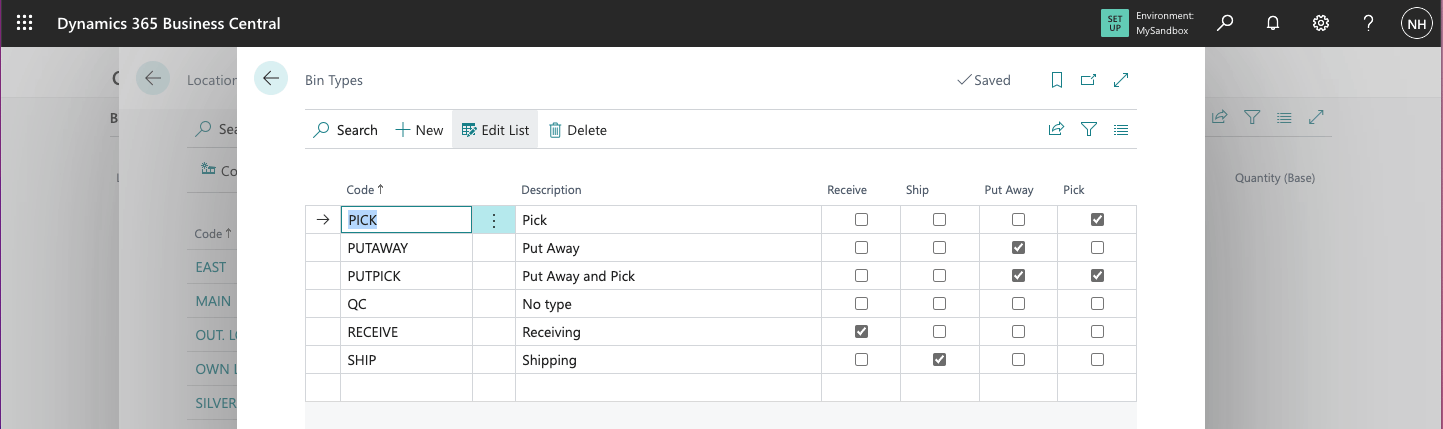
I reviewed the Bin Types
Zones
I used Zones to subdivide the warehouse into logical parts. Zones are divided into bins.
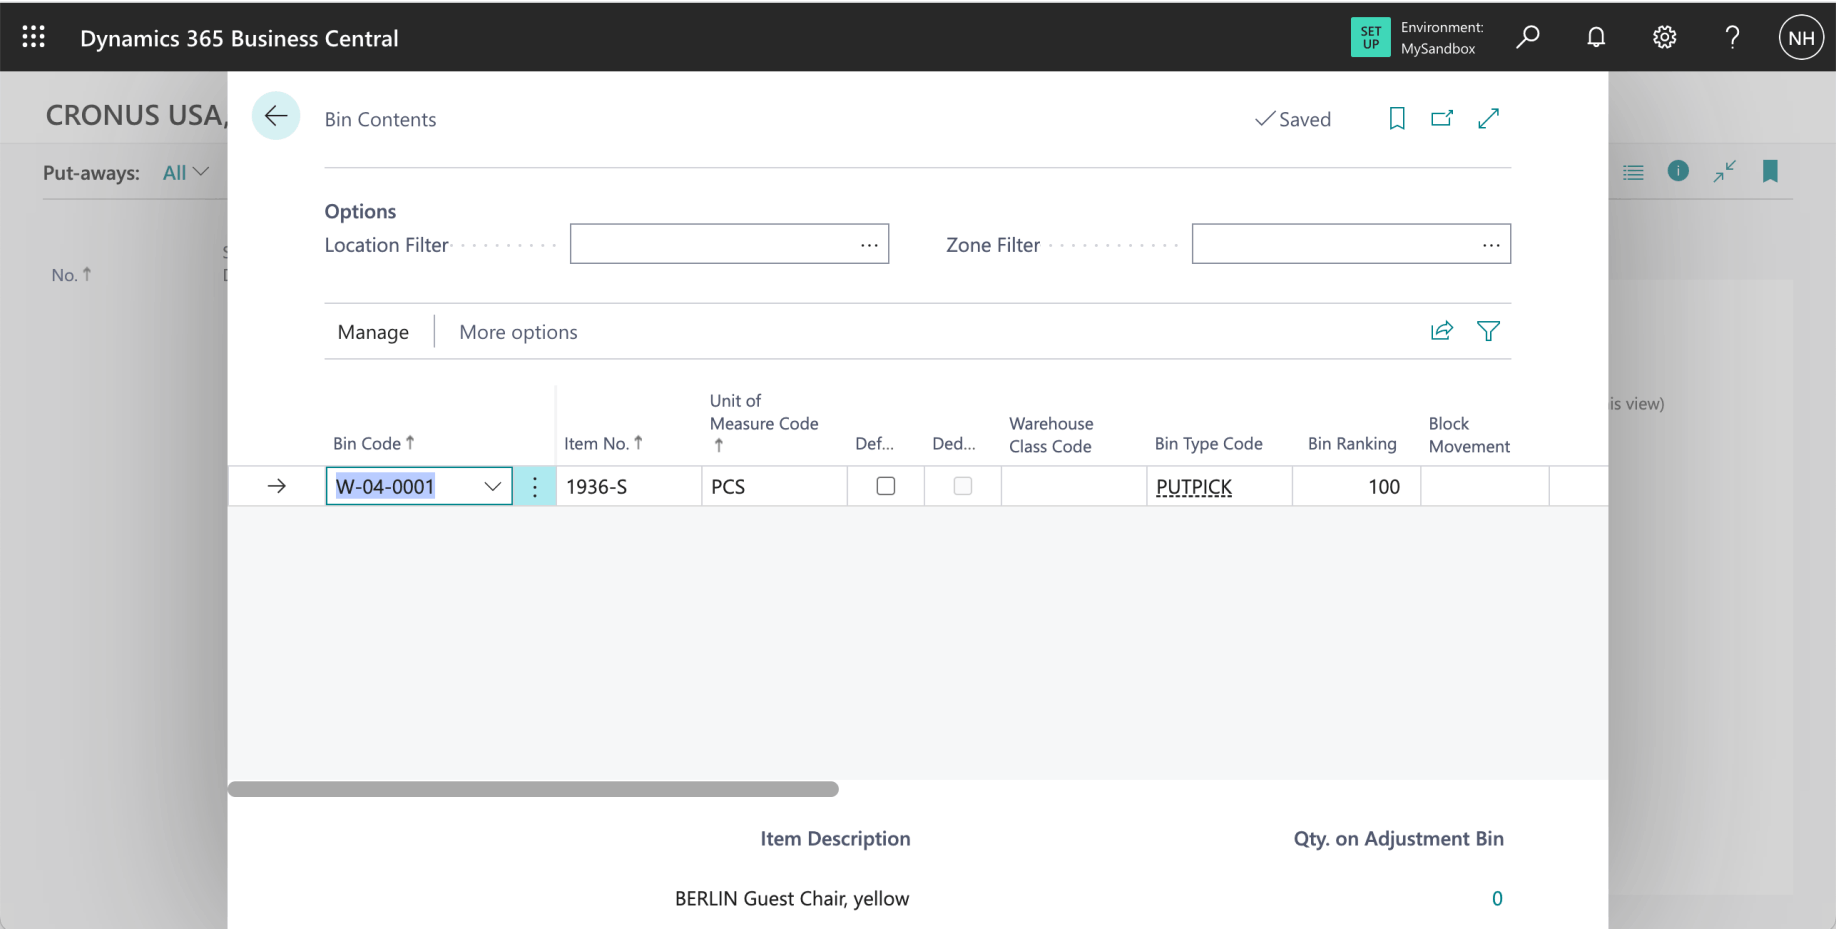
I noted that bin "W-08-0001" is a RECEIVE bin and "W-04-0001" is a PUTPICK bin.
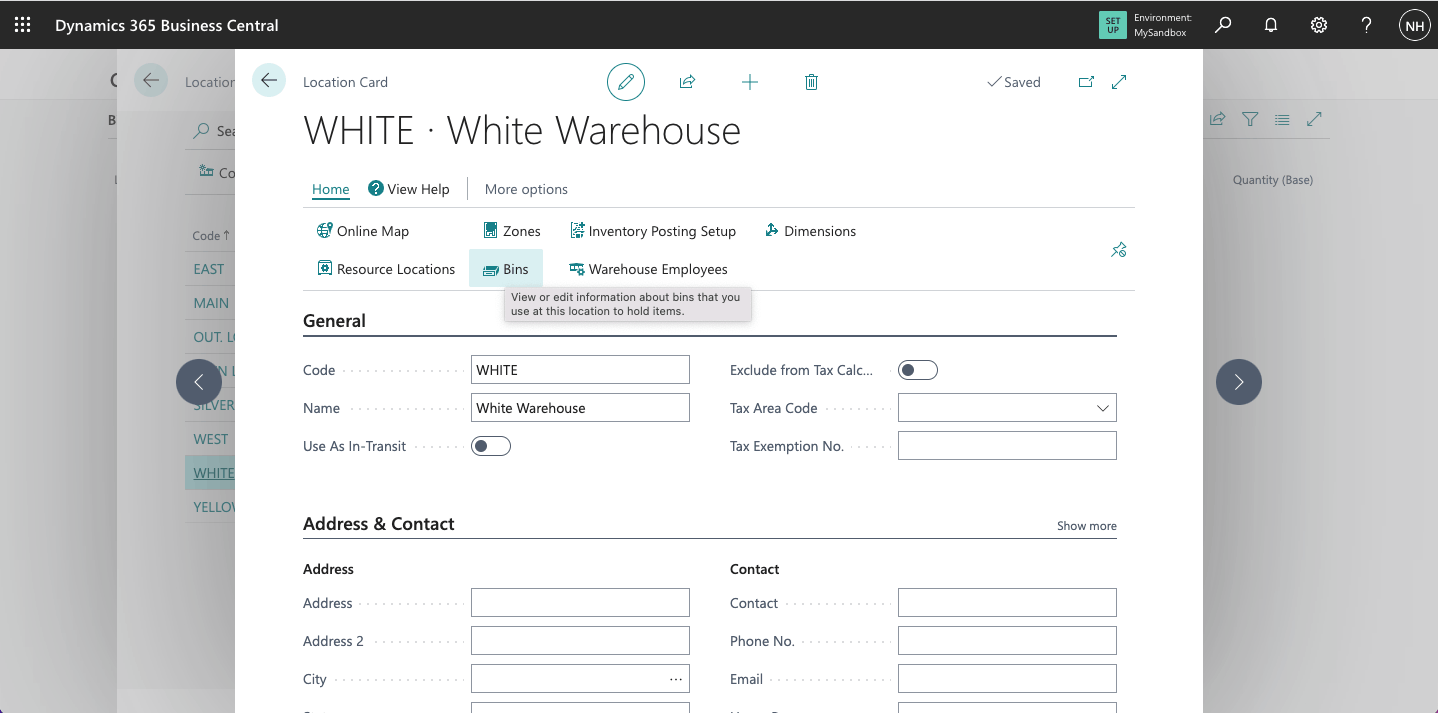
I clicked the Bins link to open a list of Bins in the White Warehouse
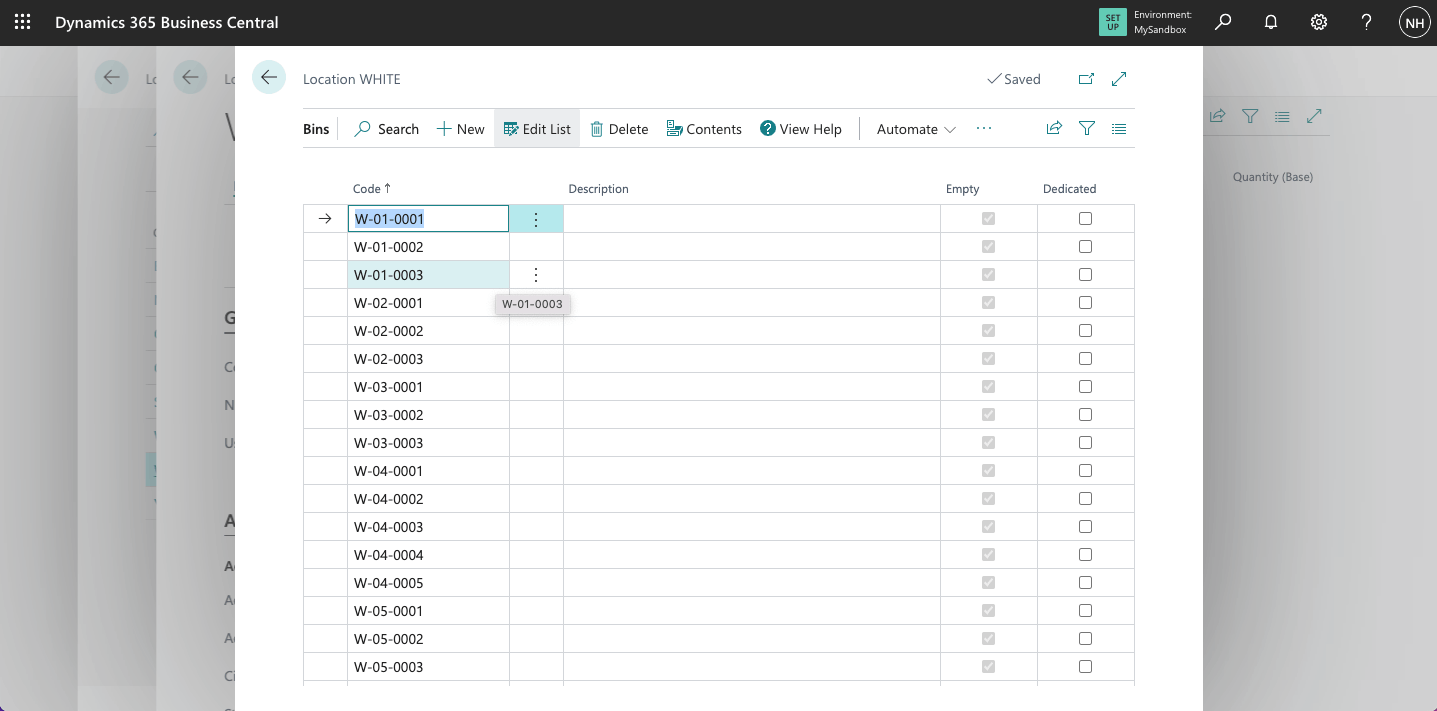
I reviewed the list of Bins in the White Warehouse
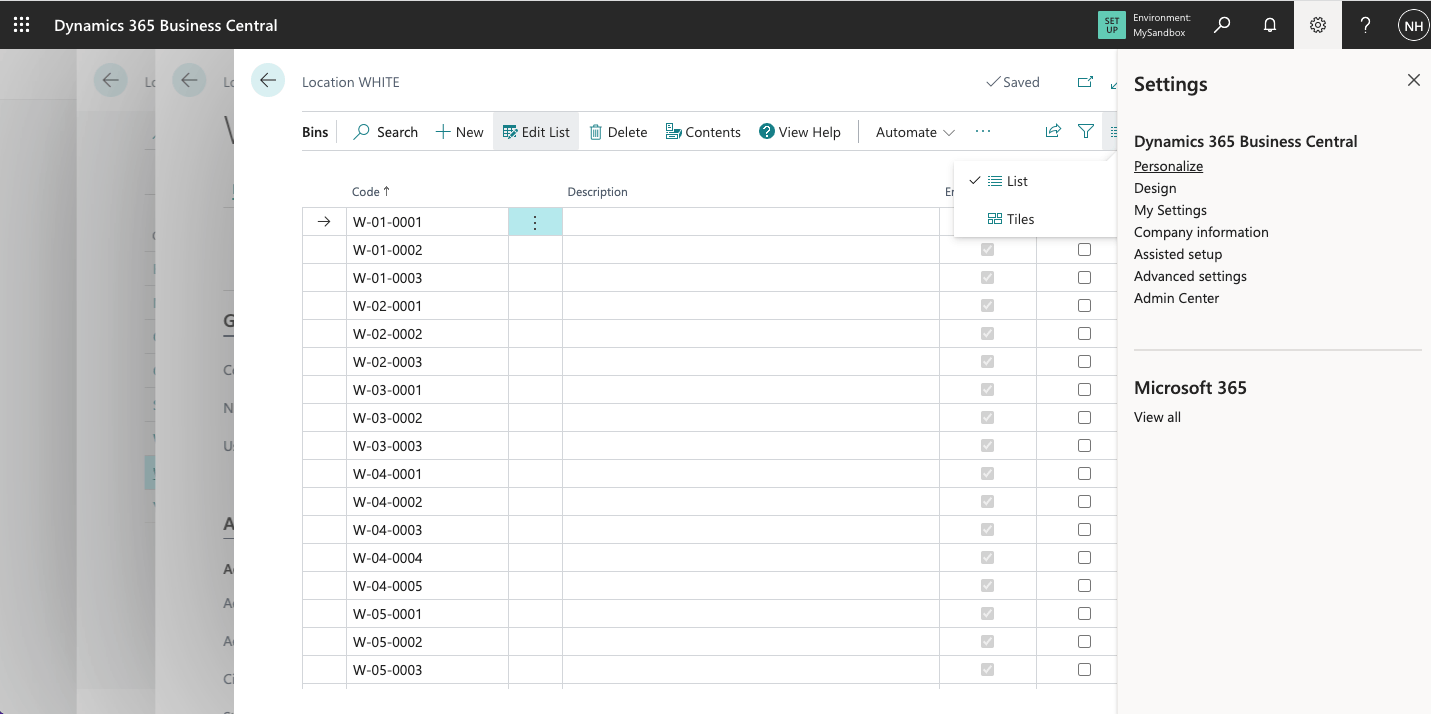
I clicked Settings|Personalize to open the Personalizing toolbar.
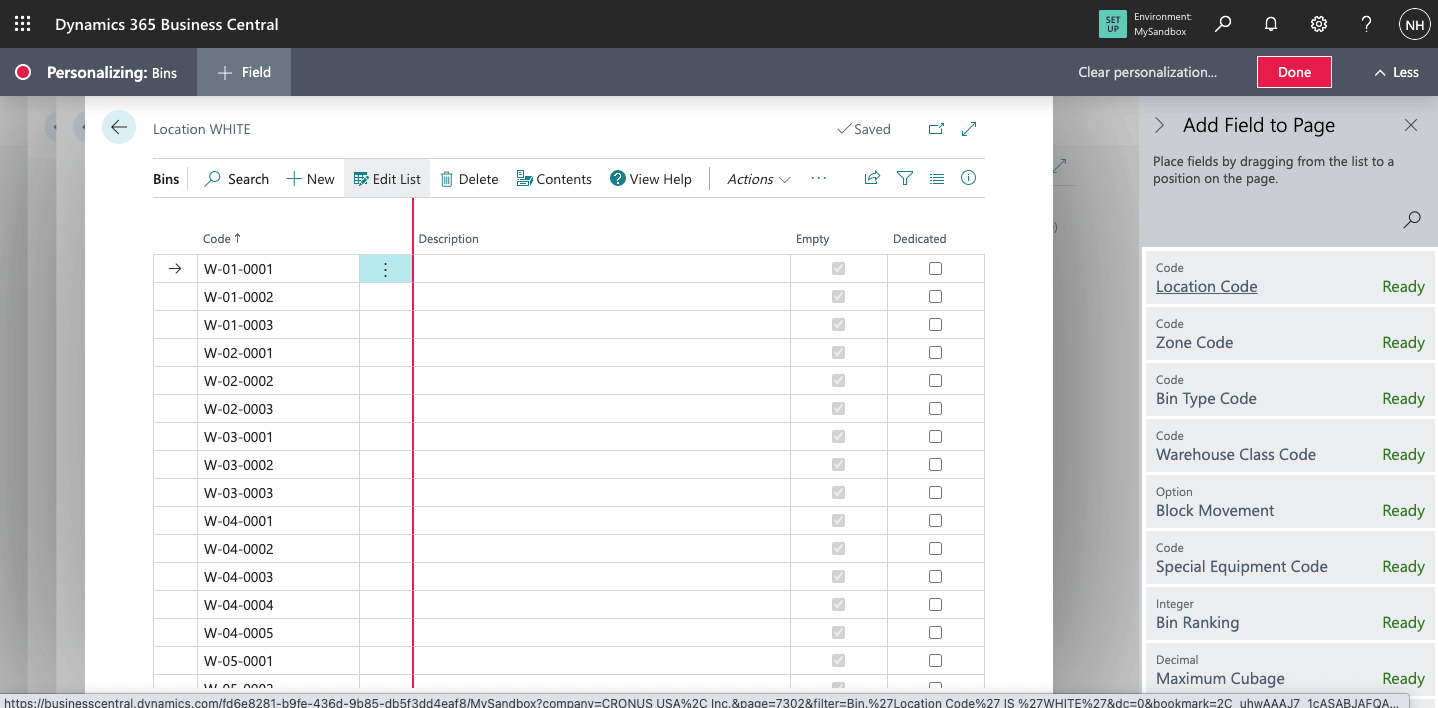
I was able to drag fields from the right onto the Bins page
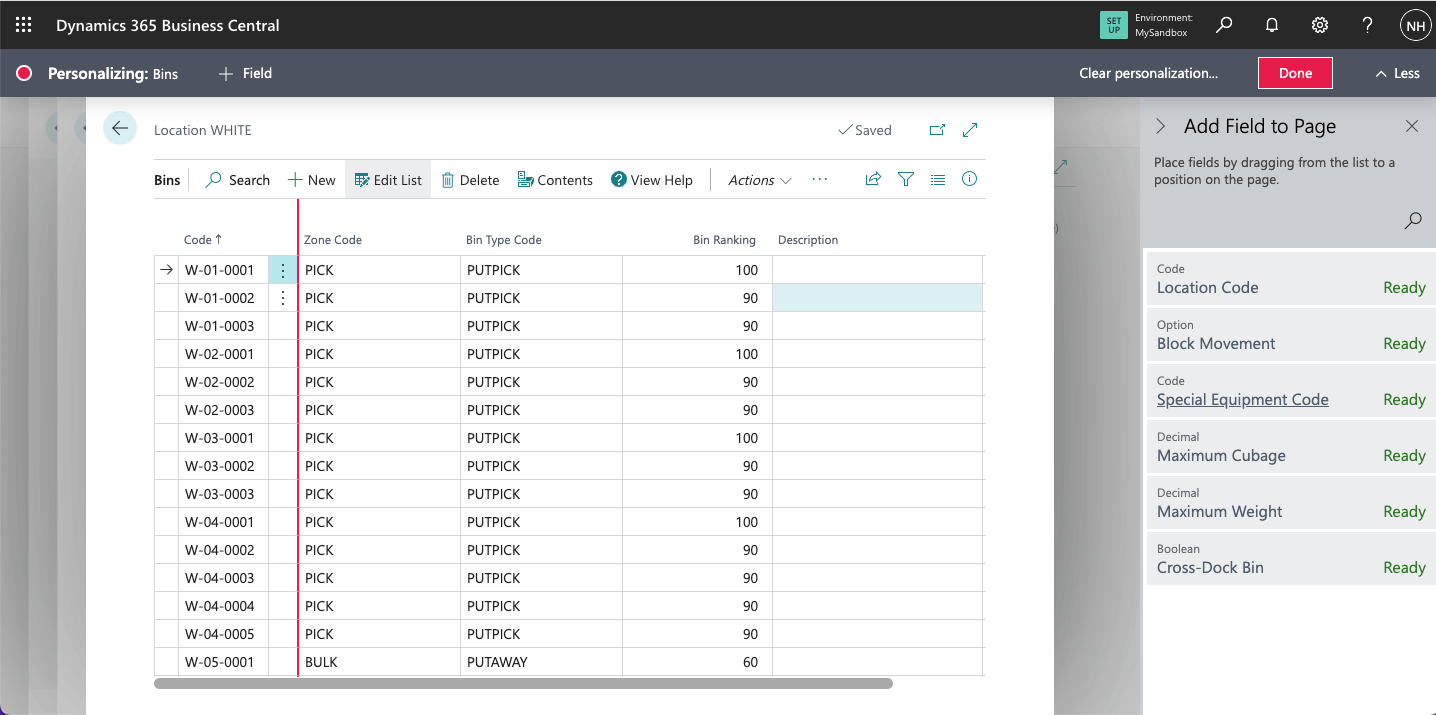
I added the Zone Code and the Bin Type Code Fields
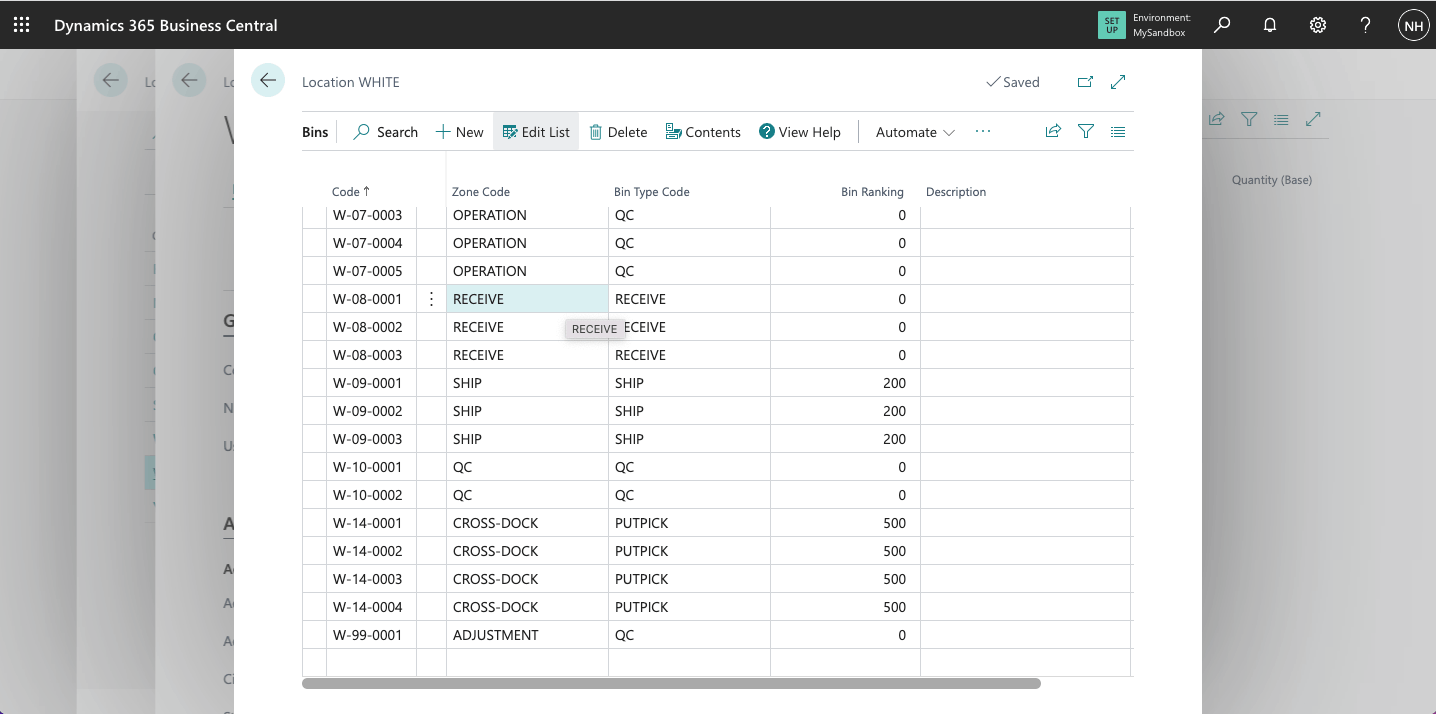
Notice that bin W-08-0001 is a RECEIVE bin in the RECEIVE Zone
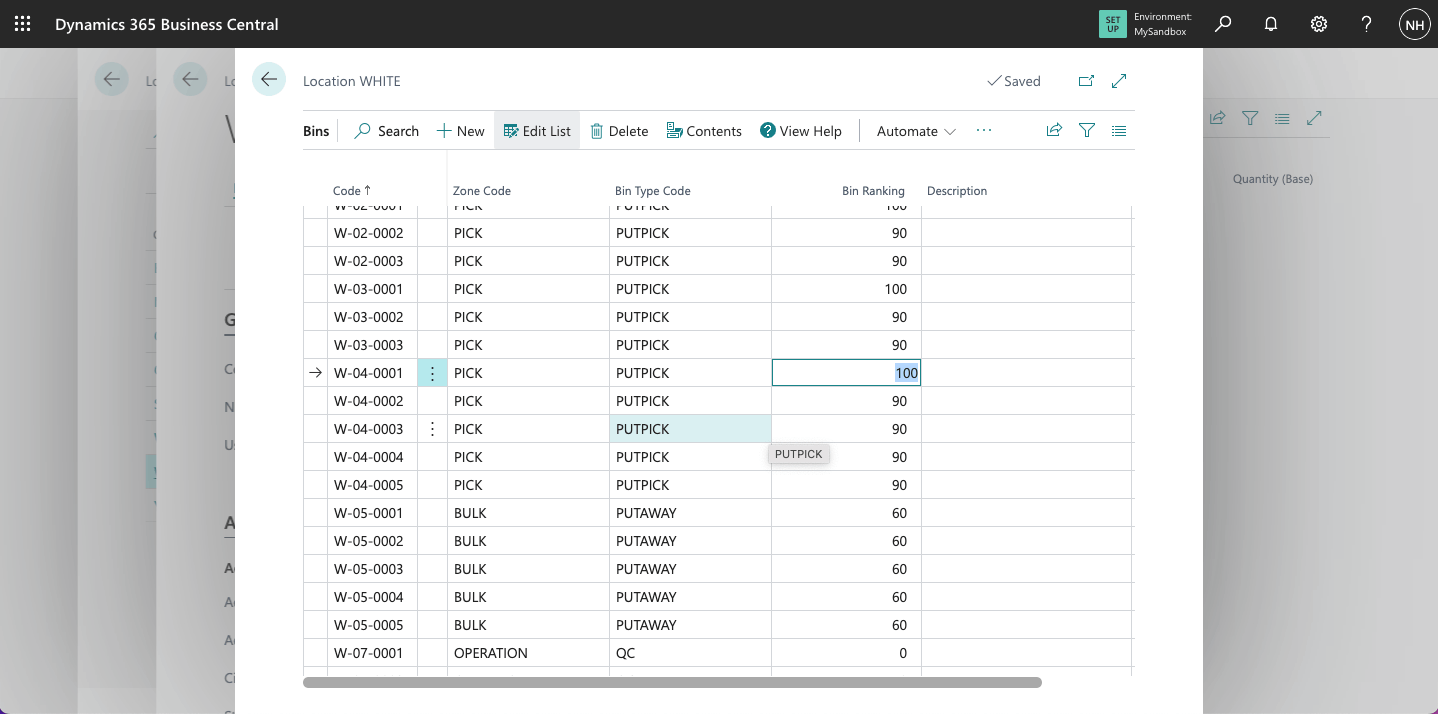
Notice that bin W-04-0001 is a PUTPICK bin in the PICK Zone (with a bin ranking of 100)
I noted that Business Central allocates incoming items to "Put Away" bins based on a Put-away Template
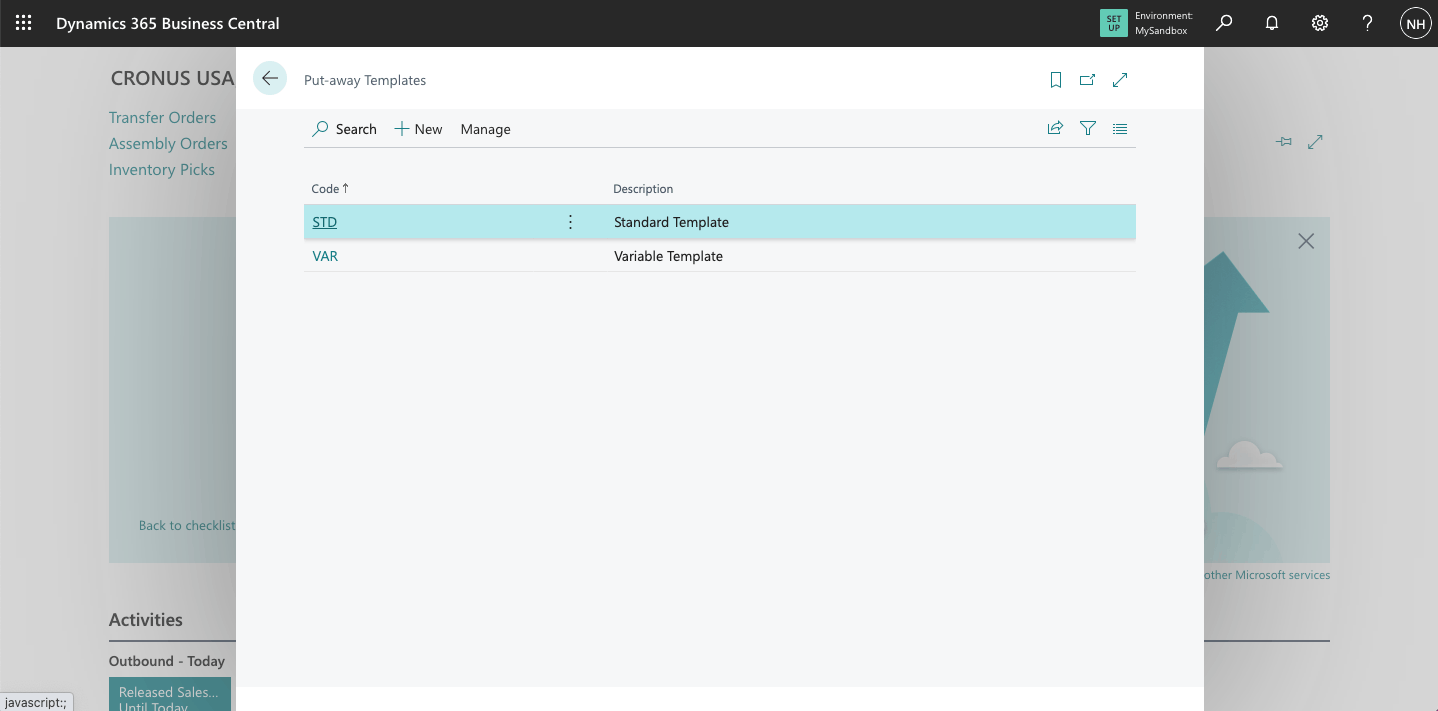
I saw that two put-away templates had been defined
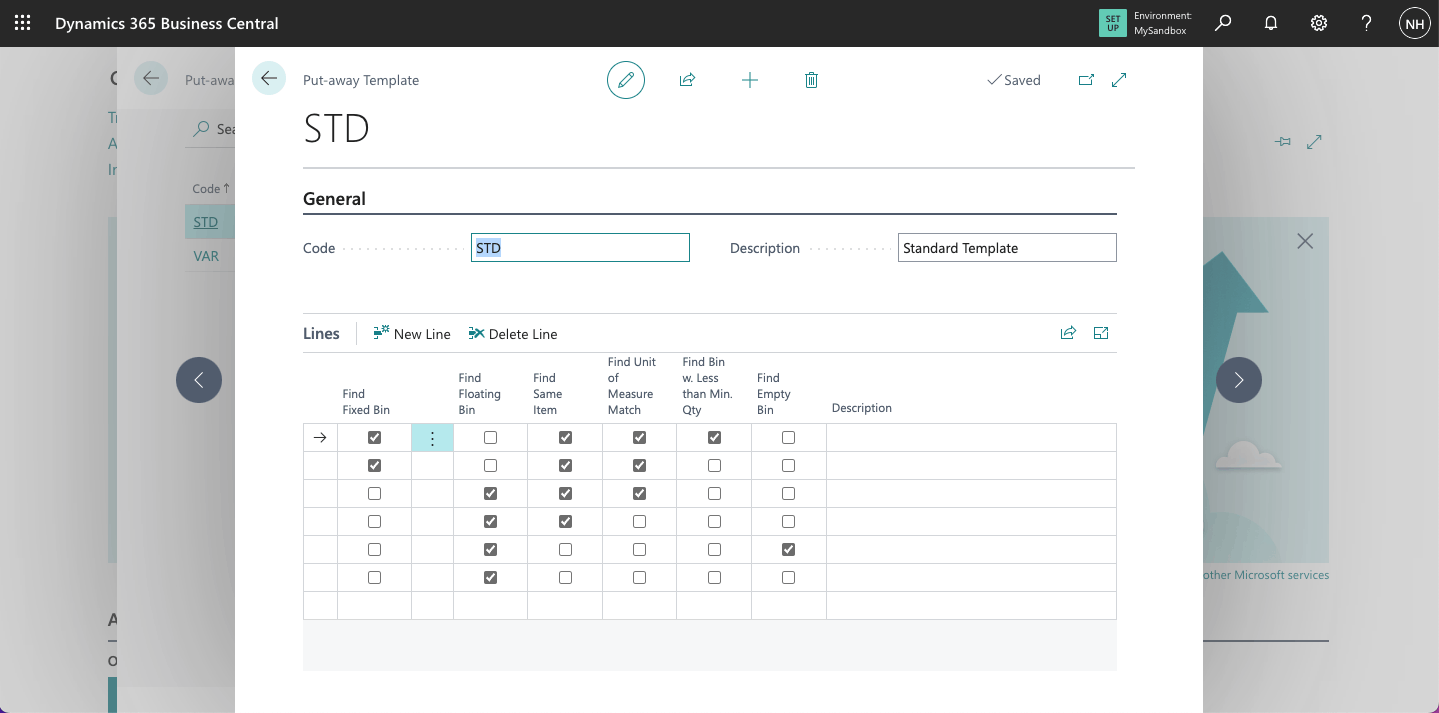
In the STD template, I saw that items are directed to a Fixed Bin already used for this item type with the same unit measure and less than minimum quantity, a Fixed Bin already used for this item type, a Floating Bin that already has an item of this type, an empty bin with the next highest "bin ranking", or a random floating bin.
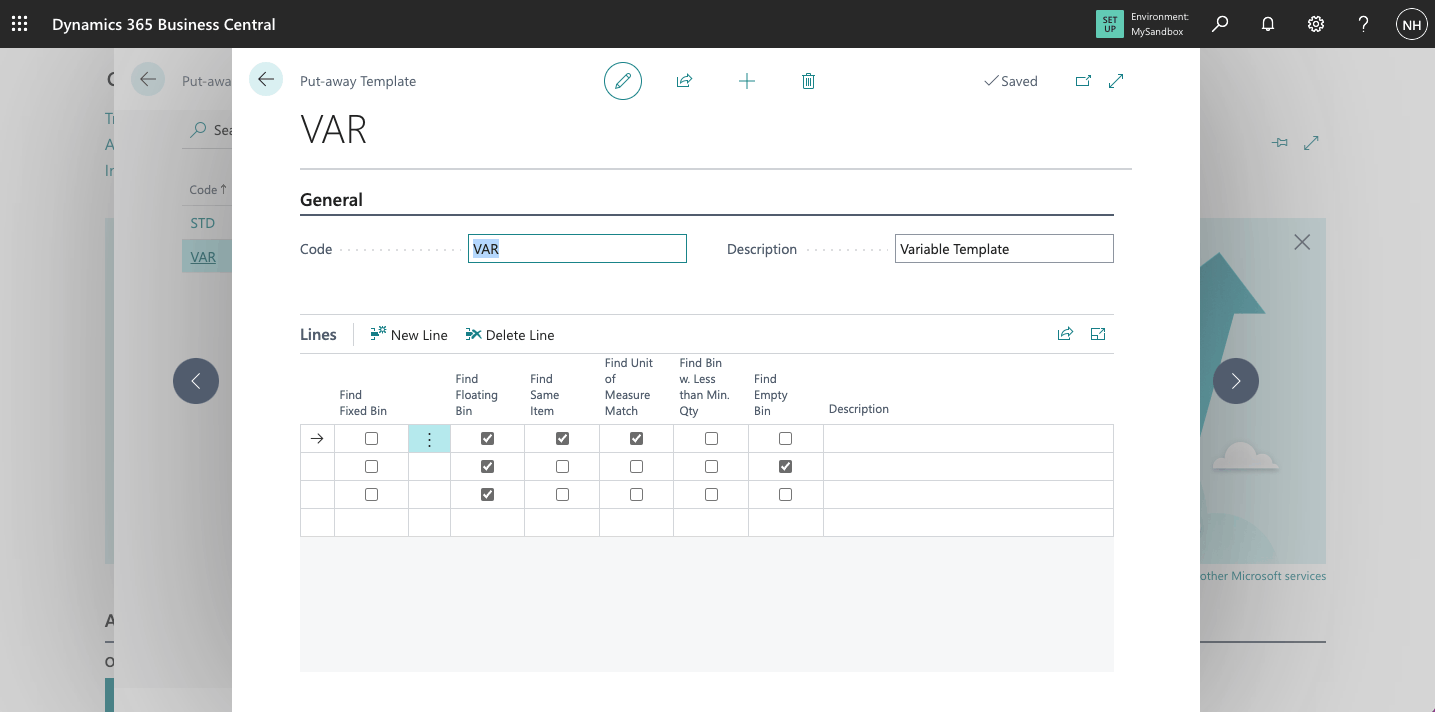
In the VAR template, I saw that items are directed to a Floating Bin that already has an item of this type, an empty bin with the next highest "bin ranking", or a random floating bin.
Purchase Order
To demonstrate how items flow through a warehouse, I created a Purchase Order manually.
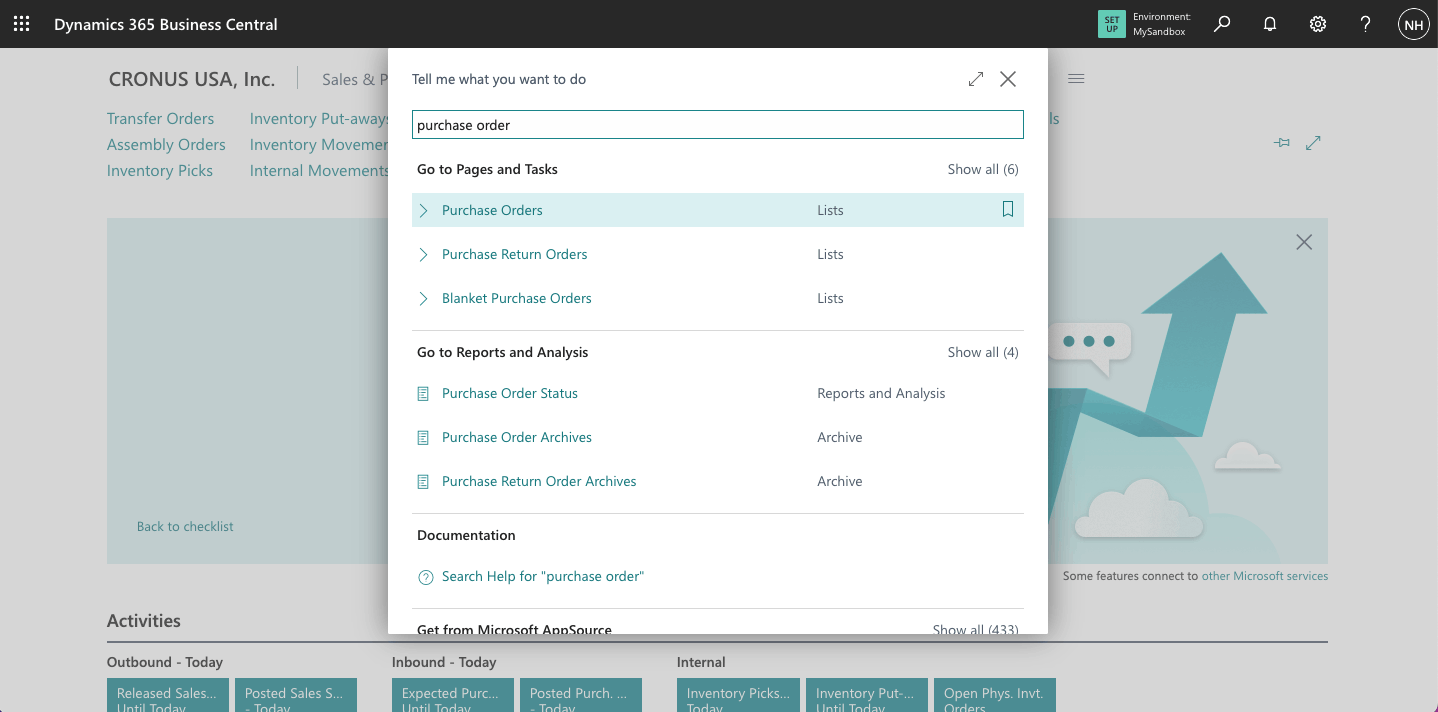
I navigated to the Purchase Orders page
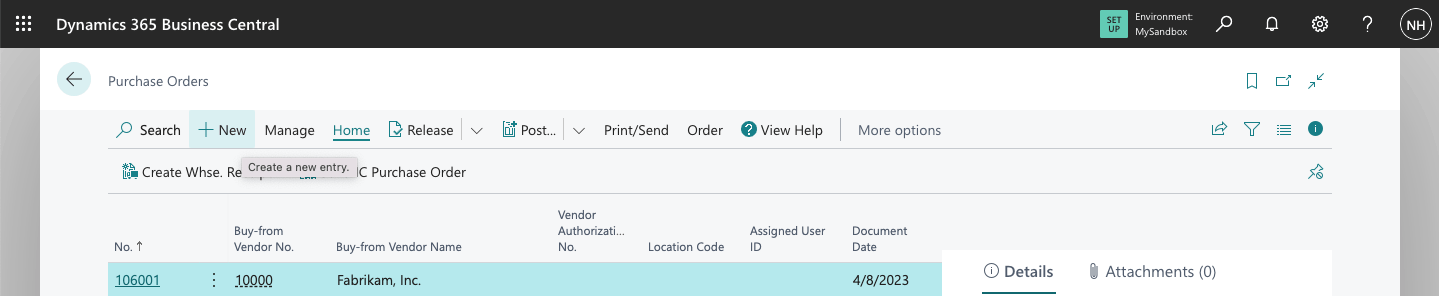
I clicked the + New link
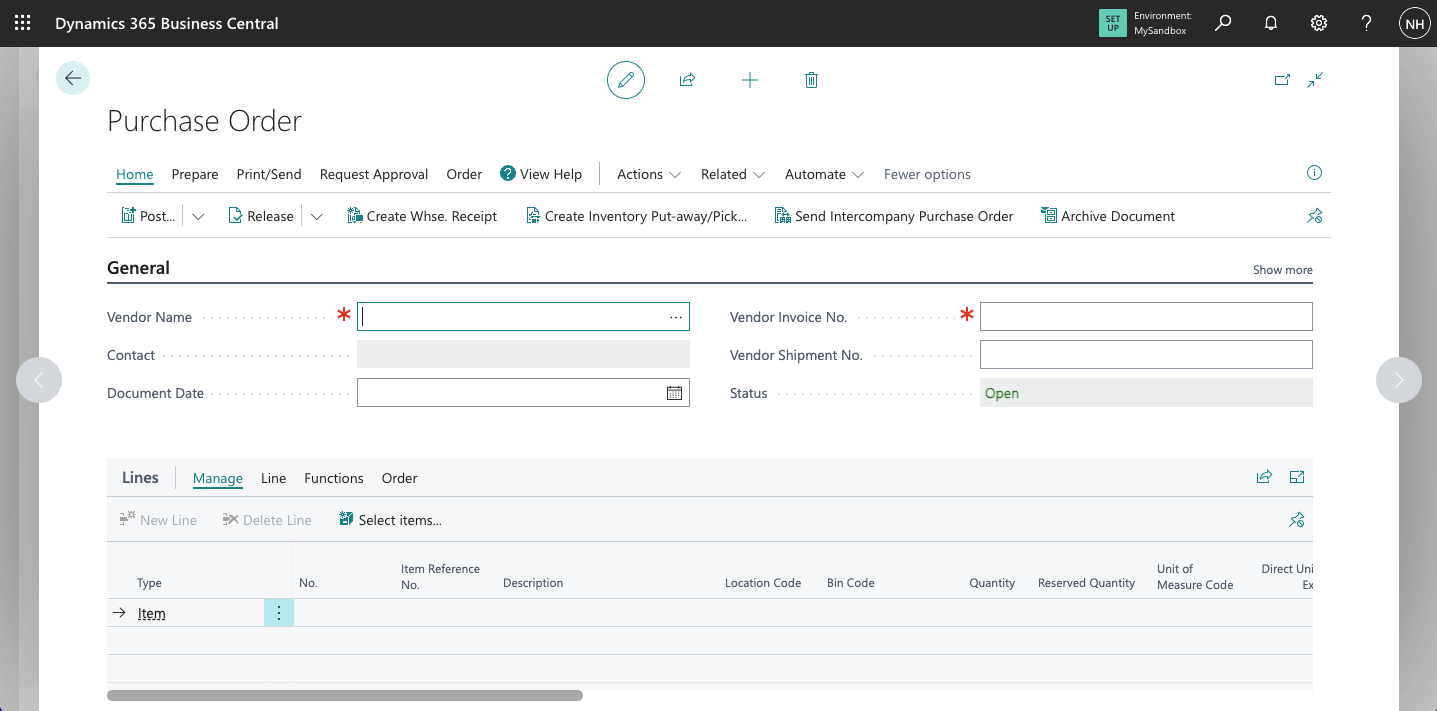
In this case I wanted to purchase items from "First Up Consultants". I selected the Vendor Name box.
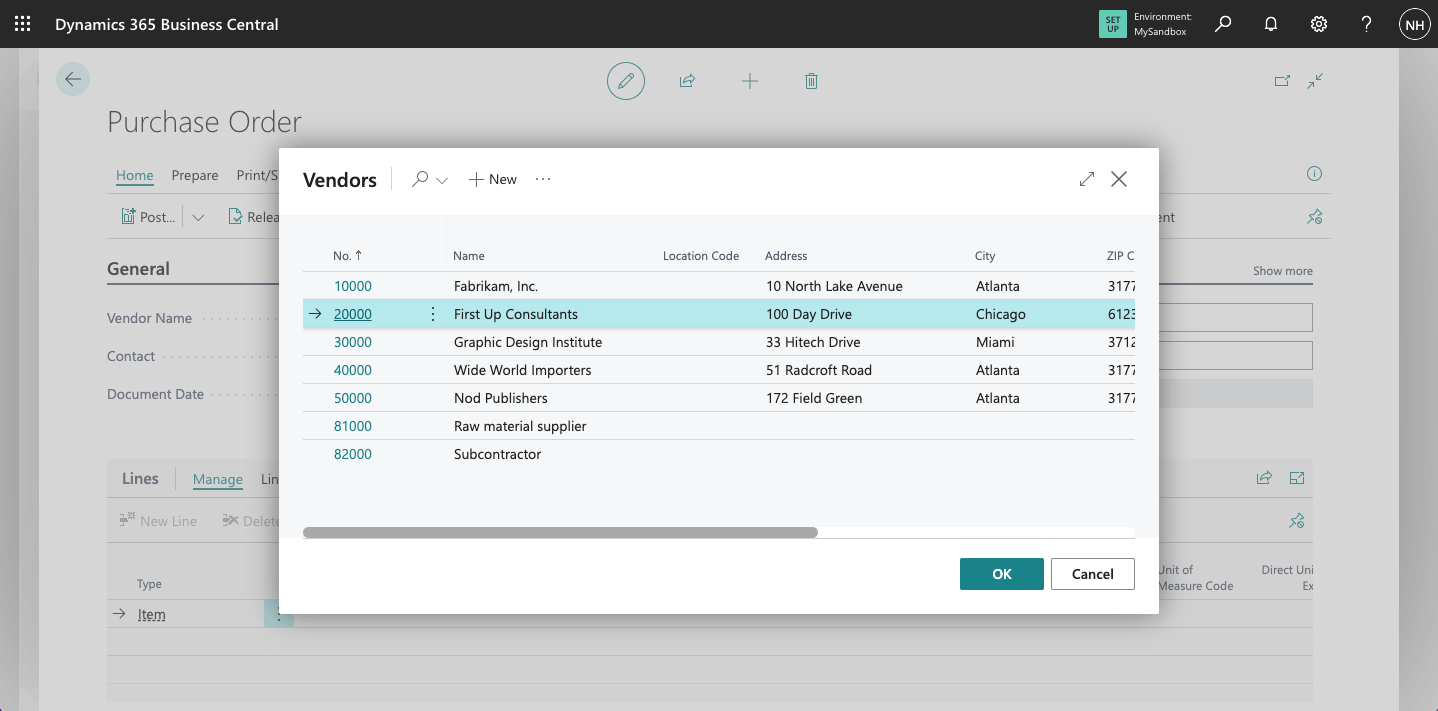
I selected First Up Consultants
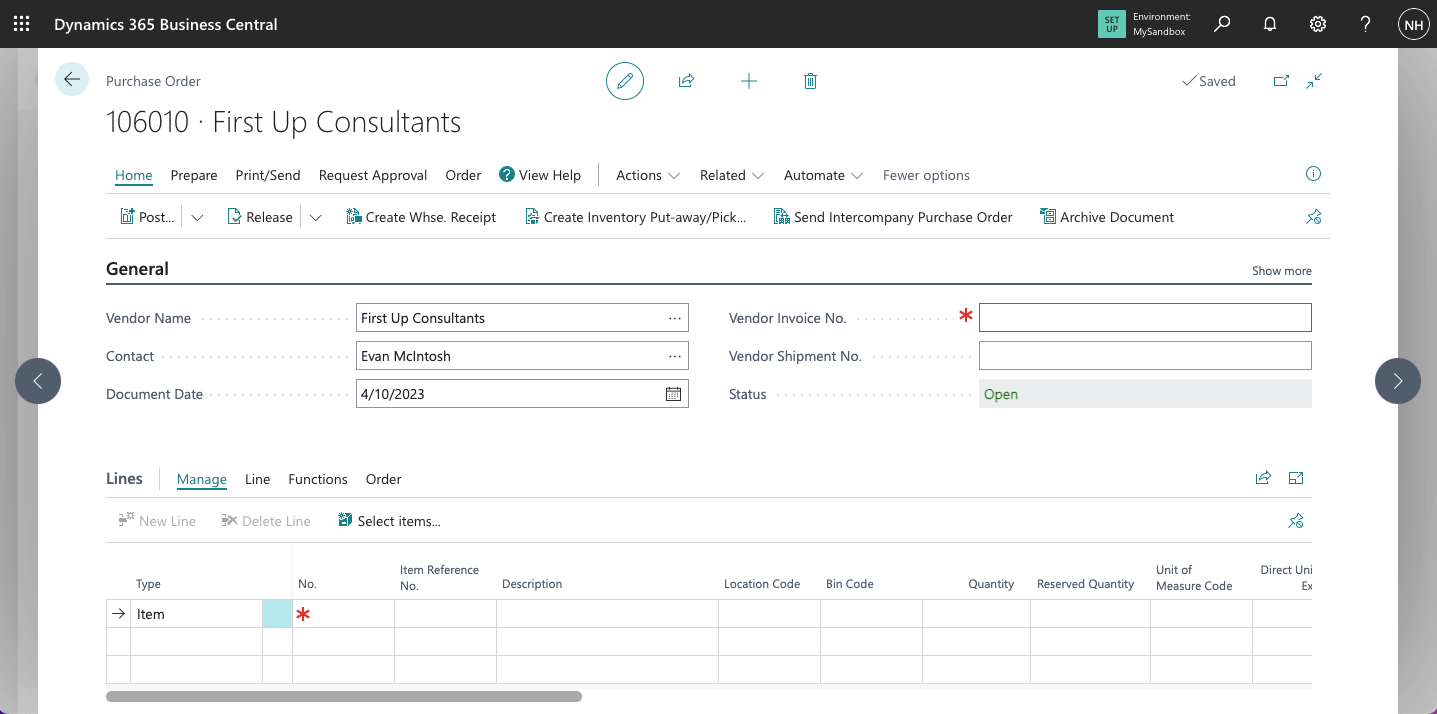
The Vendor name and contact details populated the new Purchase Order page
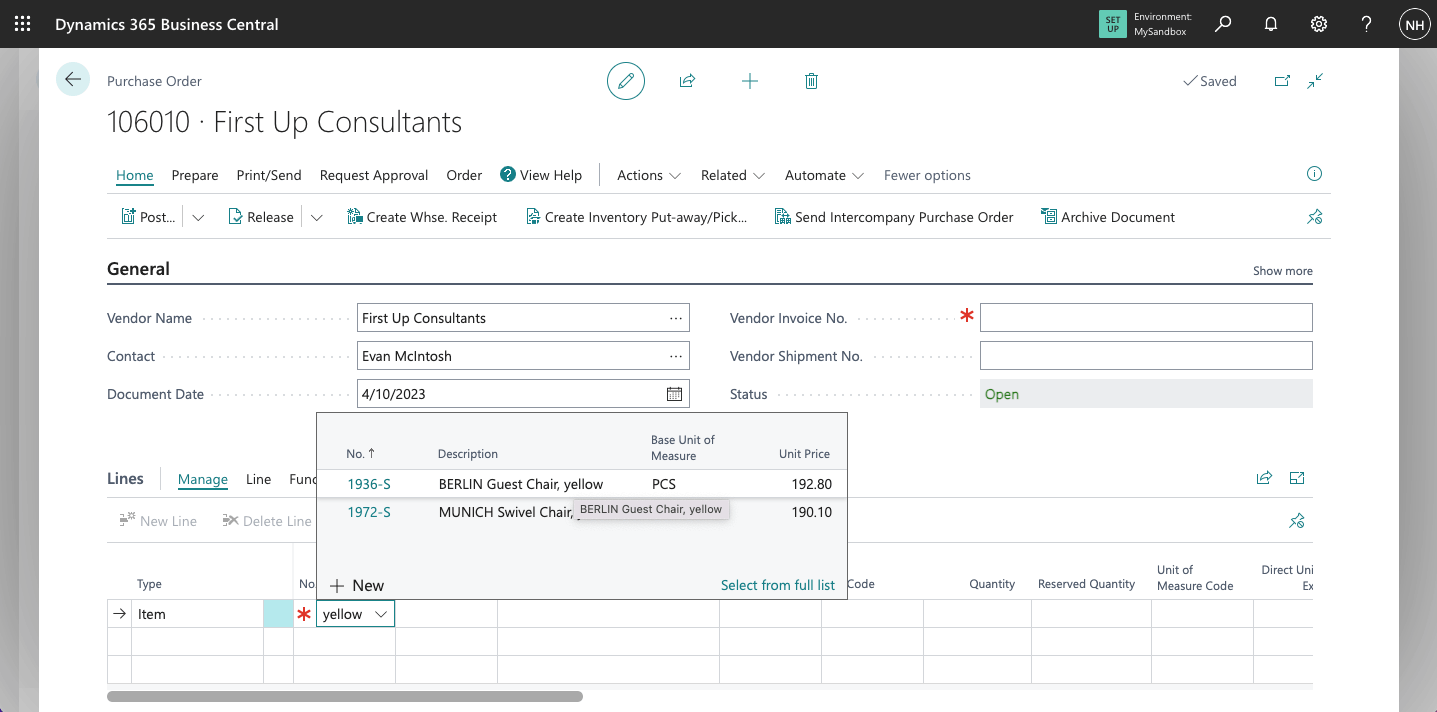
I wanted to purchase 10 yellow BERLIN Guest Chairs.
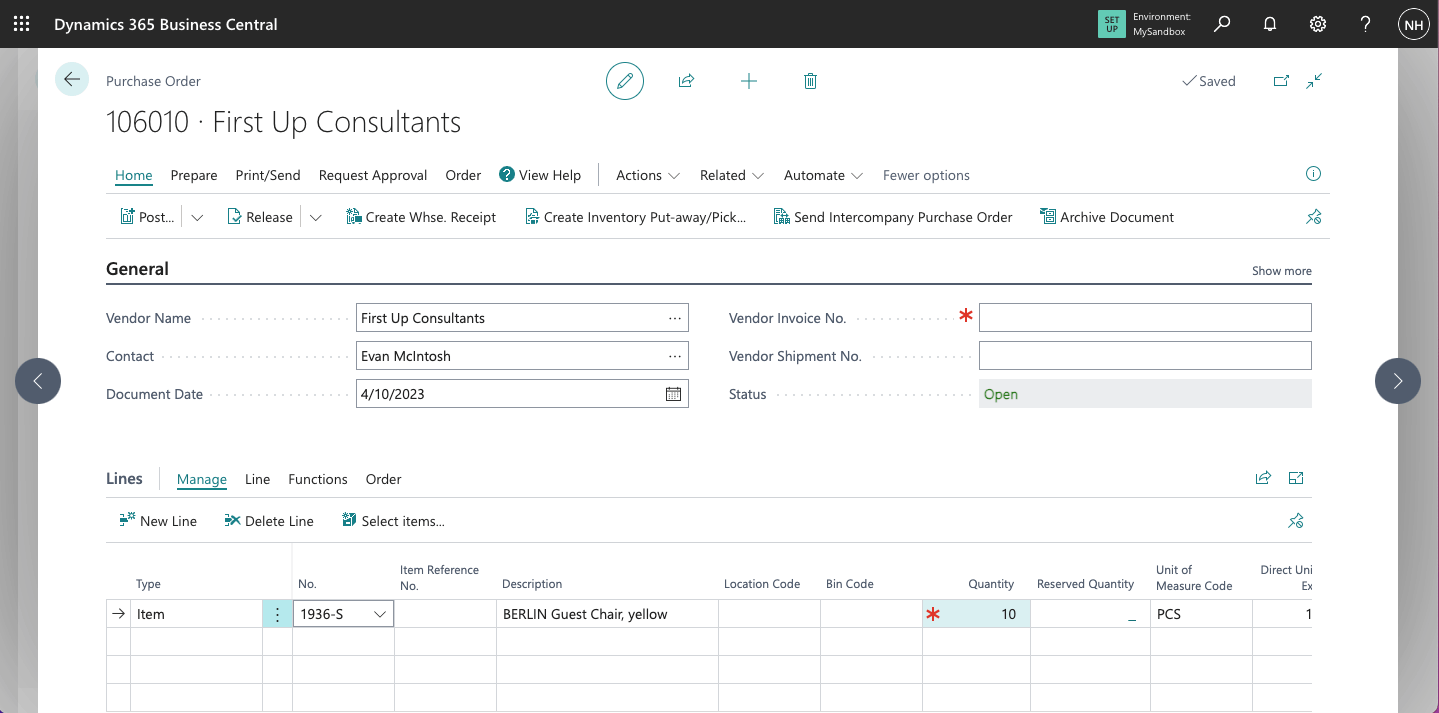
I entered quantity 10
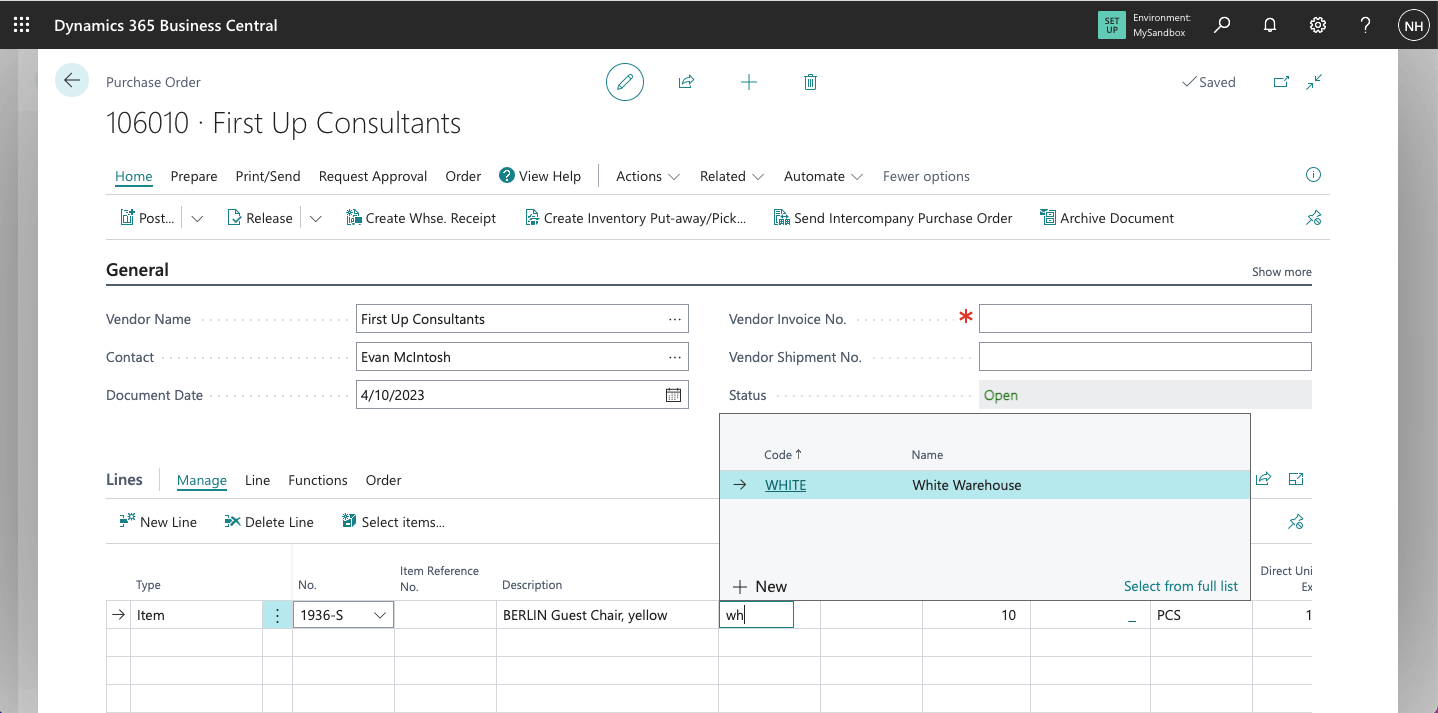
I wanted to have the chairs shipped to the White Warehouse
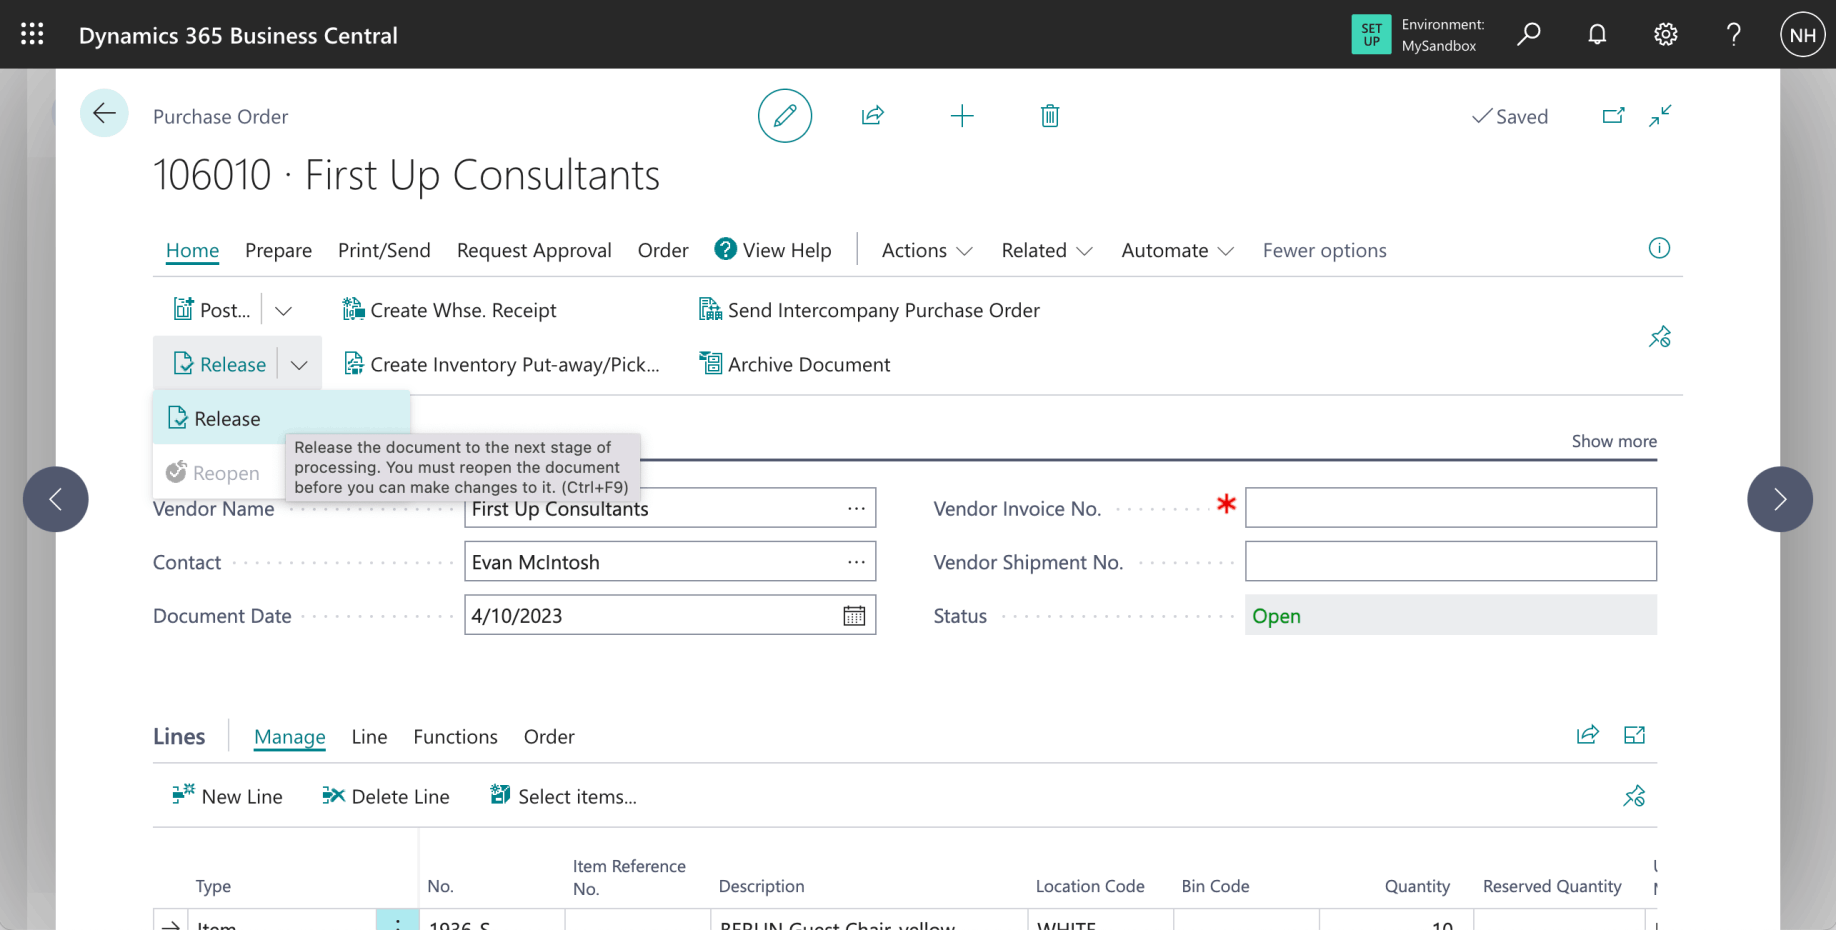
I clicked the Release link (notice that I did not enter a vendor invoice number - the invoice will not be received for some days or weeks)
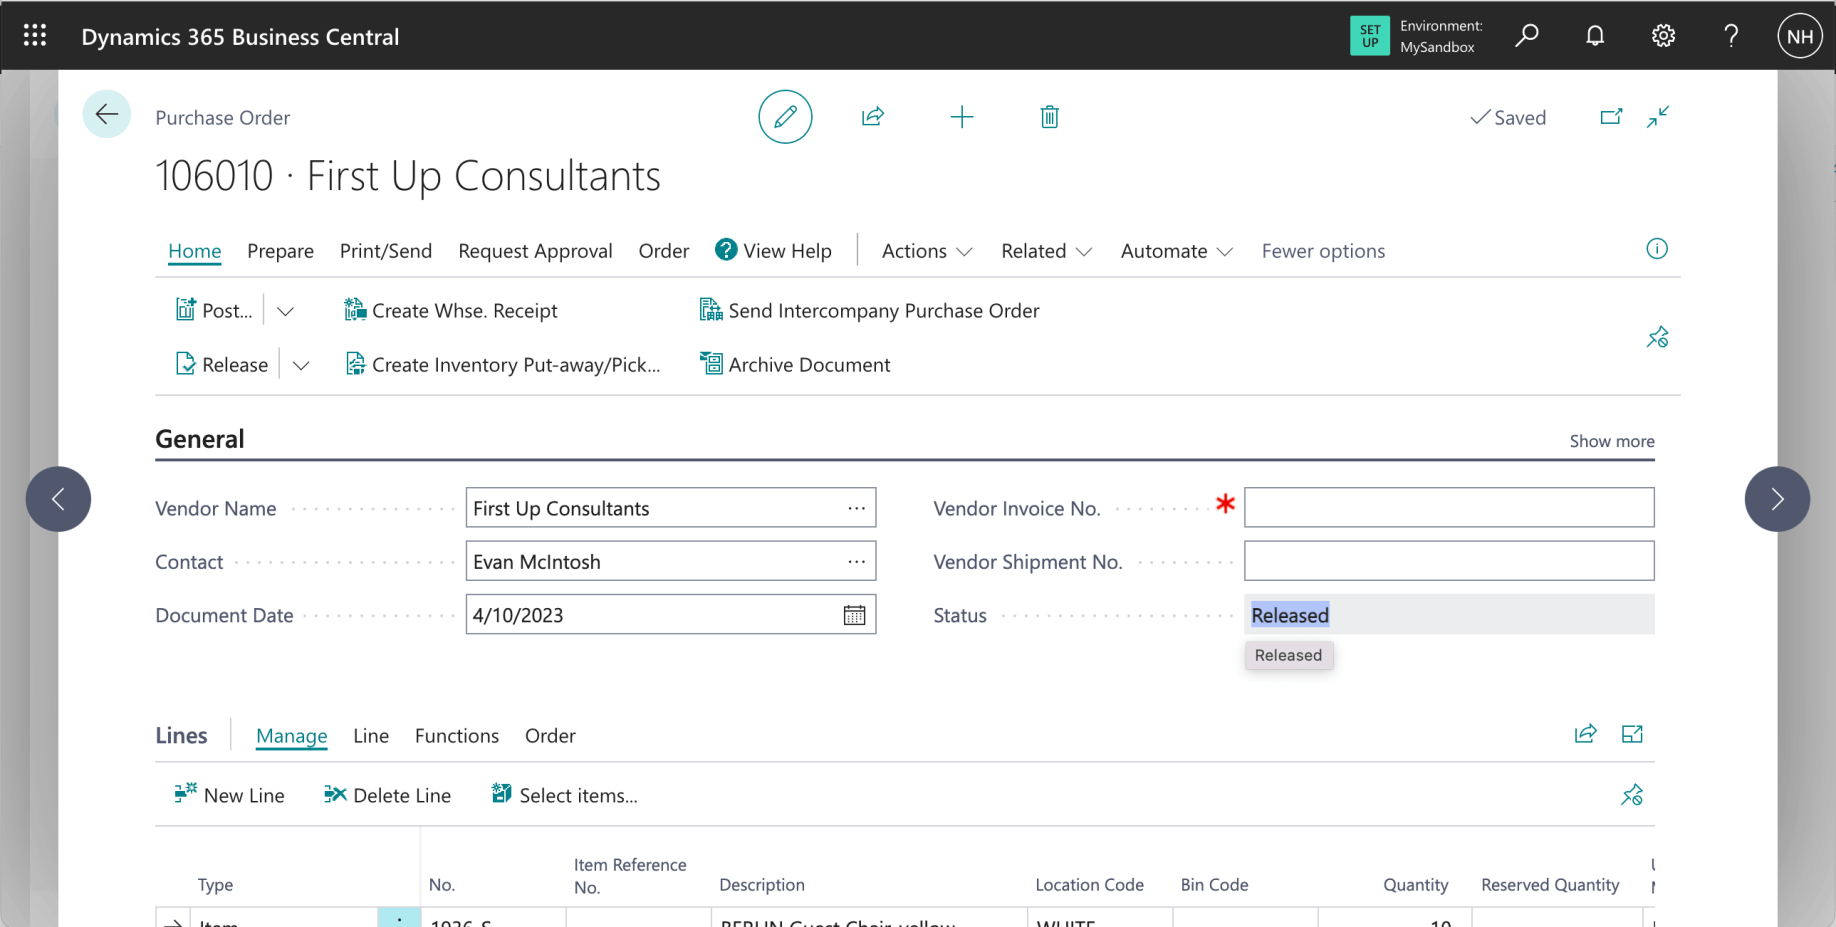
The Purchase Order document was released
Push or pull the warehouse receipt?
After the Purchase Order details have been entered I could have clicked on the "Create Whse. Receipt" link to create a Warehouse Receipt (based on the details in the current Purchase Order). This would be to follow a Push strategy.
The alternative is to release the Purchase Order and to let the Warehouse staff create the Warehouse Receipt. In this example I followed a Pull strategy.
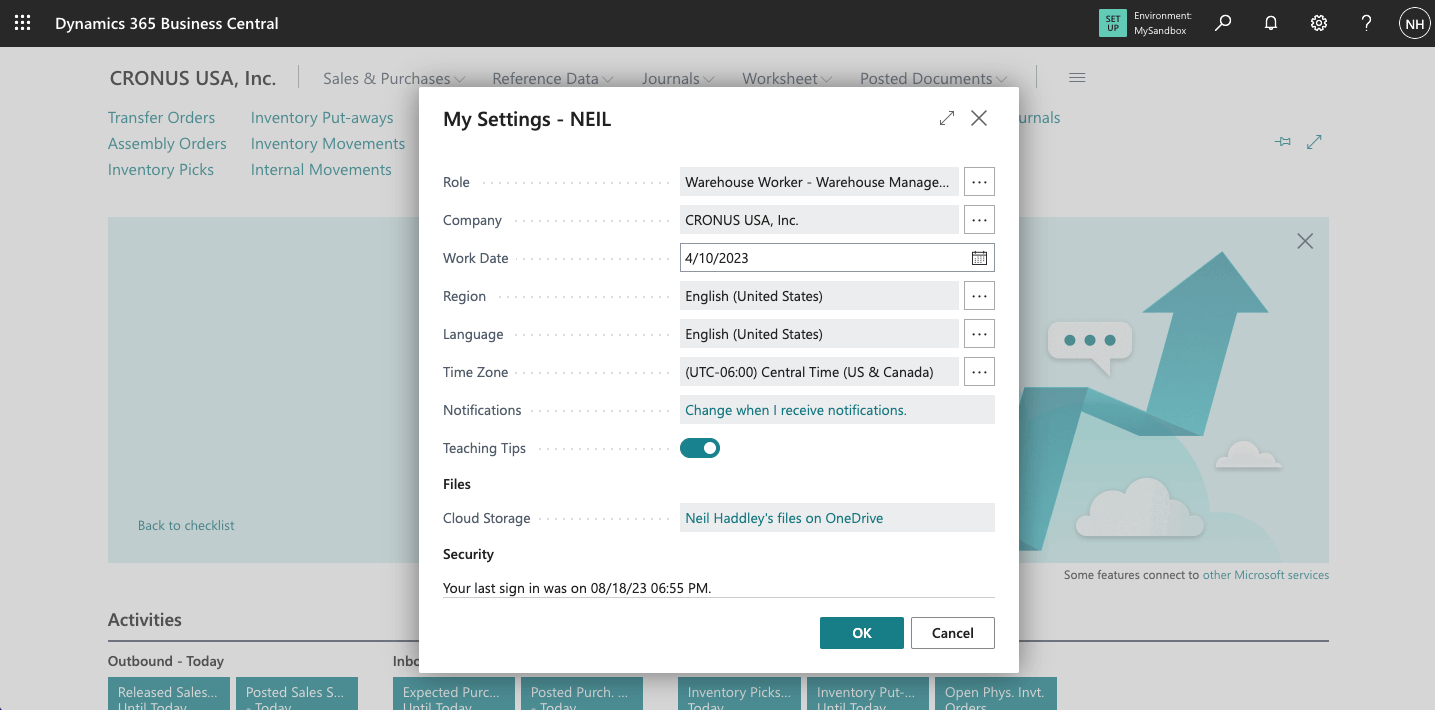
I switched to the Warehouse Worker role
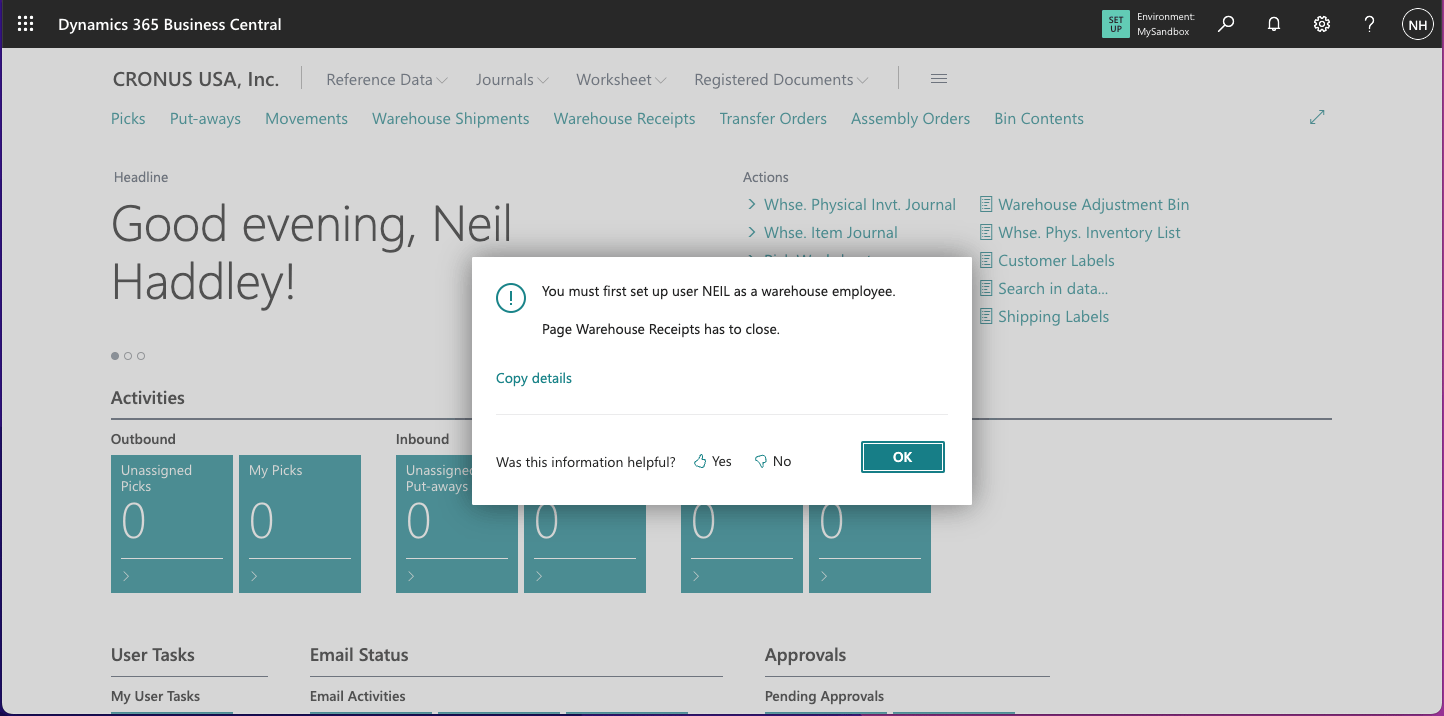
I navigated to the Warehouse Employees page

I added myself as a warehouse employee
I clicked the Warehouse Receipts link
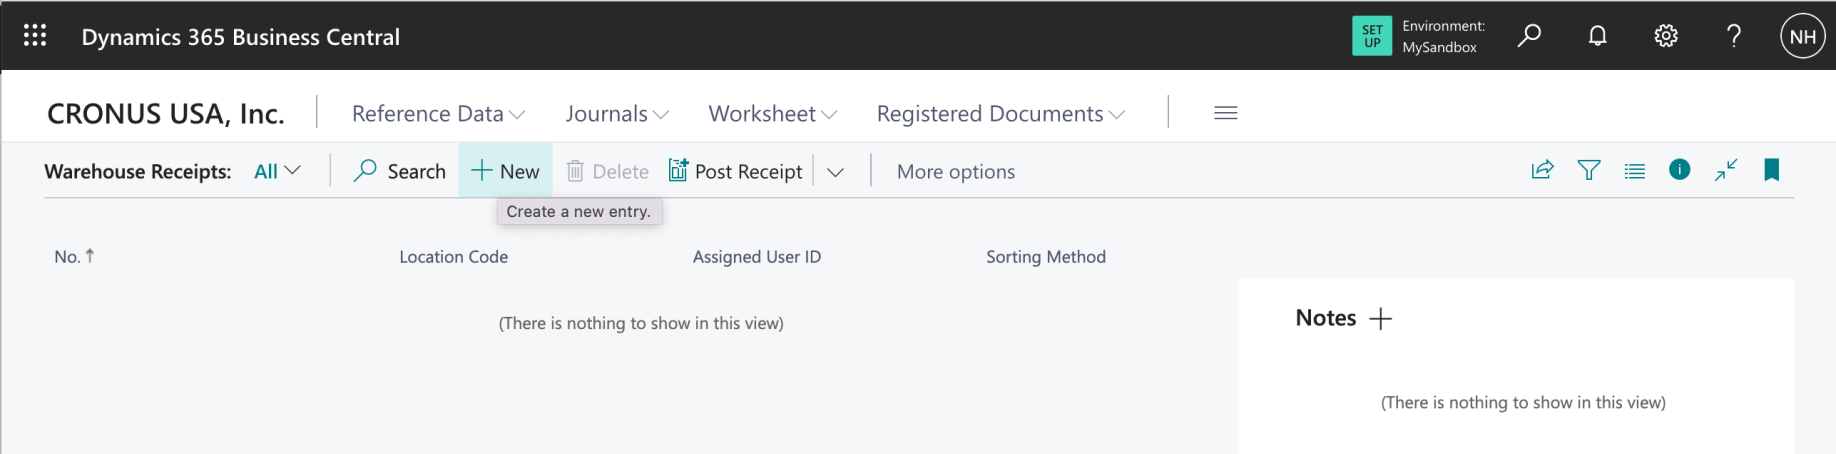
I created a new Warehouse Receipt
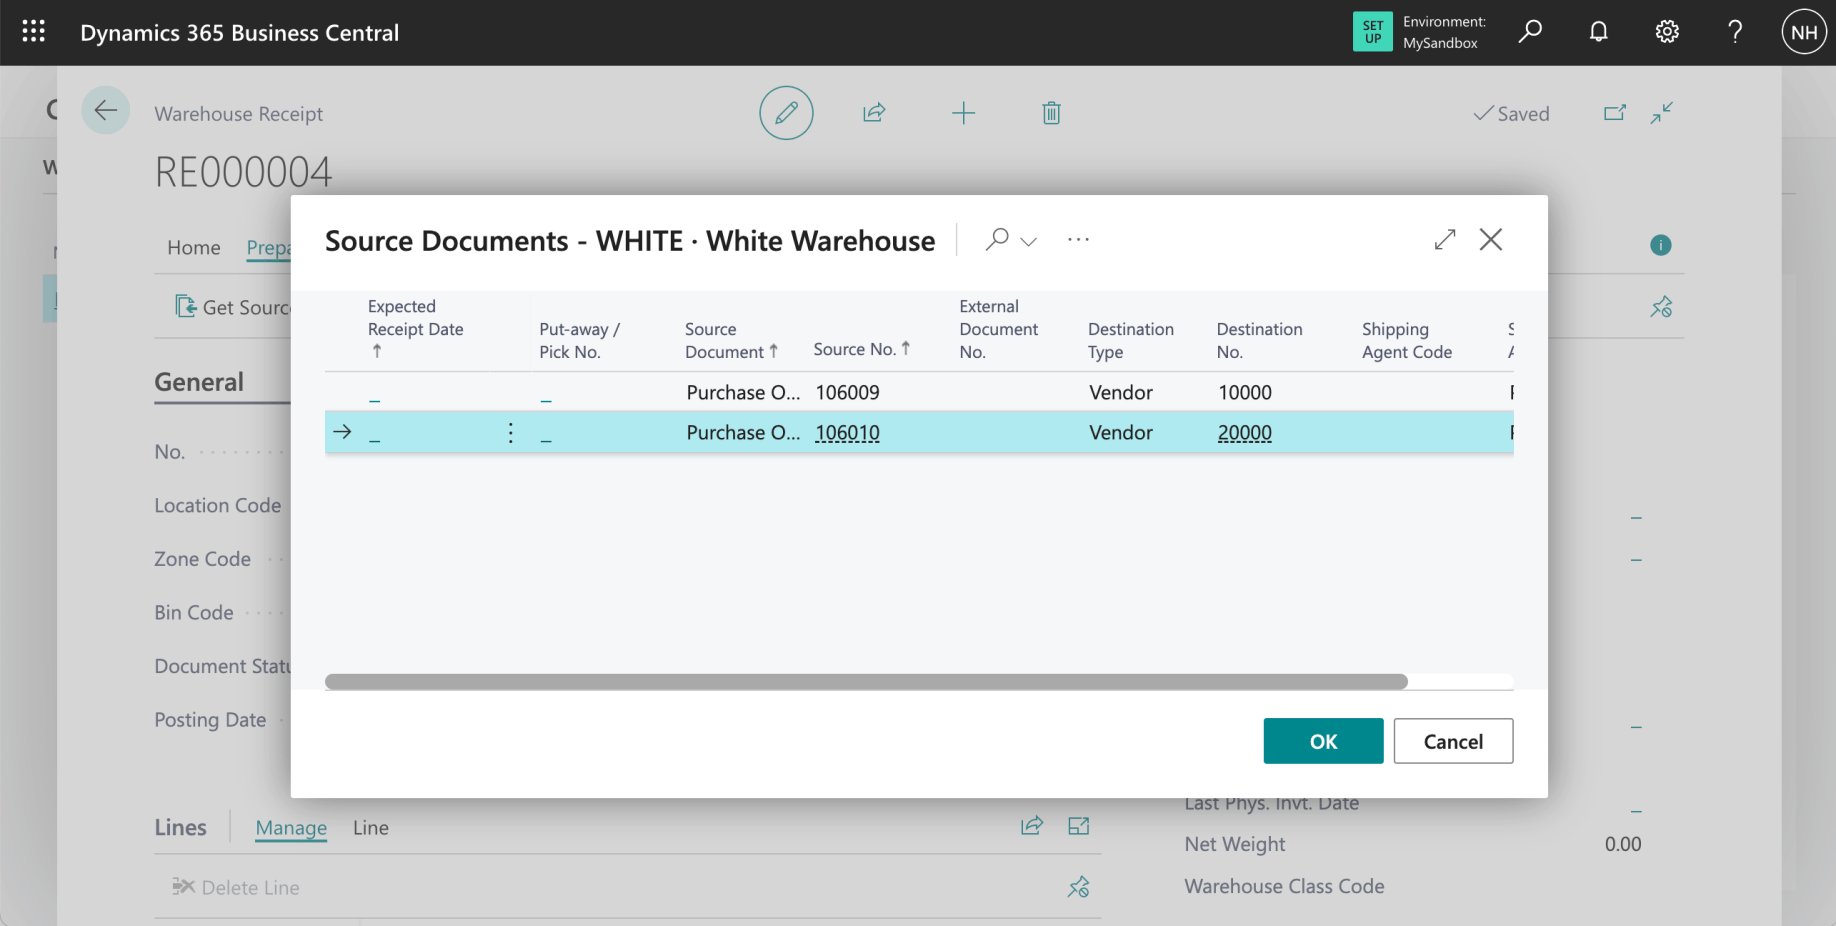
I clicked the Get Source Documents... link to import details from the Purchase Order into this Warehouse Receipt(Notice that a single Warehouse Receipt can import lines from multiple source documents)
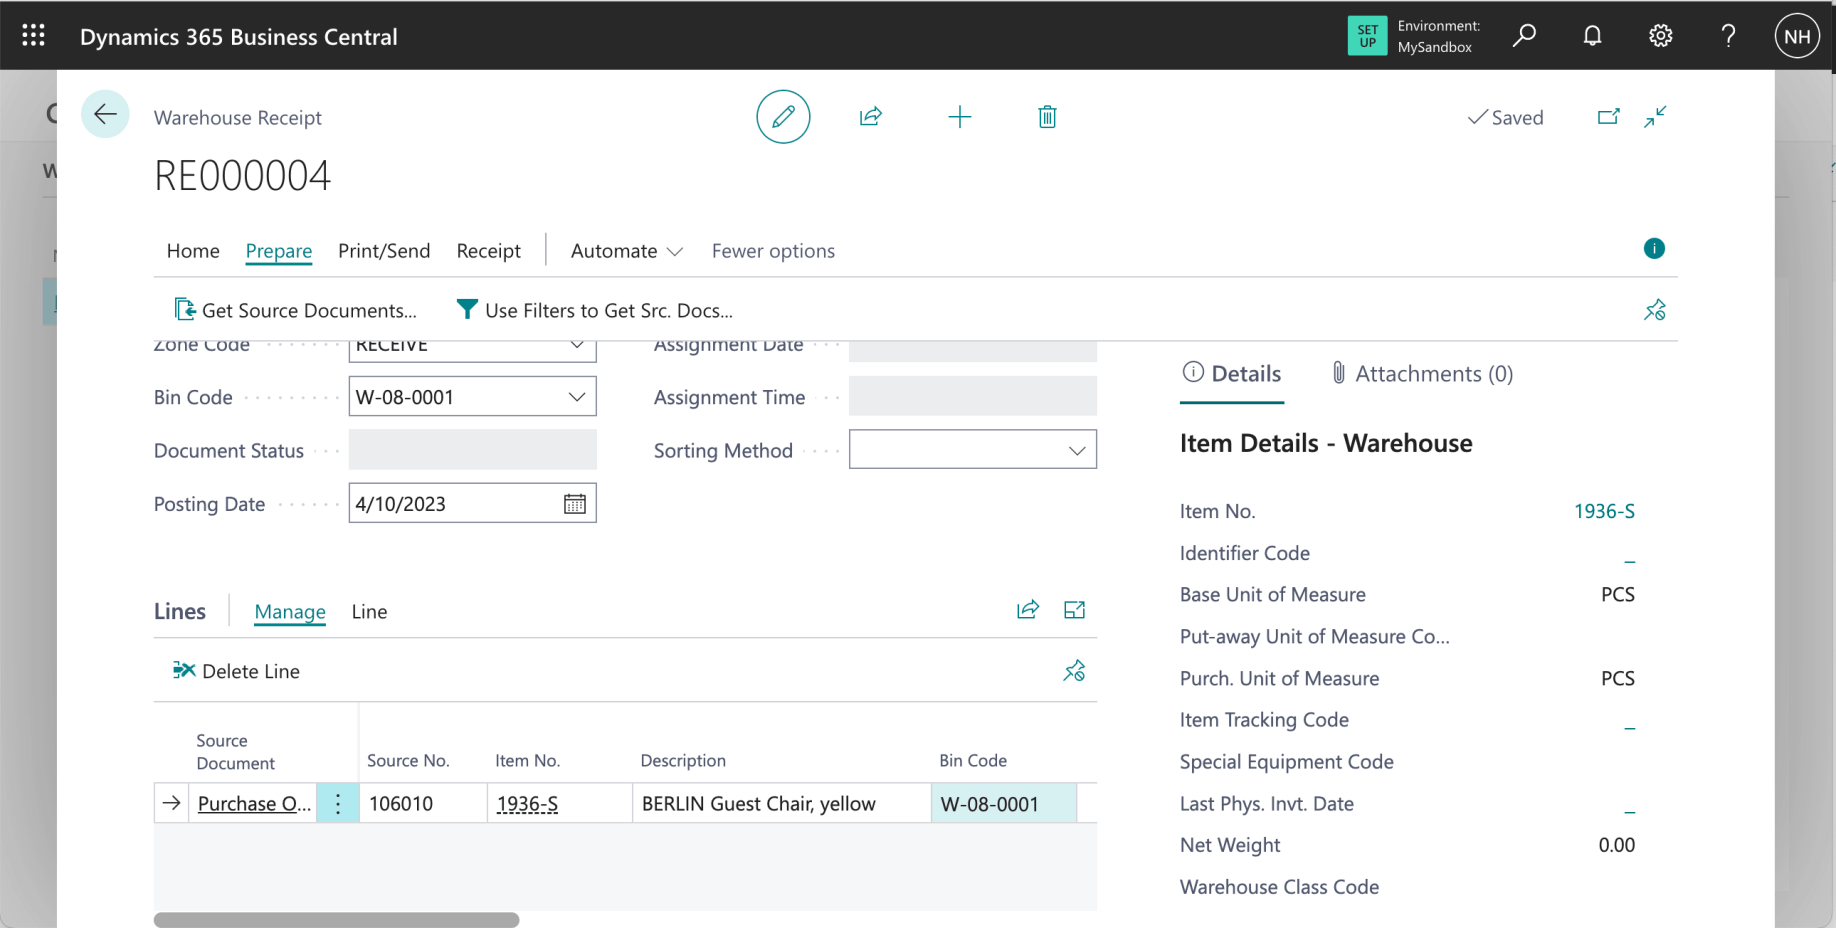
Notice that the Bin Code was automatically set to bin W-08-0001 (the RECEIVE bin in the RECEIVE Zone - see above)
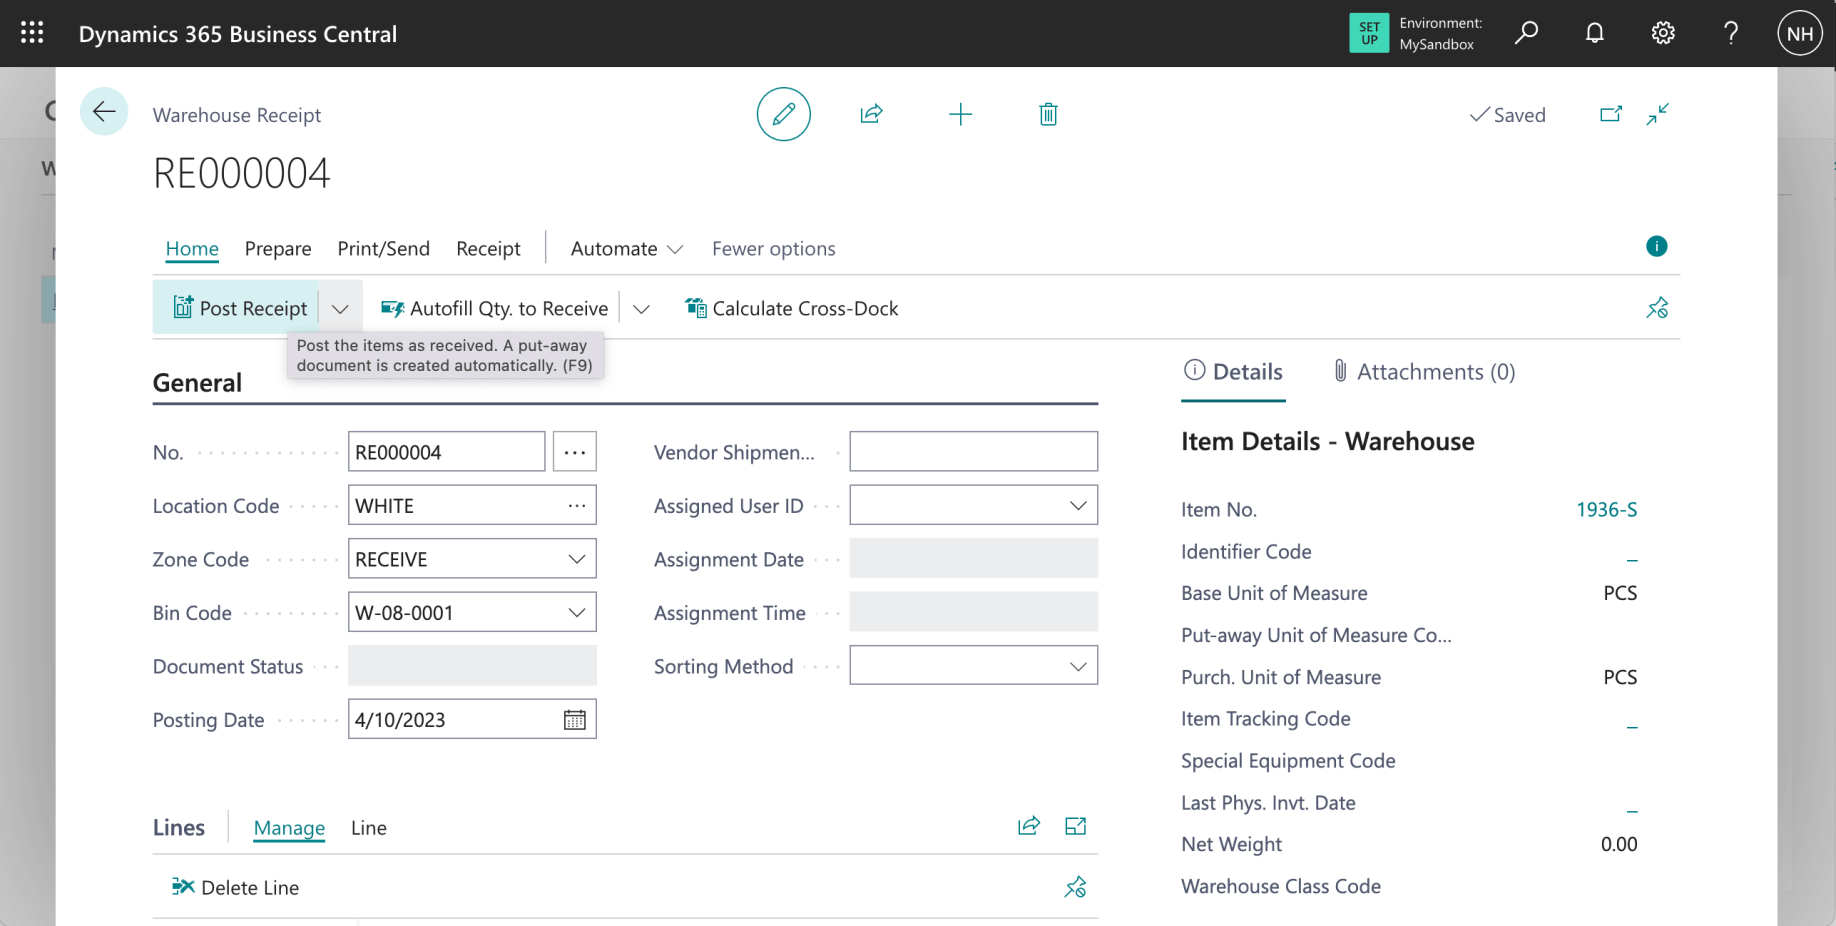
I clicked the Post Receipt link
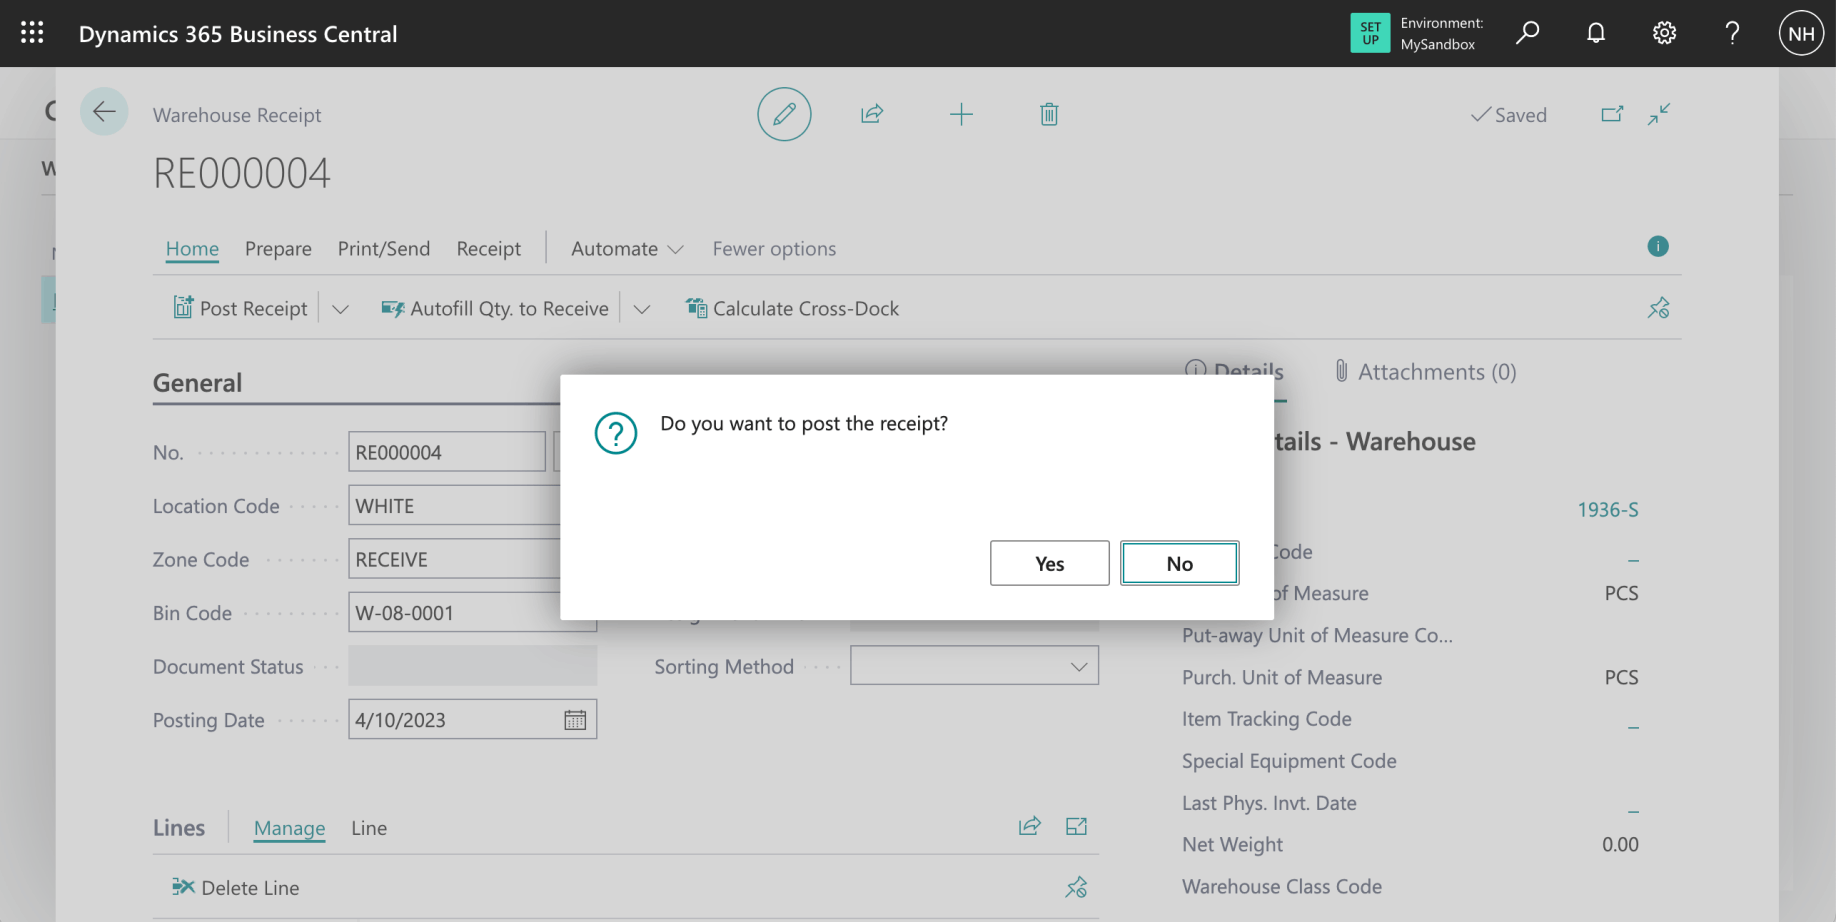
I posted the Warehouse Receipt
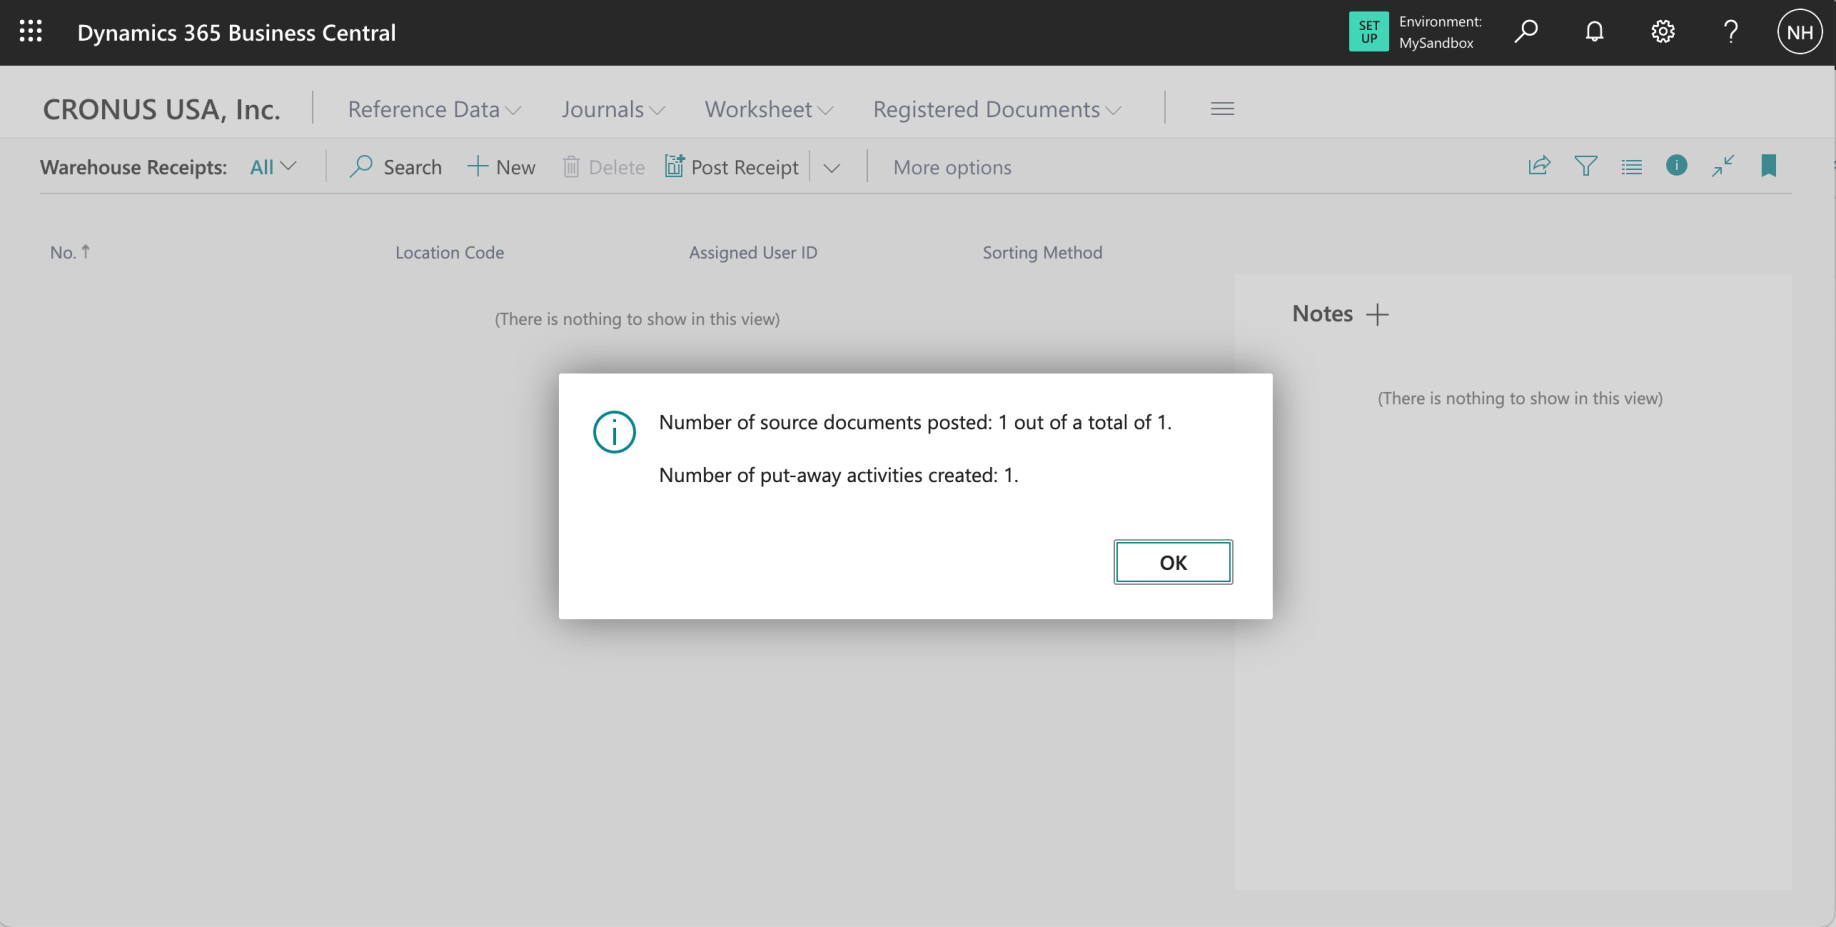
As I posted the Warehouse Receipt a Put-away was created

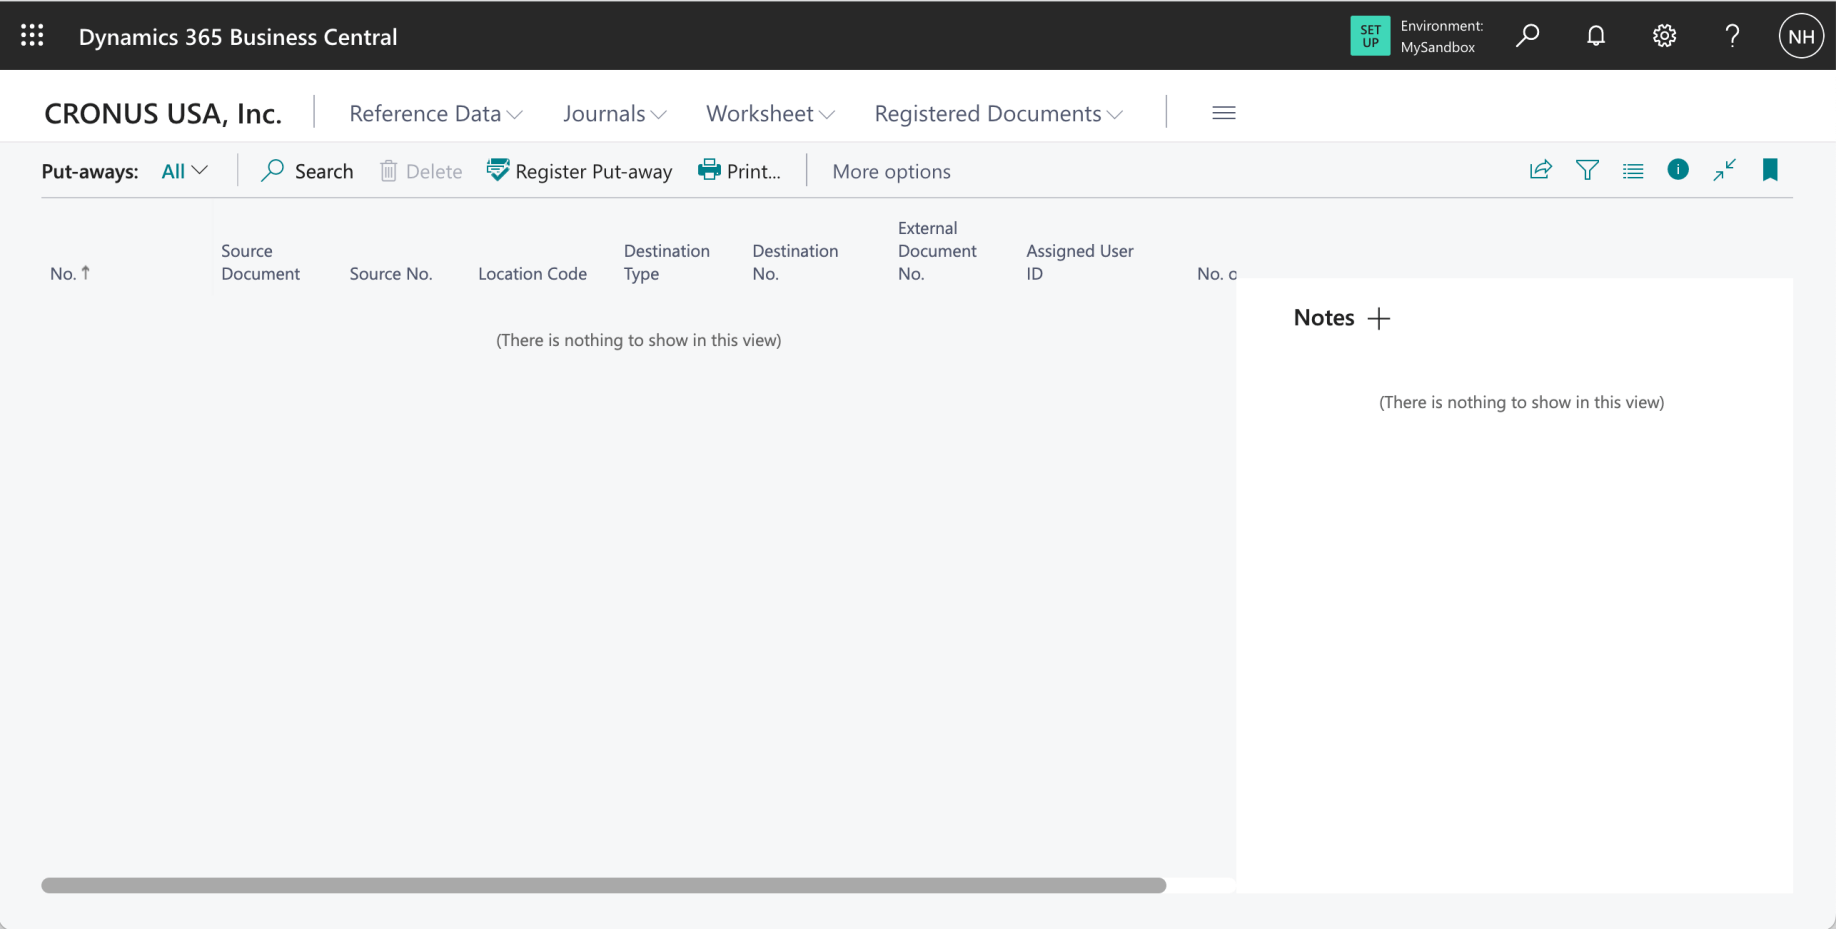
I clicked the Put-aways link
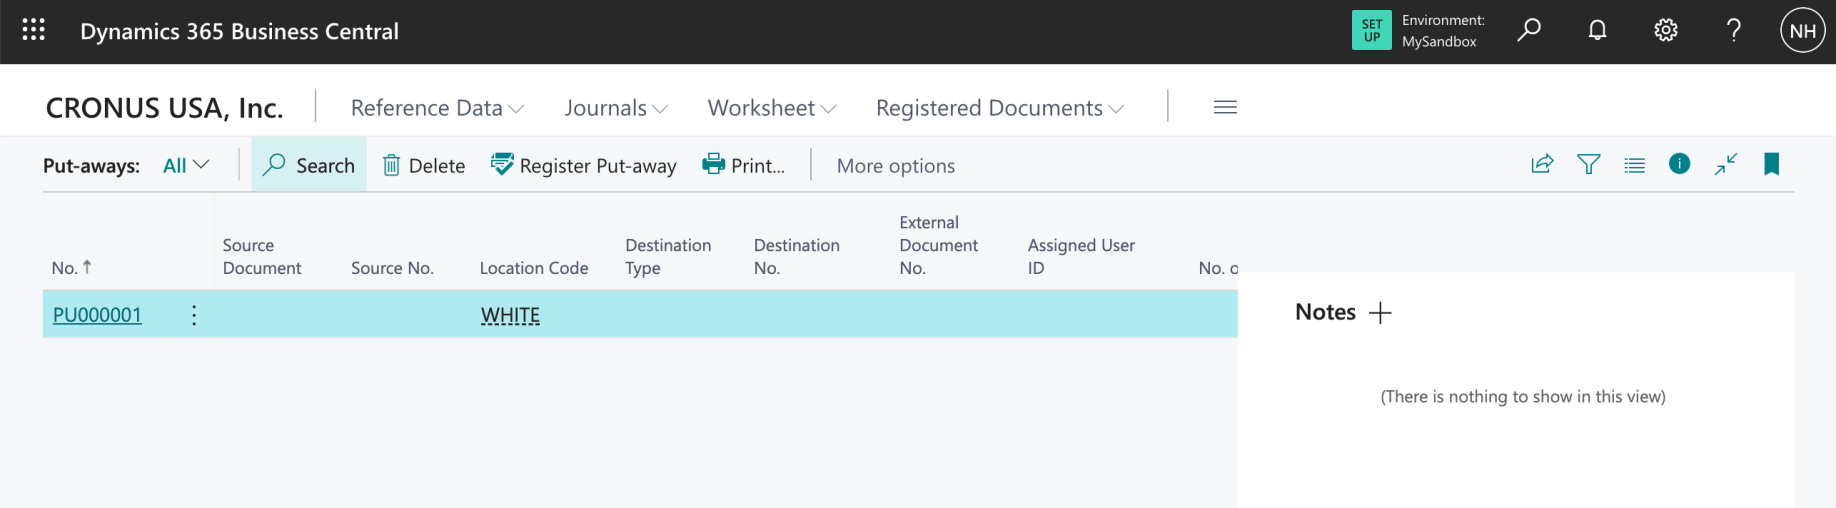
I clicked on the newly created Put-away

I clicked the "i" to collapse the FactBox
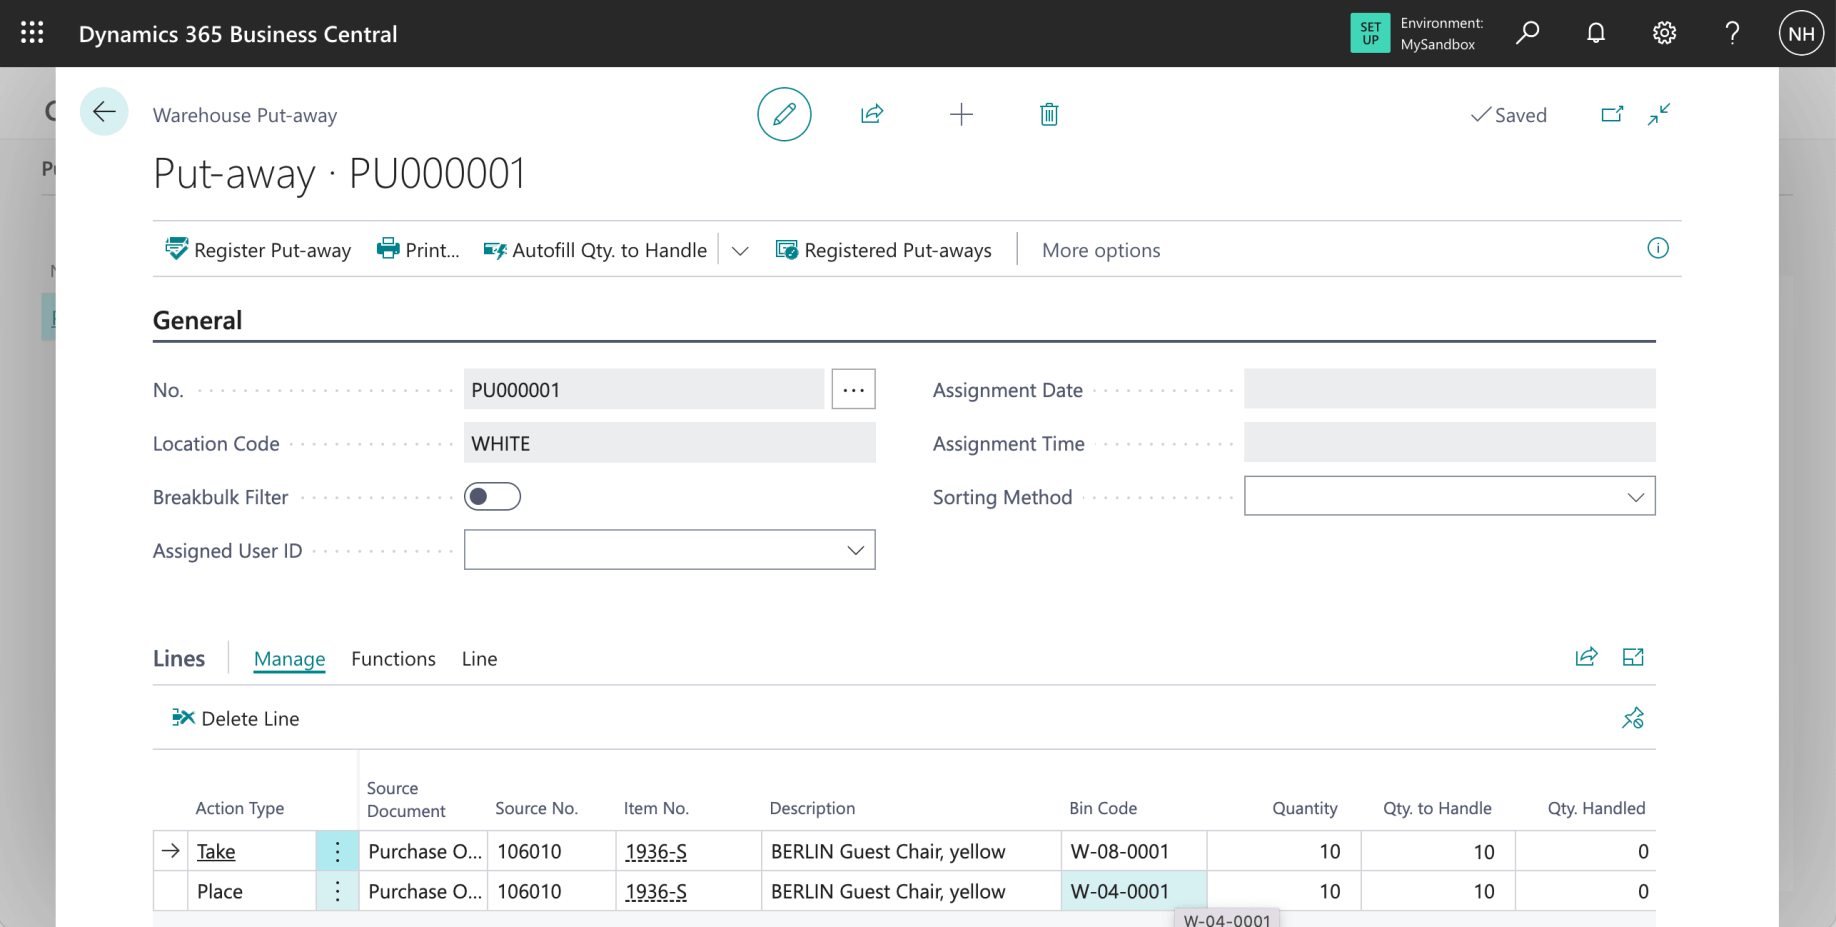
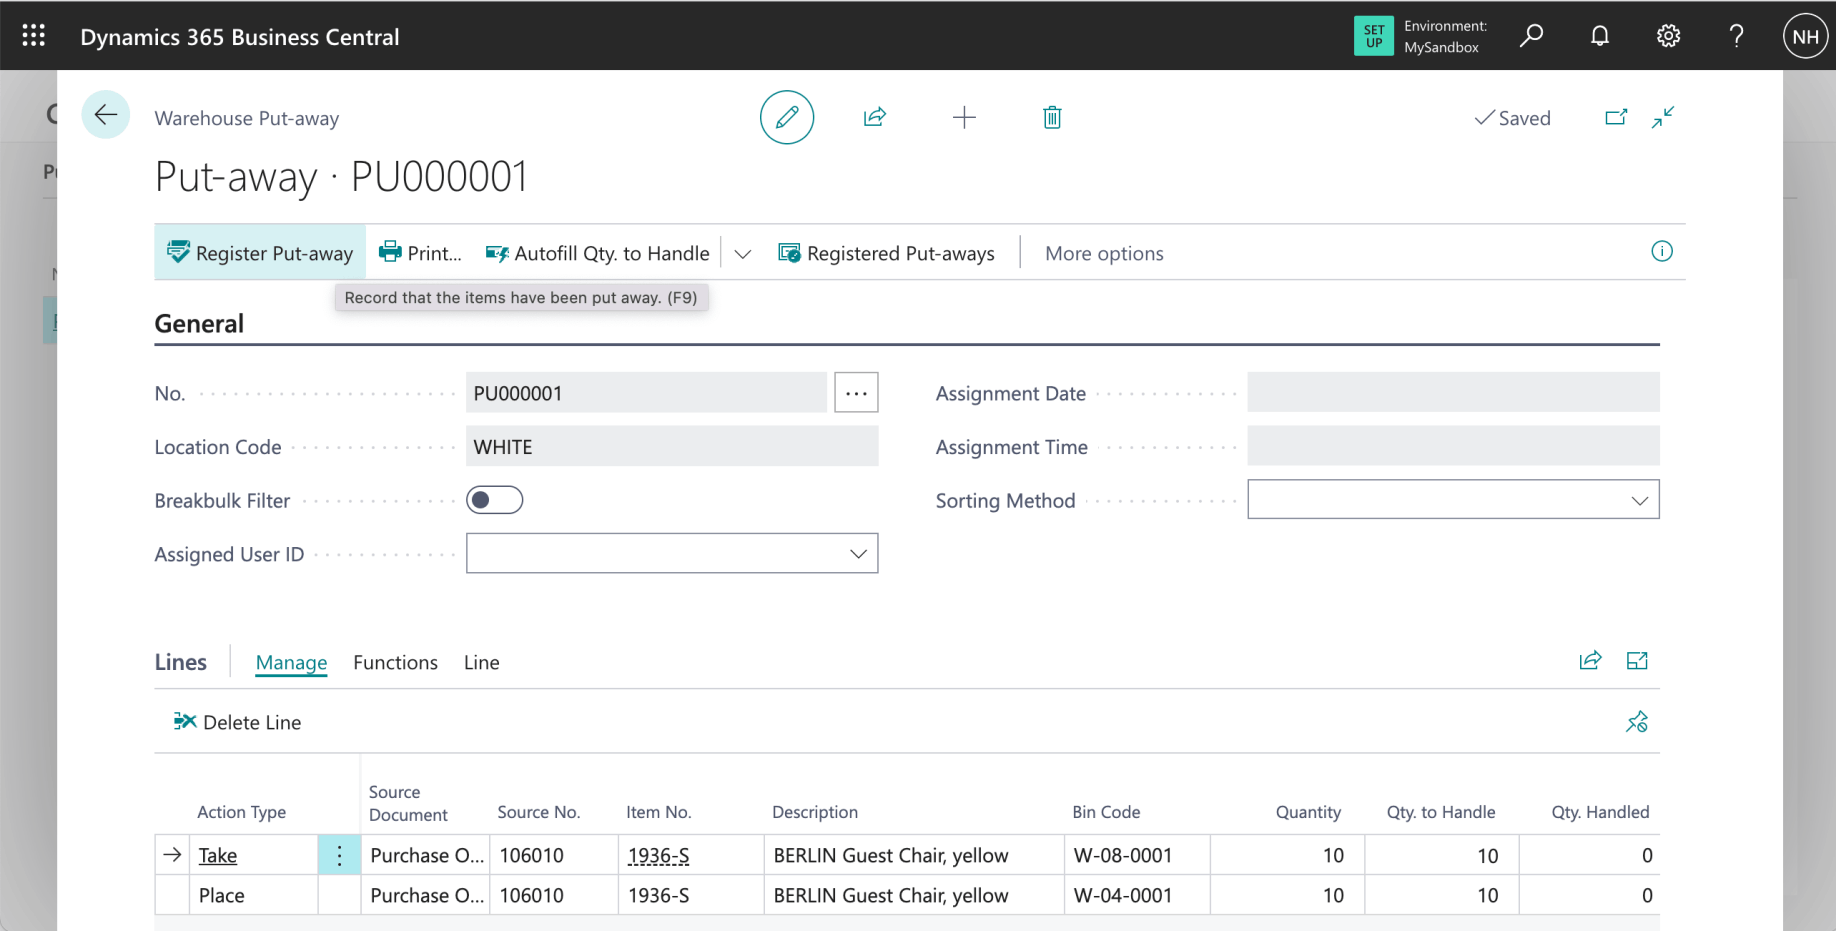
Notice that the Put-away describes how the items should be moved from bin W-08-0001 (the RECEIVE bin in the RECEIVE Zone) and moved to bin W-04-0001 (the PUTPICK bin in the PICK Zone)
I wanted to review the Bin Contents before clicking Register Put-away
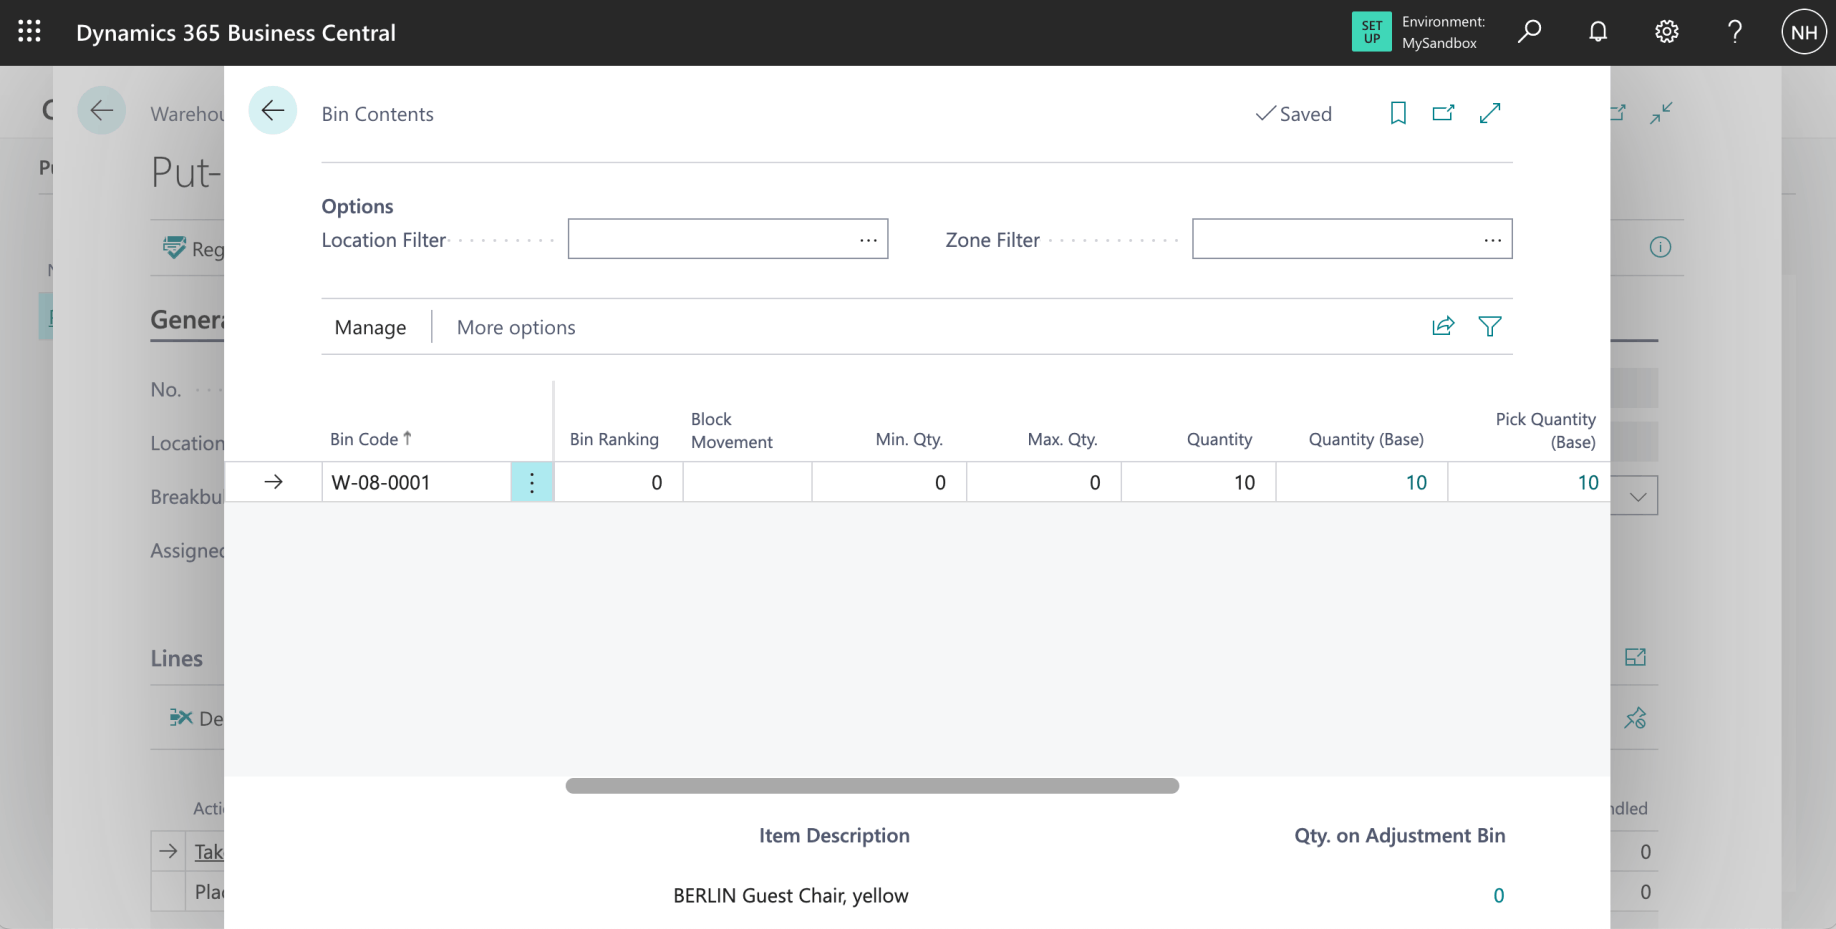
The items are shown in the W-08-0001 bin (the RECEIVE bin in the RECEIVE Zone)
I clicked the Register Put-away link
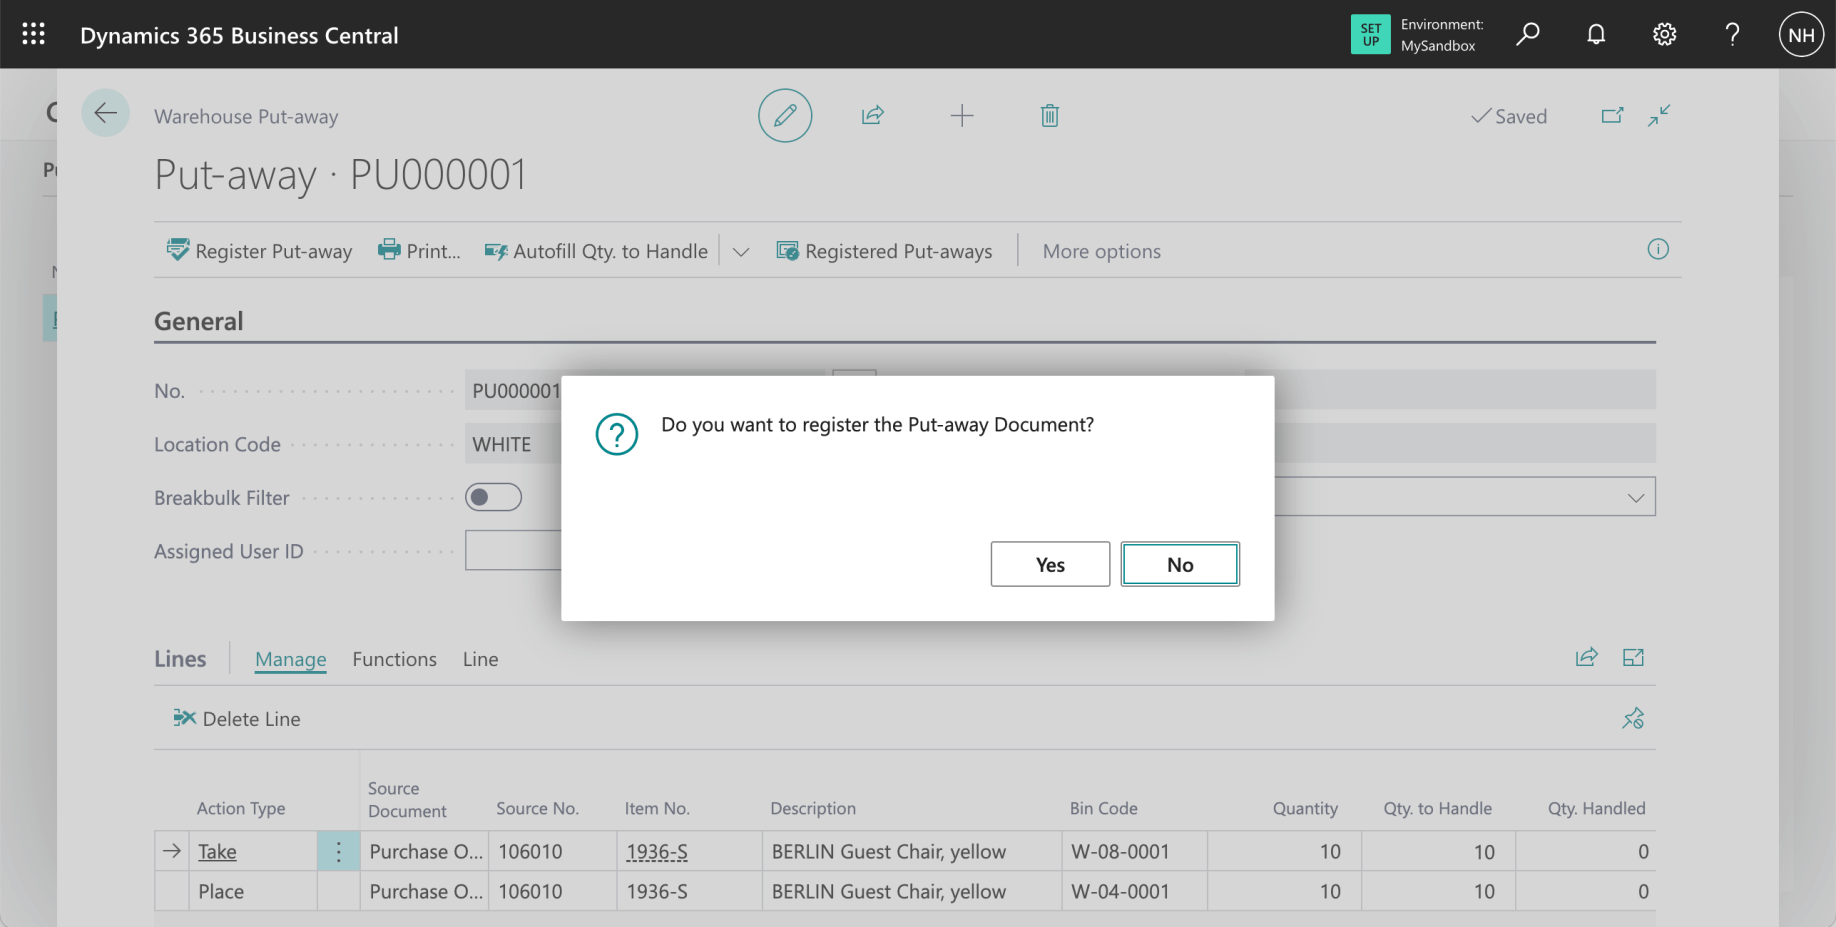
I clicked Yes
The put away was completed

I wanted to review the Bin Contents after clicking Register Put-away
The items are shown in the W-04-0001 bin (the PUTPICK bin in the PICK Zone)