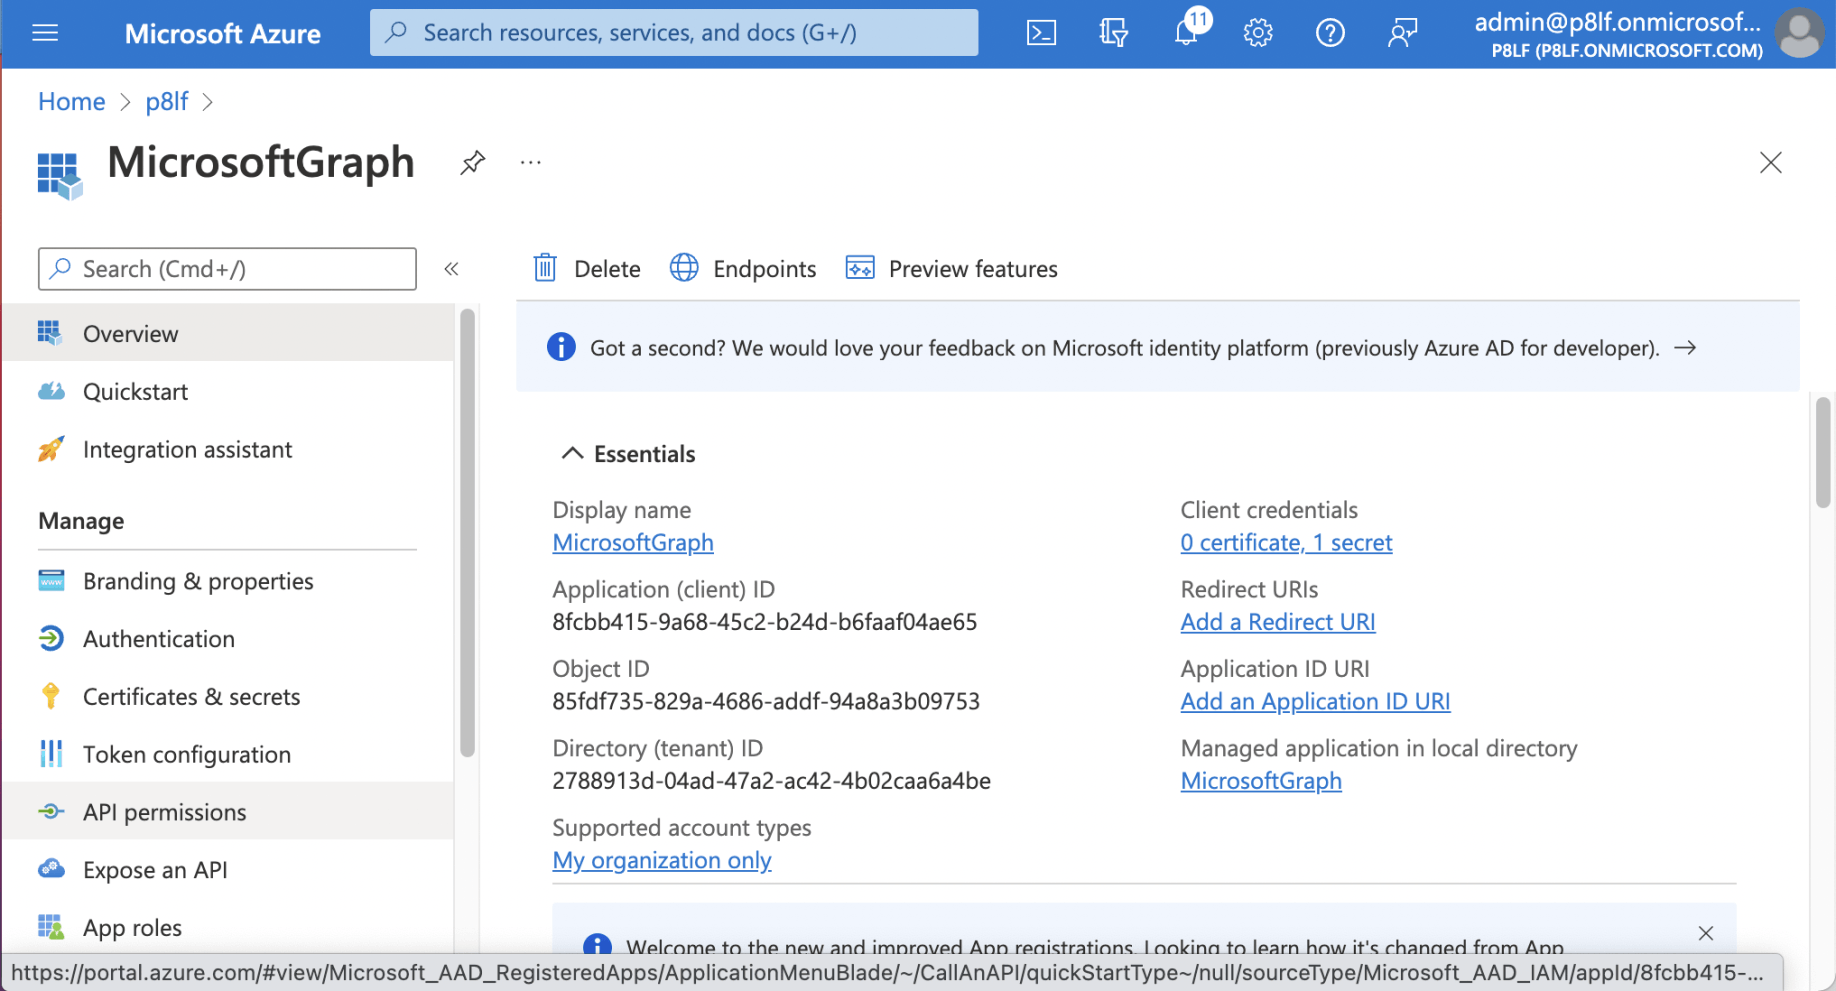
I started by creating a "Microsoft Graph" application registration in Azure Active Directory
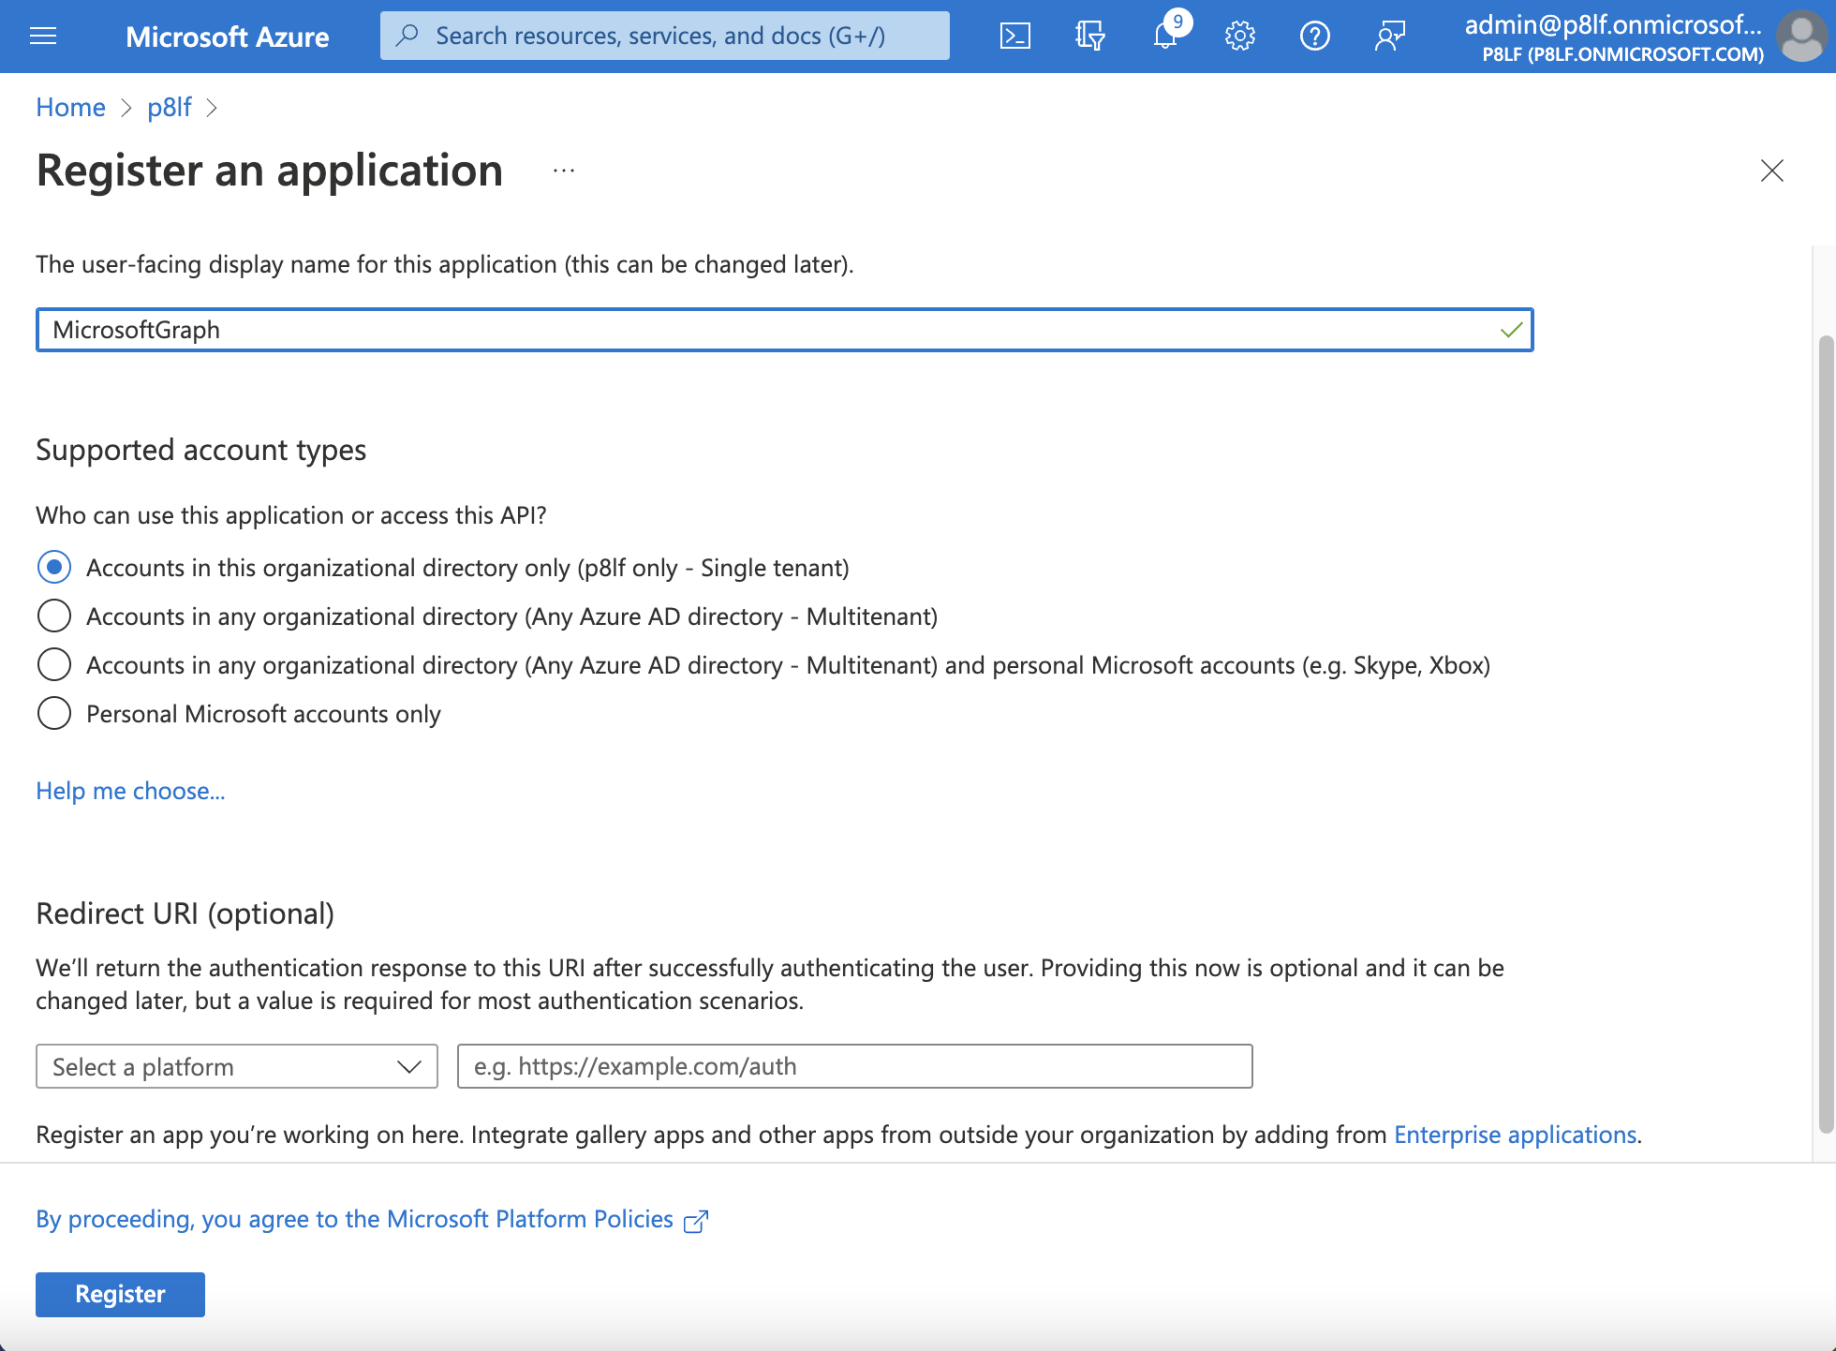
Azure Active Directory - I created an application registration
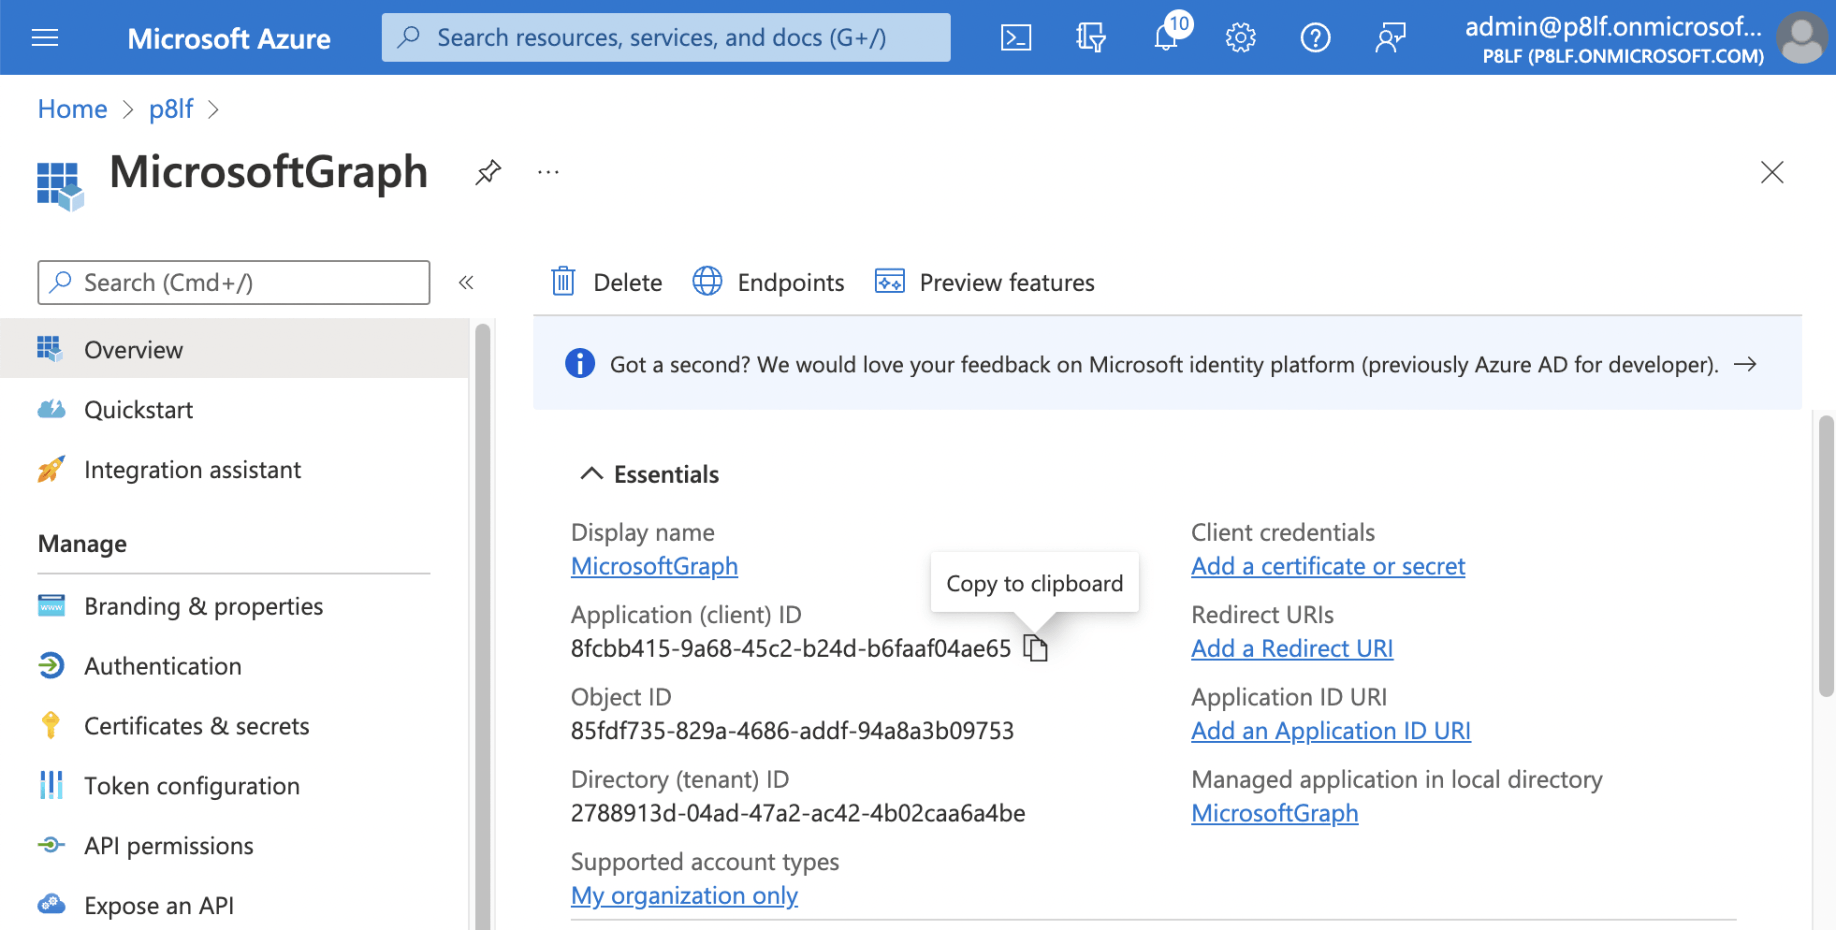
I copied the Application (client) ID to be used later.
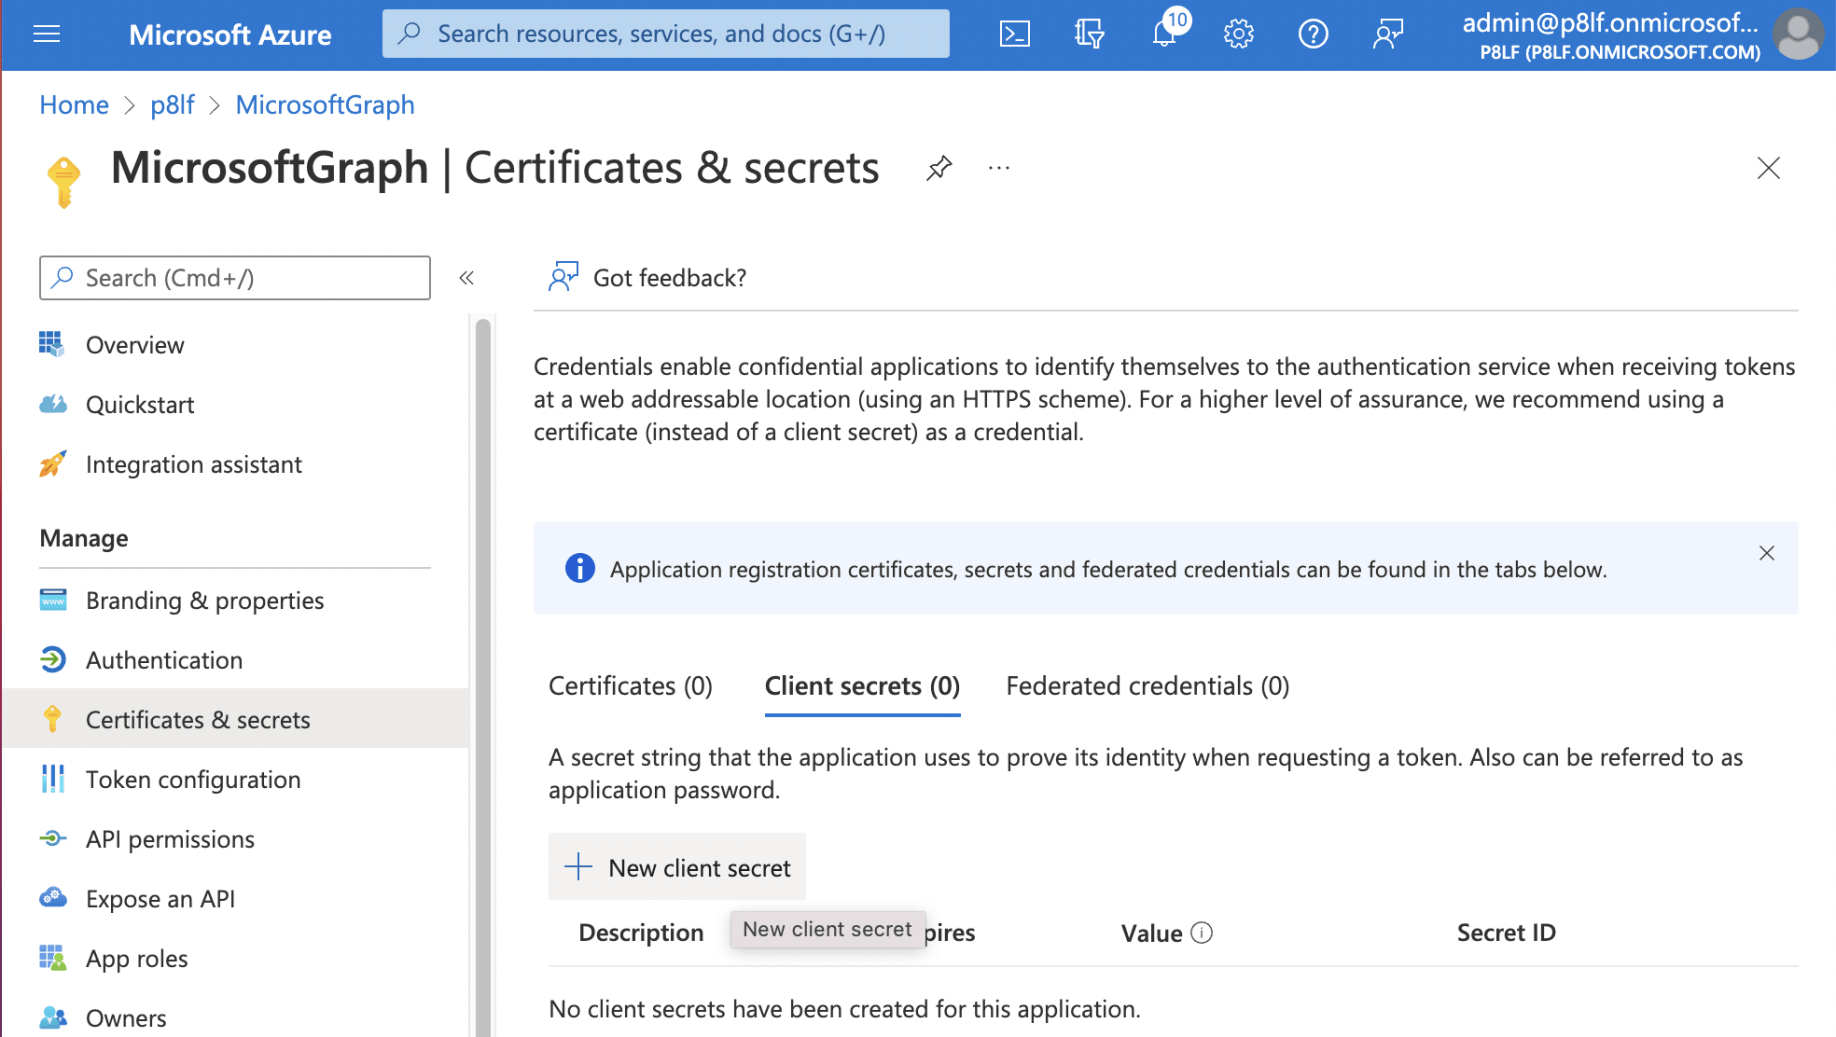
I created a new client secret
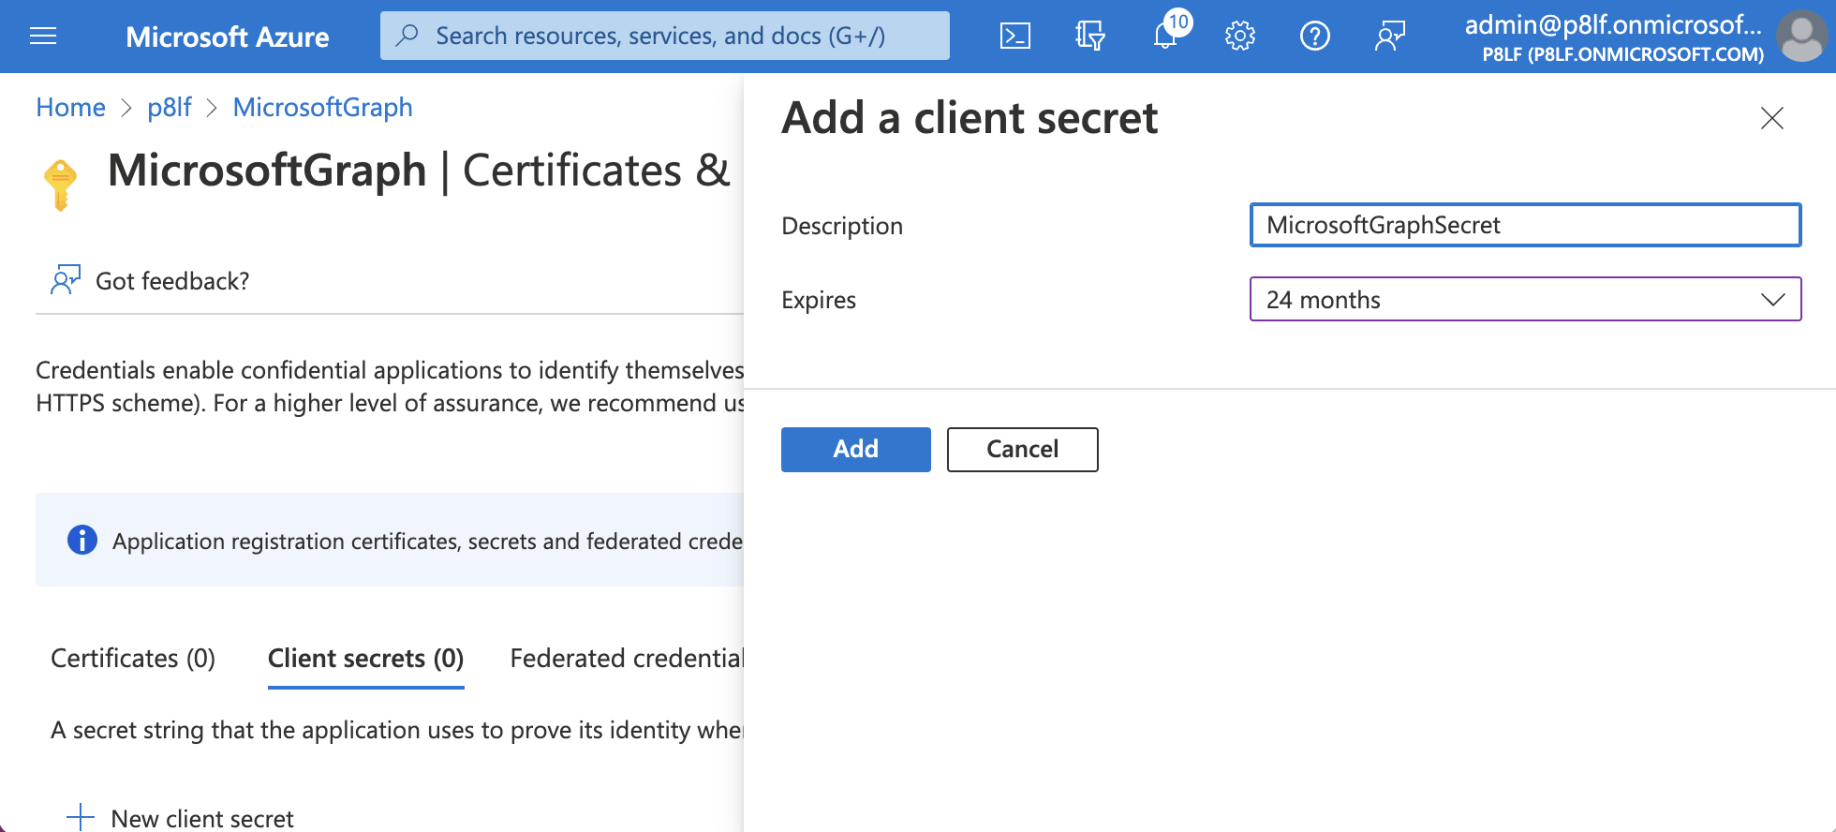
I set the client secret to expire in 2 years
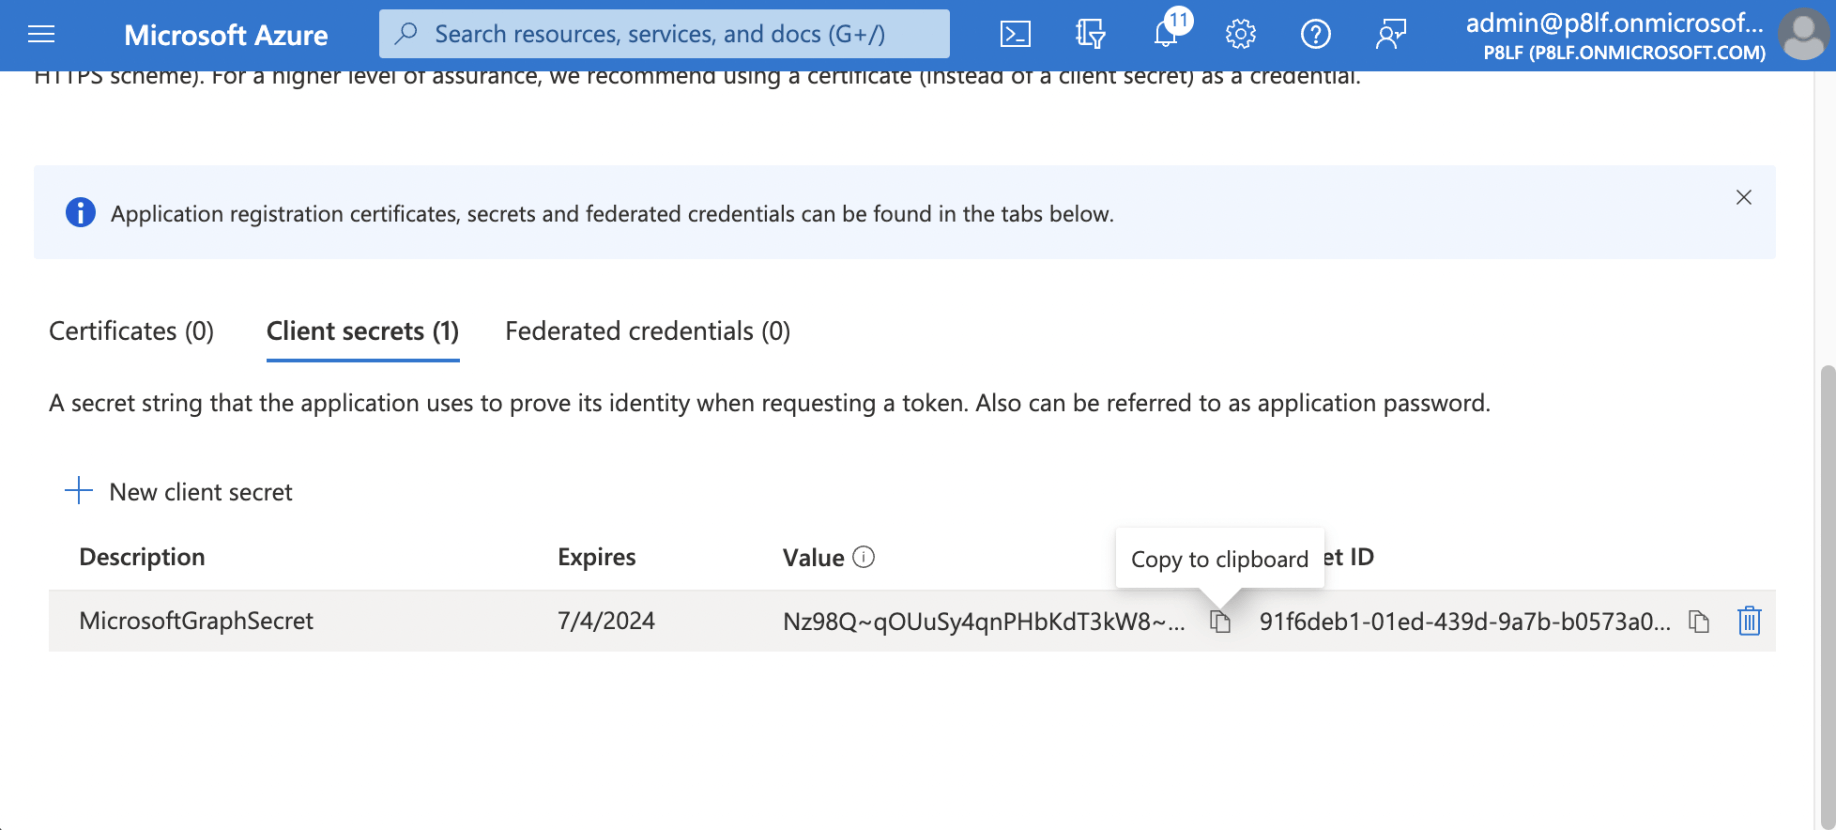
I copied the Client Secret's Value to be used later.
I selected the "API permissions" link
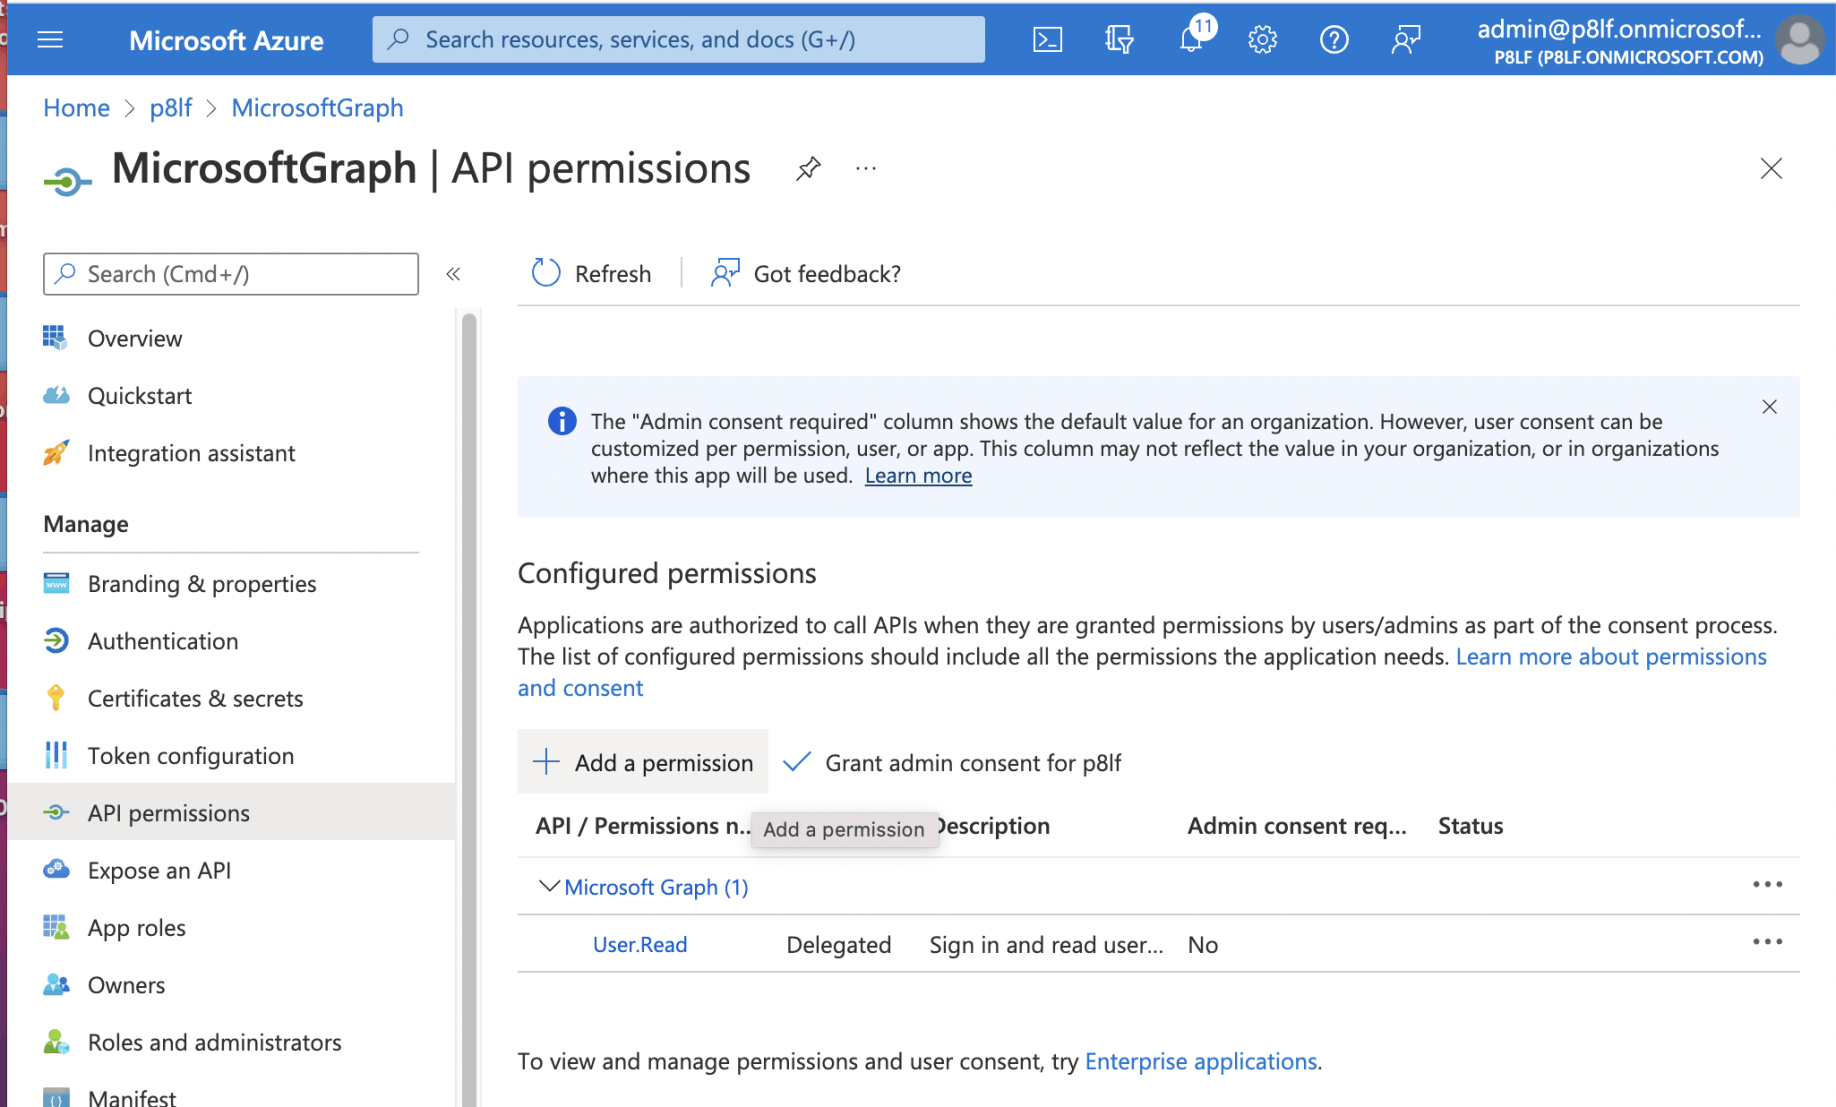
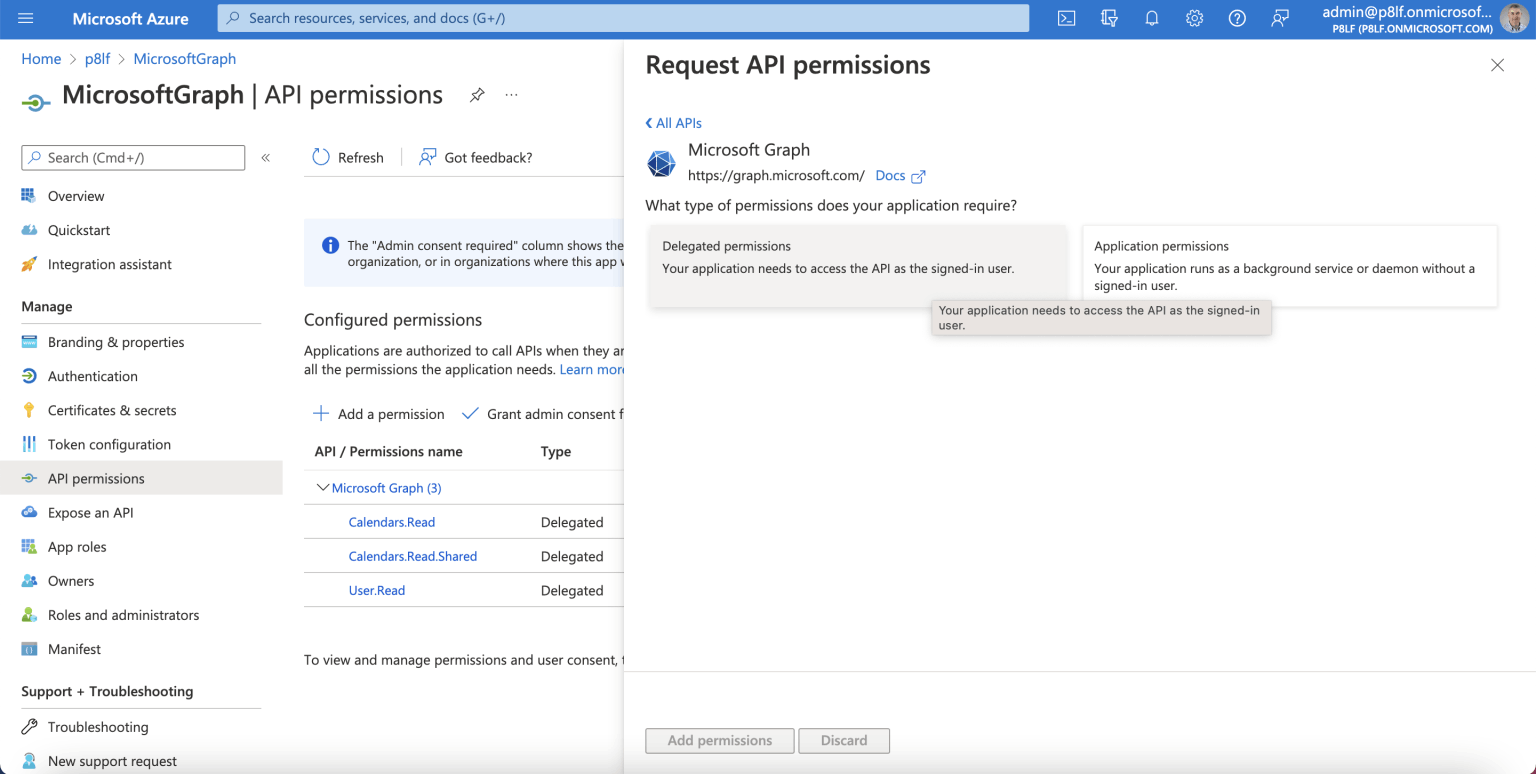
I selected the "Add a permission" link
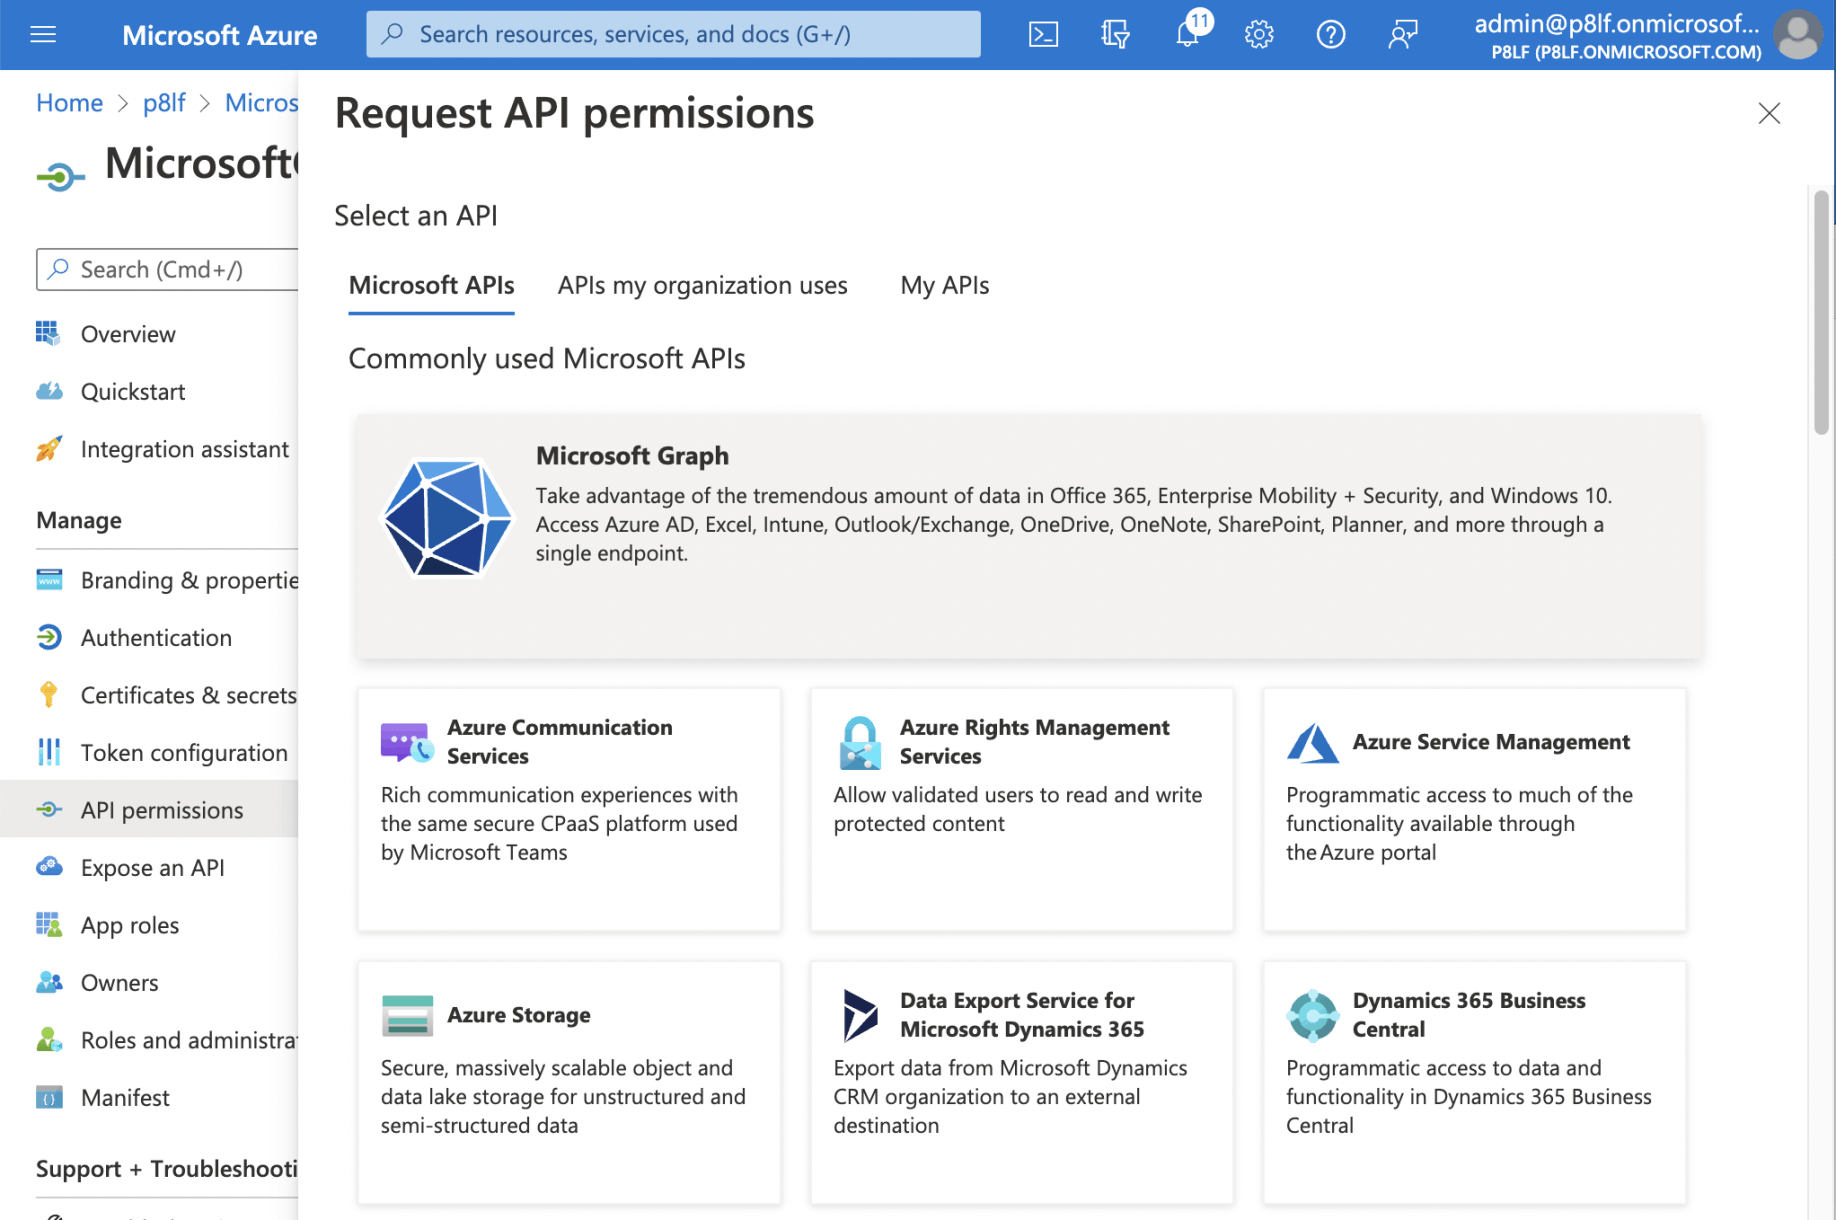
I selected the "Microsoft Graph" button
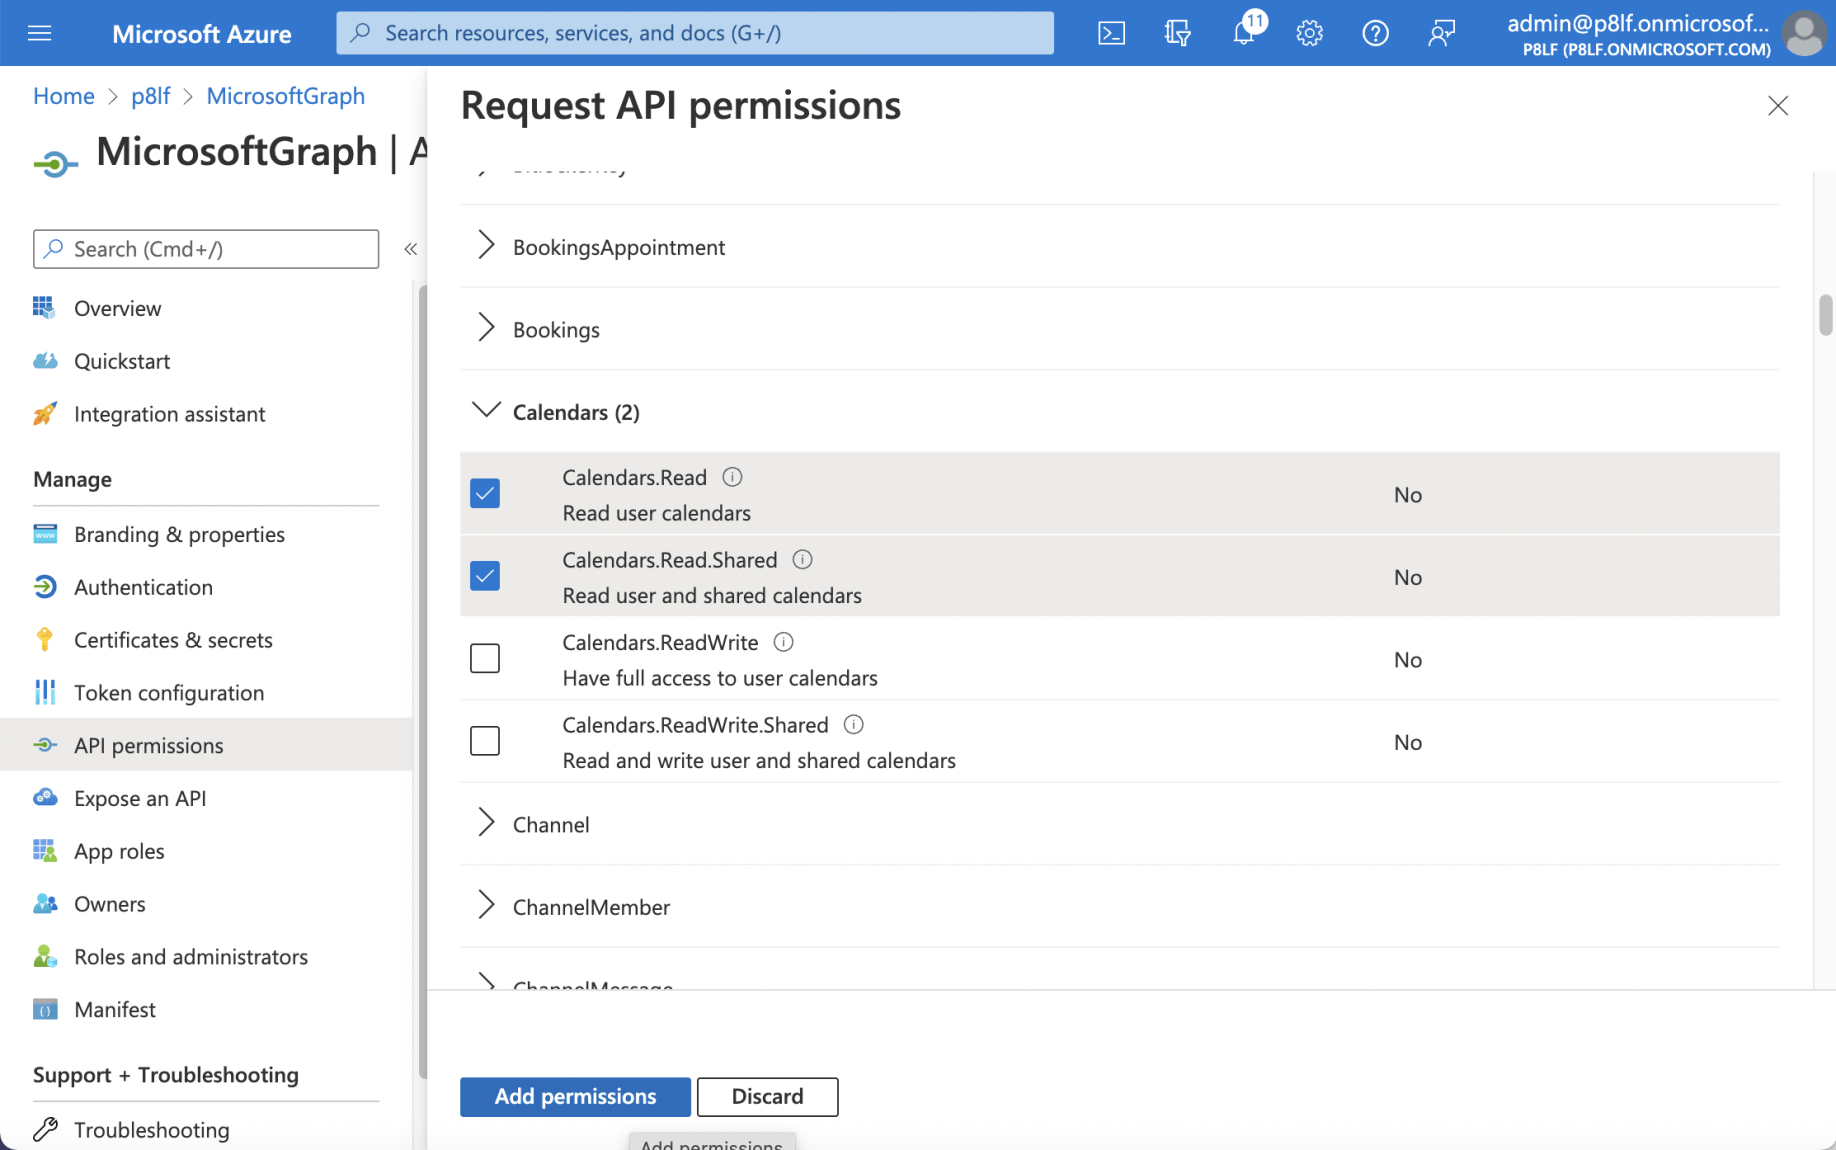
I selected the "Calendars.Read" and the "Calendars.Read.Shared" permissions (scopes)
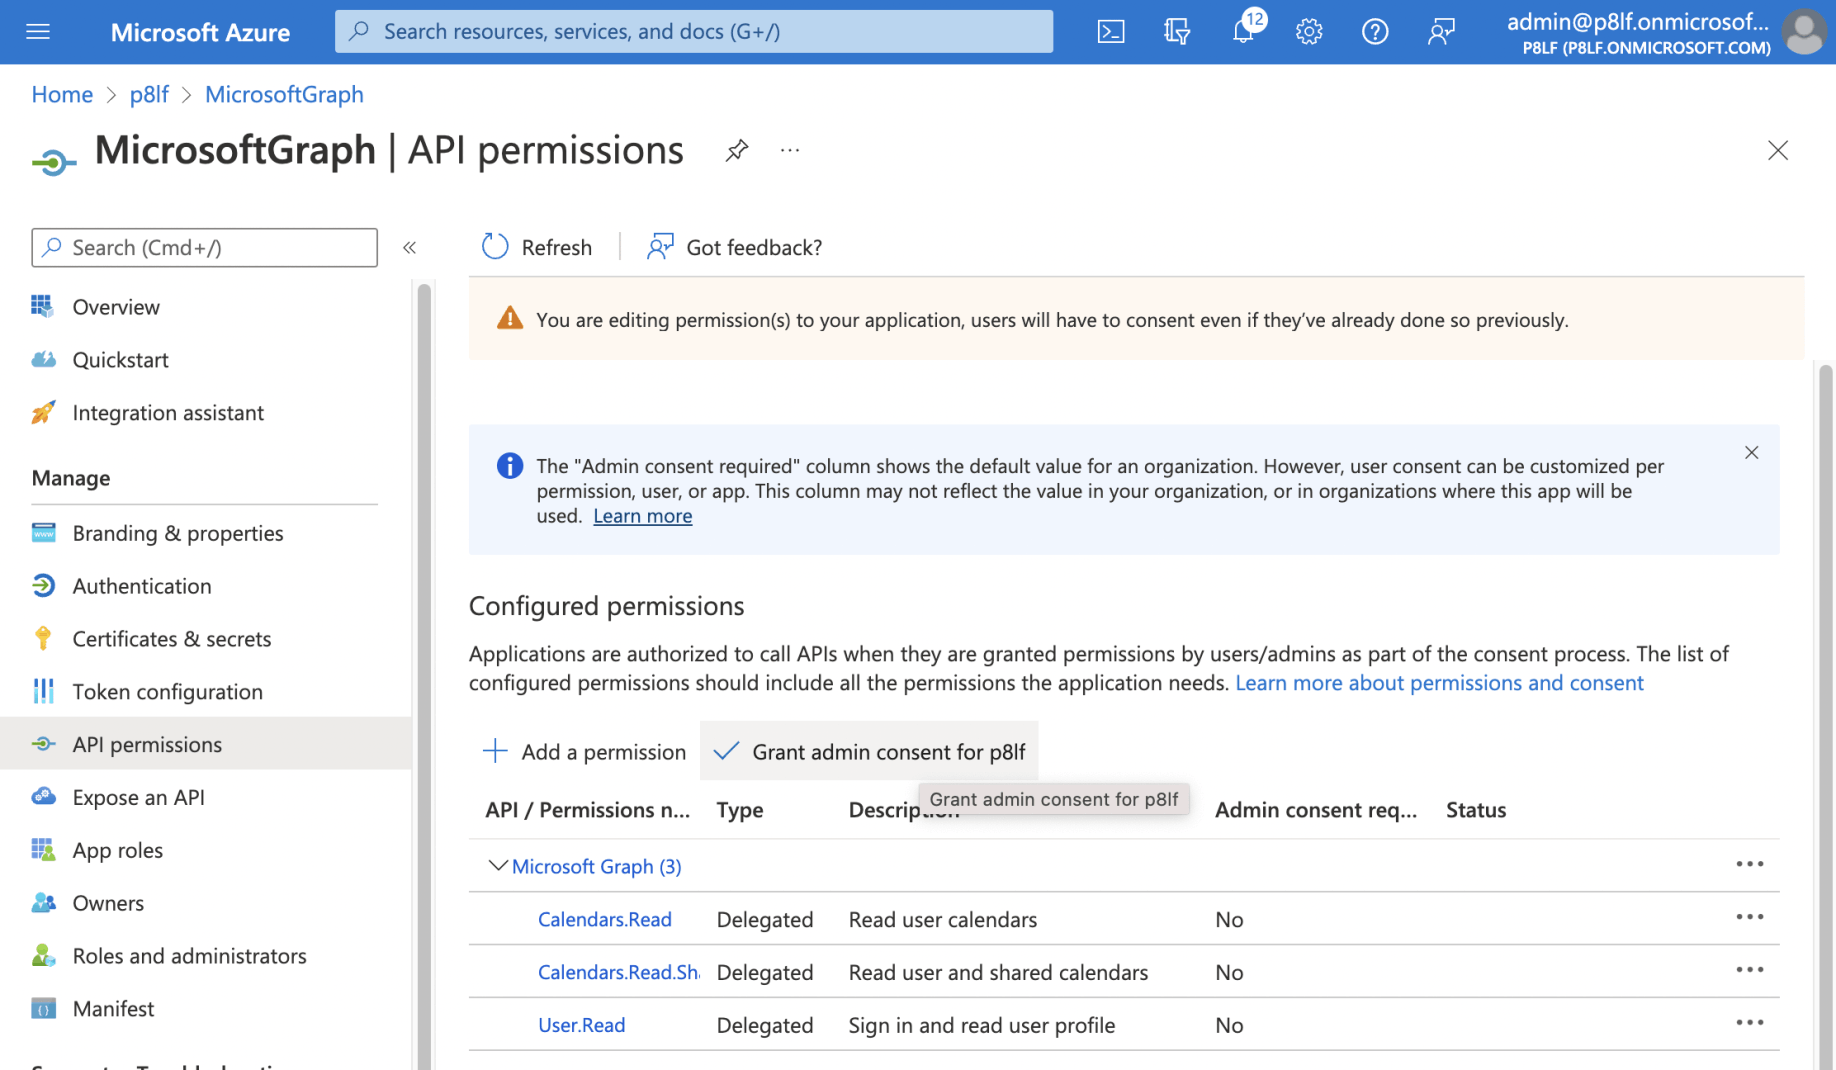
I clicked the "Grant admin consent for ..." link
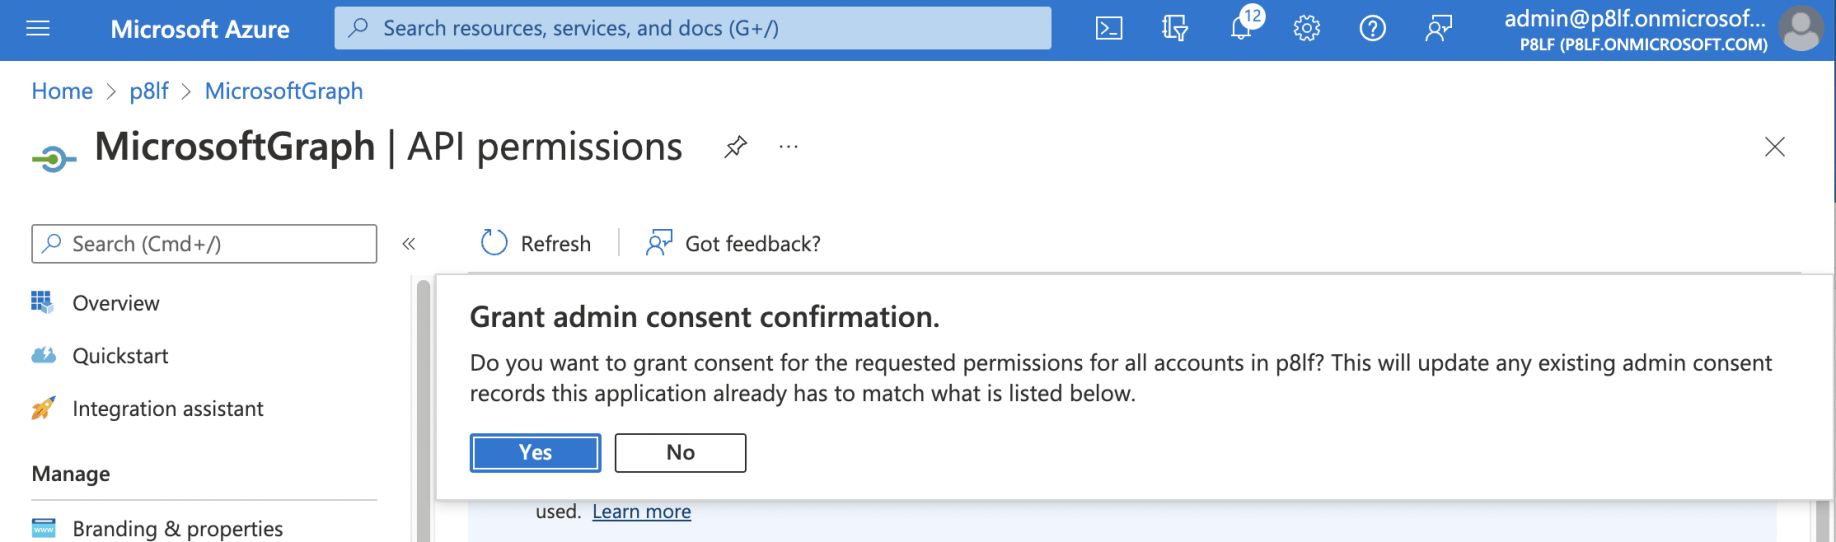
I granted consent
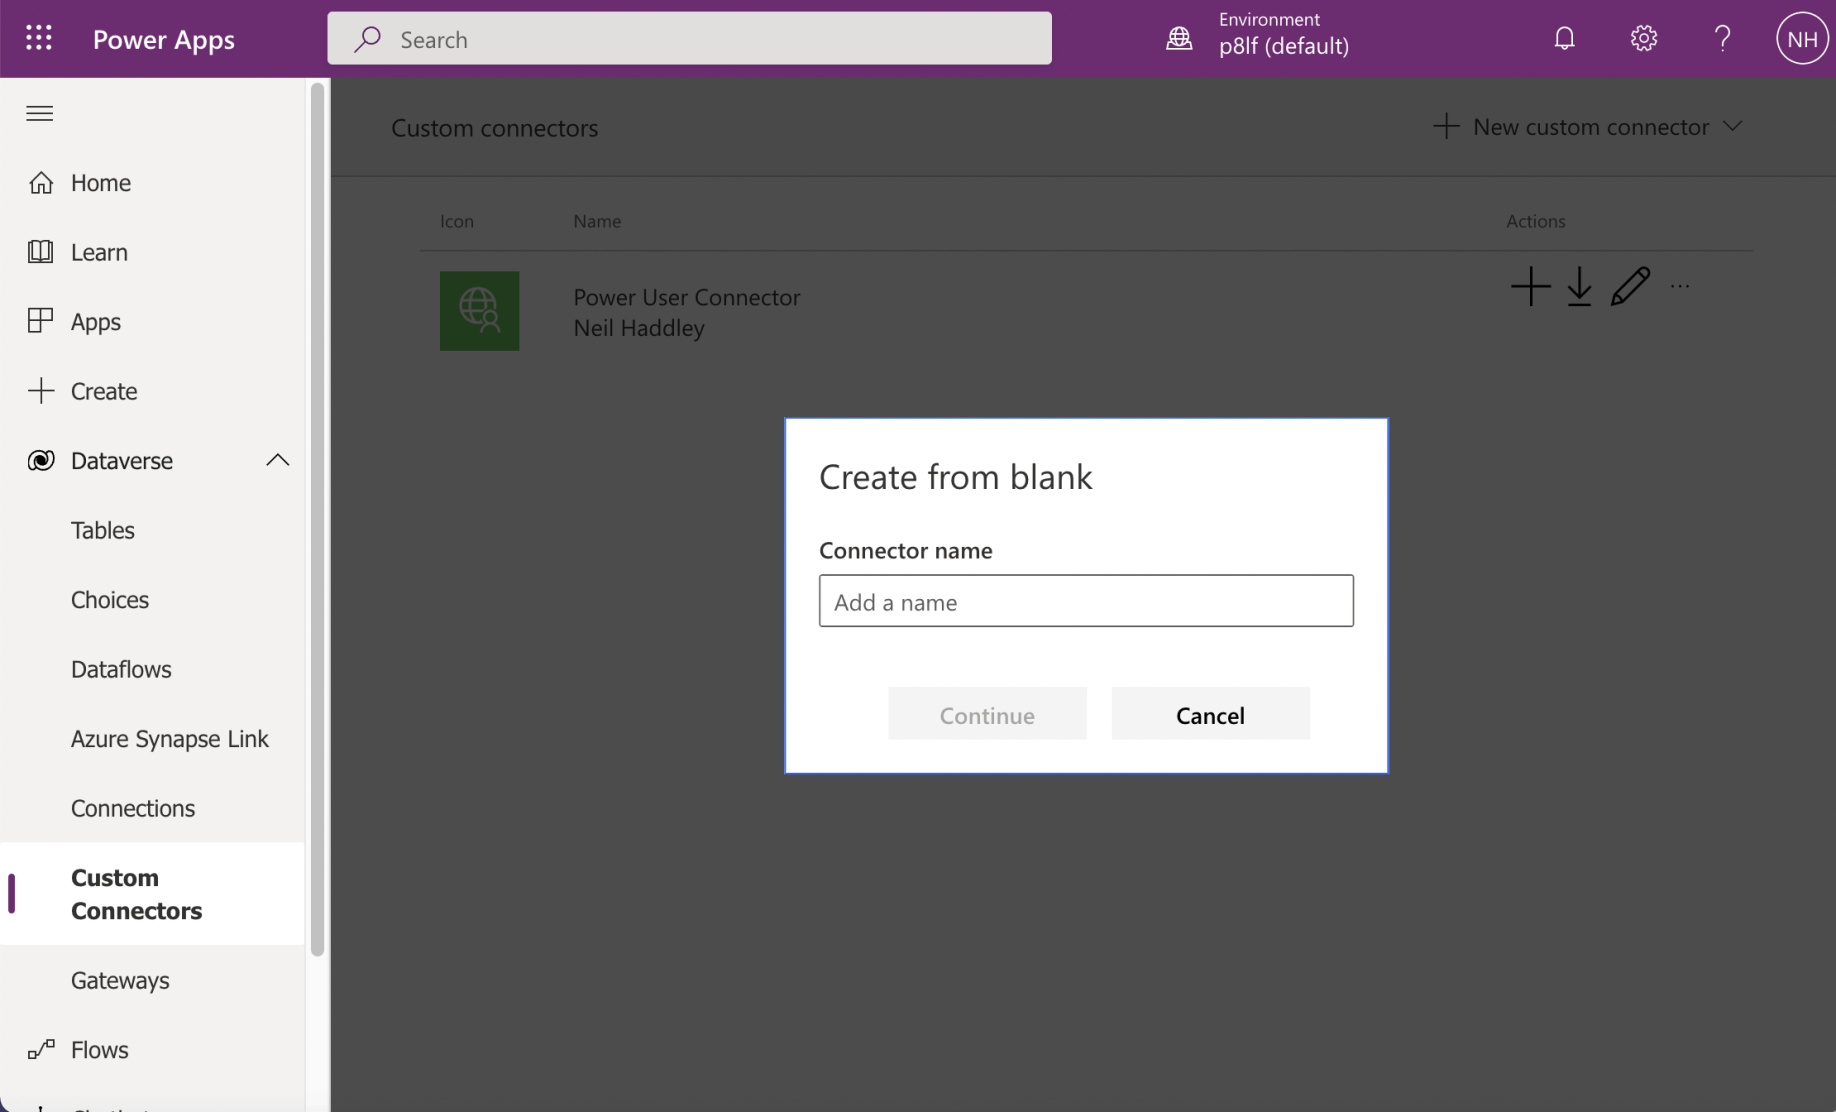
I navigated to the Custom Connectors tab and clicked the "+ New custom connector" link
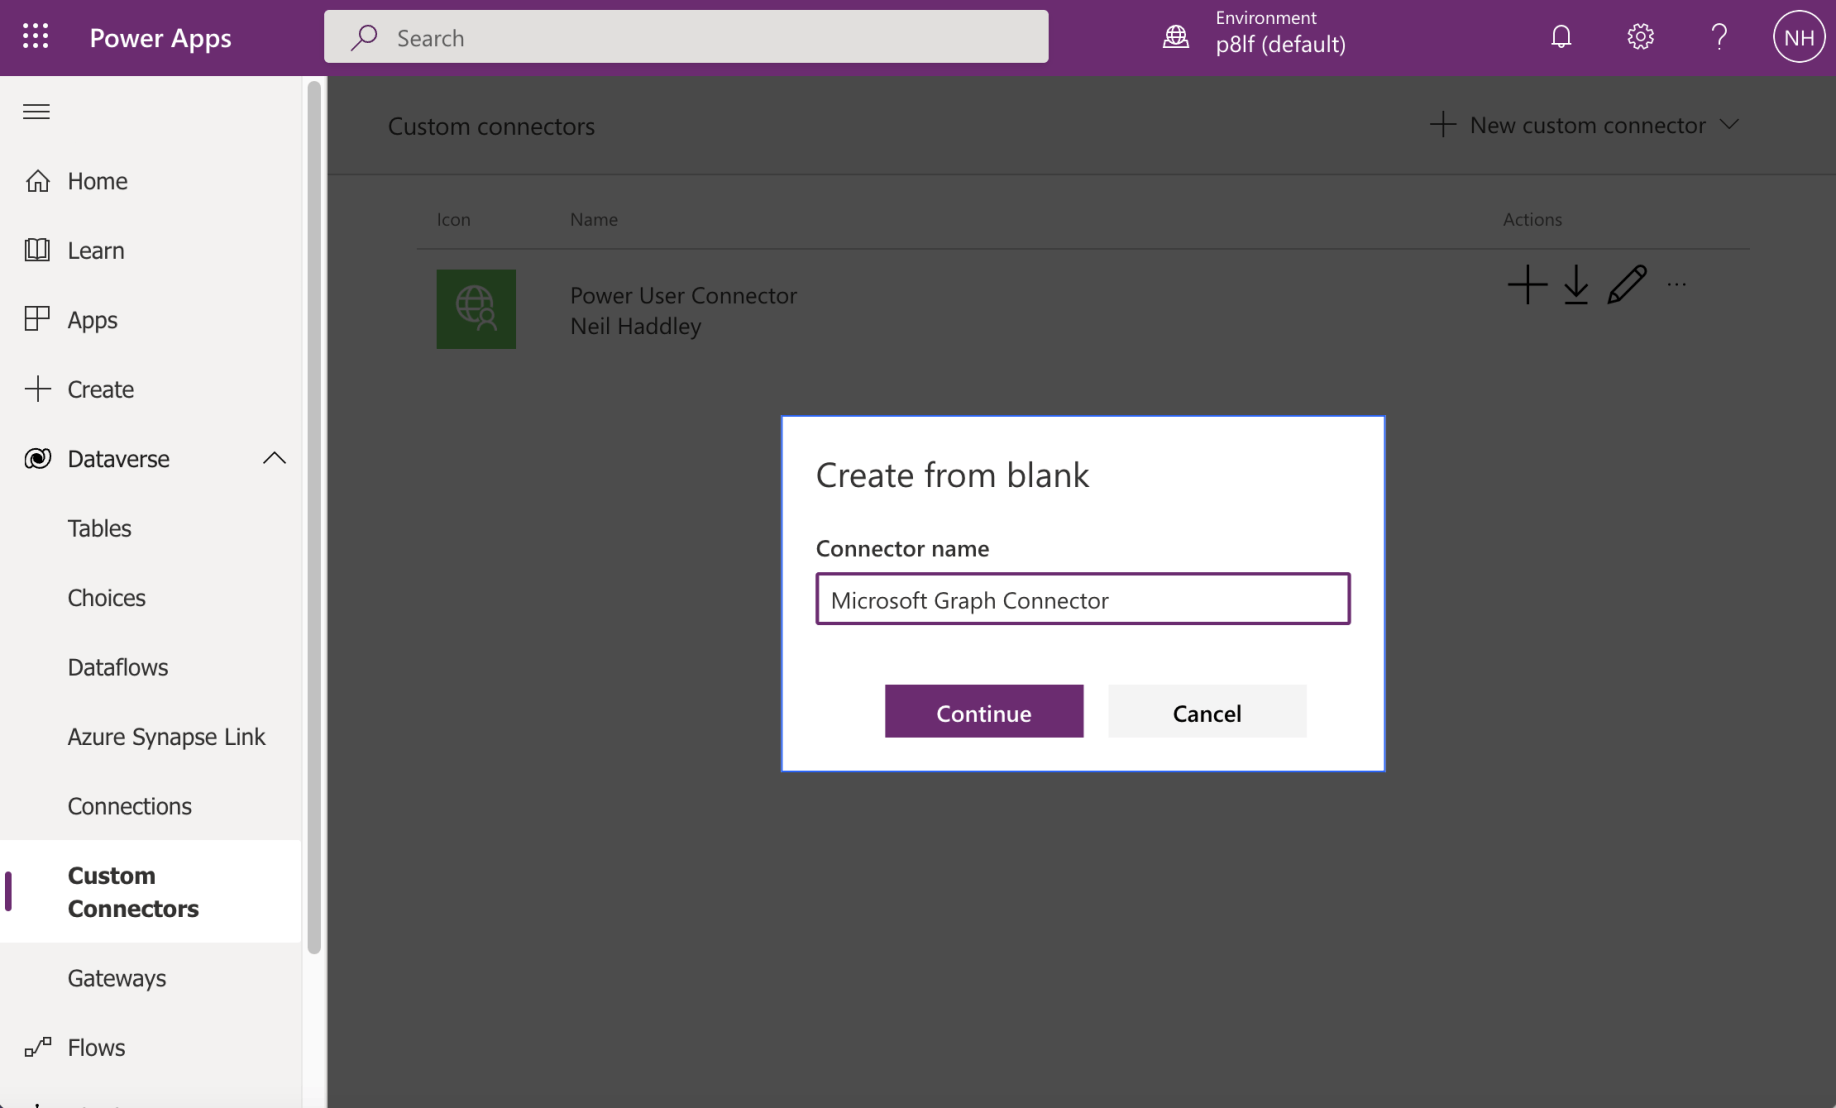
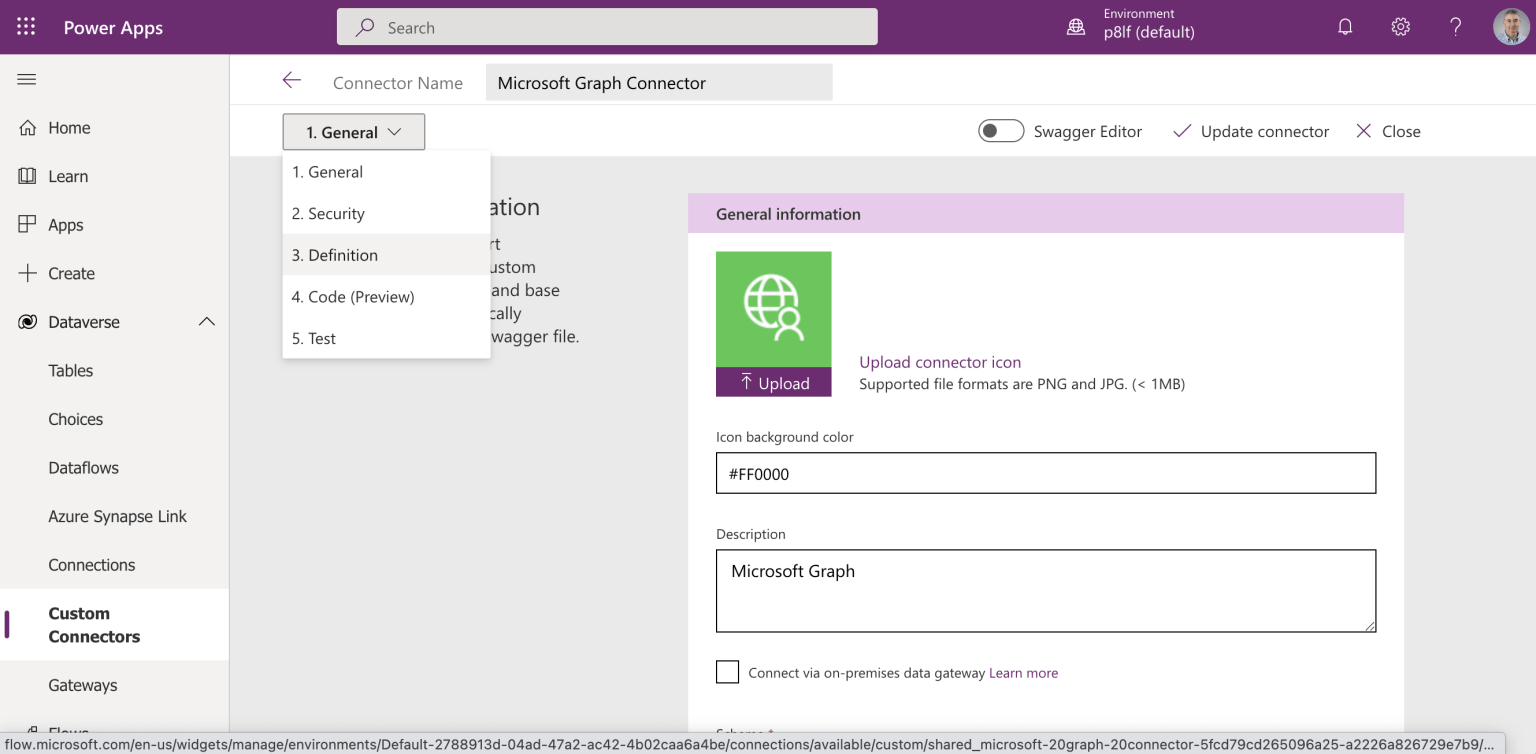
I provided a connector name
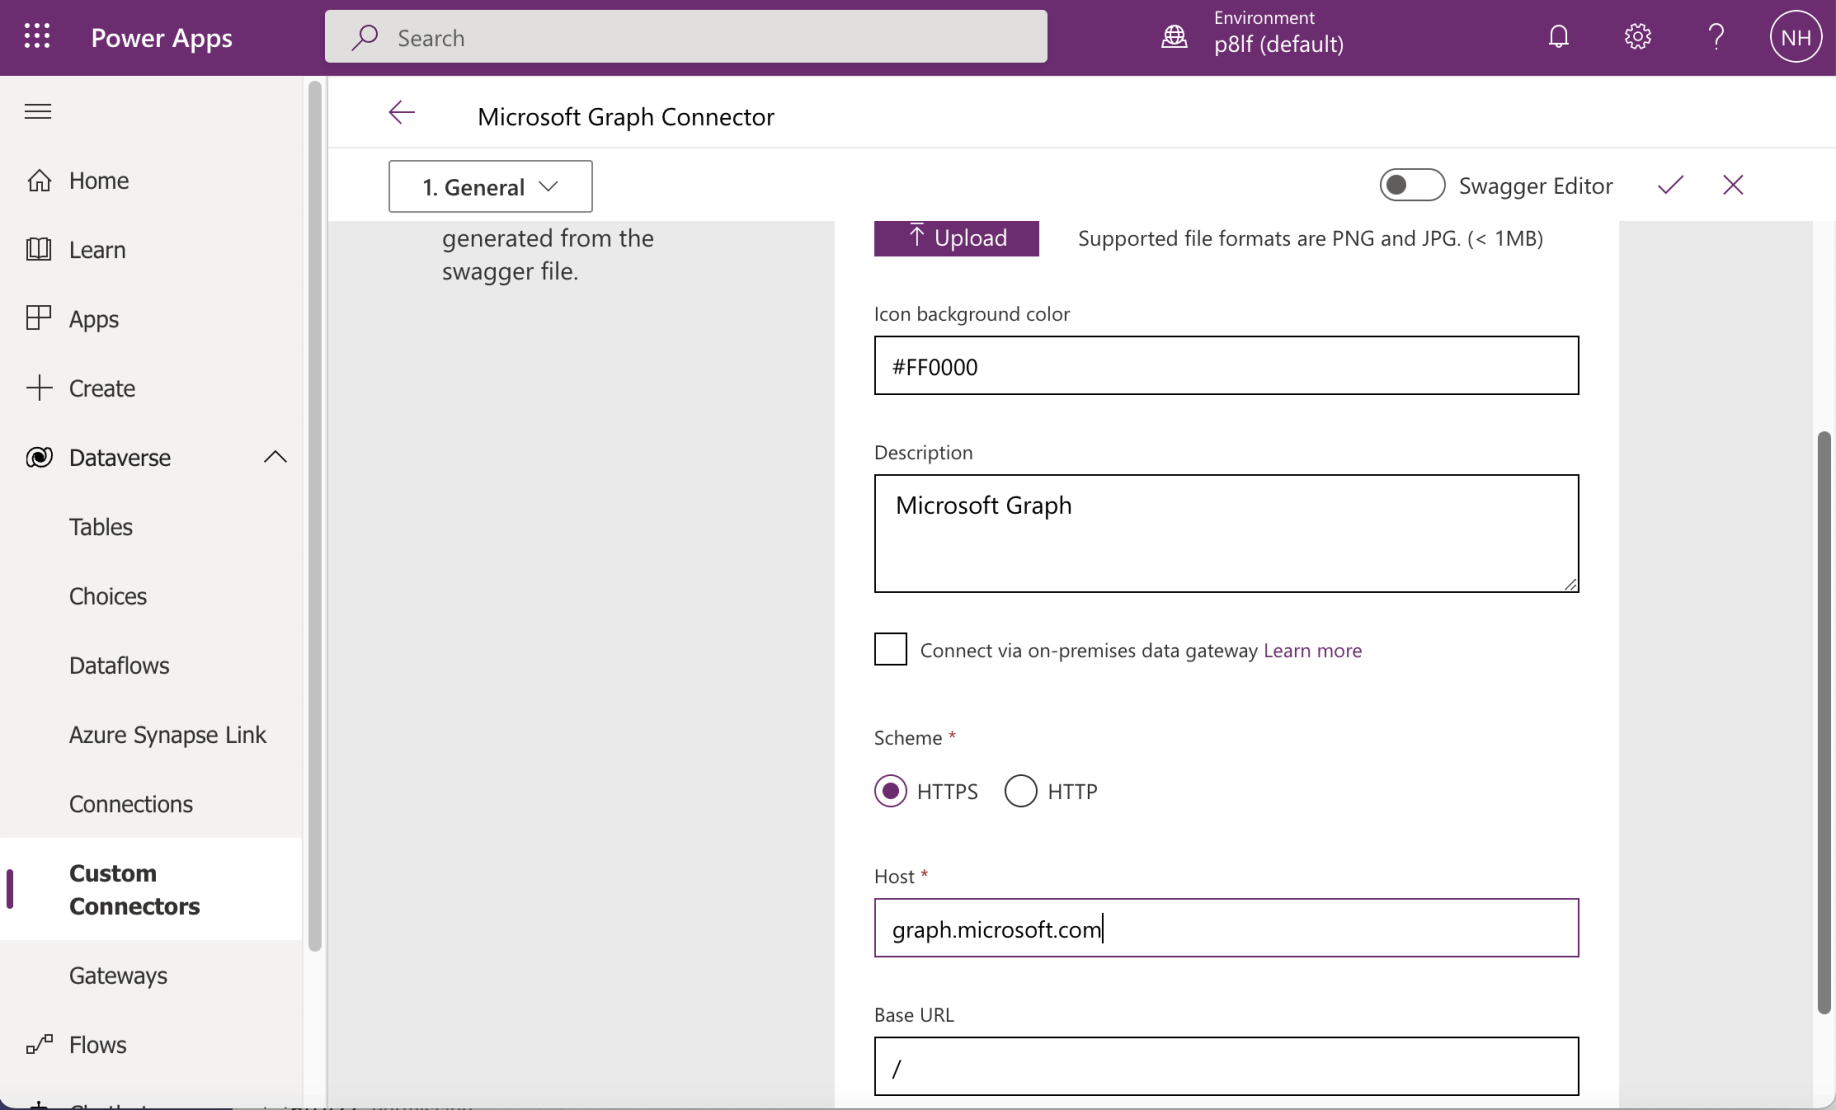
I provided general information and navigated to the Security step
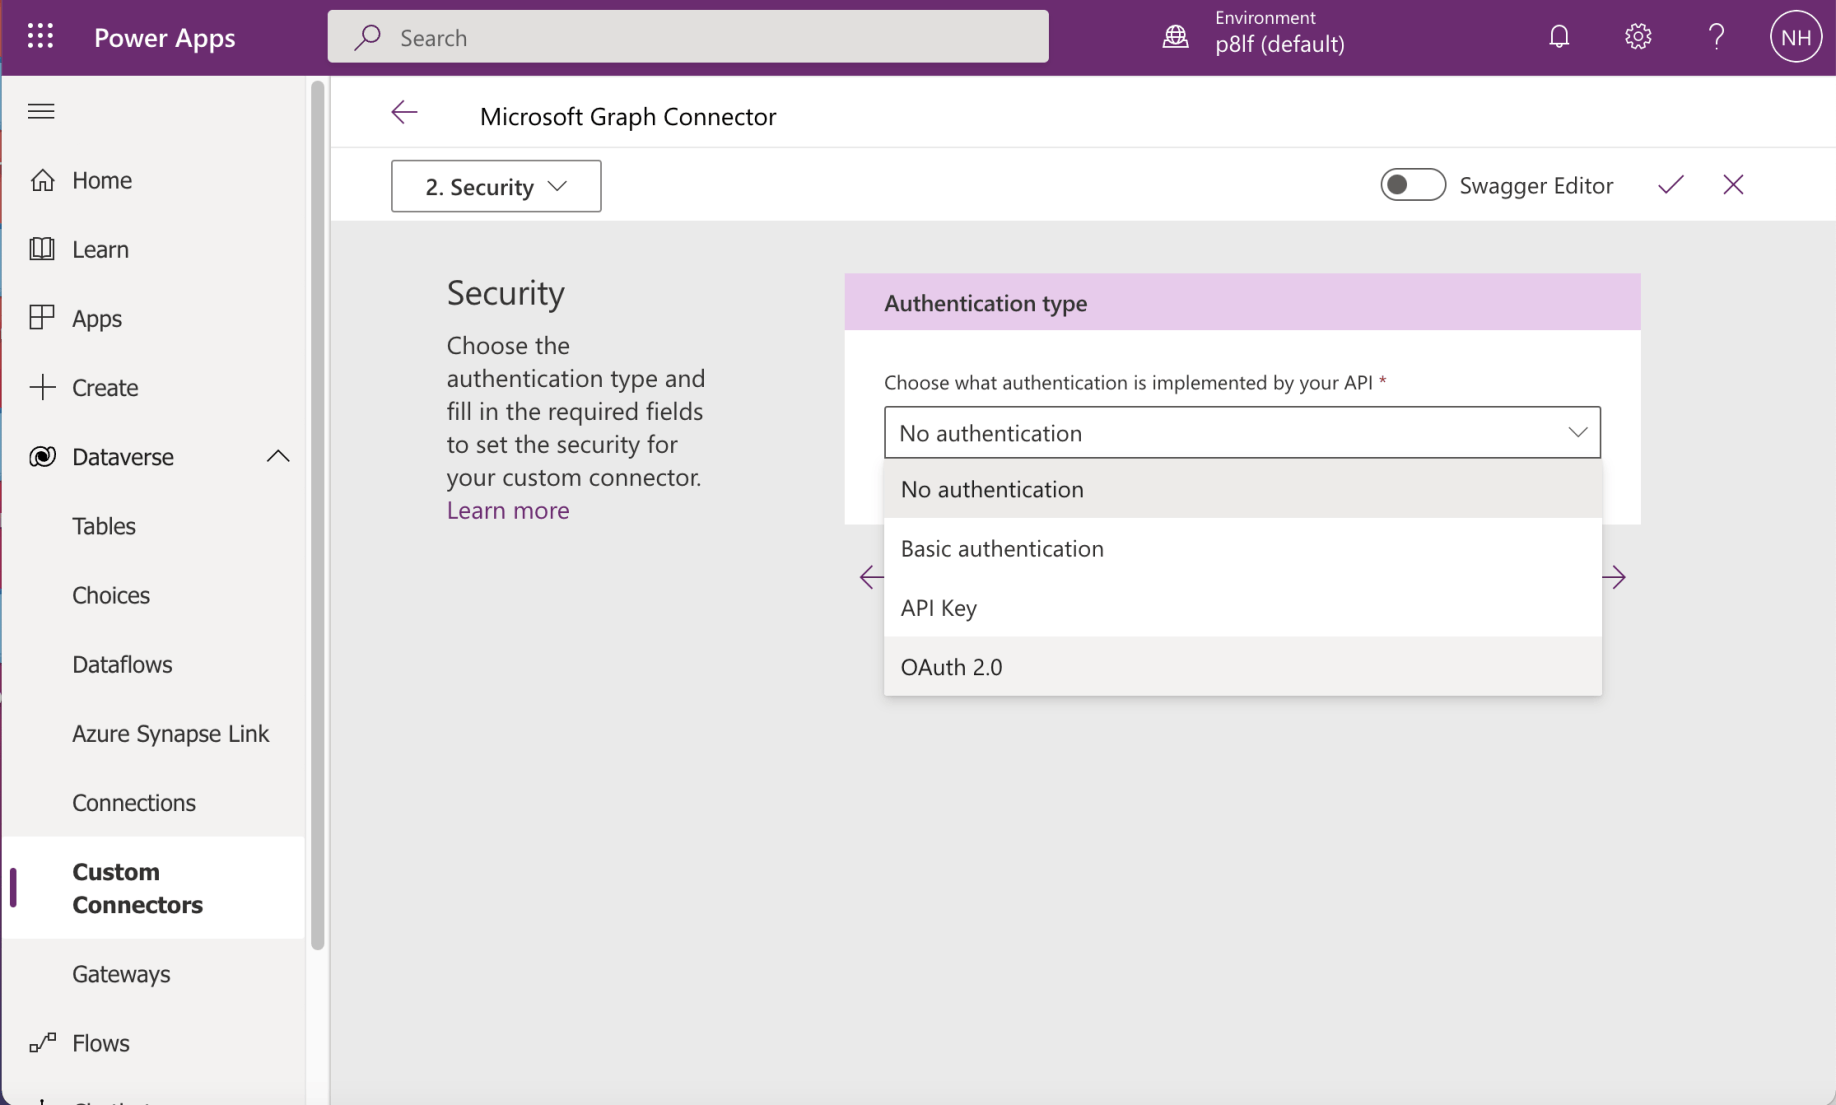
I selected "OAuth 2.0"
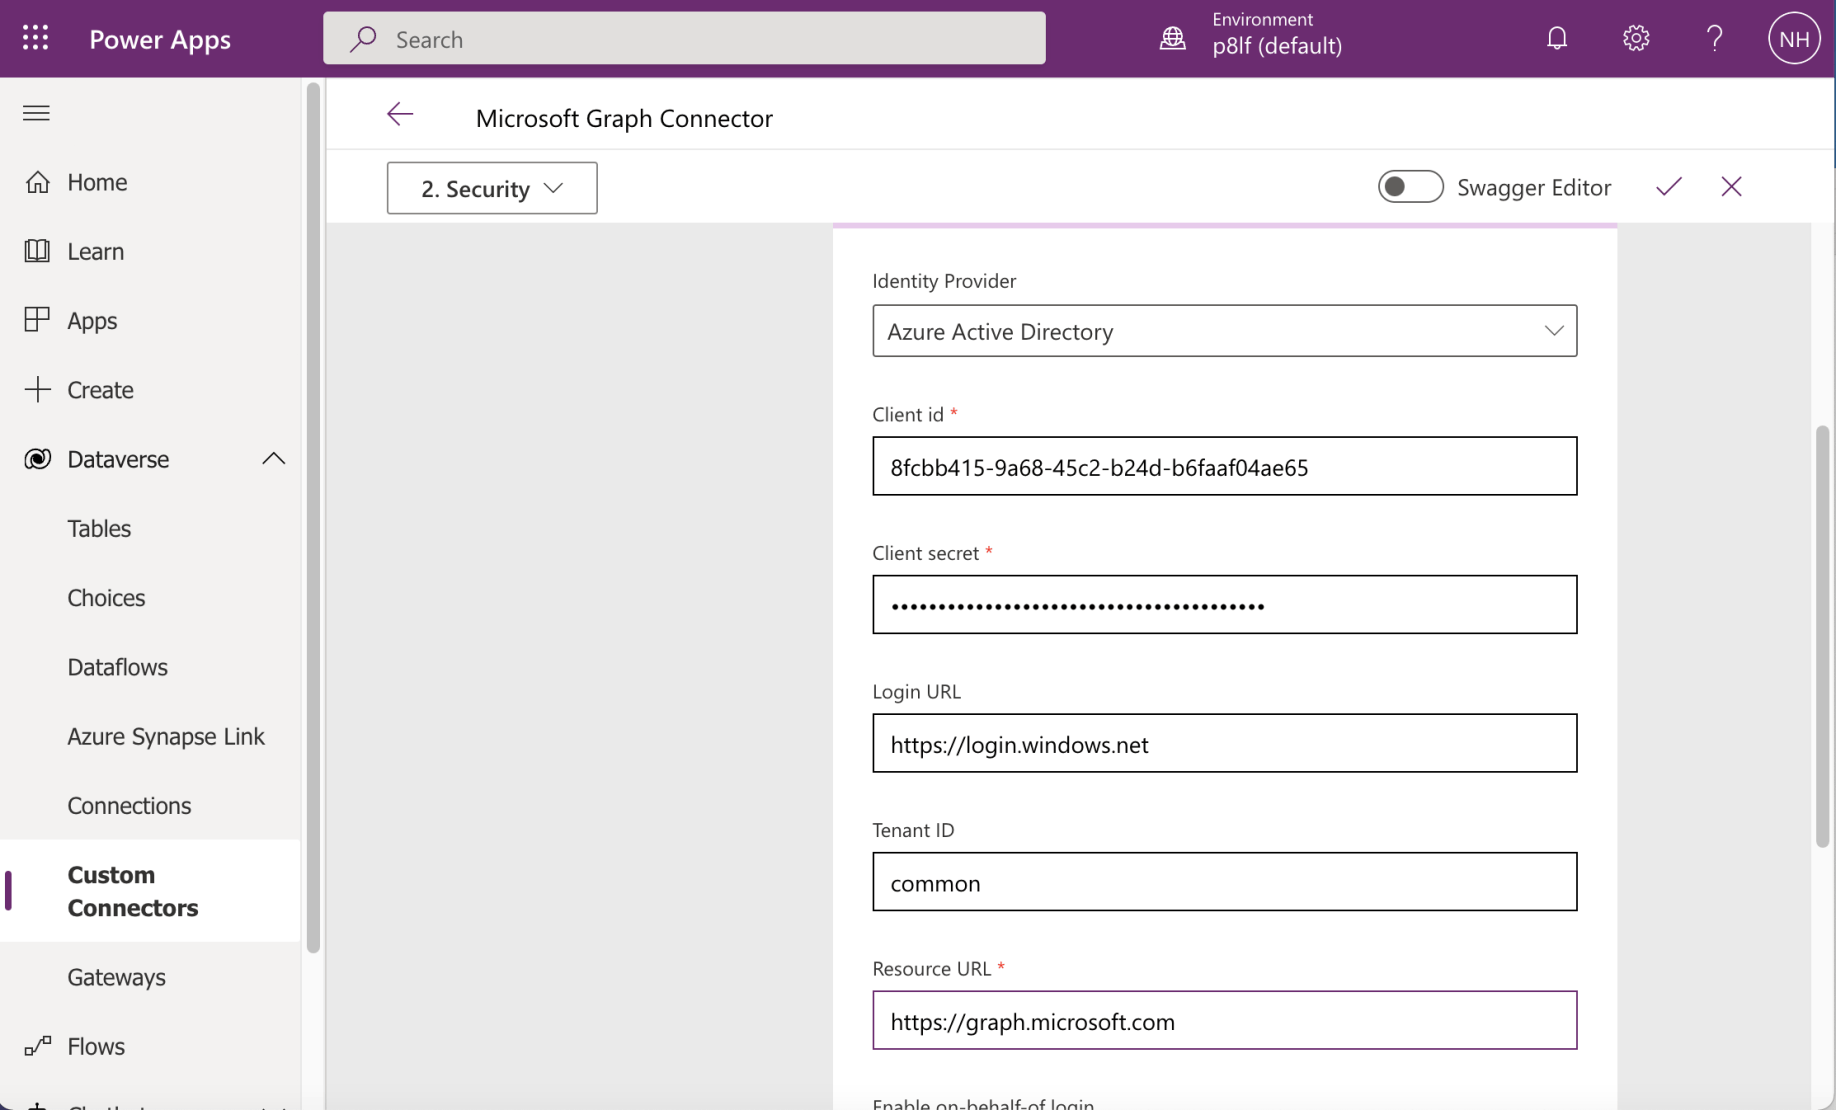
I selected Azure Active Directory. I entered the Application (client) id and Client secret values I copied earlier.
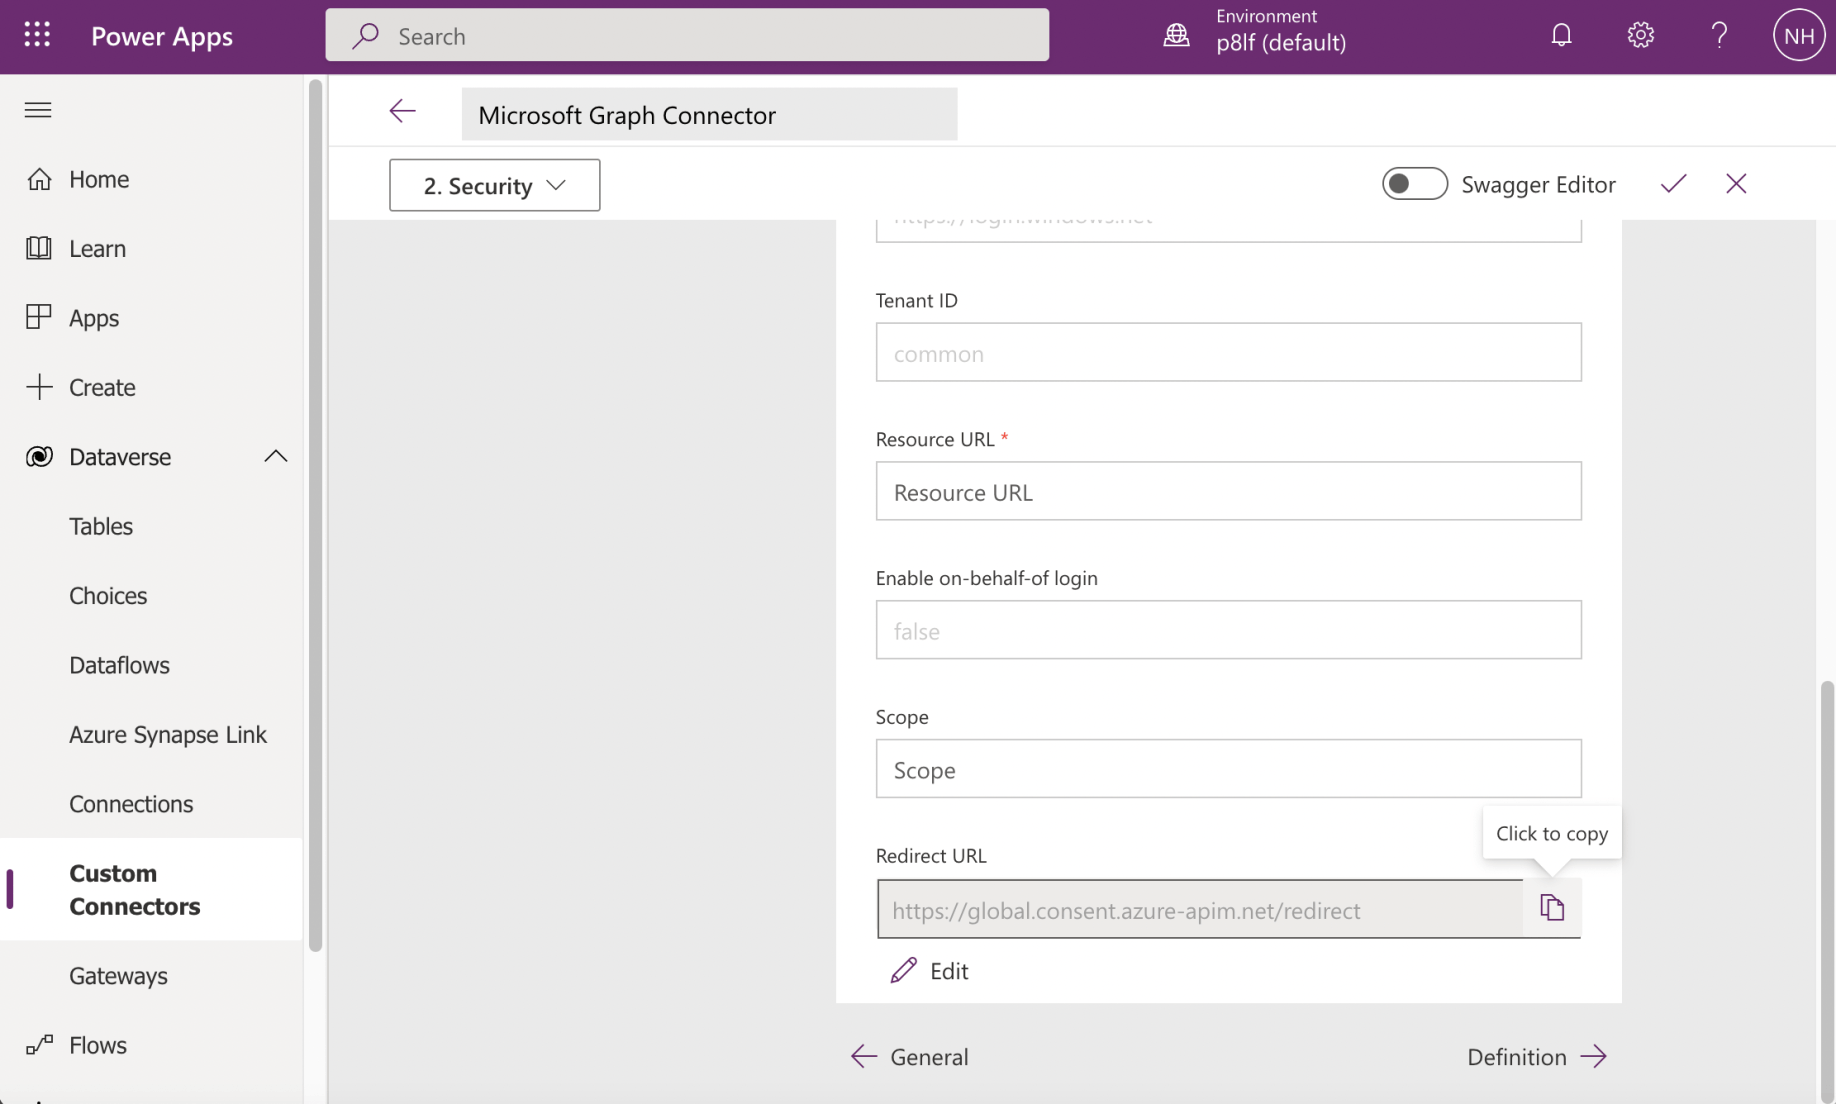
I copied the generated "Redirect URL".
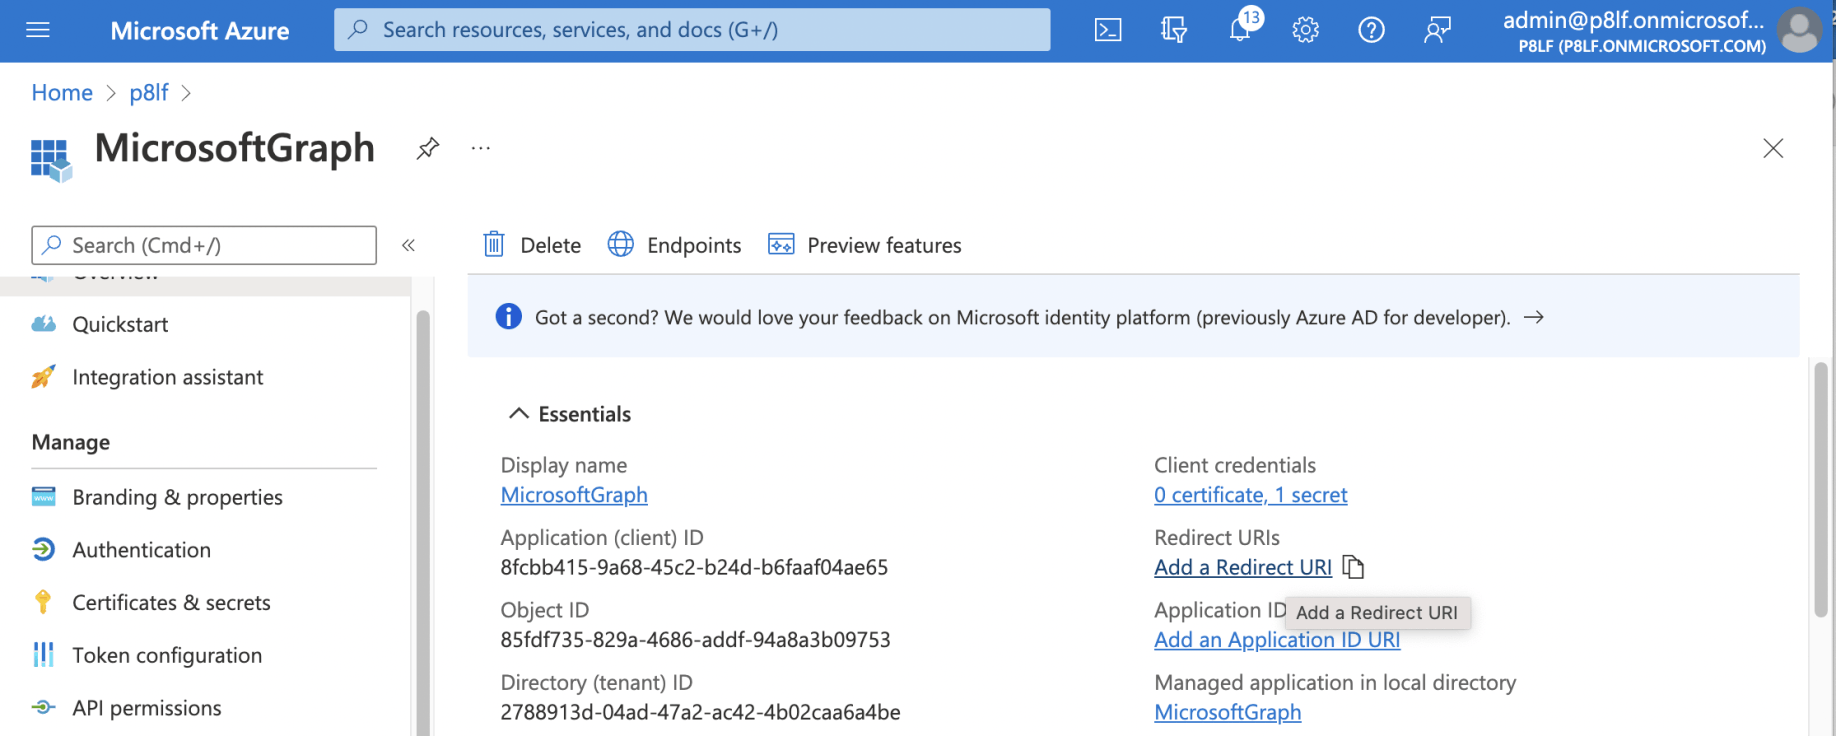
I returned to the Application Registration and added the Redirect URL (URI)
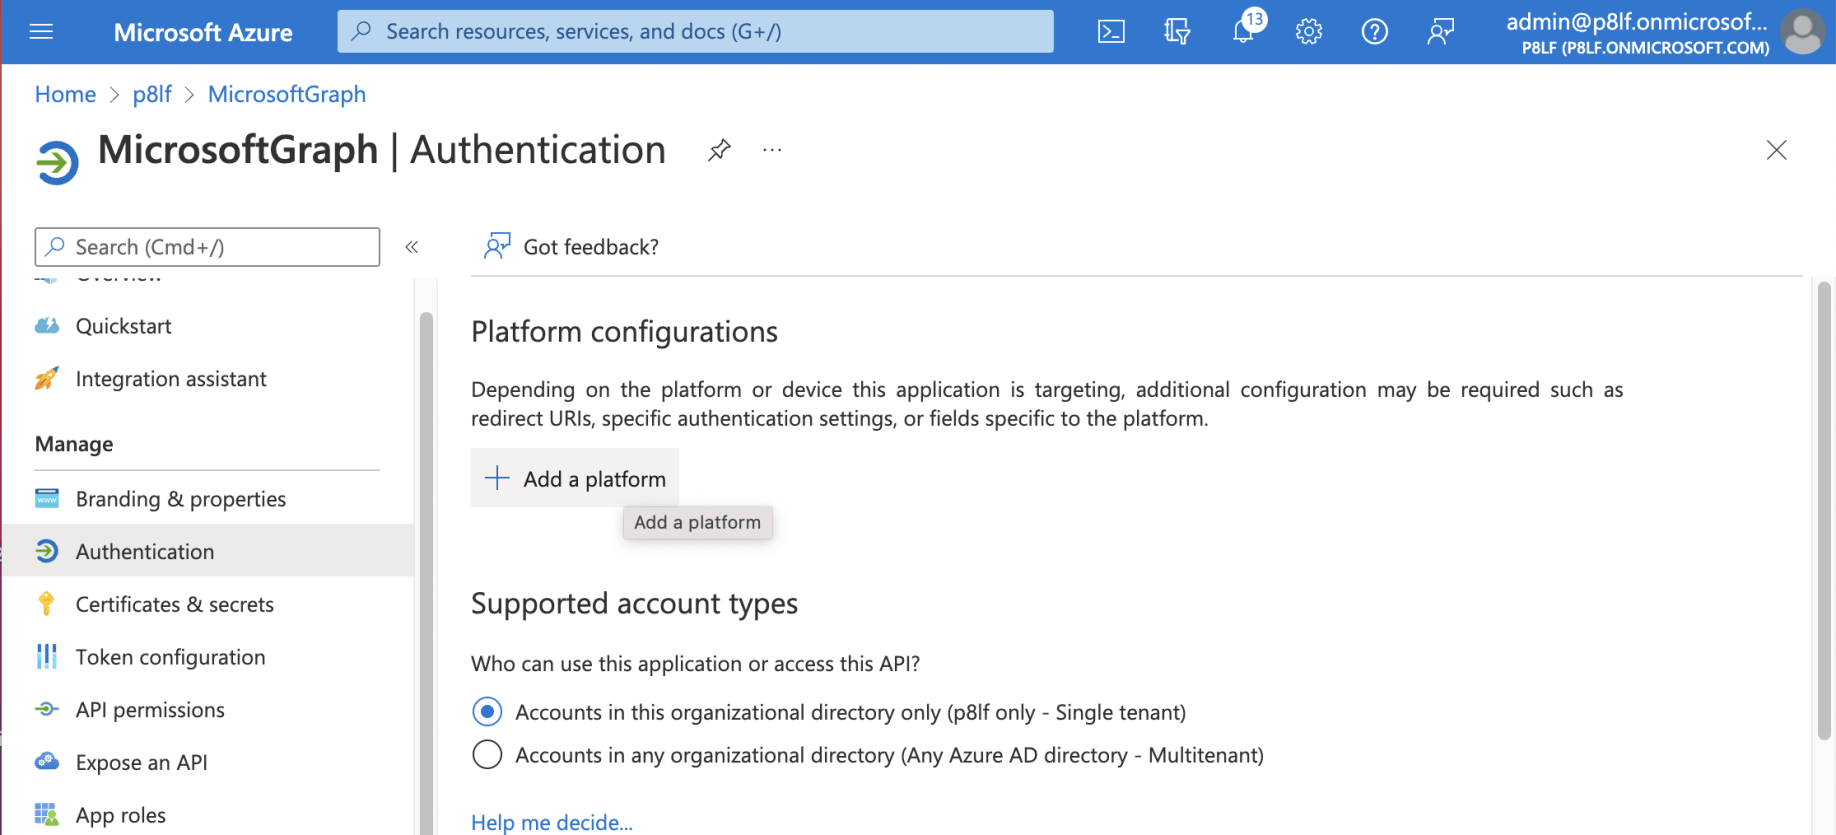
I clicked the "+ Add a platform" link
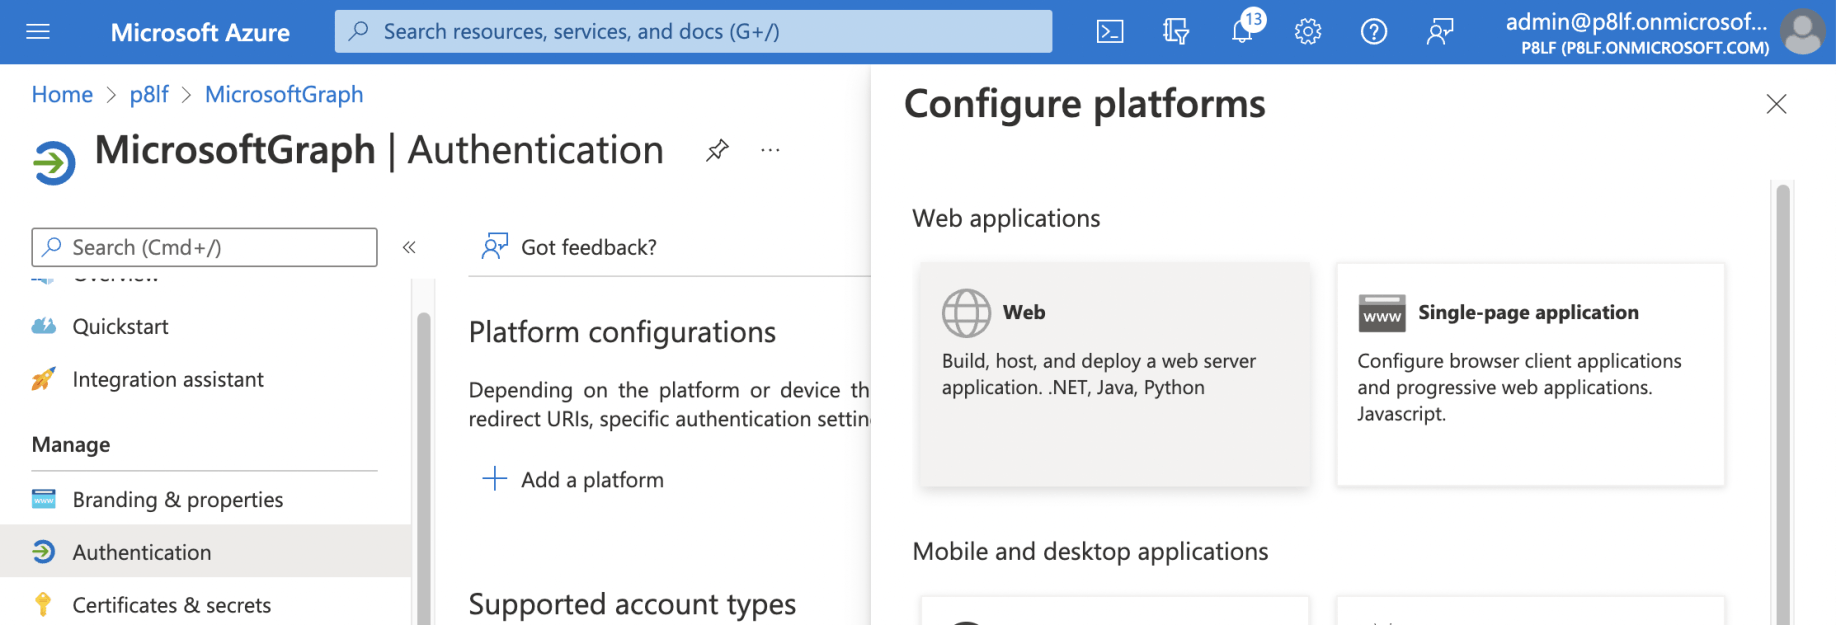
I selected the Web button
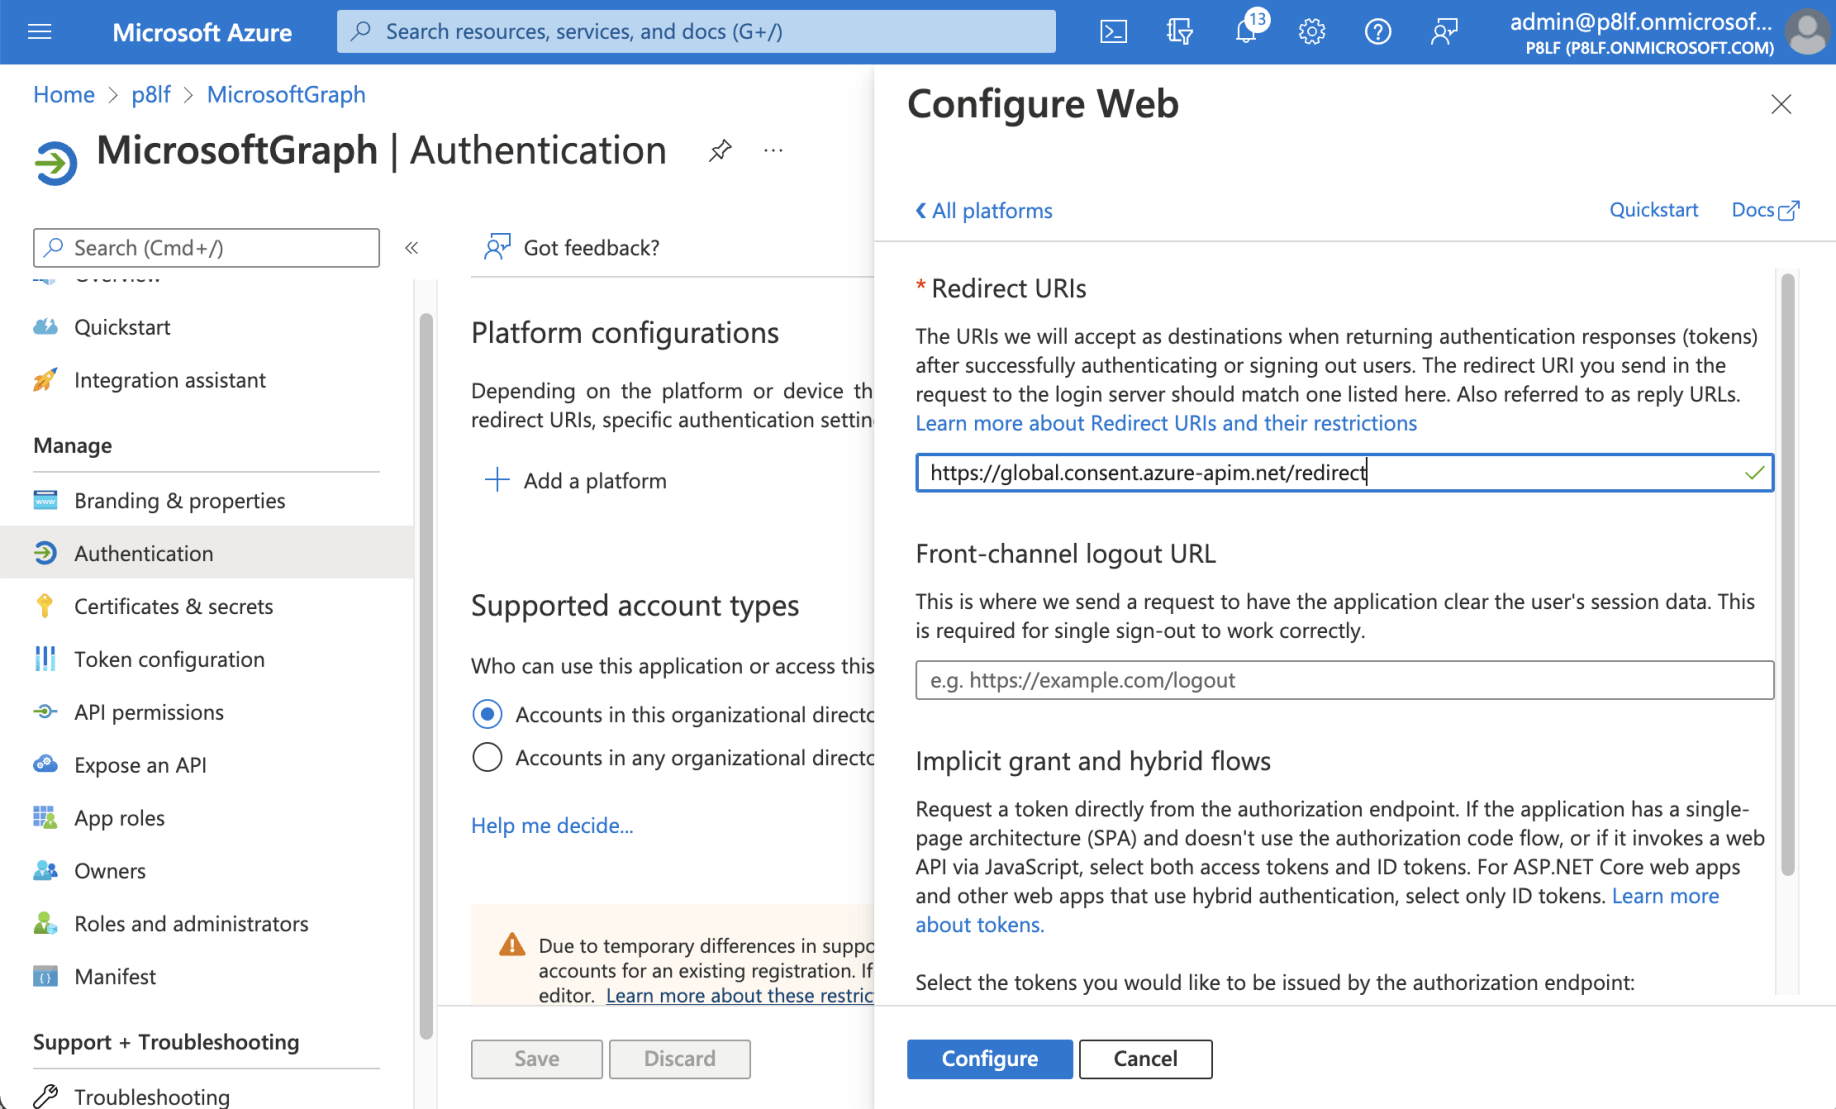
I entered the (copied) Redirect URL and clicked the configure button
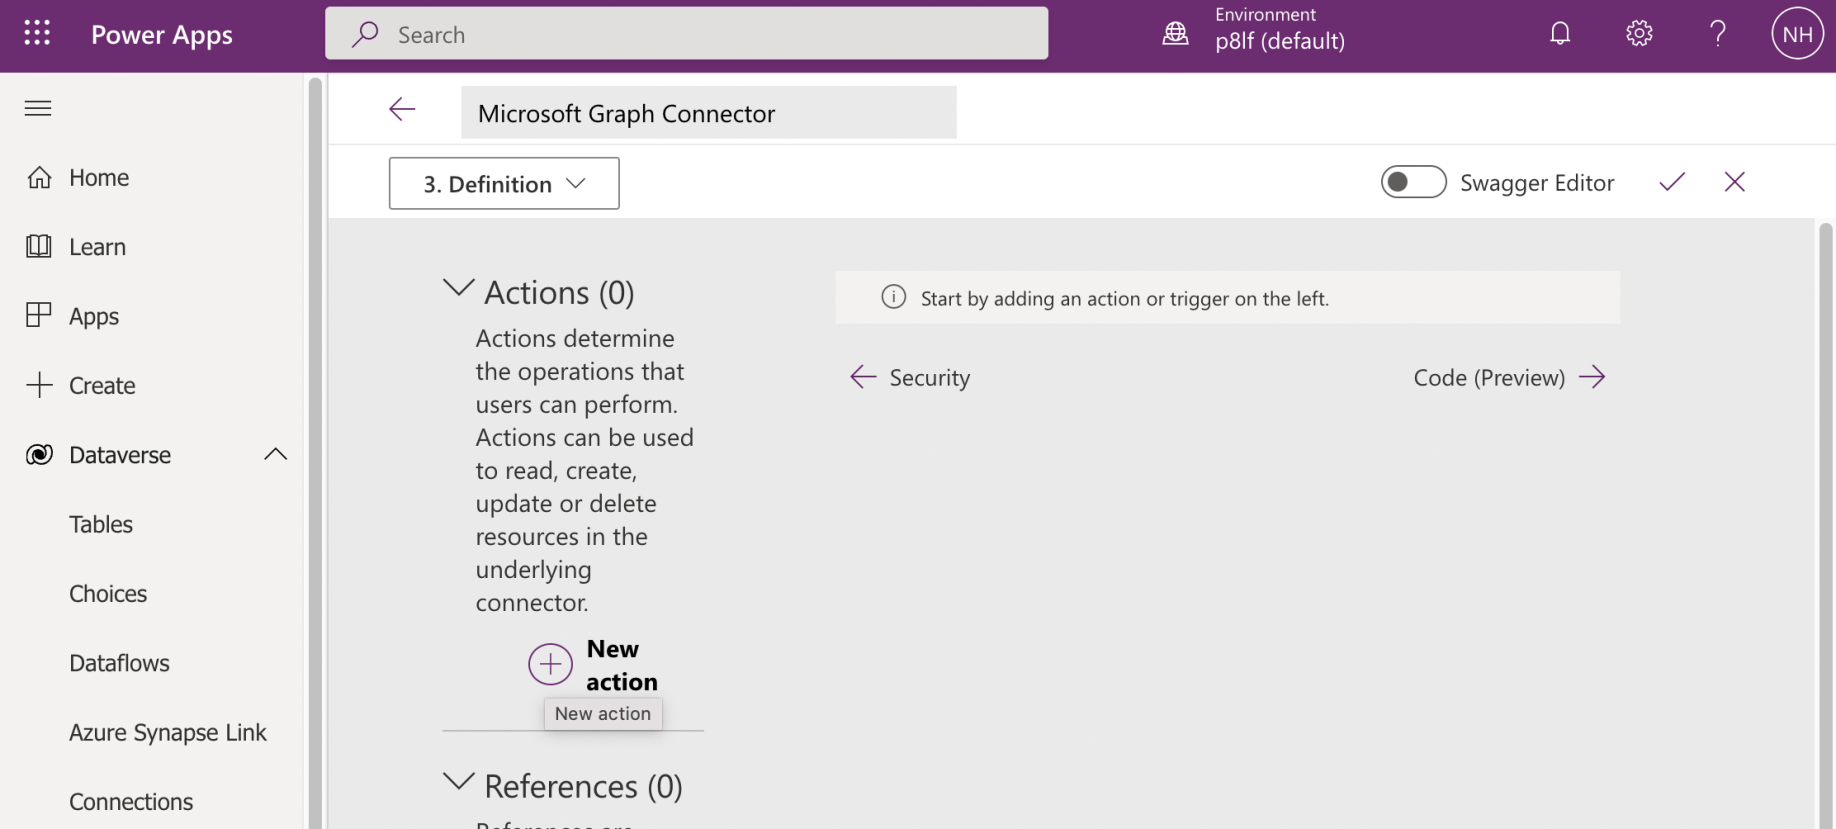
I returned to the Power Apps page and clicked the "+ New Action" link
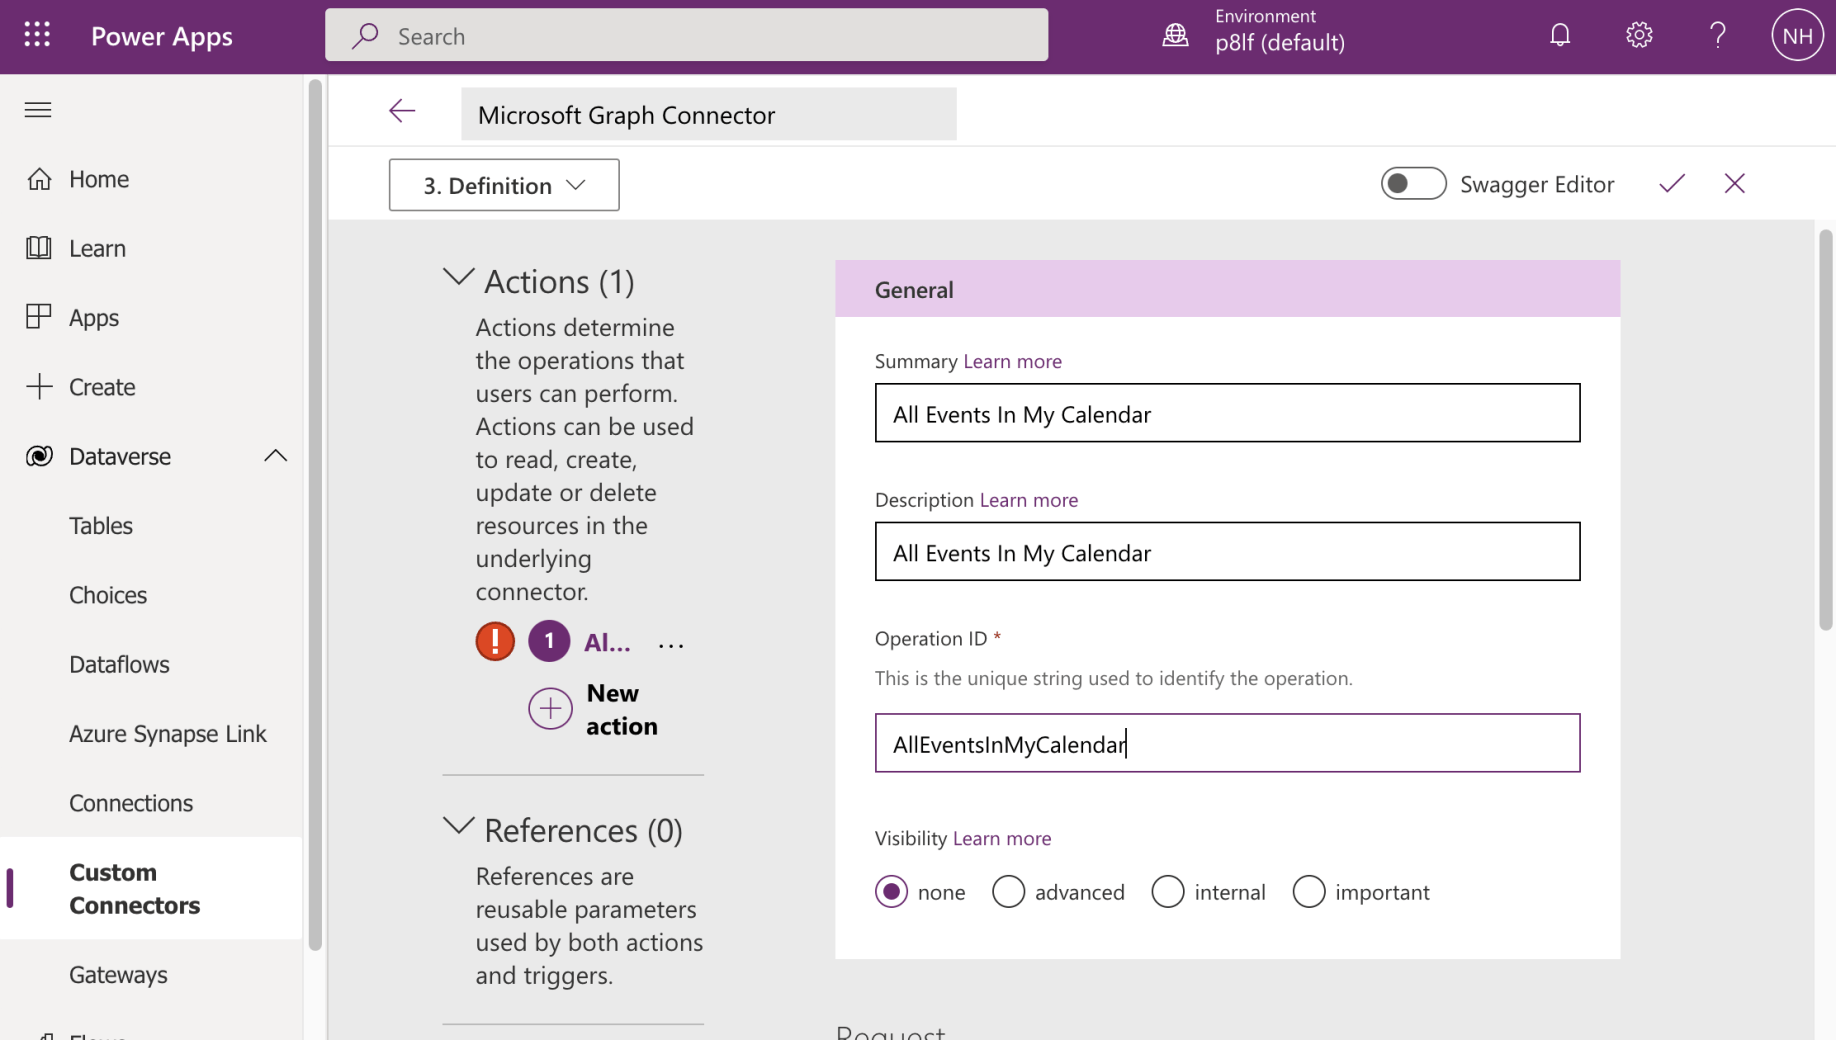
I entered general details for the operation
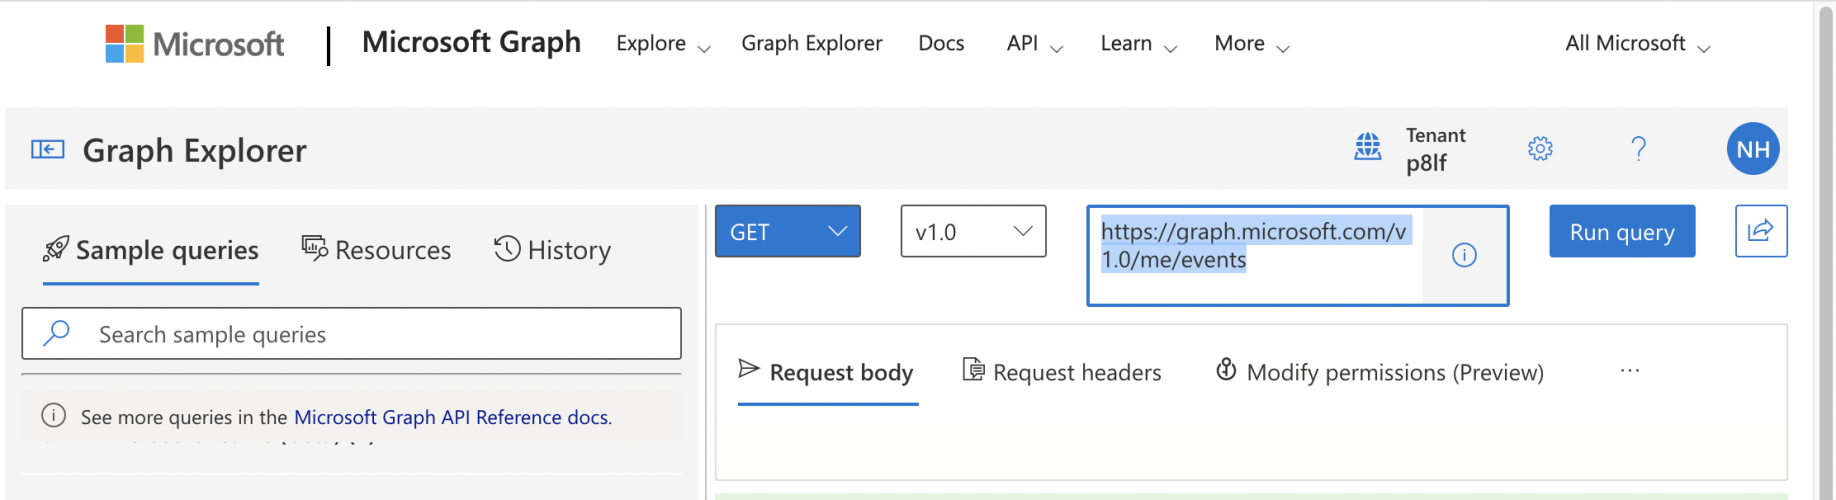
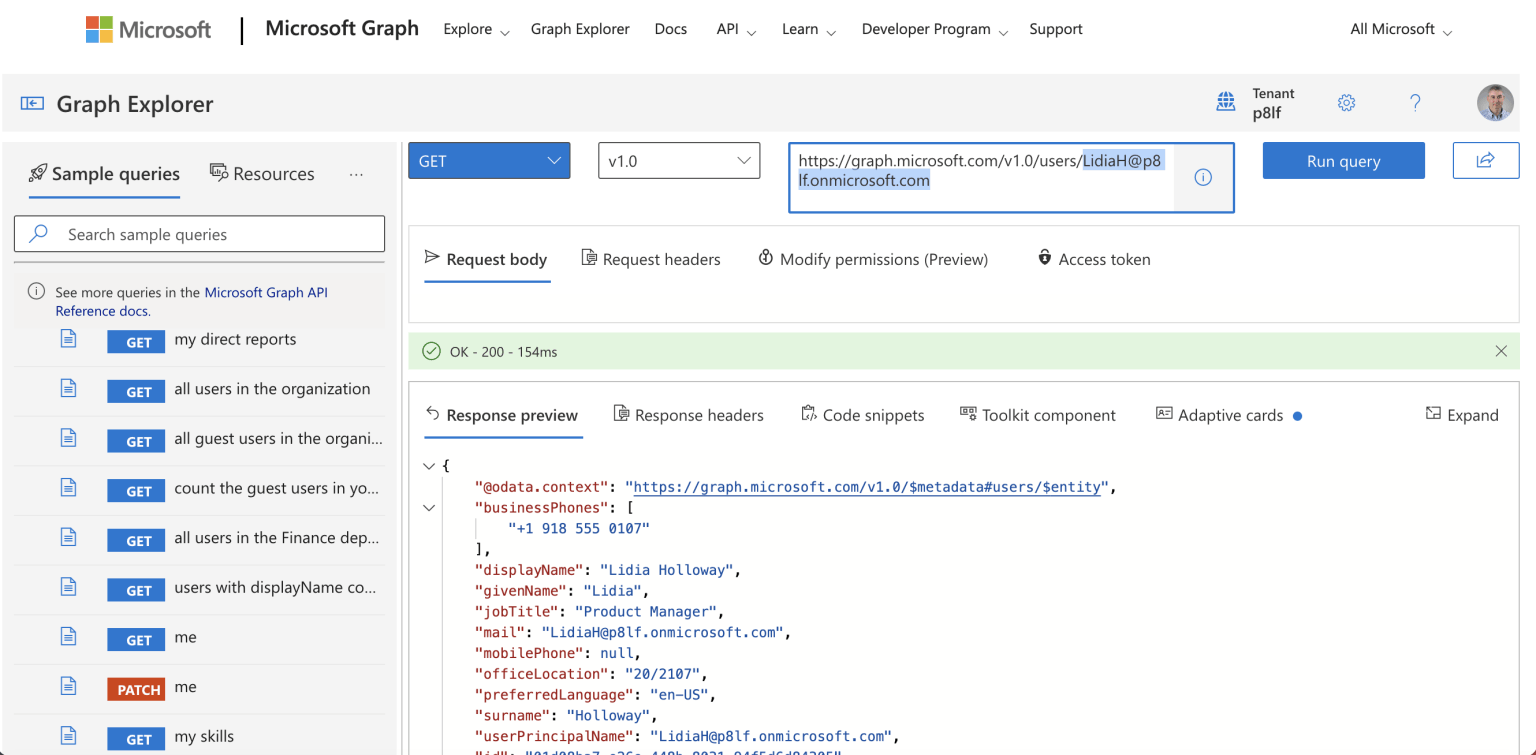
I copied the Microsoft Graph request URL from the Graph Explorer web application.
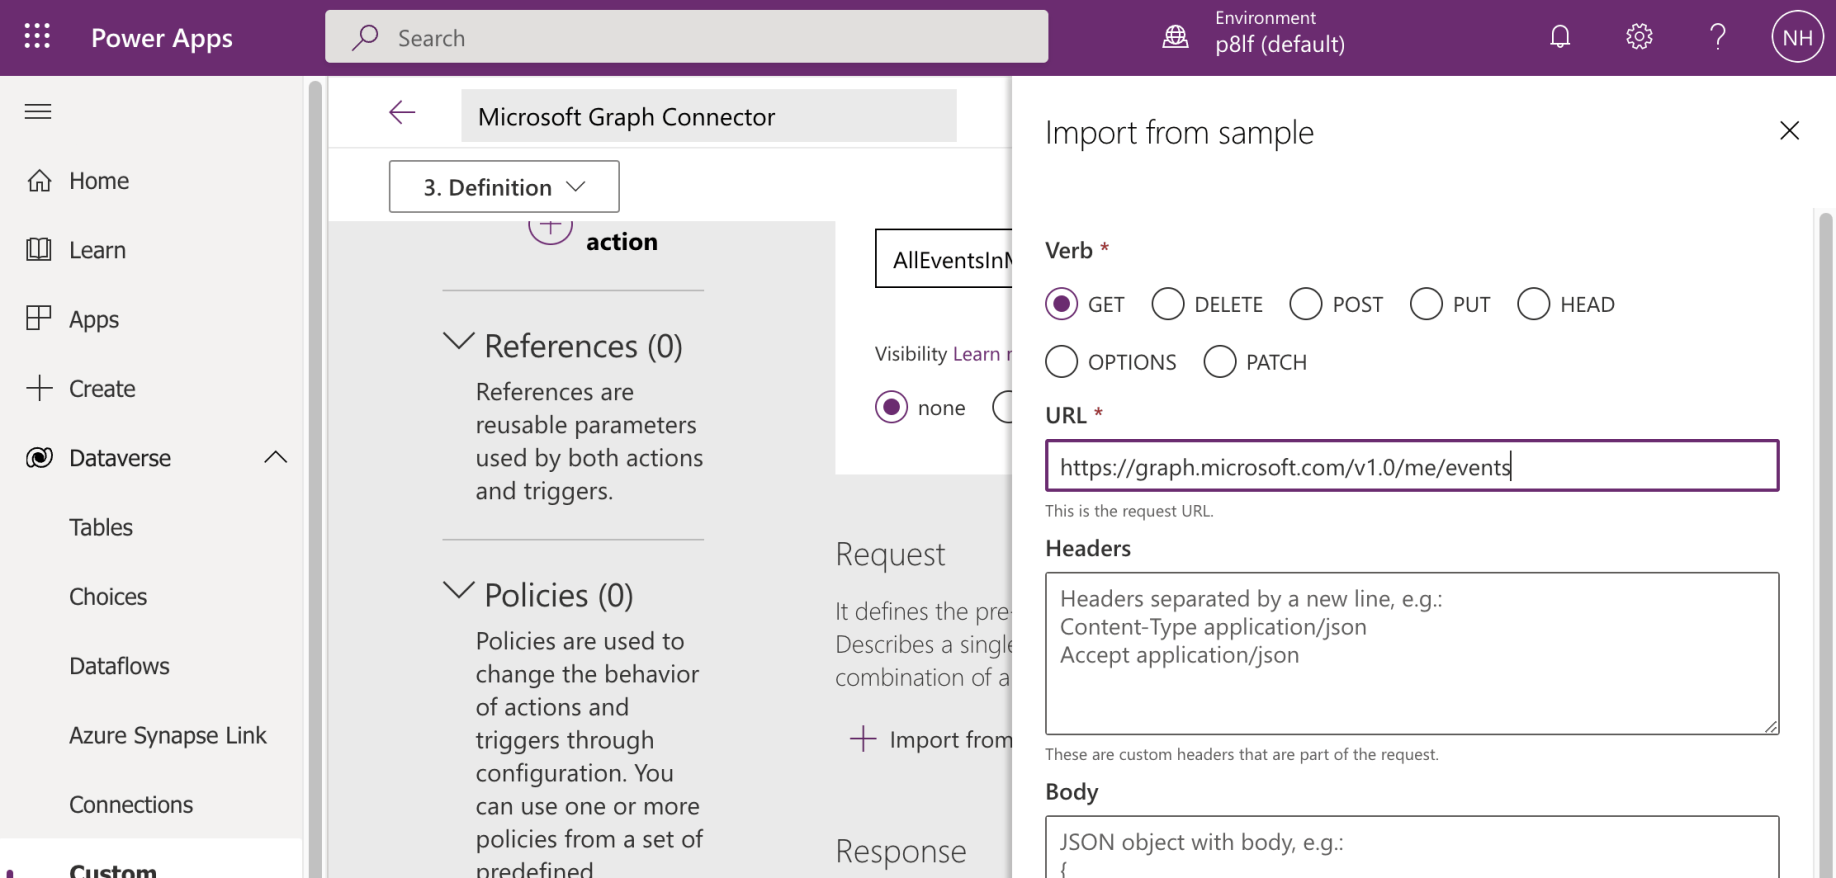
I copied the request URL to the new connector action
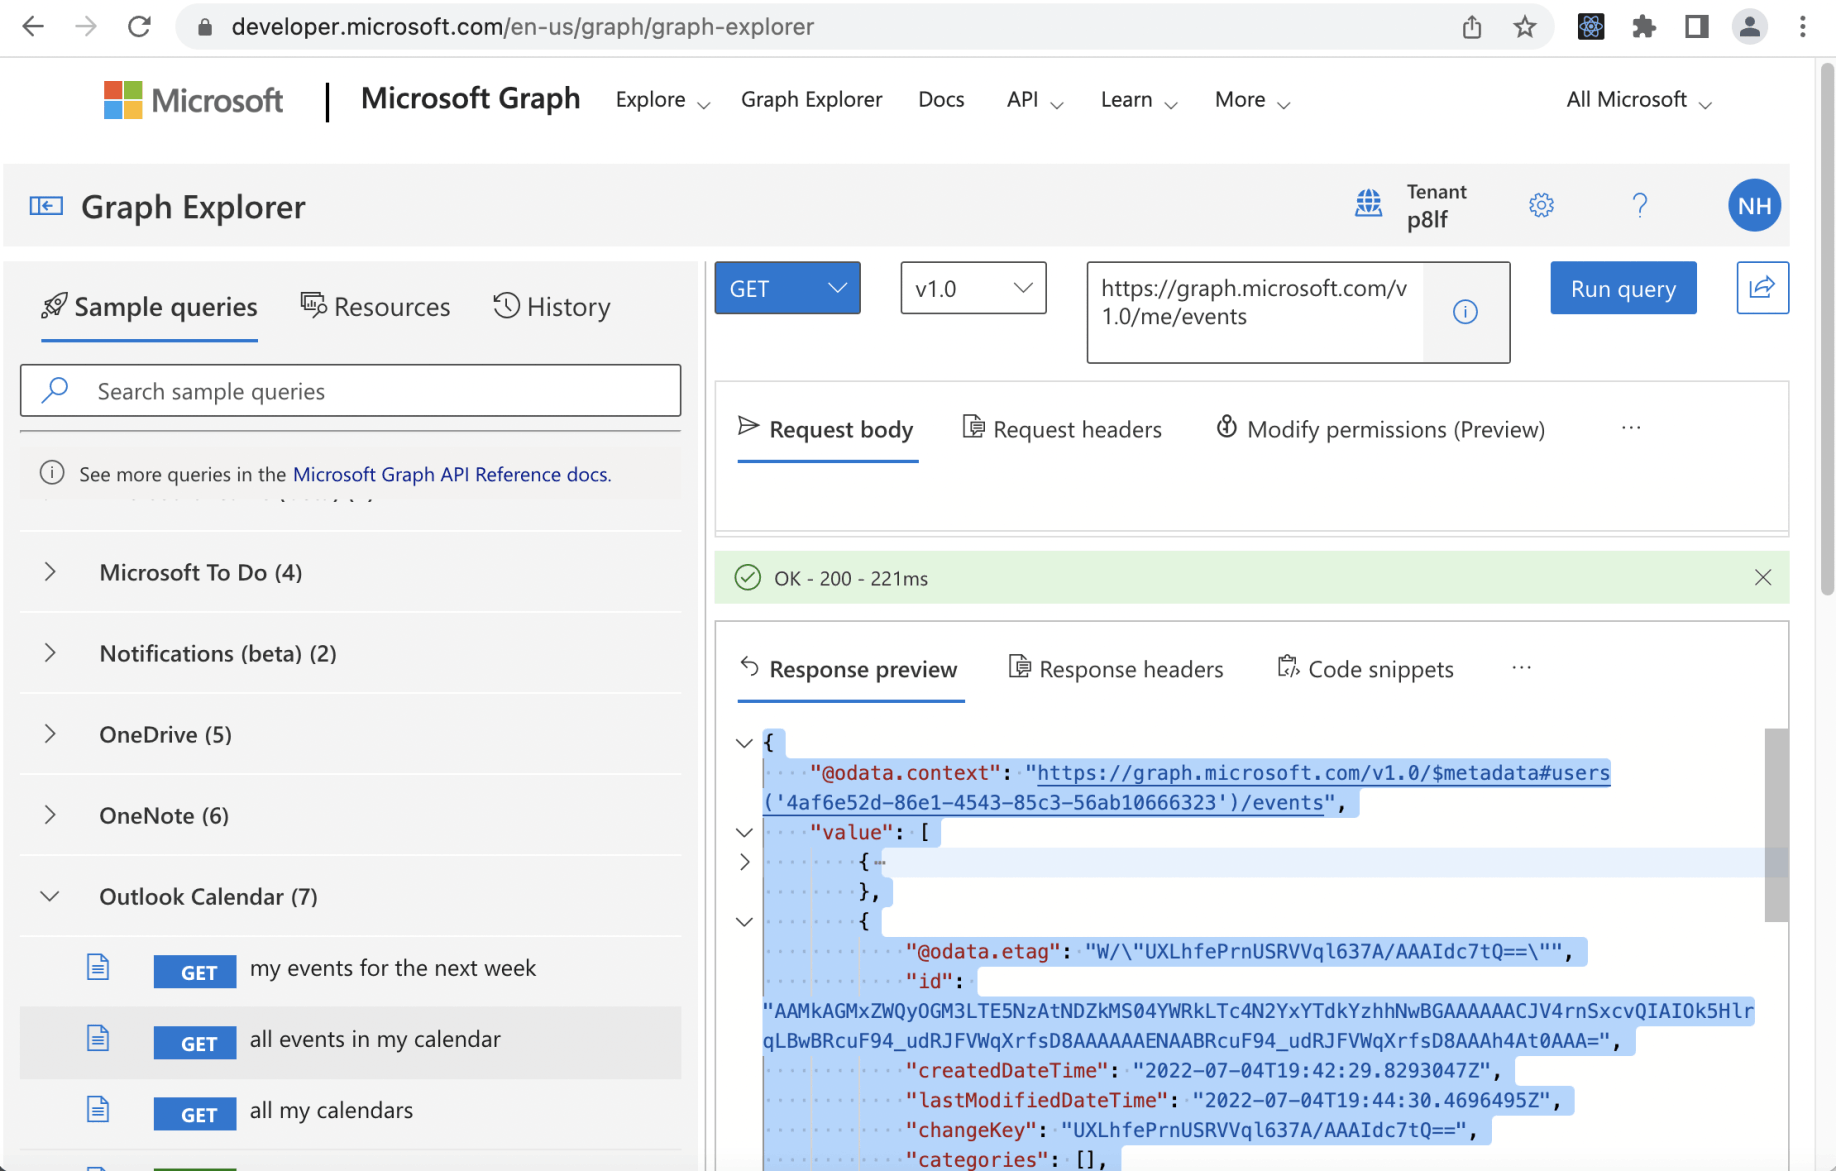
I copied the sample (JSON) response from the Graph Explorer web application (notice that the array of Calendar Events is returned as the "value").
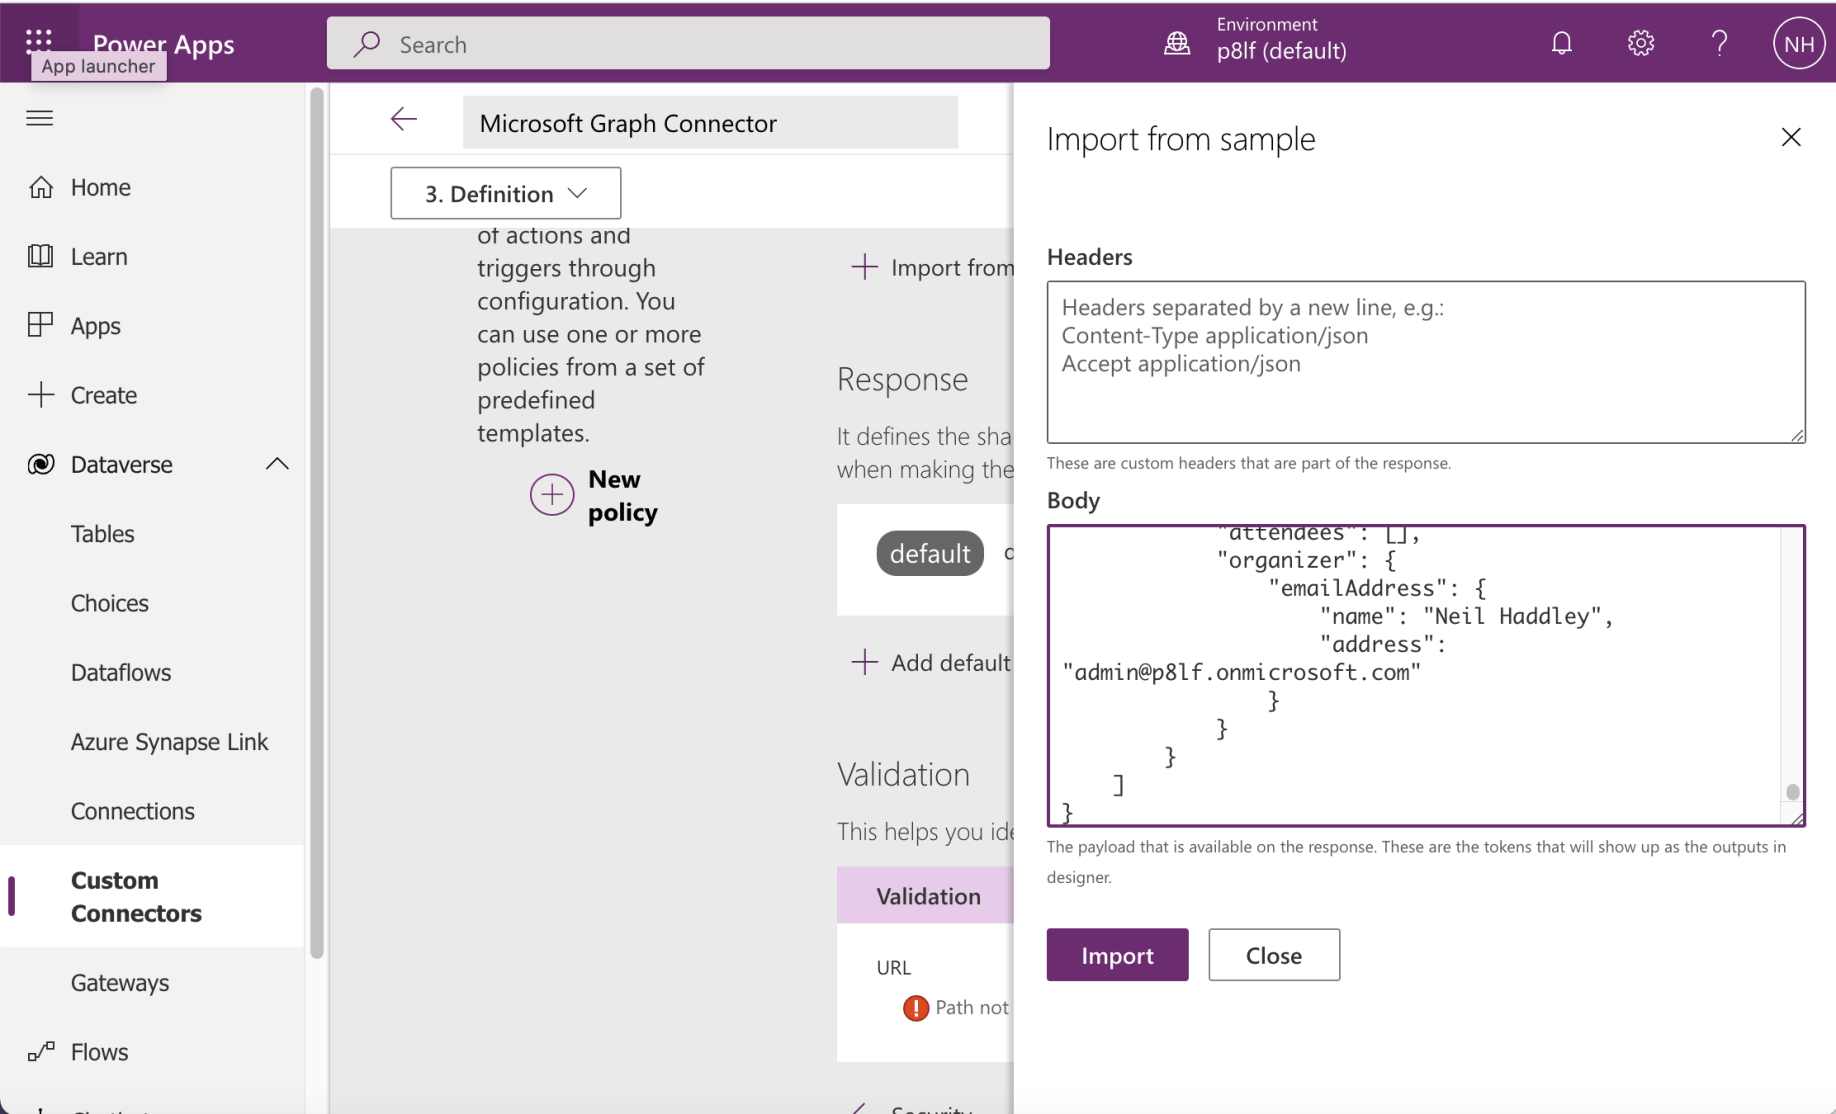
I copied the sample (JSON) response to the new connector action
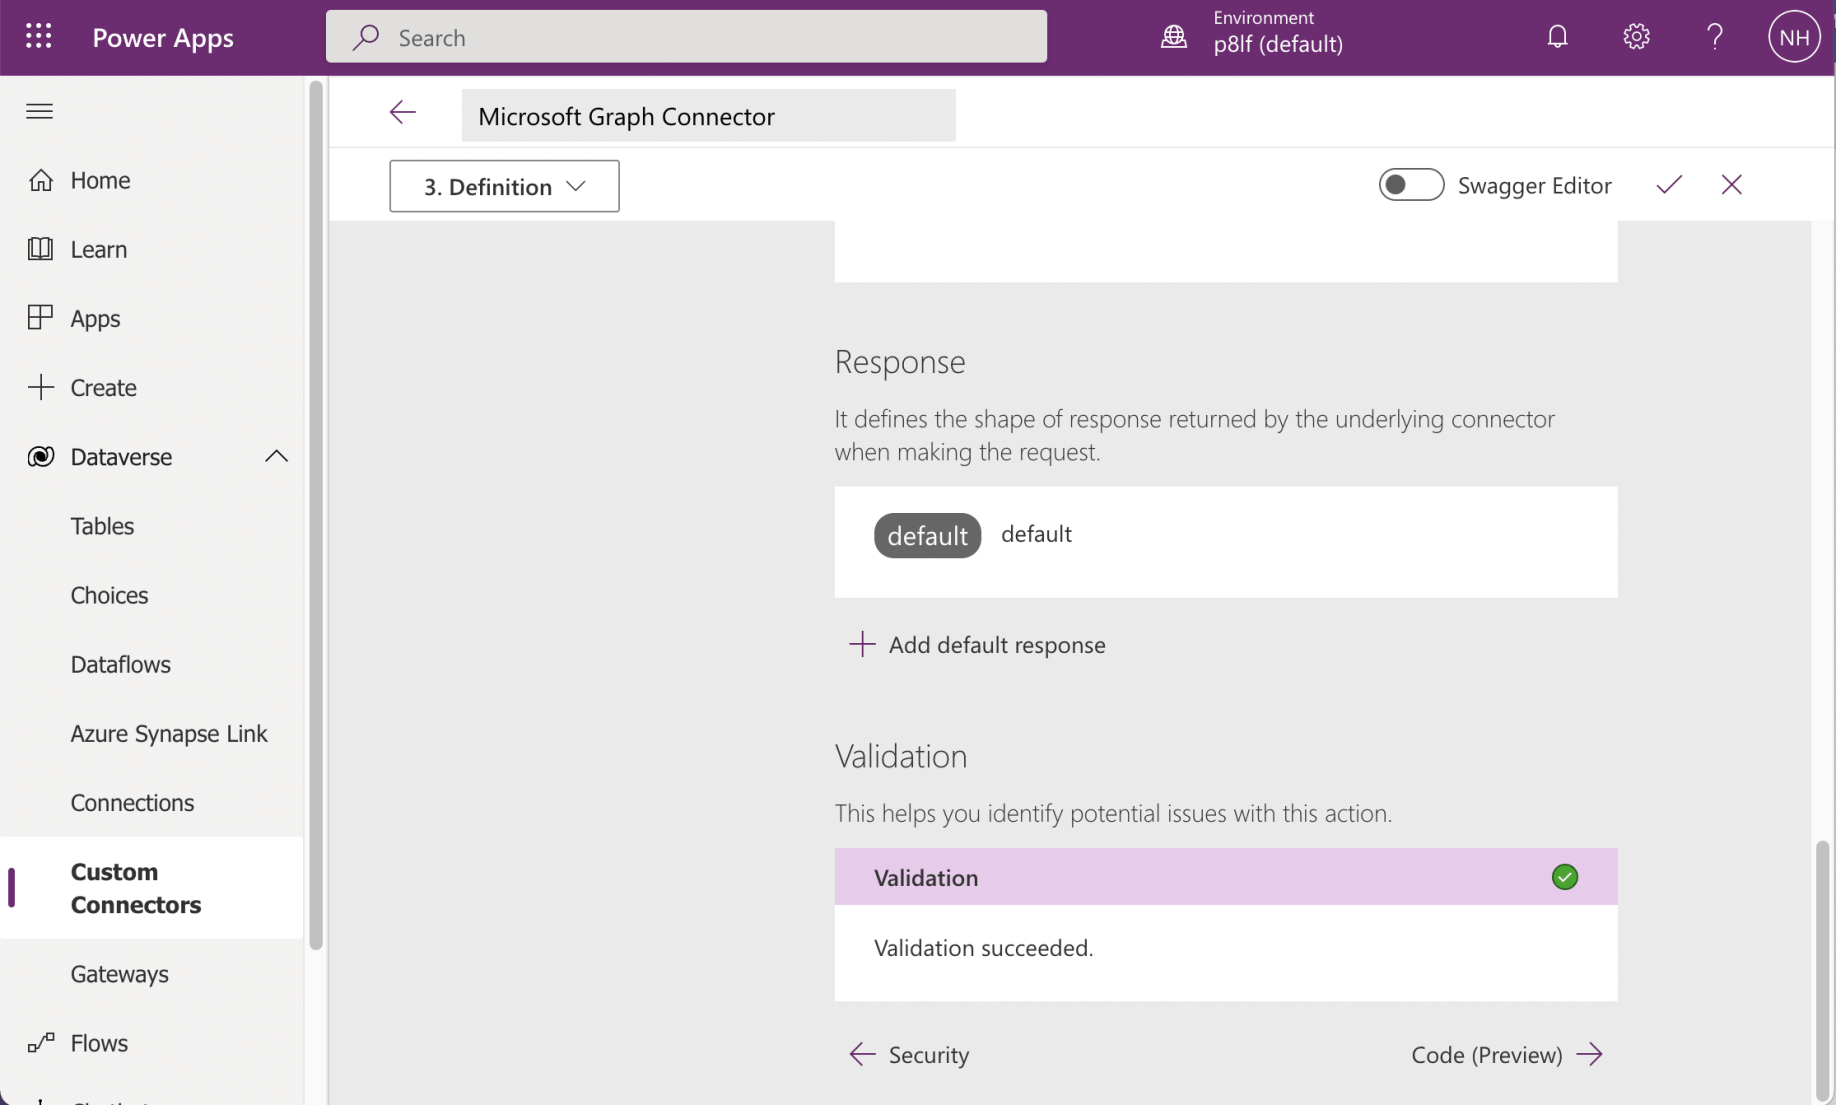
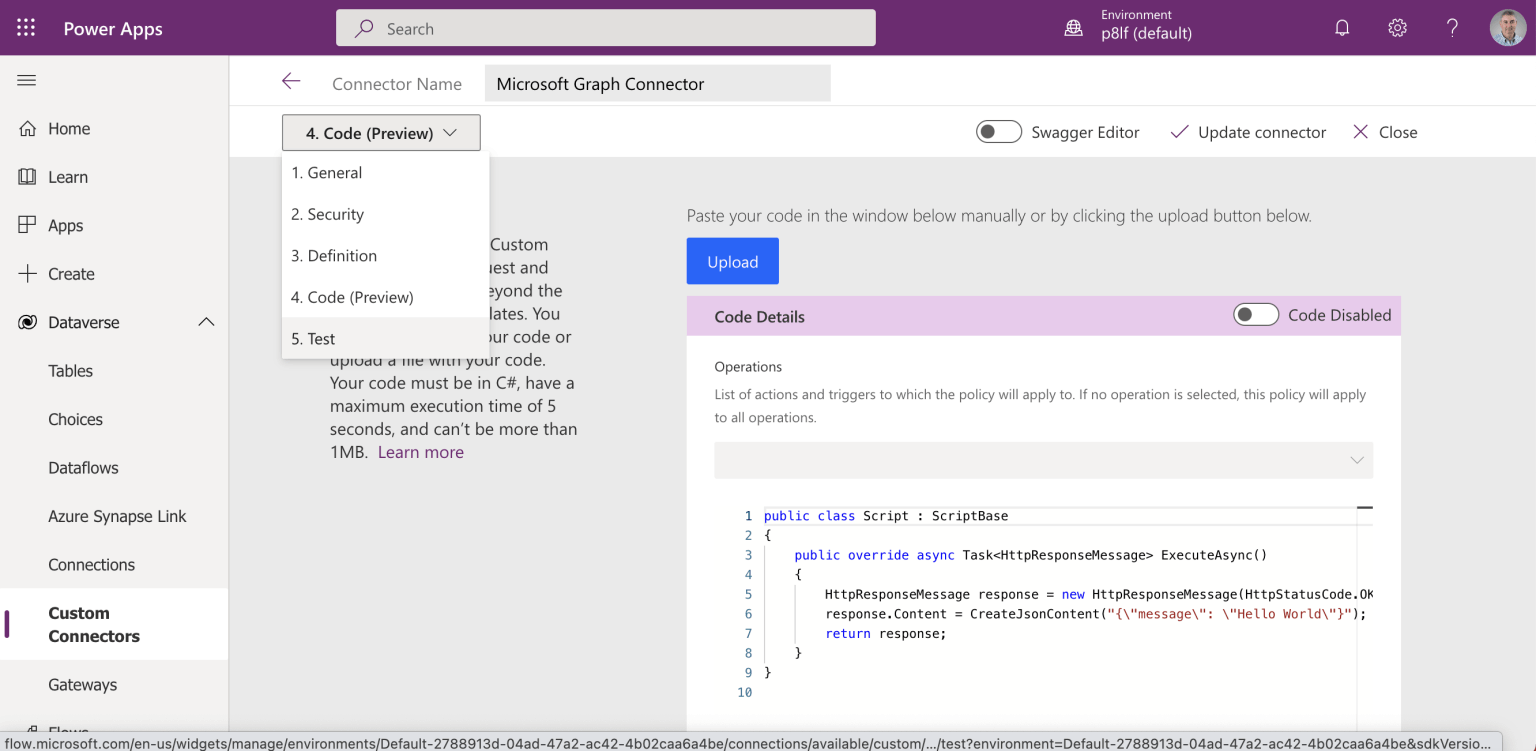
I saw that Validation succeeded and navigated to the Code (Preview) step
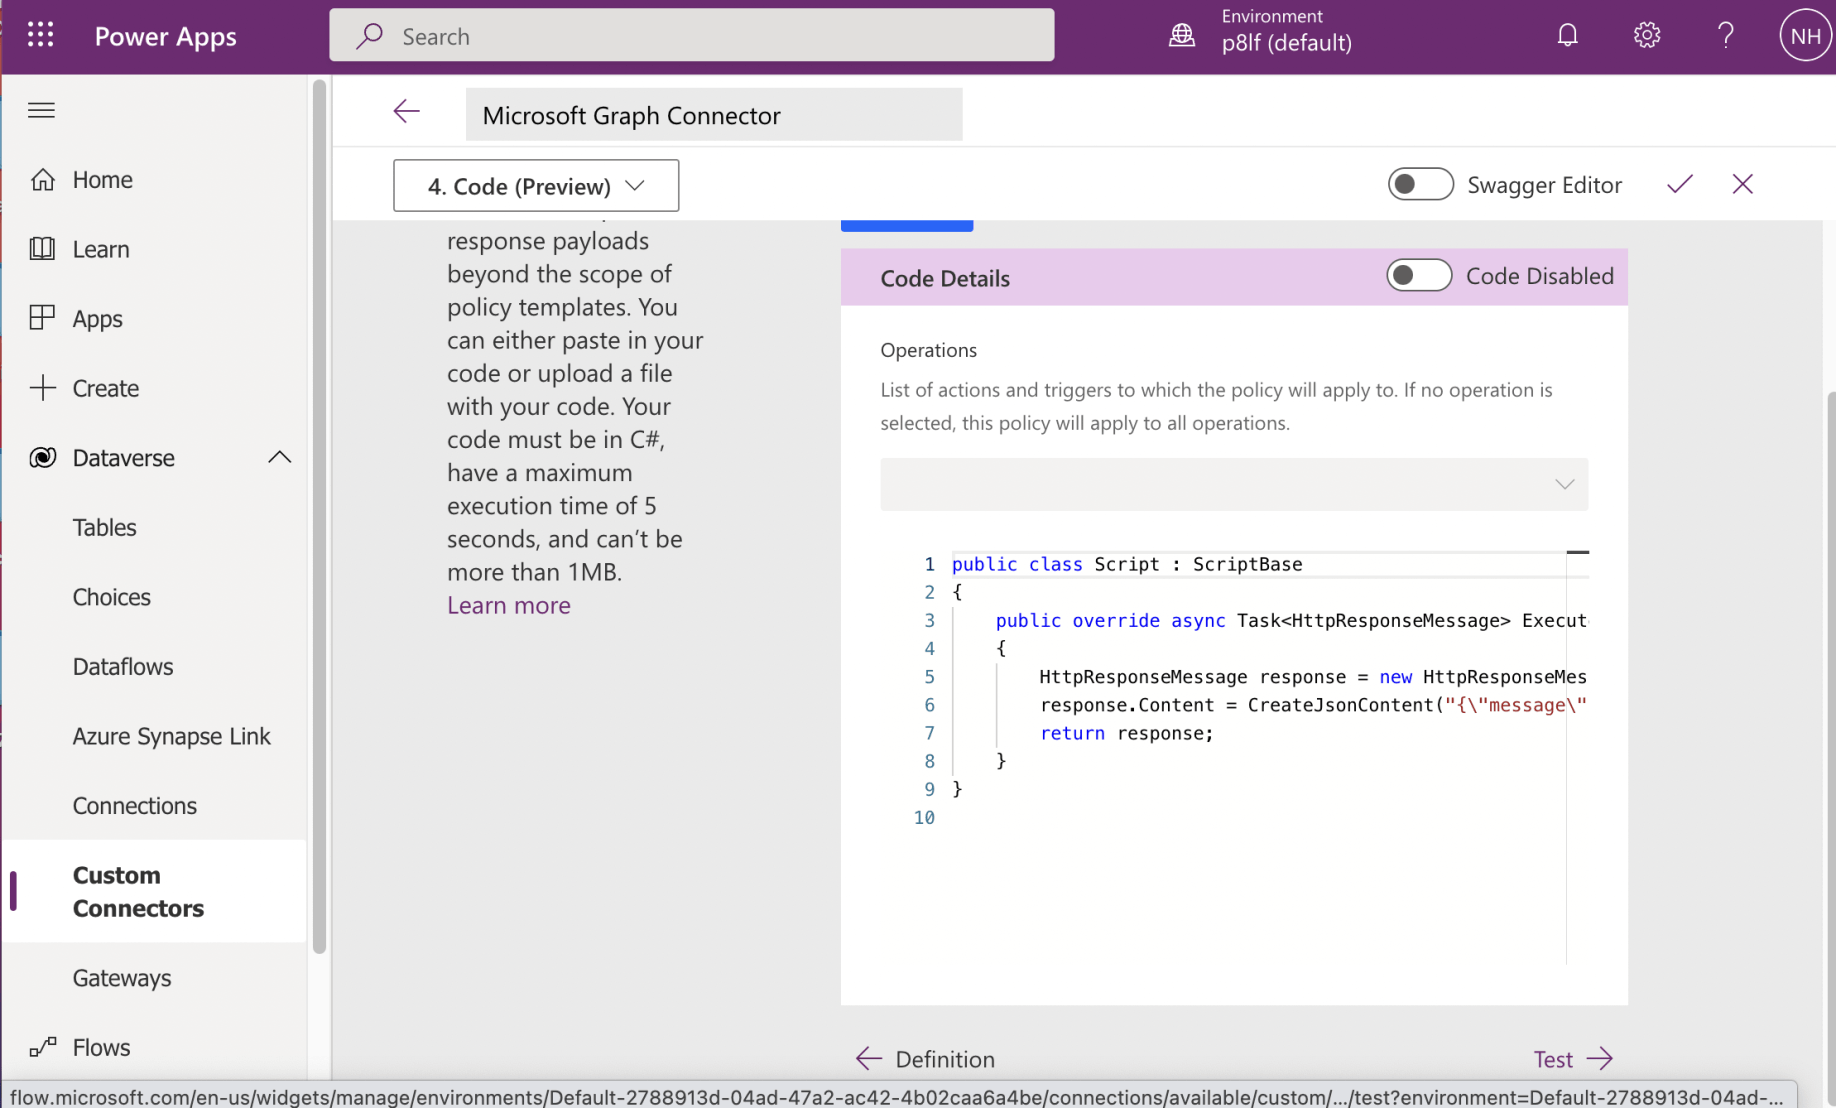
I reviewed the Code Details page then saved the Connector.
I used the Created button to save the new Connector
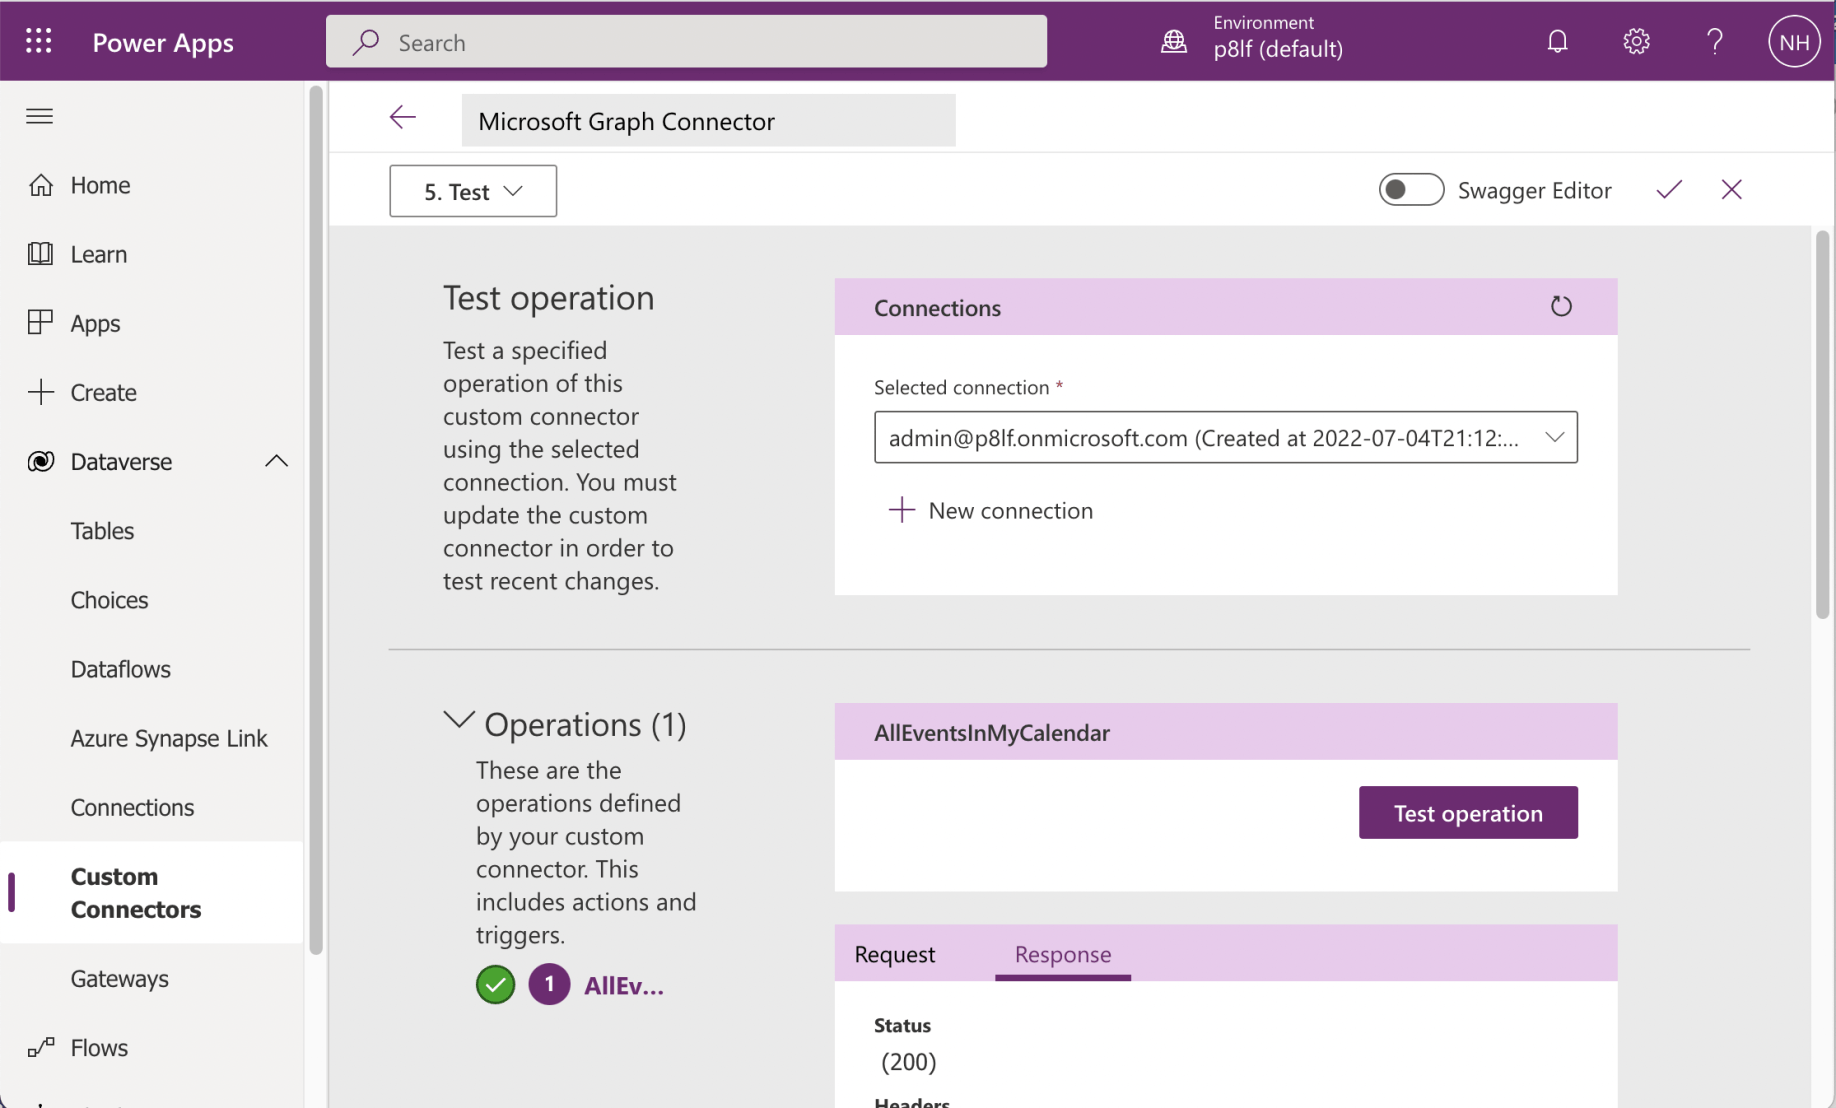
I selected the AllEventsInMyCalendar and clicked the "Test operation" button
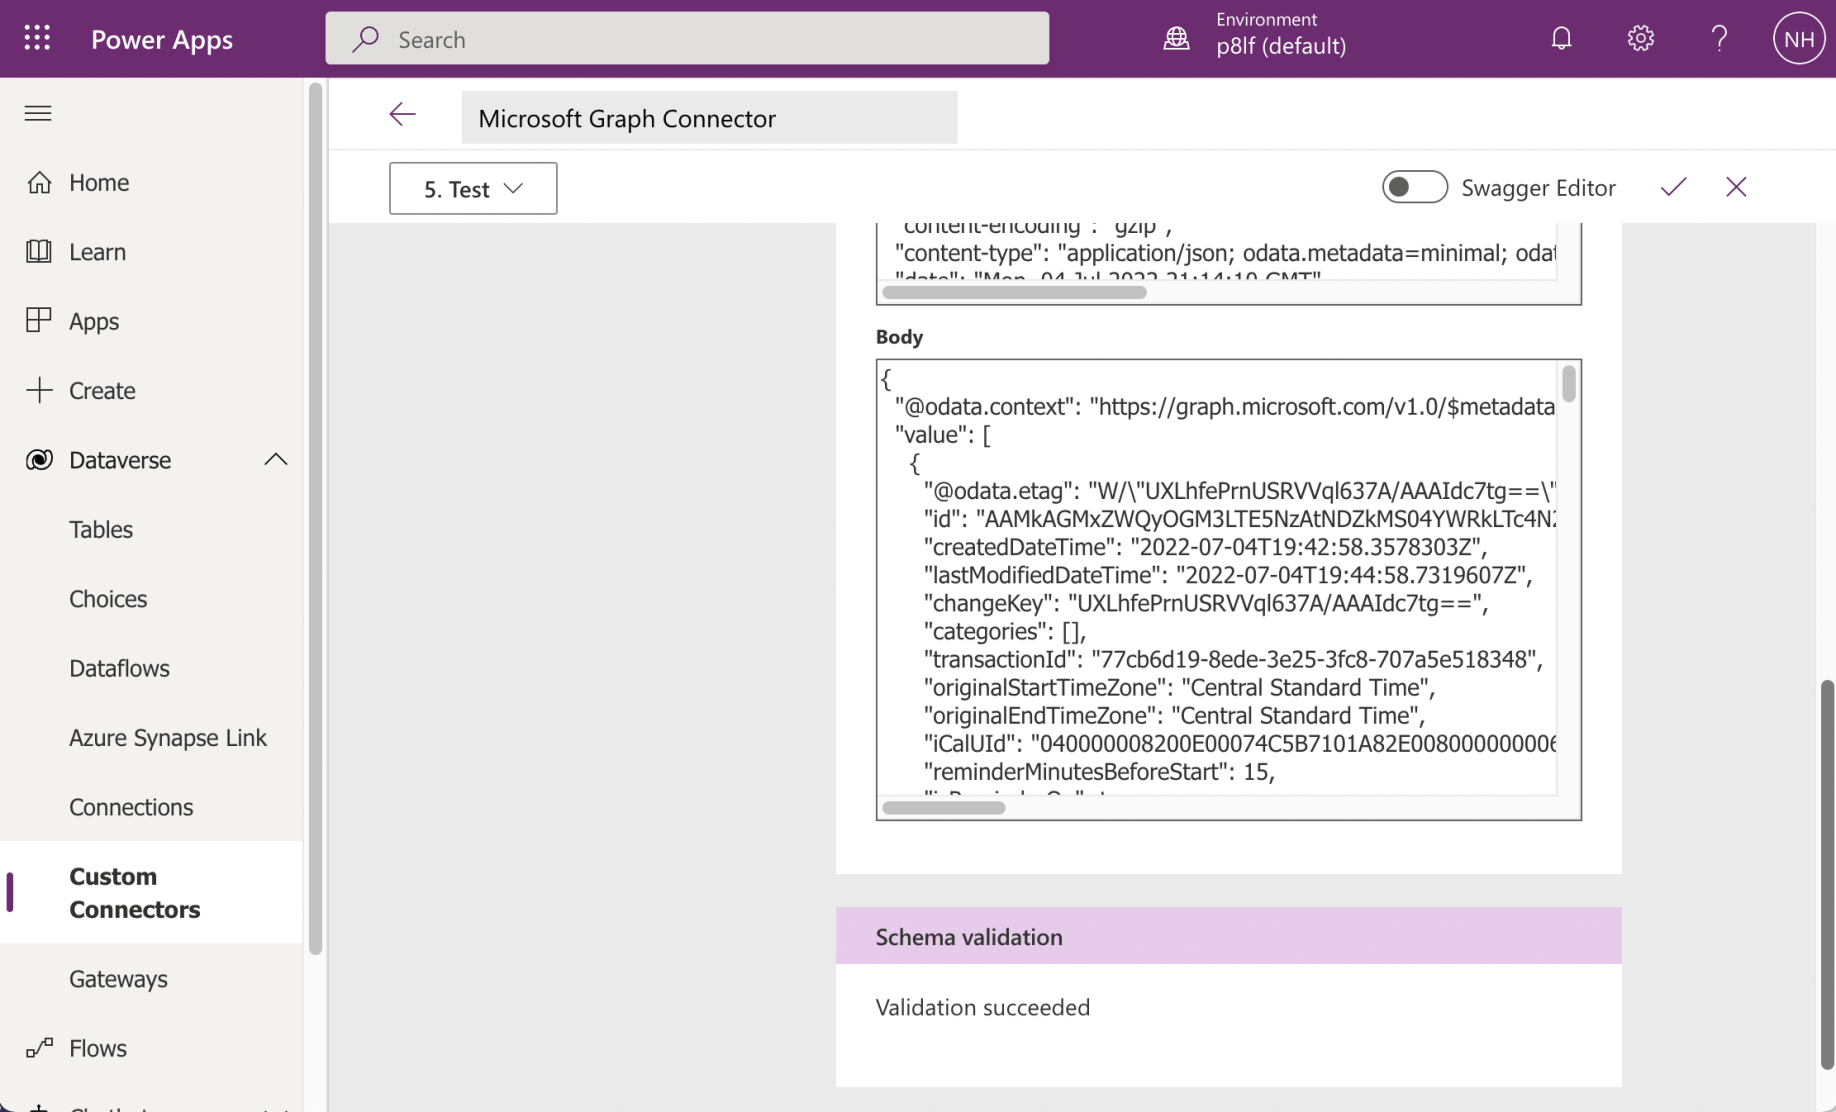
The response looked good.

I created a new Canvas app using the
"+ New app" link
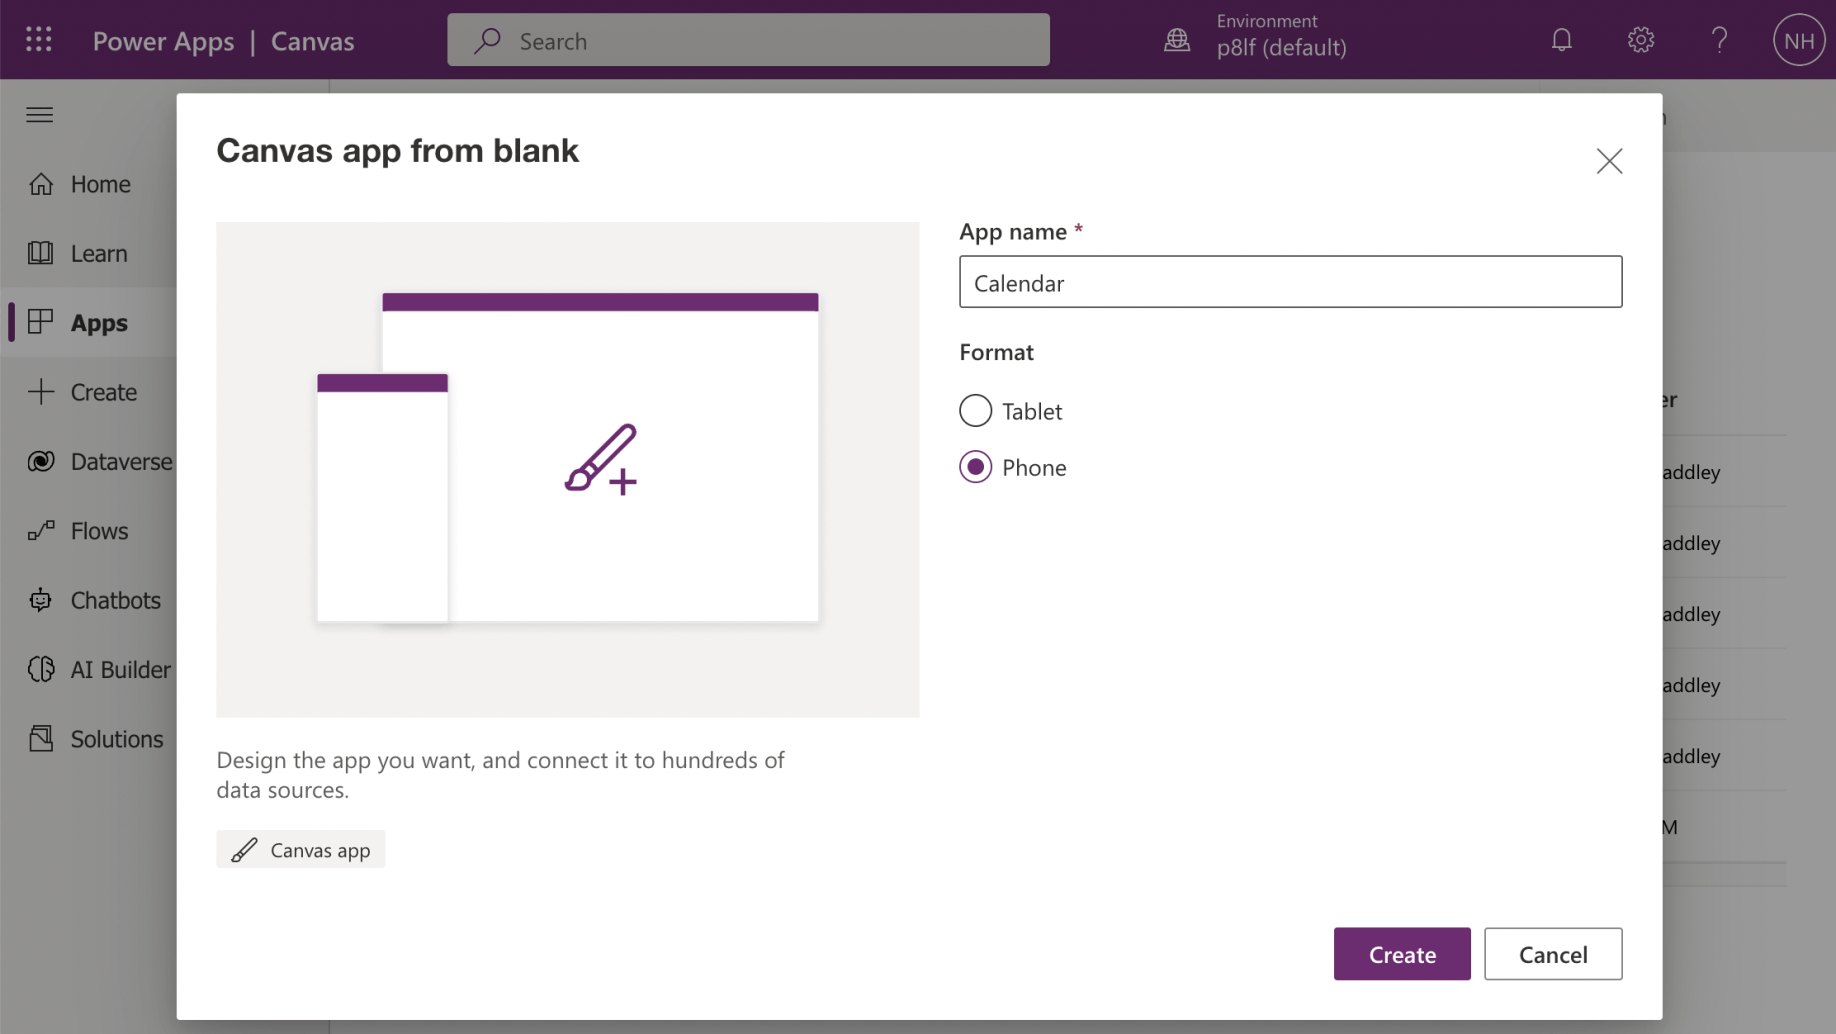
I provided an App name
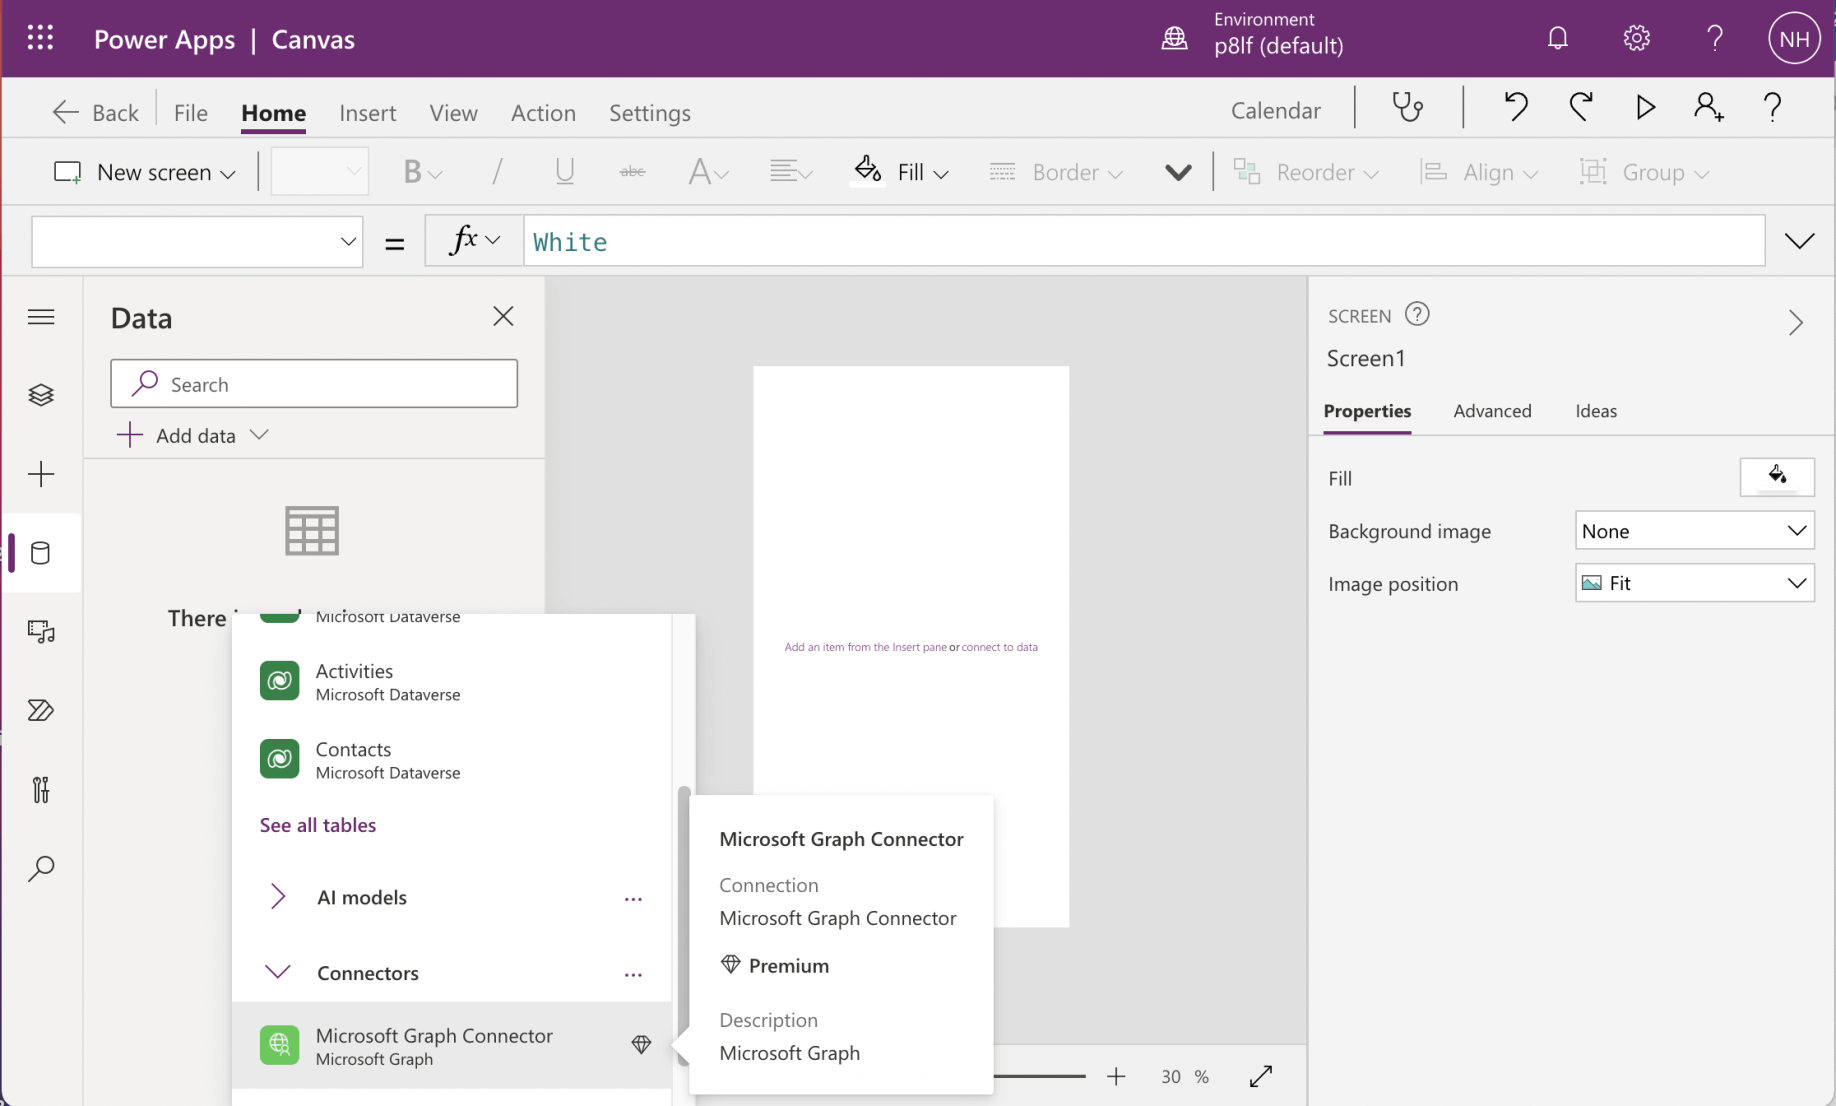
I added the new connector to the Canvas app

Screen1's OnVisible property is set to "Collect(Calendar, (MicrosoftGraphConnector.AllEventsInMyCalendar().value)"
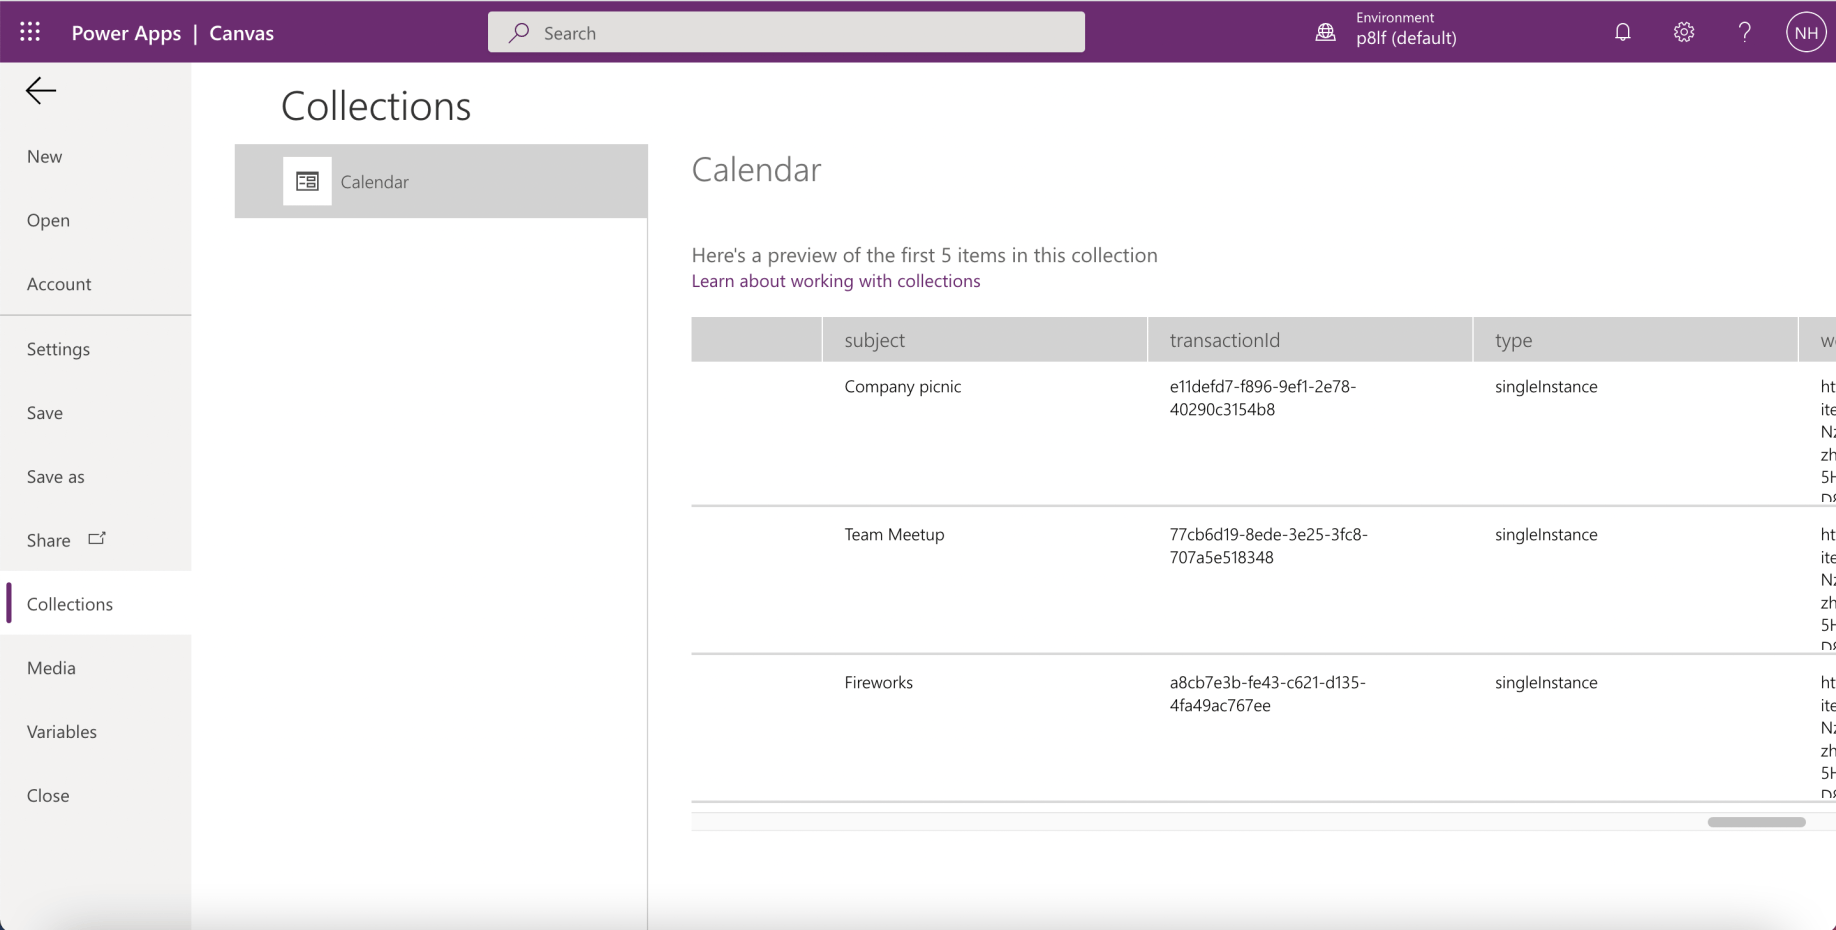
Running the Canvas app creates a Calendar collection (of Events).

A Gallery is added to the Screen1. The Items property of the Gallery is set to the Calendar collection.
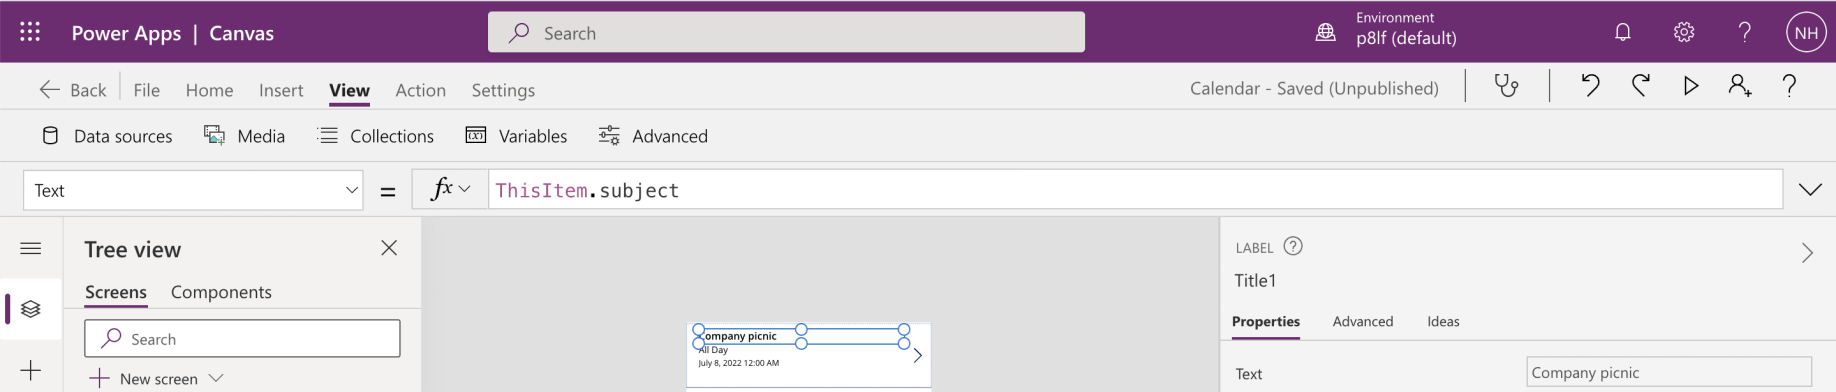
The item template is updated setting Title to the Event item's "subject"
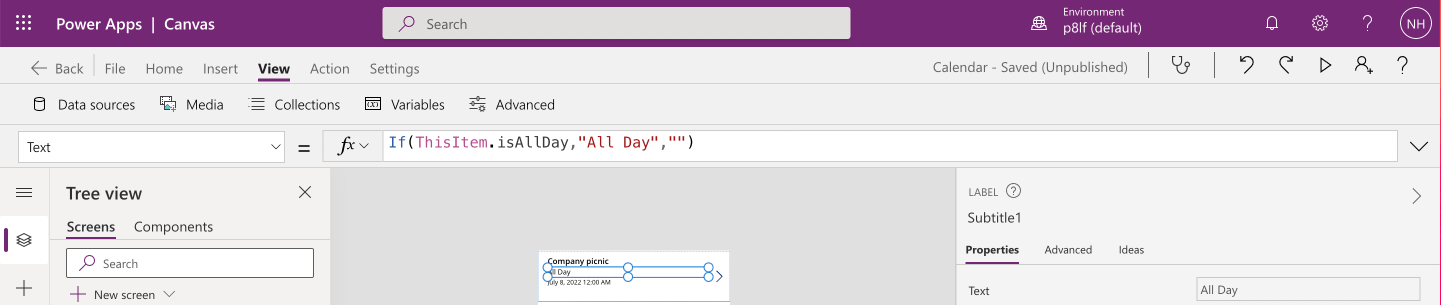
The item template is updated setting Subtitle to "All Day" if the Event item's isAllDay field is true.
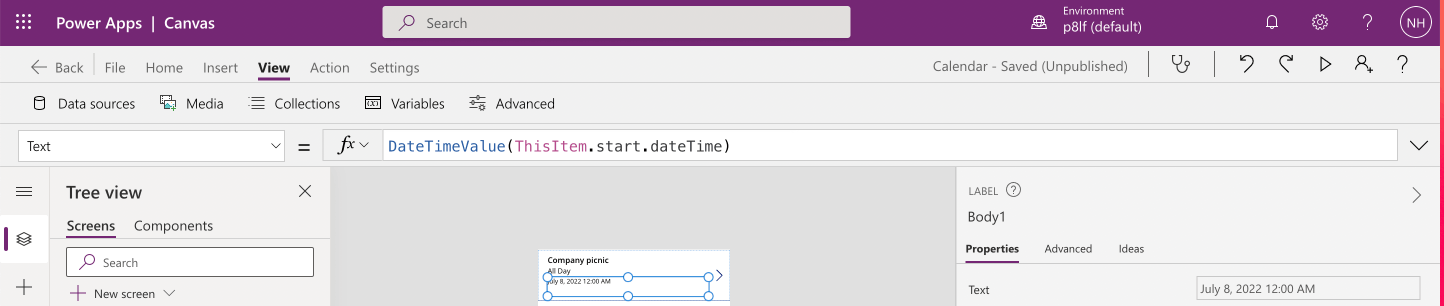
The item template is updated setting Body to the Event item's "start.datetime"
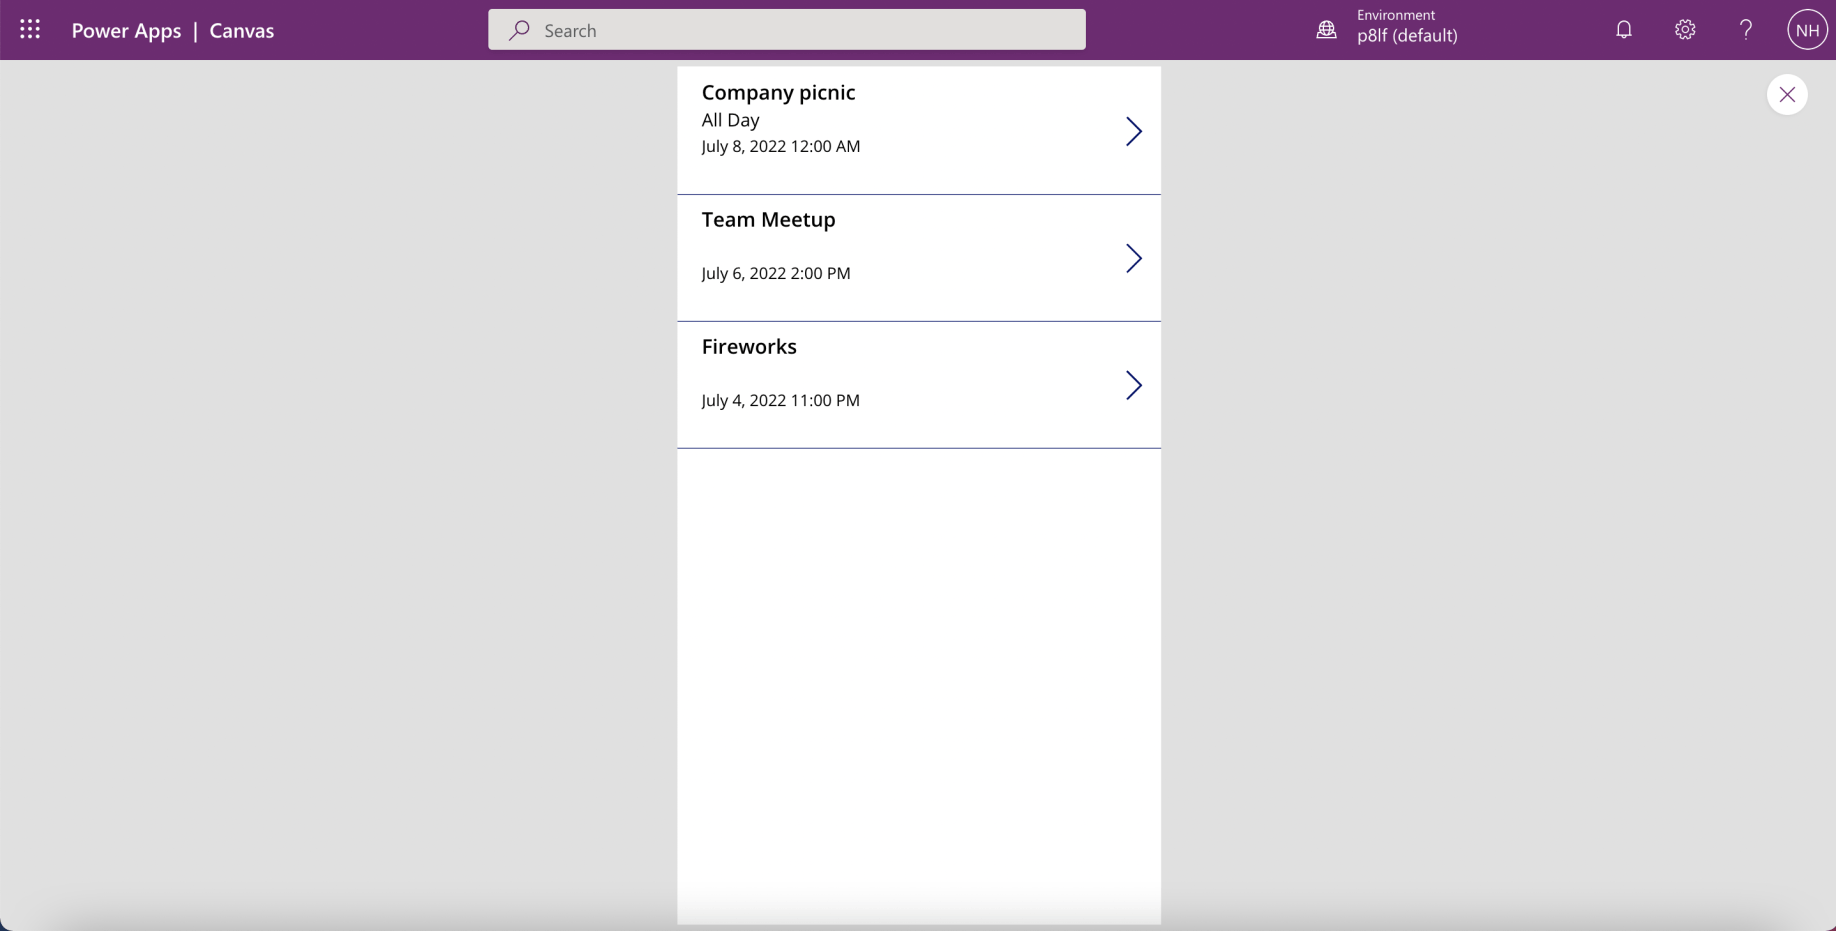
The Calendar application is complete
Finally I added a UserByEmail action to the Connector
User by email request requires User.Read.All permissions (scope)
Update existing Application Registration adding a permission
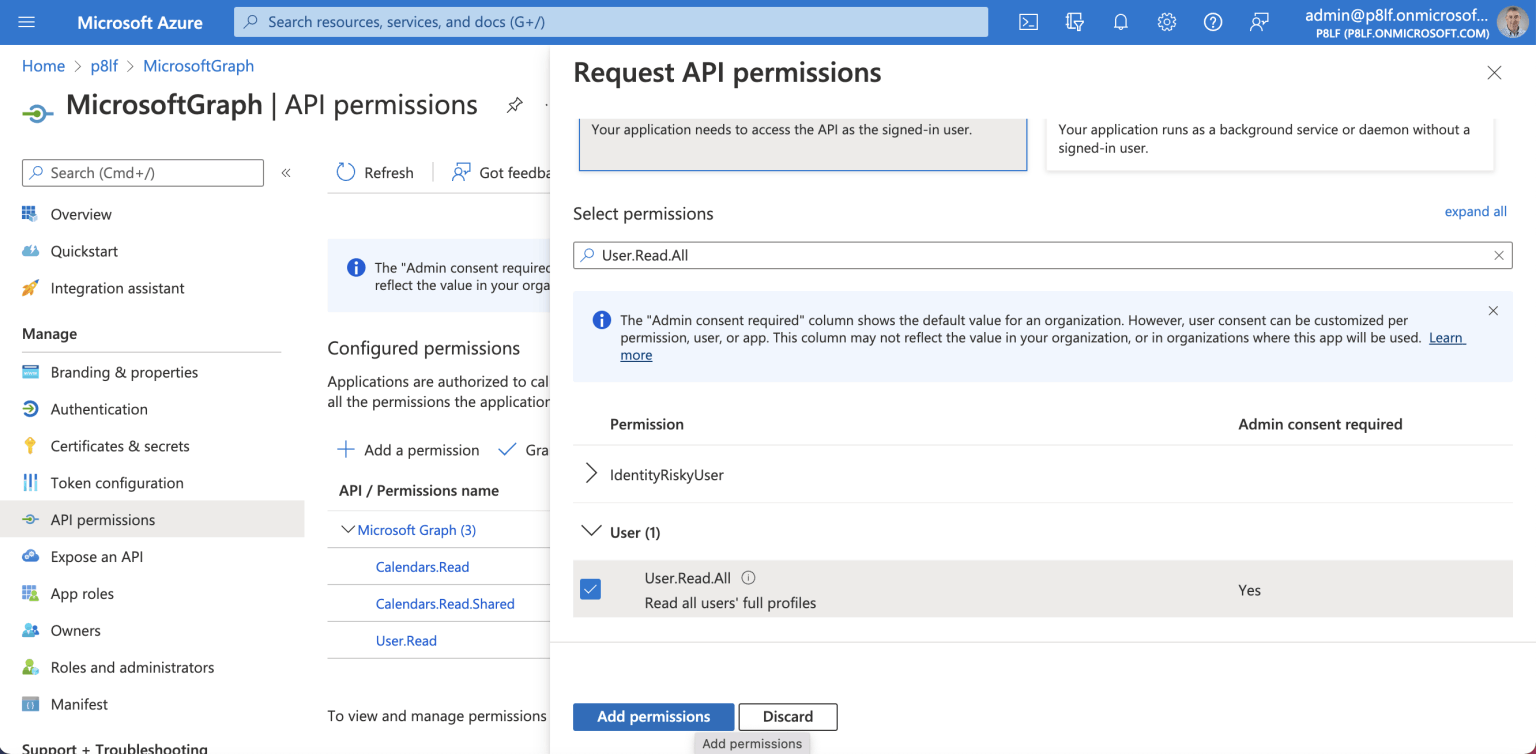
Adding the "User.Read.All" permission
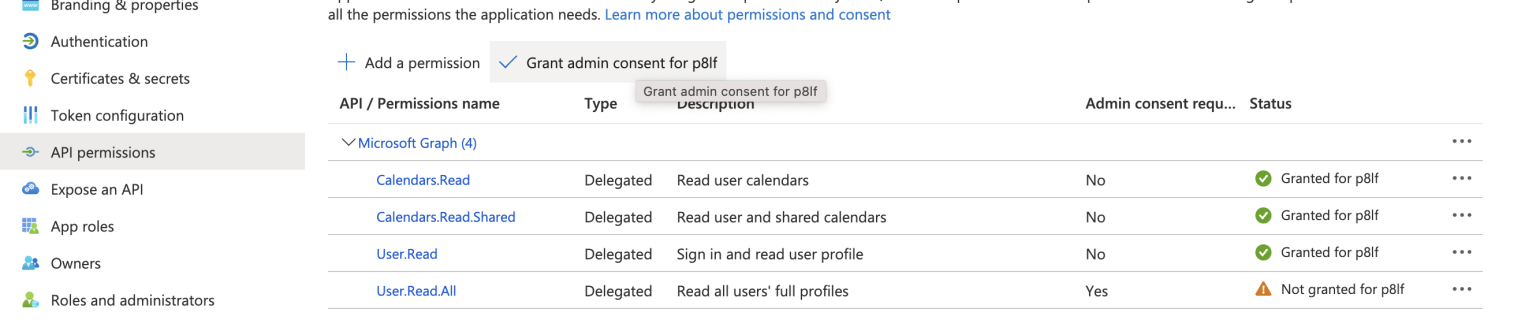
Updated permissions - Granting admin consent
Edit the Custom Connection

Add new action
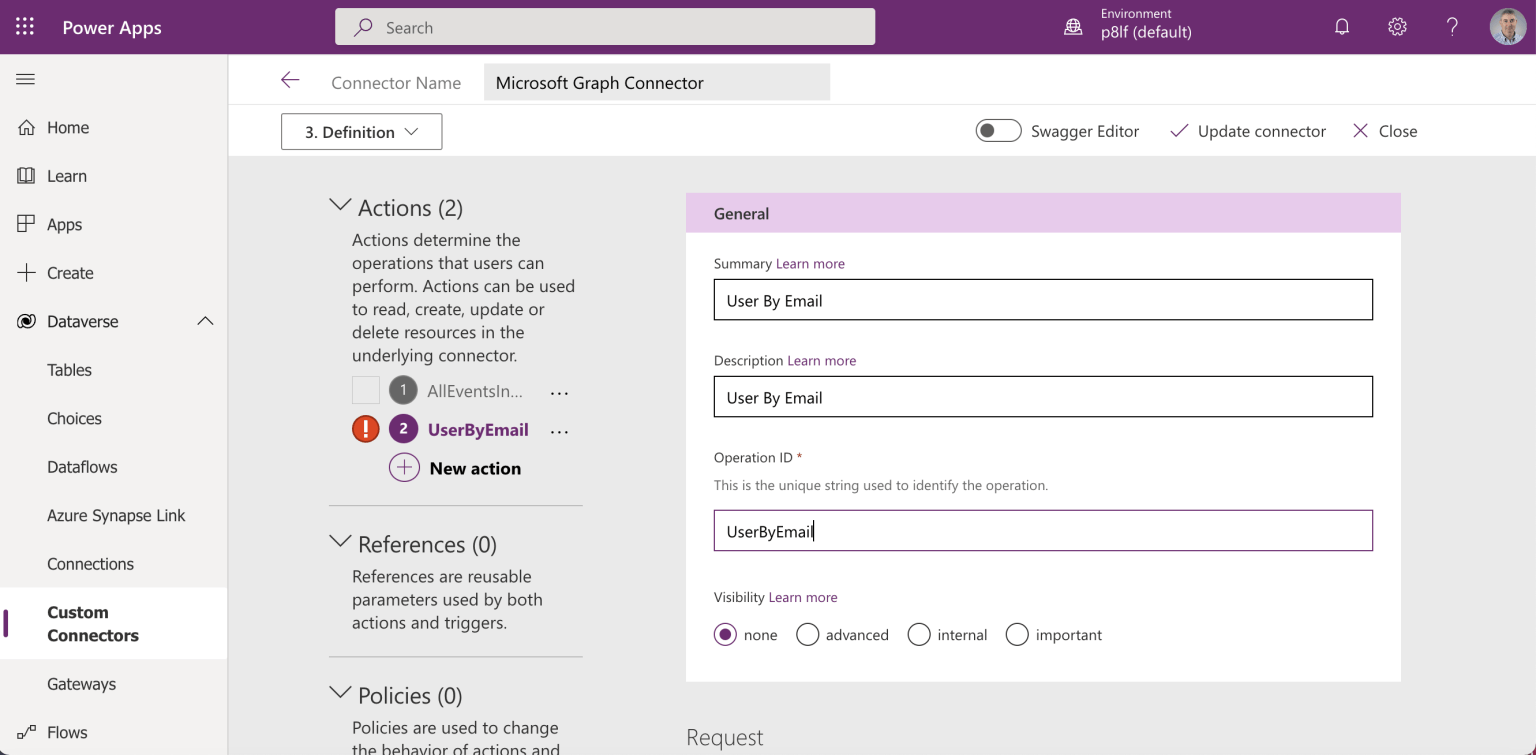
I entered general details
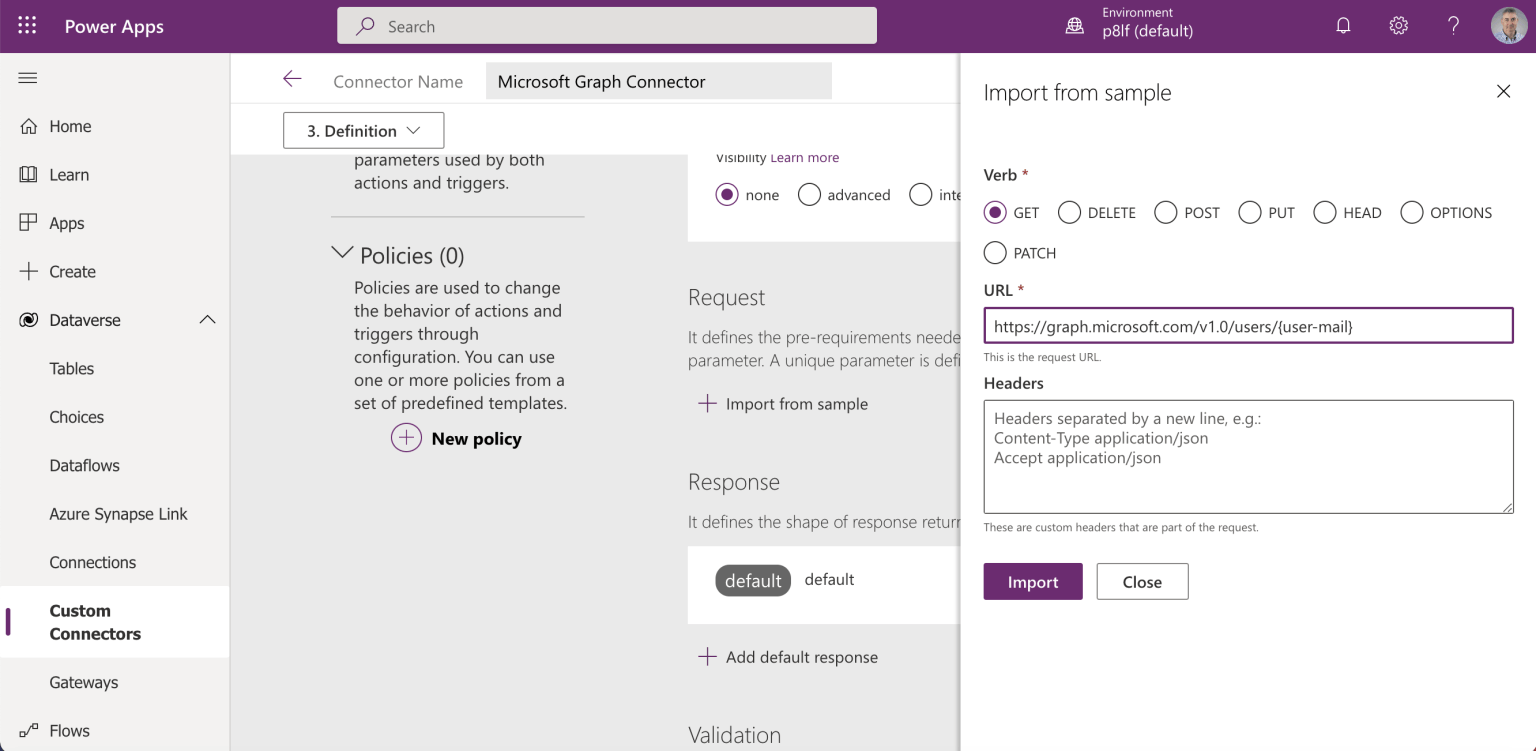
I entered the request details (notice that a value for {user-mail} will need to be provided when the action is invoked)
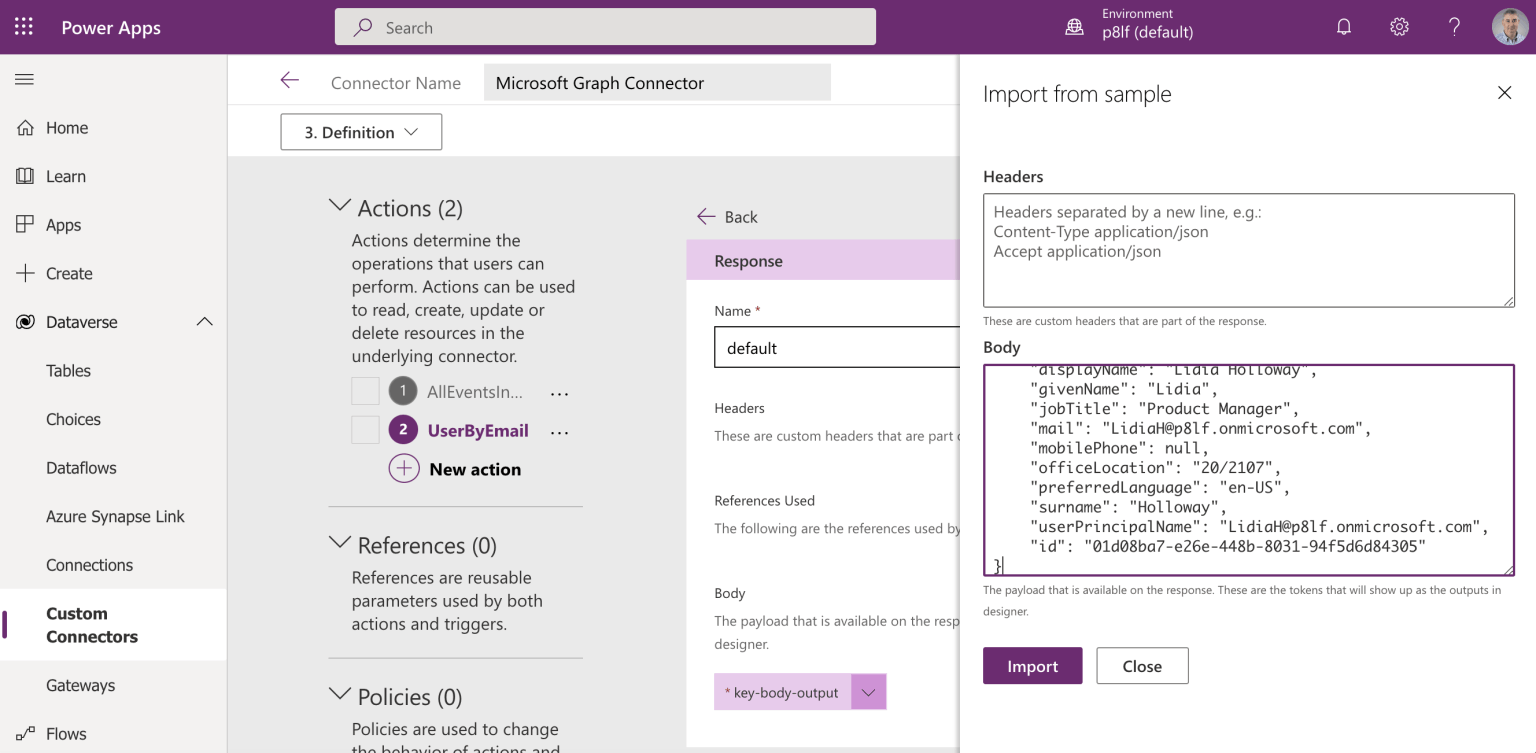
I copied a sample response from Graph Explorer to the Custom Connector
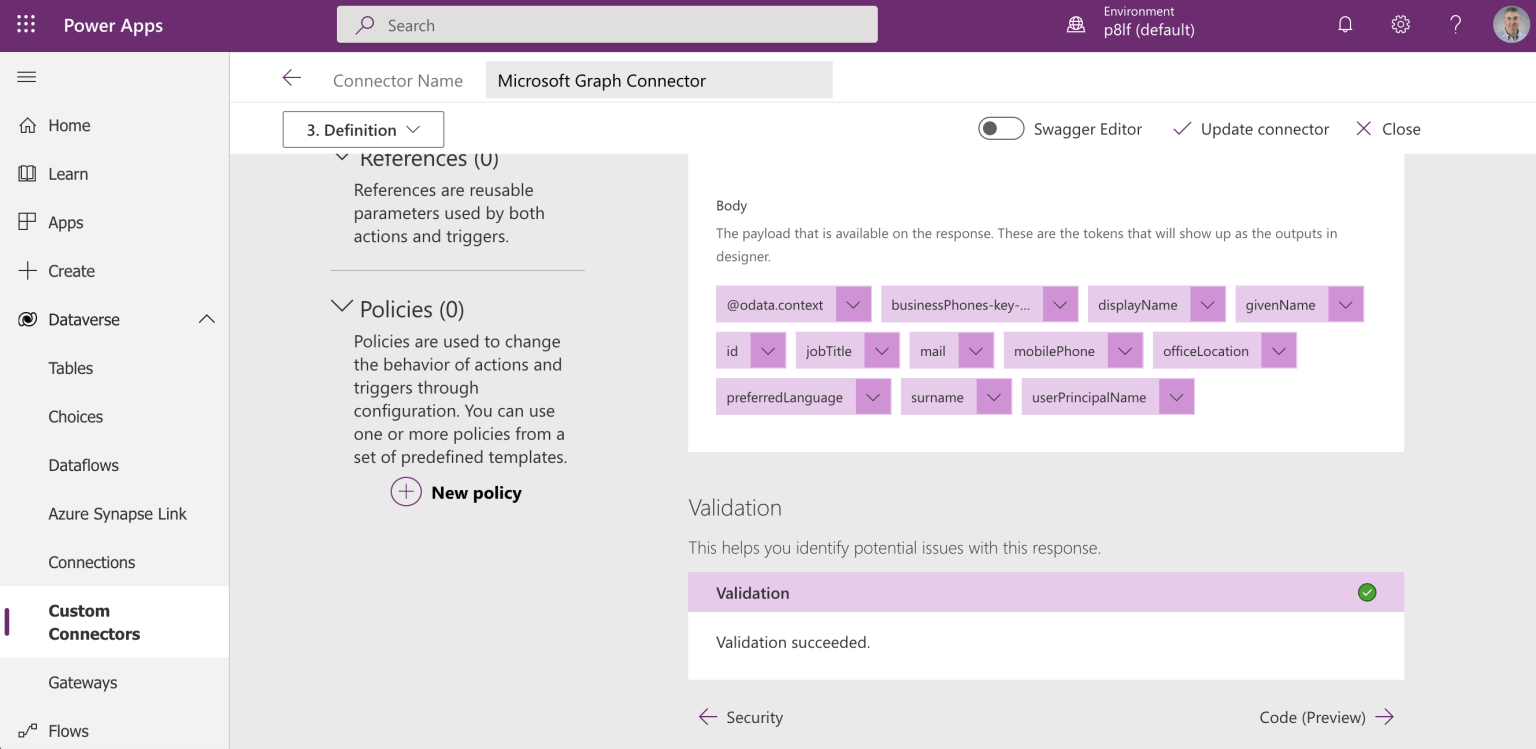
The Custom Connector displays details of the response body provided to it
I updated the Custom Connector and navigated to the Test step
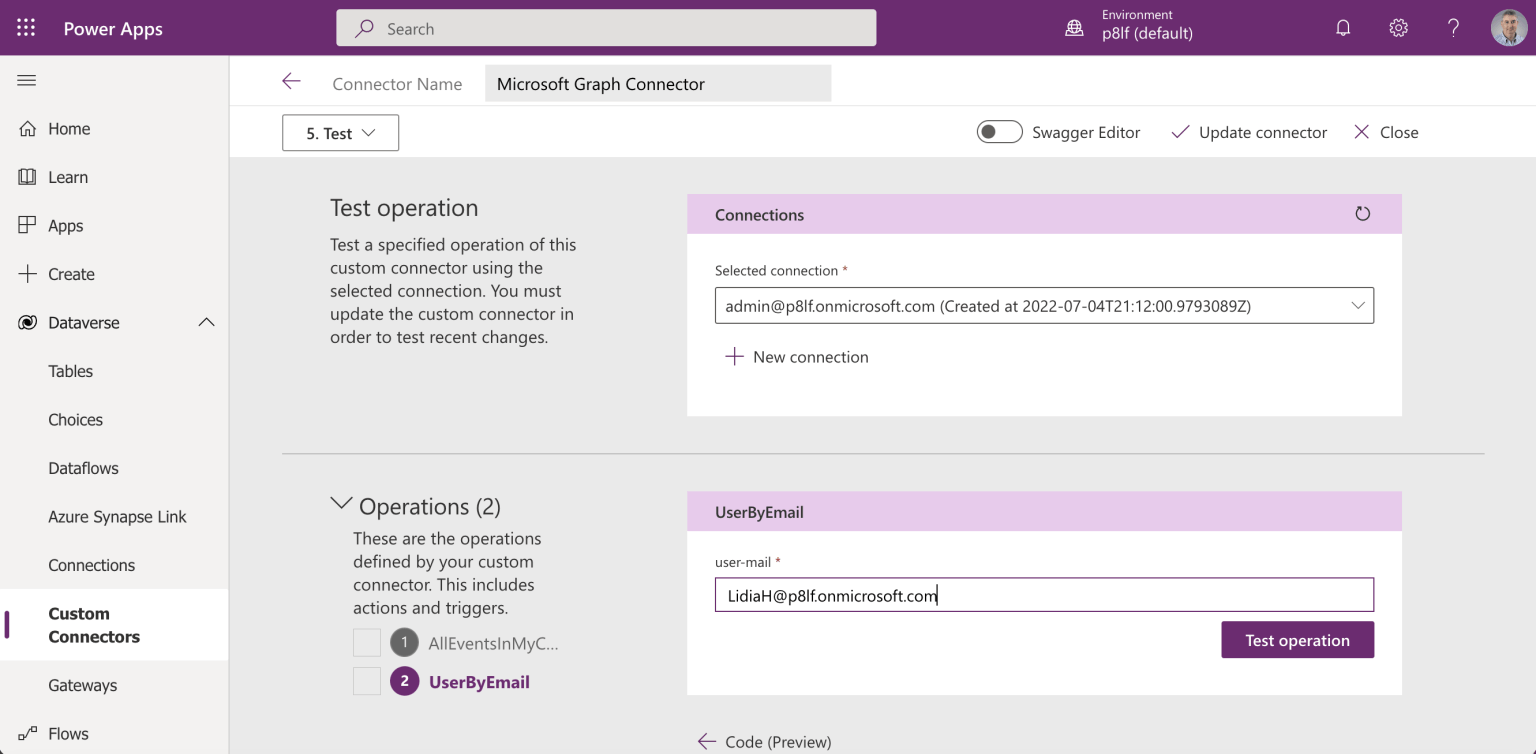
I provided a value for the "user-email" parameters and clicked the Test operation button

The action returned a result
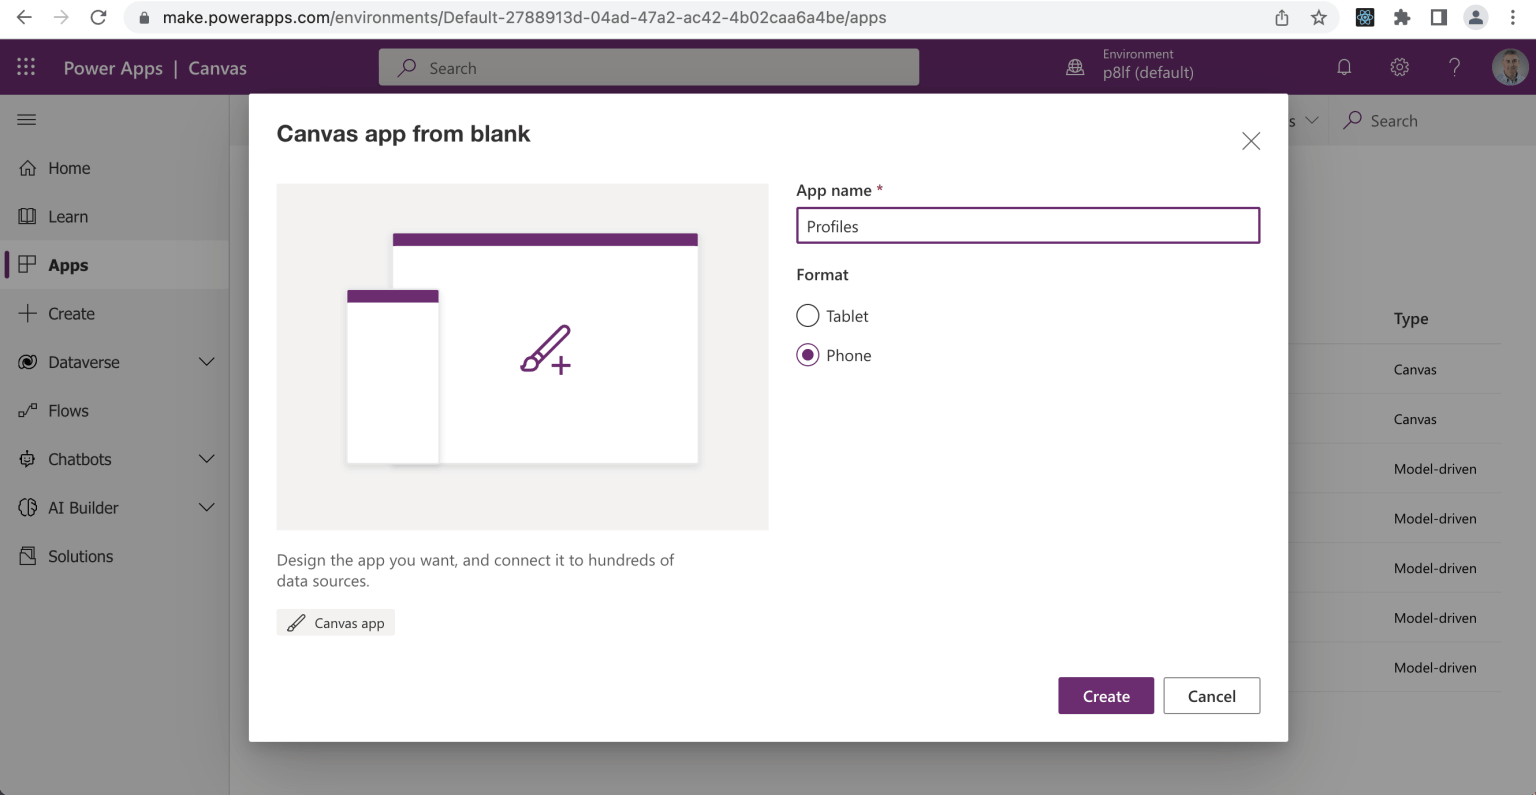
I created a "Profiles" canvas app
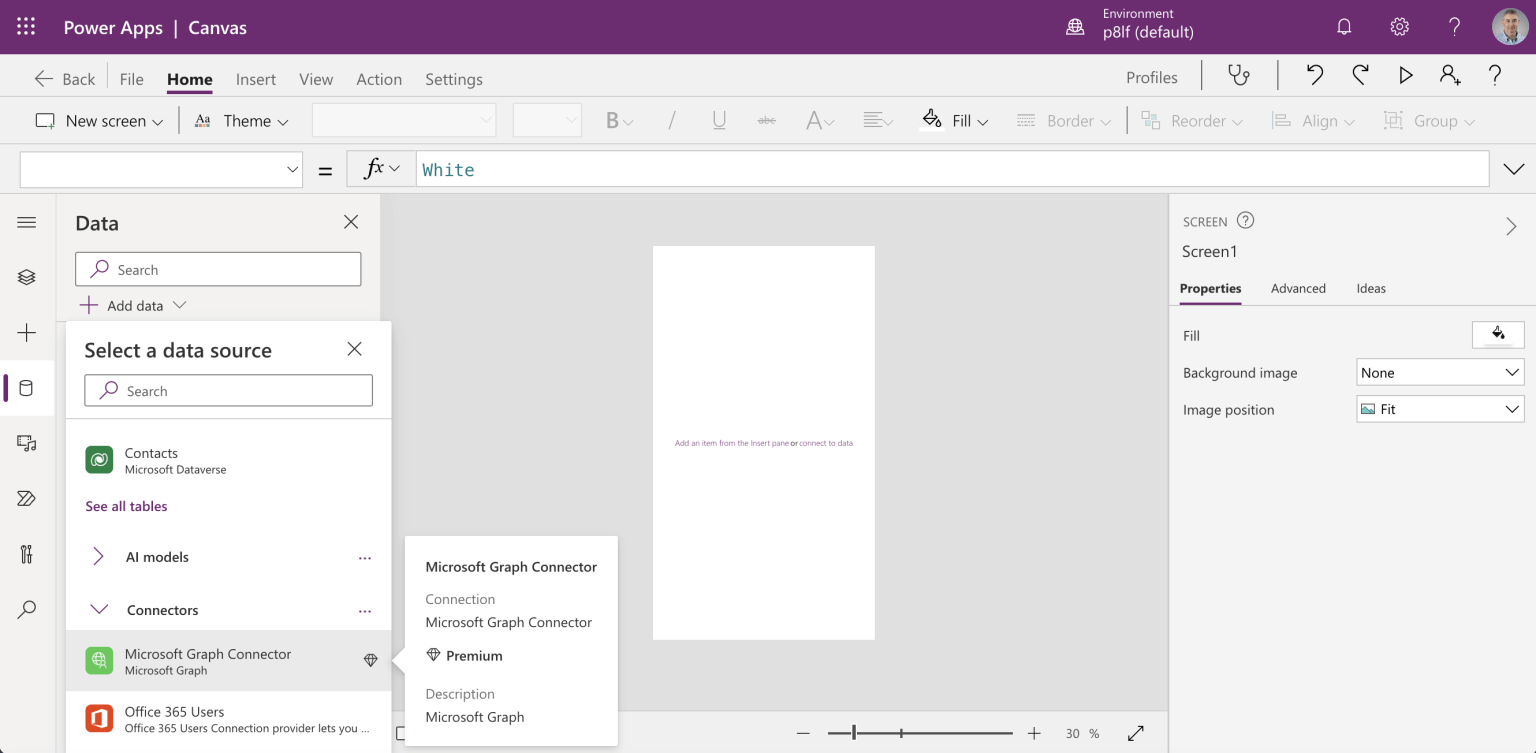
I added a reference to the updated Custom Connector
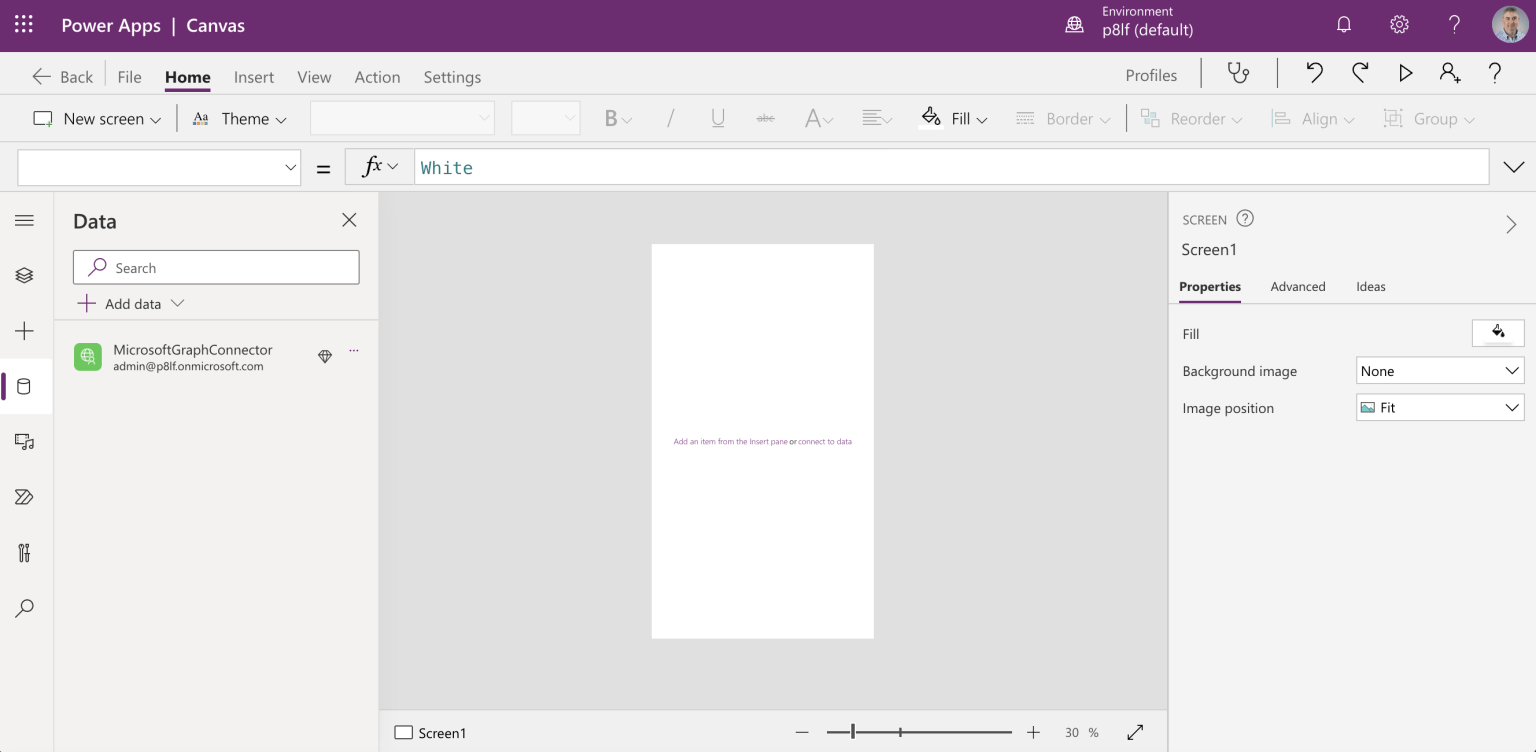
The reference is displayed in the Data tab
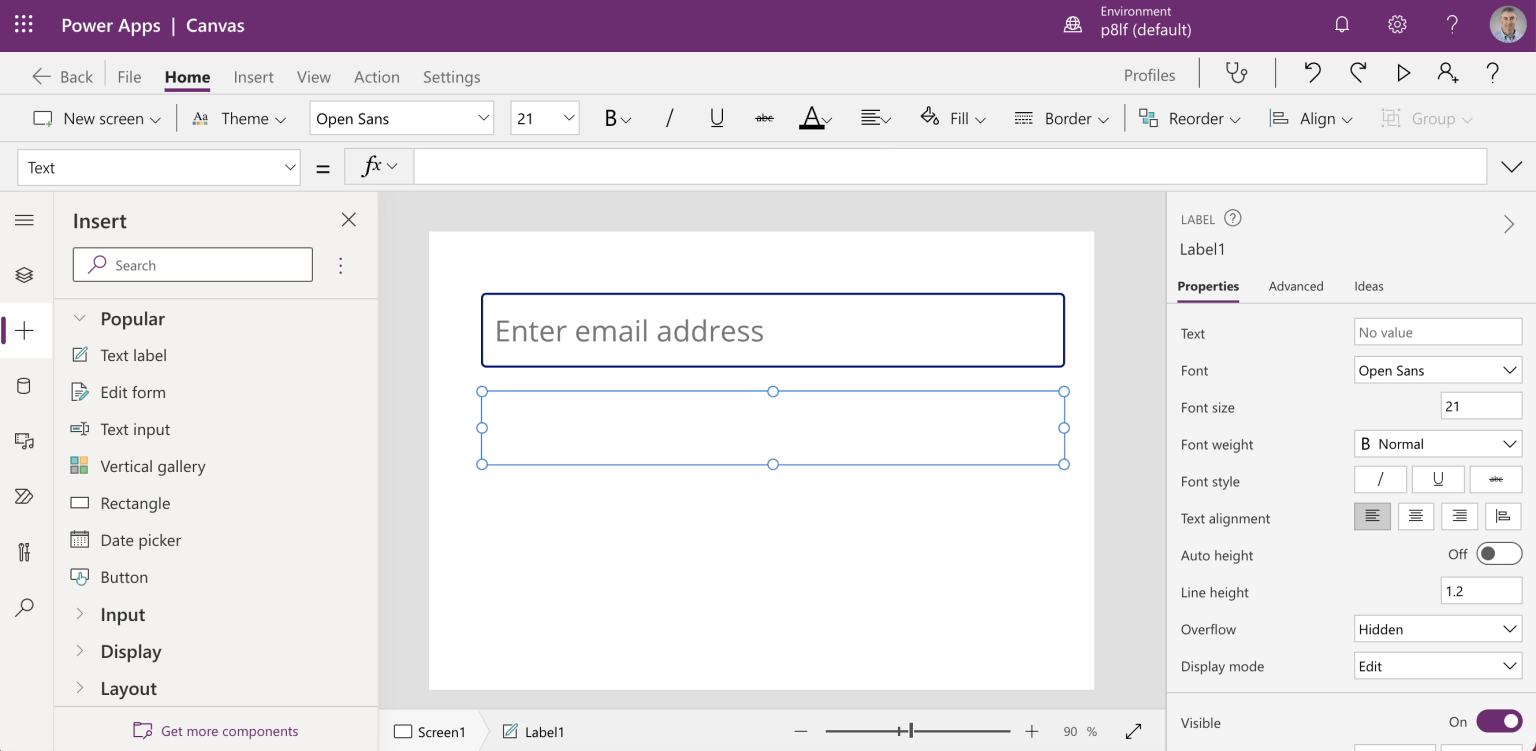
I added a Text input and a Text label
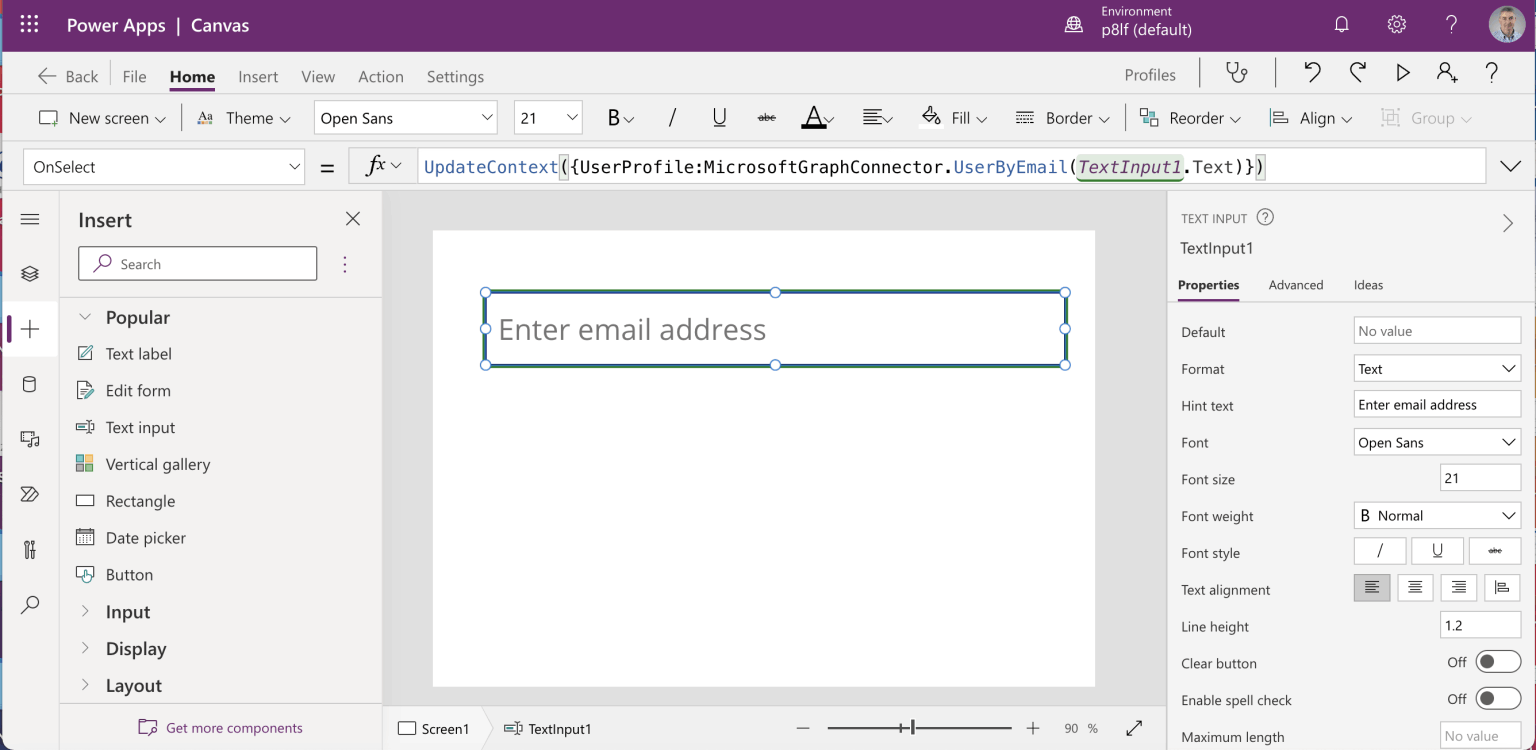
I updated the Text input's OnSelect handler to Set the value of "UserProfile" to the result of a call to the new UserByEmail action
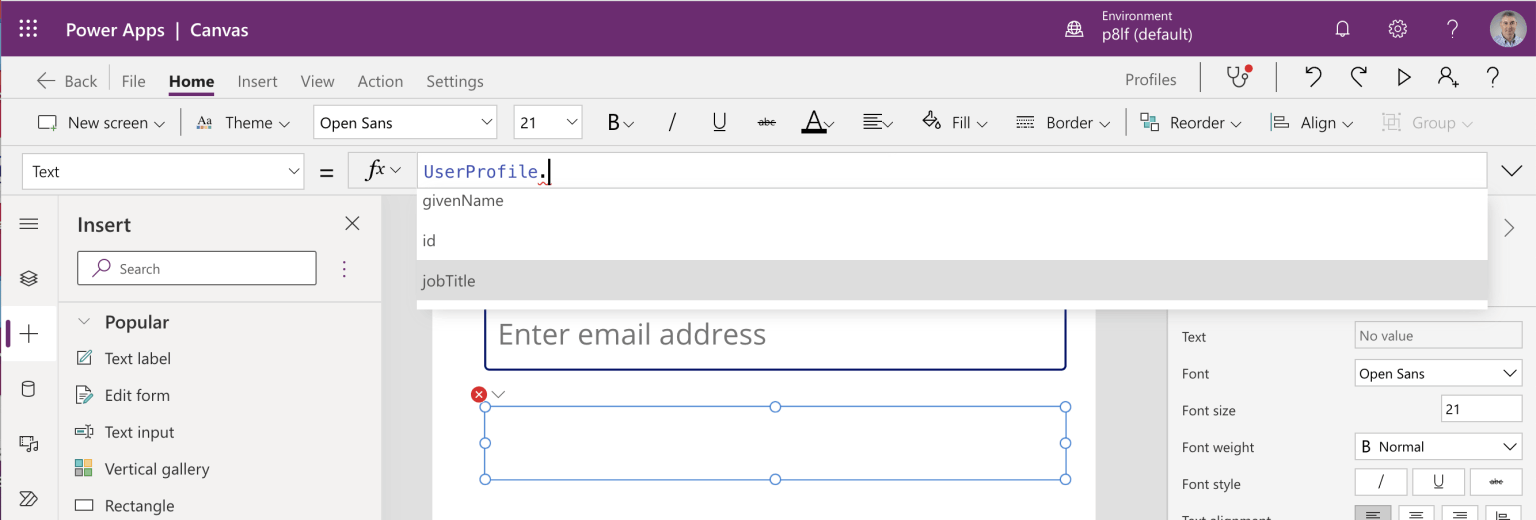
I updated the Text label to display the jobTitle property of the UserProfile
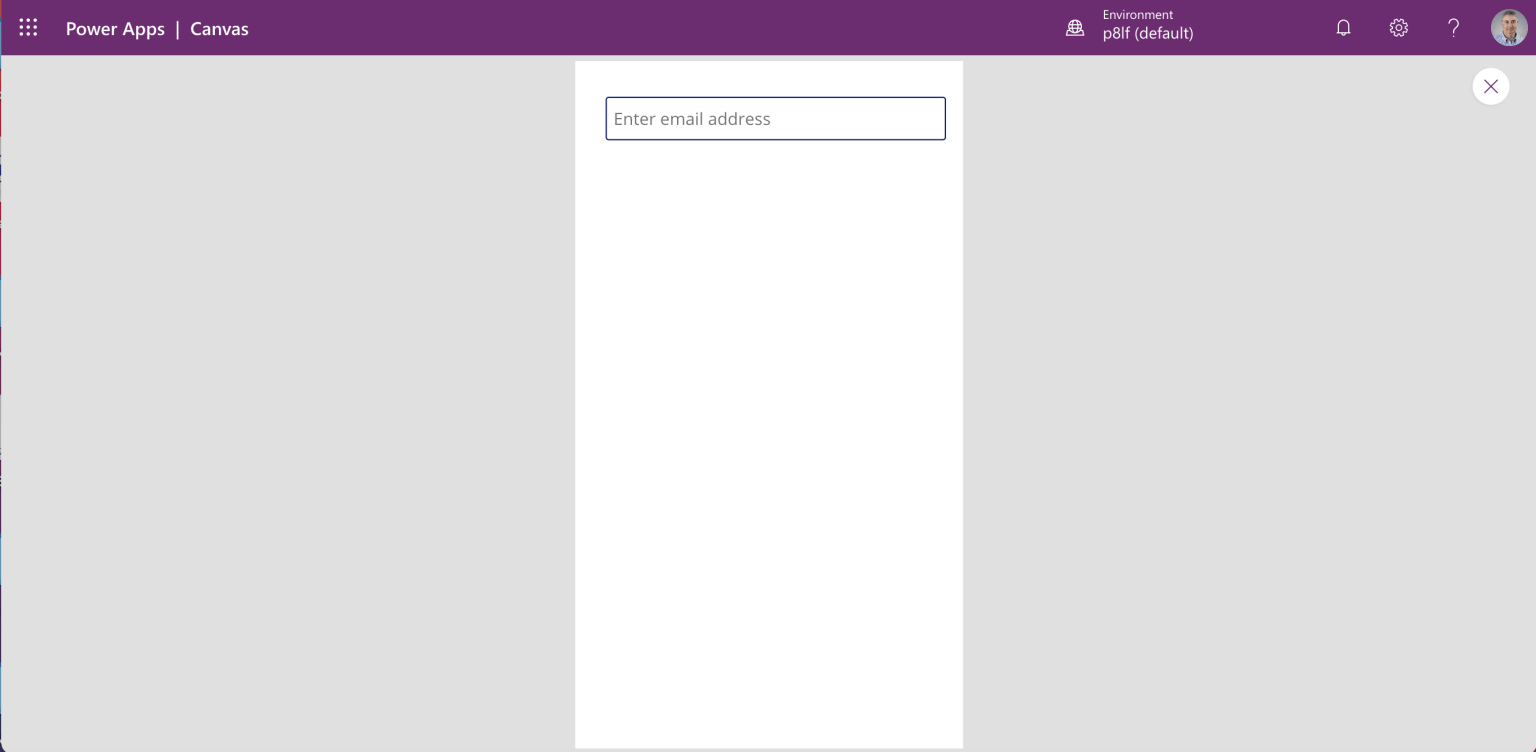
I ran the Profiles app and entered an email address
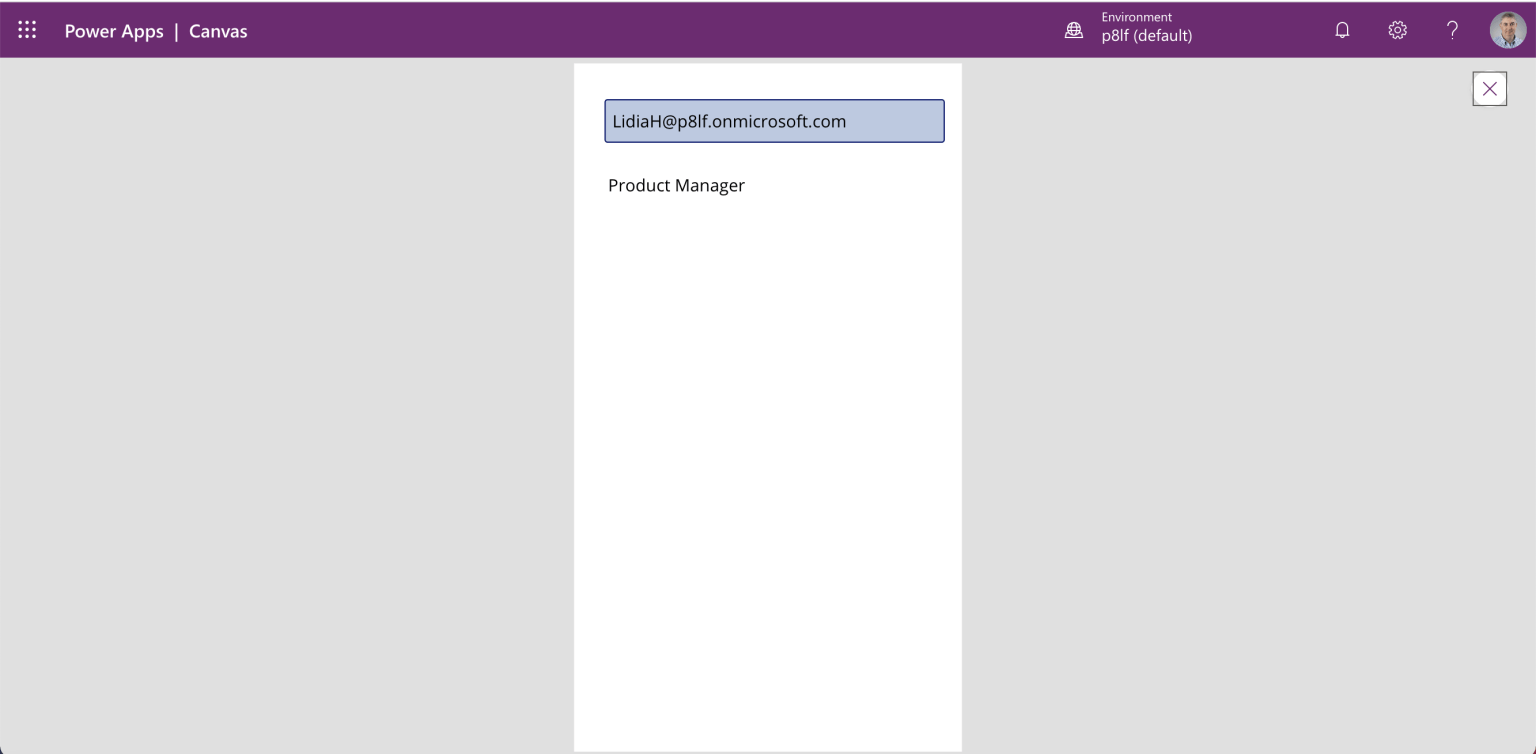
The user's job title was displayed