Microsoft_Office_logo by Microsoft is licensed under CC
Microsoft_Office_logo by Microsoft is licensed under CC
Create a GitHub Repository for the REST API code.
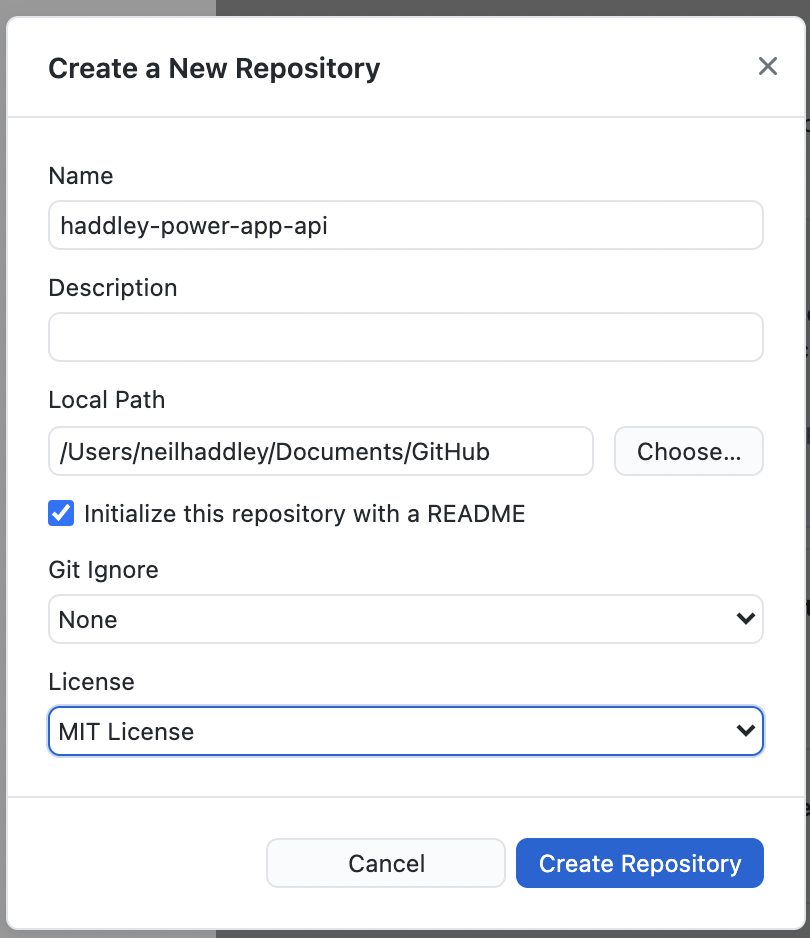
Create Repository
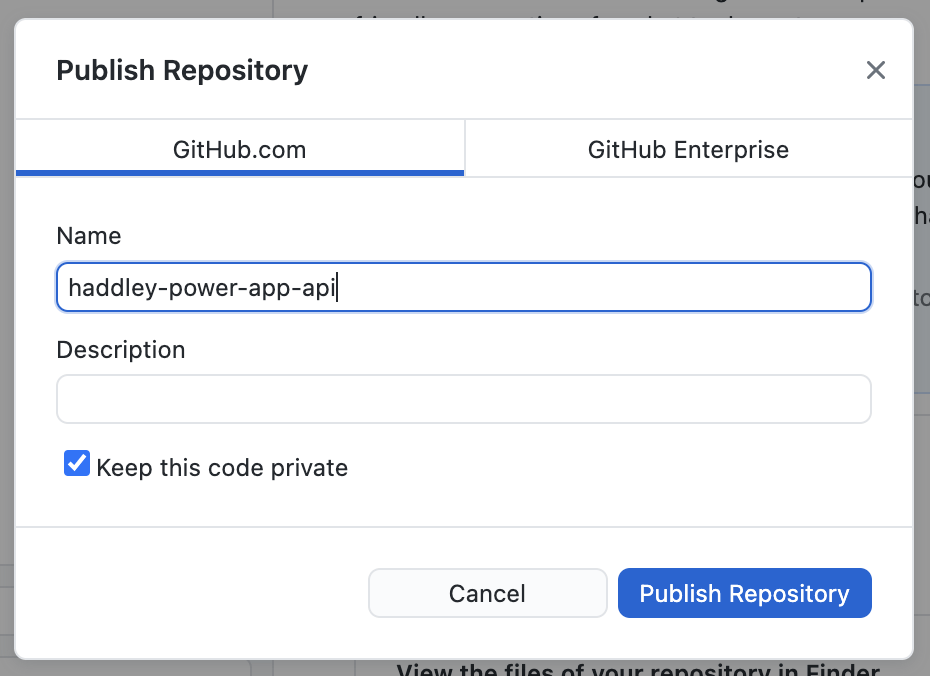
Publish Repository

open in Visual Studio Code
Open a Visual Studio Code terminal and use the command
% dotnet new api
to download example ASP.NET Core Web API code.

dotnet new webapi
Create a dotnet project gitignore file
% dotnet new gitignore
Start the project
% dotnet run
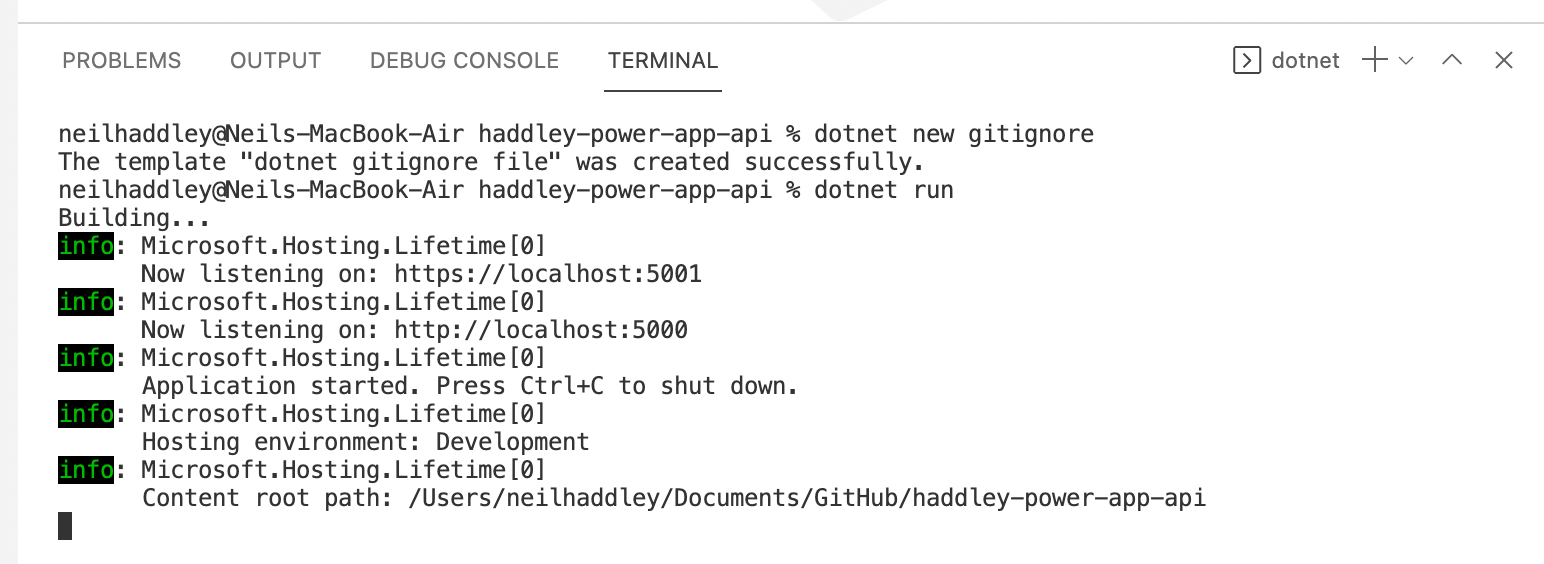
dotnet new gitignore and dotnet run

navigate to https://localhost:5001/WeatherForecast
The Book class include id and title properties
Book.cs
The BookController class is able to handle GET, POST, PUT and DELETE actions
BookController.cs
Comment out the if (env.IsDevelopment()) condition to enable Swagger in production (Azure)
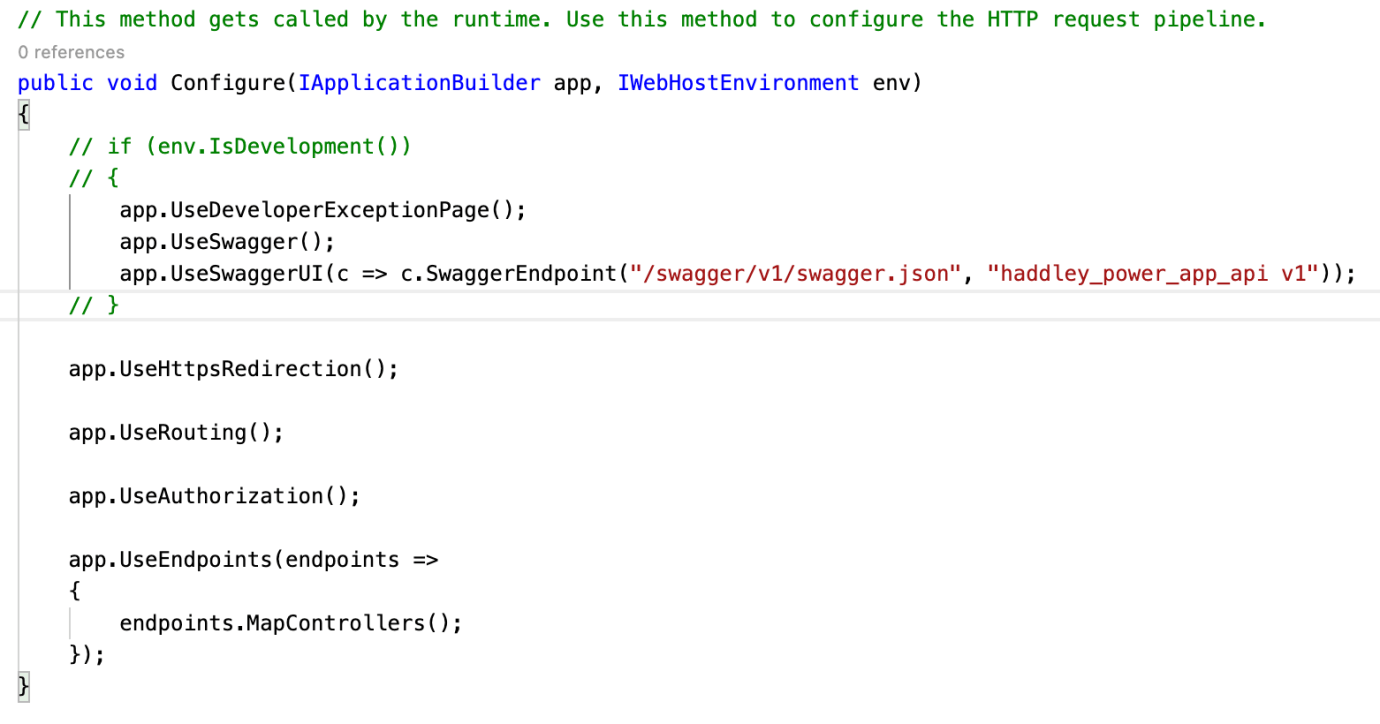
comment out the "if (env.IsDevelopement())" code
Create new web app.

haddley-power-app-api

.NET Core 3.1 runtime

Select pricing tier

Deploy the code to the new web app
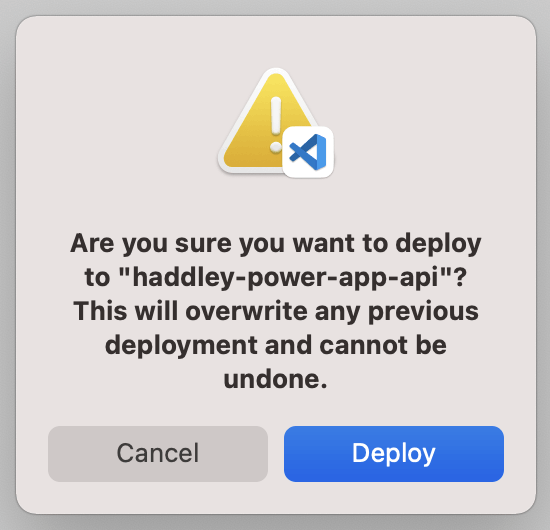
confirm deployment of the code
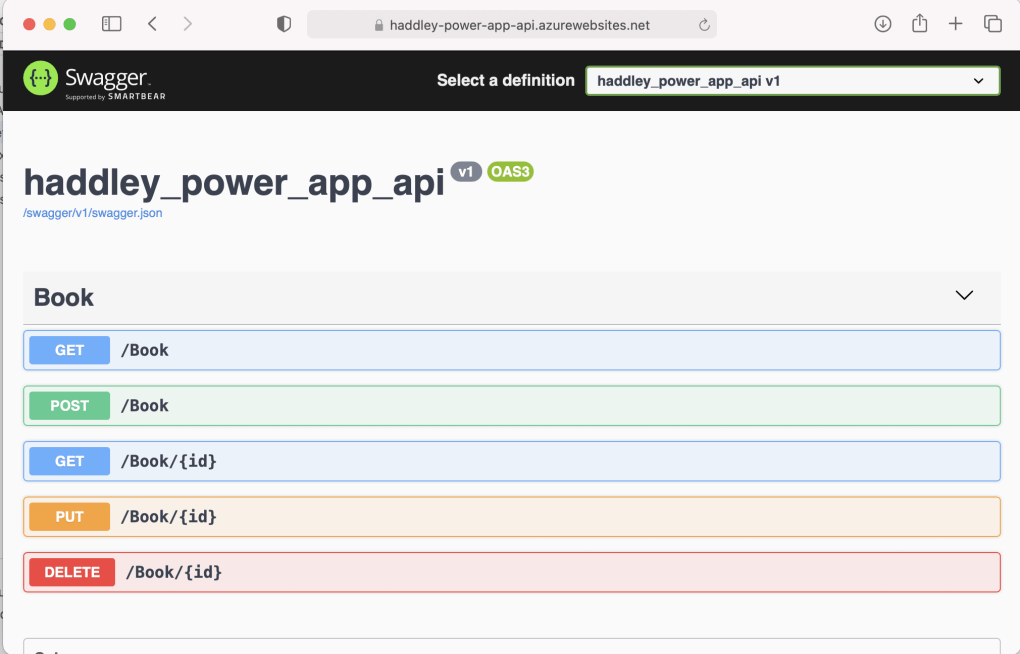
navigate to http://haddley-power-app-api.azurewebsites.net/swagger to see a list of the GET, POST, PUT and DELETE actions
In three steps:
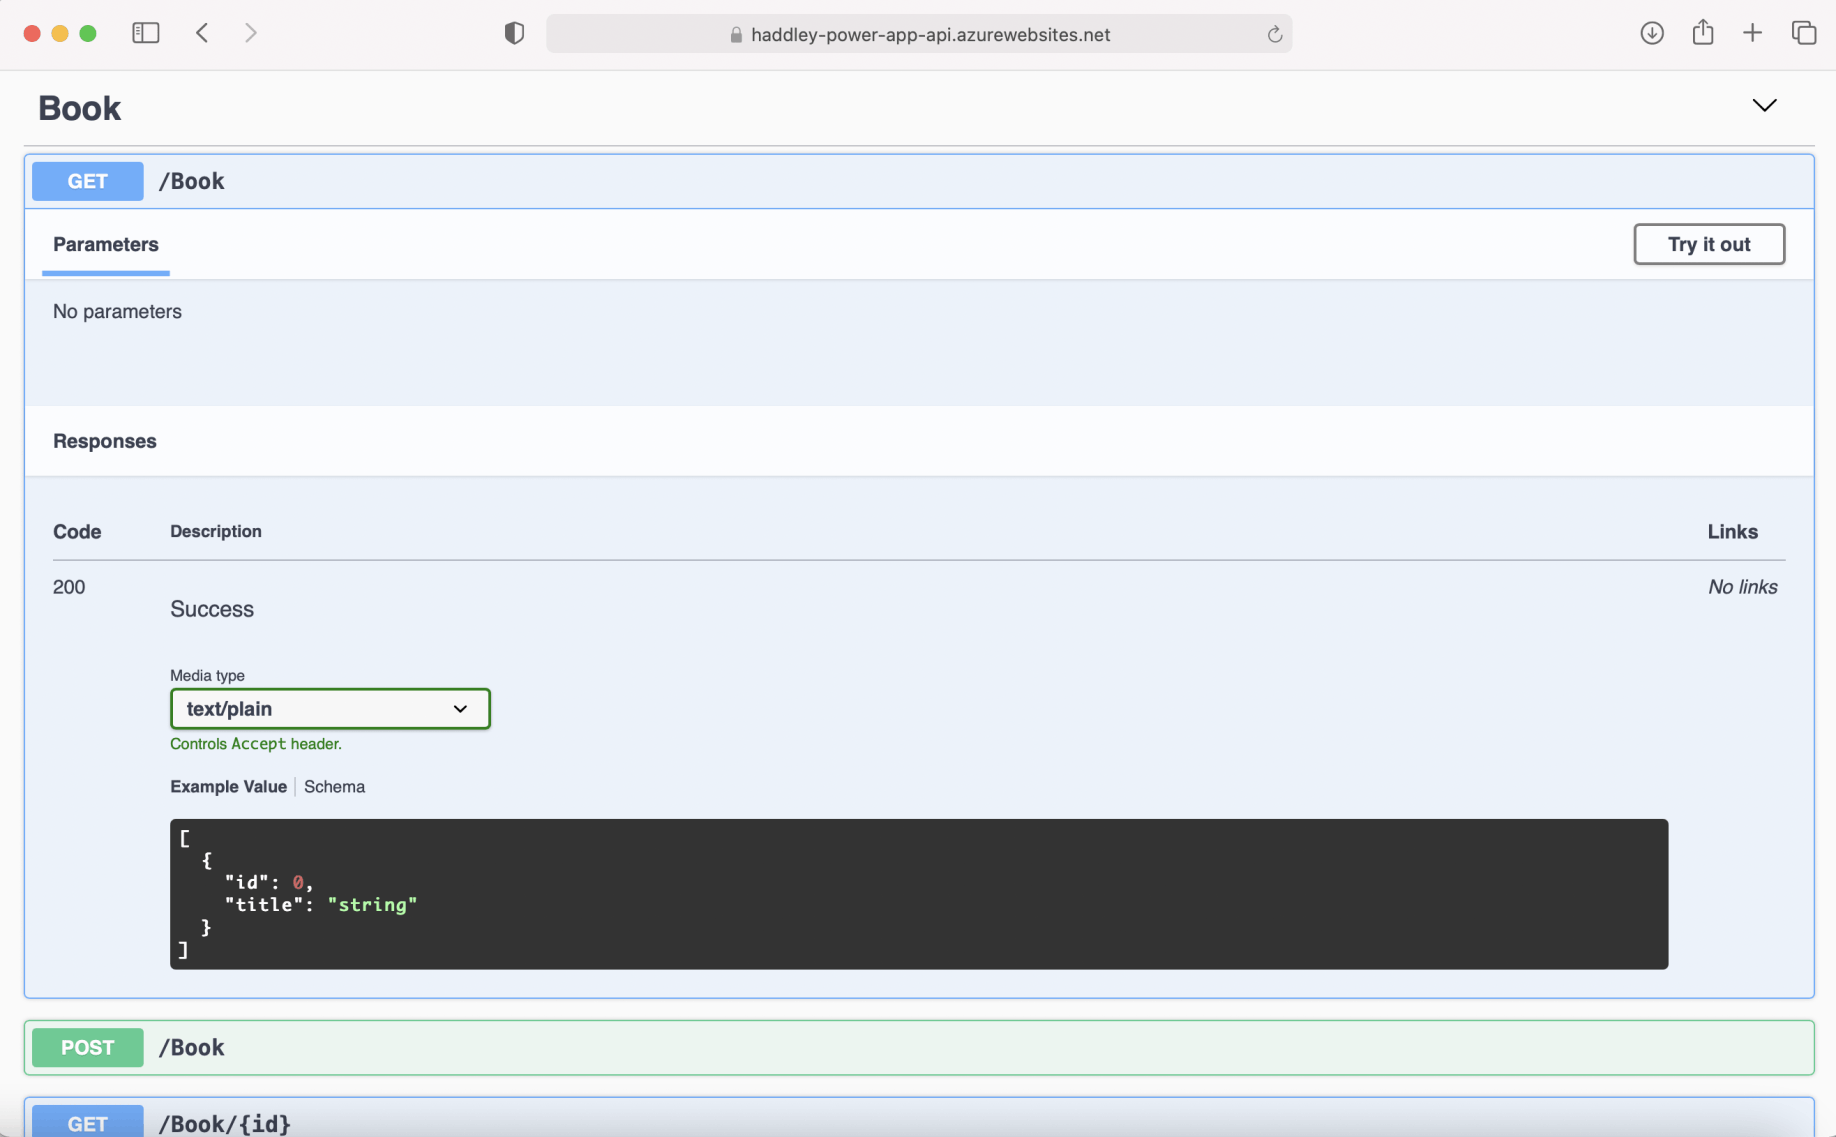
Expand the GET /Book action
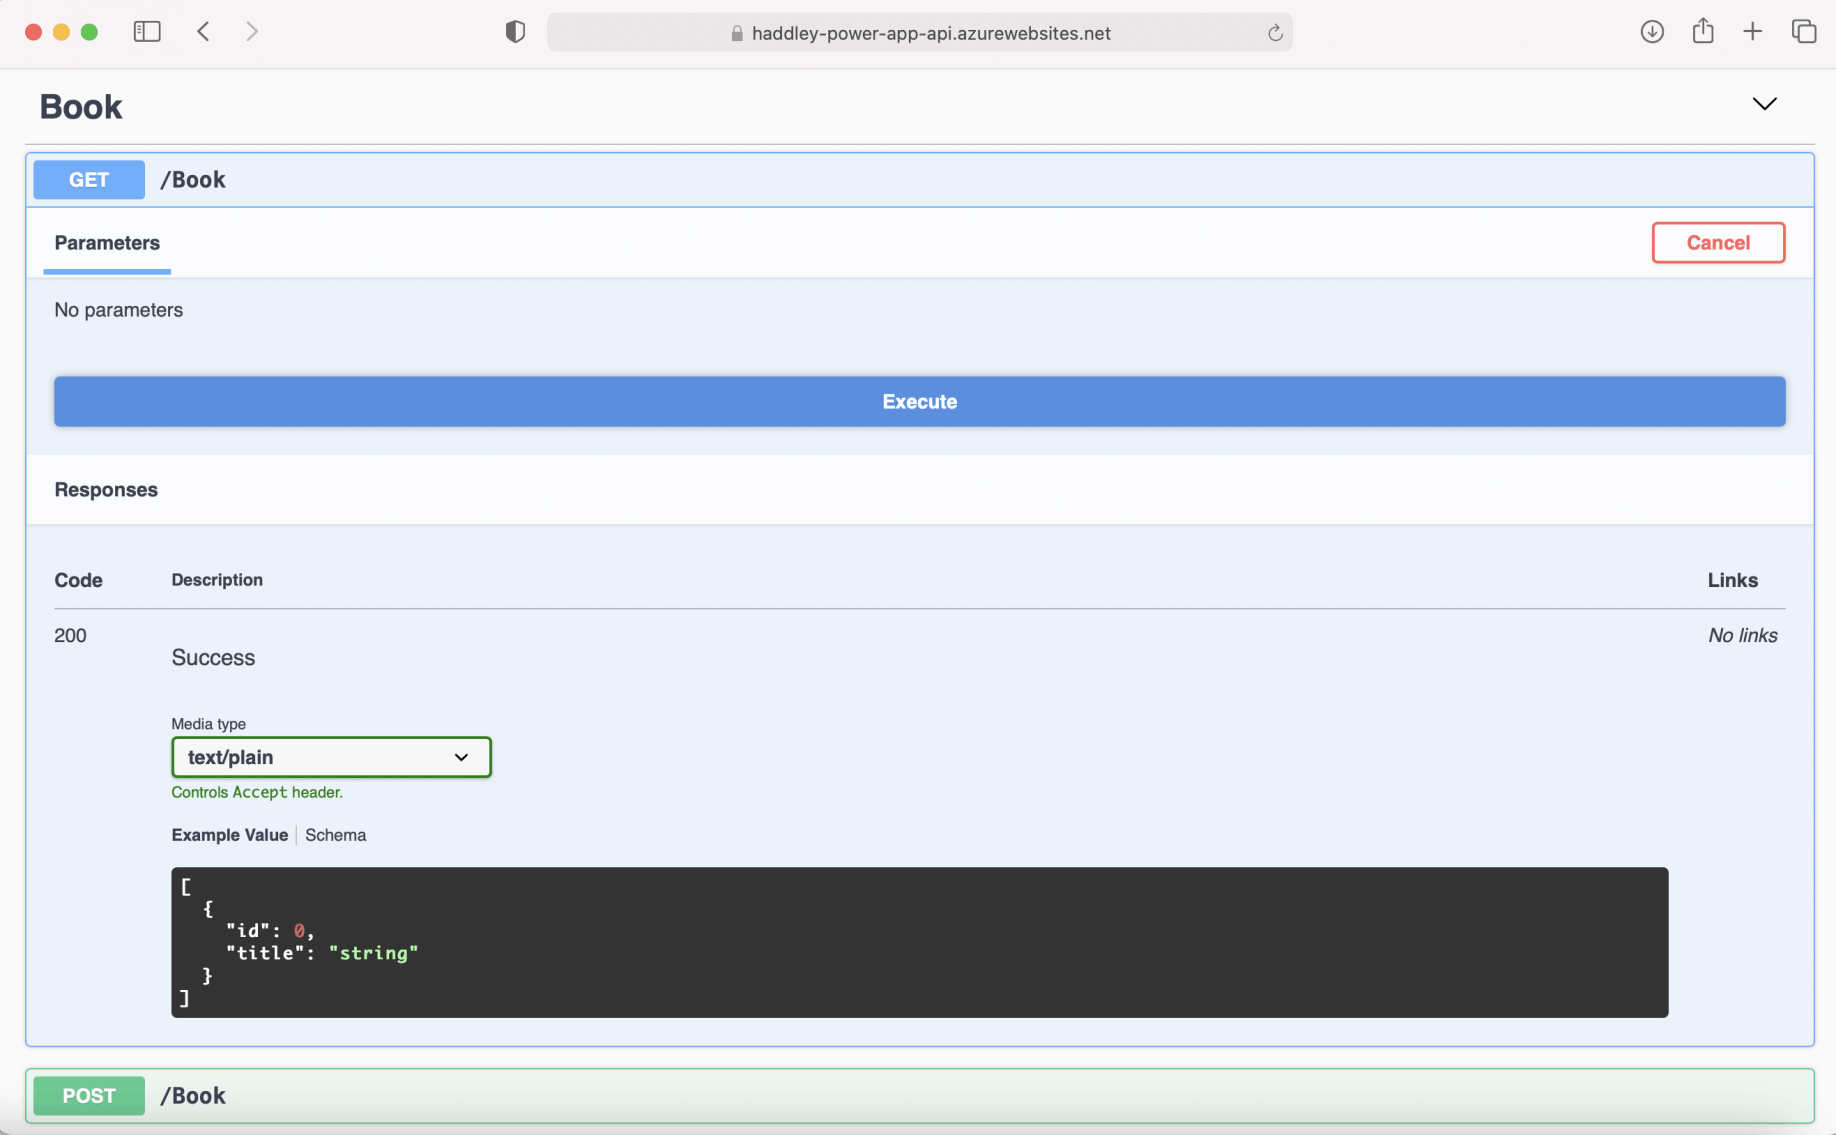
execute the GET /Book action
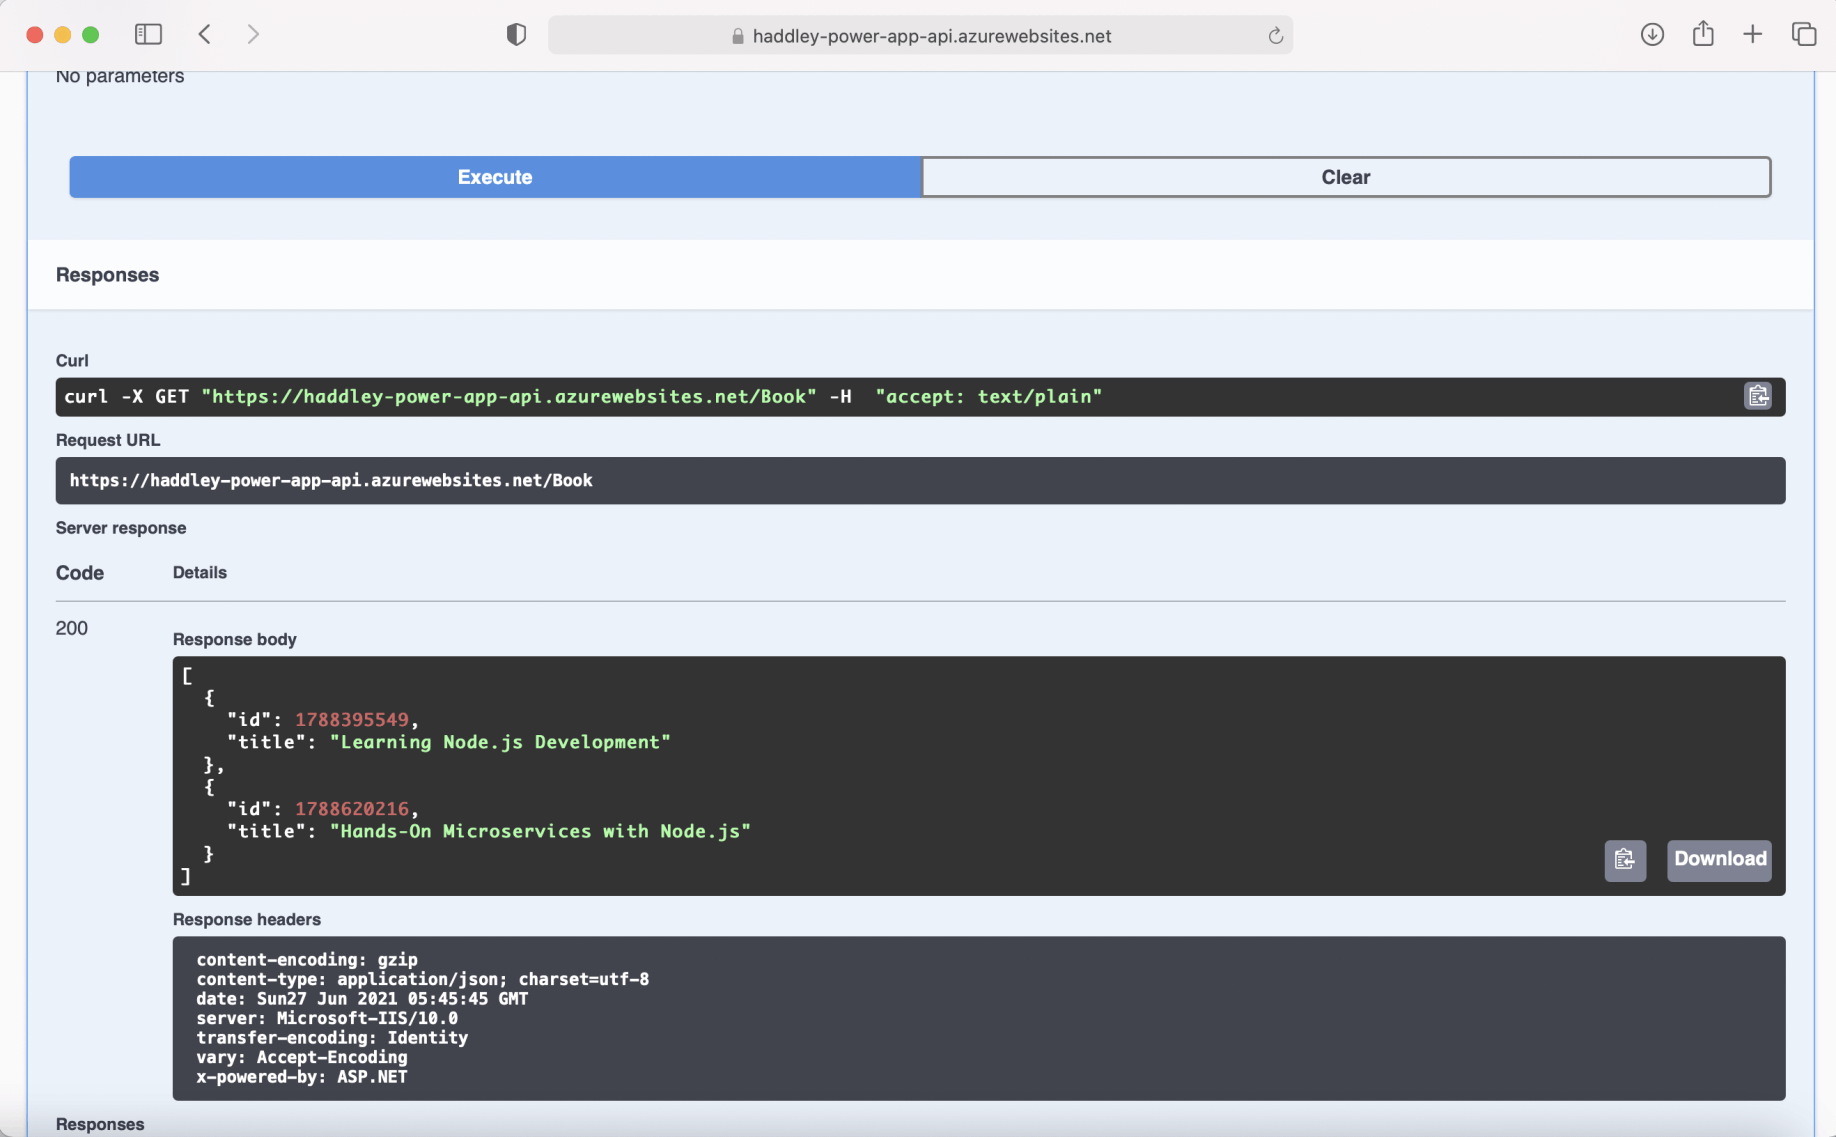
Review the server response
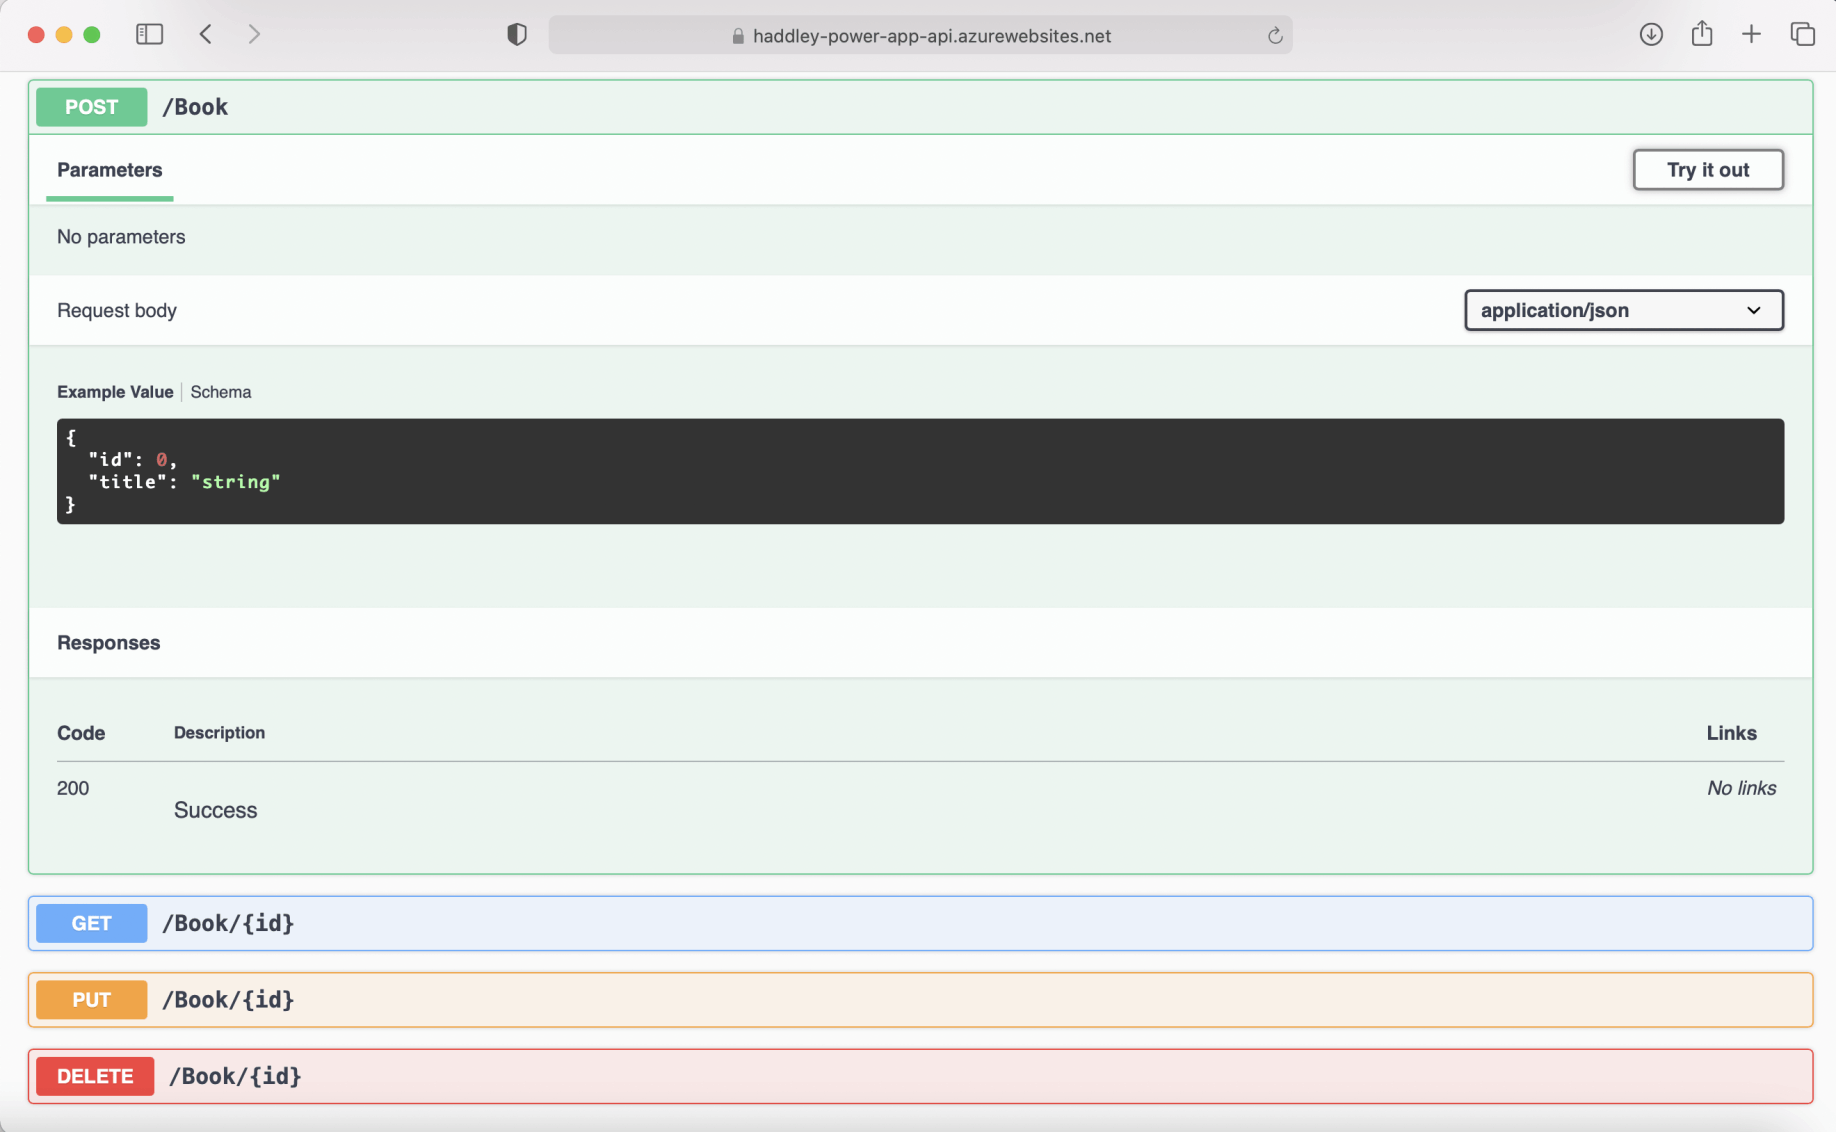
Expand the POST /Book action
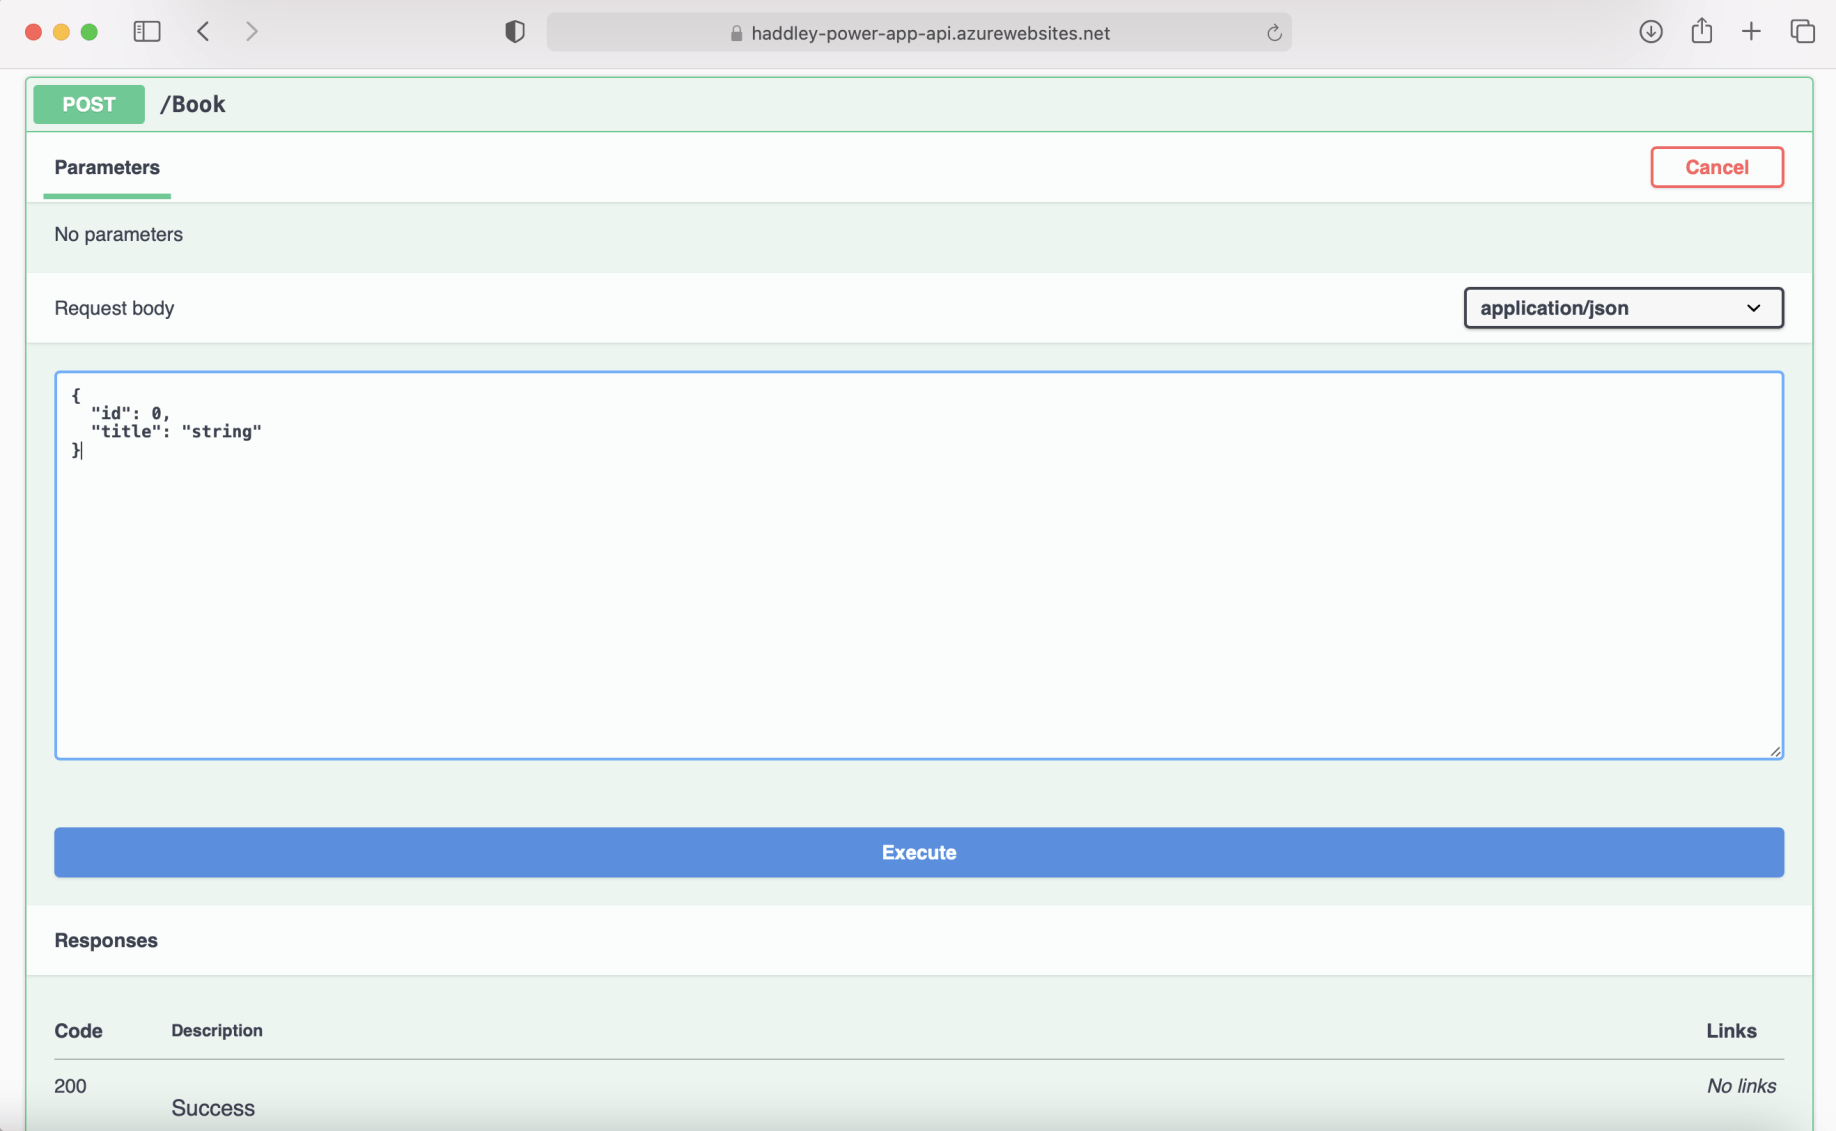
Update the request body
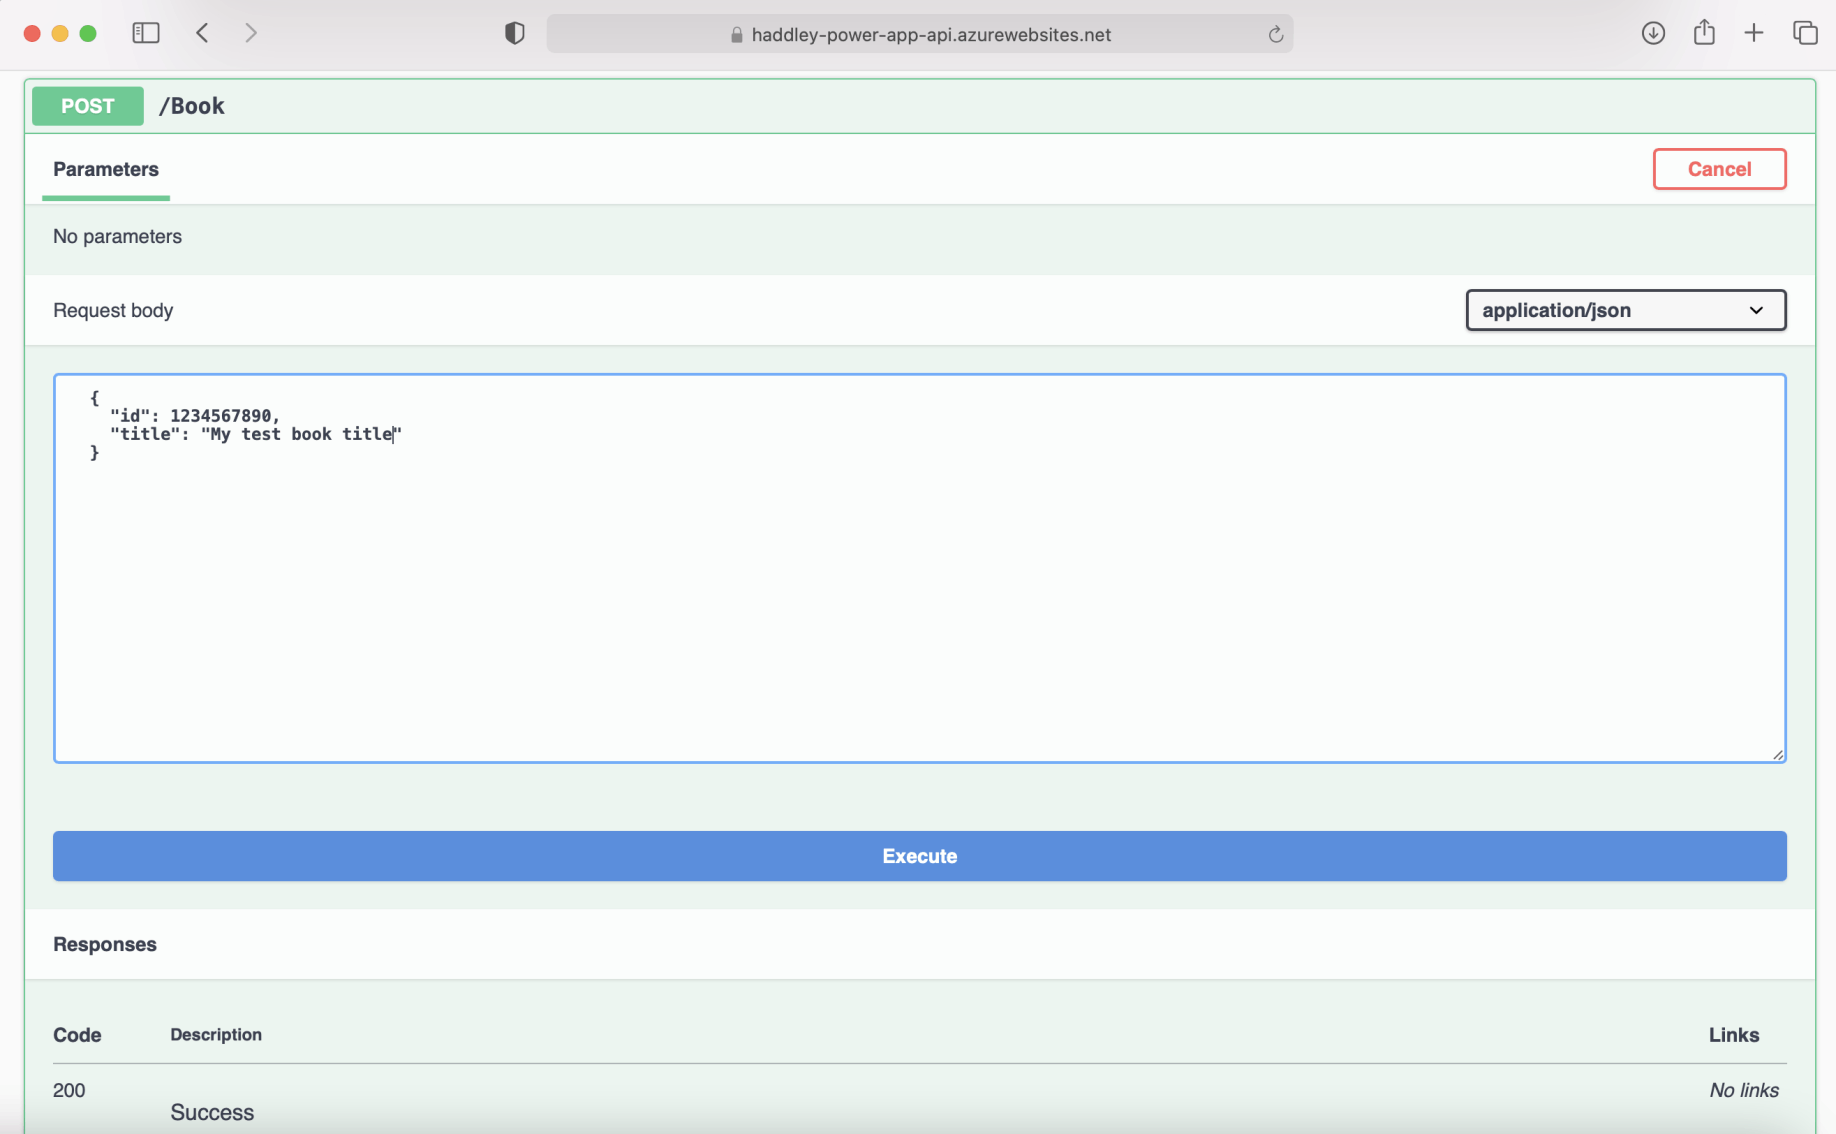
Execute the POST /Book action using the Request body
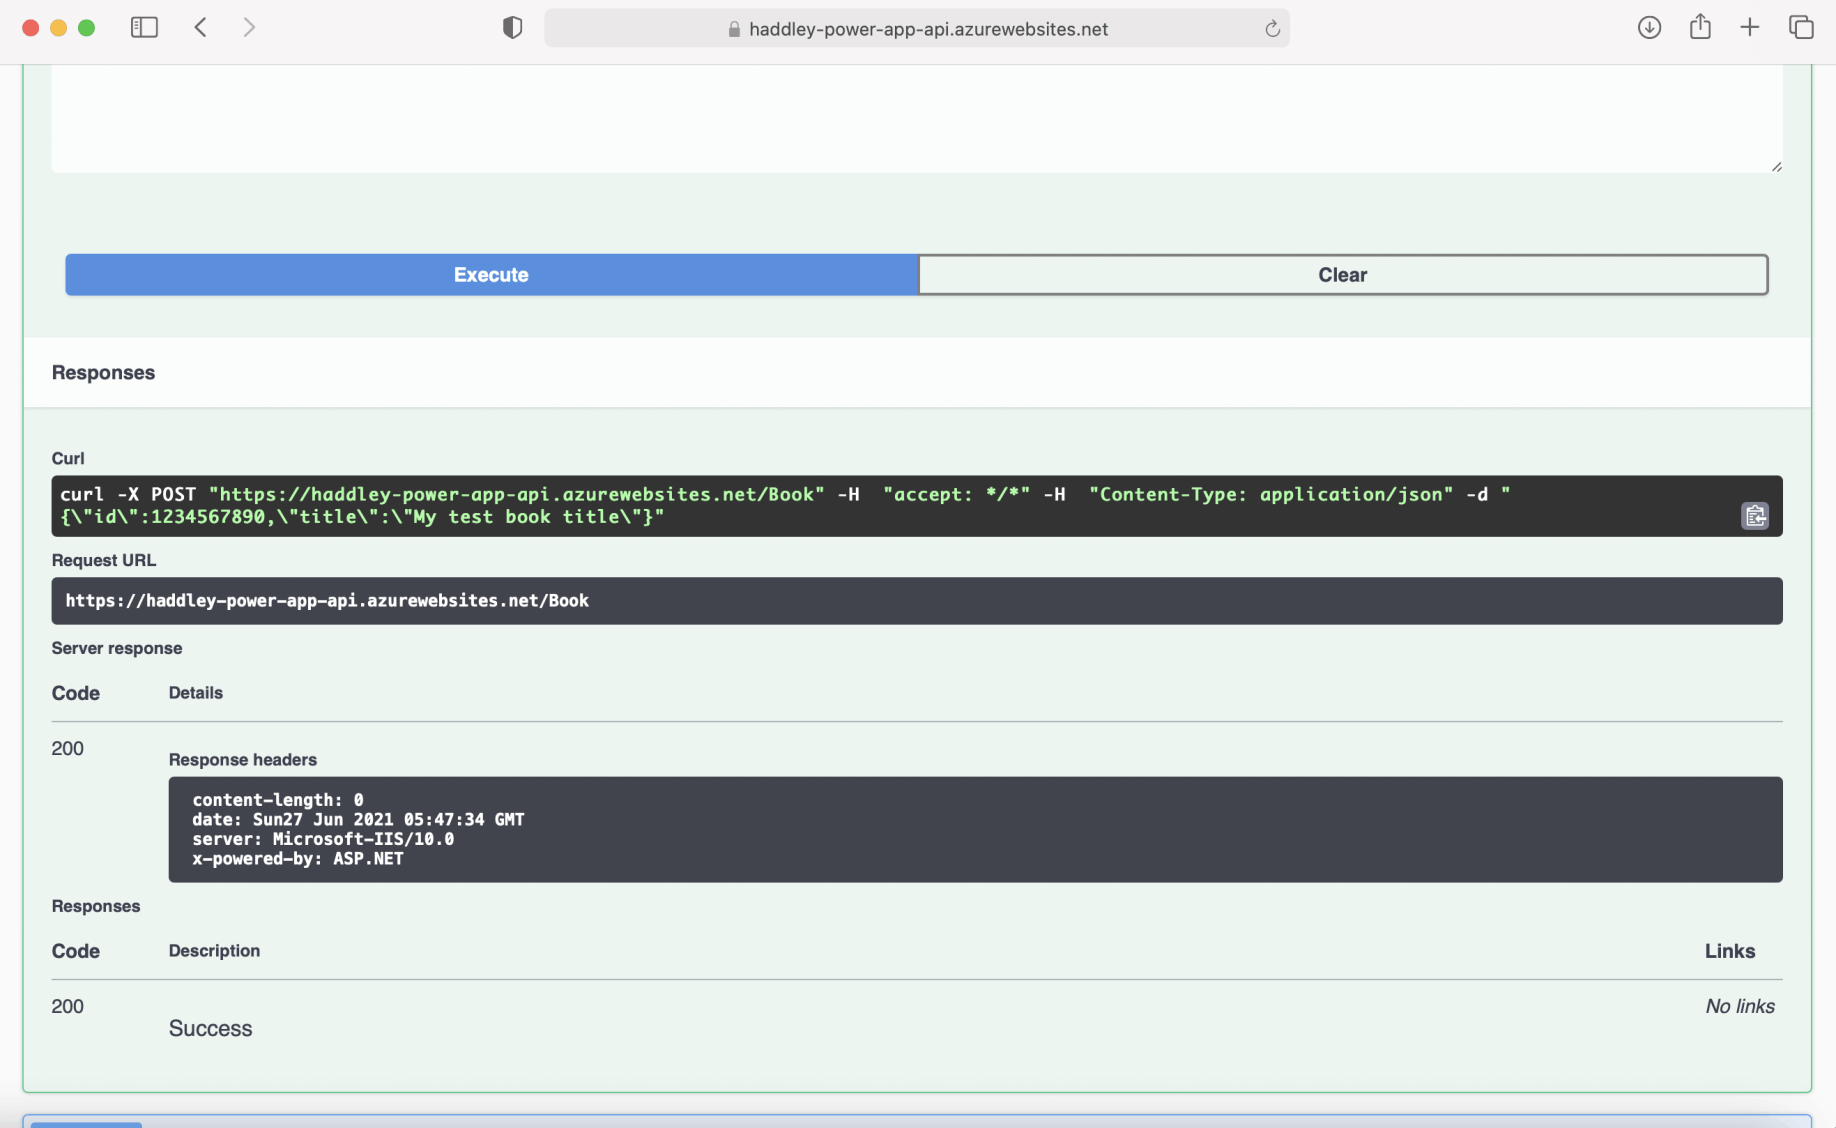
Review the Server response
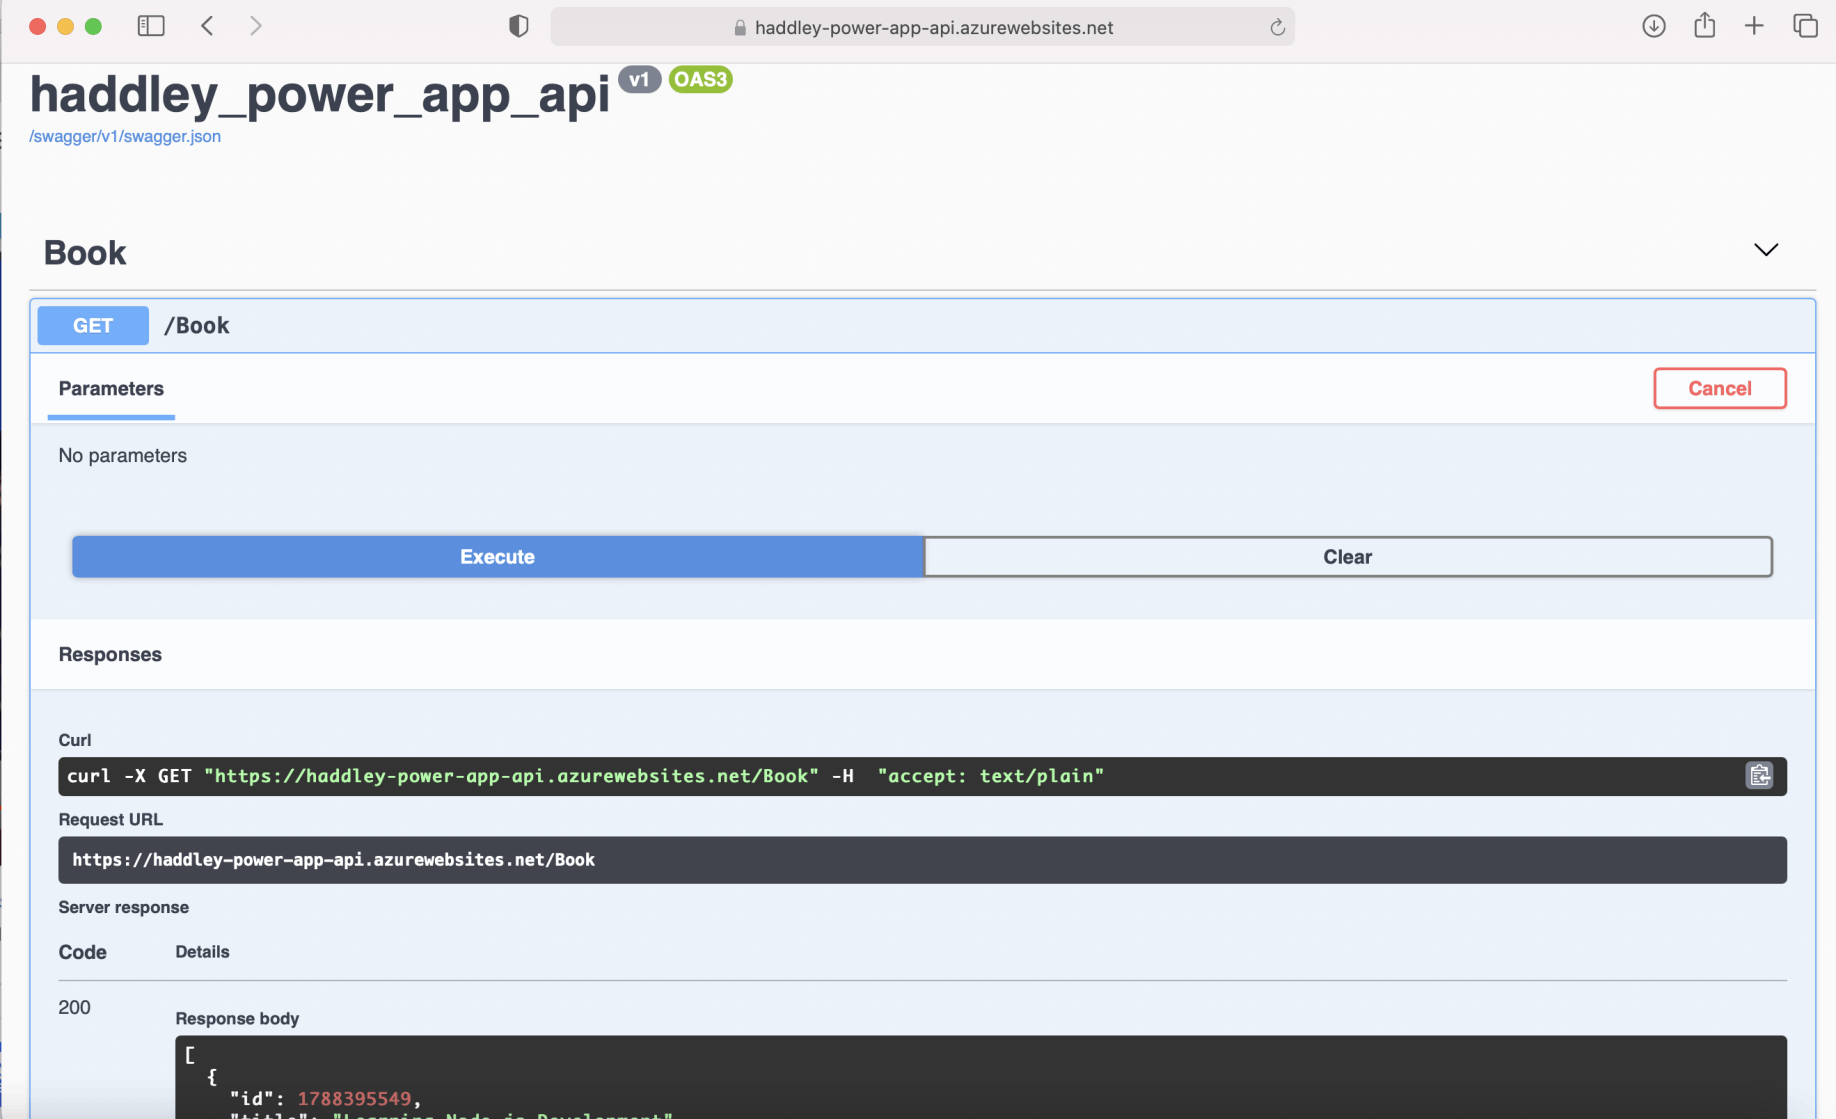
Execute the GET /Book action
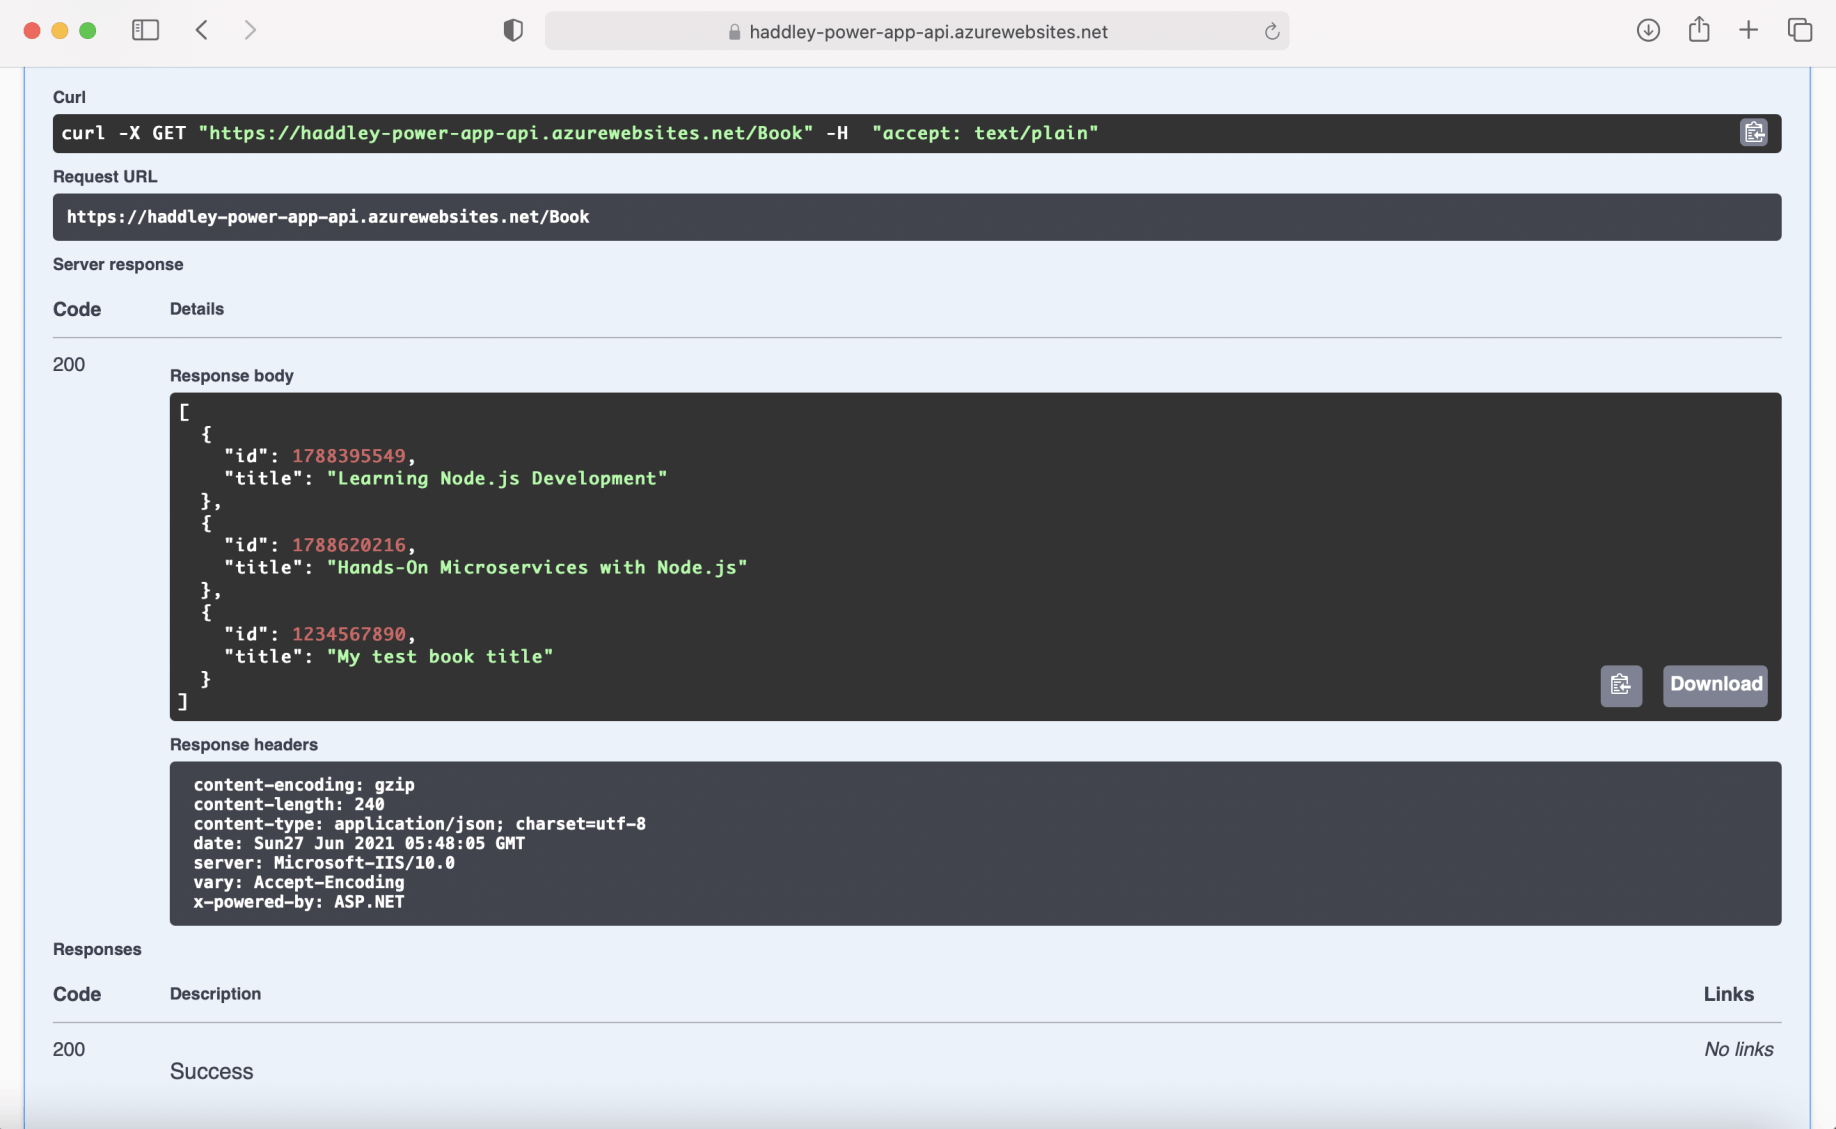
Review the Server response
Click the "/swagger/v1/swagger.json" link to review a description of the API.
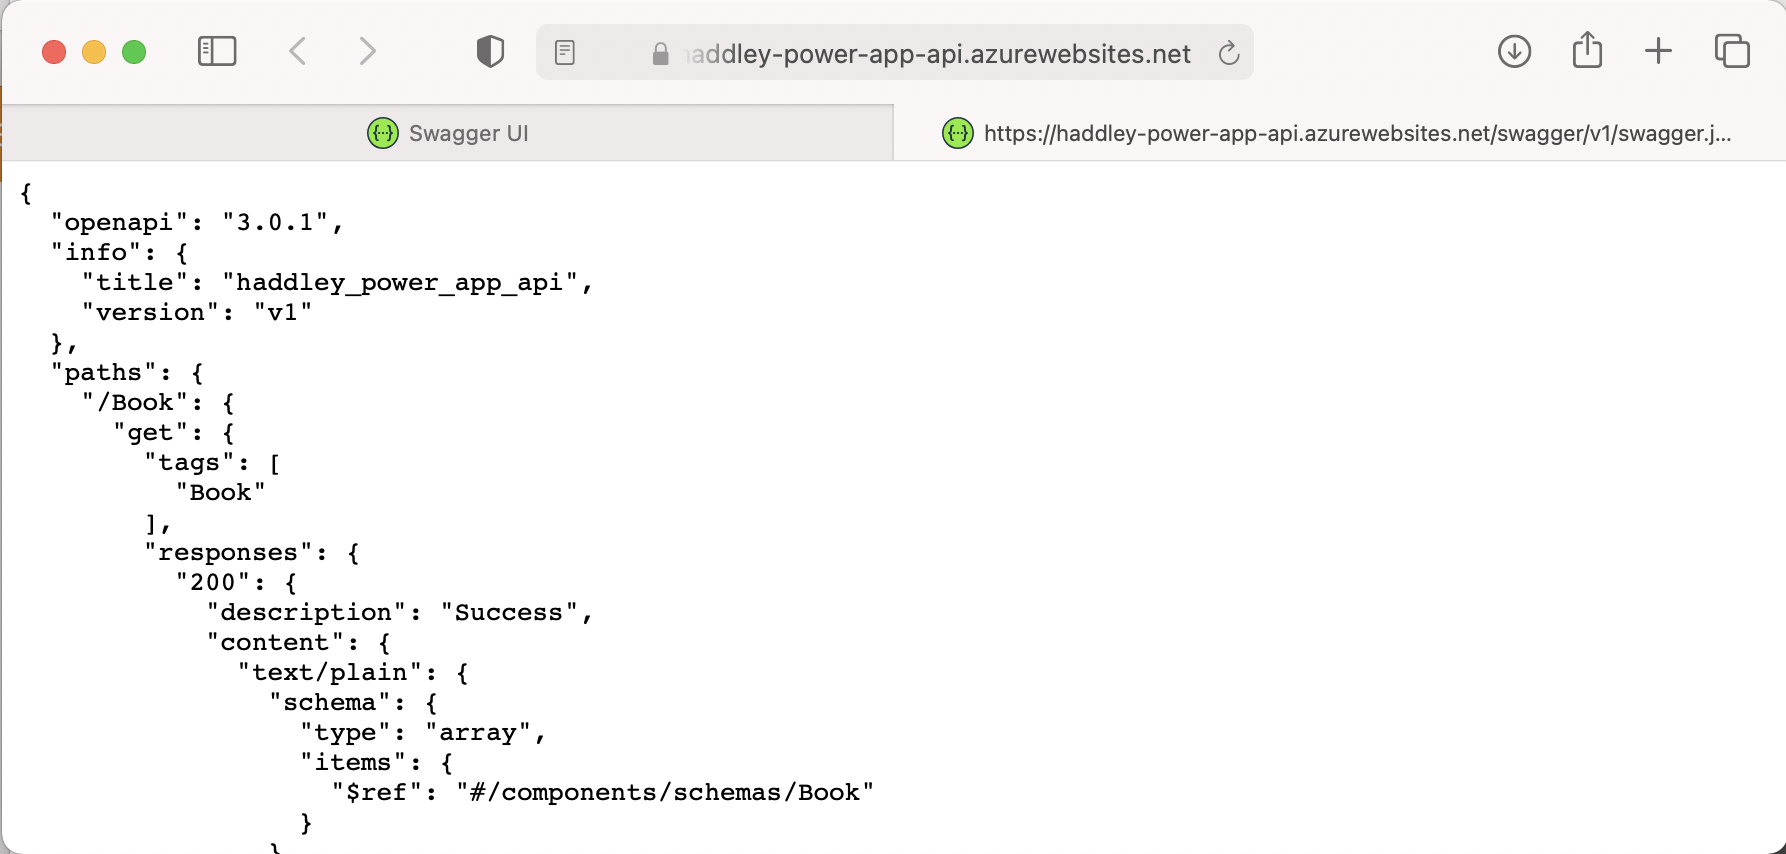
Export/Save the API description (openapi version 3 format)
swagger.json
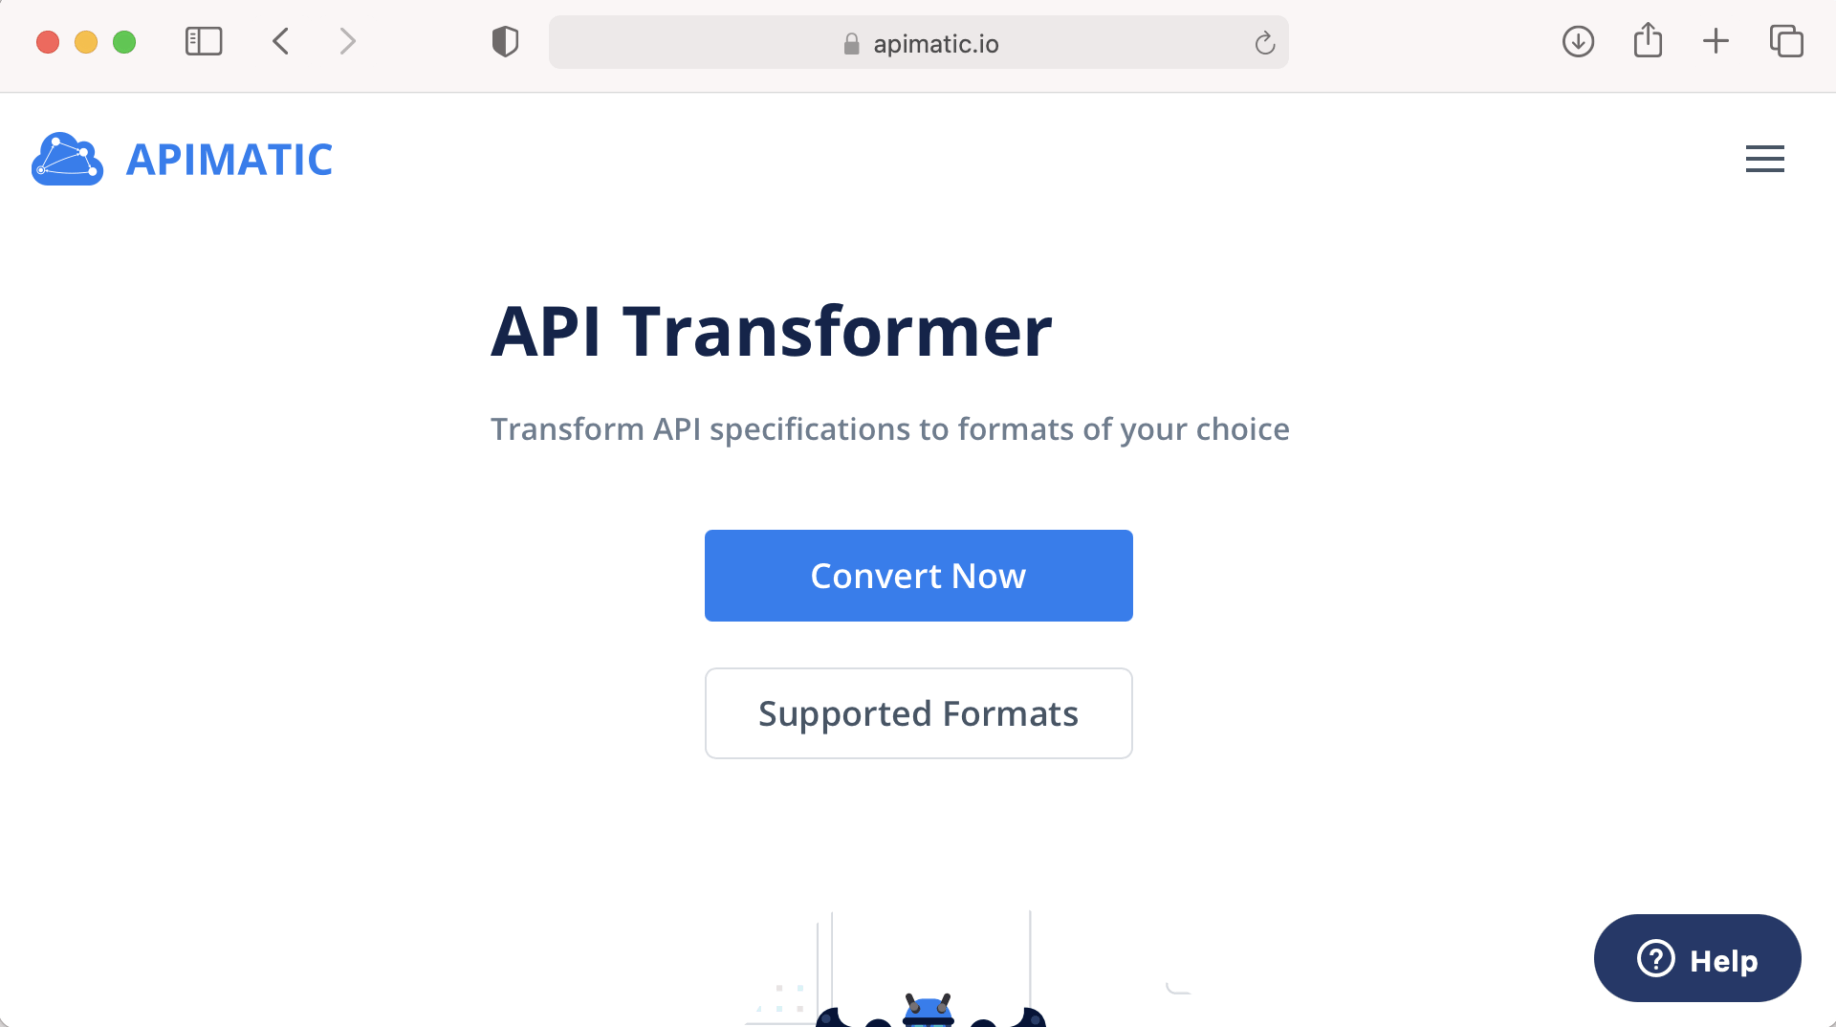
Upload the API description to API Transformer
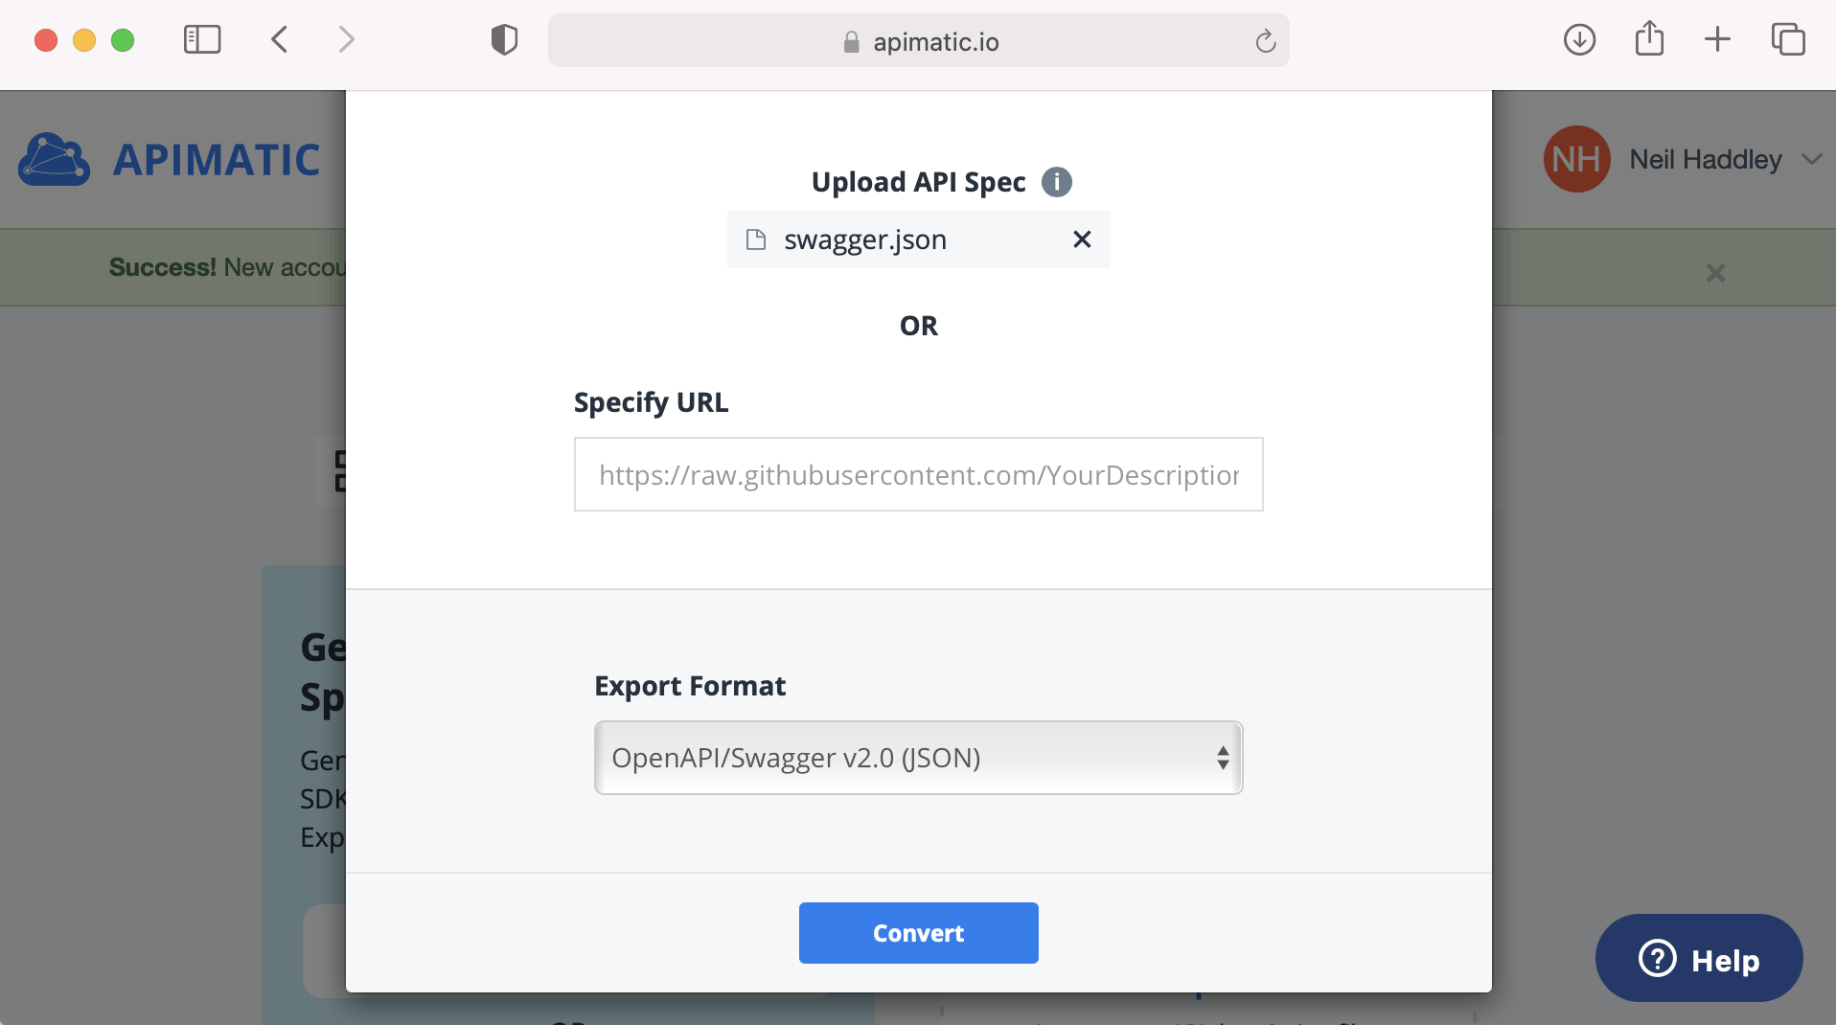
Download the API description (openapi version 2 format)
swagger.json-Swagger20.json
Navigate to make.powerapps.com and select the "Custom Connectors" menu item.
Click the "+ New custom connector" button.
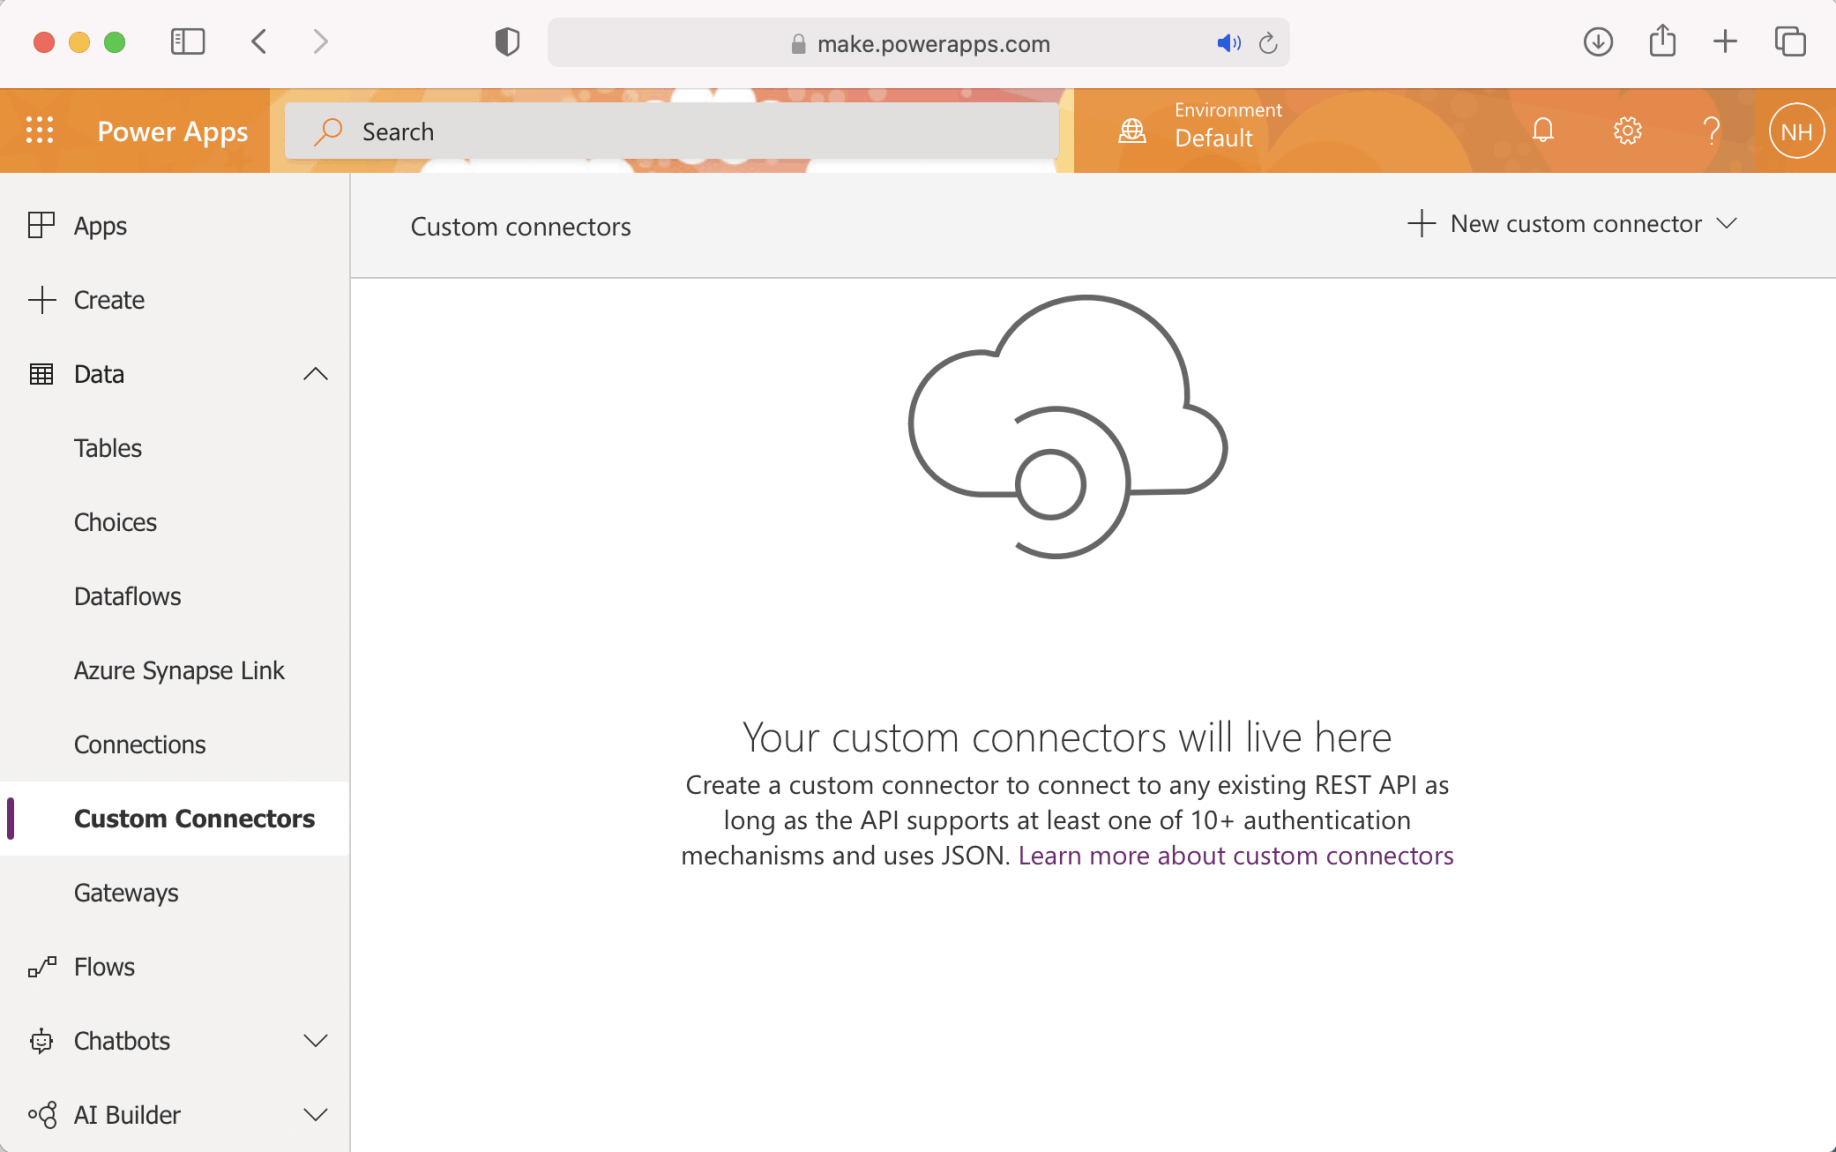
Custom Connectors
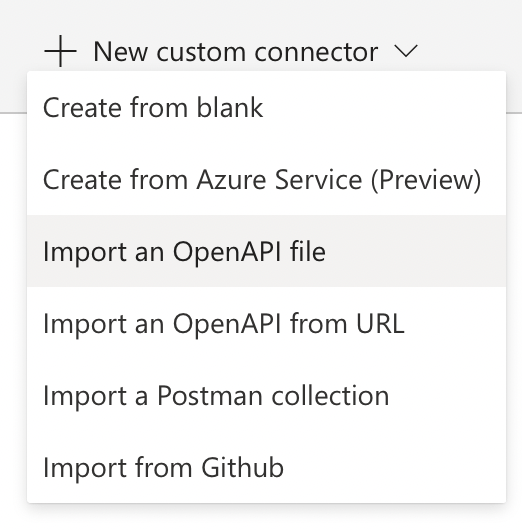
Select the Import an OpenAPI file option
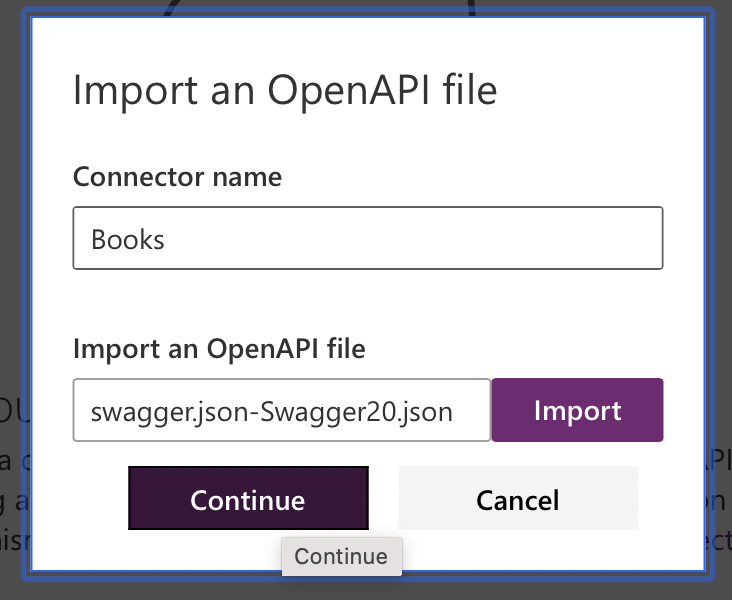
Import the API description (openapi version 2)
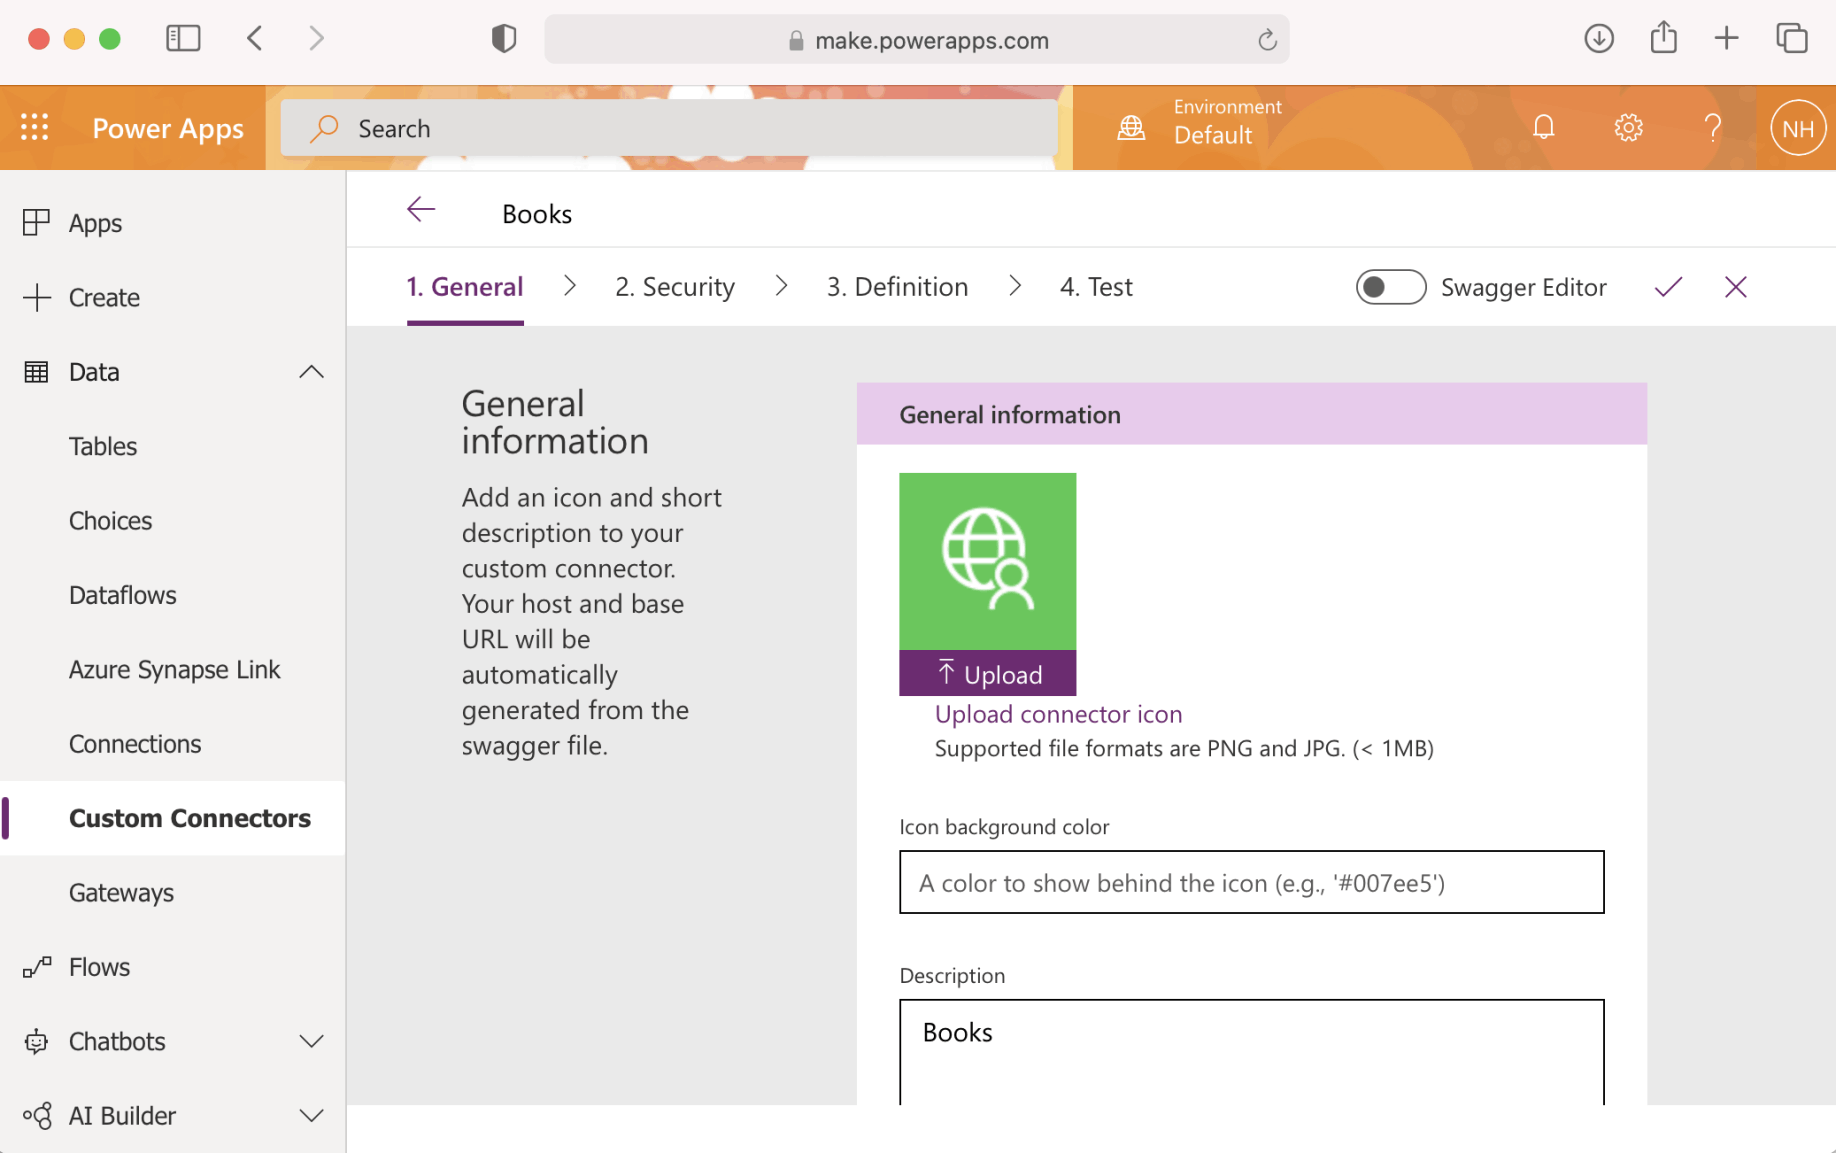
Books
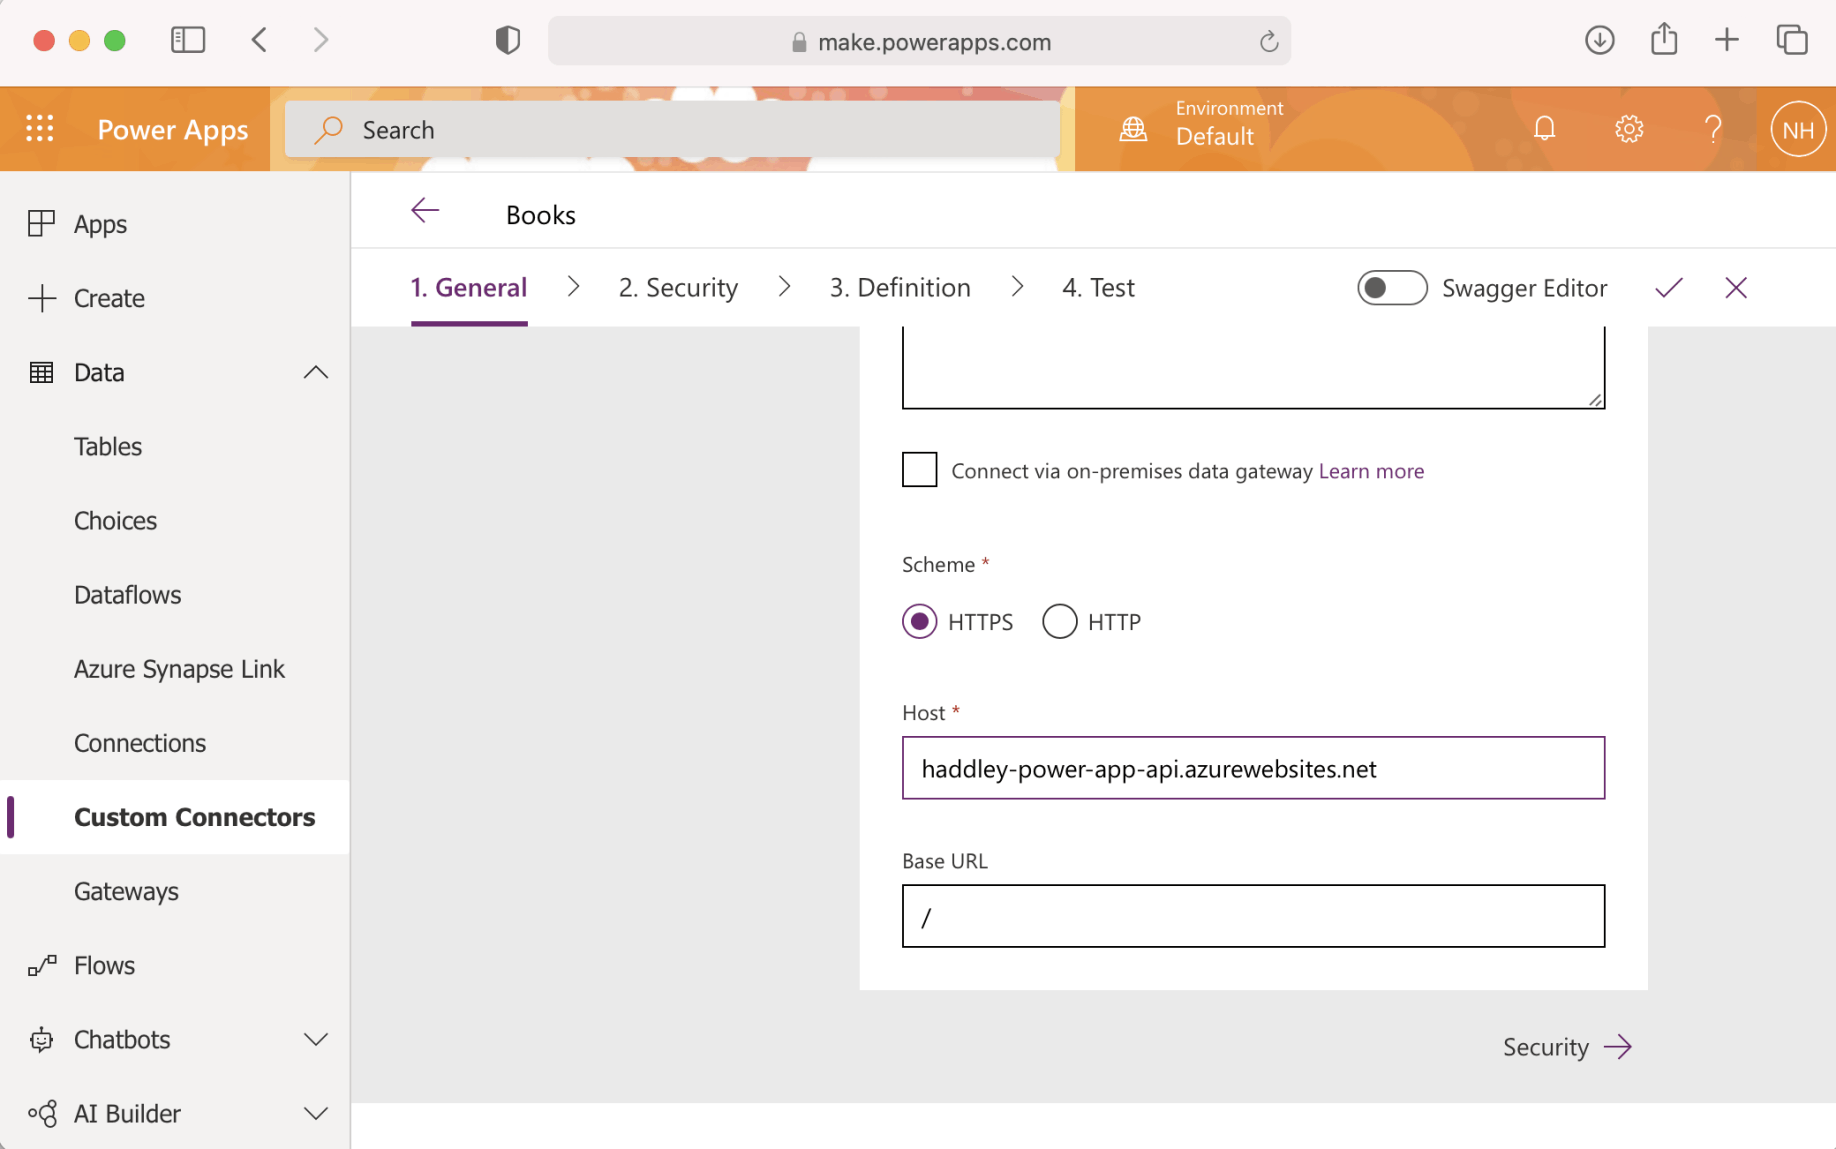
Review the General settings
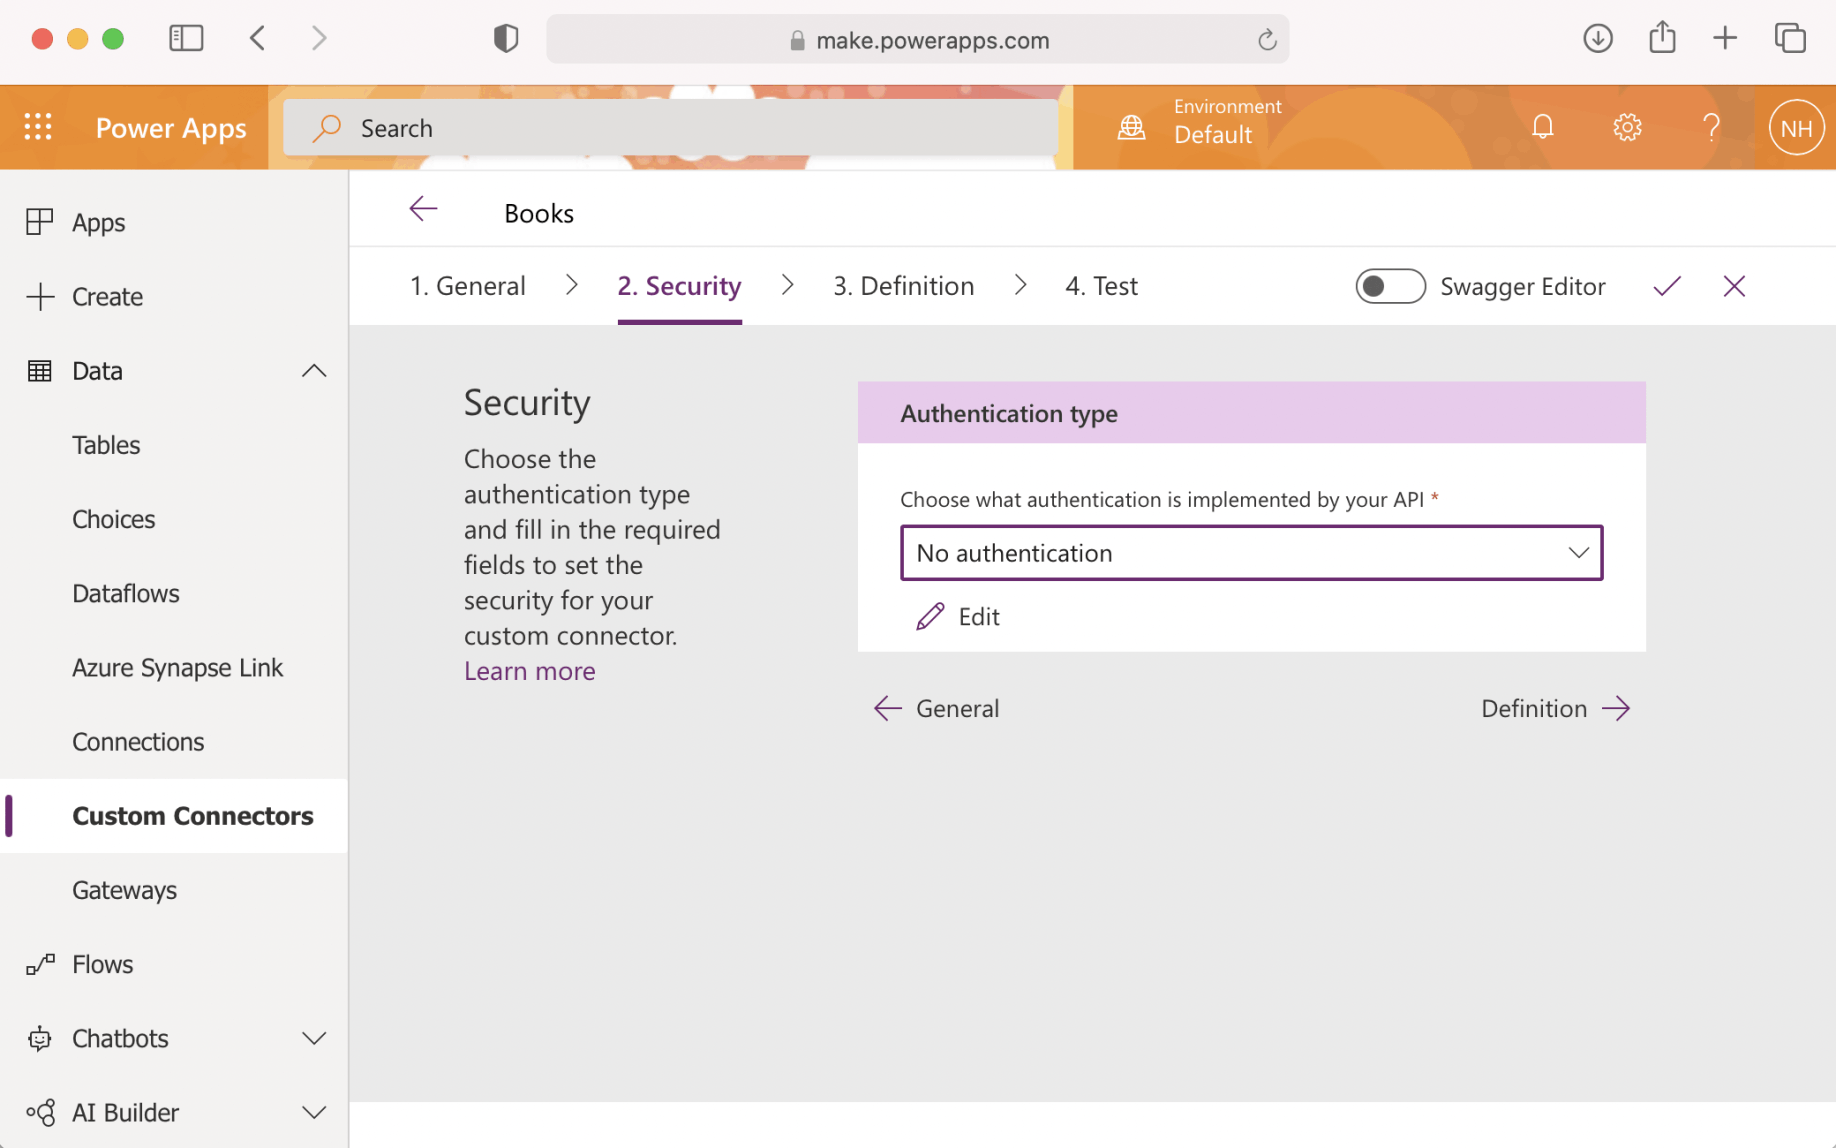
Select "No Authentication" (for now)
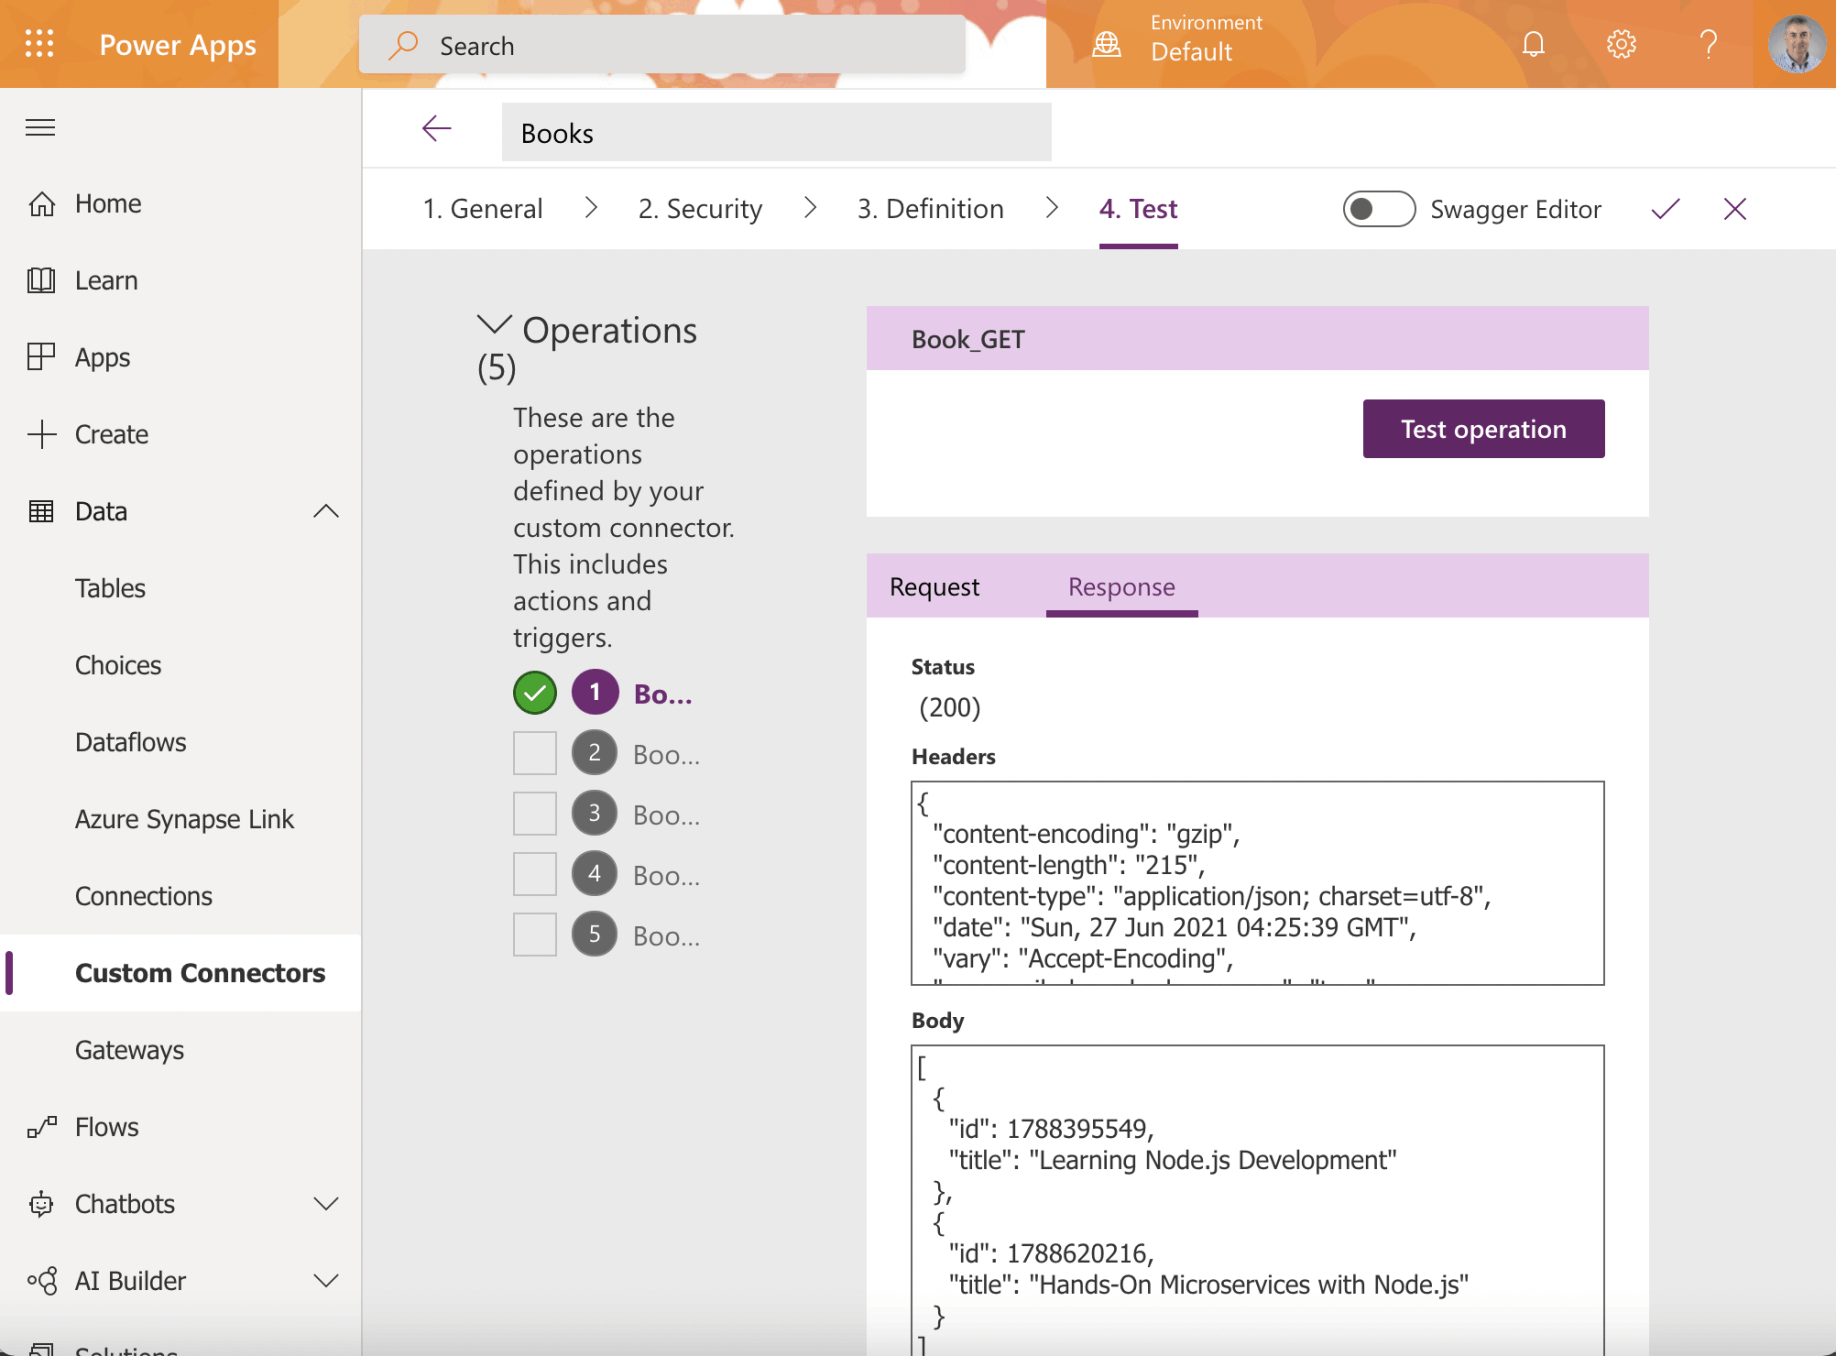
Test the Book related actions

Books Custom Connector