Businesses that physically move goods in and out of their warehouse need to be able to receive, pick, and ship items.
I created a walkthrough.
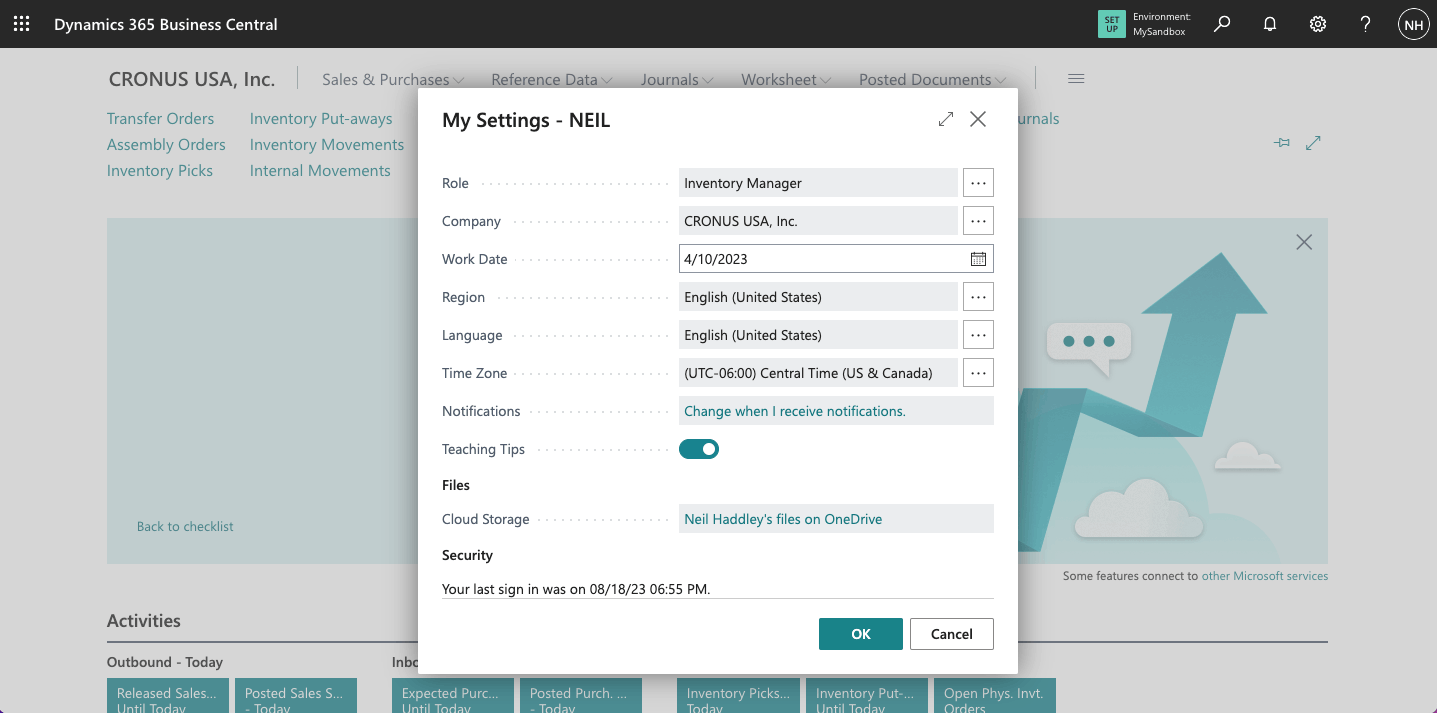
I updated my role to Inventory Manager
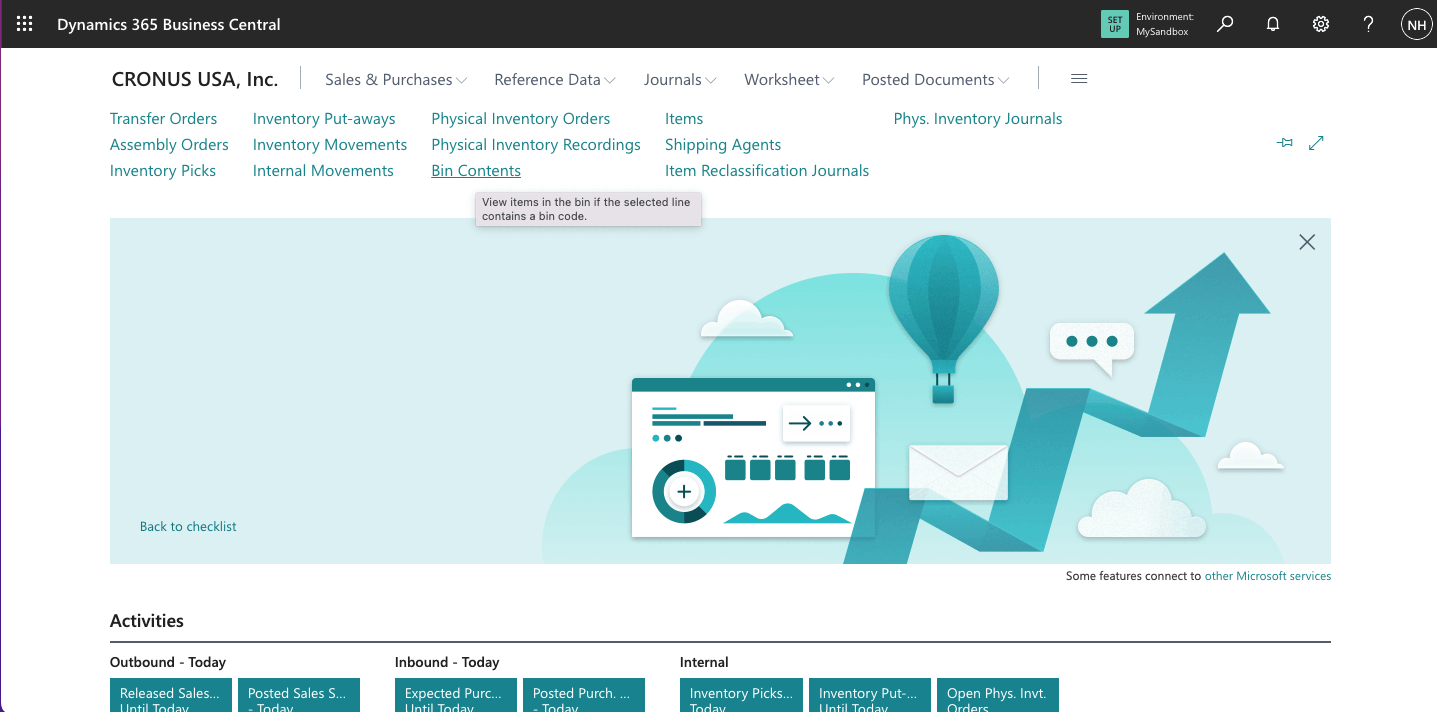
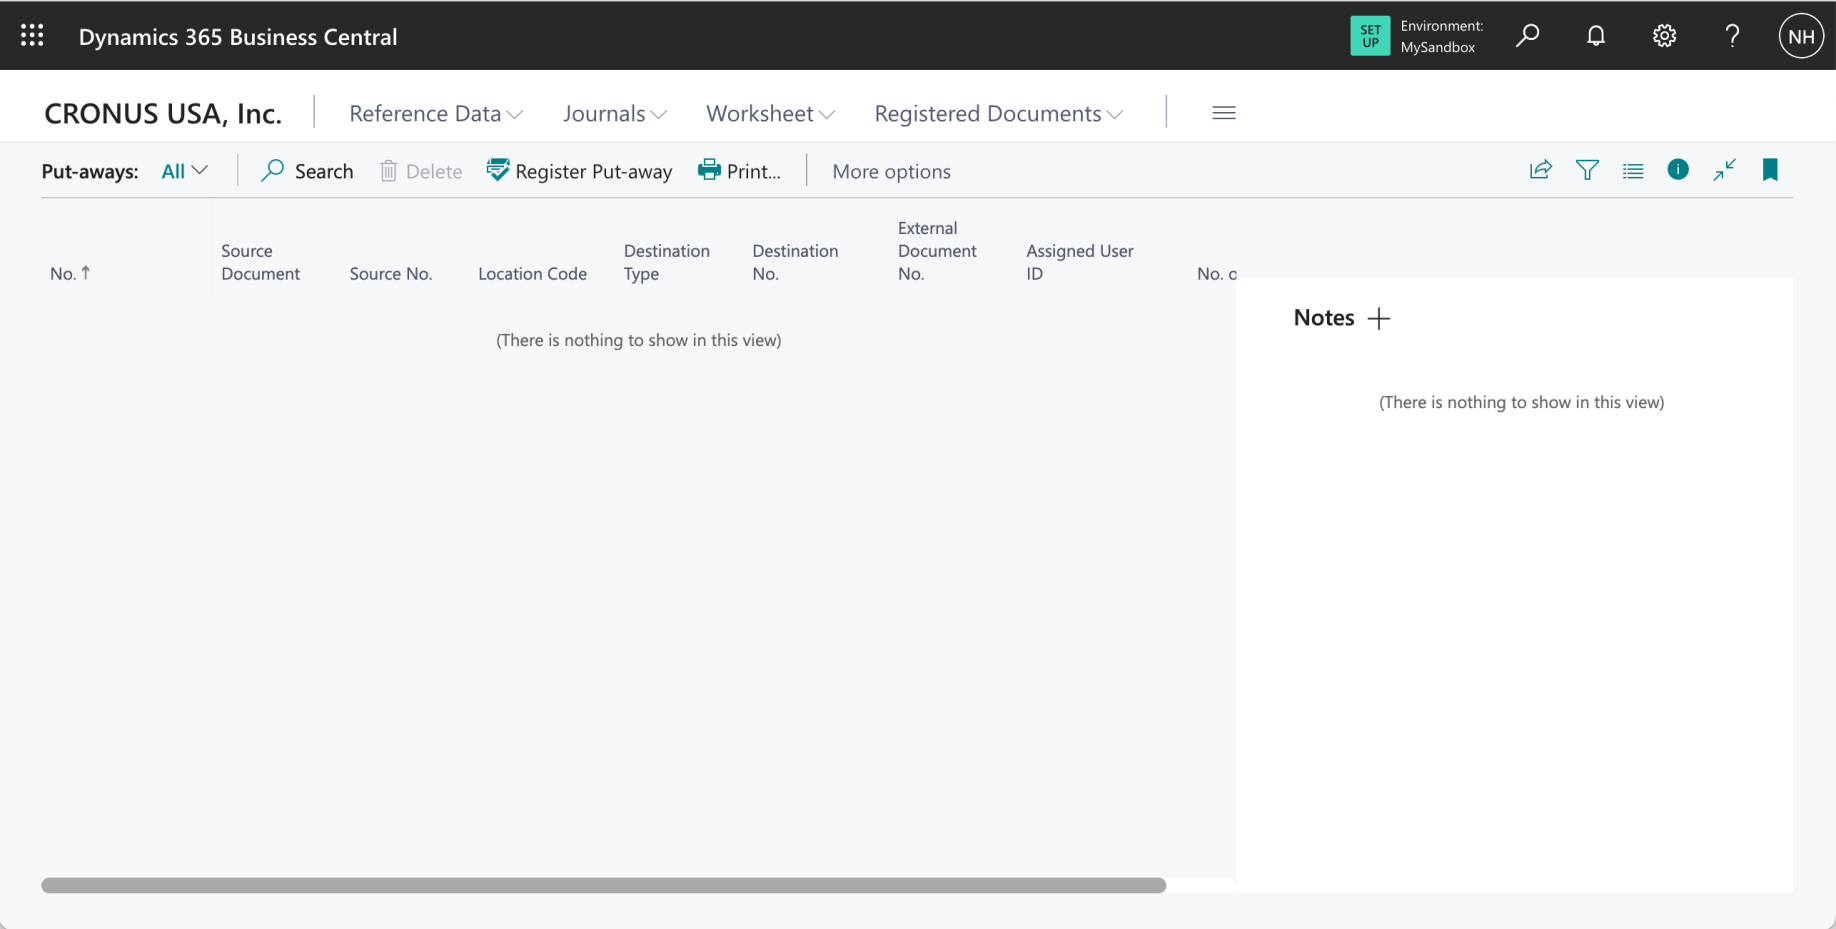
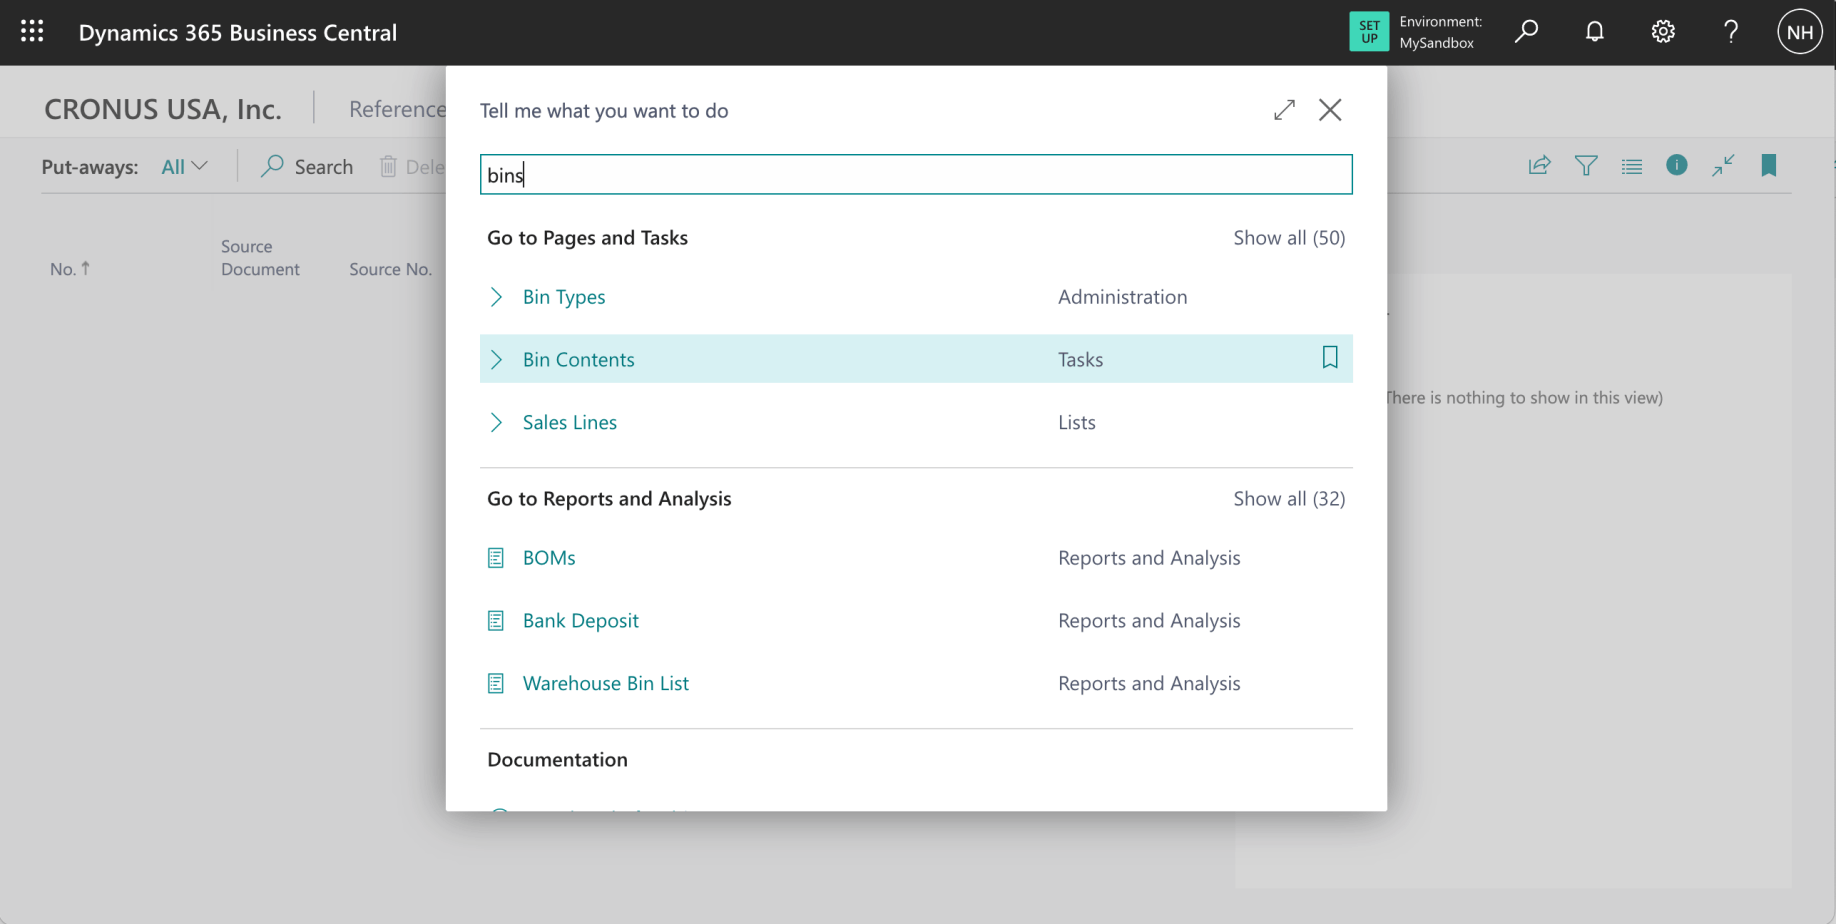
I clicked the Bin Content link
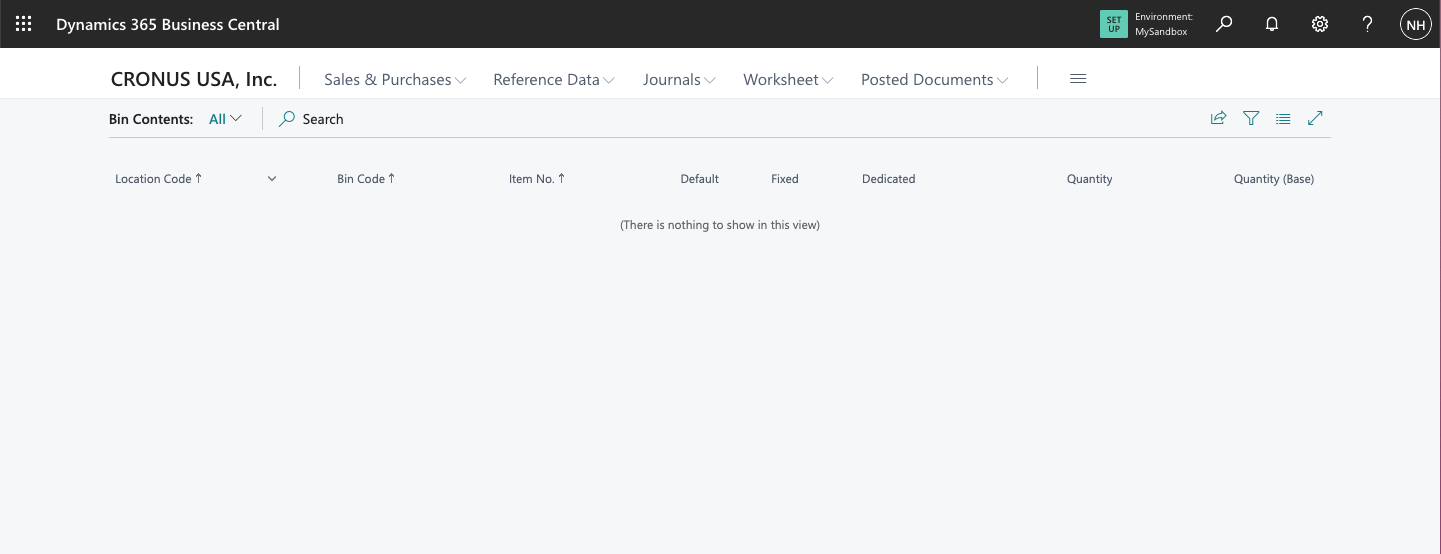
At this point there seems to be nothing in the Warehouse.
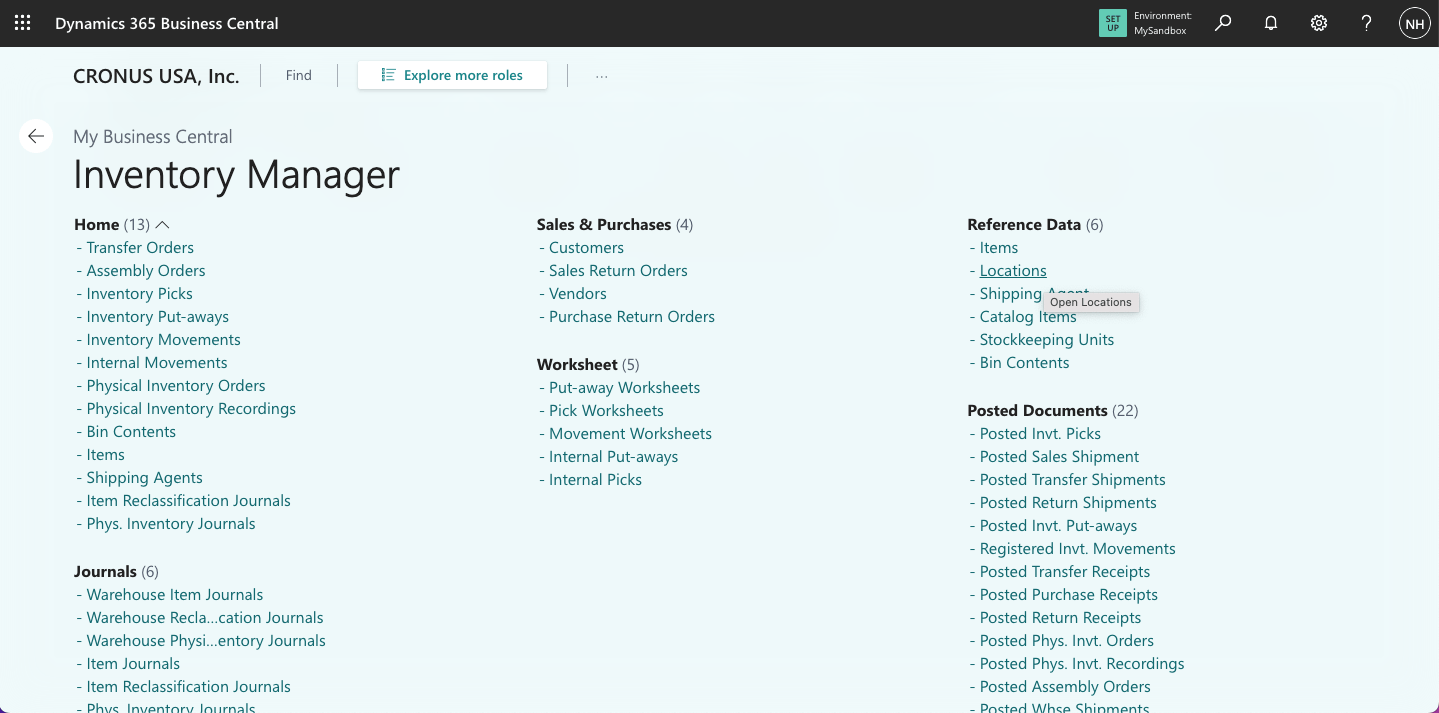
I clicked Locations link
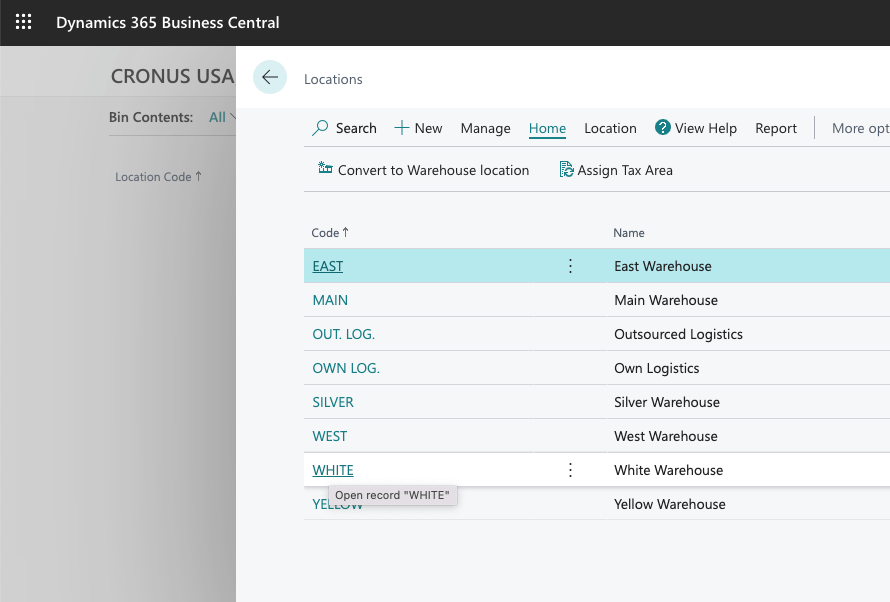
I clicked on the White Warehouse link
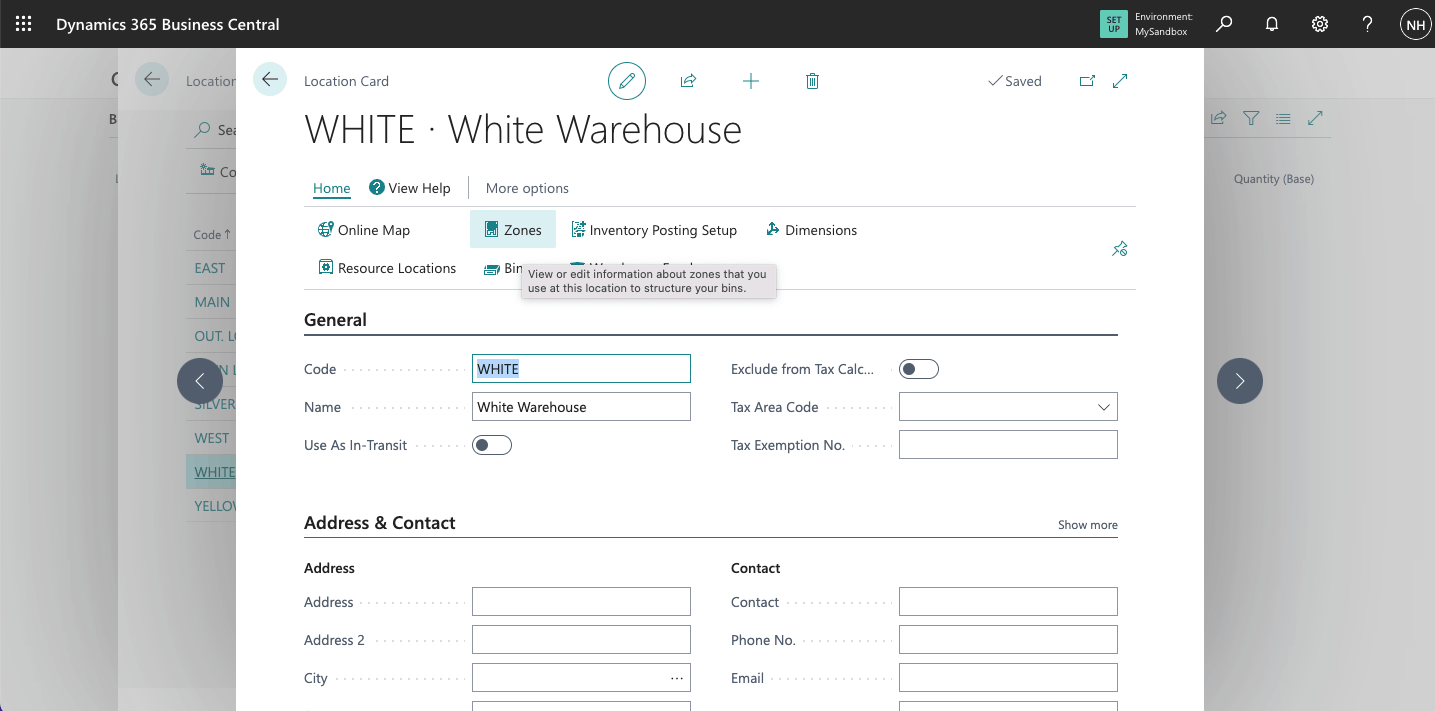
I clicked on the Zones link
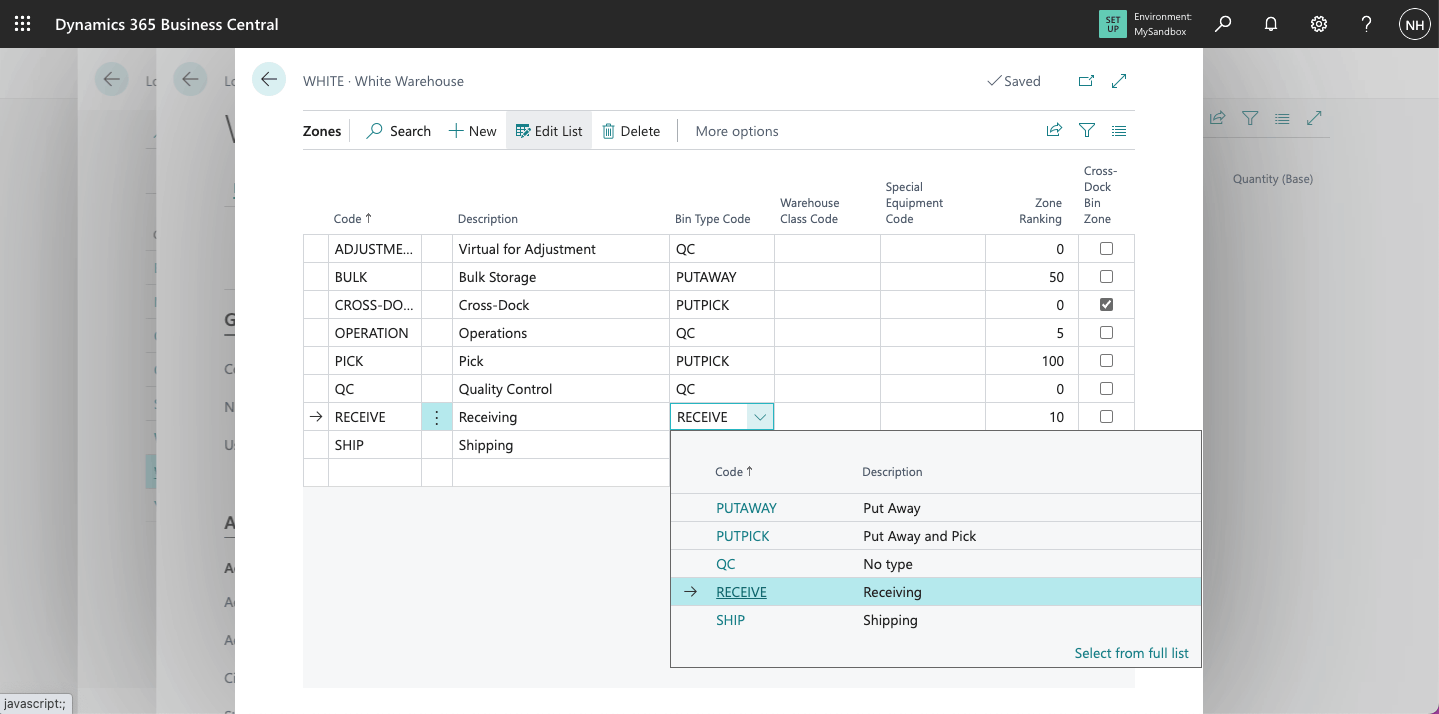
The White Warehouse has been divided into 8 zones.
Each zone has a Bin Type
The bin type determines how a bin is used when processing the flow of items through the warehouse.
Incoming goods will be unloaded to a "Receive" bin, moved to a "Put Away" bin, removed from a "Pick" bin and sent from a "Ship" bin.
In this example these "Bin Types" are defined: PICK (Pick), PUTAWAY (Put Away), PUTPICK (Put Away and Pick), RECEIVE (Receive) and SHIP (Ship).
[QC (None) bins are used for items that are excluded from normal item flows.]
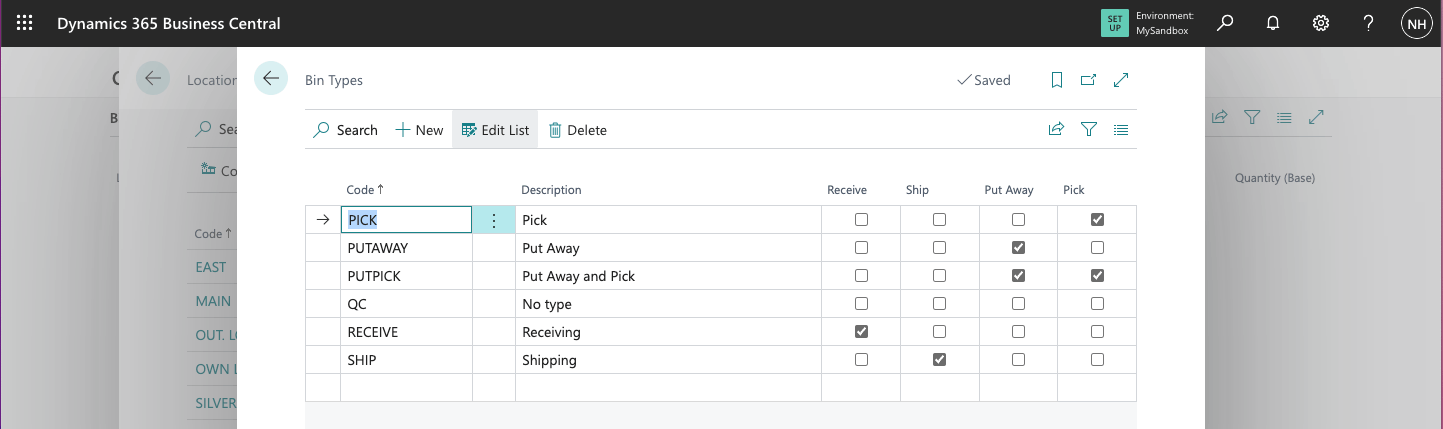
Bin Types
Zones are used to subdivide the warehouse into logical parts. Zones are divided into bins.
Notice that bin "W-08-0001" is a RECEIVE bin and "W-04-0001" is a PUTPICK bin.
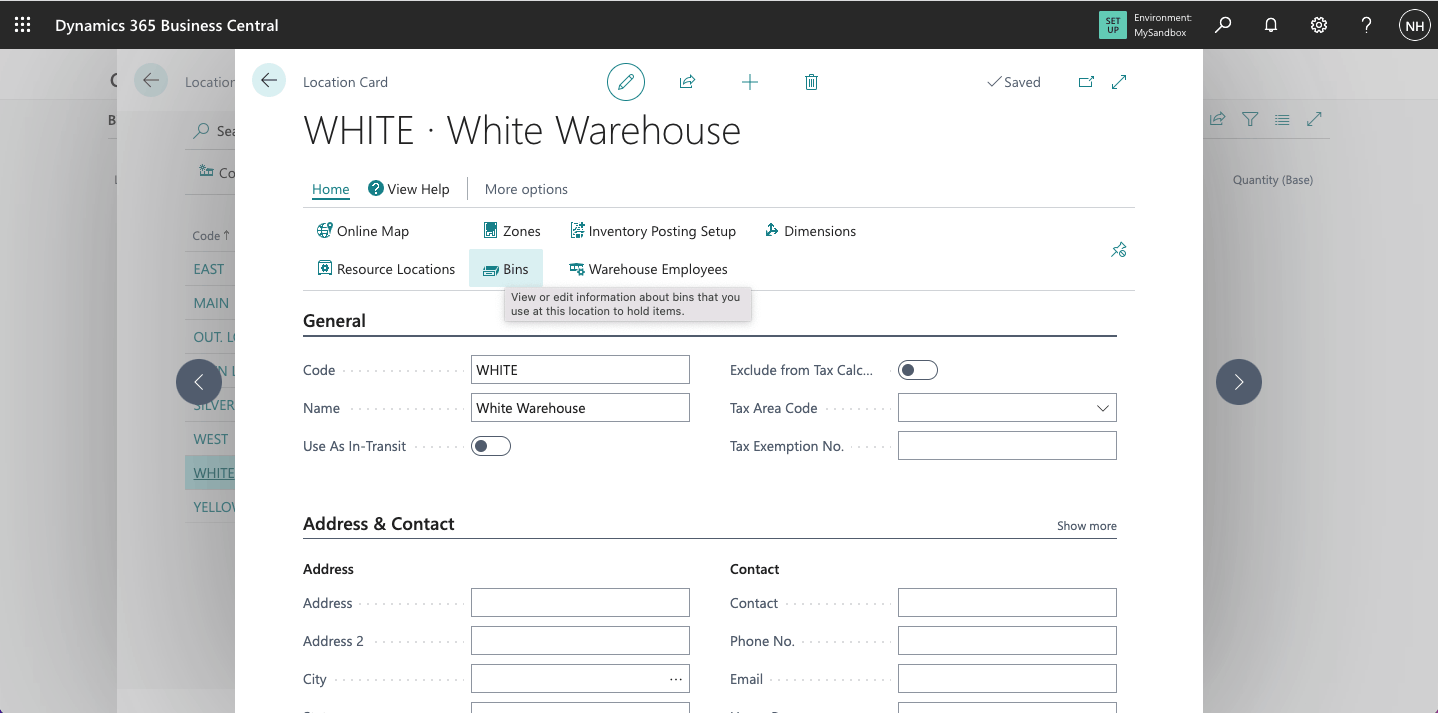
I clicked the Bins link to open a list of Bins in the White Warehouse
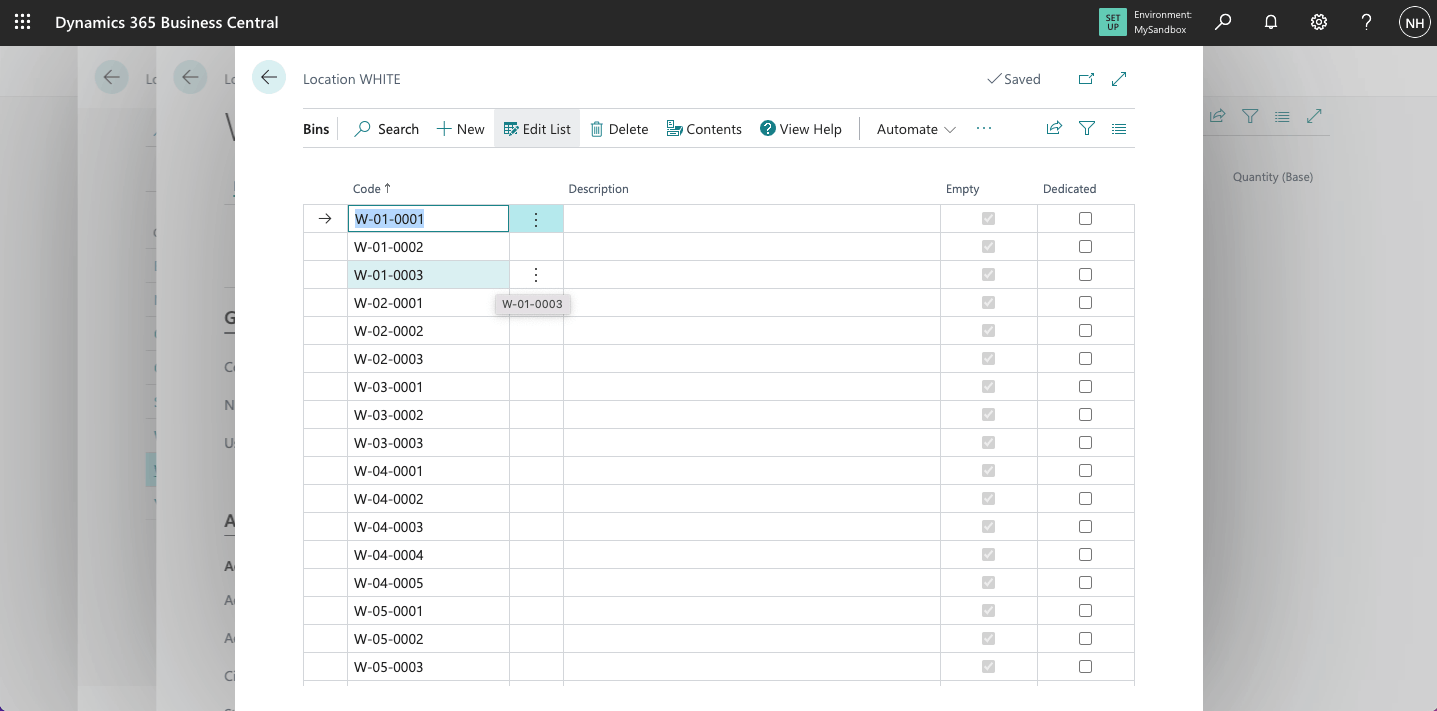
This is a list of the Bins in the White Warehouse.
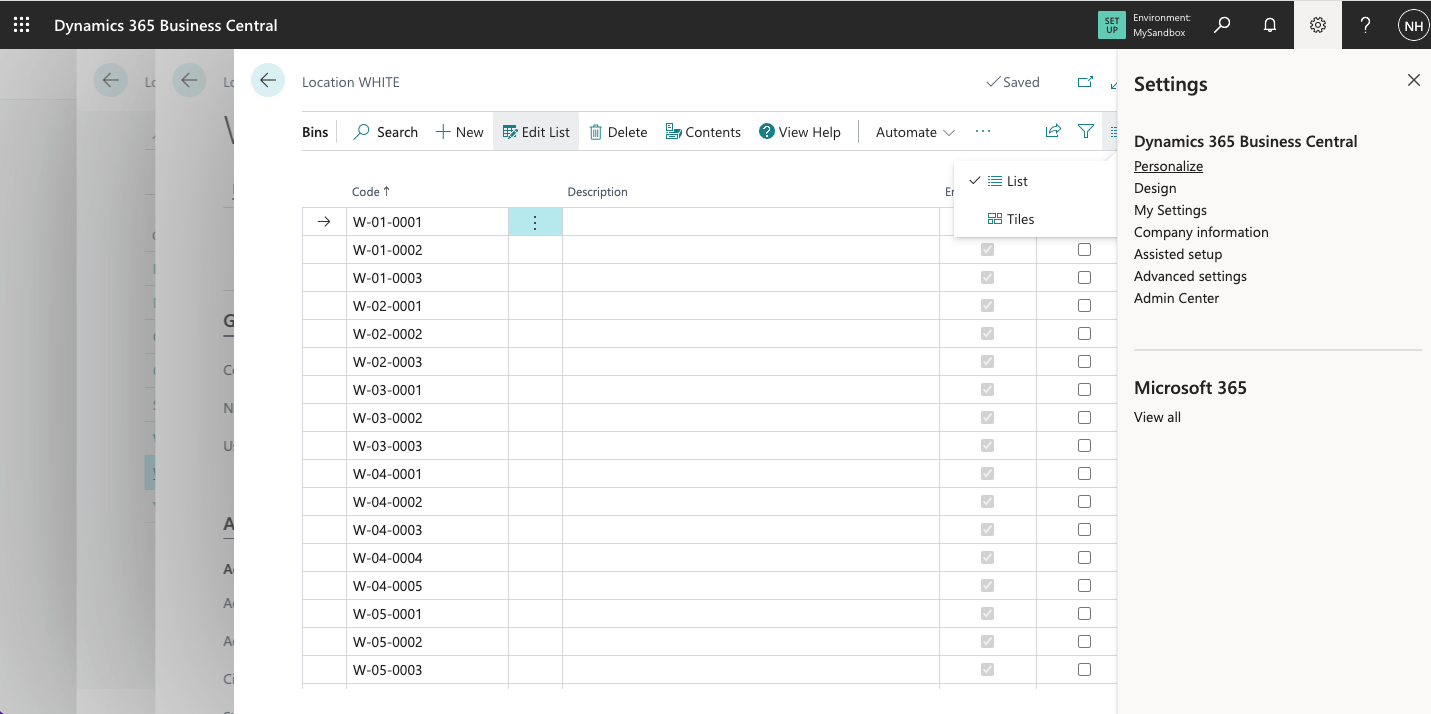
I clicked Settings|Personalize to open the Personalizing toolbar.
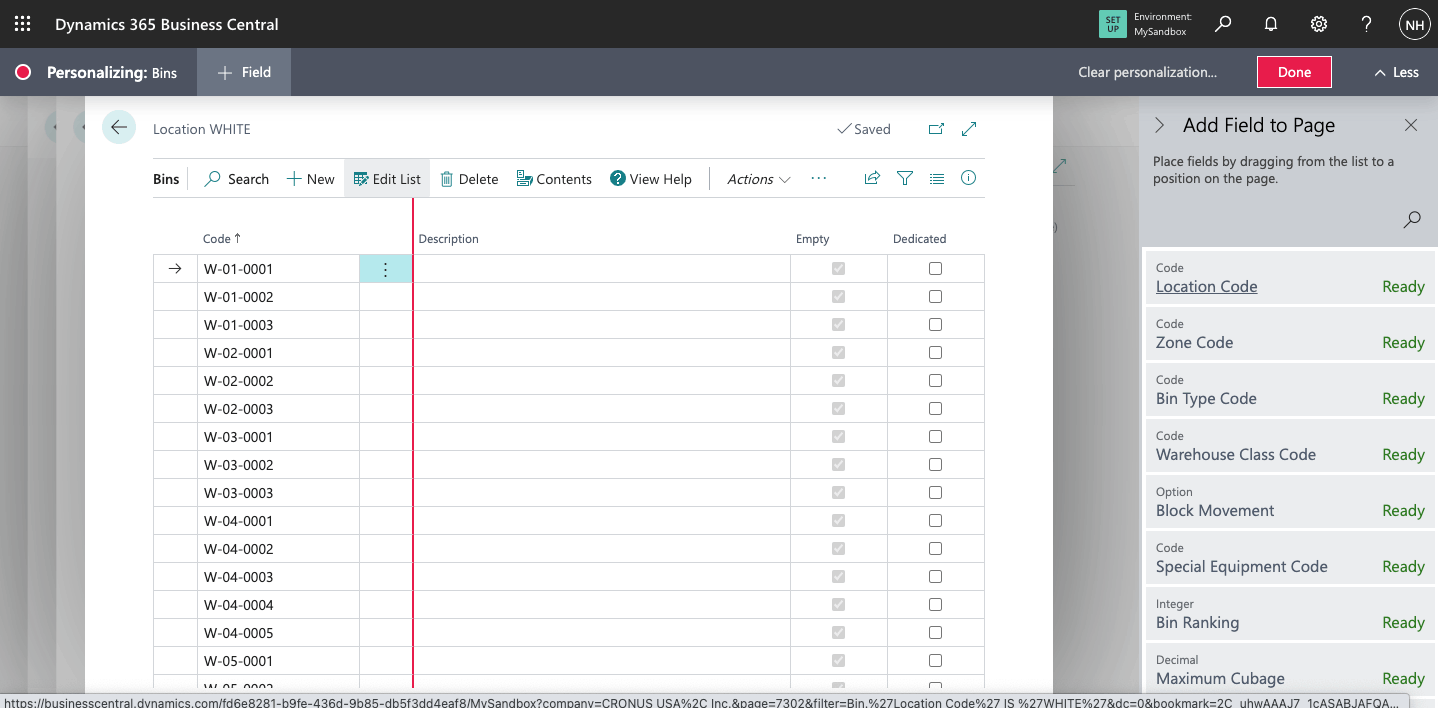
I was able to drag fields from the right onto the Bins page
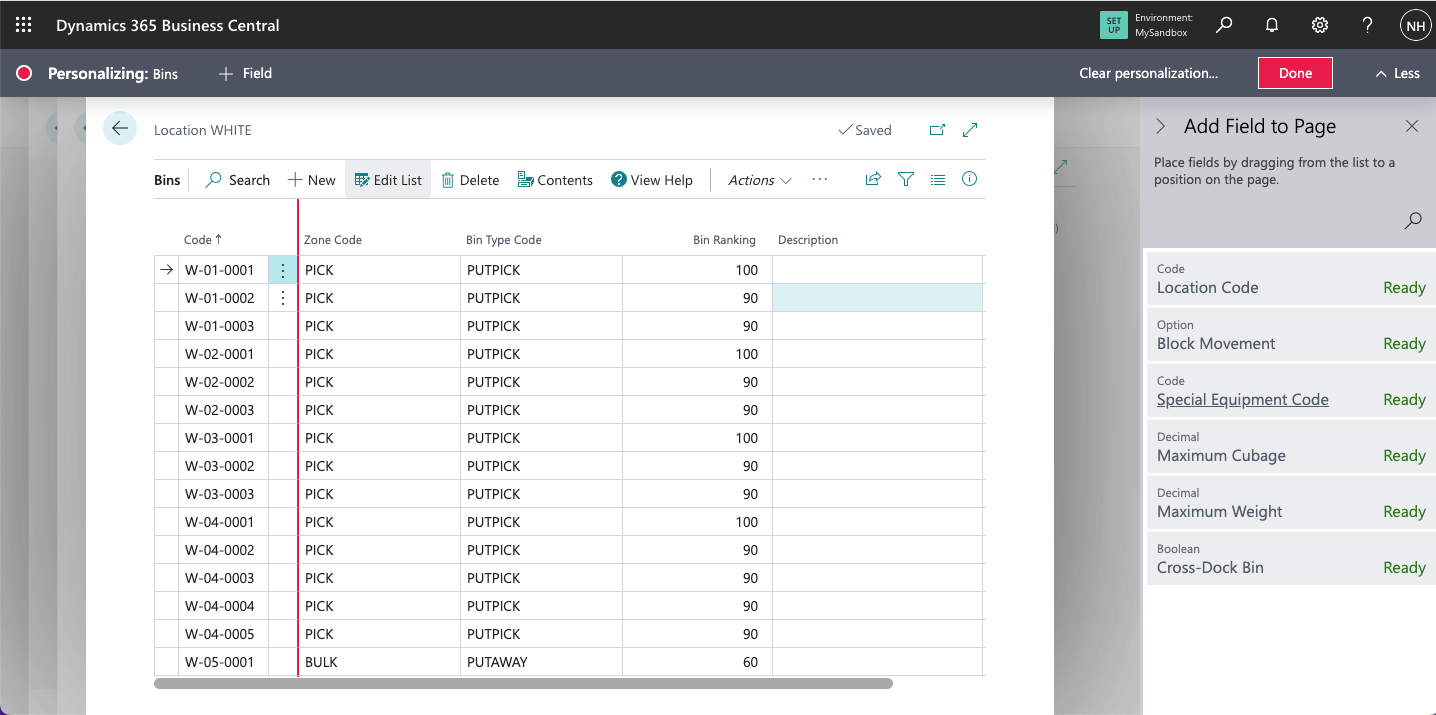
I added the Zone Code and the Bin Type Code Fields
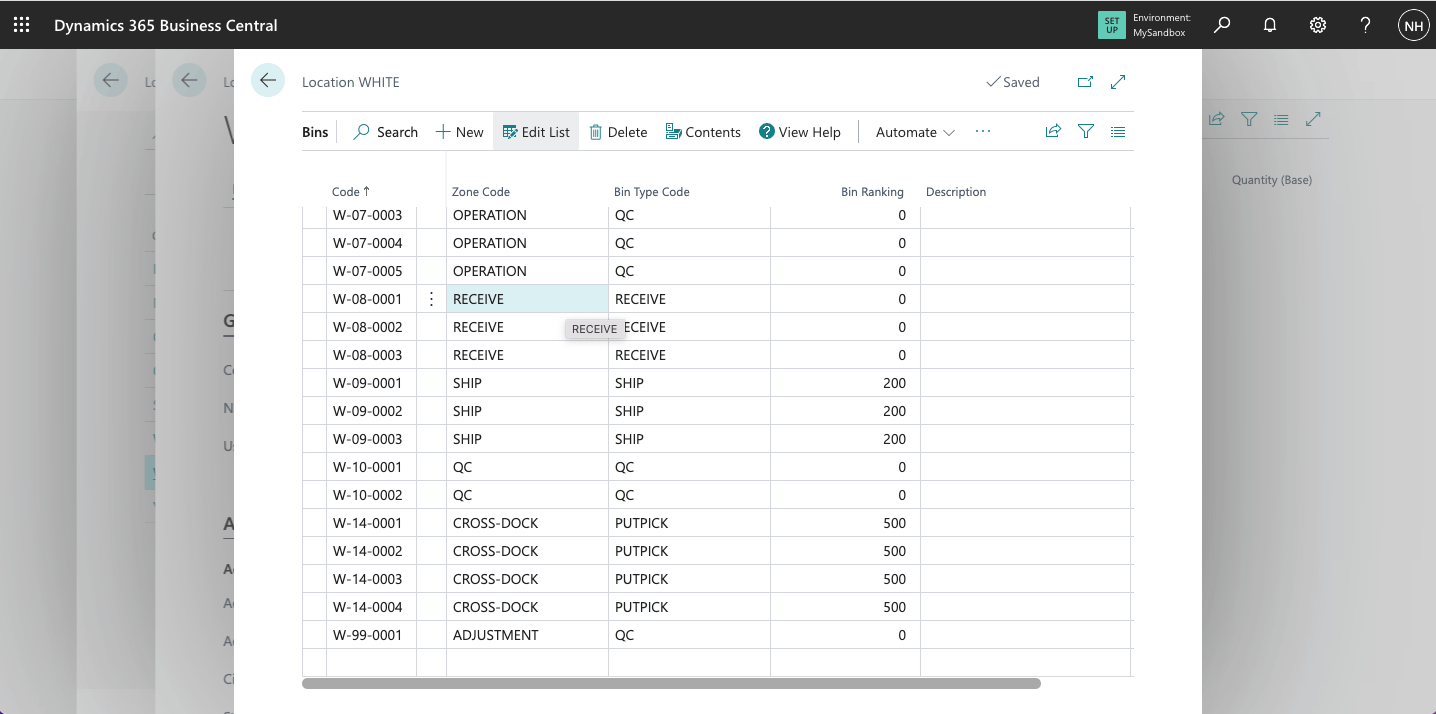
Notice that bin W-08-0001 is a RECEIVE bin in the RECEIVE Zone
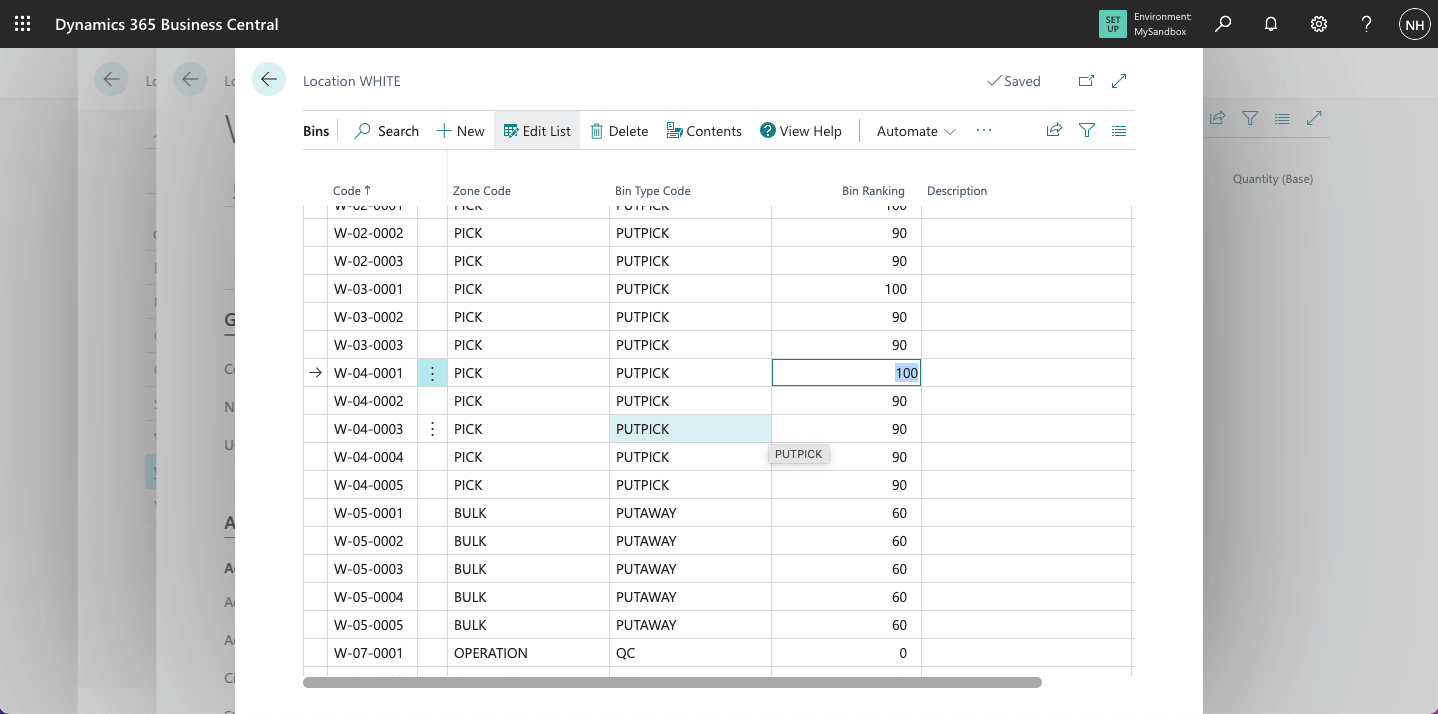
Notice that bin W-04-0001 is a PUTPICK bin in the PICK Zone (with a bin ranking of 100)
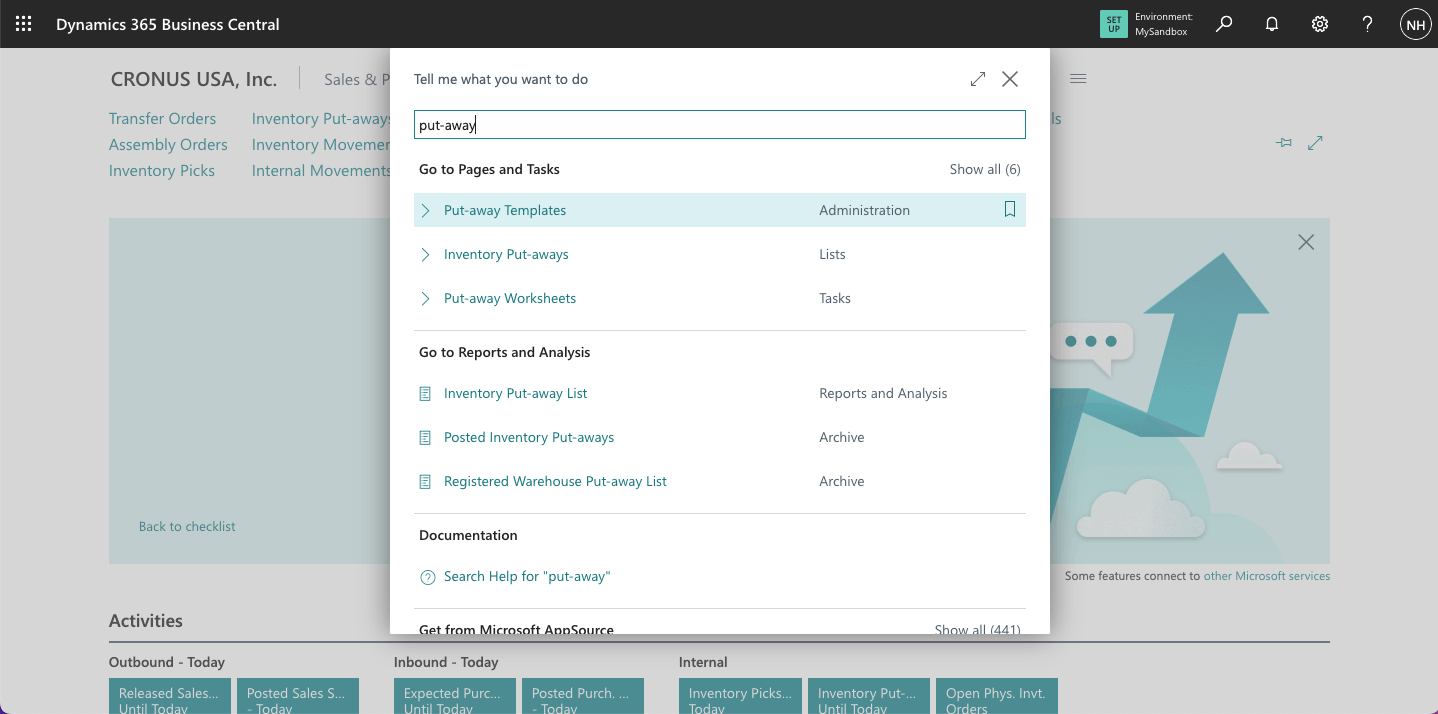
Business Central will allocate incoming items to "Put Away" bins based on a Put-away Template
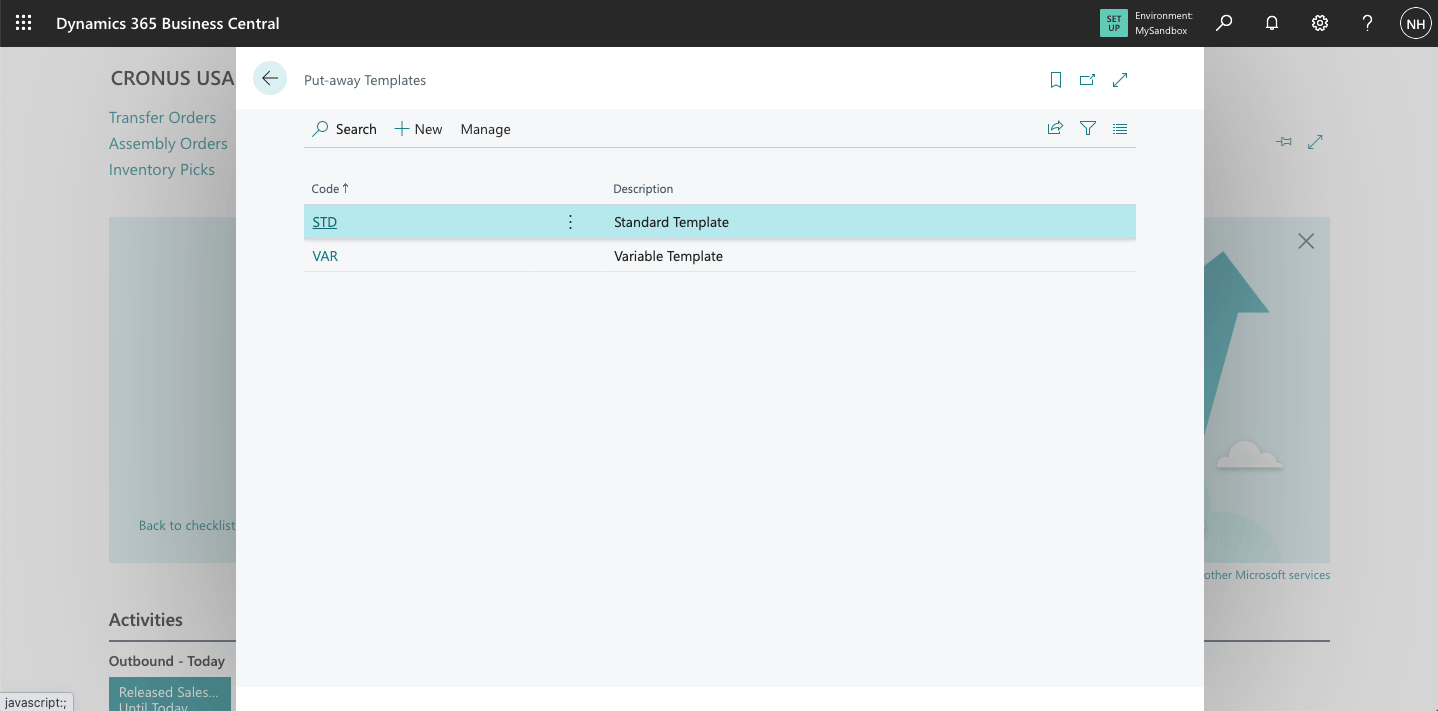
Here two put away templates have been defined
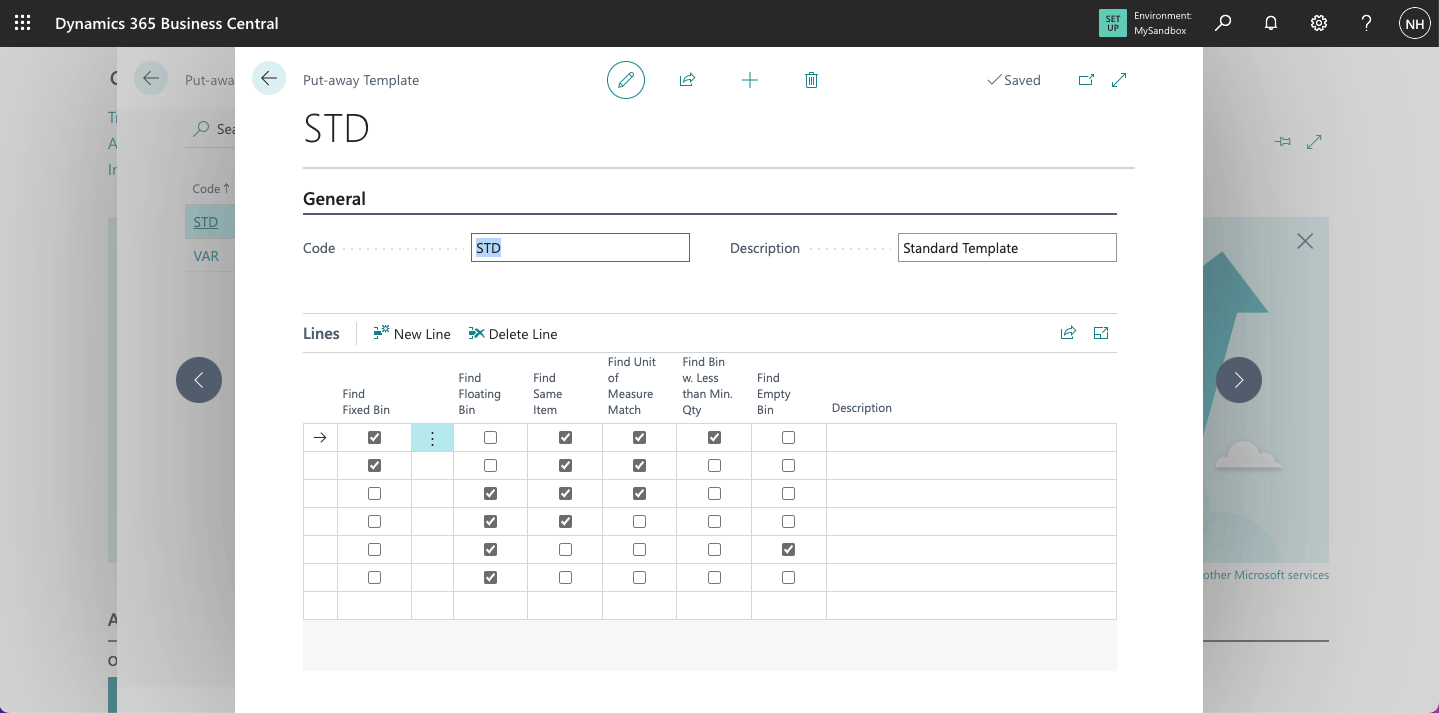
In the STD template items will be directed to a Fixed Bin already used for this item type with the same unit measure and less than minimum quantity, a Fixed Bin already used for this item type with the same unit measure, a Floating Bin that already has an item of this type in it with the same unit measure, a Floating Bin that already has an item of this type in it, to an empty bin with the next highest "bin ranking", or to a random floating bin.
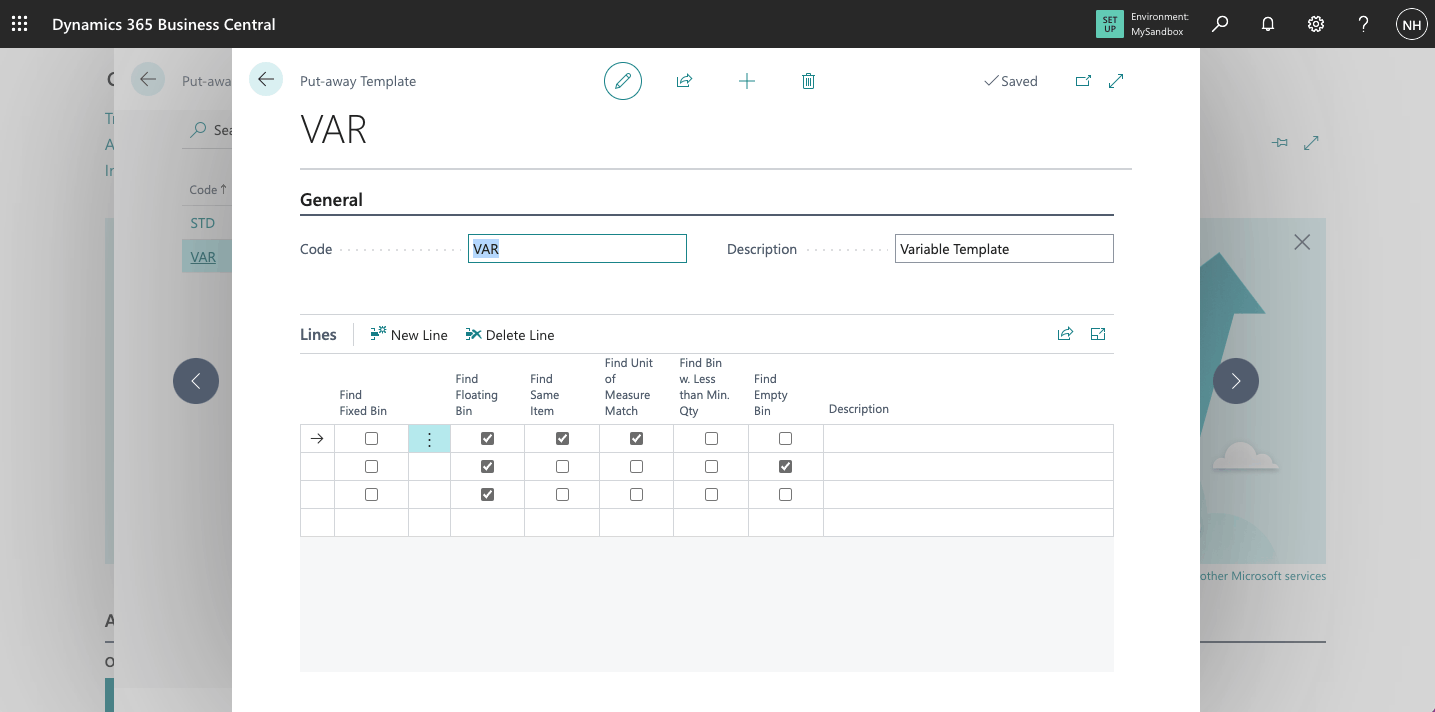
In the VAR template items will be directed to a Floating Bin that already has an item of this type in it with the same unit measure, to an empty bin with the next highest "bin ranking", or to a random floating bin.
Purchase Orders are usually created by a planning process.
To demonstrate how items flow through a warehouse I created a Purchase Order manually.
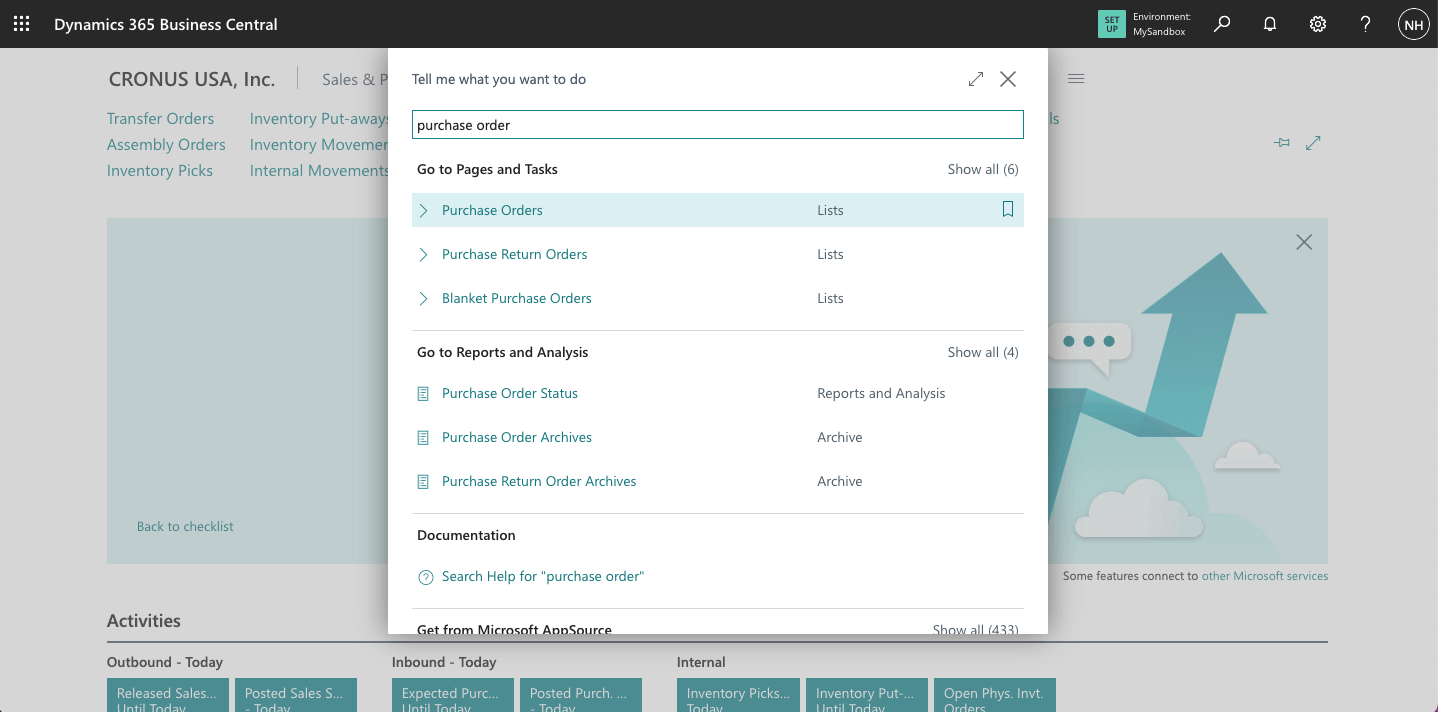
I navigated to the Purchase Orders page
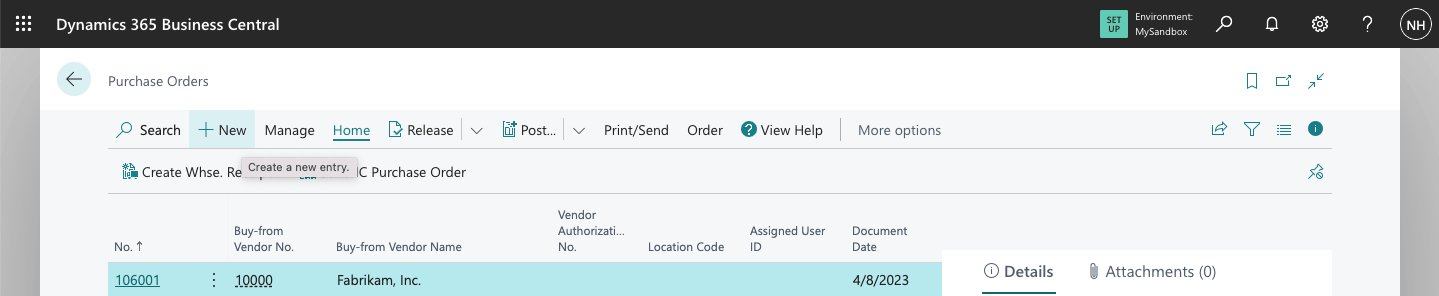
I clicked the + New link
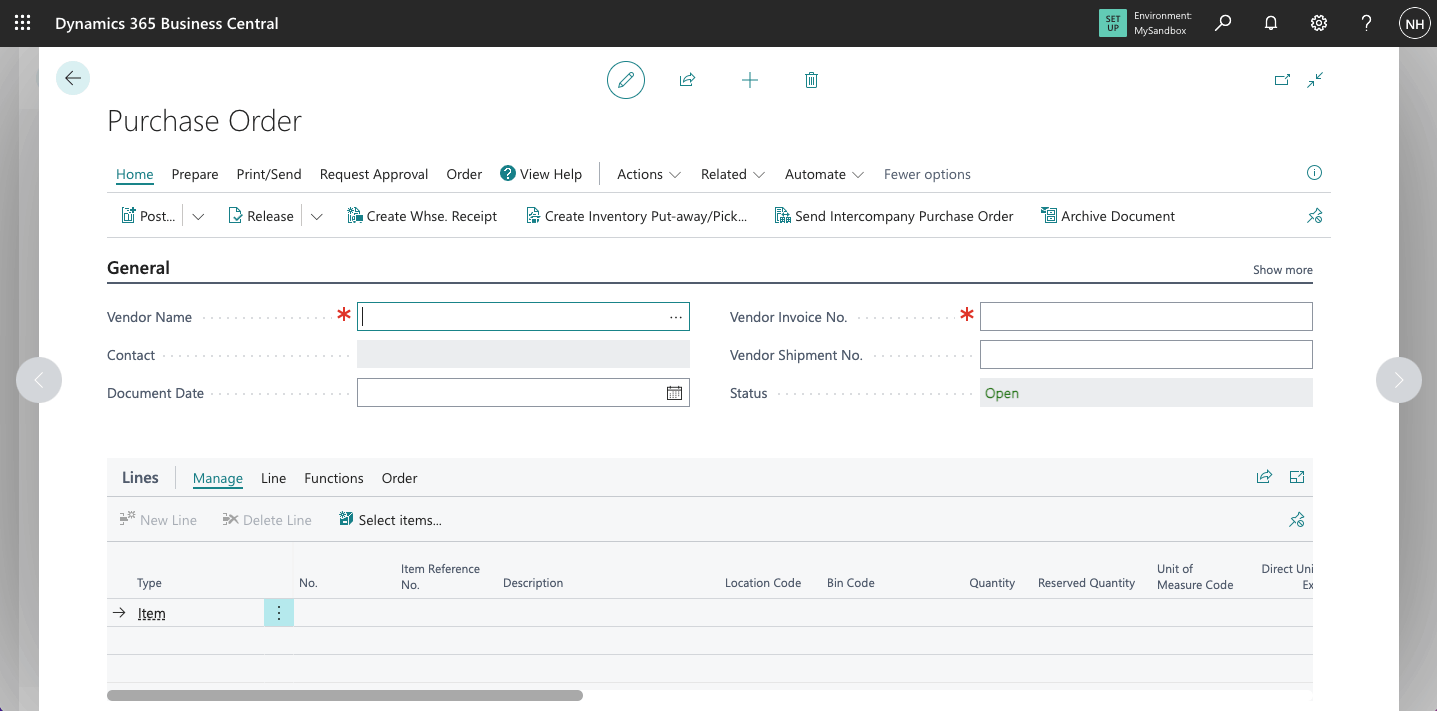
In this case I wanted to purchase items from "First Up Consultants". I selected the Vendor Name box.
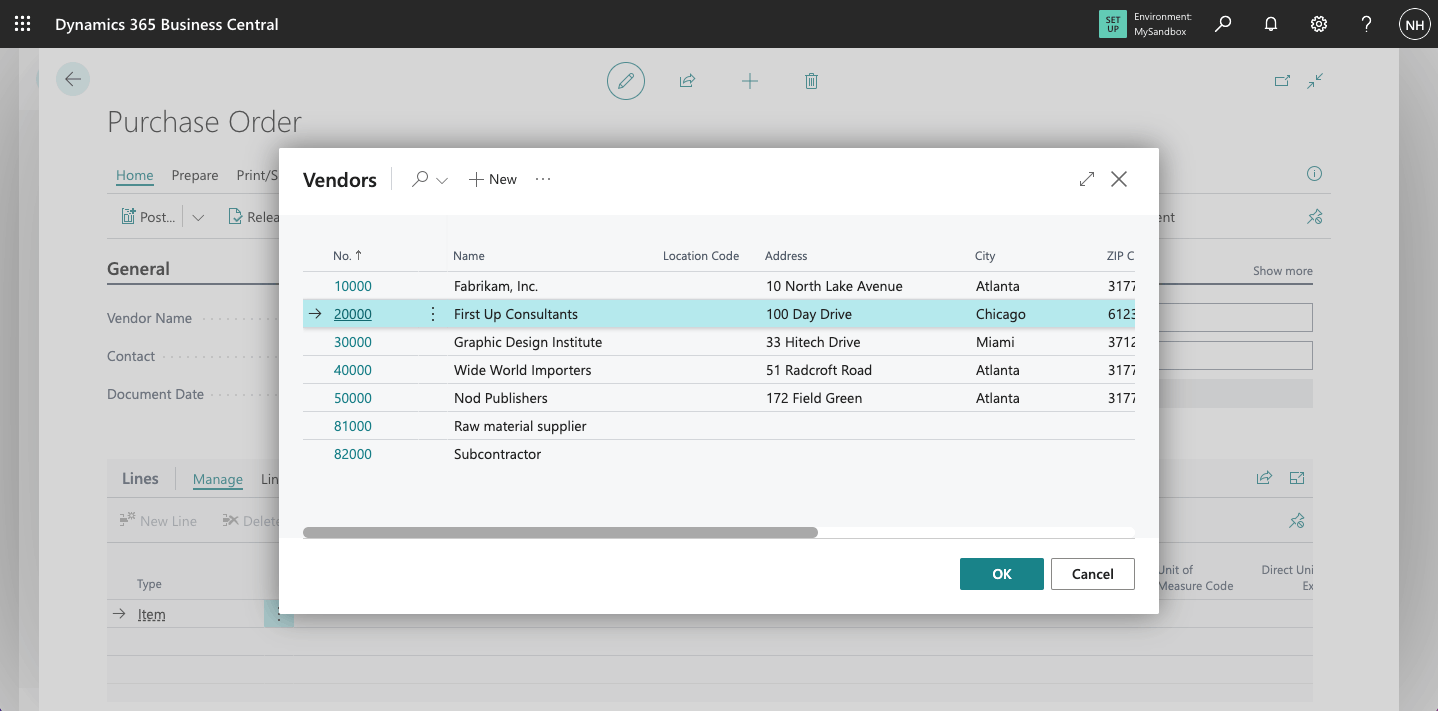
I selected First Up Consultants
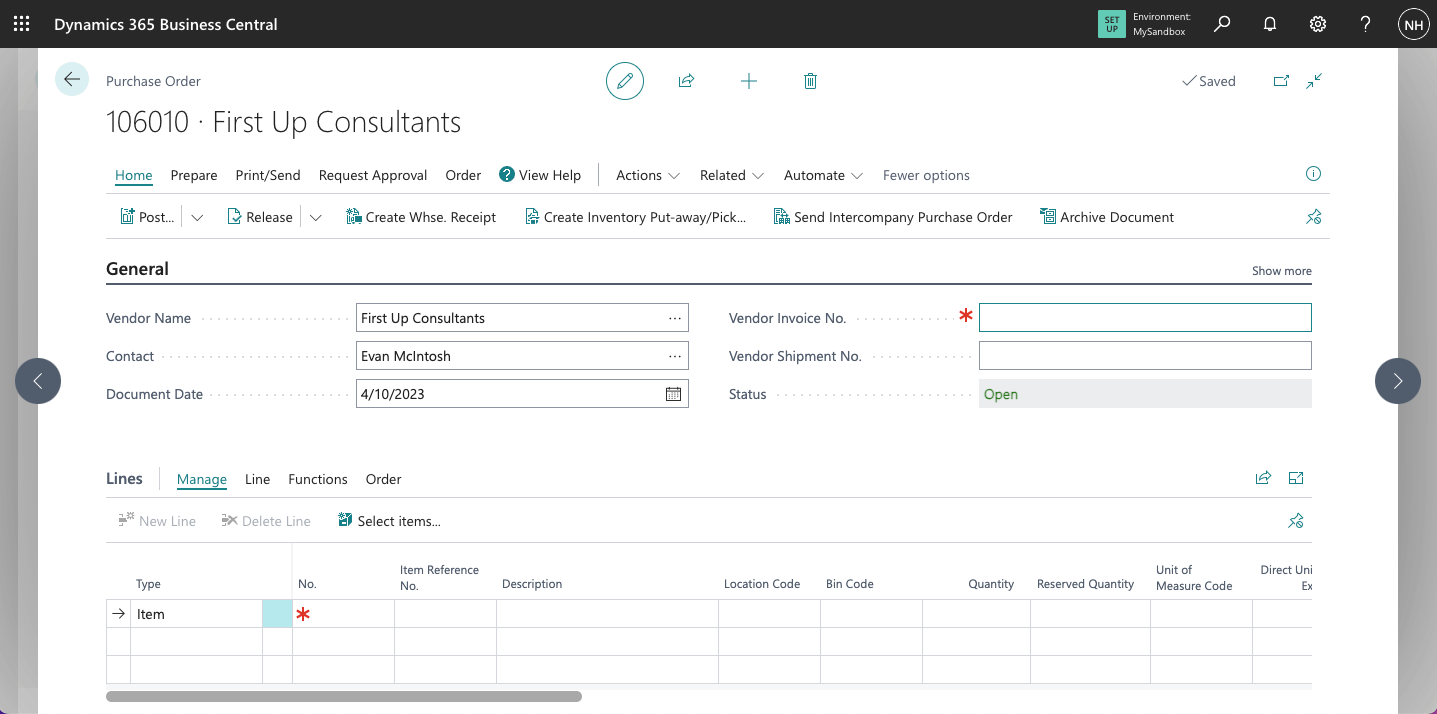
The Vendor name and contact details were added to the new Purchase Order page.

I wanted to purchase 10 yellow BERLIN Guest Chairs.
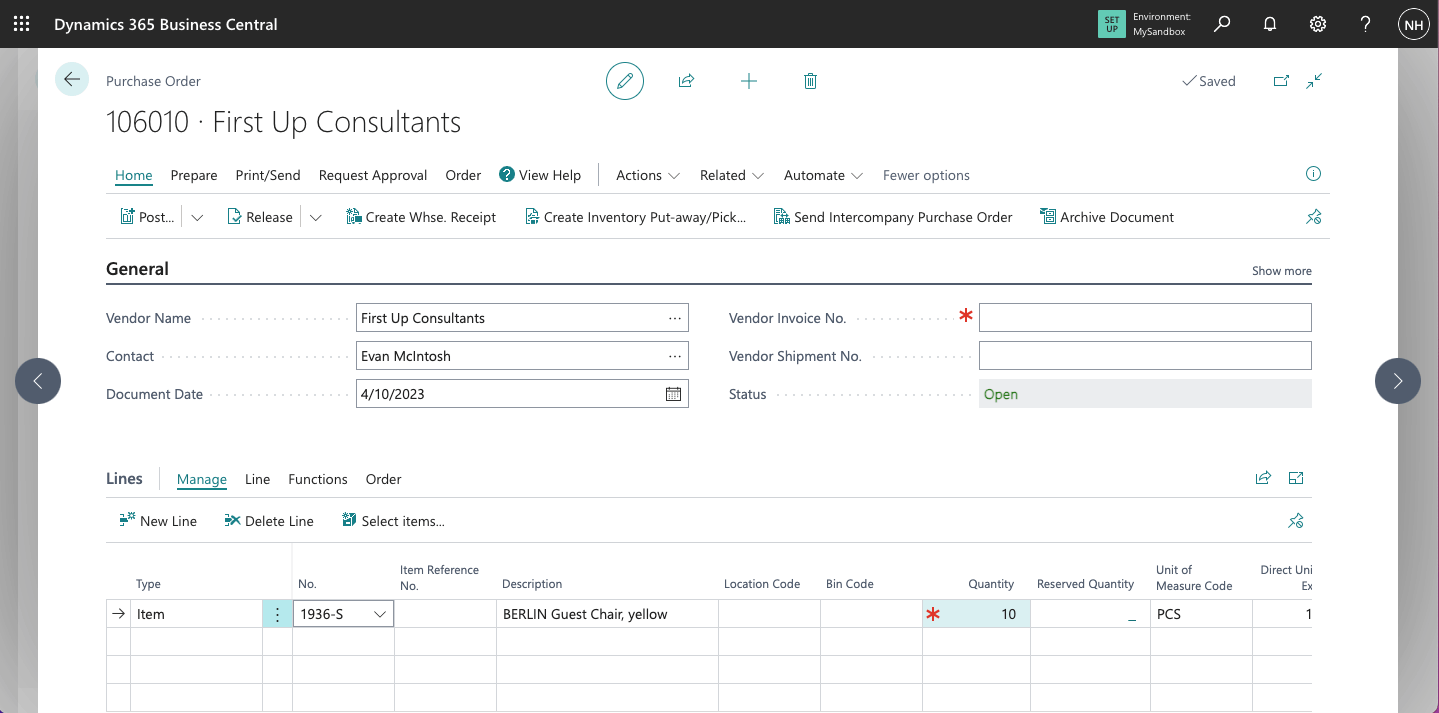
I entered quantity 10
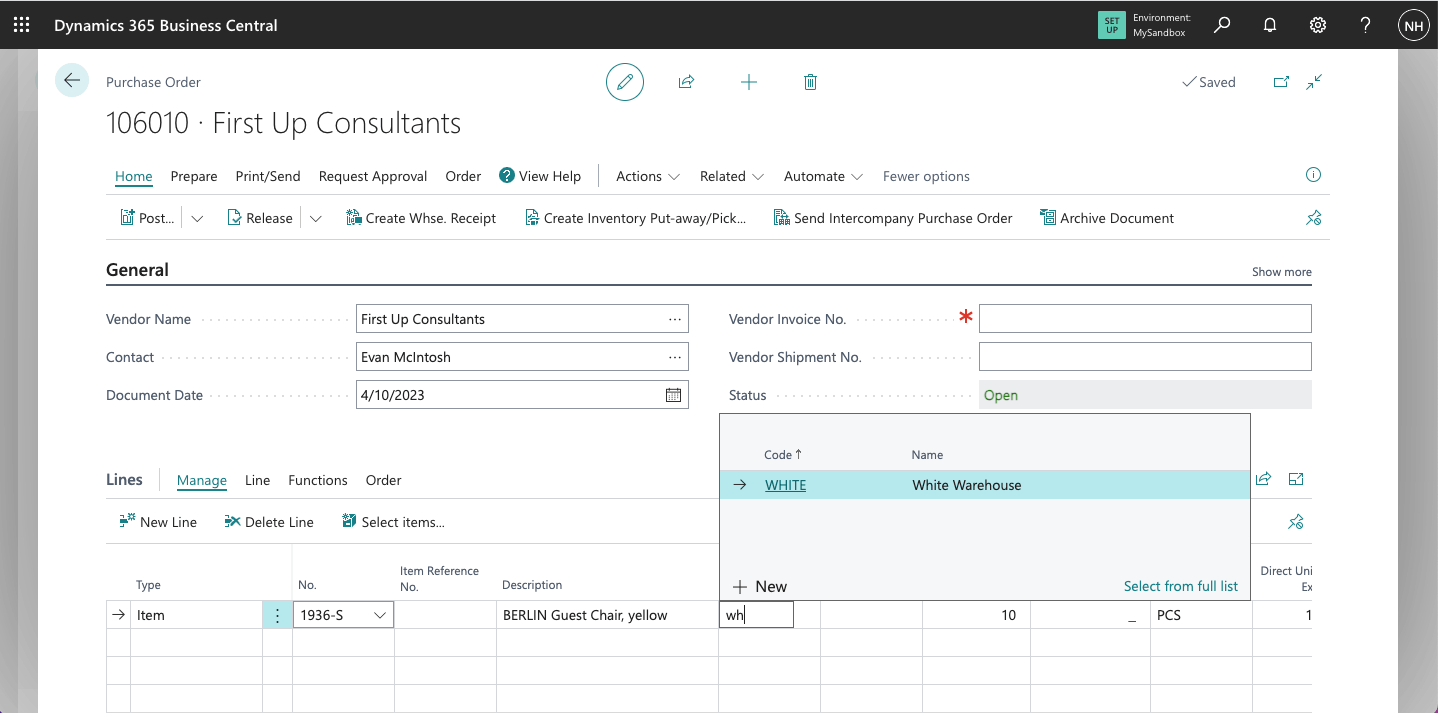
I wanted to have the chairs shipped to the White Warehouse
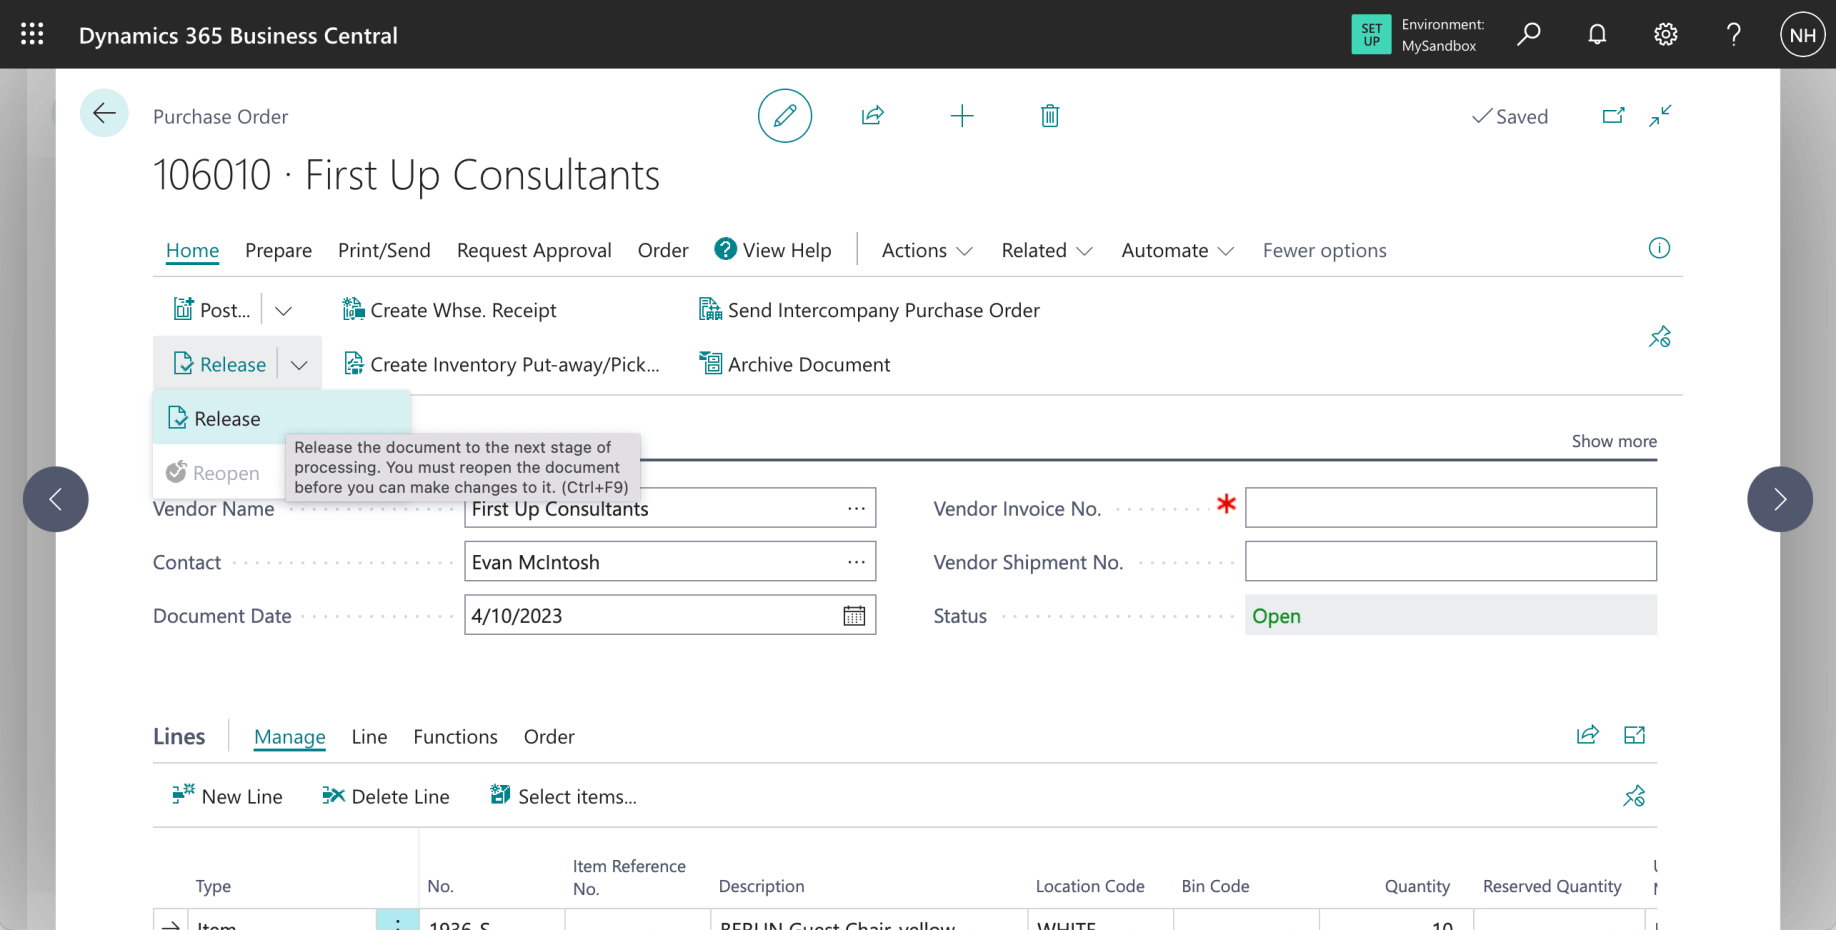
I clicked the Release link (notice that I did not enter a vendor invoice number - the invoice will not be received for some days or weeks)
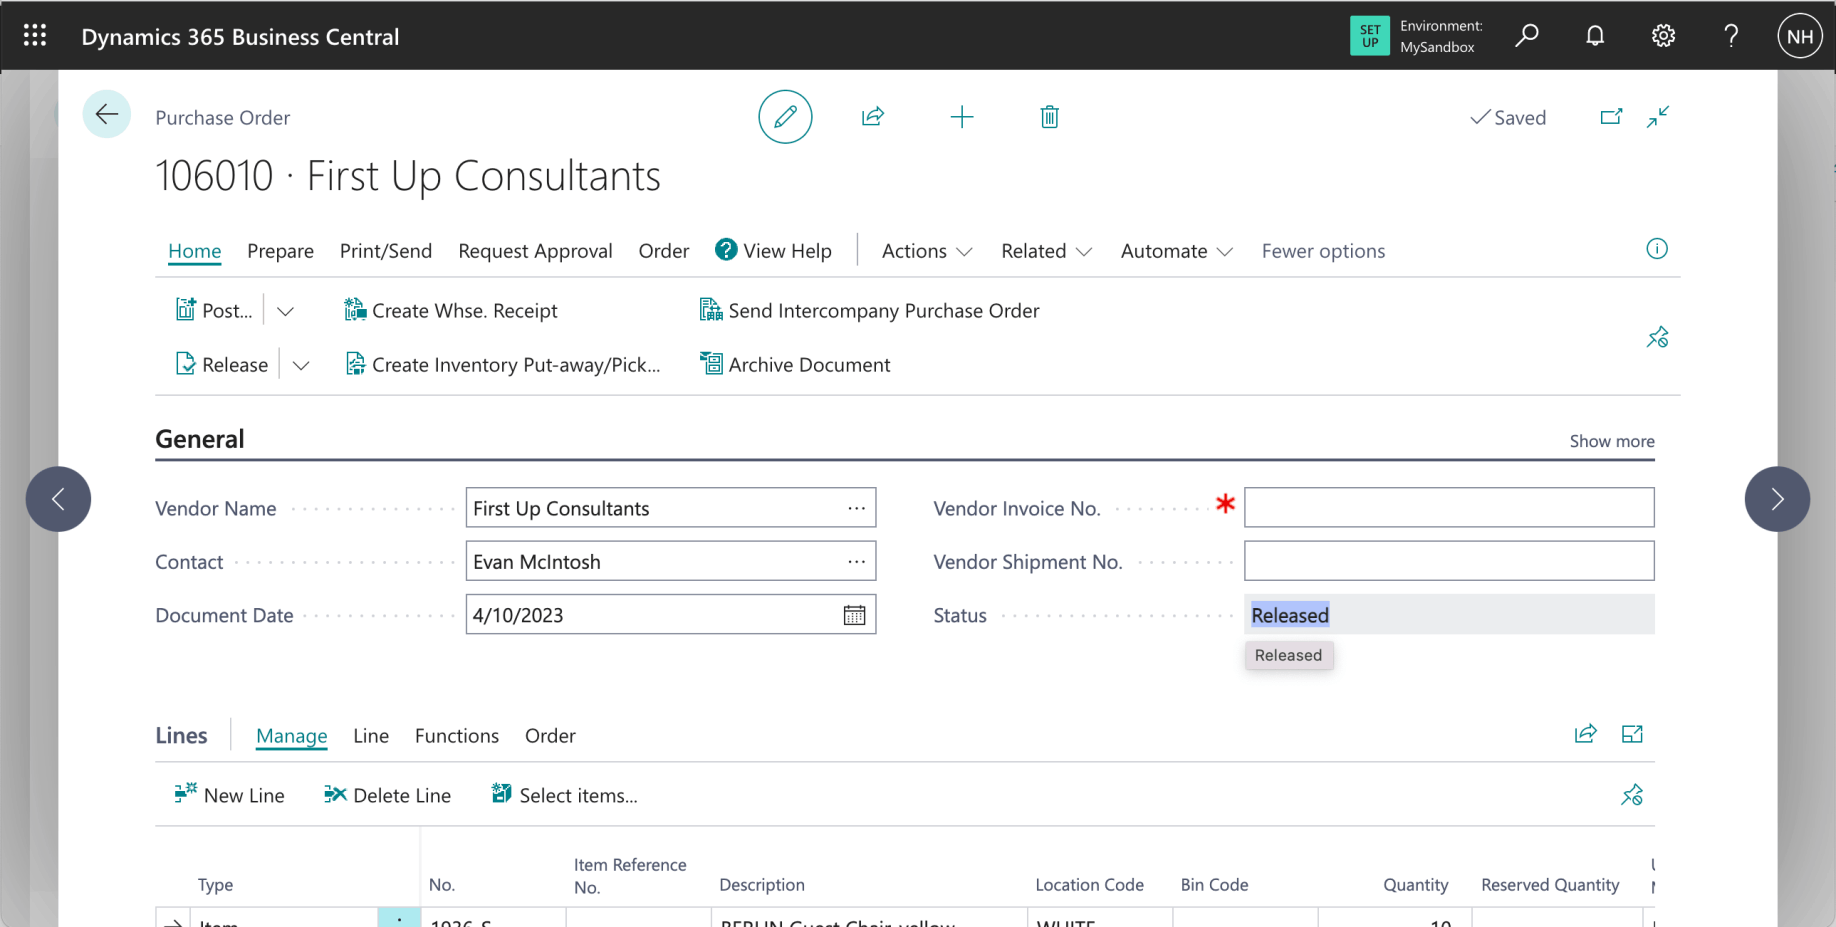
The Purchase Order document is released.
After the Purchase Order details have been entered I could have clicked on the "Create Whse. Receipt" link to create a Warehouse Receipt (based on the details in the current Purchase Order). This would be to follow a Push strategy.
The alternative is to release the Purchase Order and to let the Warehouse staff create the Warehouse Receipt. In this example I followed a Pull strategy.
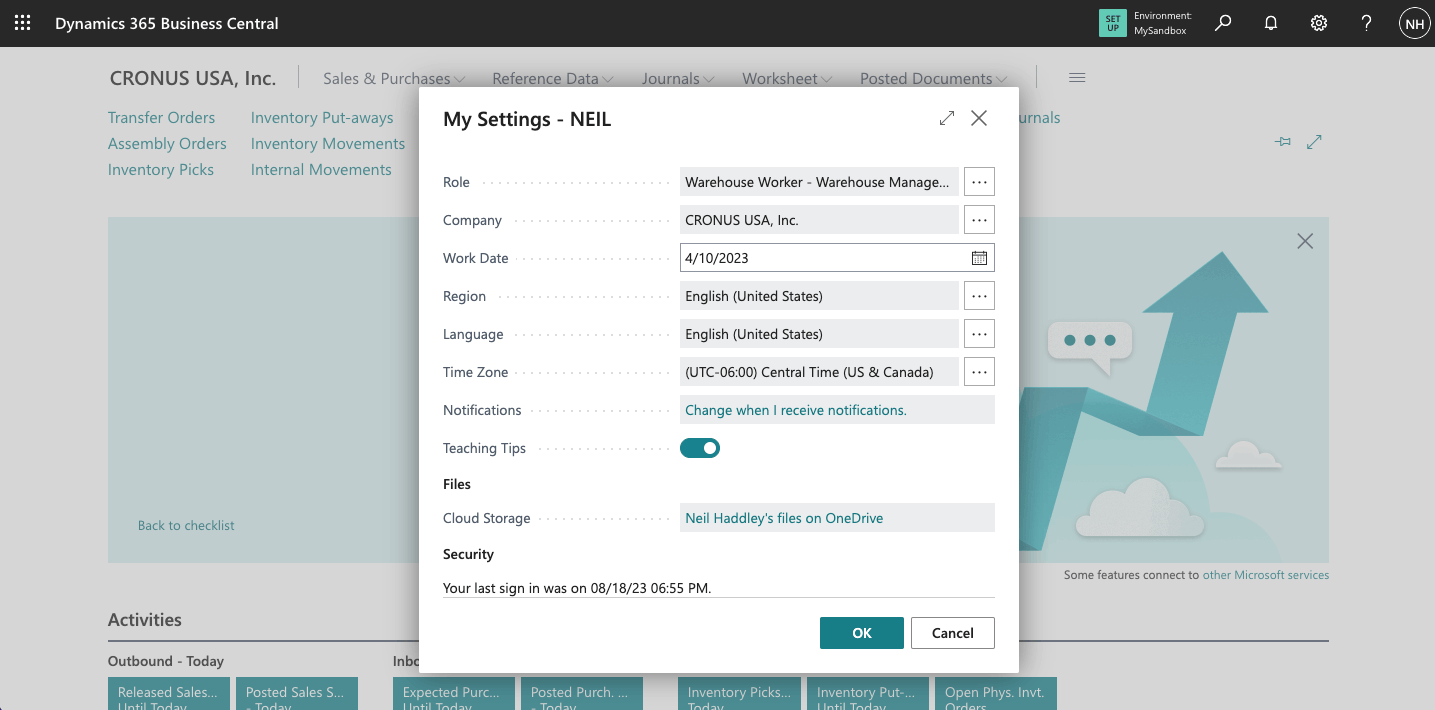
I switched to the Warehouse Worker role
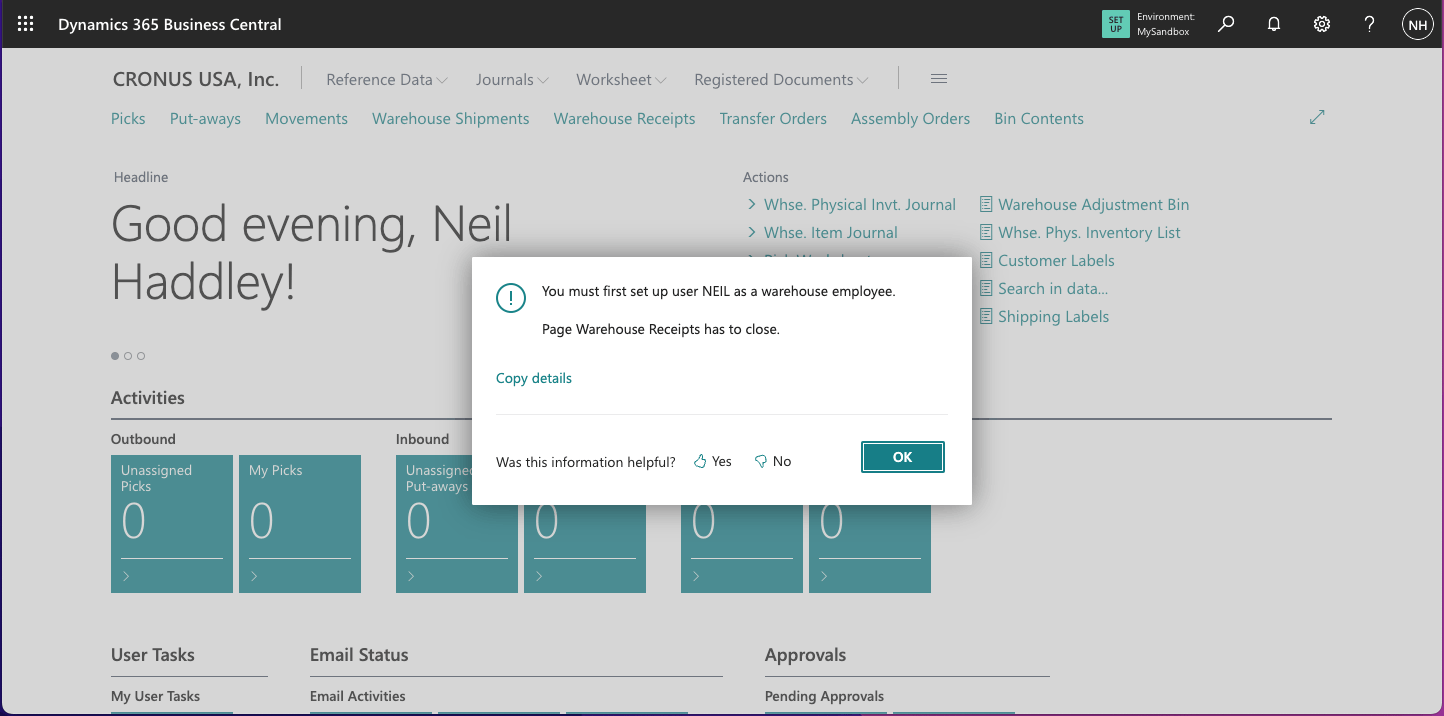
I navigated to the Warehouse Employees page
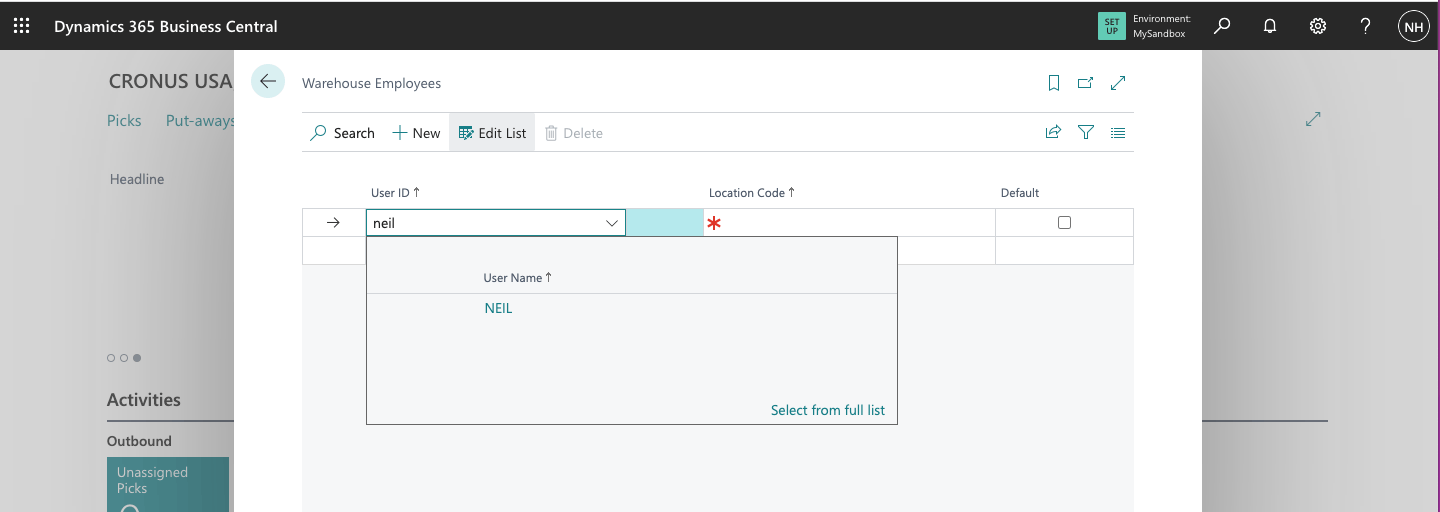
I added myself as a warehouse employee
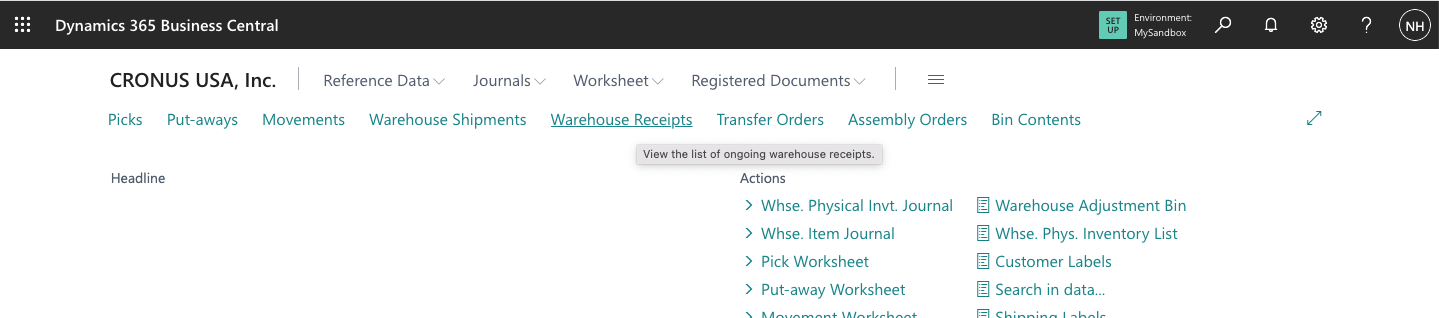
I clicked the Warehouse Receipts link
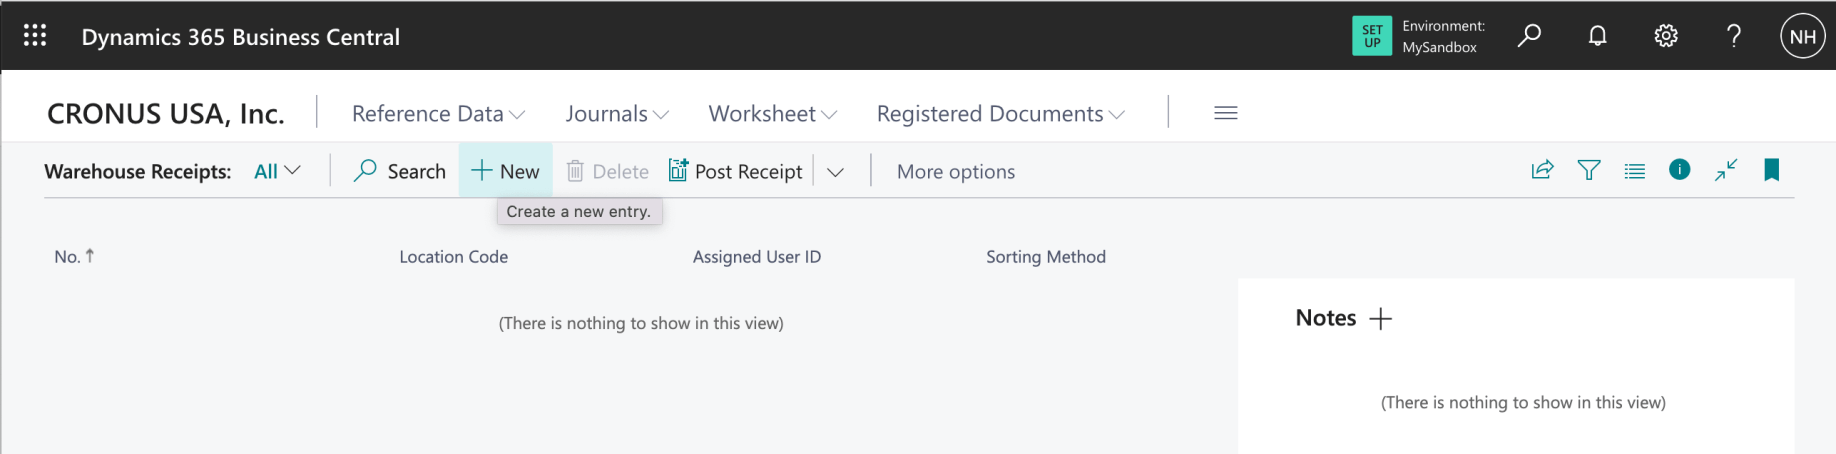
I created a new Warehouse Receipt
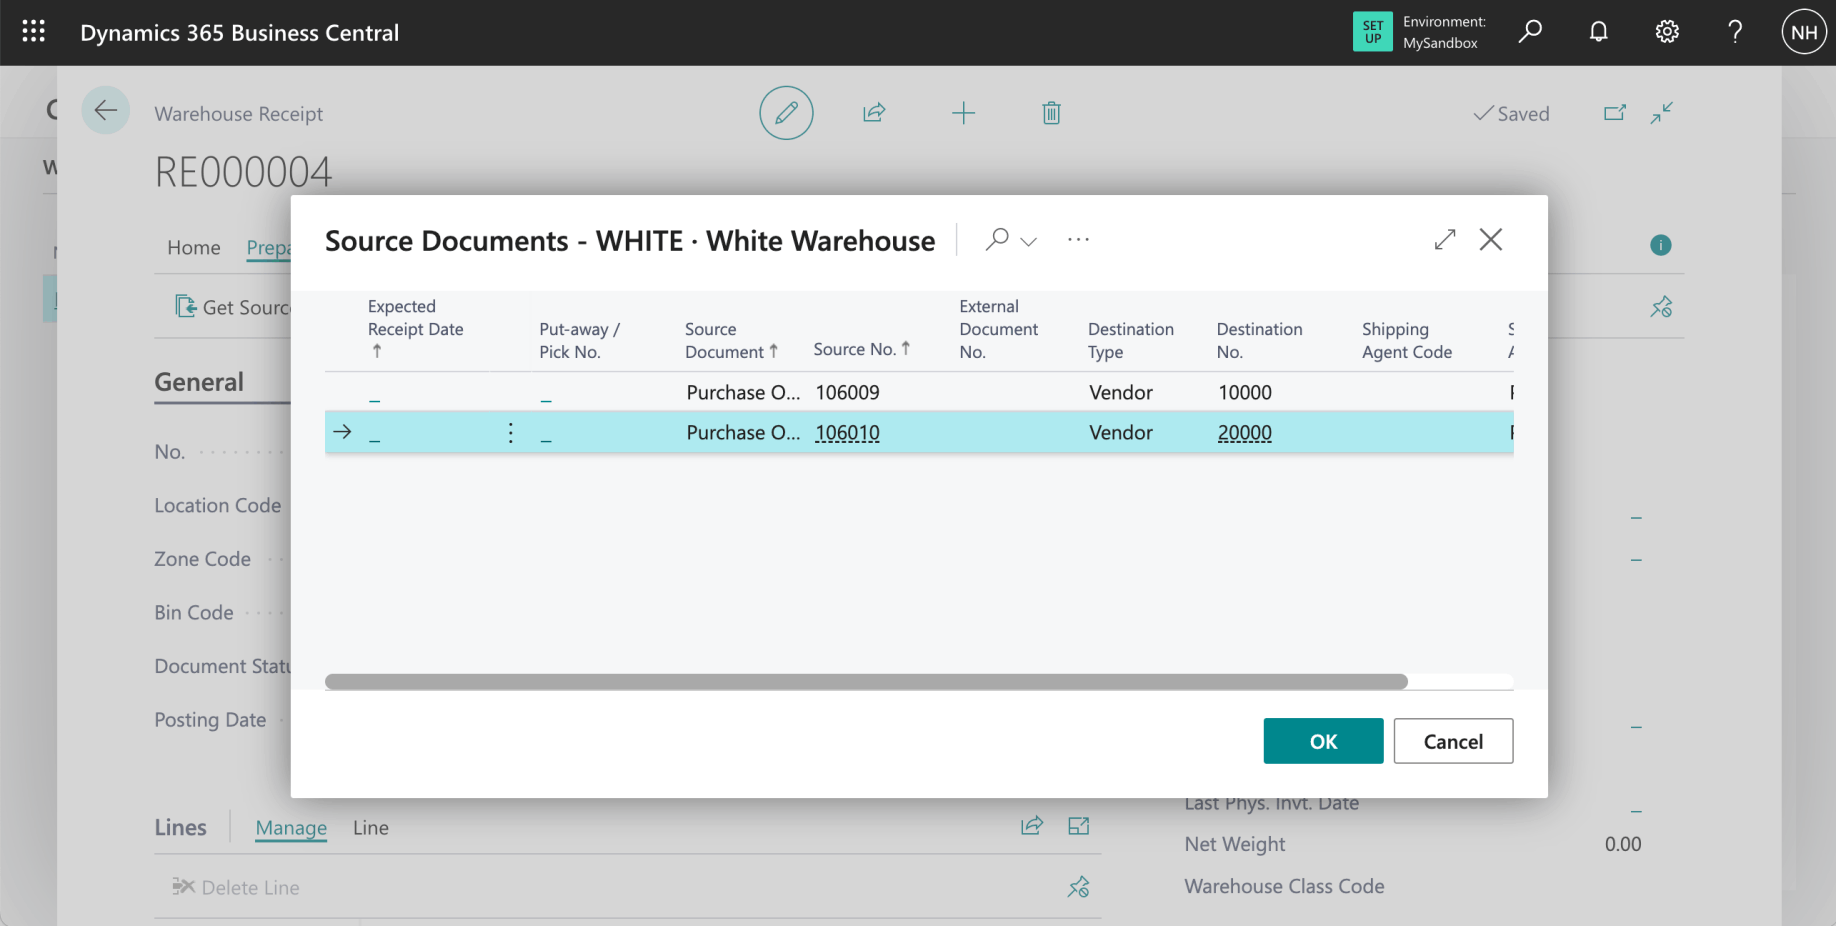
I clicked the Get Source Documents... link to import details from the Purchase Order into this Warehouse Receipt
(Notice that a single Warehouse Receipt can import lines from multiple source documents)
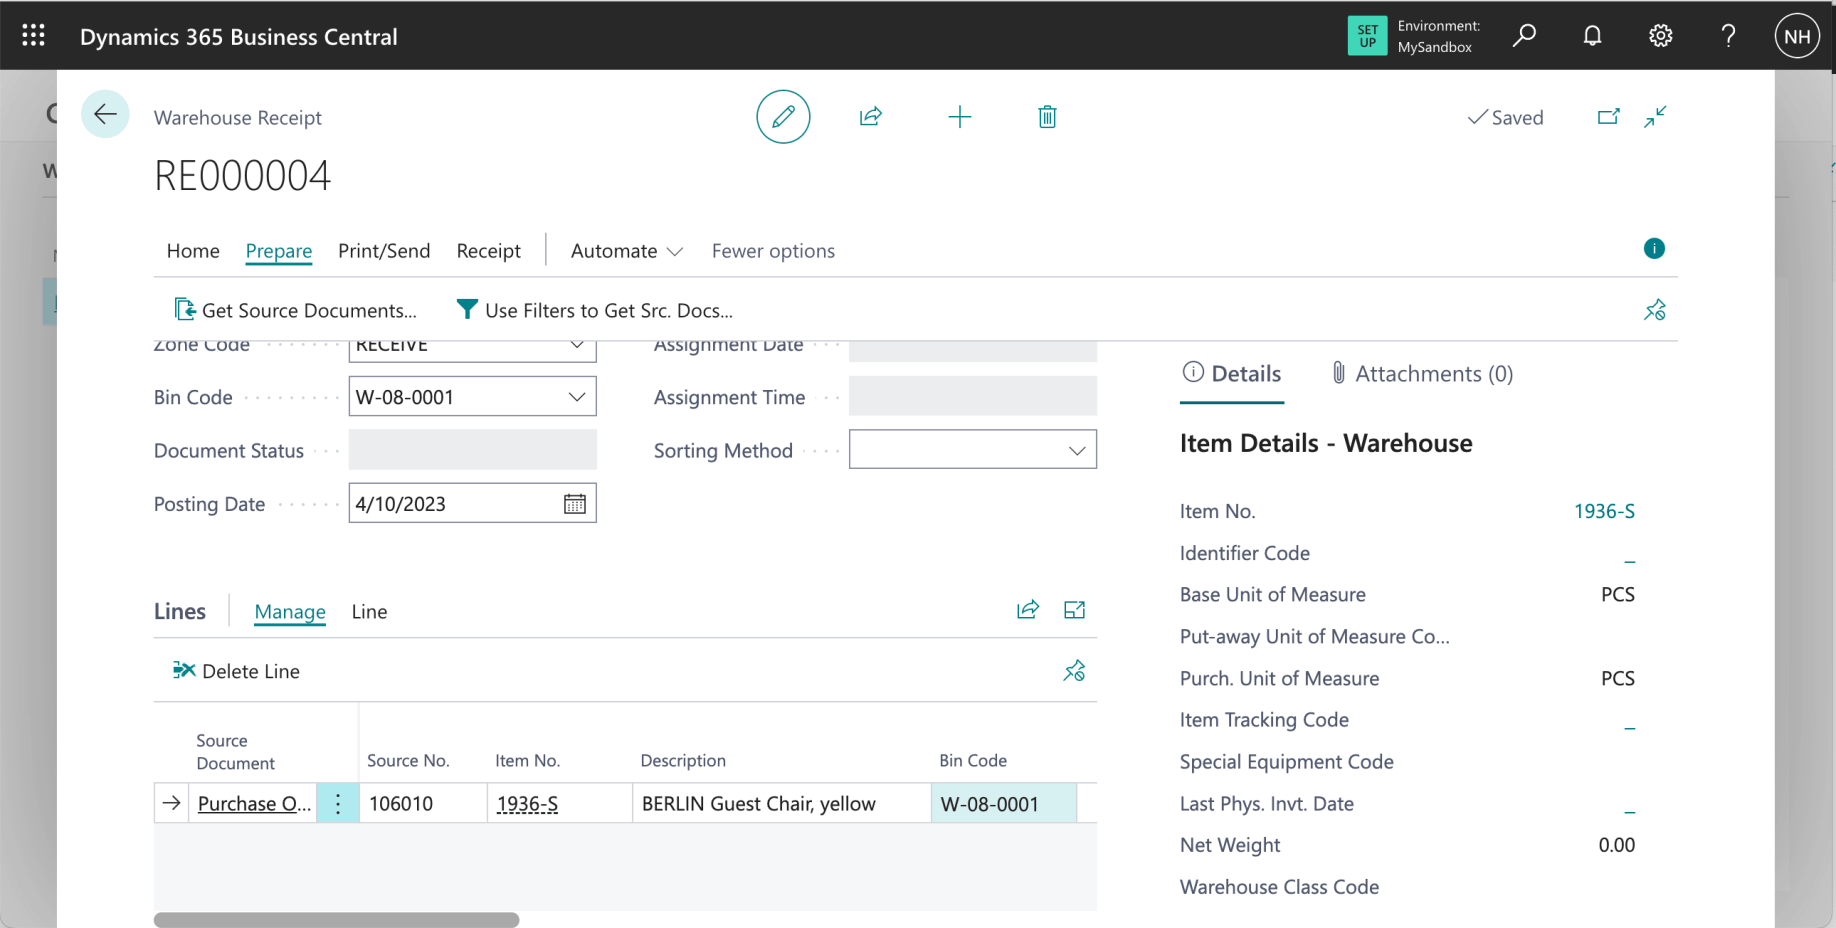
Notice that the Bin Code was automatically set to bin W-08-0001 (the RECEIVE bin in the RECEIVE Zone - see above)

I clicked the Post Receipt link
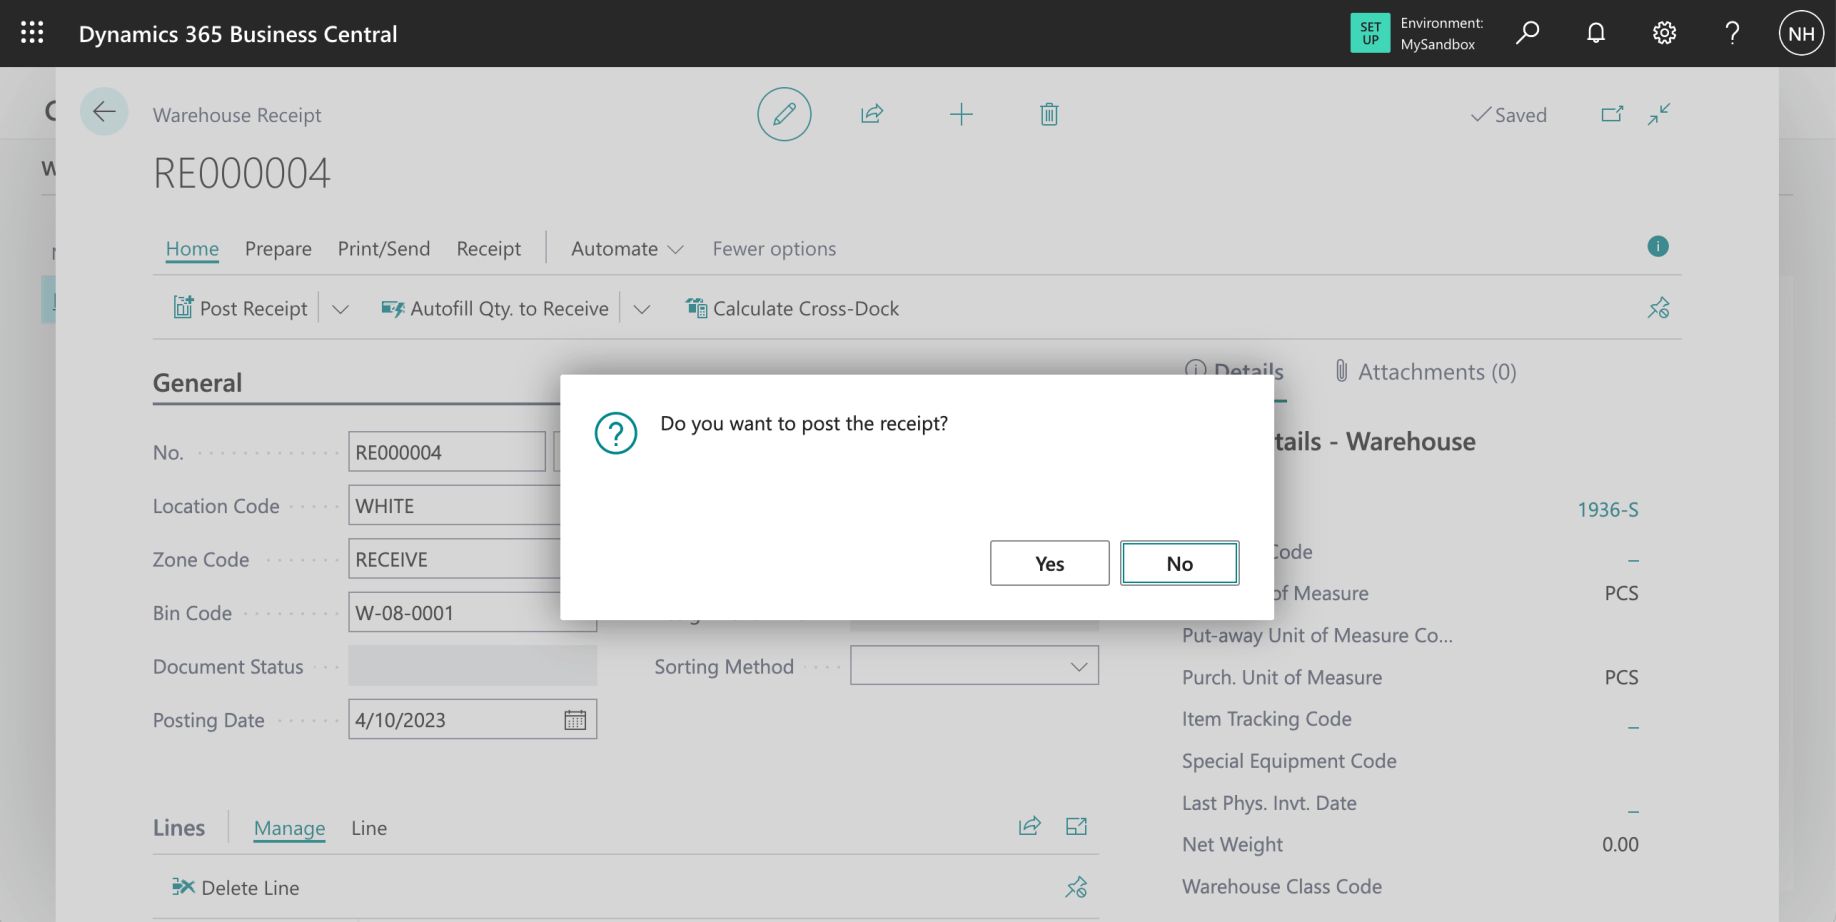
I posted the Warehouse Receipt
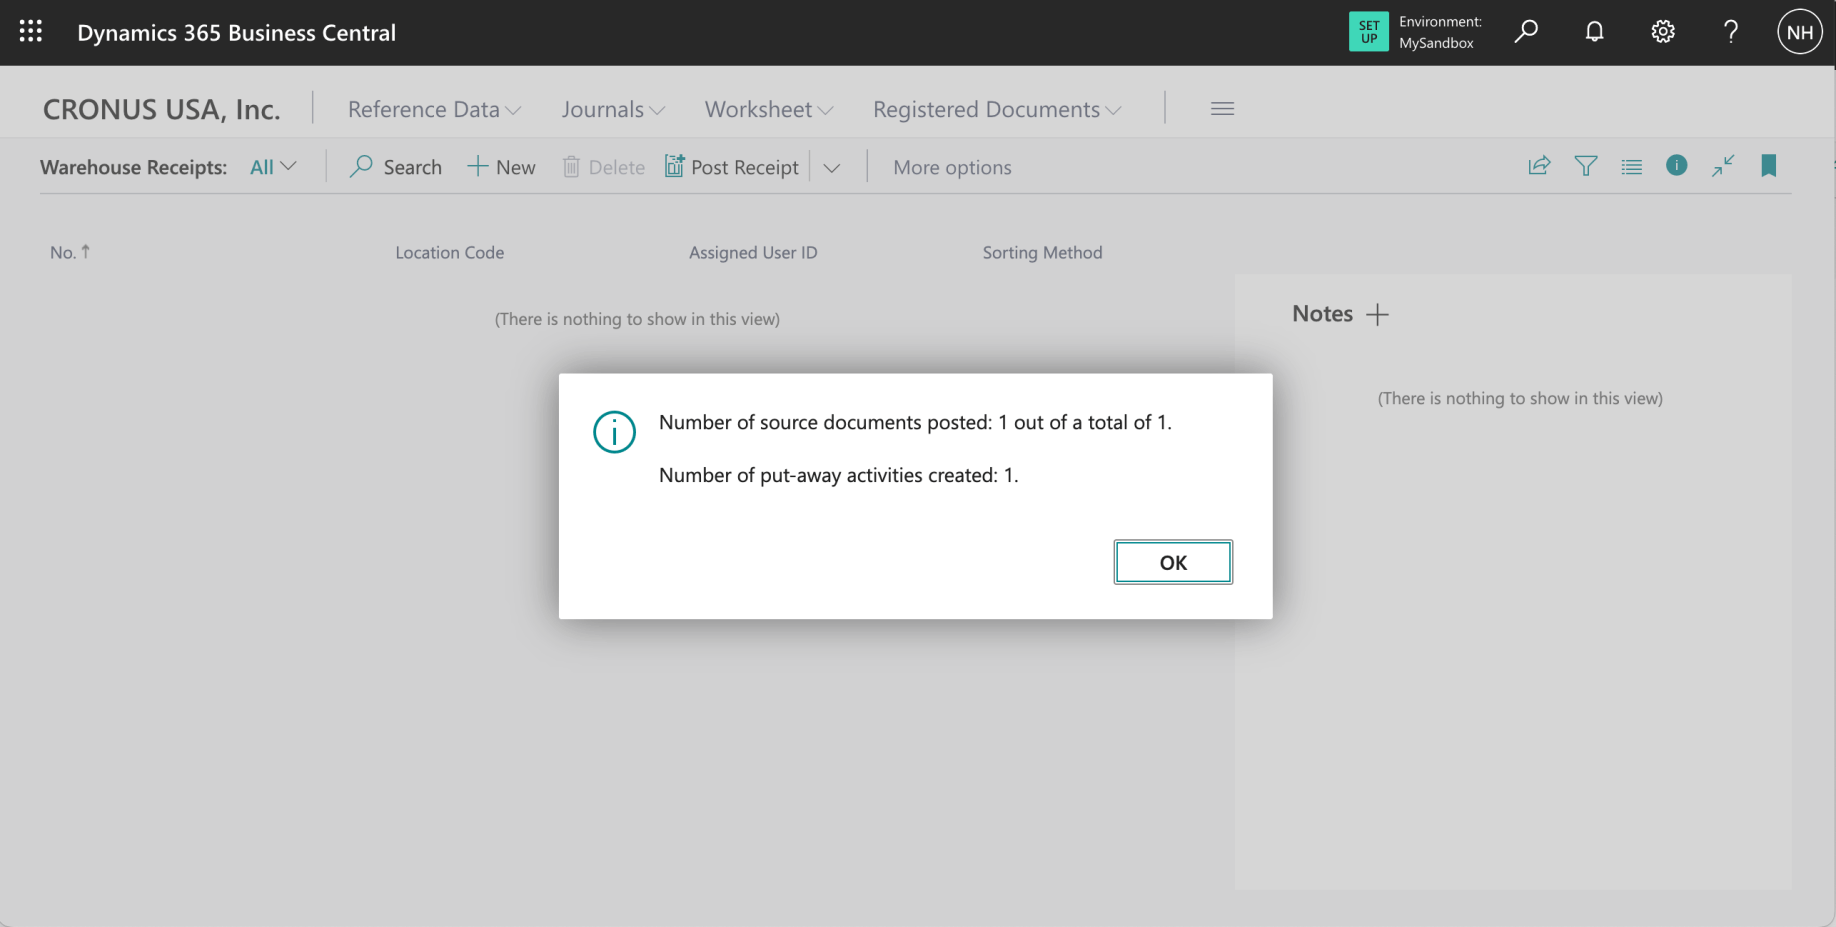
As I posted the Warehouse Receipt a Put-away was created

I clicked the Put-aways link
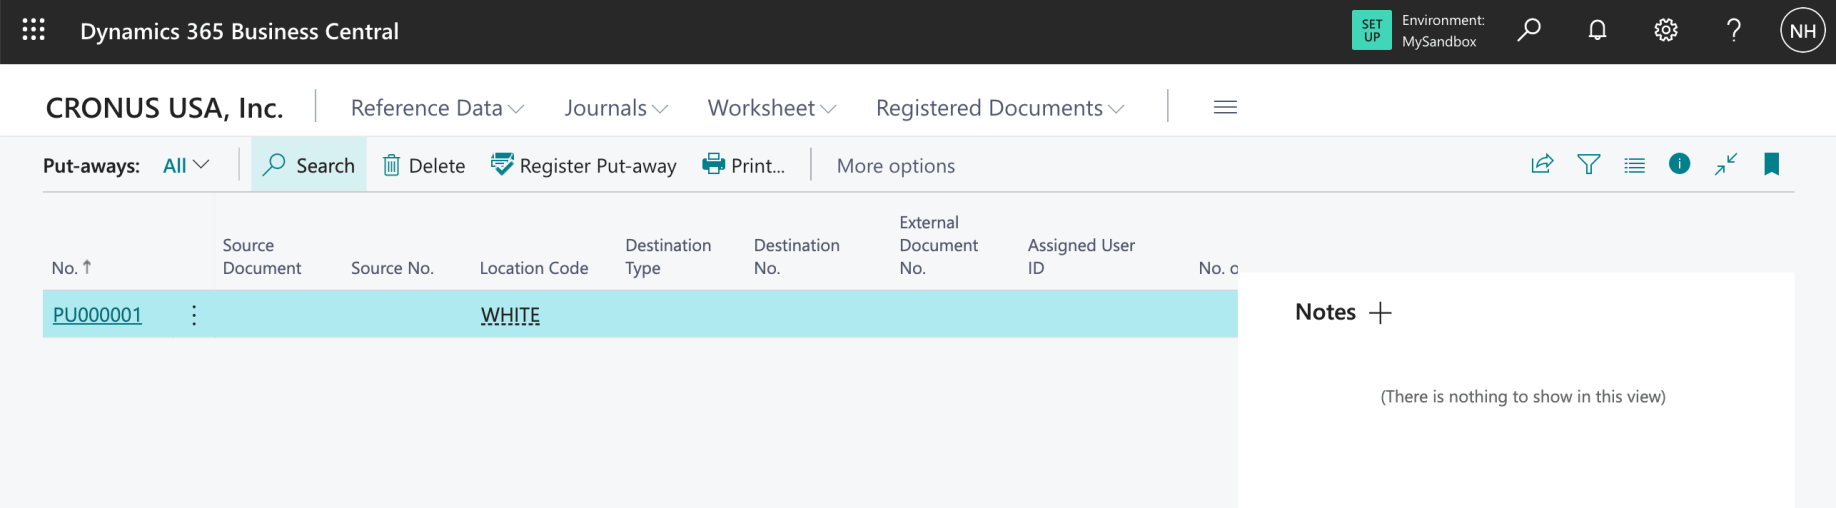
I clicked on the newly created Put-away
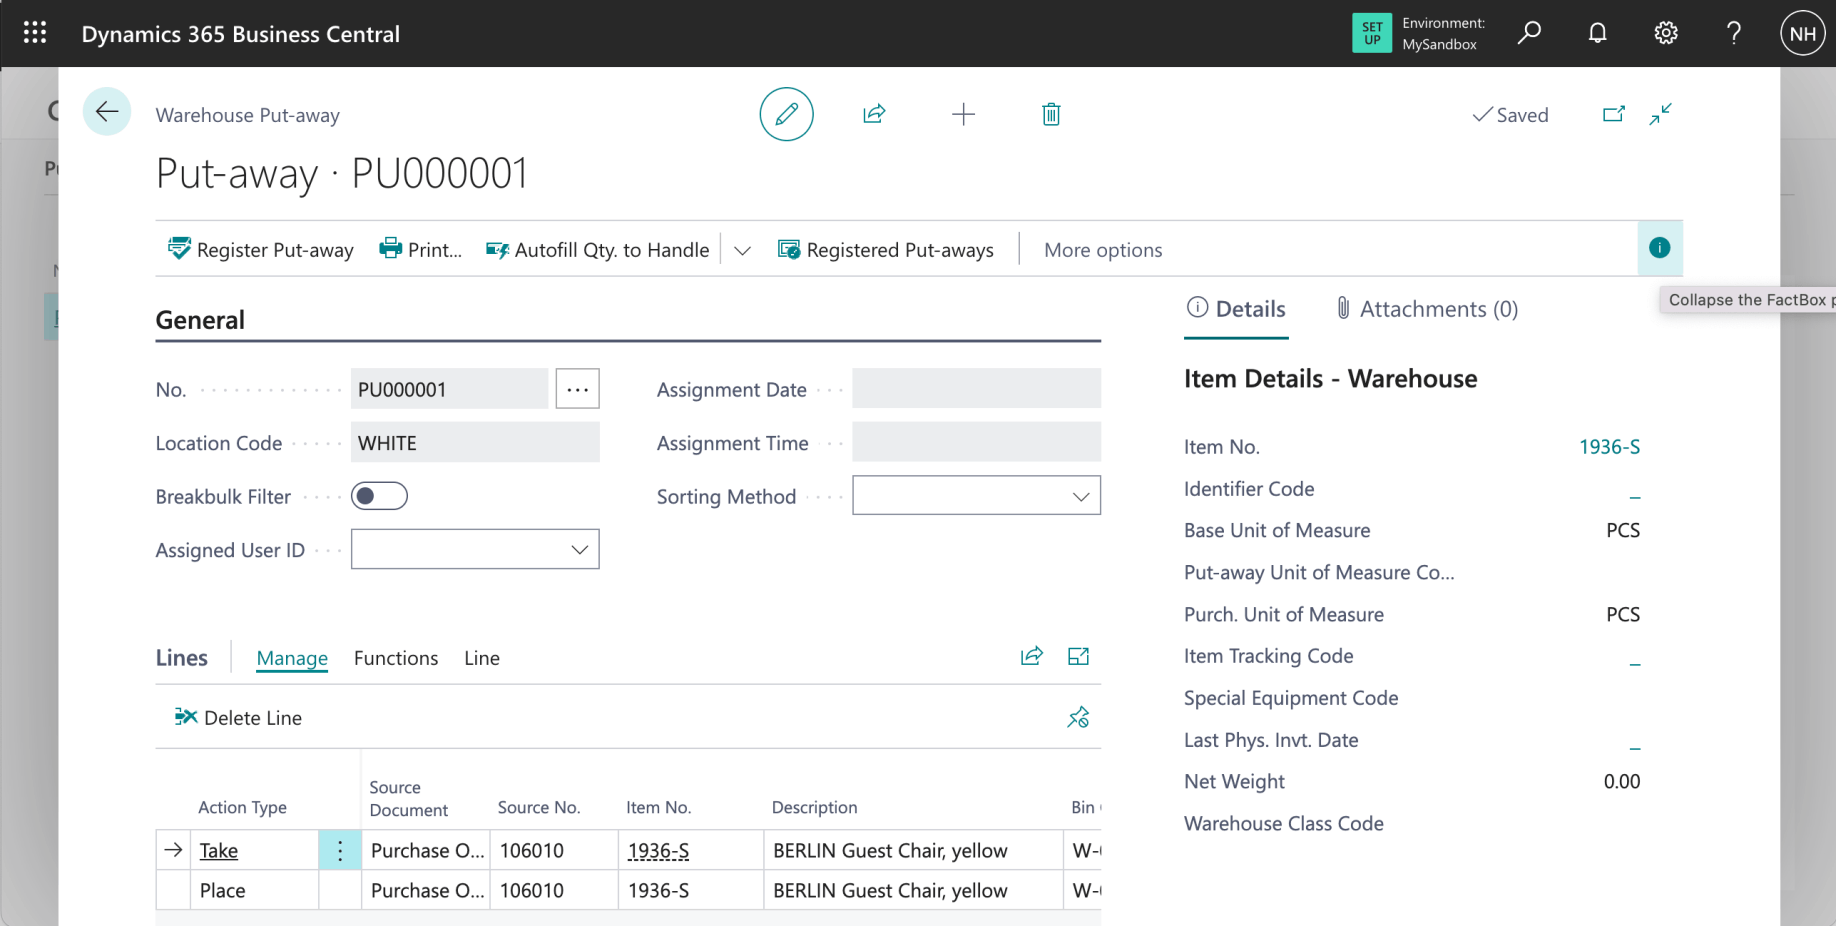
I clicked the "i" to collapse the FactBox
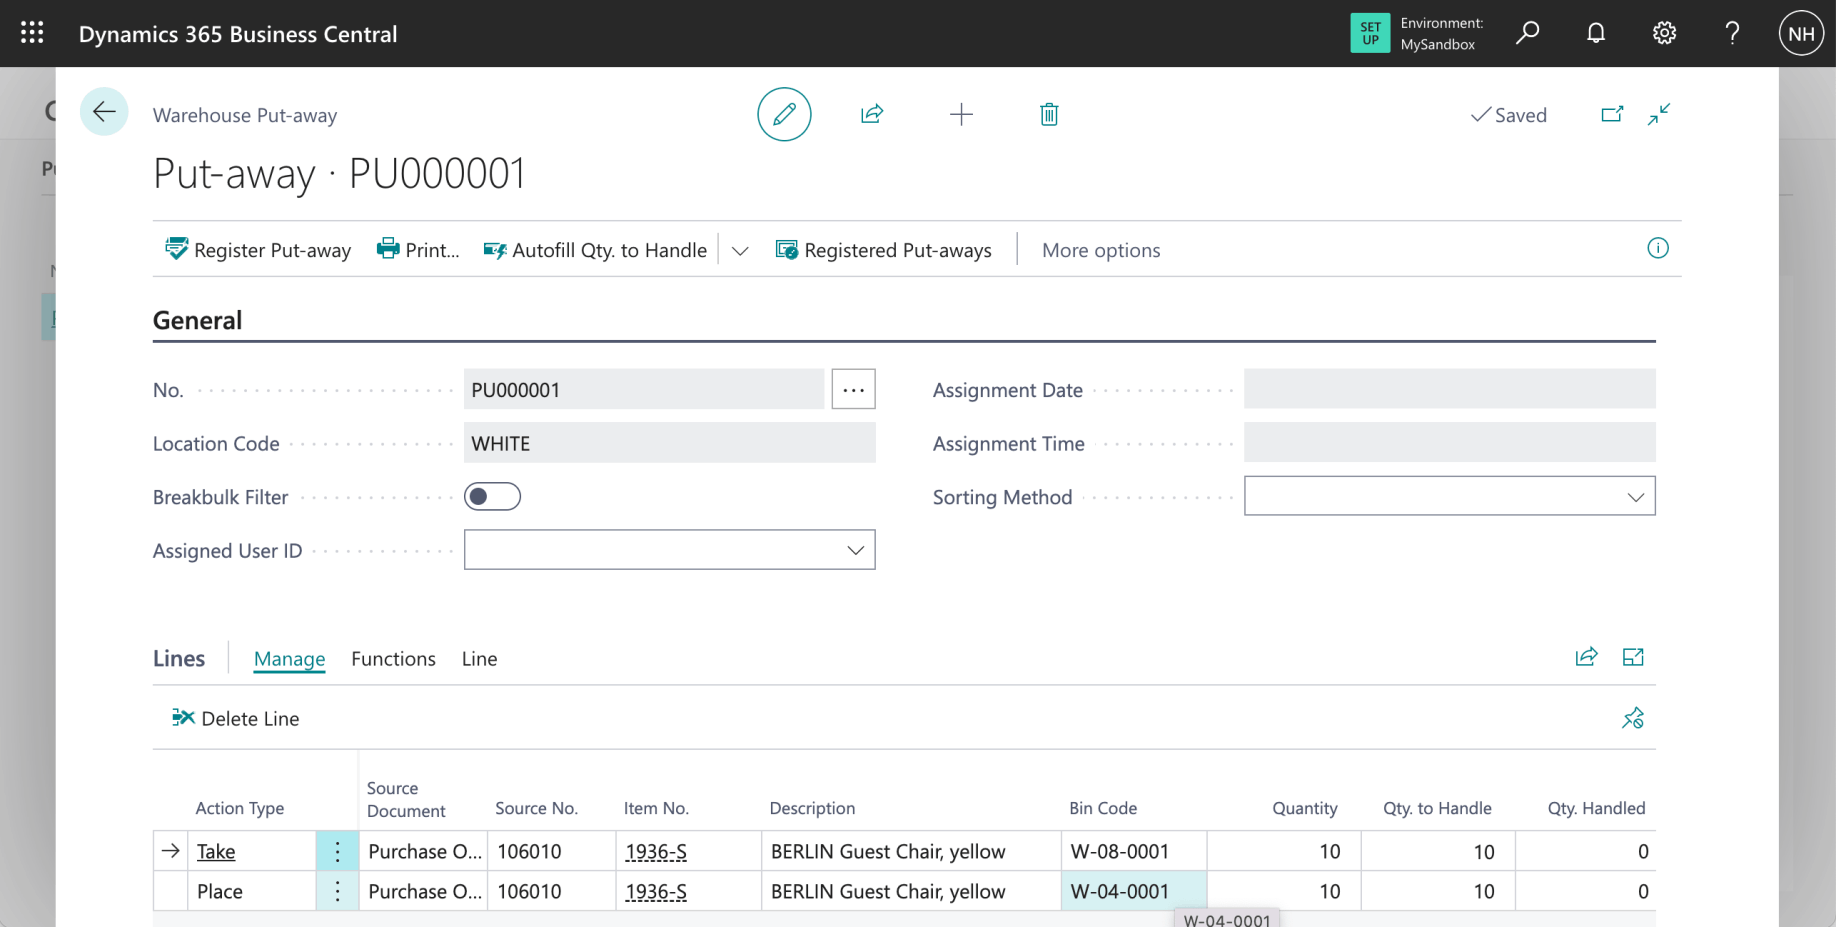
Notice that the Put-away describes how the items should be moved from bin W-08-0001 (the RECEIVE bin in the RECEIVE Zone) and moved to bin W-04-0001 (the PUTPICK bin in the PICK Zone)
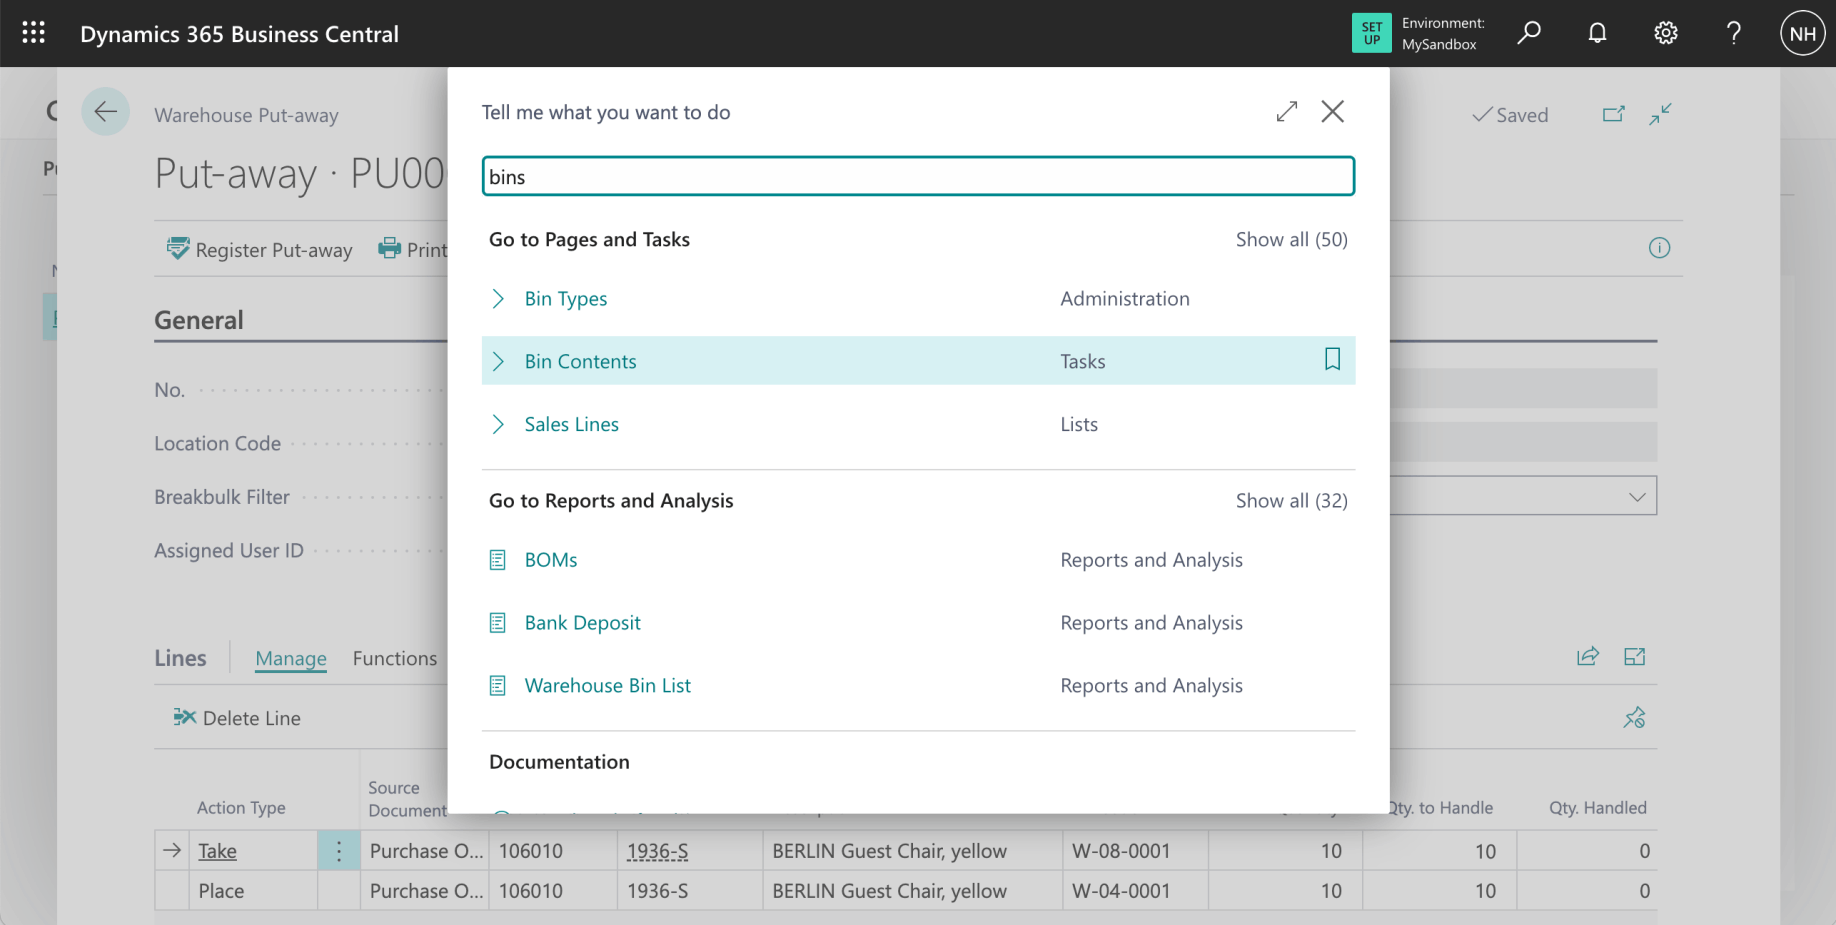
I wanted to review the Bin Contents before clicking Register Put-away
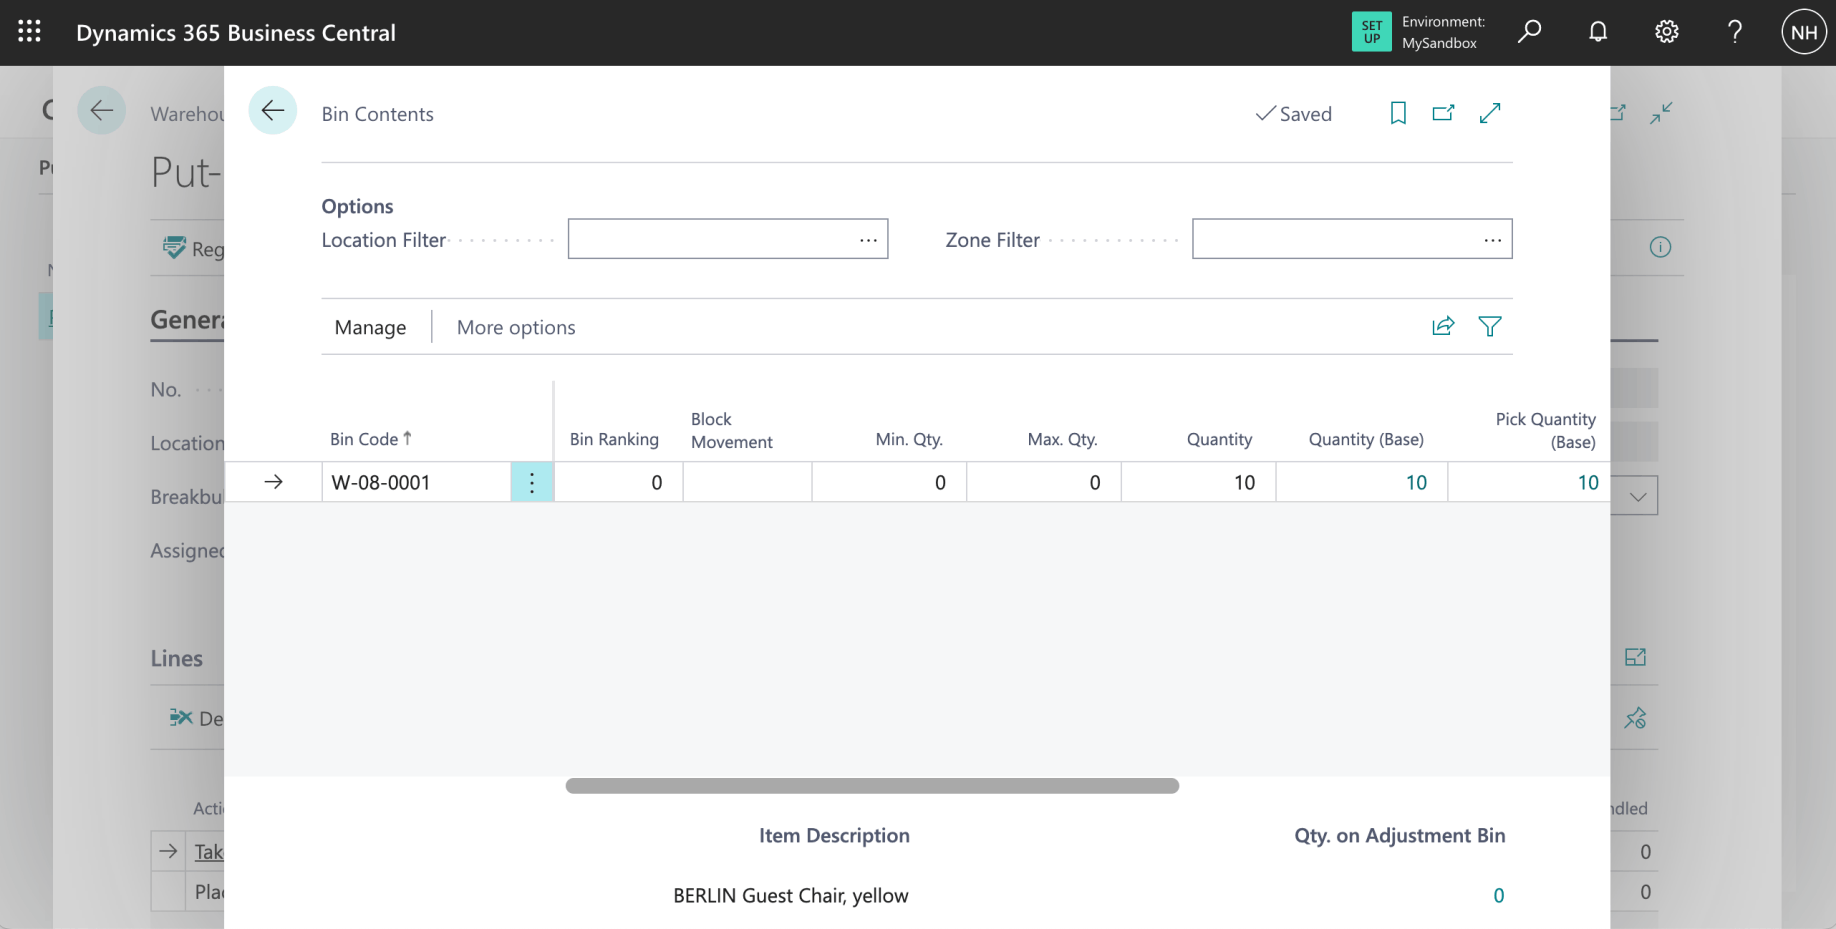
The items are shown in the W-08-0001 bin (the RECEIVE bin in the RECEIVE Zone)
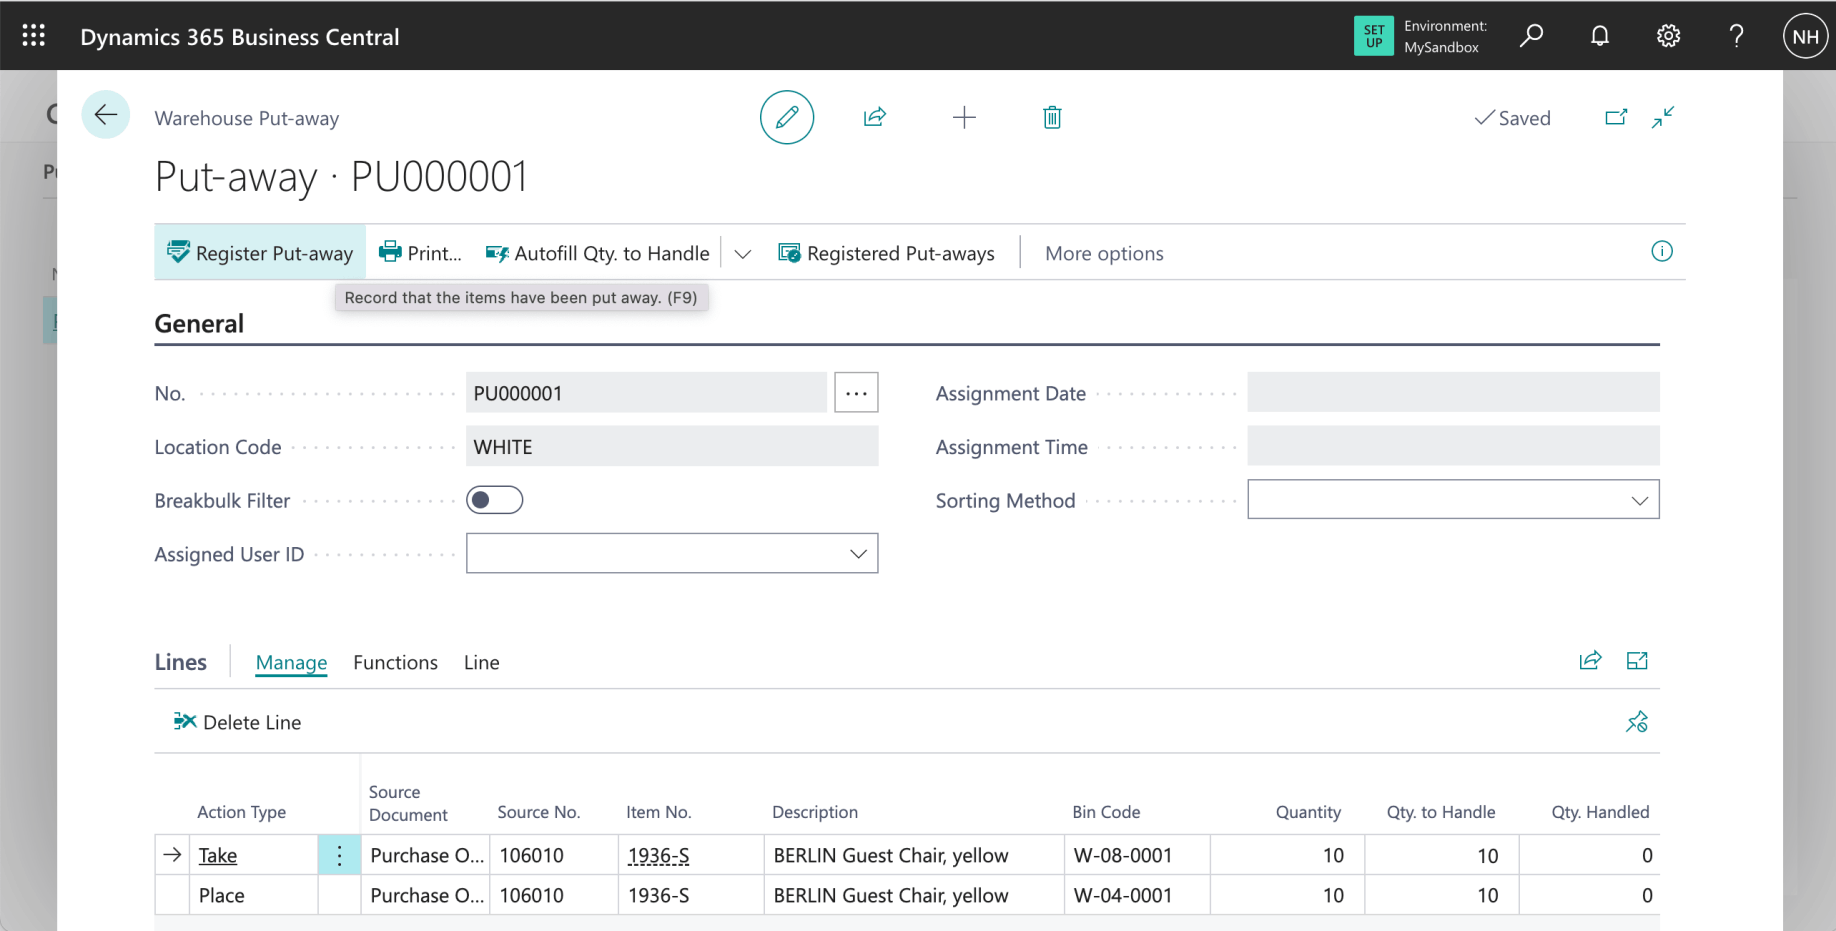
I clicked the Register Put-away link
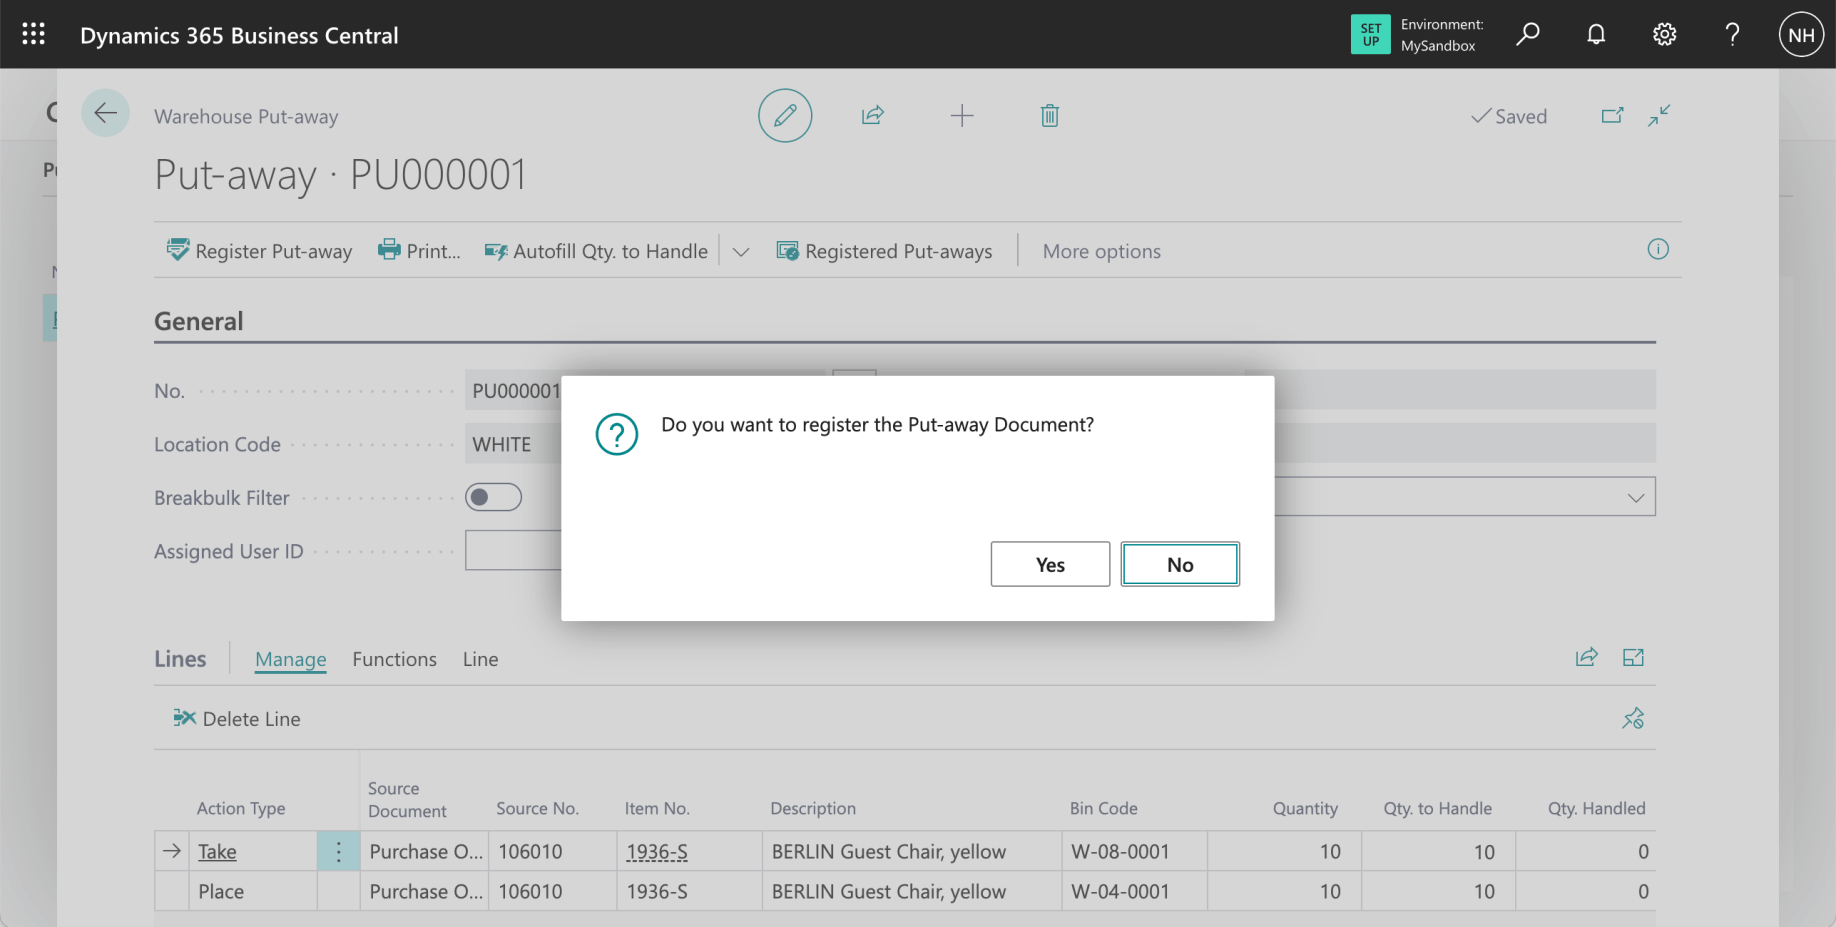
I clicked Yes
The put away is completed
I wanted to review the Bin Contents after clicking Register Put-away
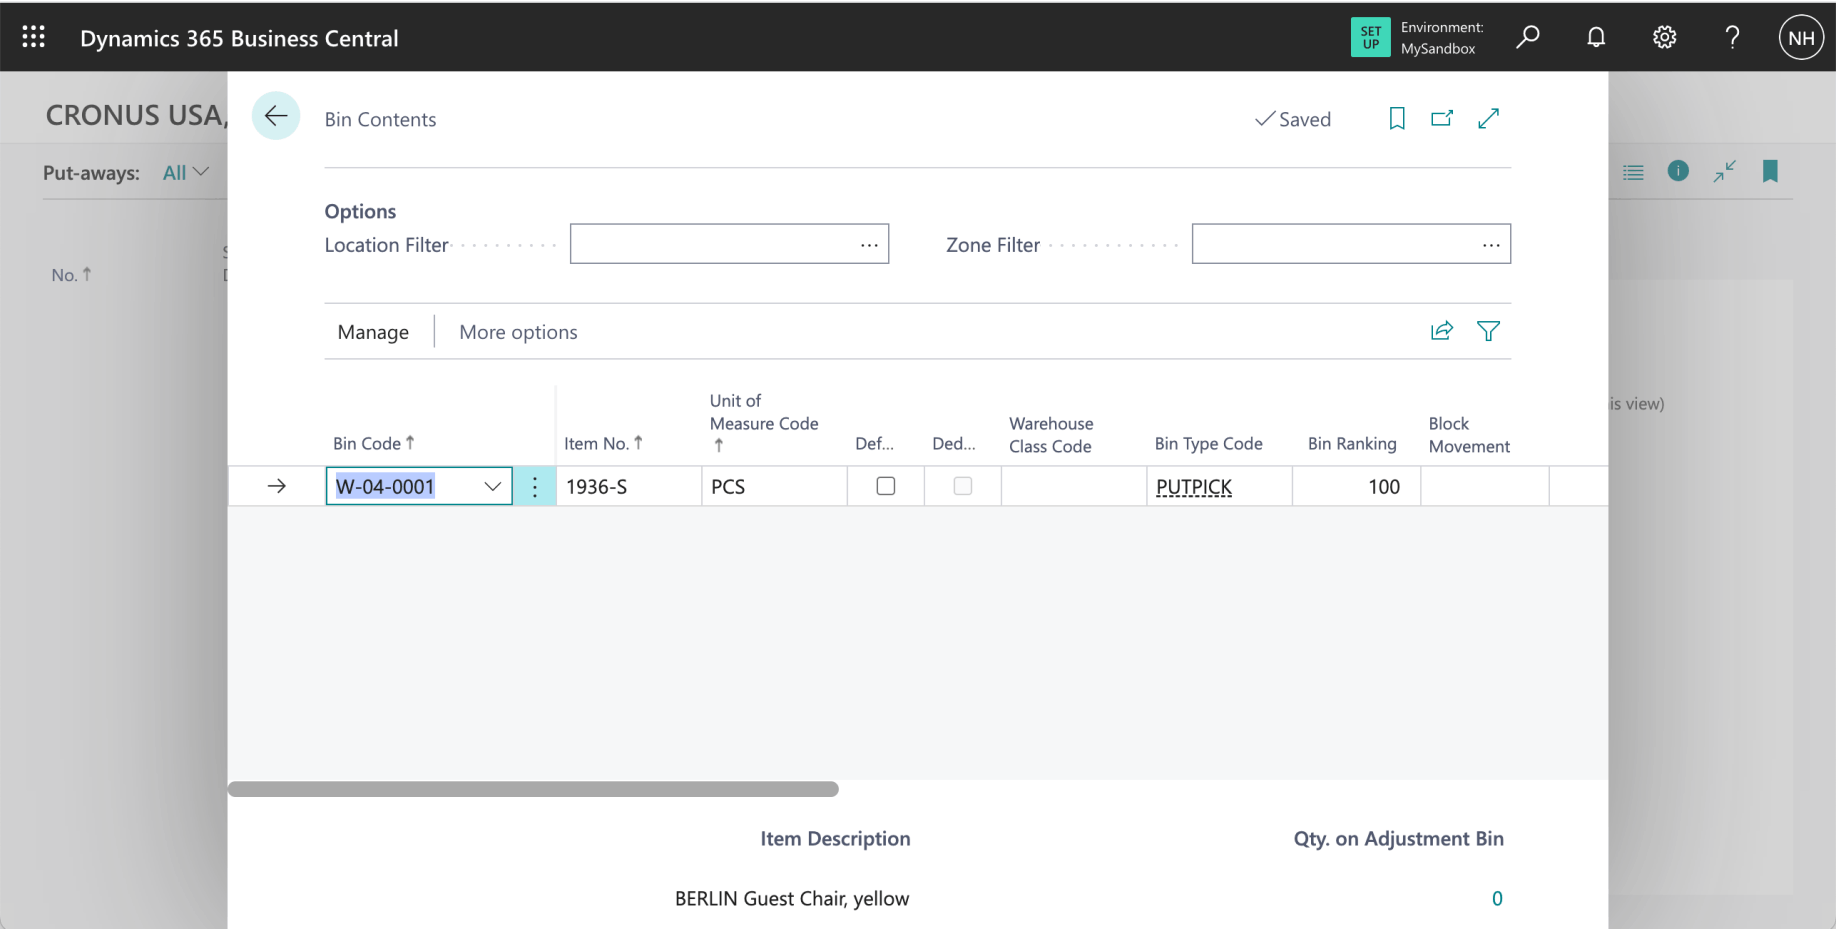
The items are shown in the W-04-0001 bin (the PUTPICK bin in the PICK Zone)
