Business Central (Part 4)
Neil Haddley • December 1, 2024
Integrating with Dataverse using Dataflows
 Tap the image to open it full size
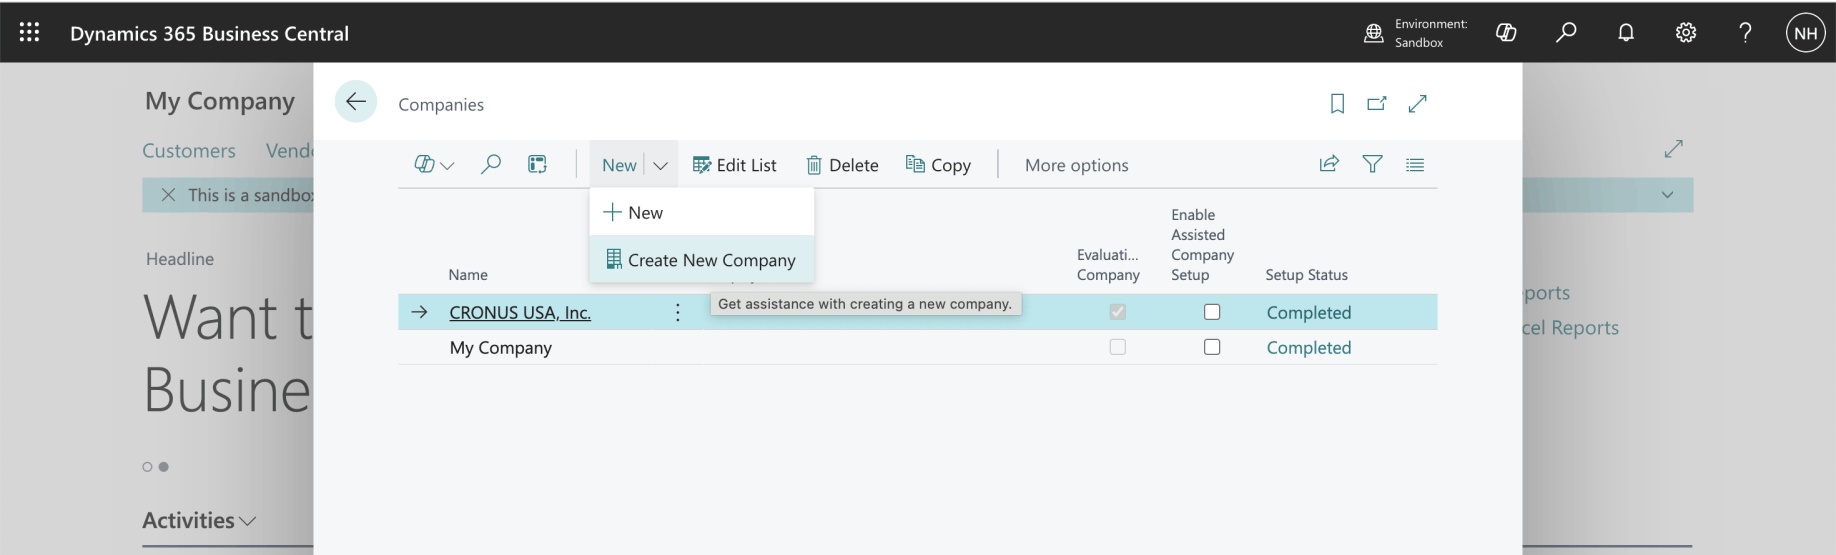
I created a new Business Central Company
 Tap the image to open it full size
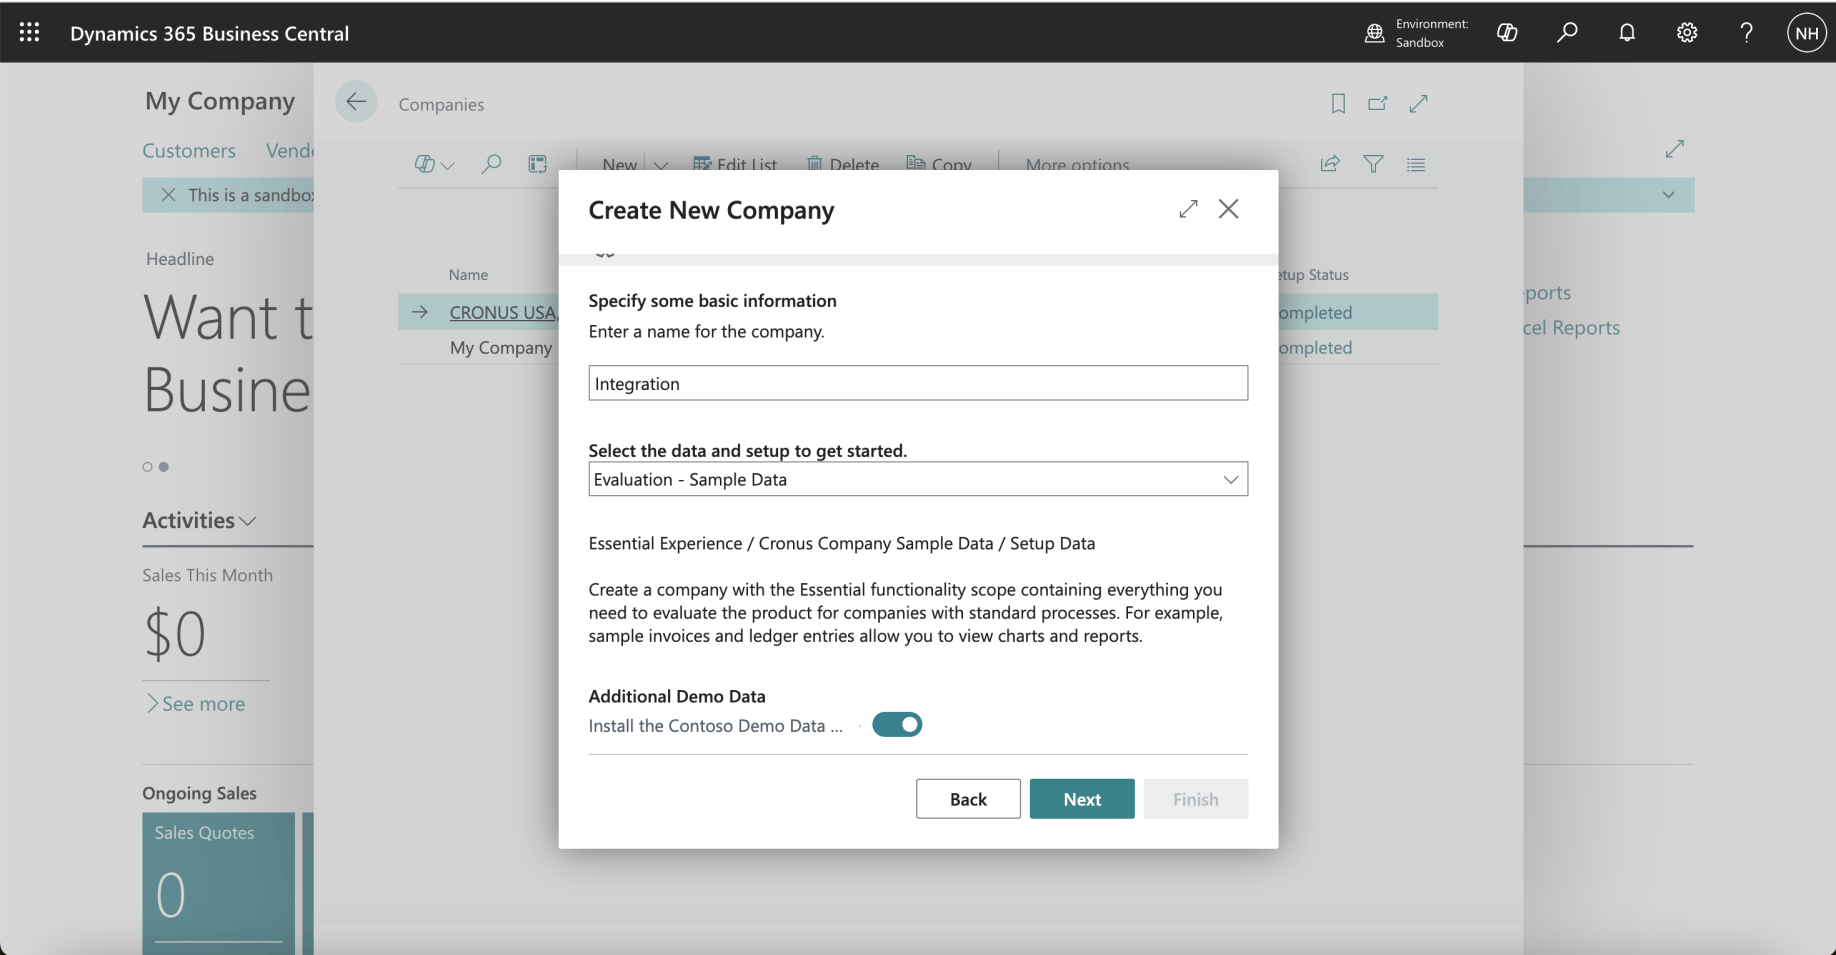
I named the Company Integration
 Tap the image to open it full size
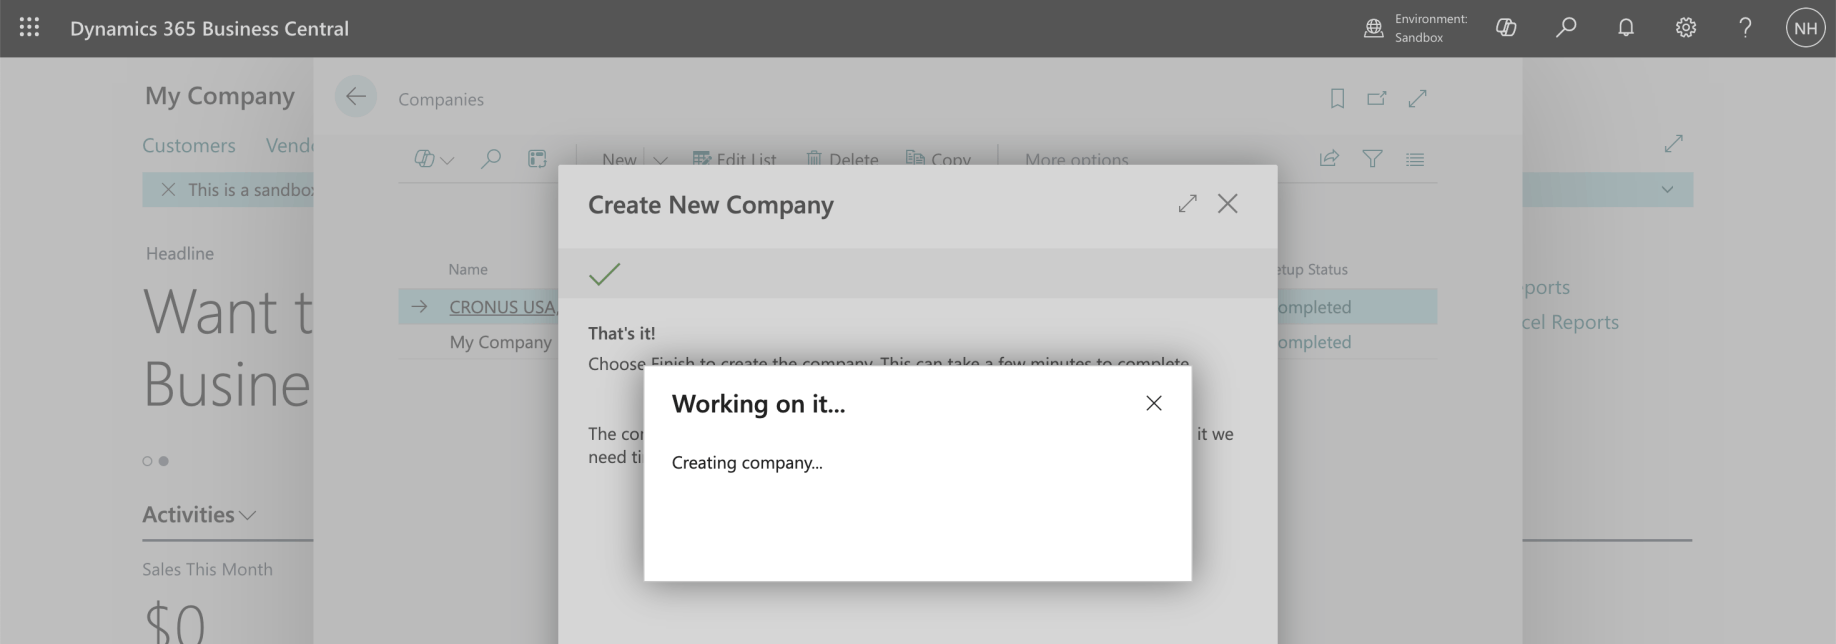
I clicked Next
 Tap the image to open it full size
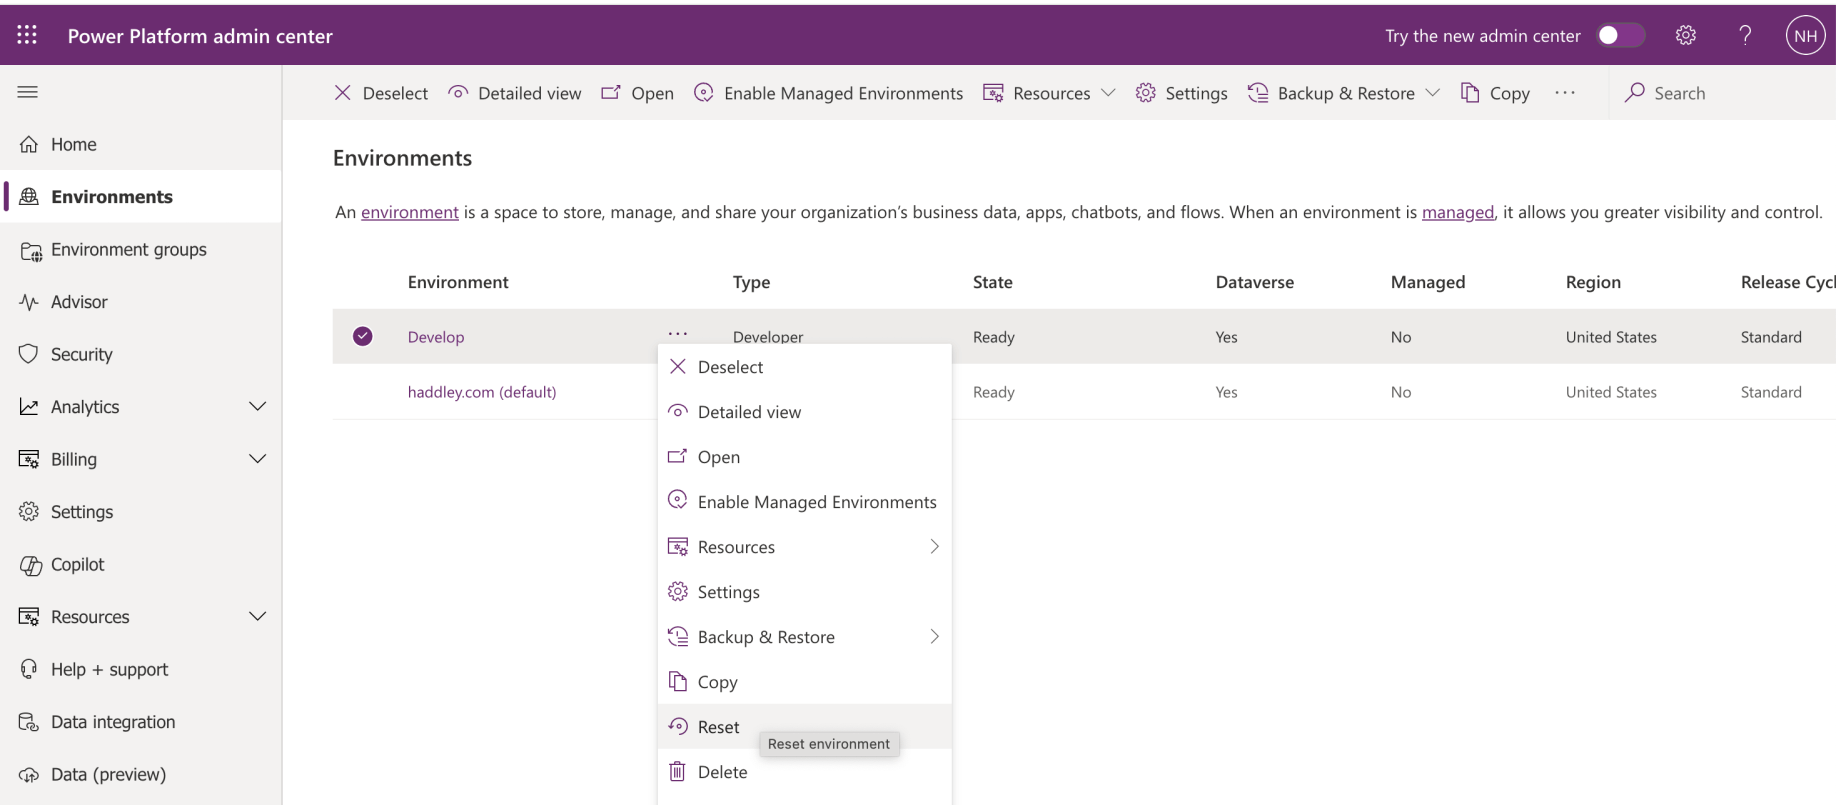
I reset my Develop Power Platform Environment
 Tap the image to open it full size
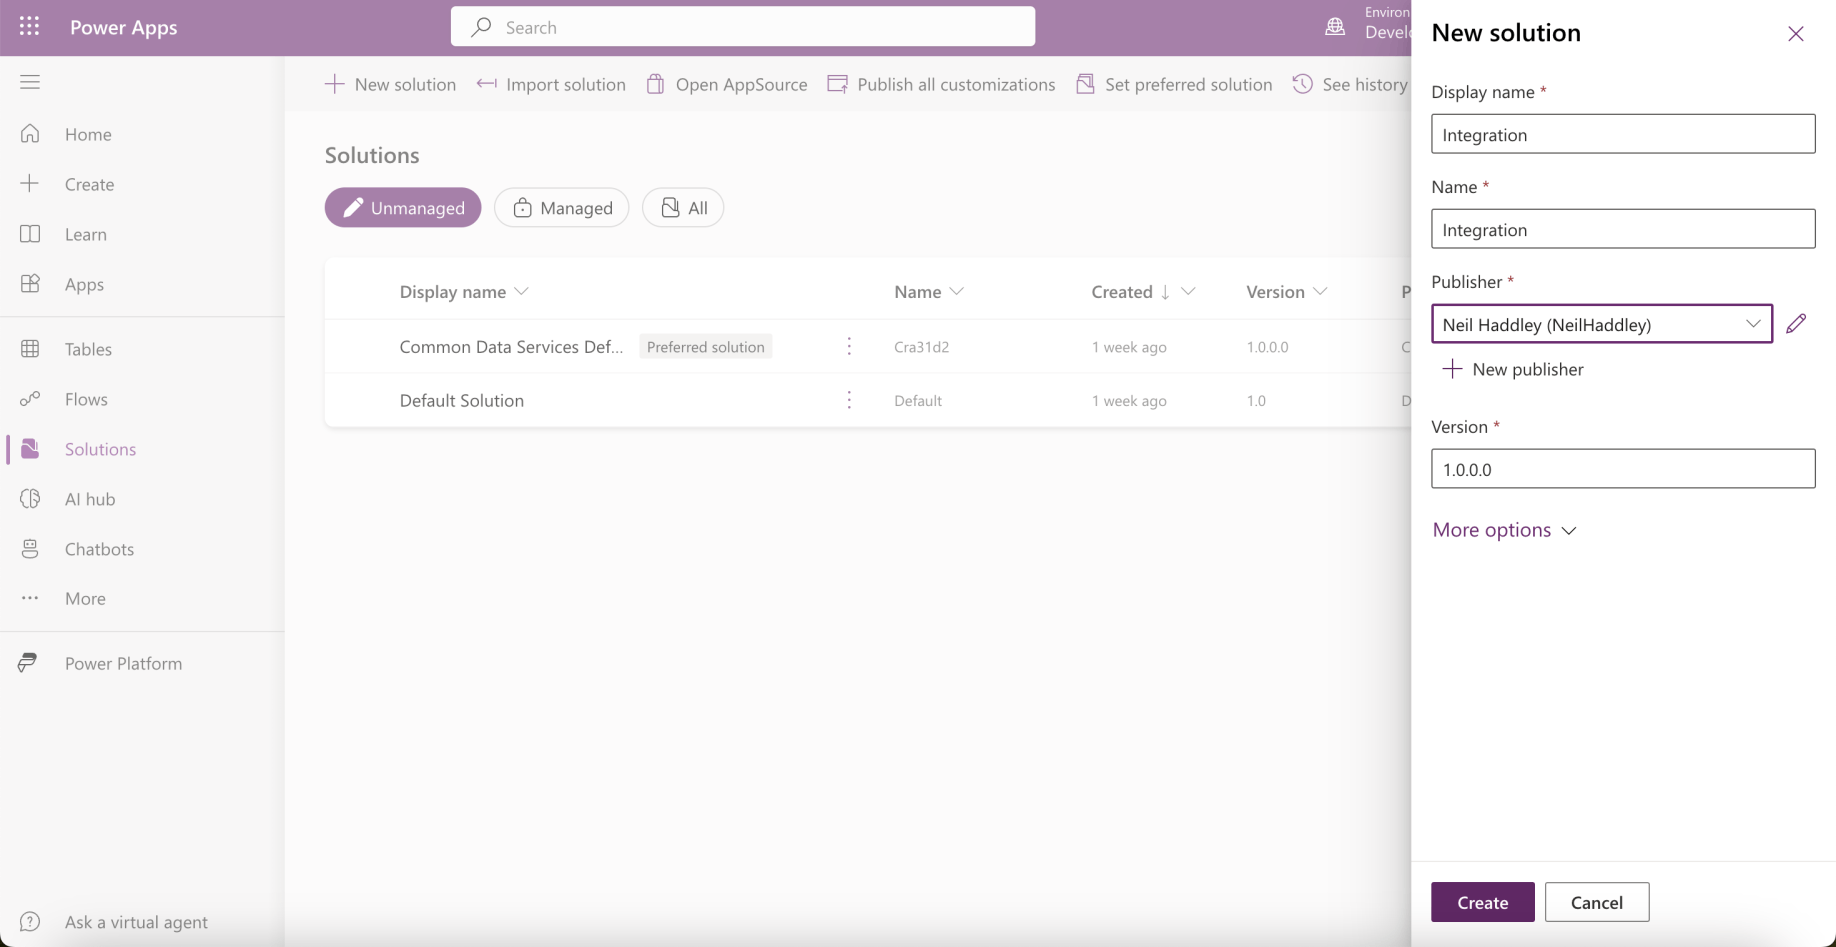
I created a new Power Apps Solution
 Tap the image to open it full size
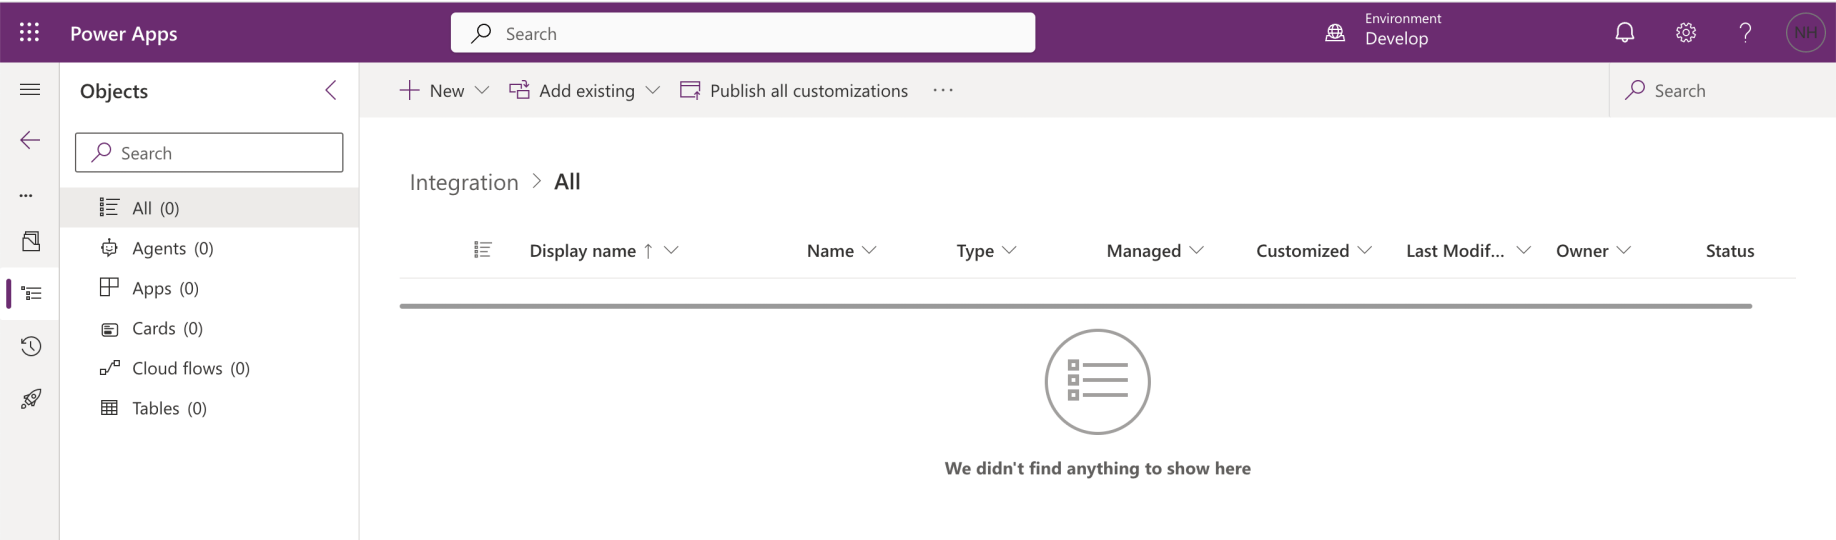
An empty solution was created
 Tap the image to open it full size
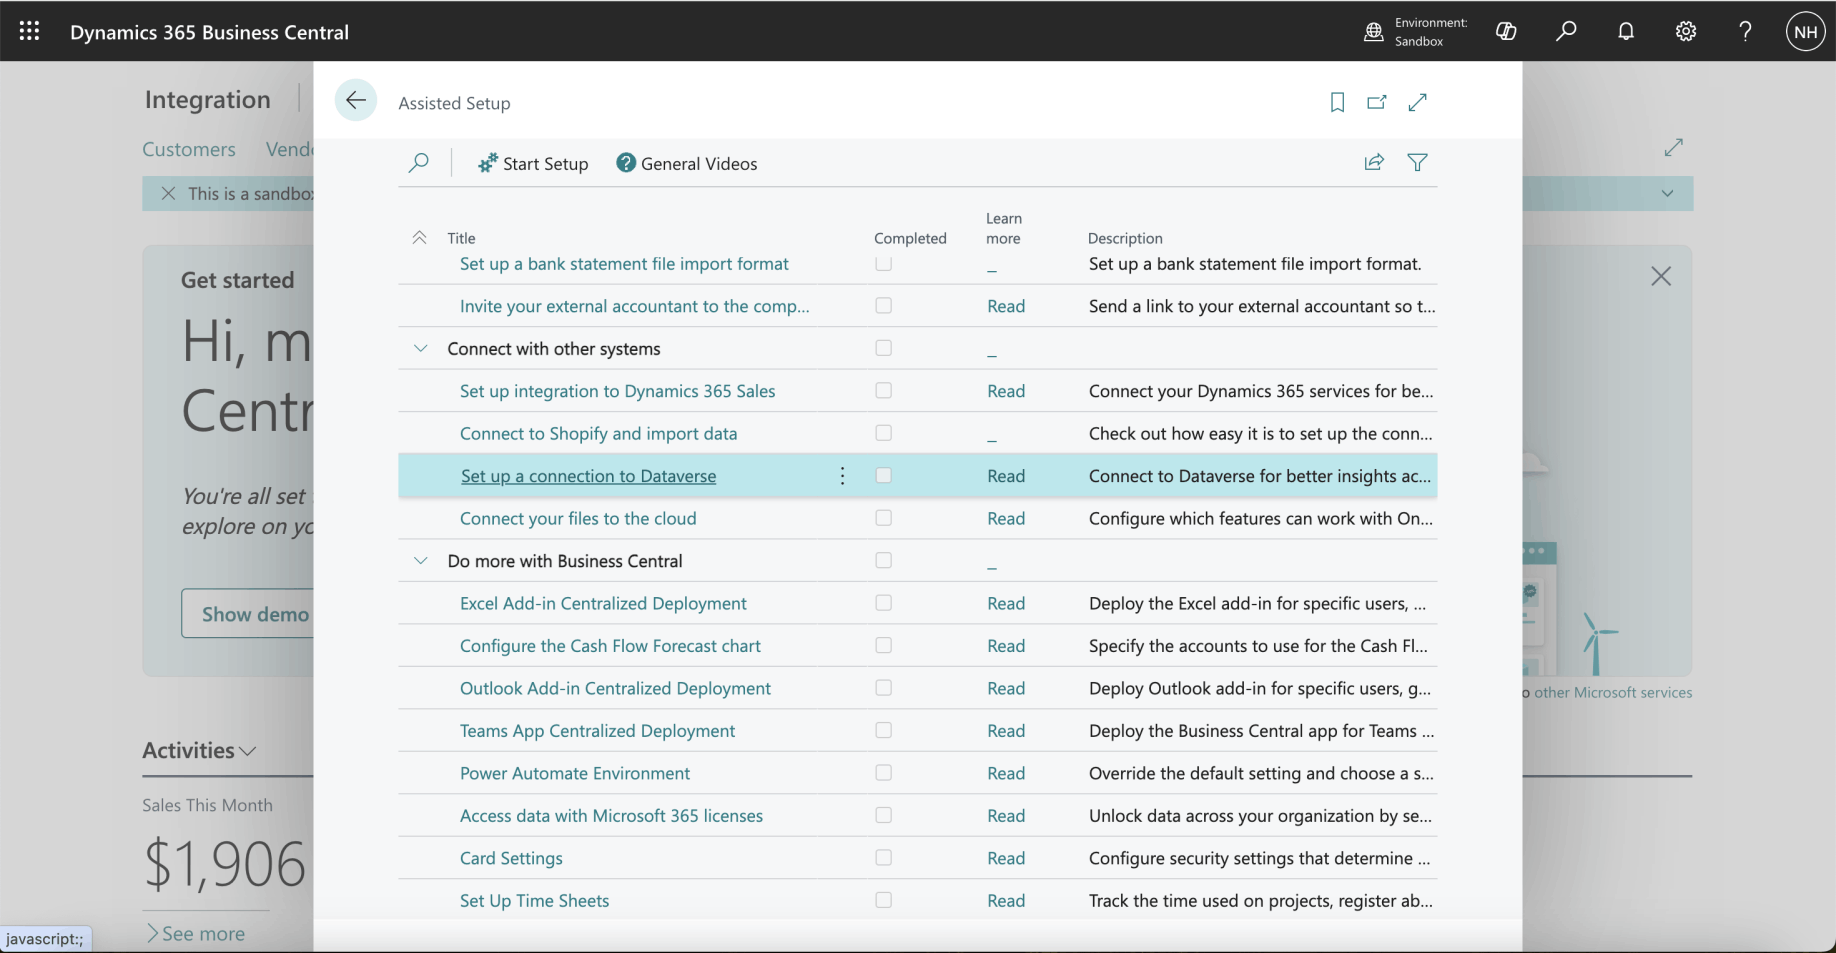
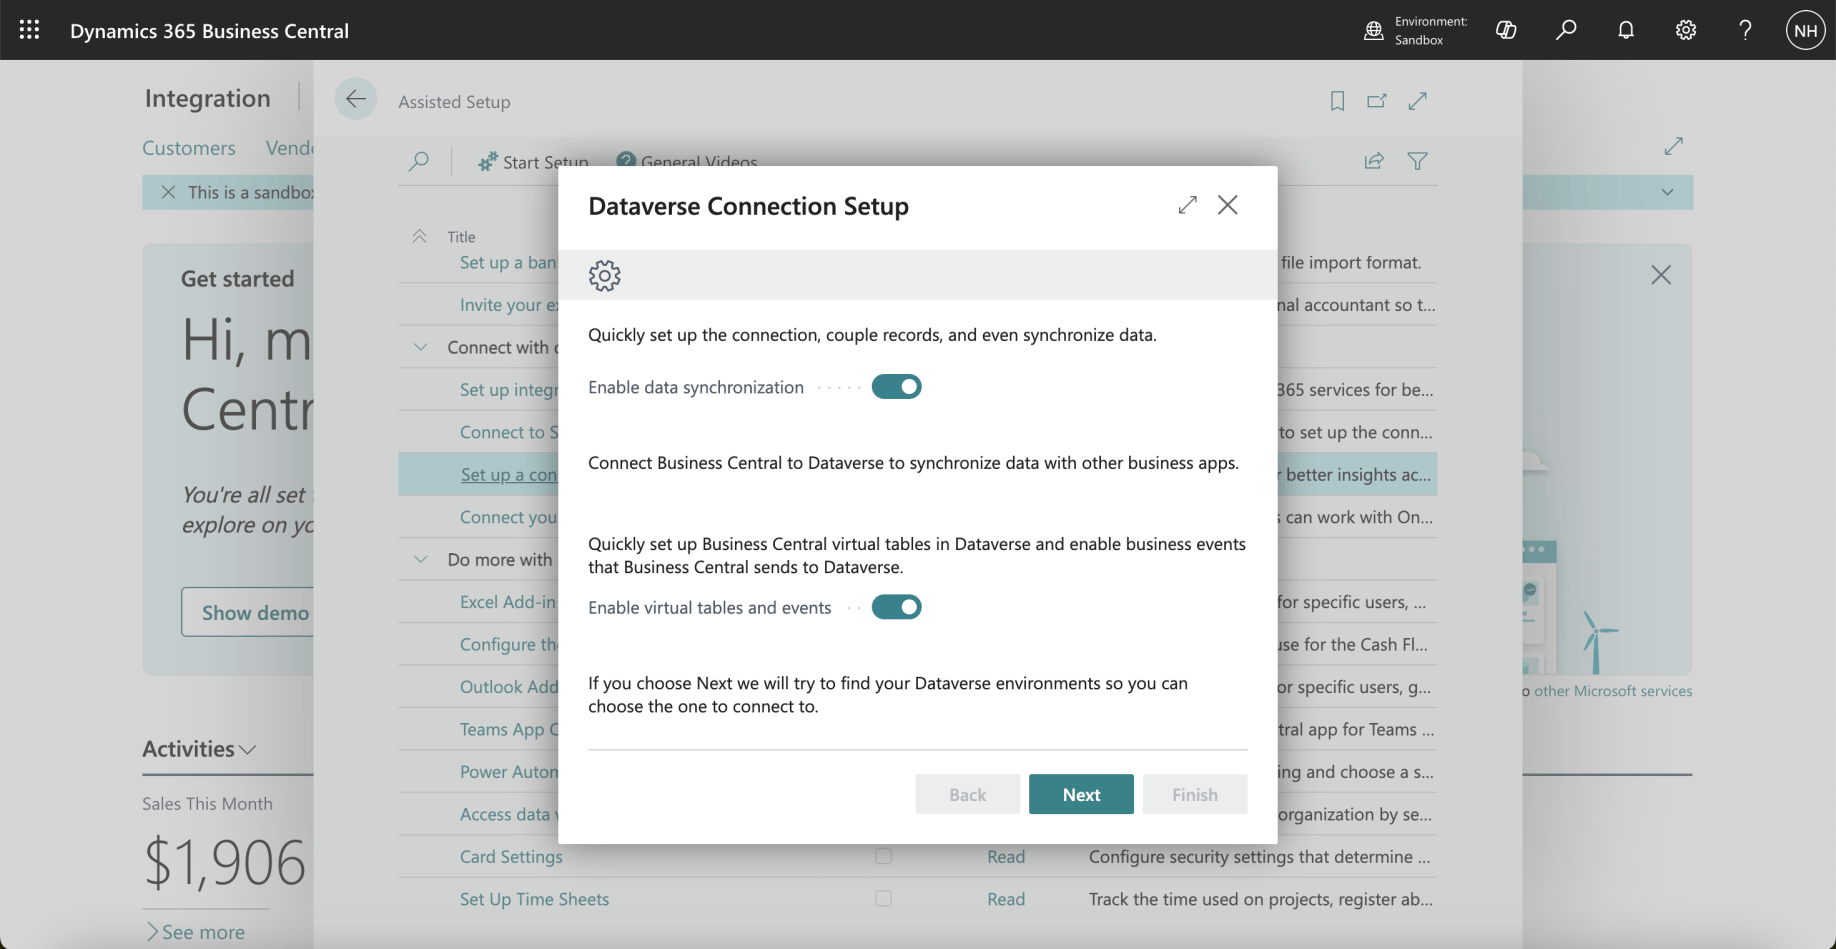
I navigated to the Integration Company and clicked the Set up a connection to Dataverse link
 Tap the image to open it full size
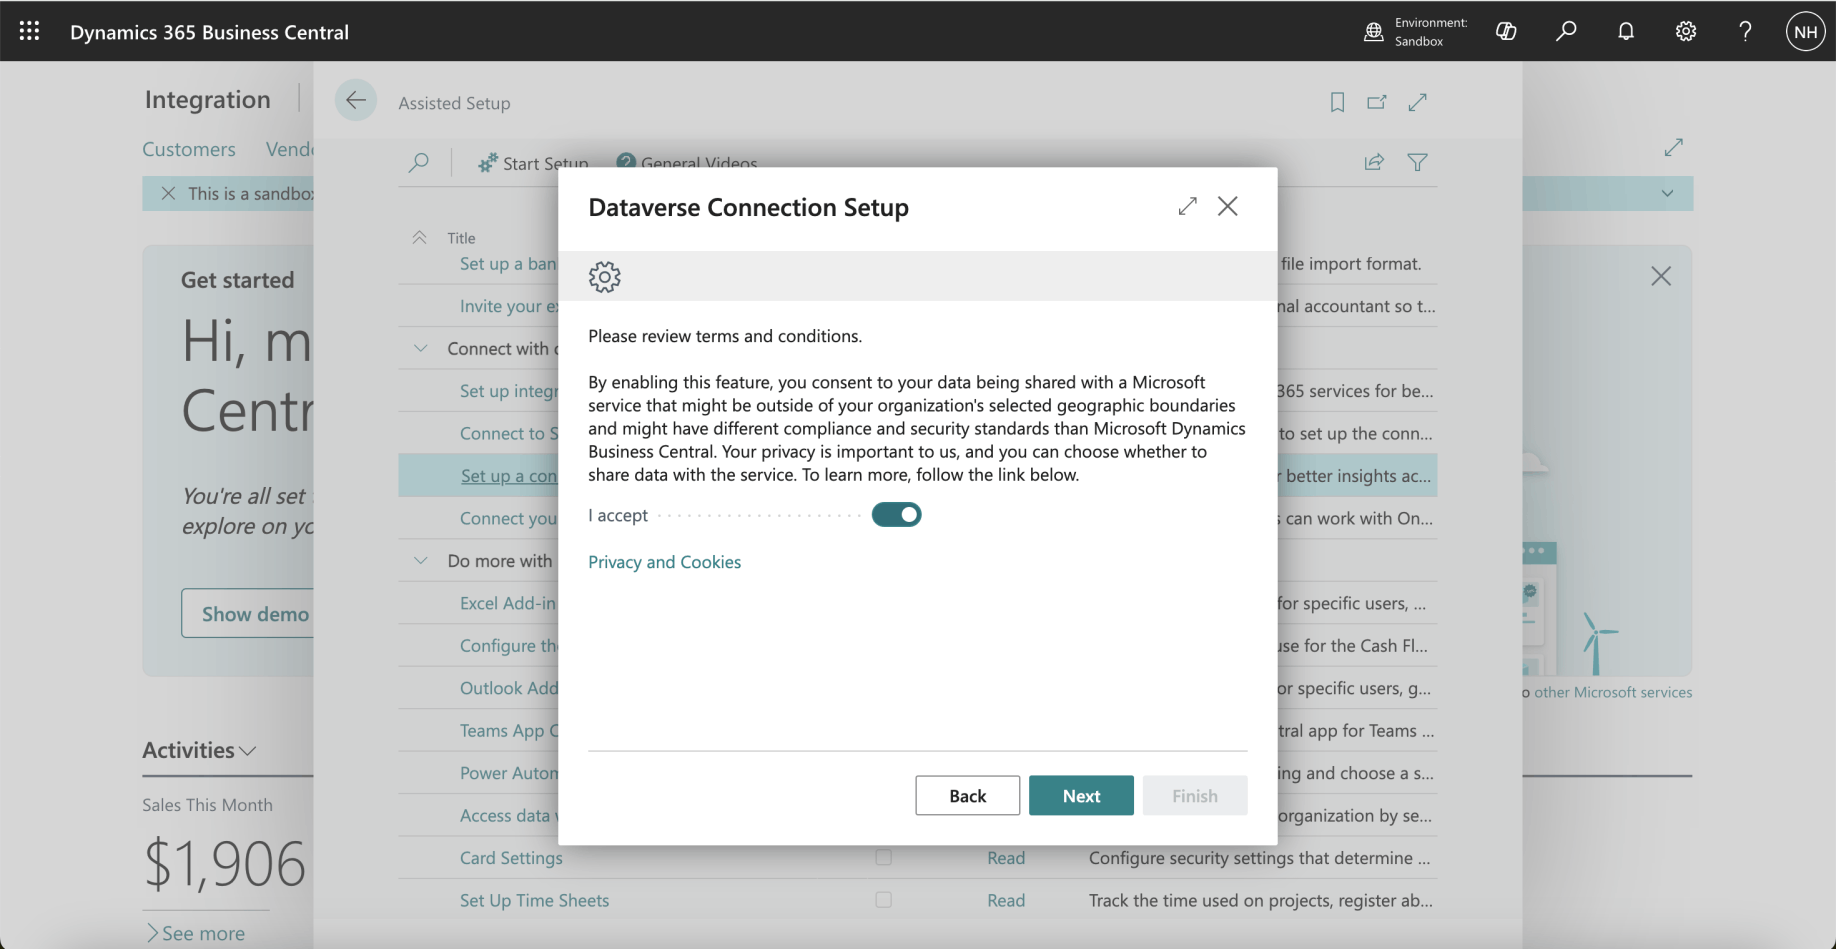
I clicked the Next button
 Tap the image to open it full size
I clicked the Next button
 Tap the image to open it full size
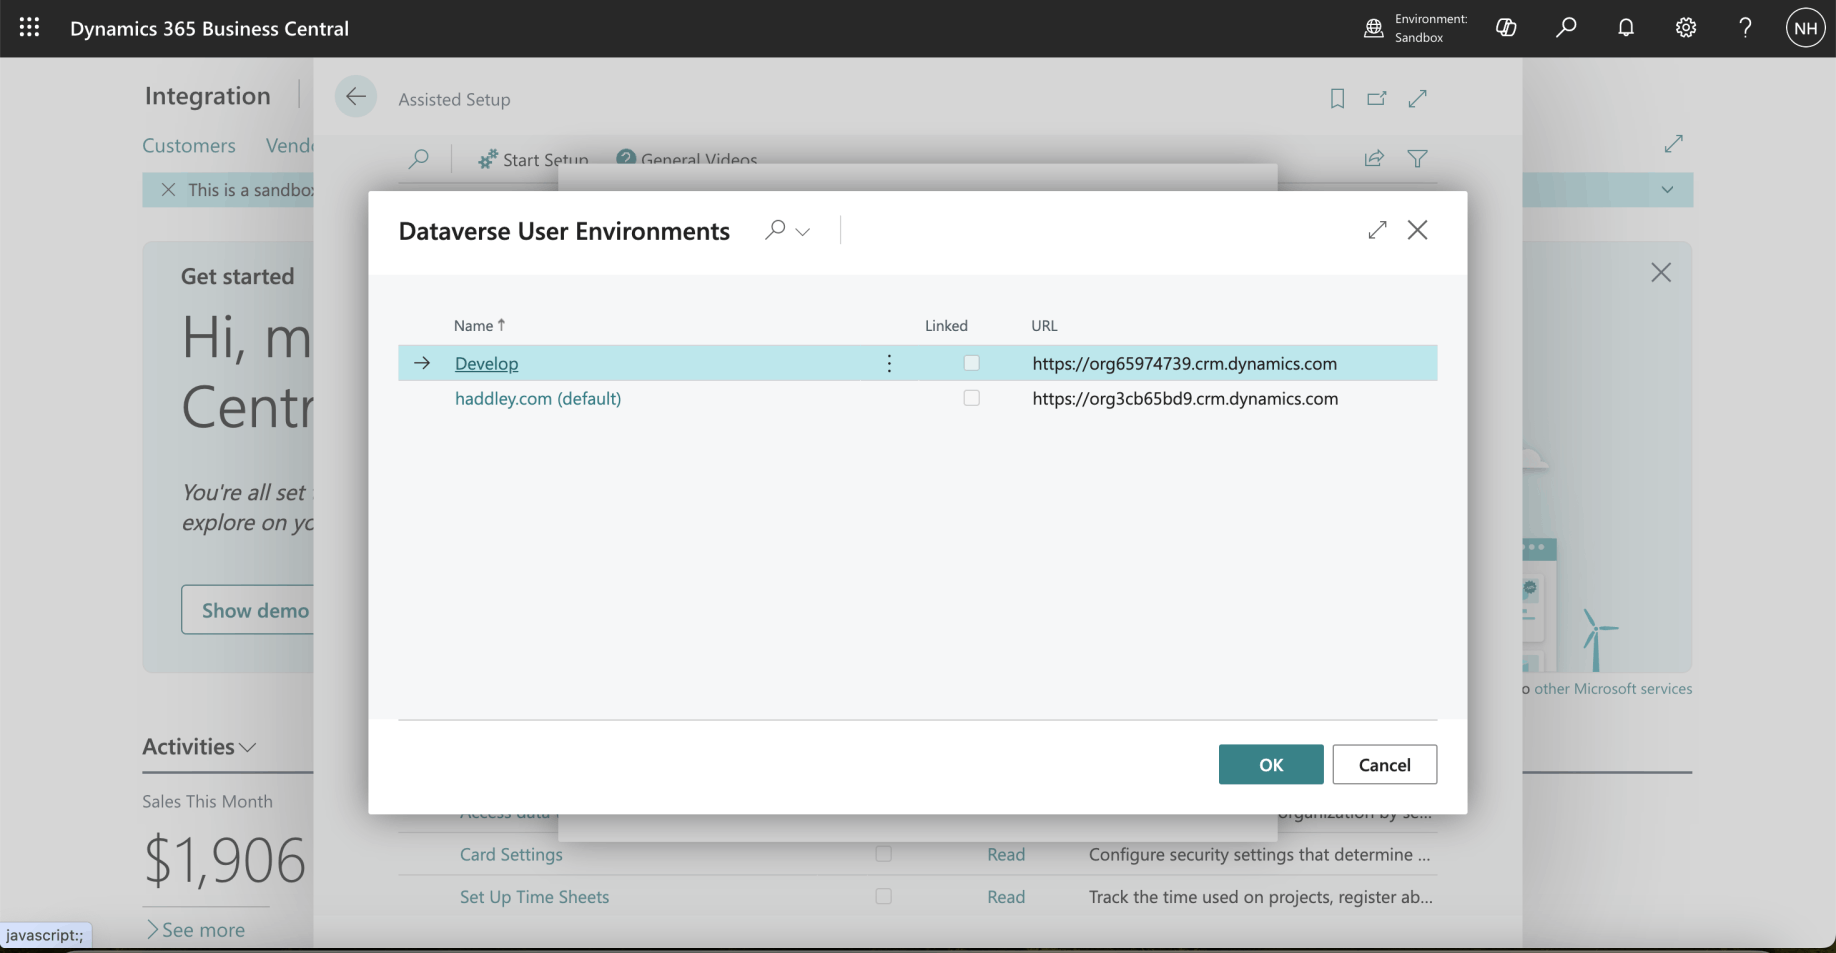
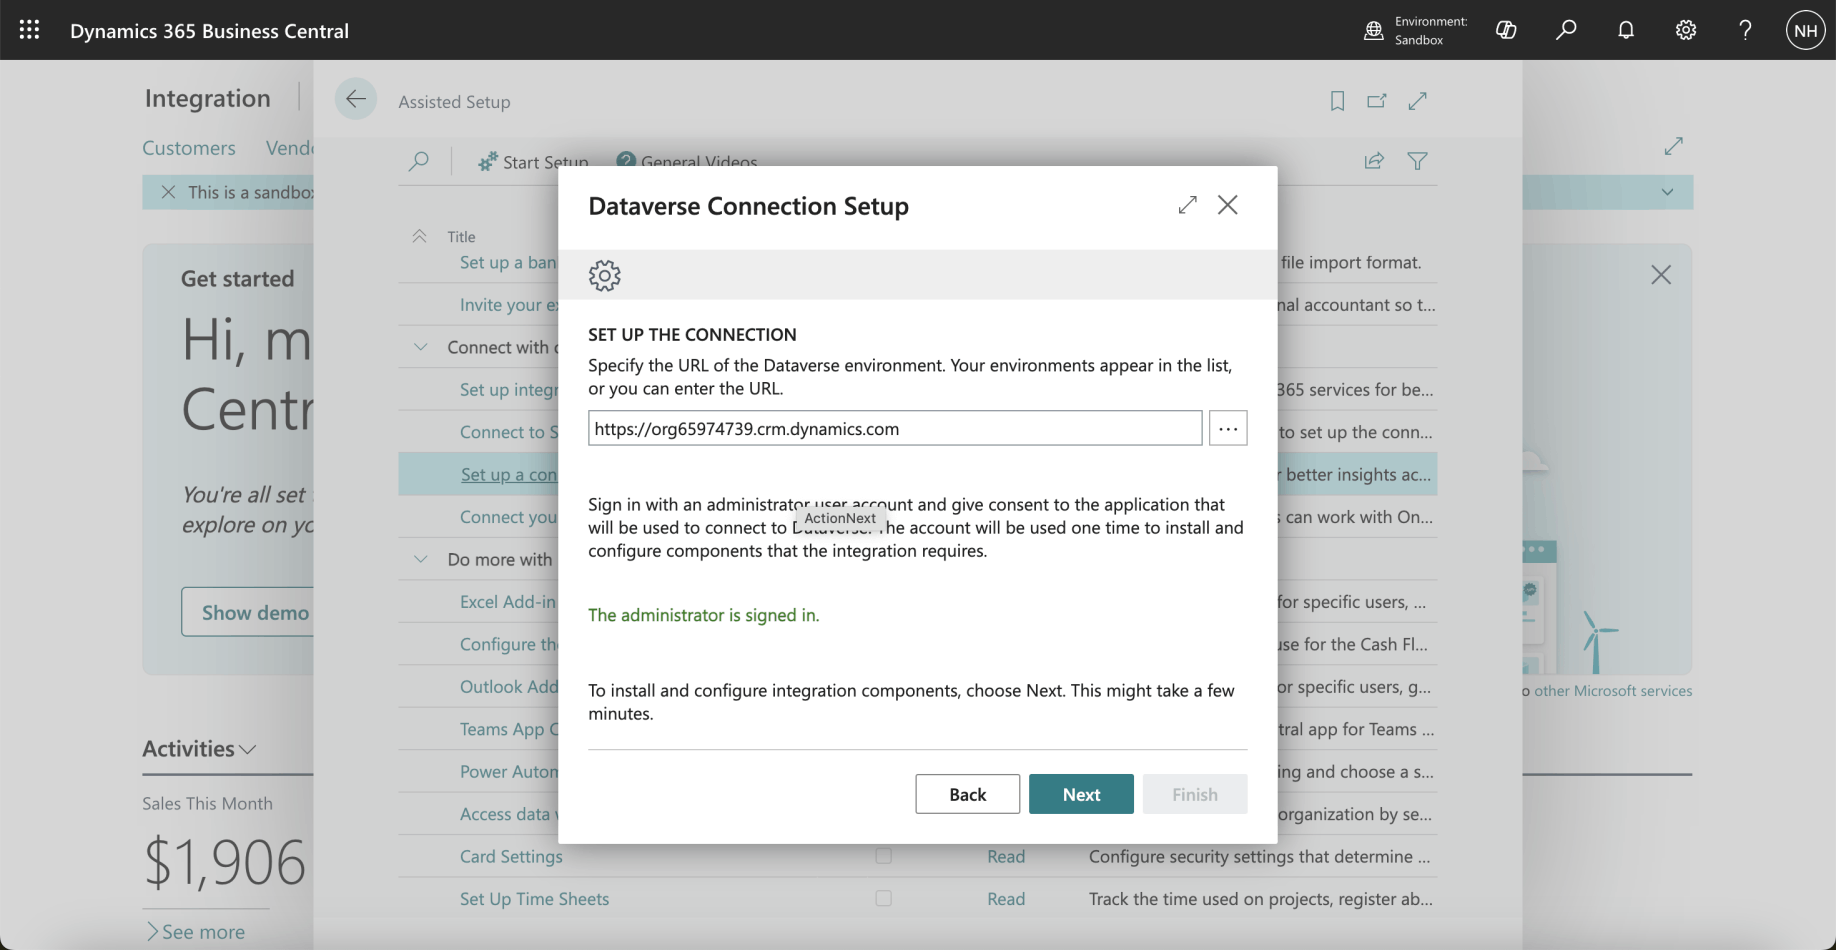
I selected the (reset) Develop Dataverse environment
 Tap the image to open it full size
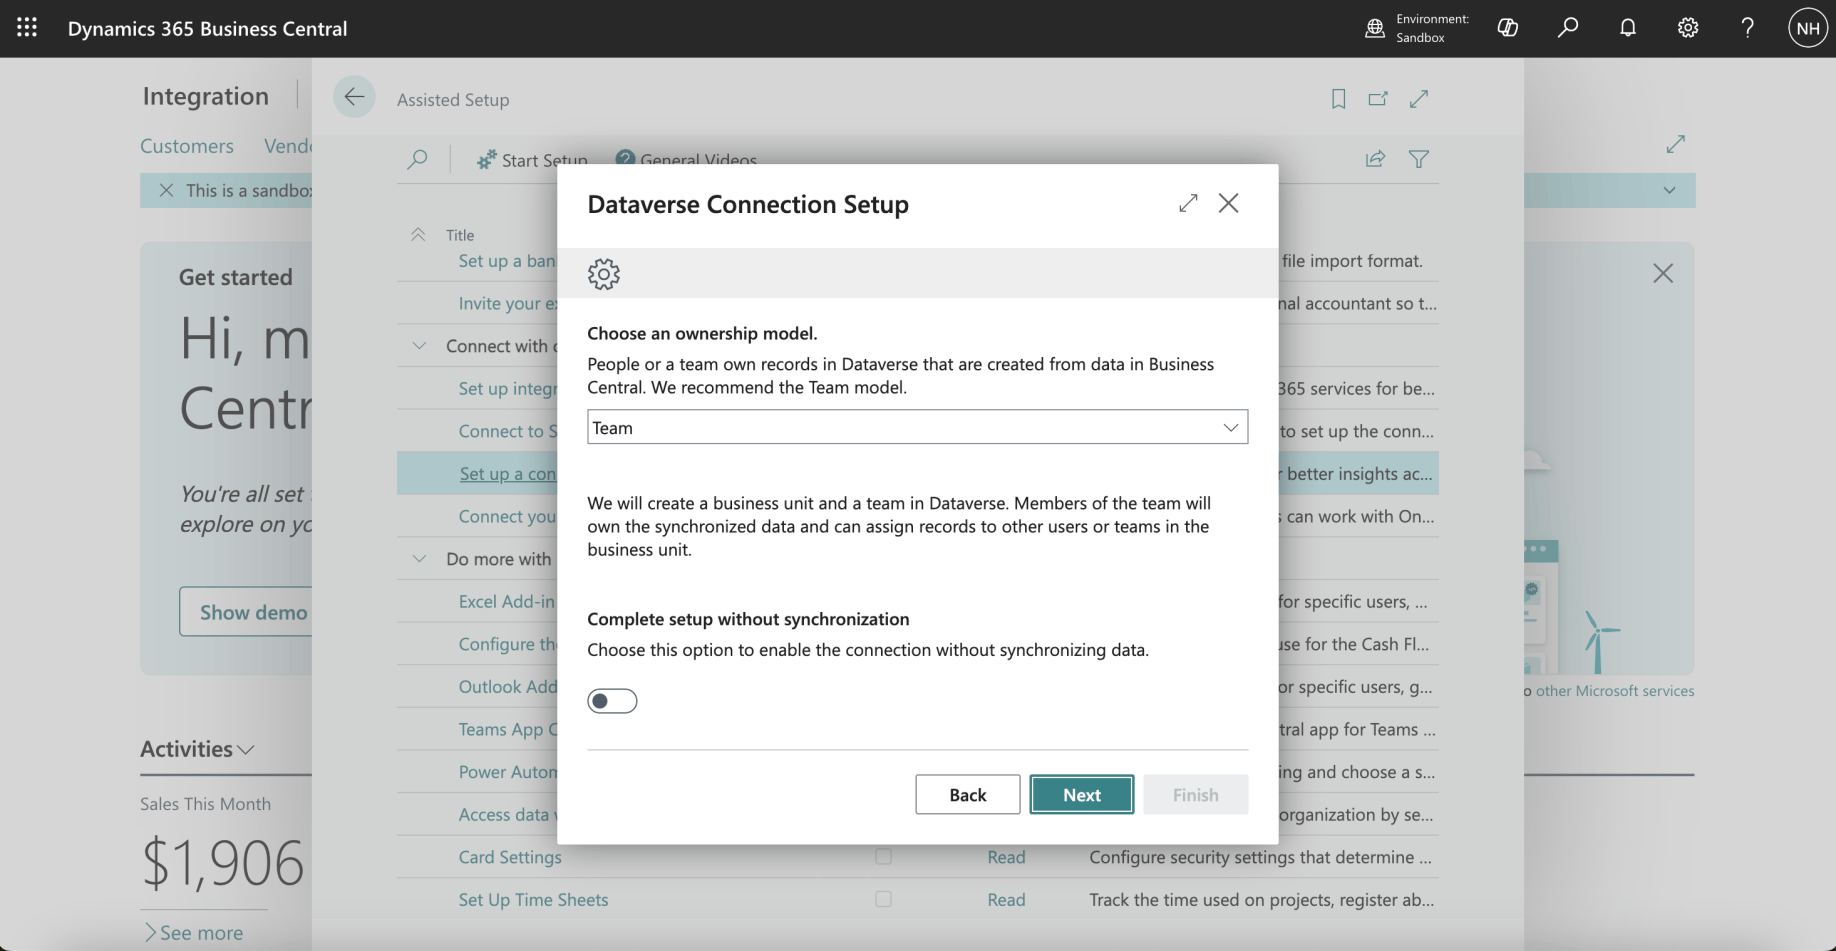
I clicked the Next button
 Tap the image to open it full size
I clicked the Next button
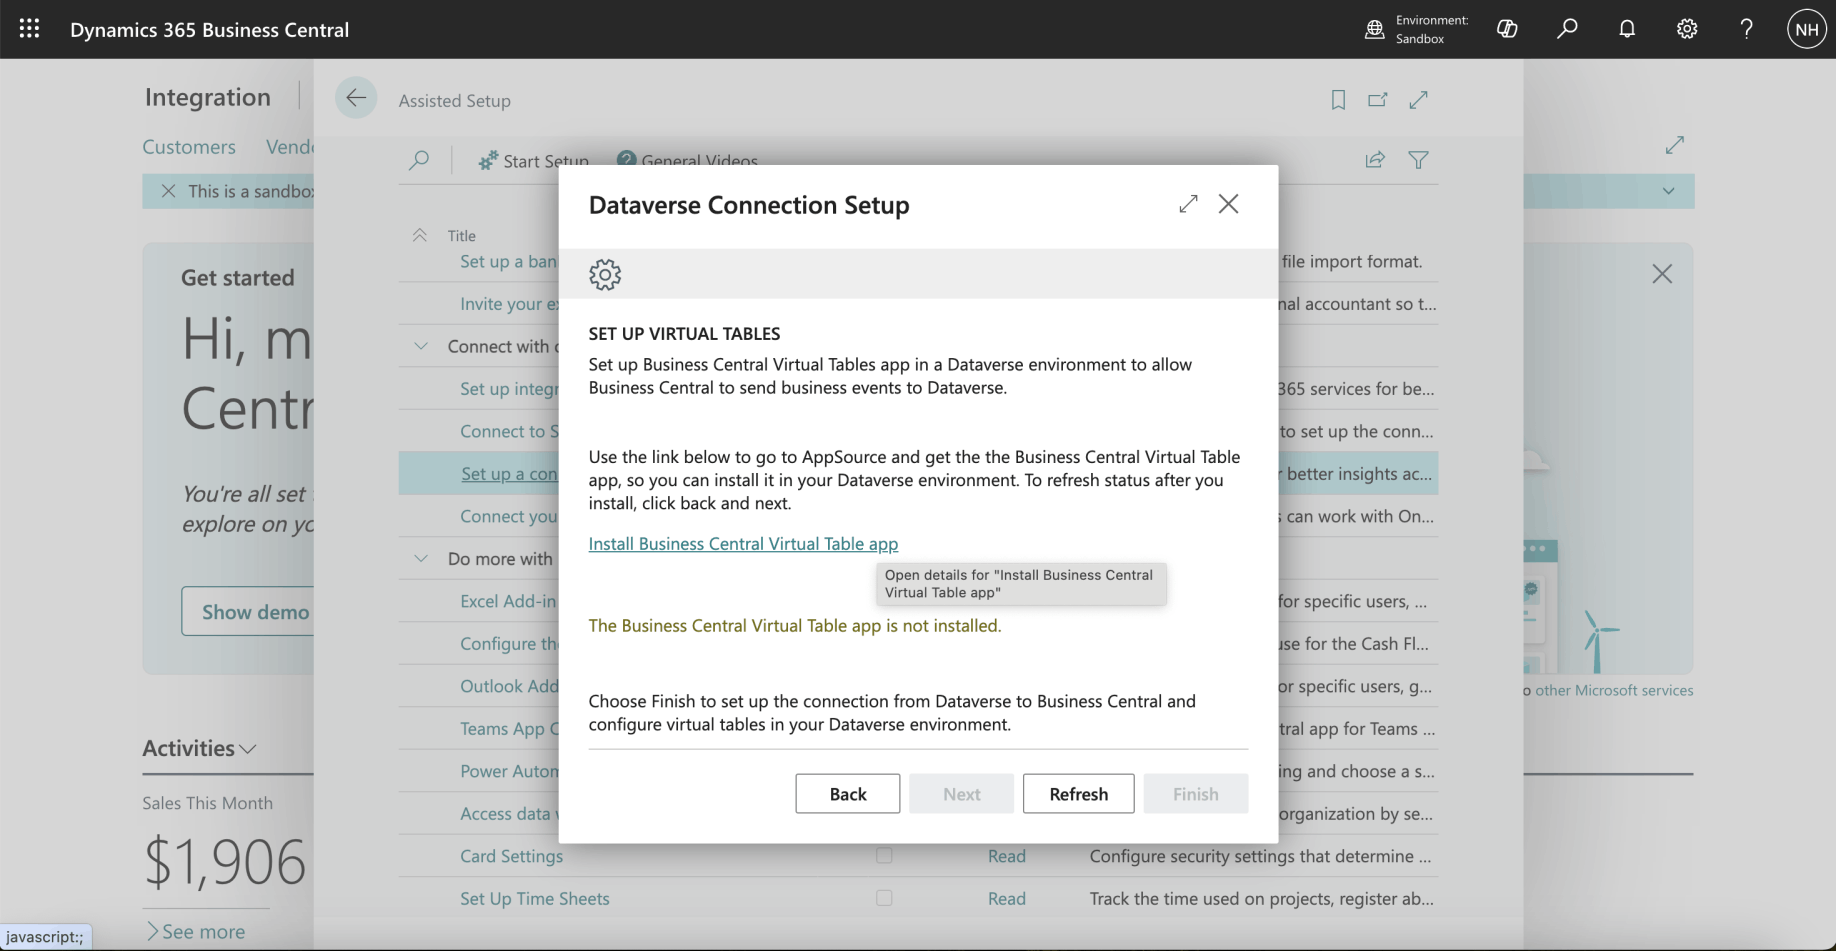 Tap the image to open it full size
I clicked the Install Business Central Virtual Table app link
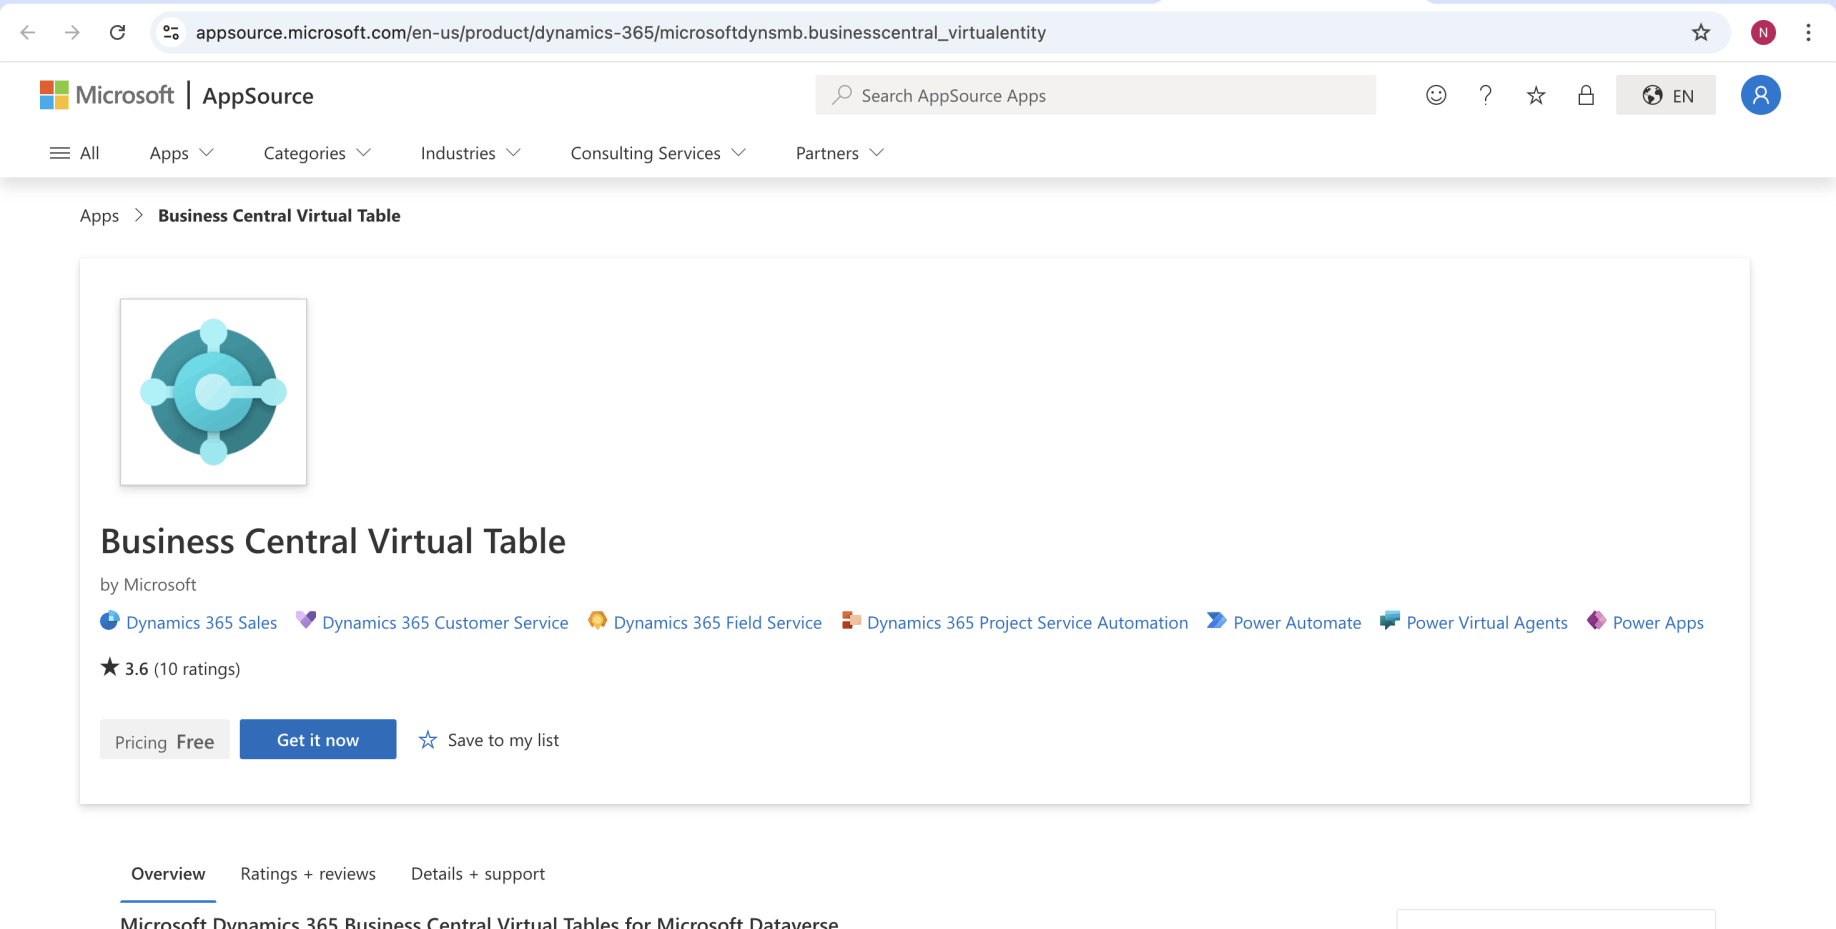 Tap the image to open it full size
I clicked the Get it now button
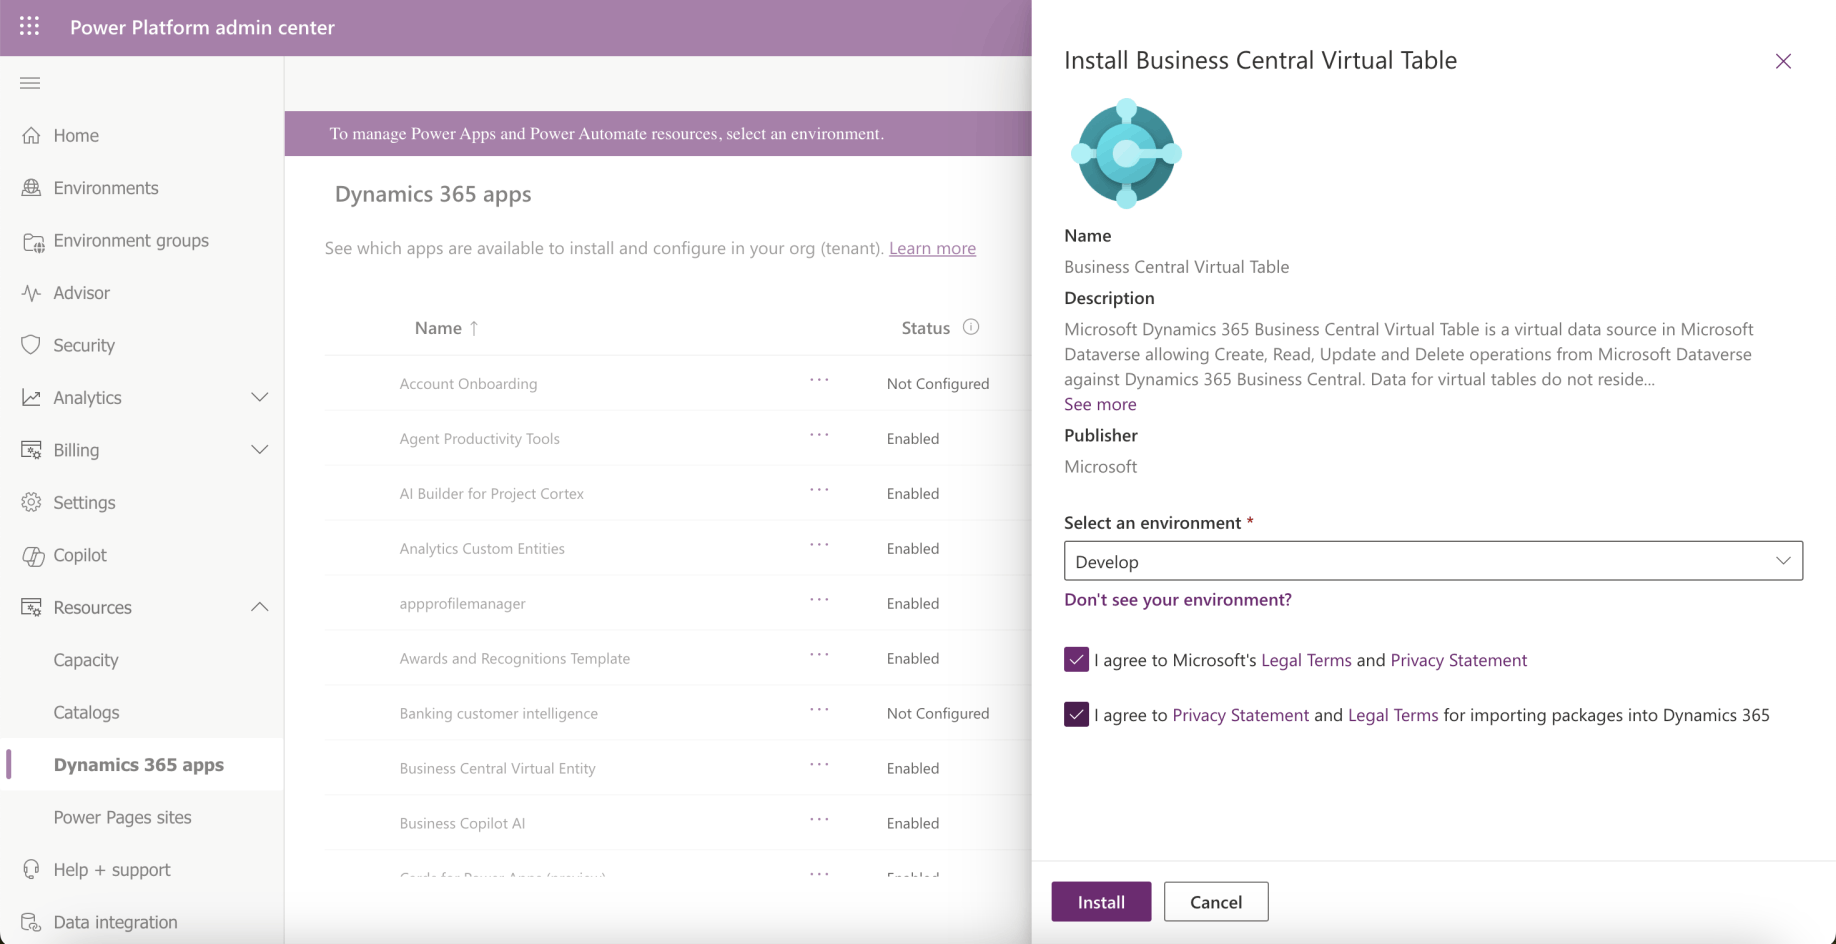 Tap the image to open it full size
I selected the Develop Dataverse environment
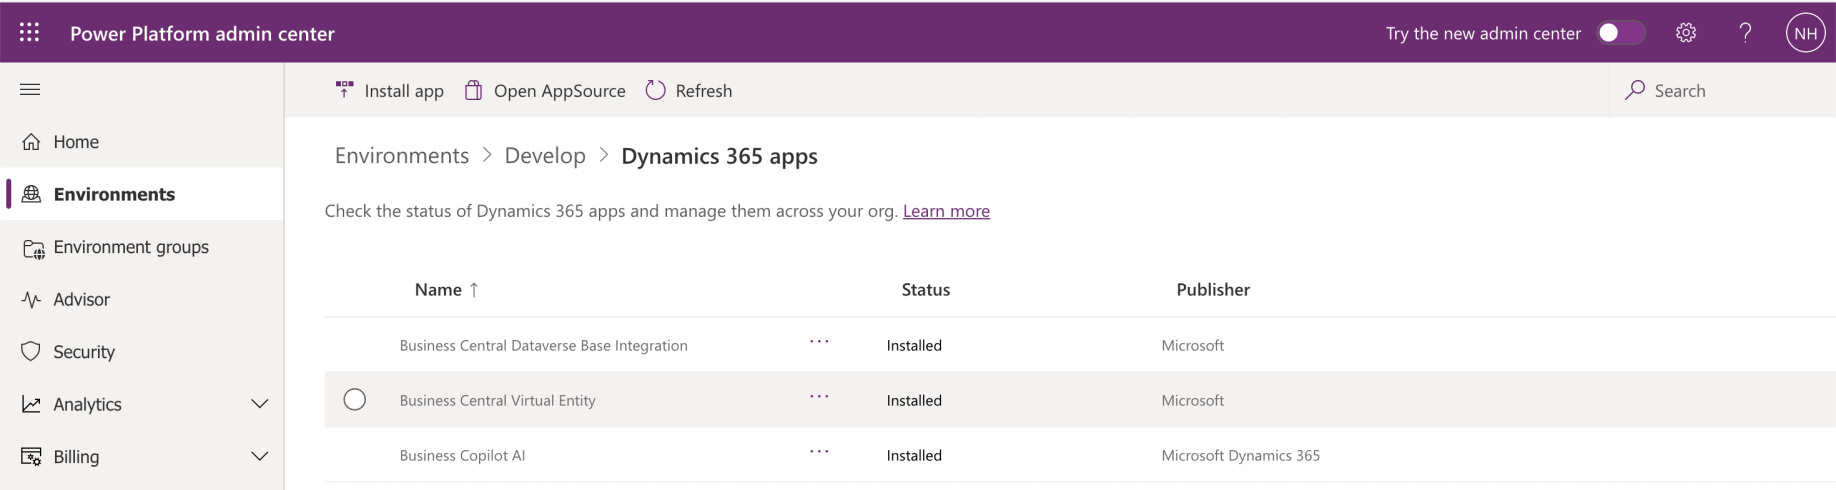 Tap the image to open it full size
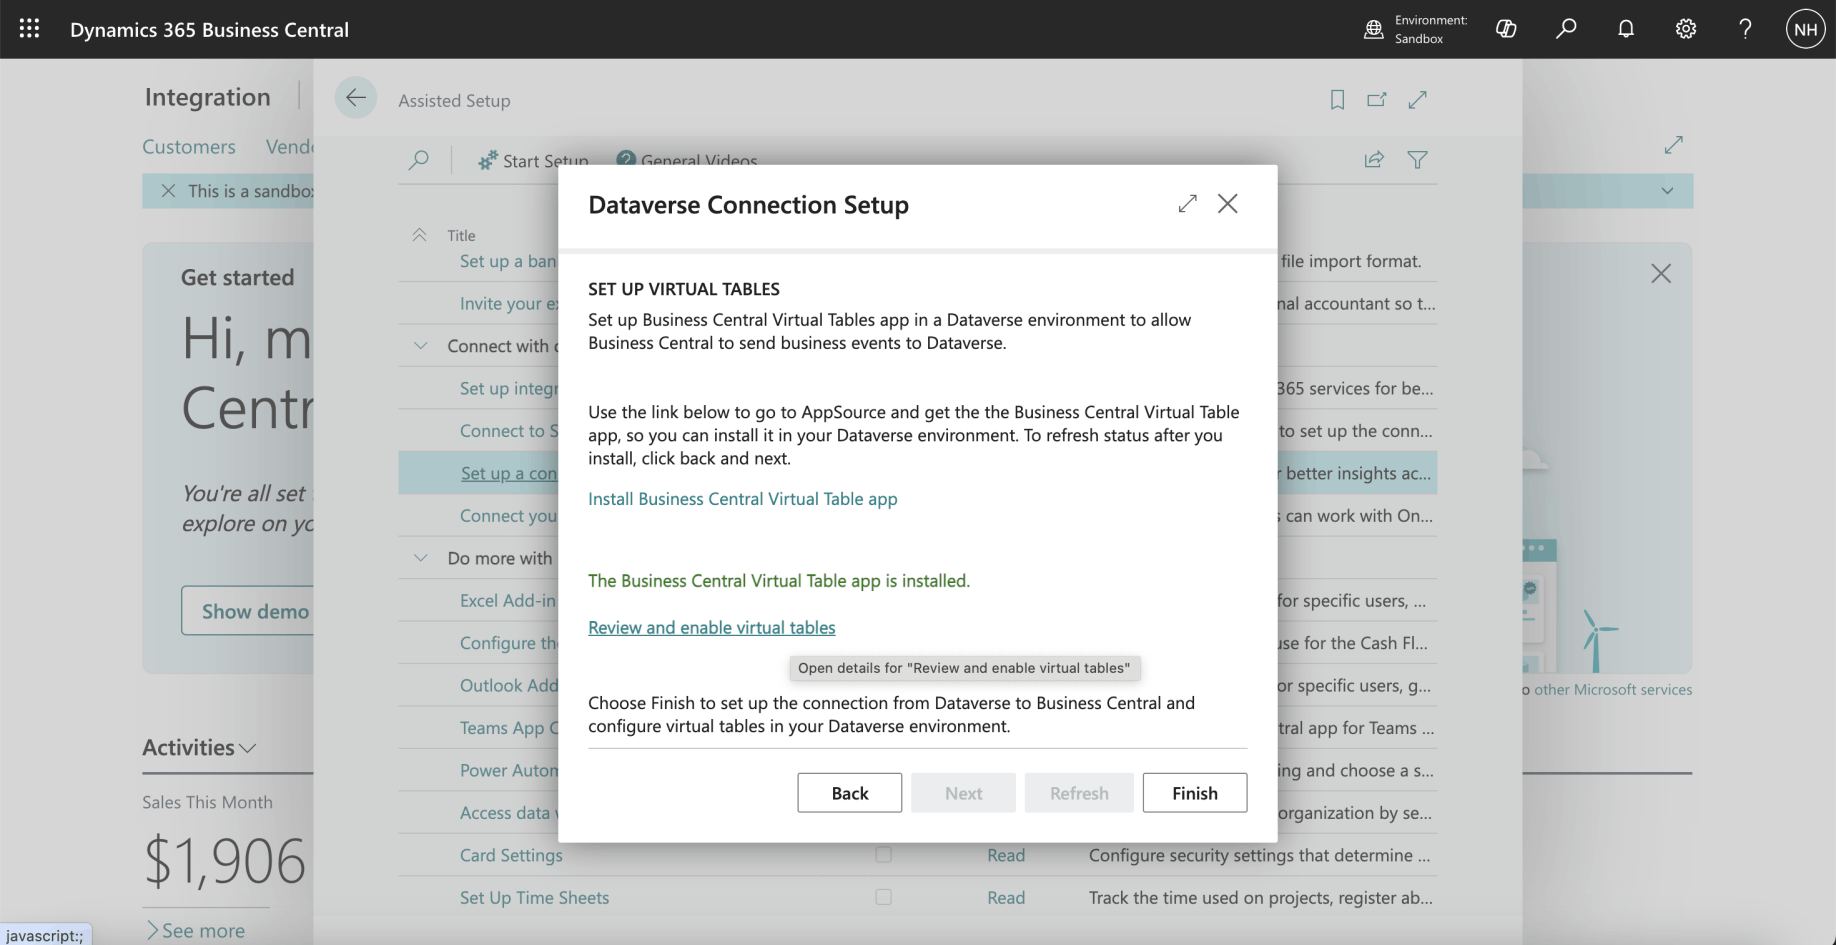
The installation completed
 Tap the image to open it full size
I clicked the Finish button
 Tap the image to open it full size
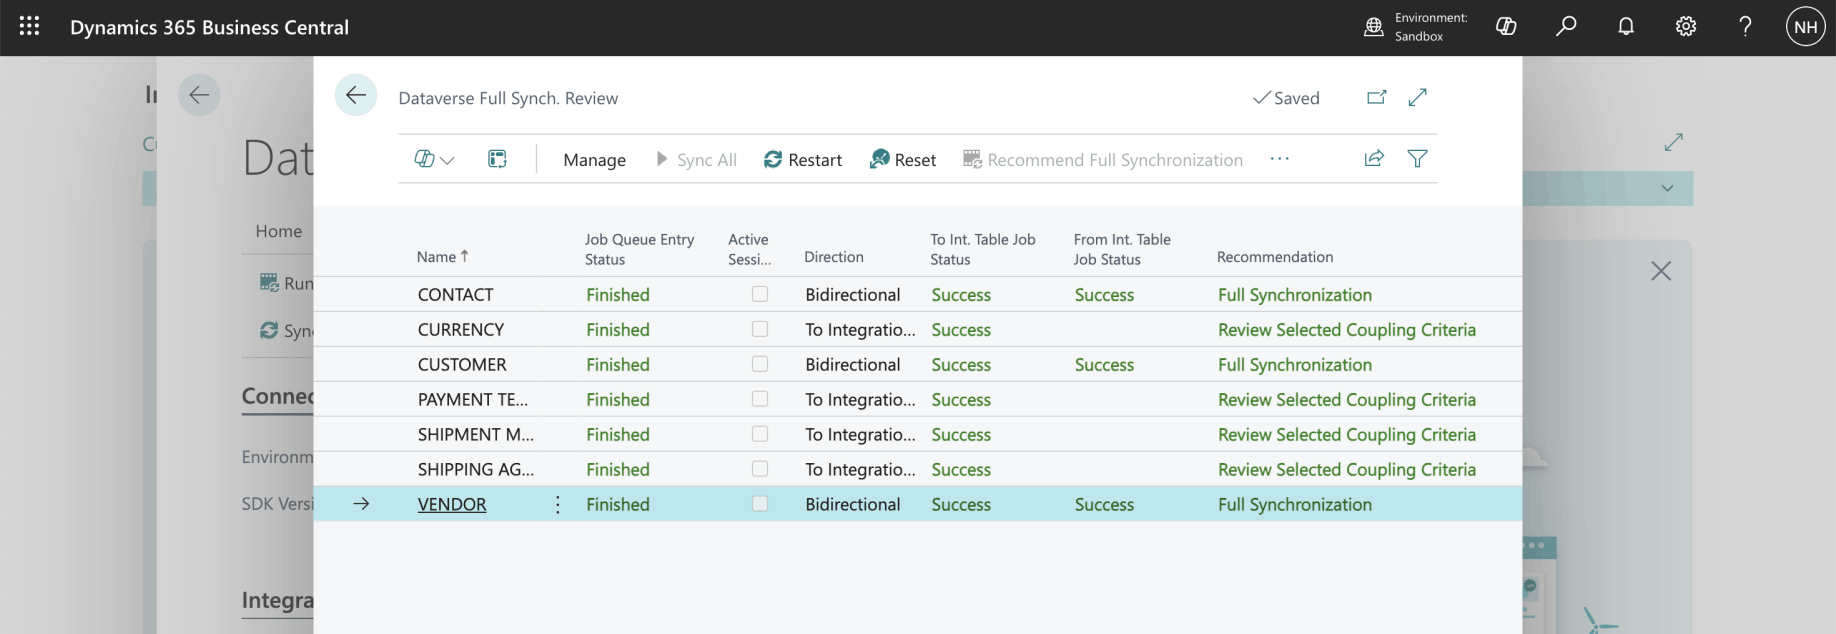
I clicked the Sync All button
 Tap the image to open it full size
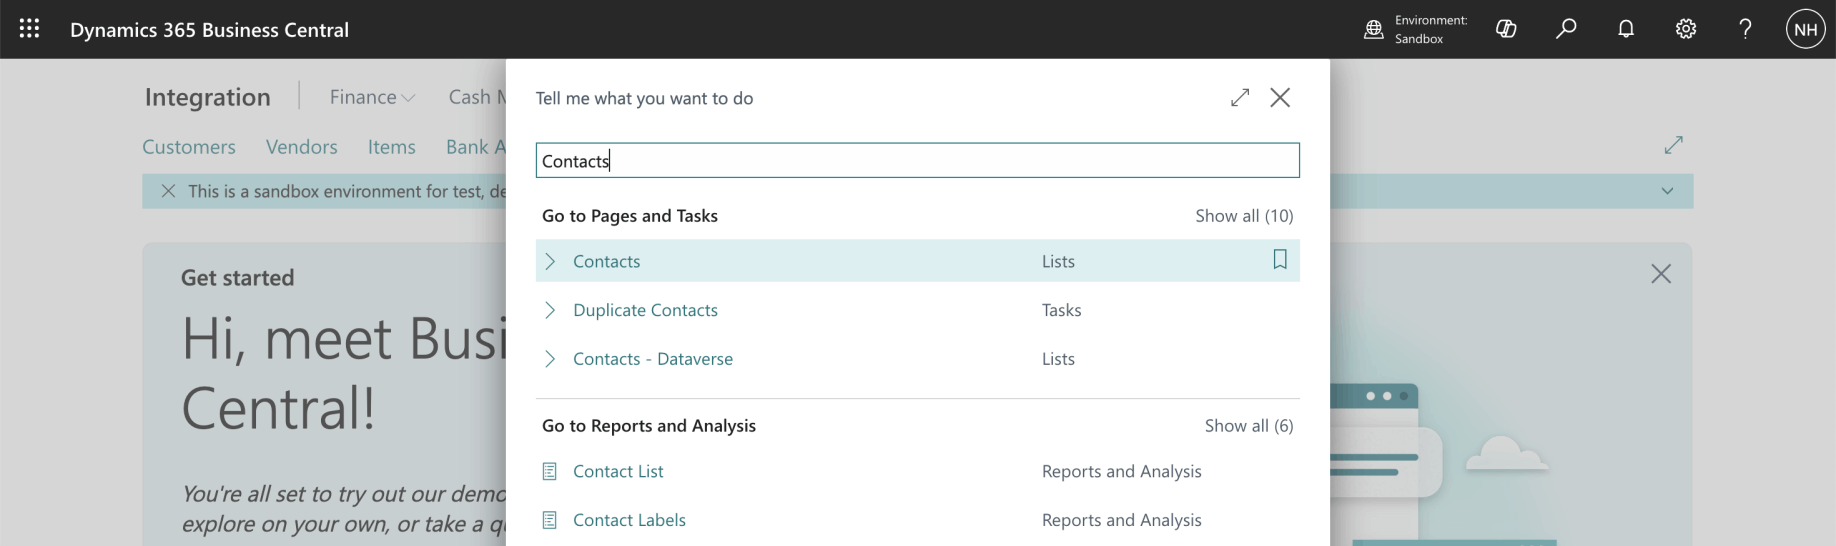
I reviewed the records in the Business Central Contacts table
 Tap the image to open it full size
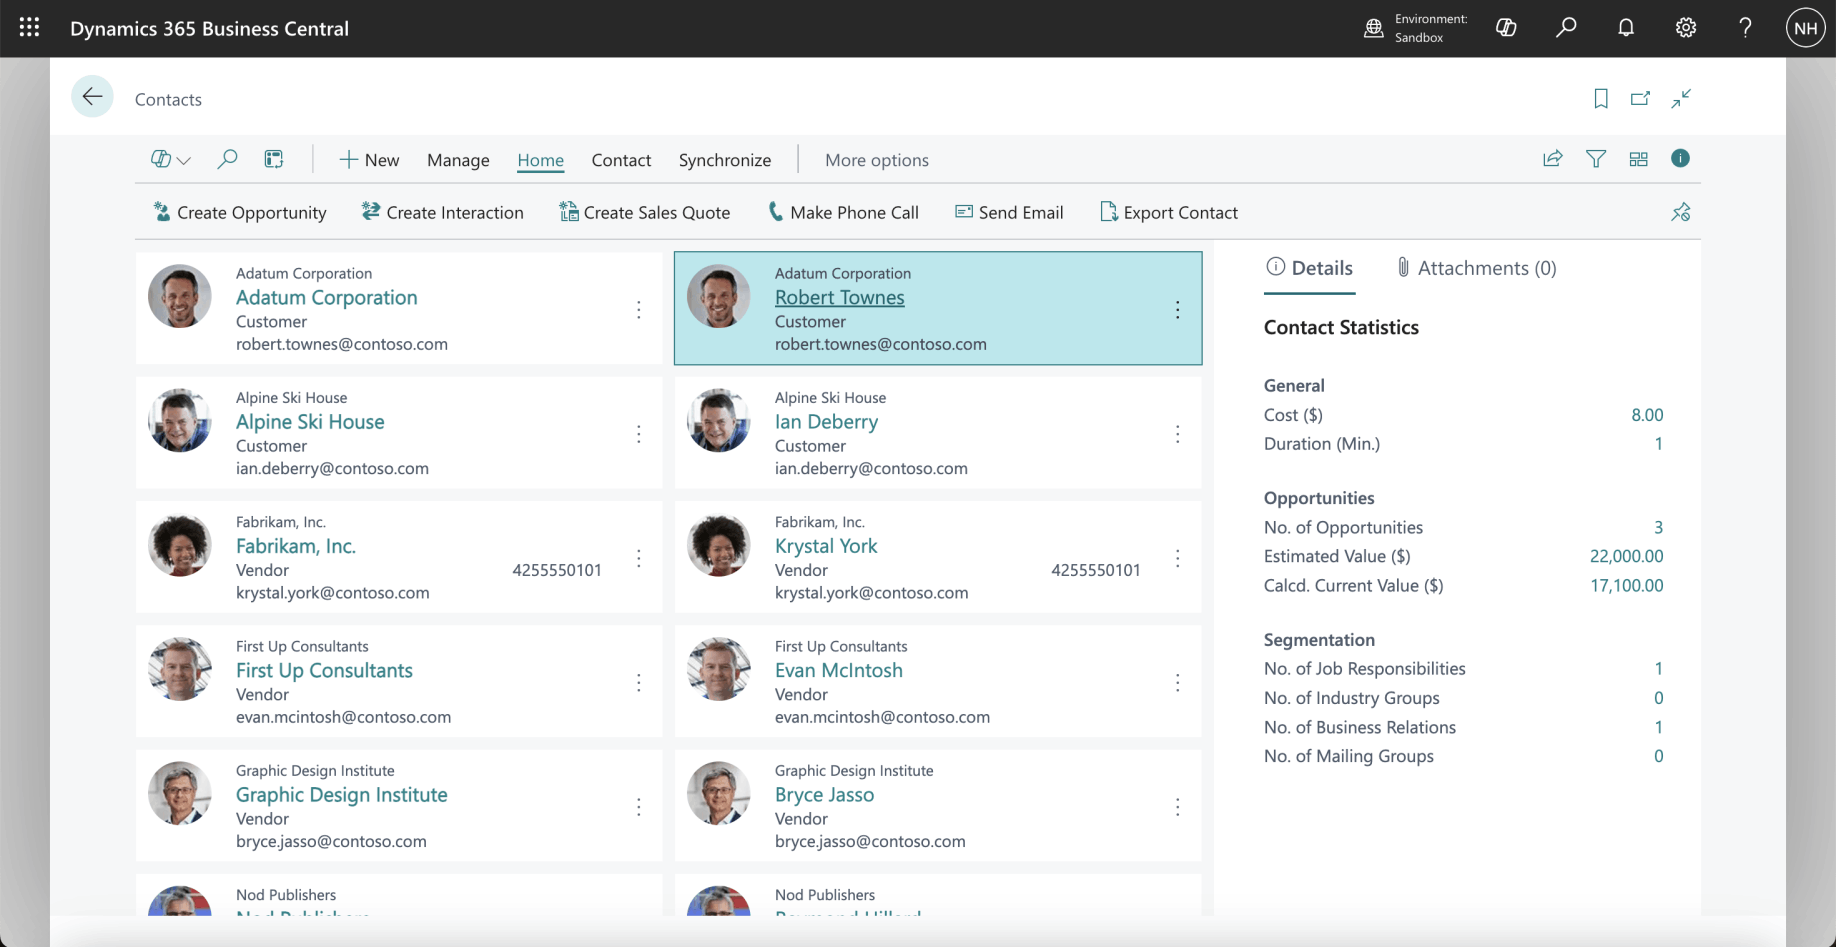
I reviewed the records in the Business Central Contacts table
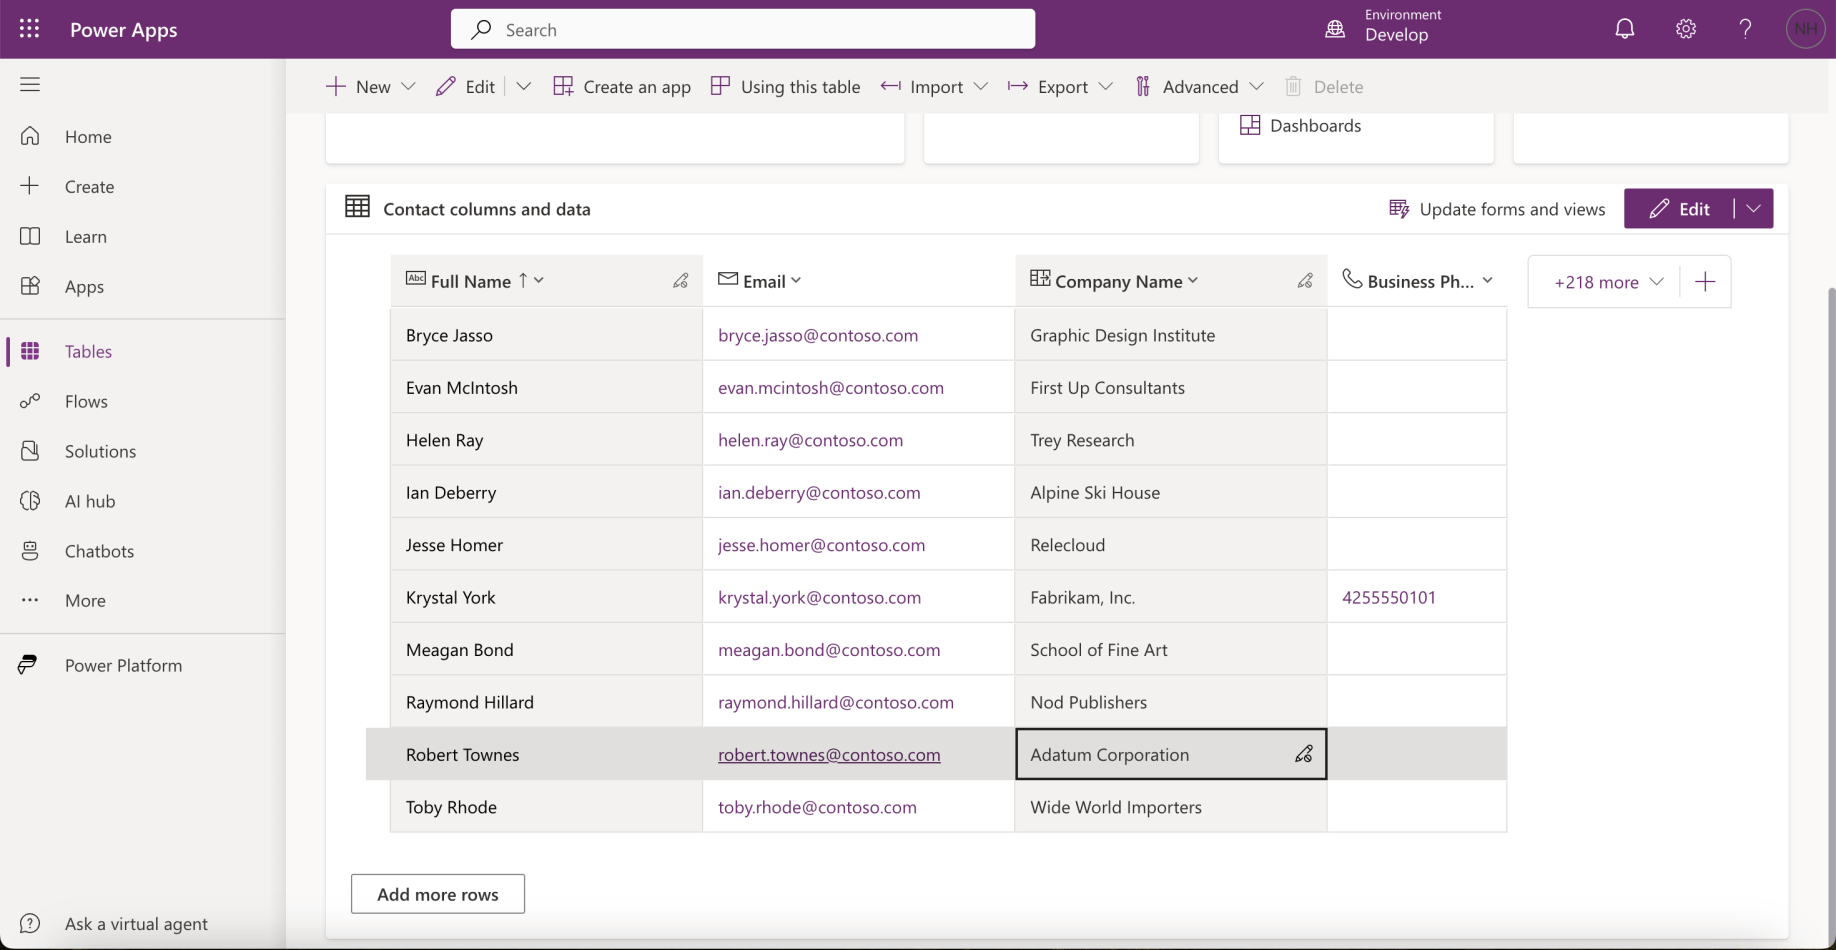 Tap the image to open it full size
I reviewed the records in the Dataverse Contacts table
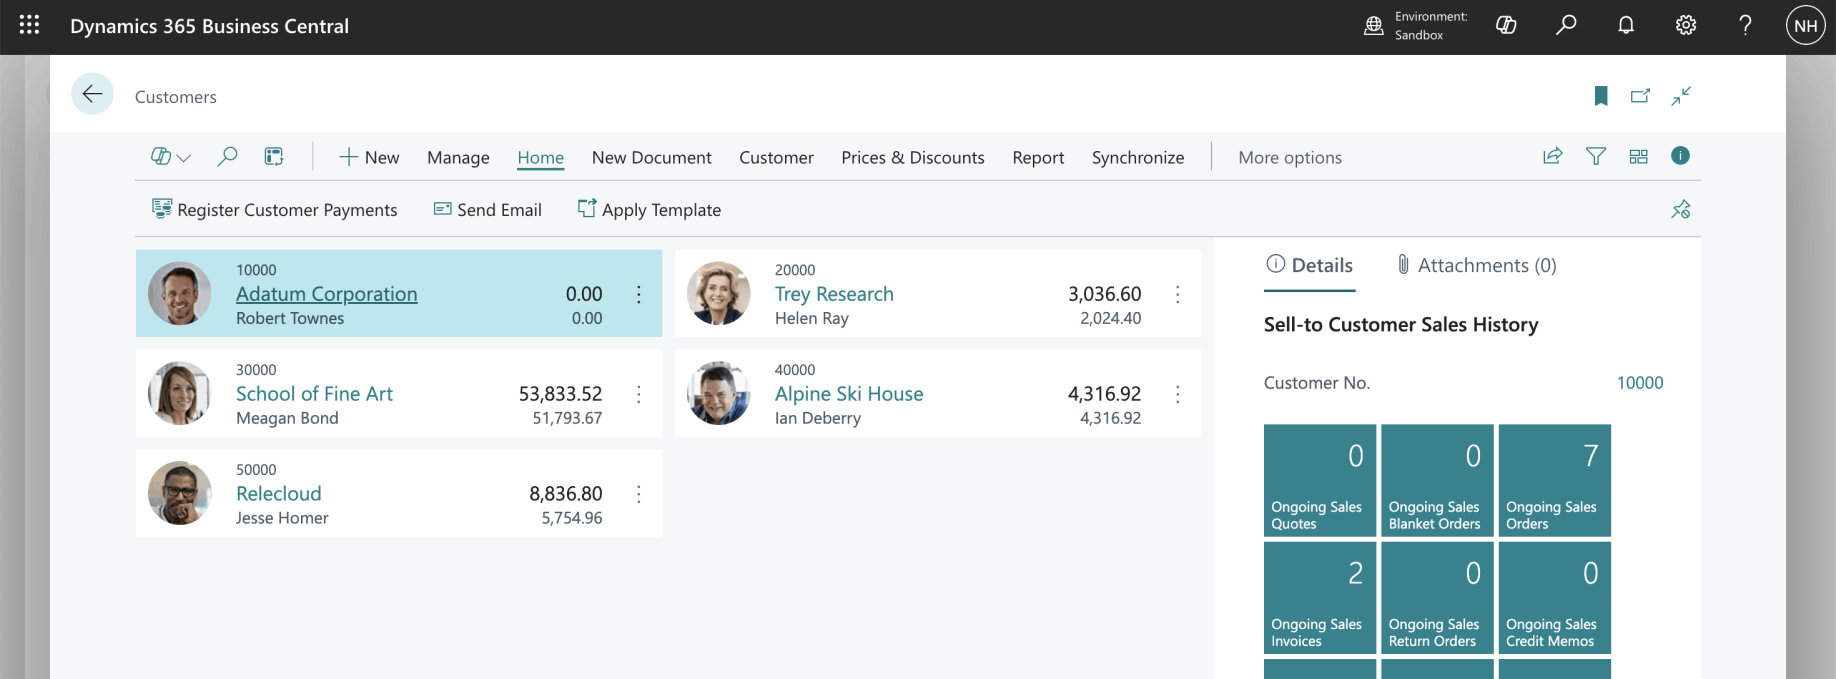 Tap the image to open it full size
I reviewed the records in the Business Central Customers Table
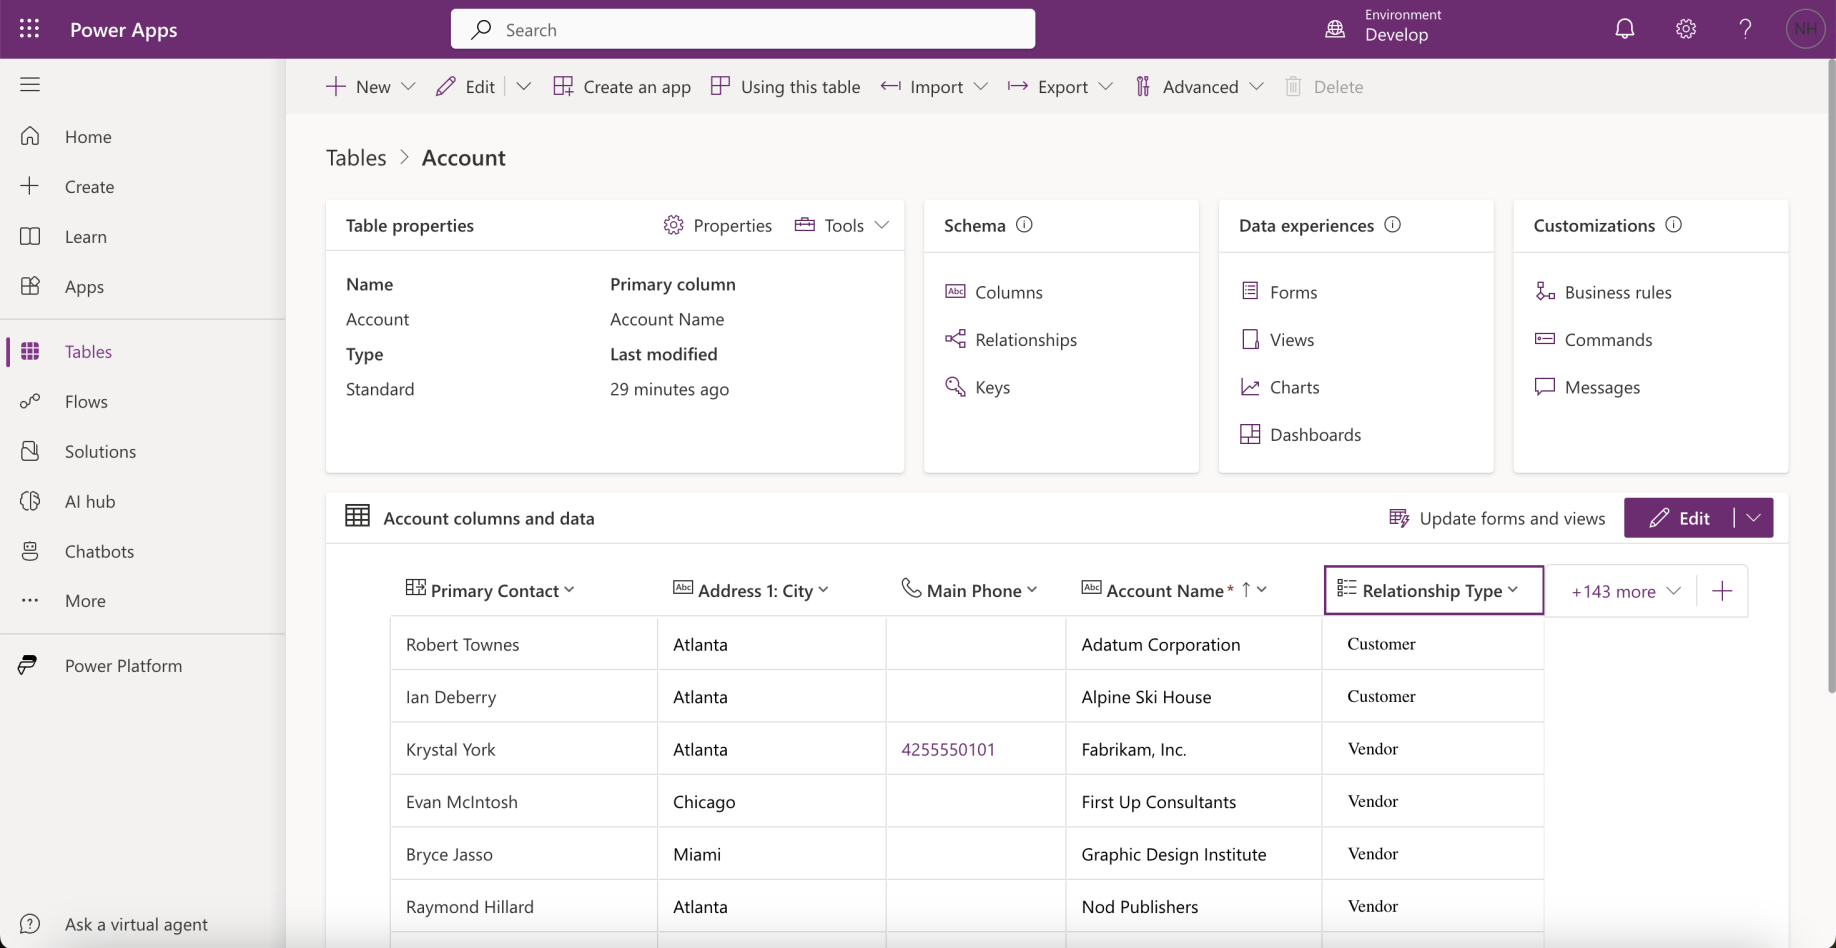 Tap the image to open it full size
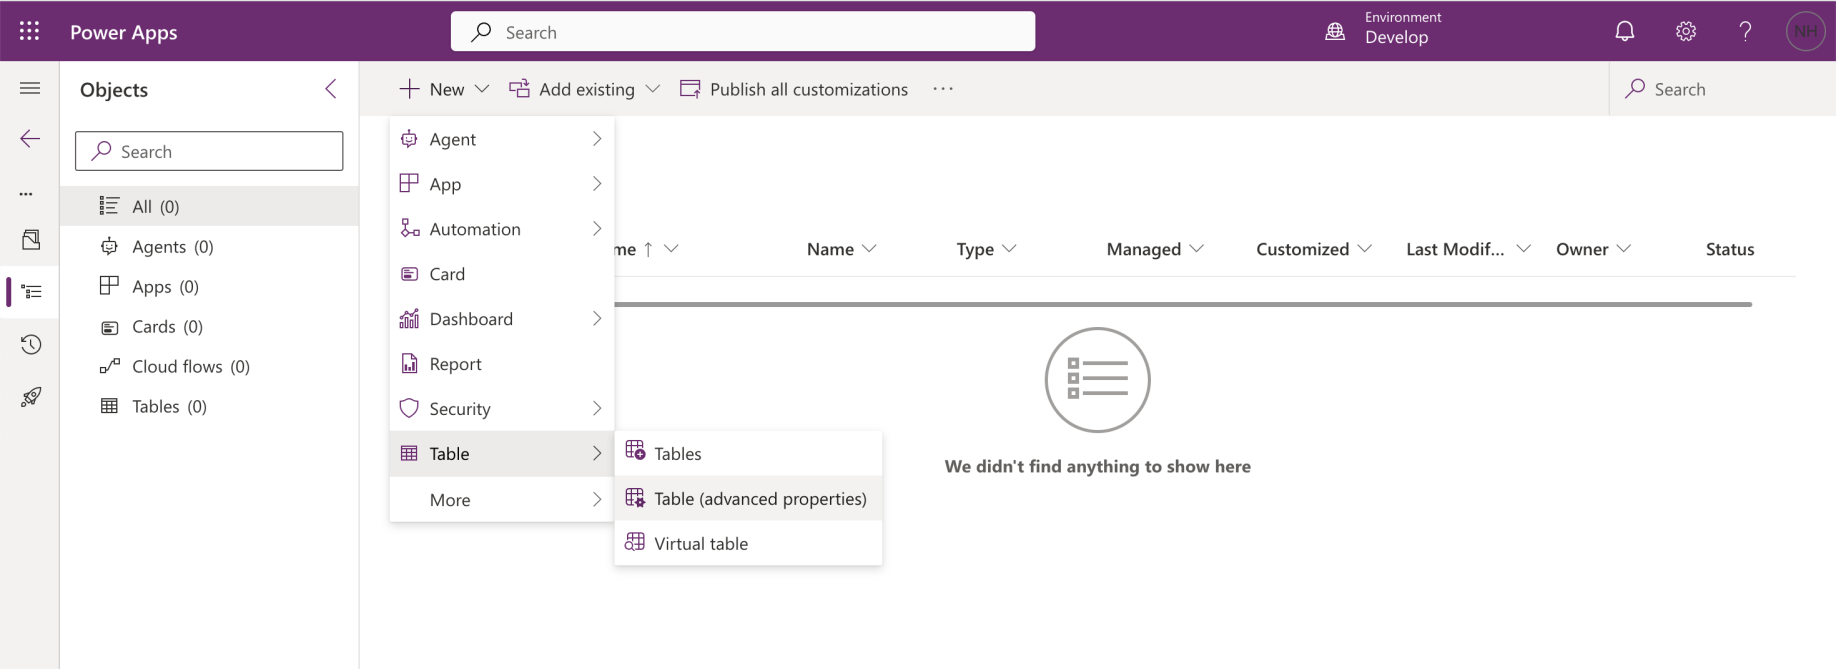
I reviewed the records in the Dataverse Accounts Table
Integrating with Dataverse using Dataflows
I added a D365BC Employee table to Dataverse. I set up a Dataflow to copy Employee records from Business Central to Dataverse.
 Tap the image to open it full size
I created a new table
 Tap the image to open it full size
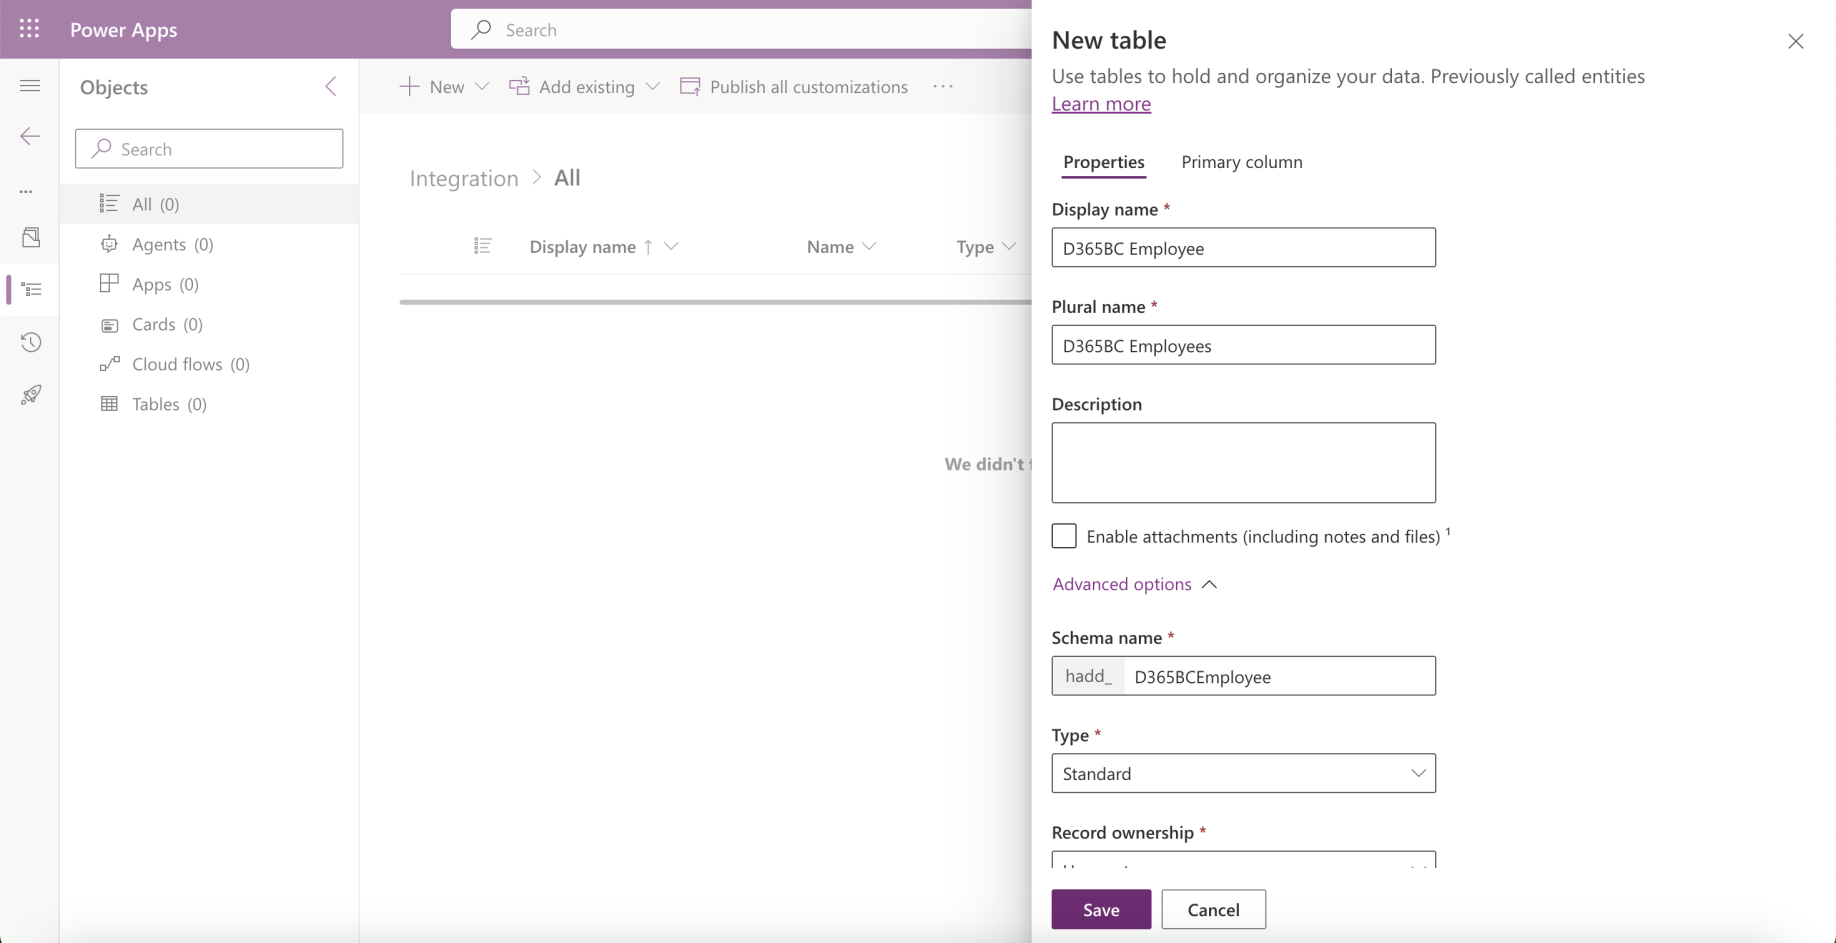
I named the table D365BC Employee
 Tap the image to open it full size
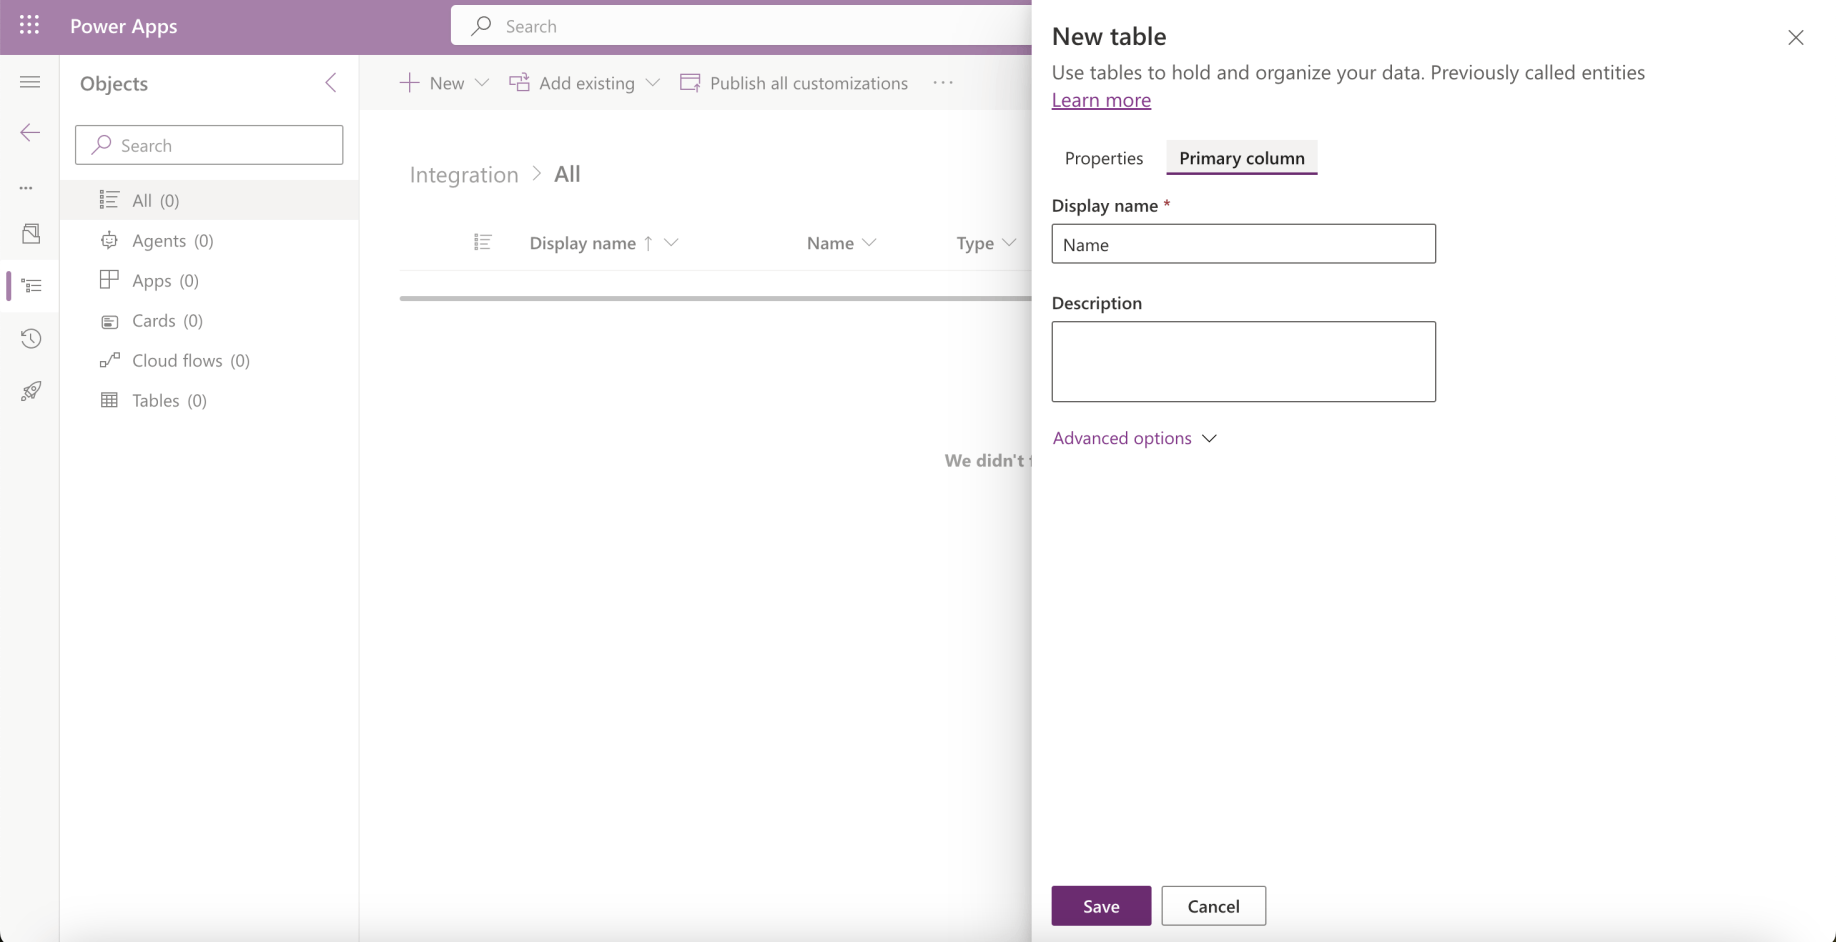
I reviewed the Primary column
 Tap the image to open it full size
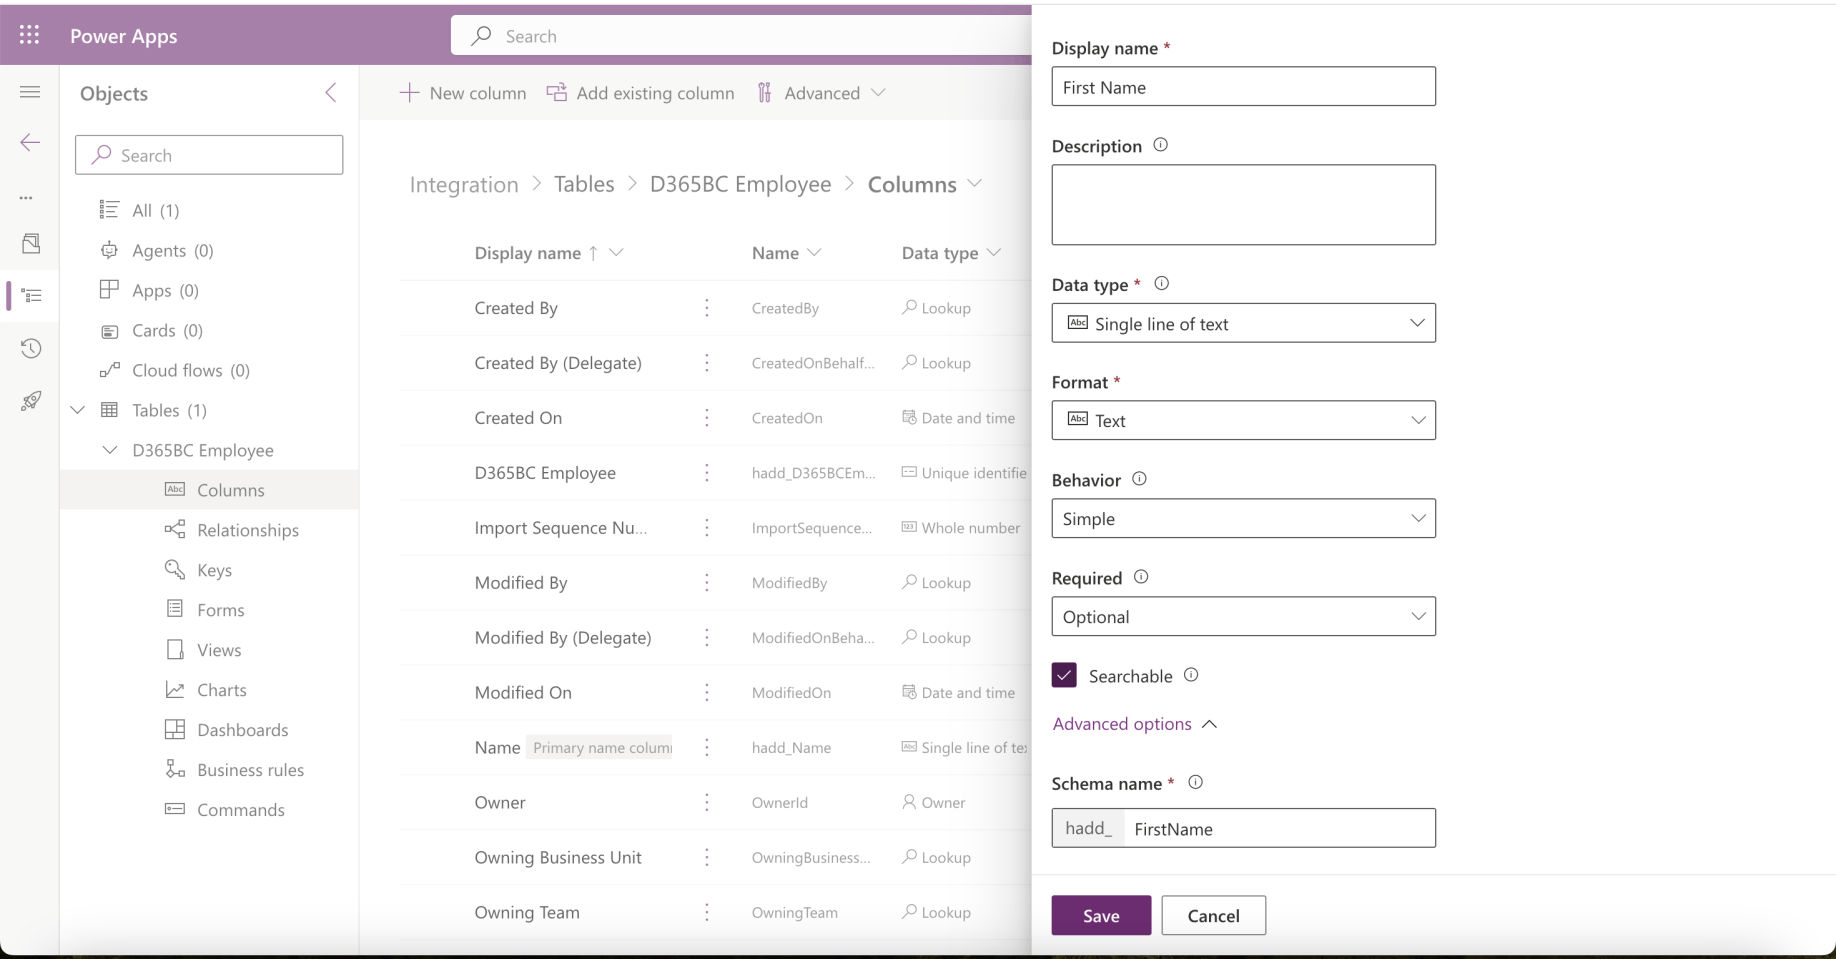
I added a First Name column
 Tap the image to open it full size
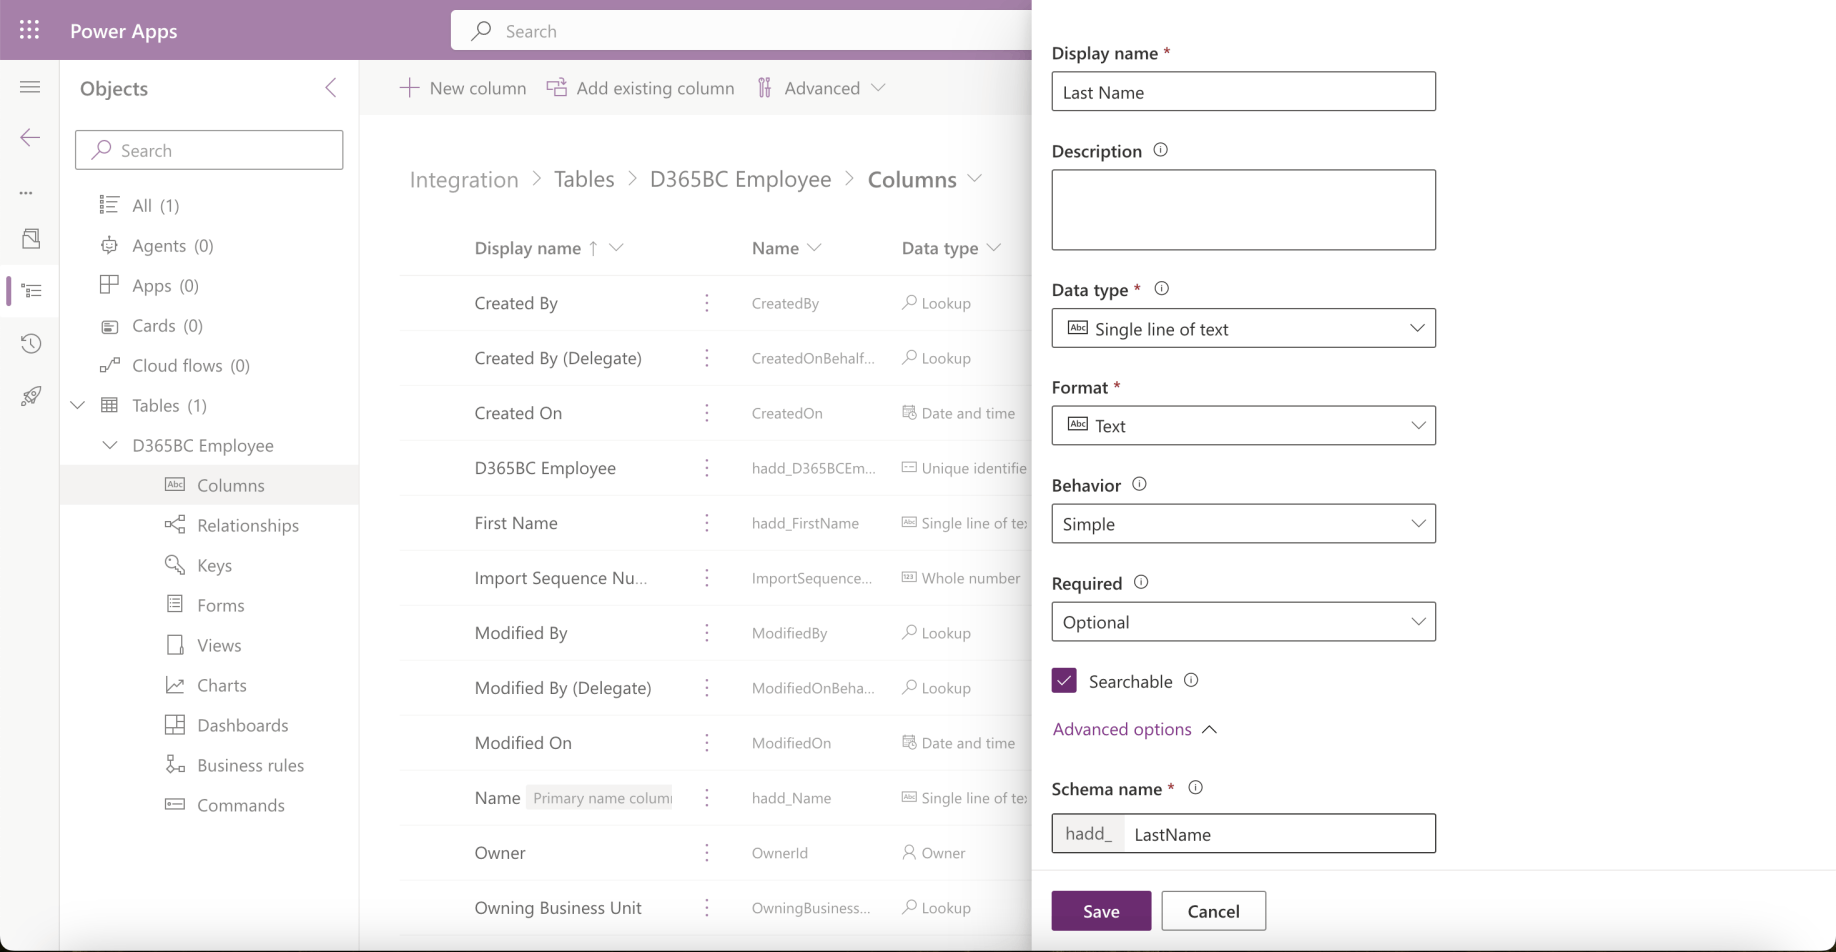
I added a Last Name column
 Tap the image to open it full size
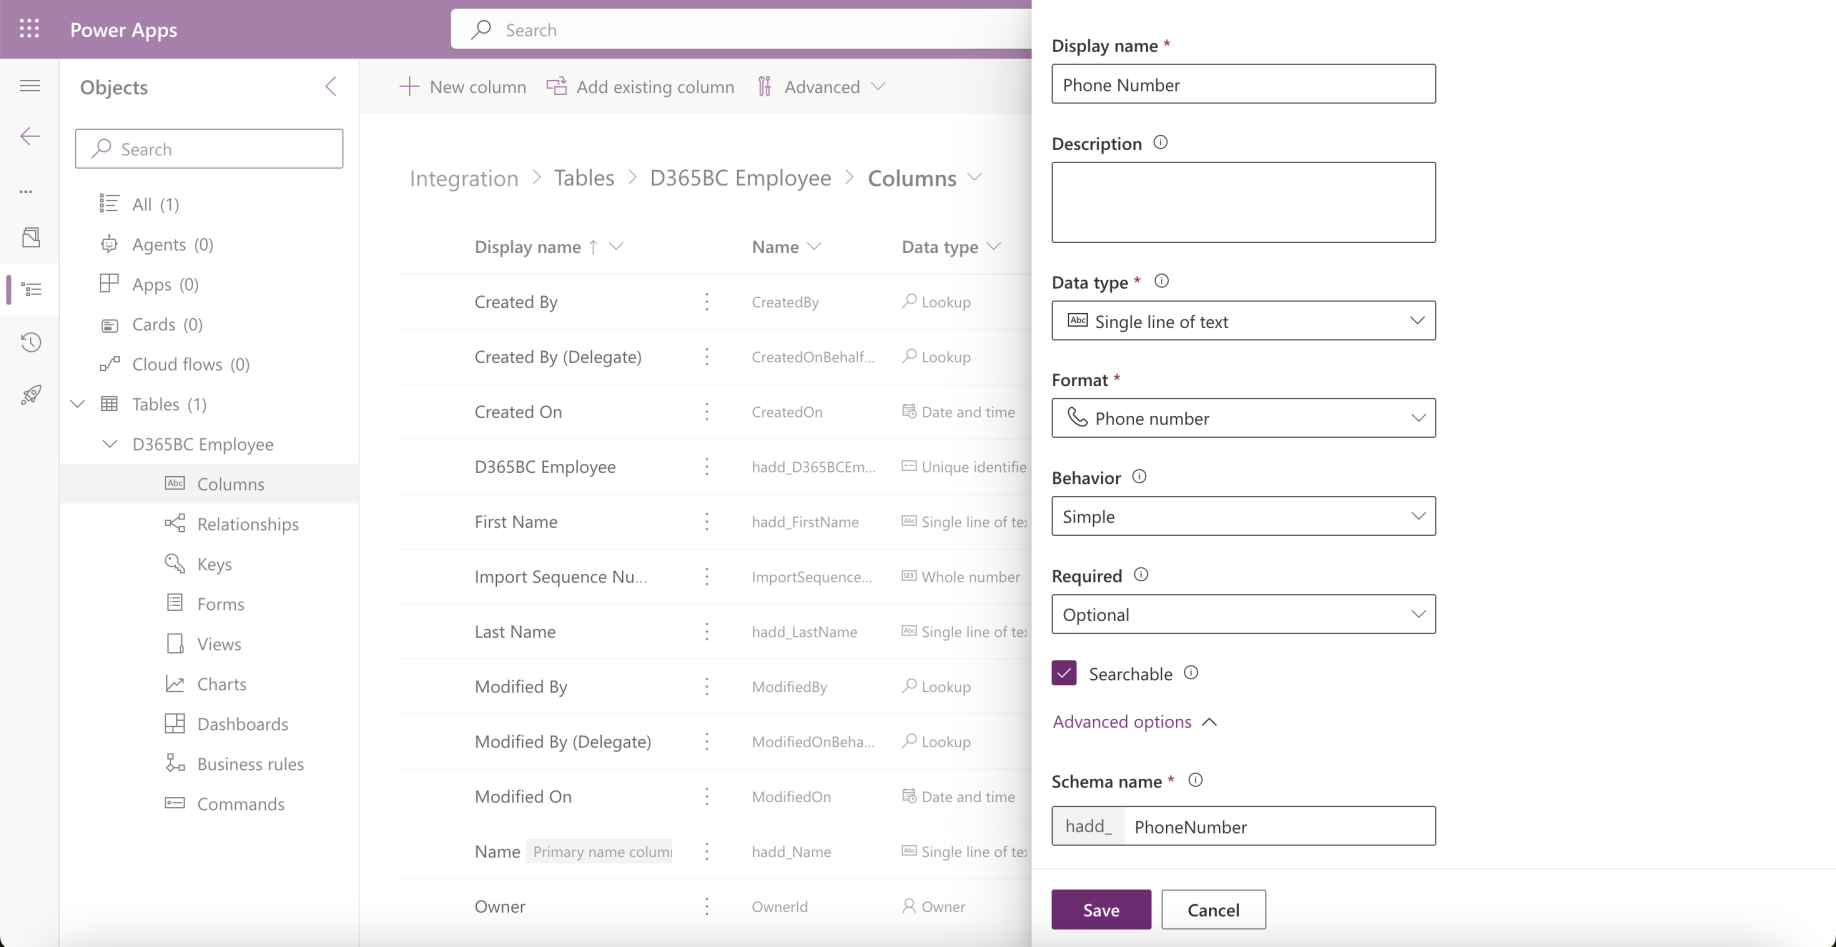
I added a Phone Number column
 Tap the image to open it full size
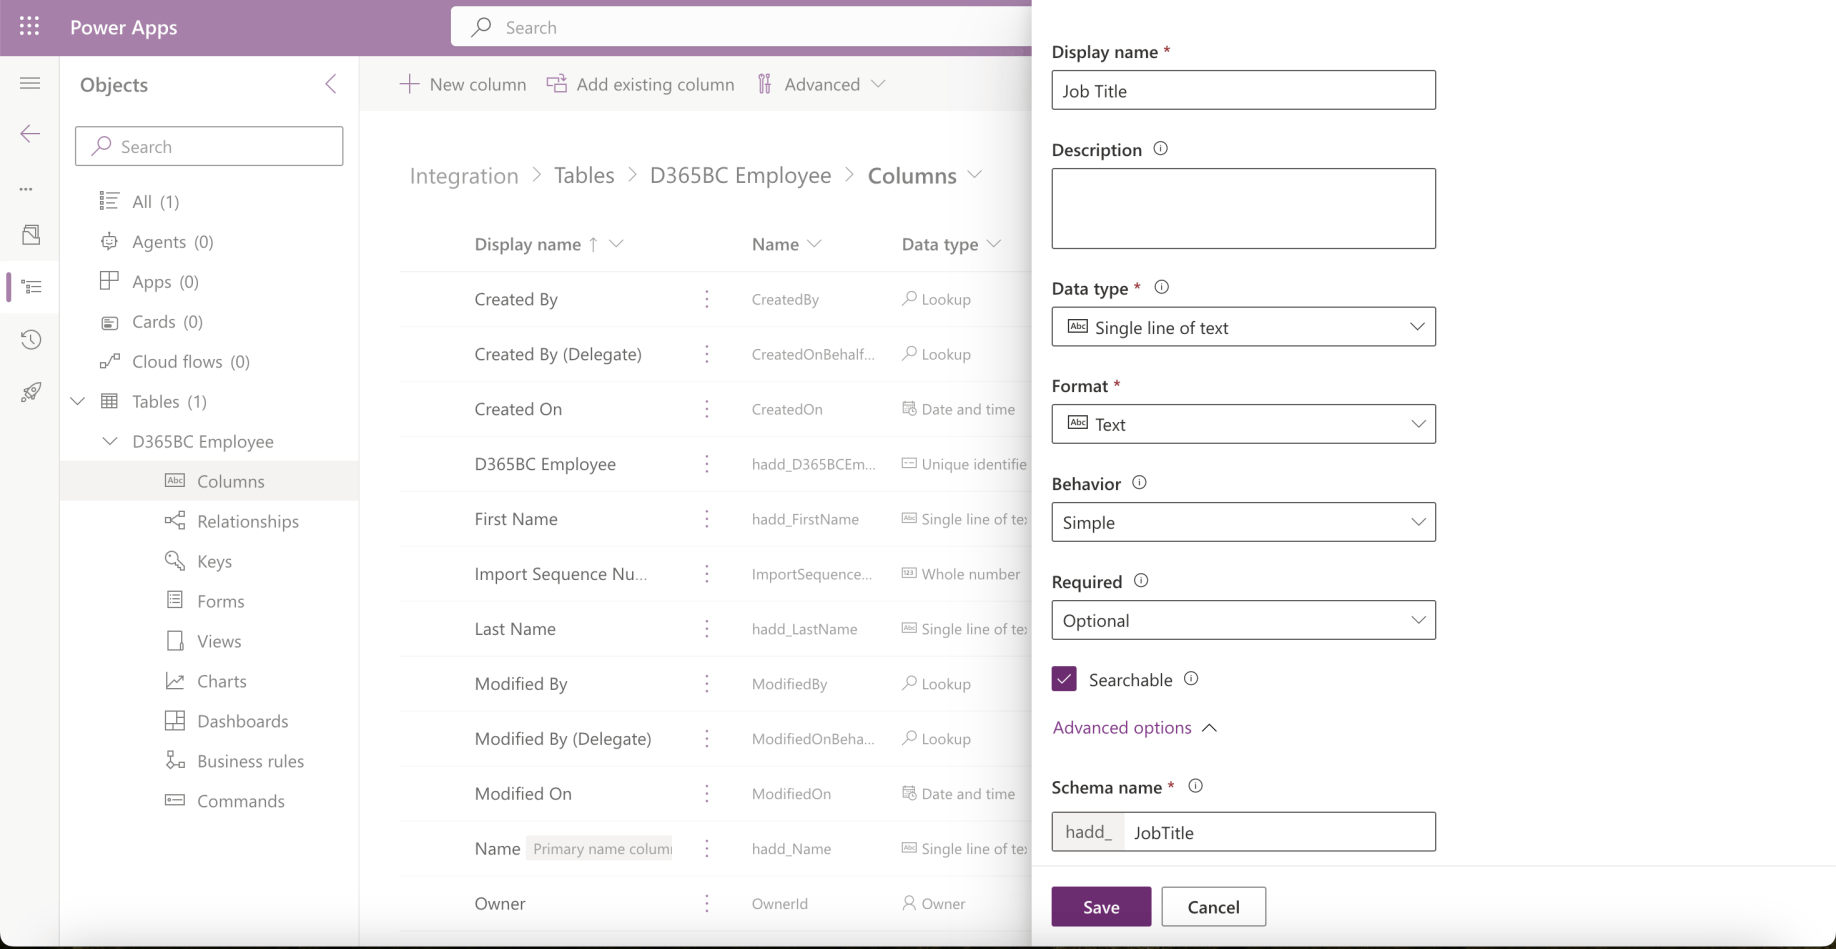
I added a Job Title column
 Tap the image to open it full size
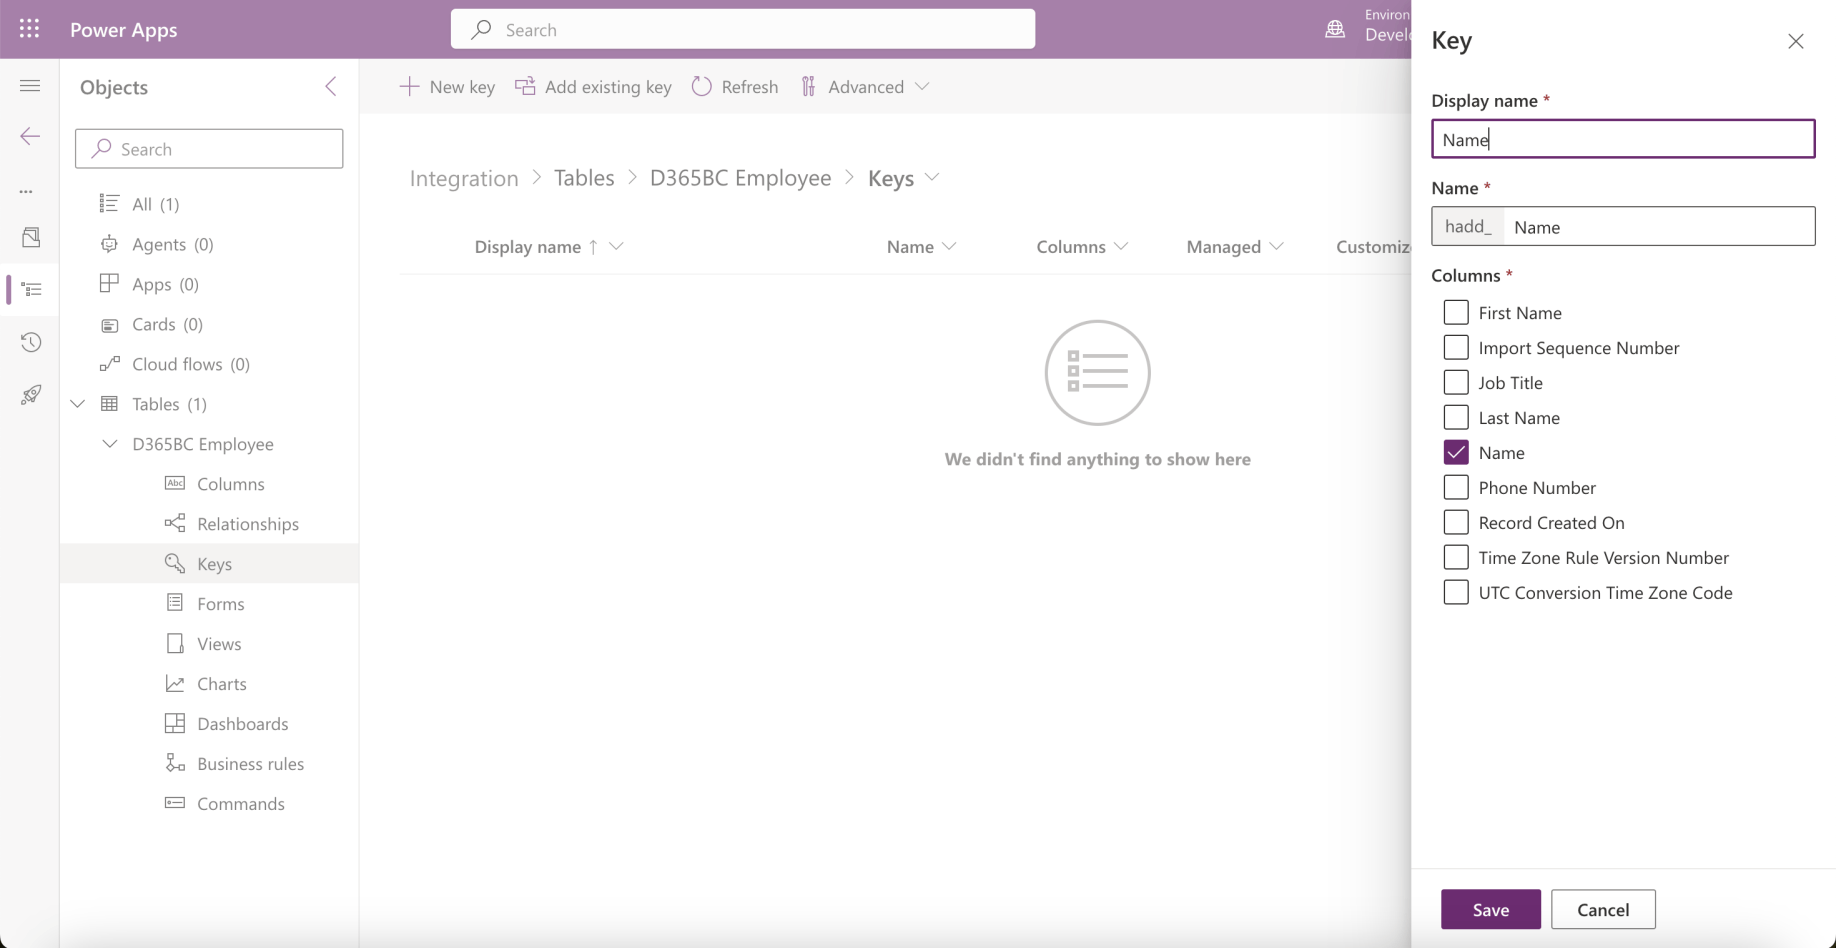
I added a Key (this will be used to sync the employee data)
 Tap the image to open it full size
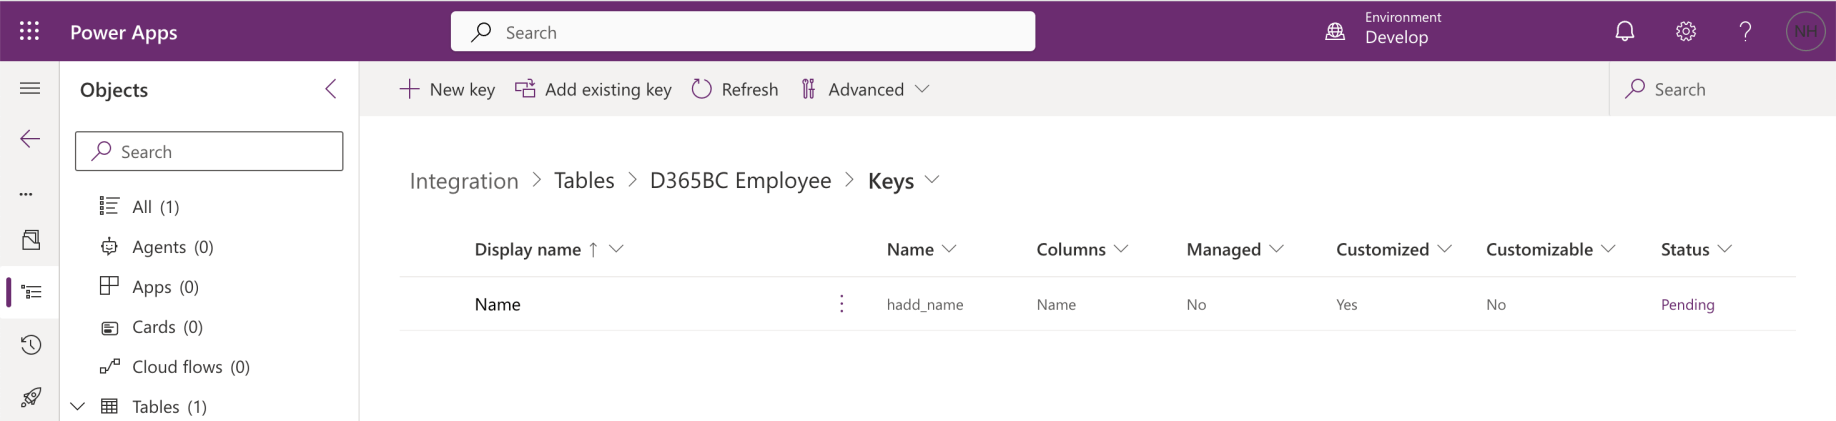
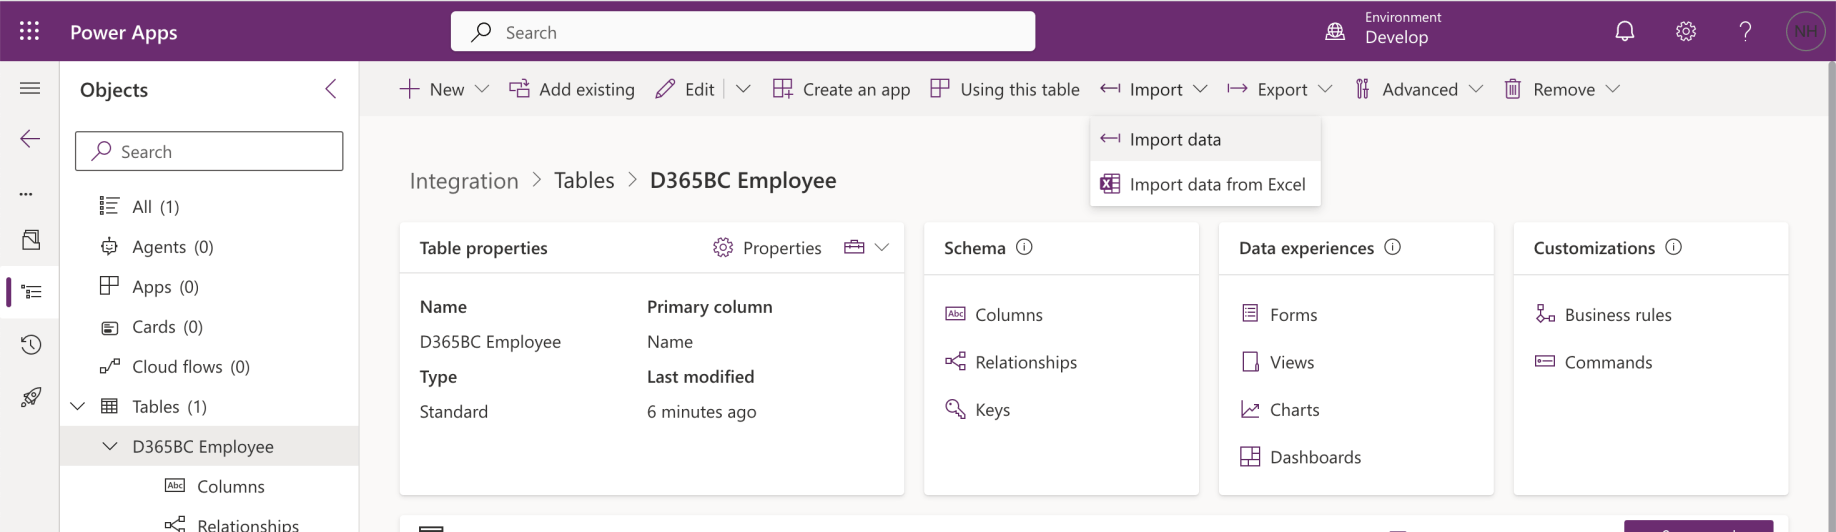
The Key was added
 Tap the image to open it full size
I clicked the Import data button
 Tap the image to open it full size
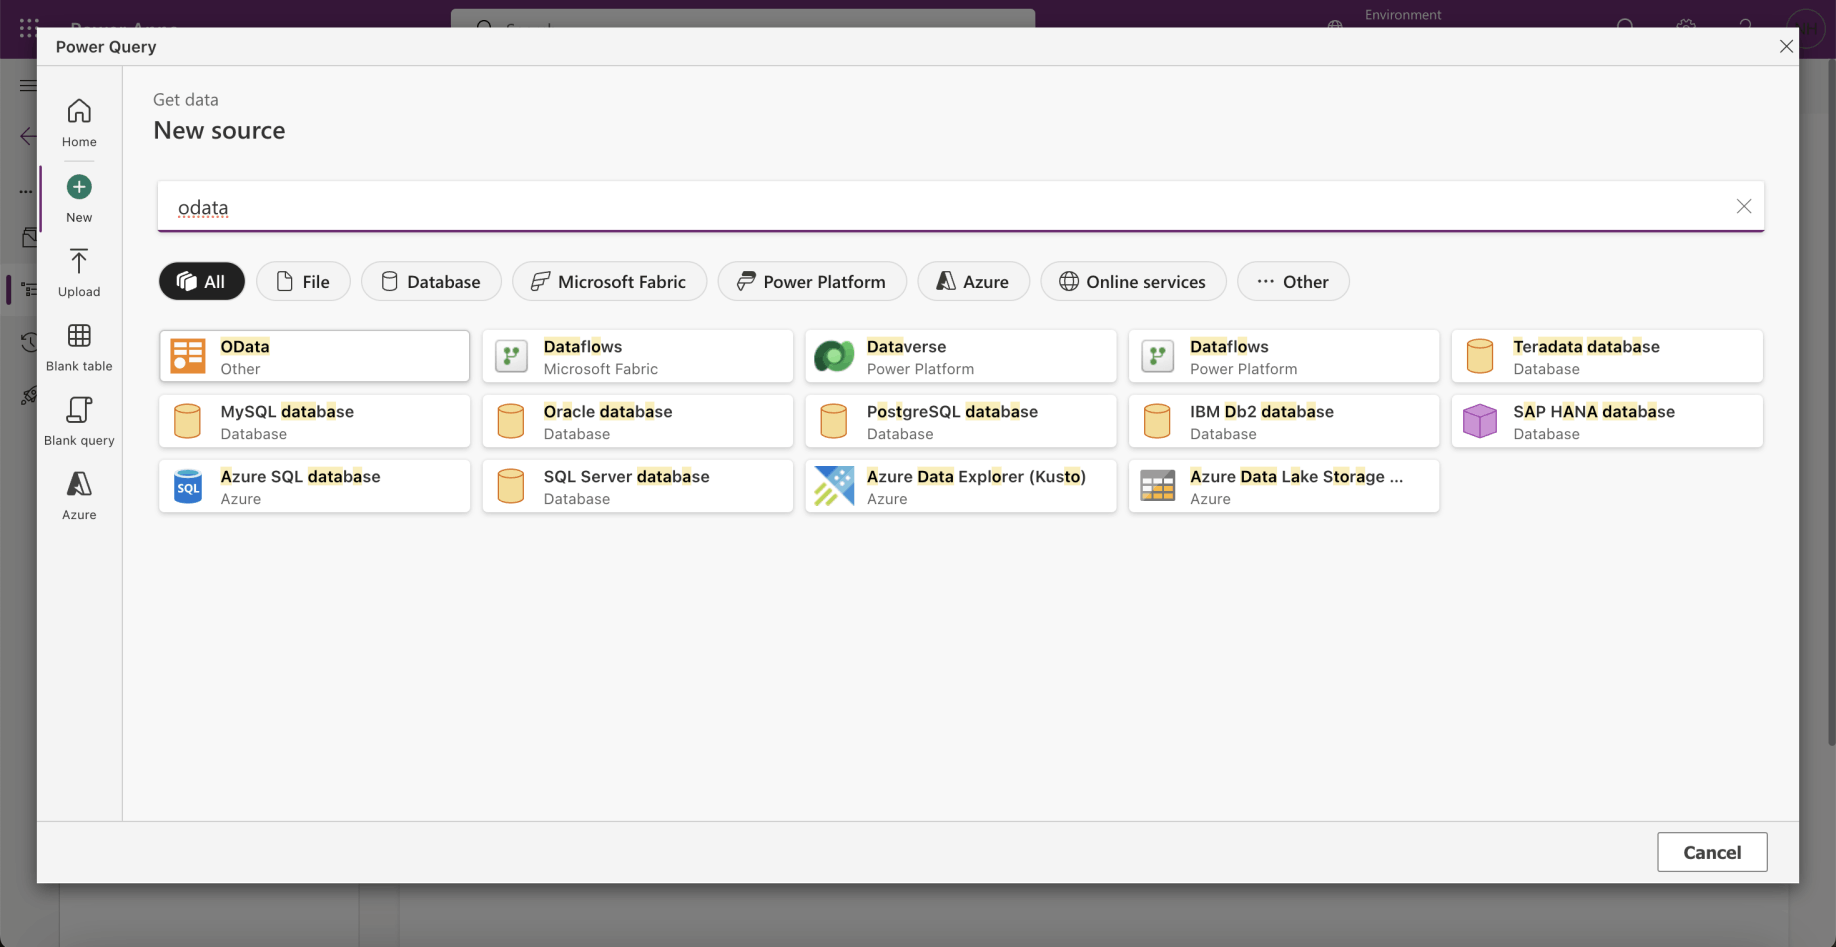
I selected the OData connector
 Tap the image to open it full size
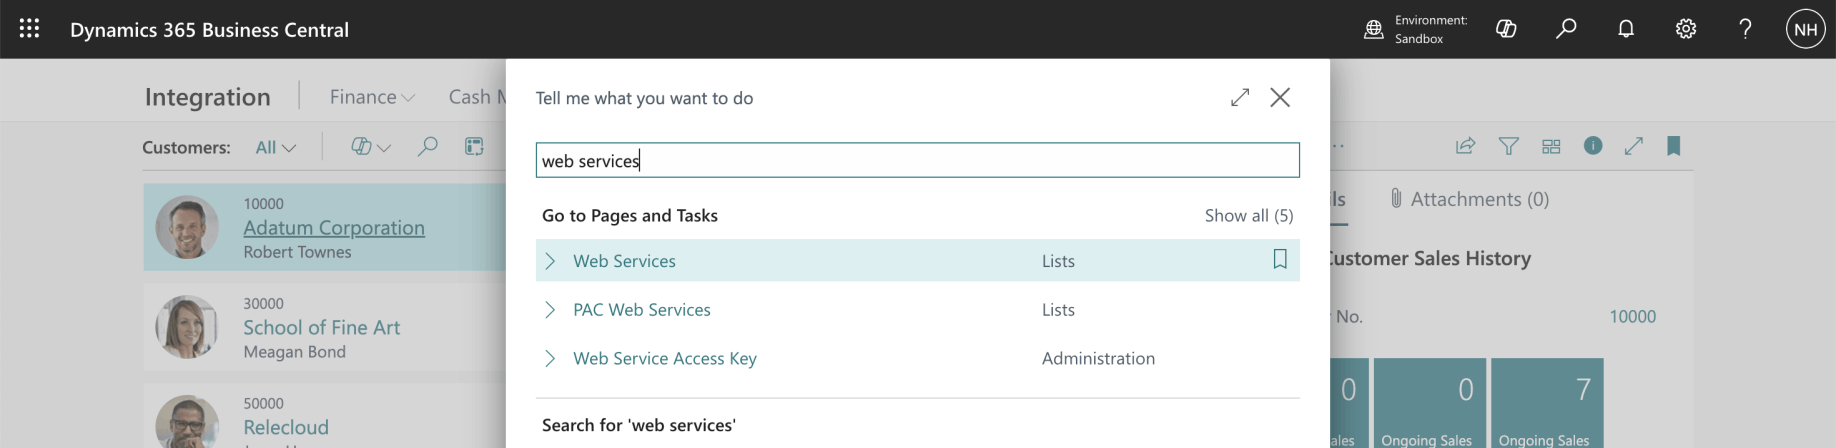
I navigated to the web services page in Business Central
 Tap the image to open it full size
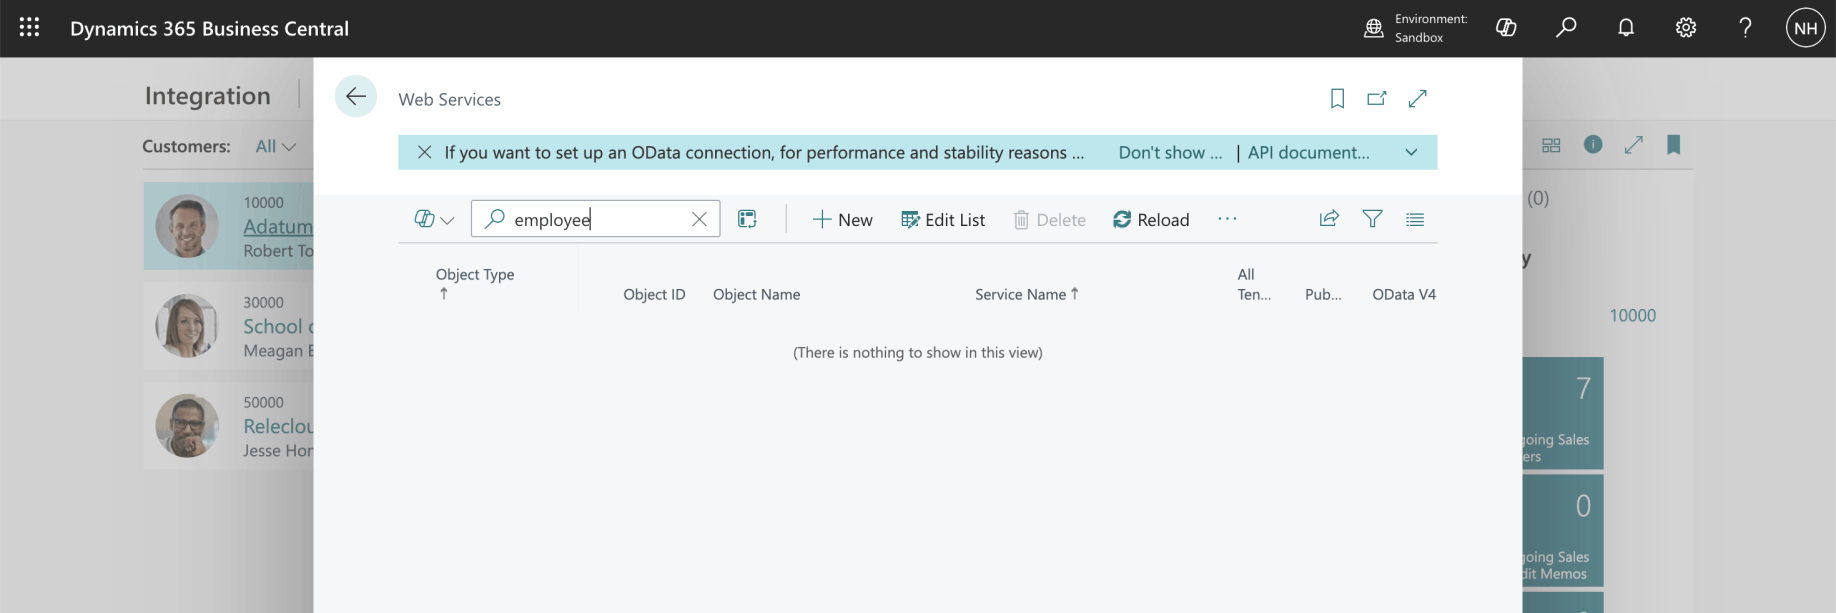
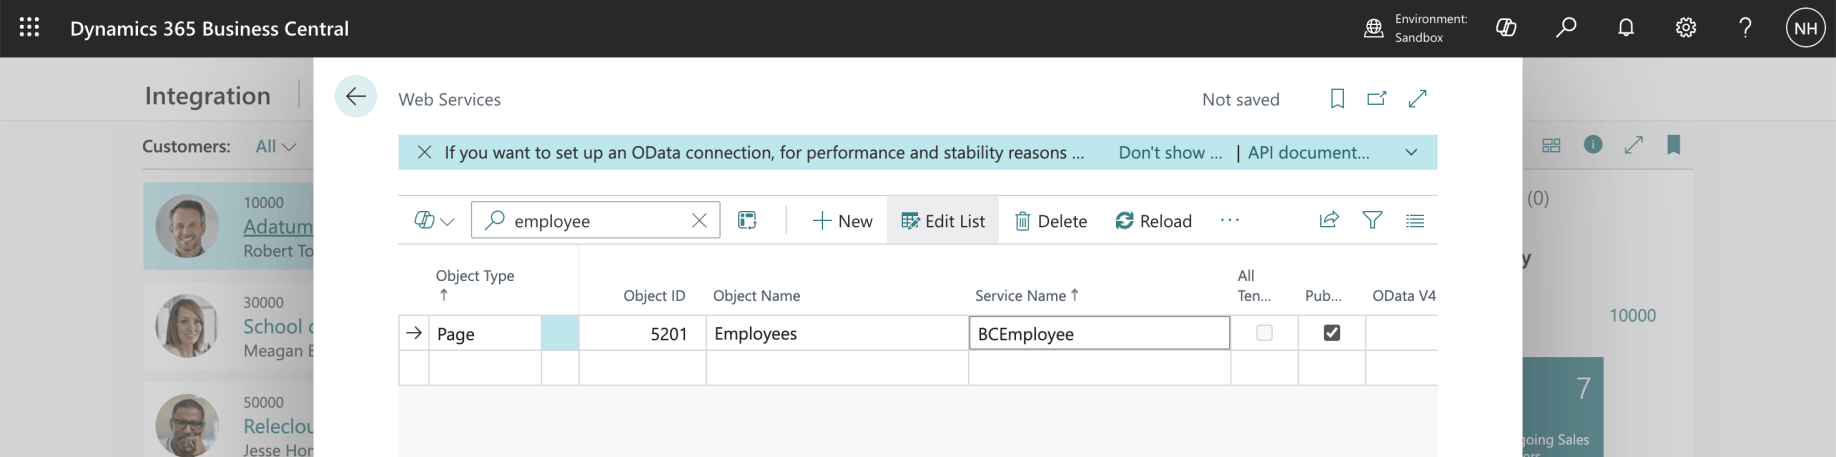
I was unable to find an employee web service
 Tap the image to open it full size
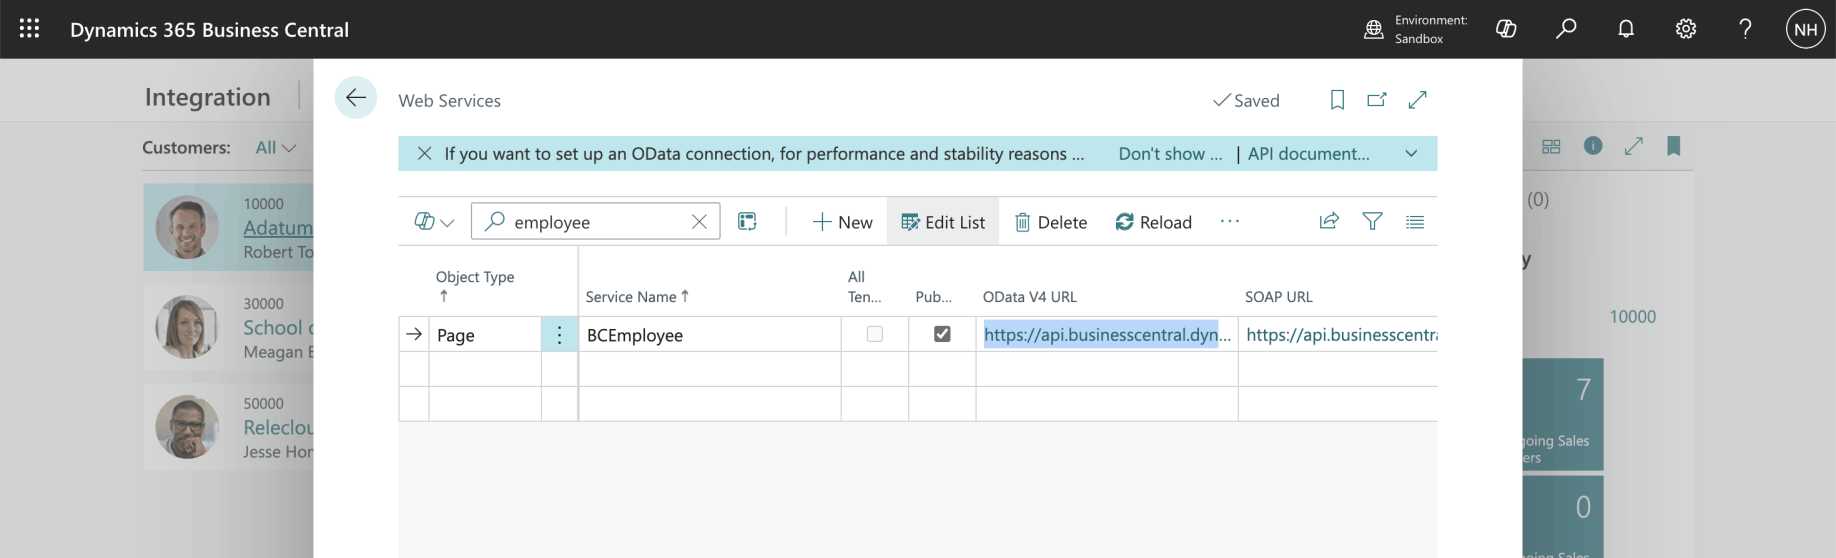
I clicked the + New button and provided web service details
 Tap the image to open it full size
I copied the OData V4 URL
 Tap the image to open it full size
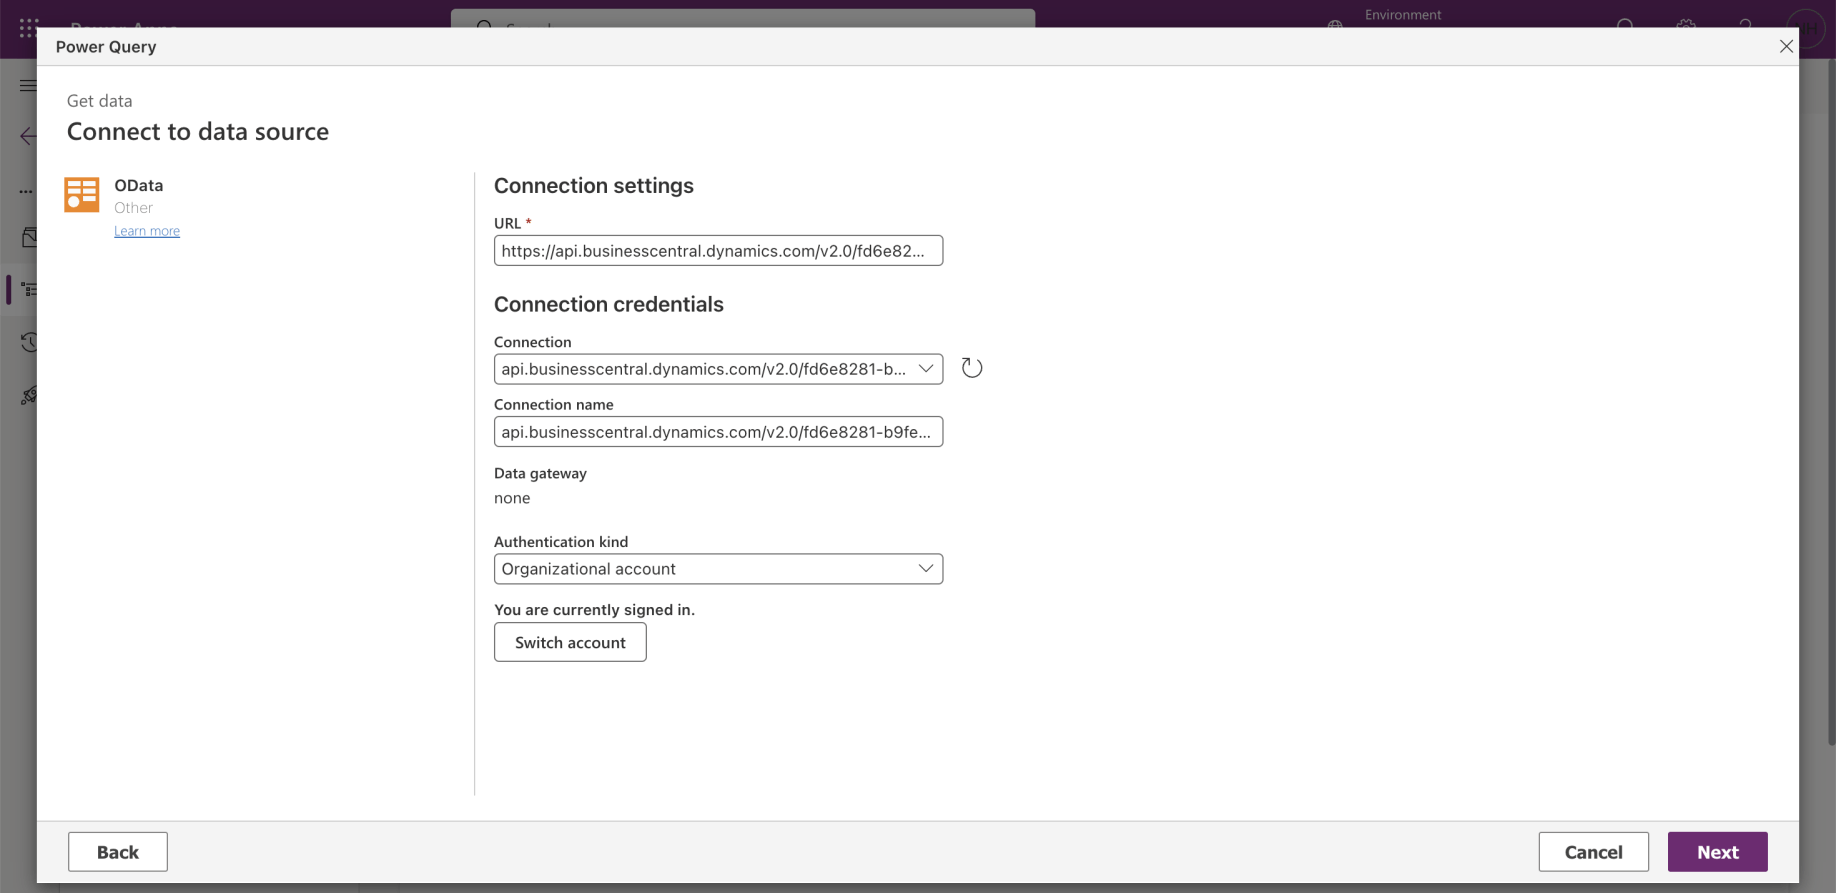
I entered the url into the Connect to data source dialog. Notice that I removed the https:// prefix when I copied the url to the connection textbox
 Tap the image to open it full size
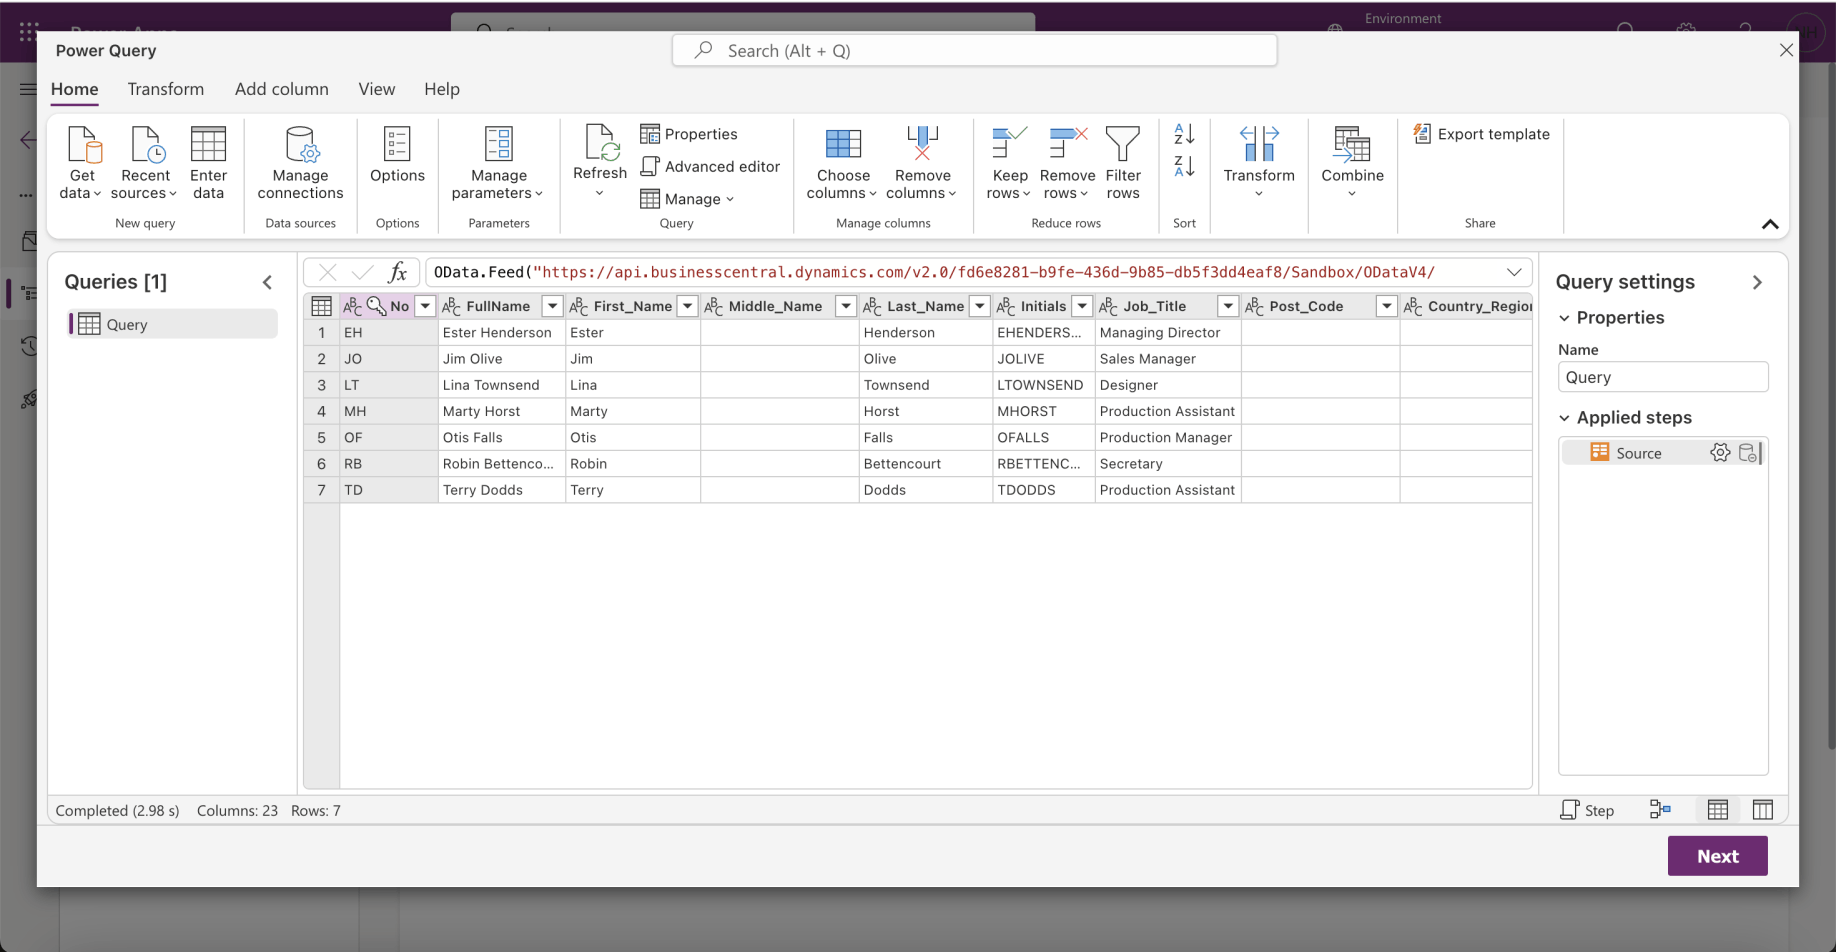
A preview was provided. I clicked the Next button.
 Tap the image to open it full size
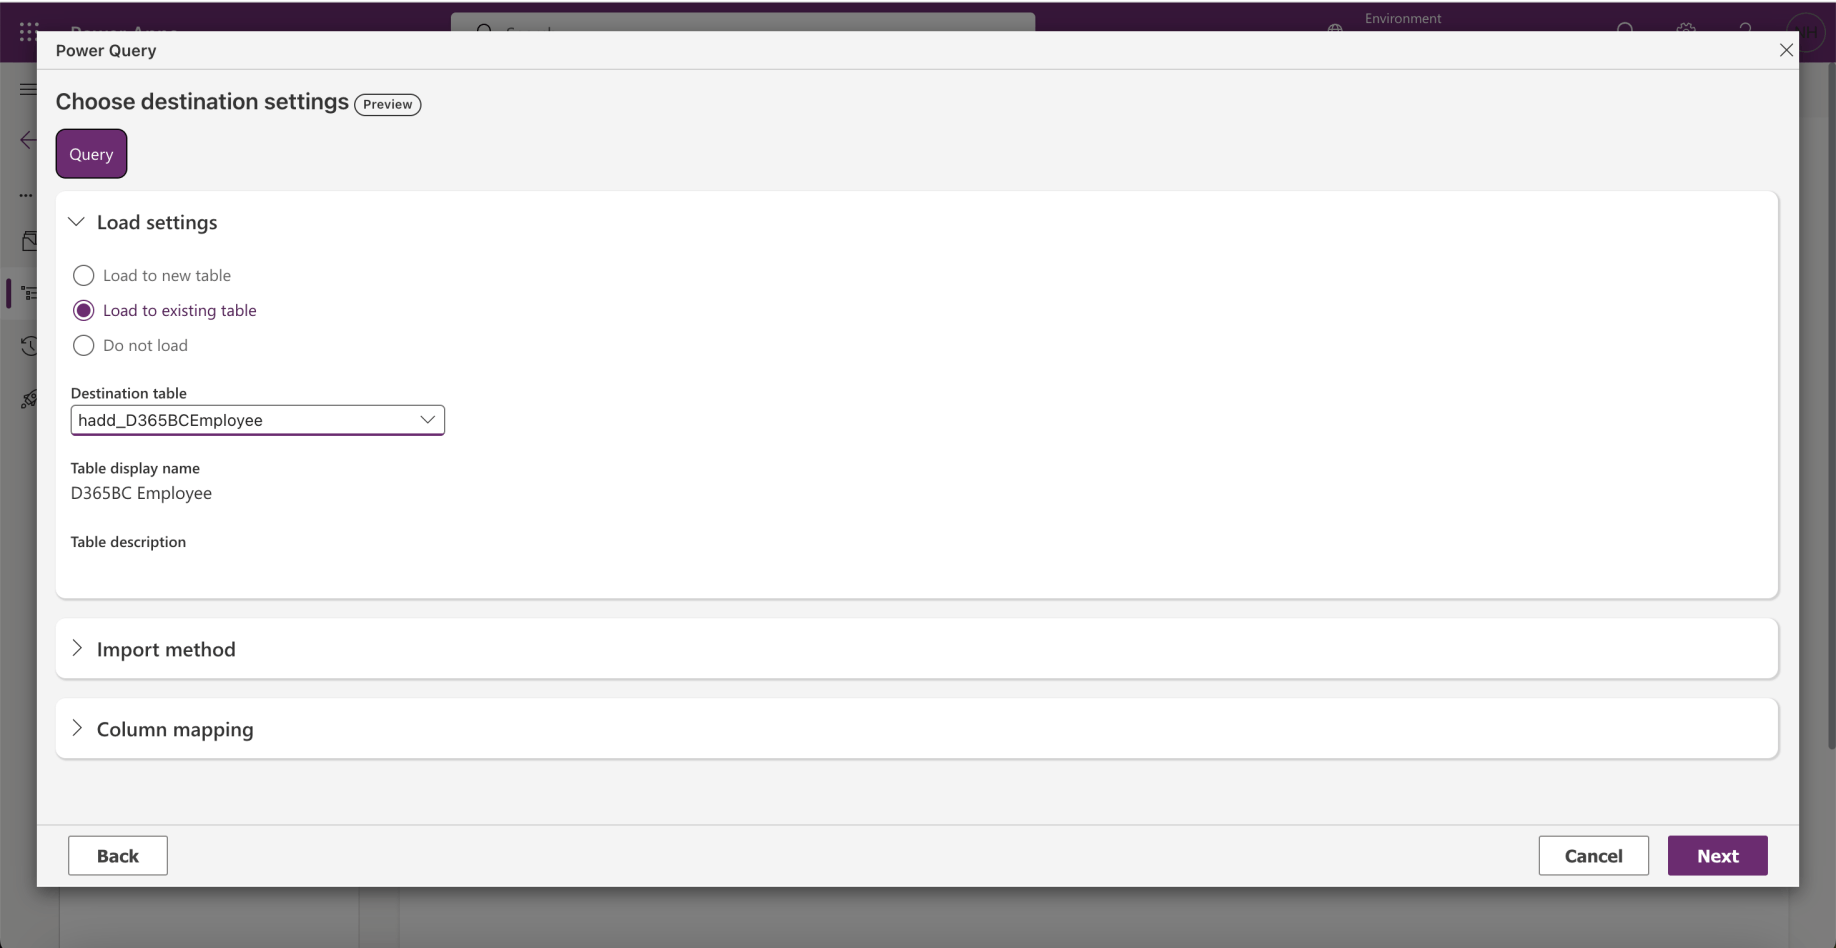
I selected the Load to existing table option and clicked the Next button
 Tap the image to open it full size
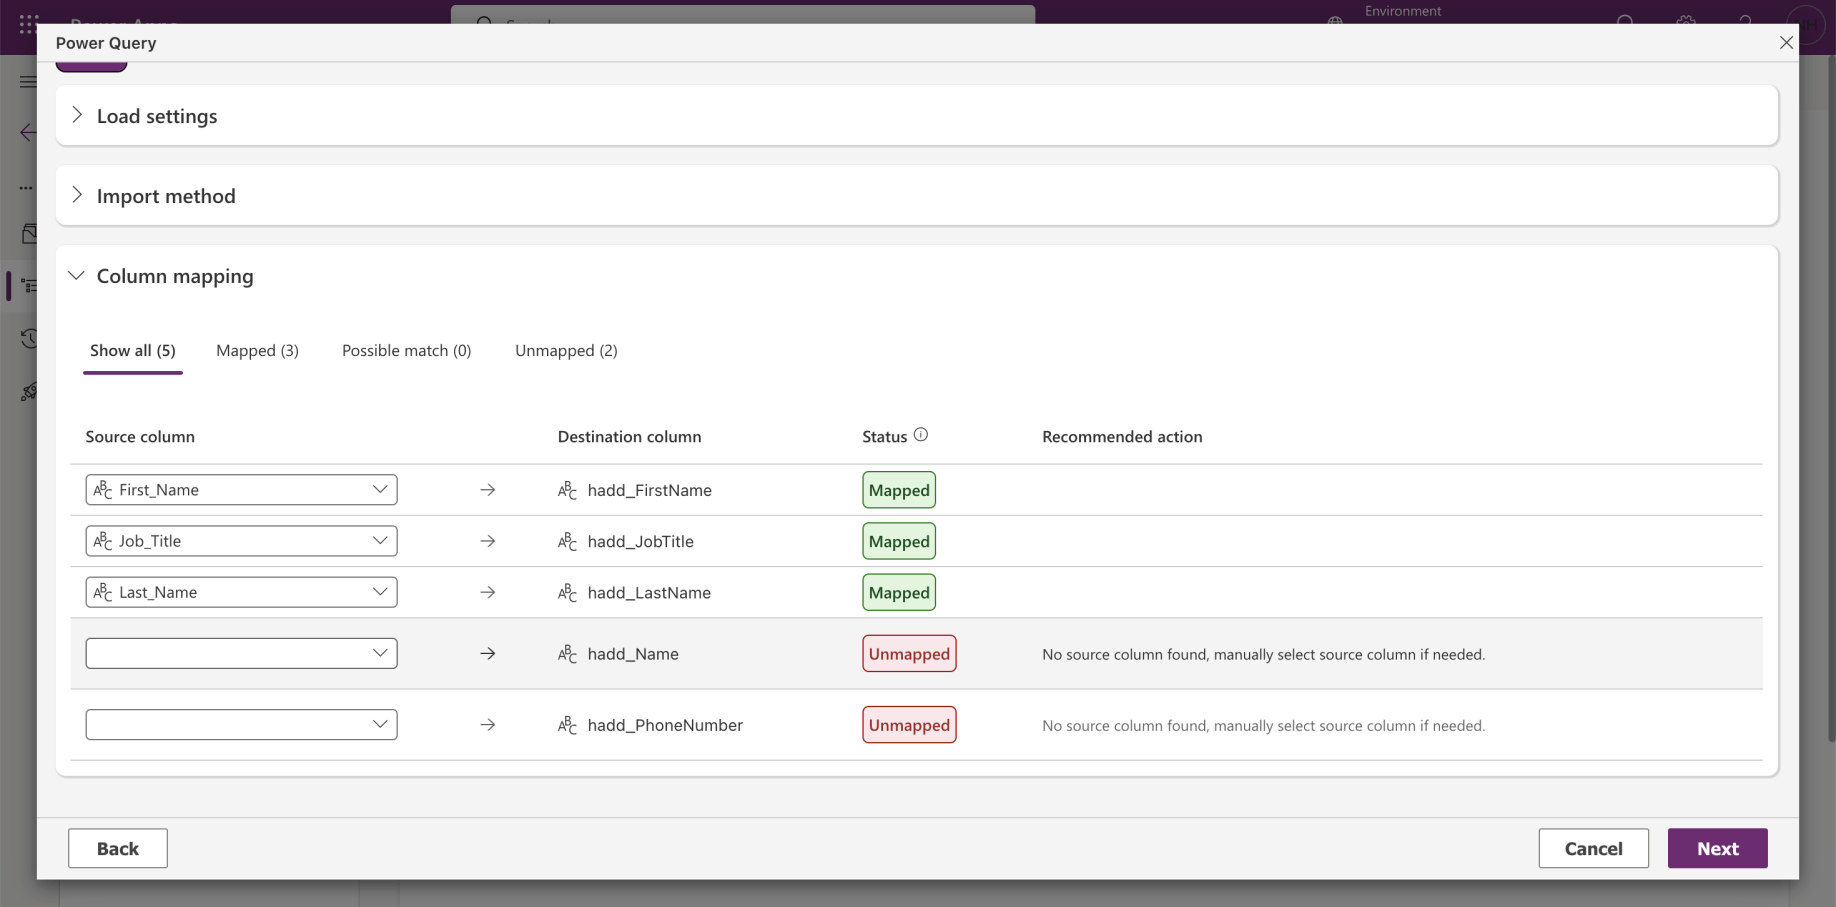
Three of the field mappings were created automatically
 Tap the image to open it full size
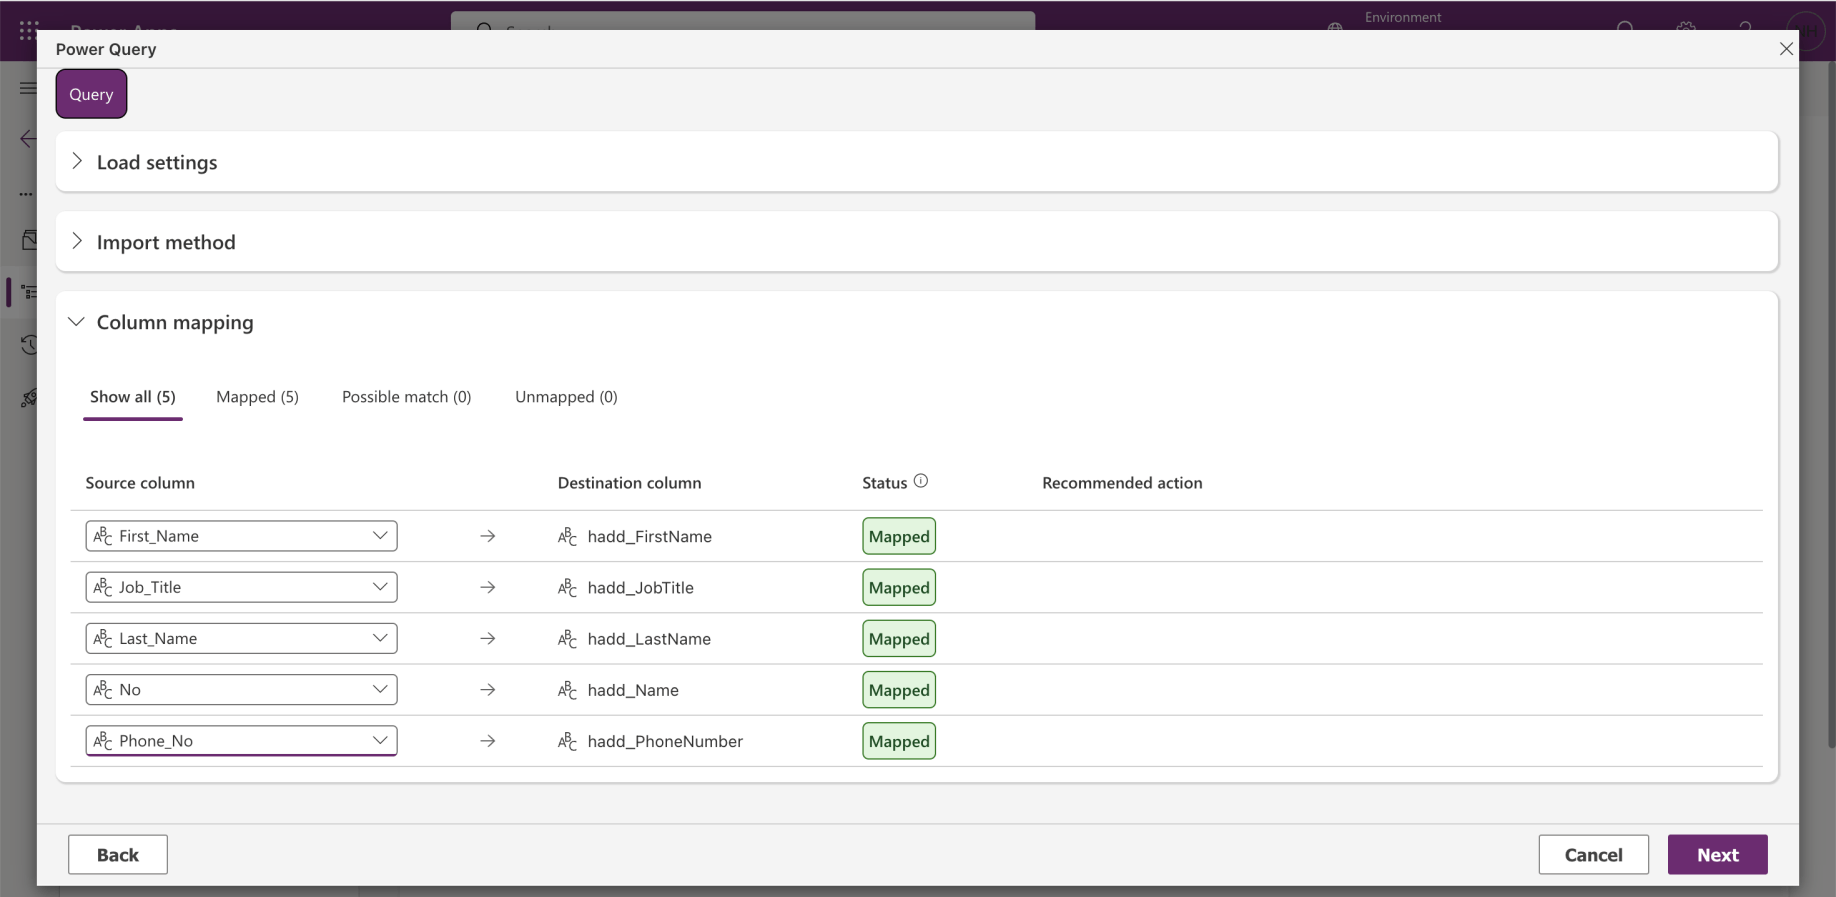
I completed the last two field mappings. I clicked the Next button
 Tap the image to open it full size
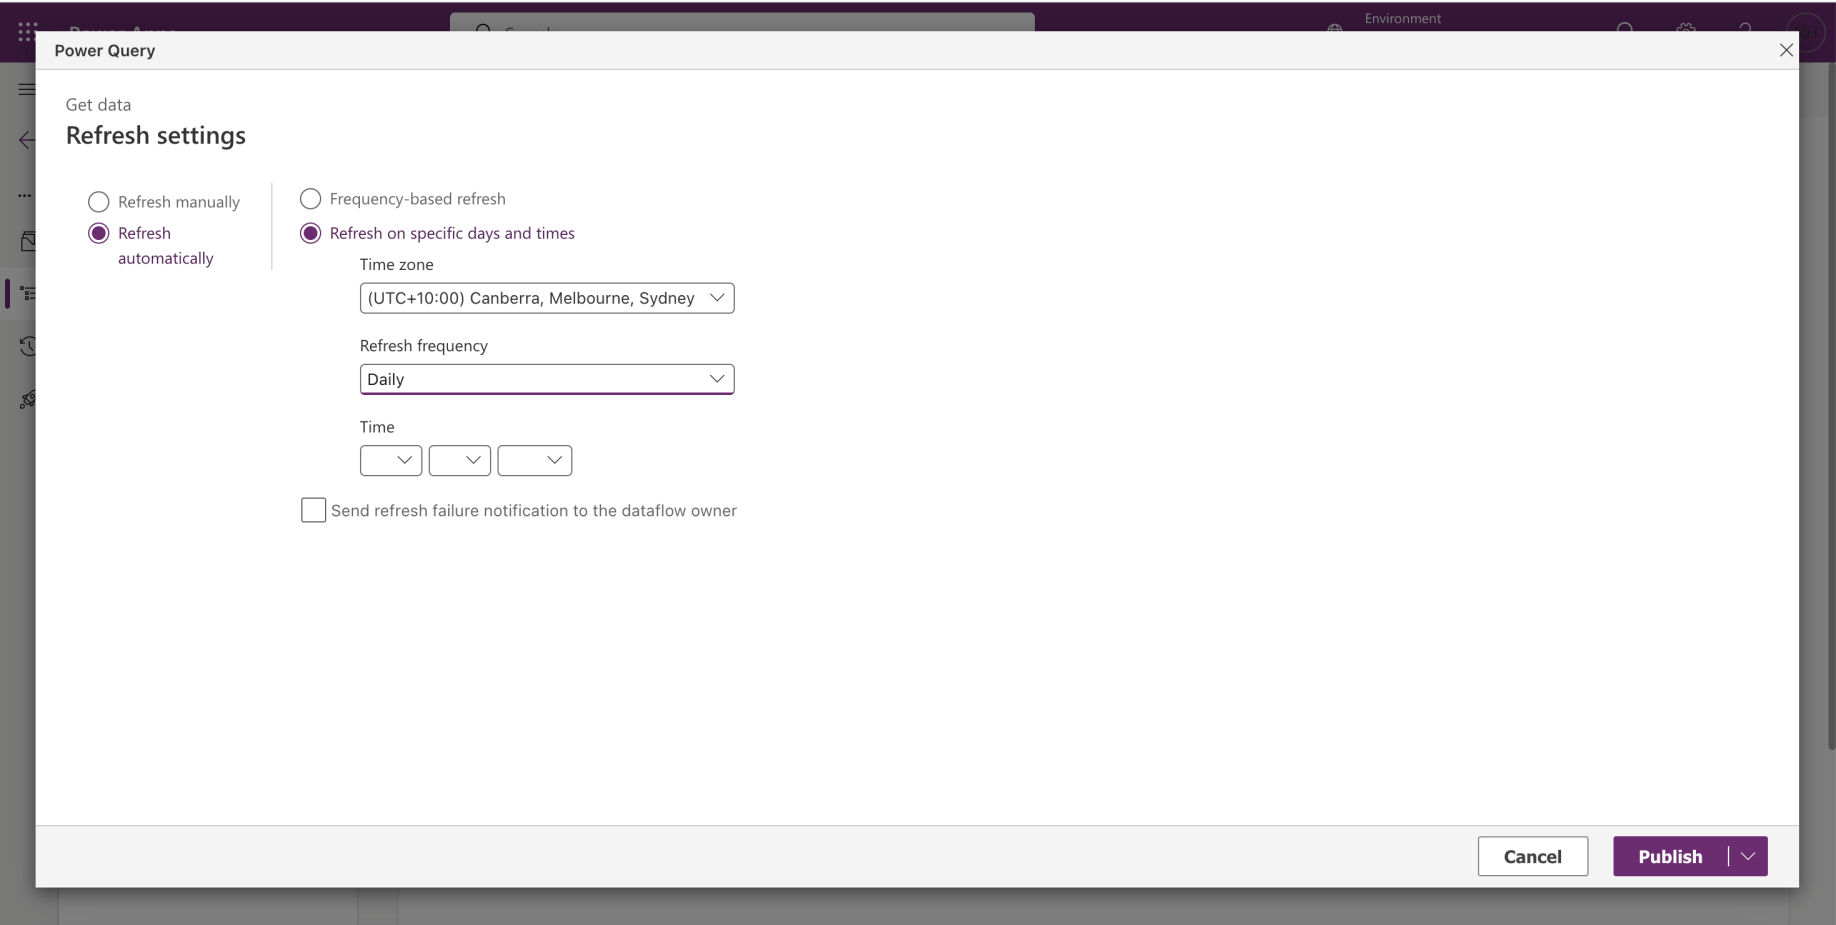
I set the refresh schedule
 Tap the image to open it full size
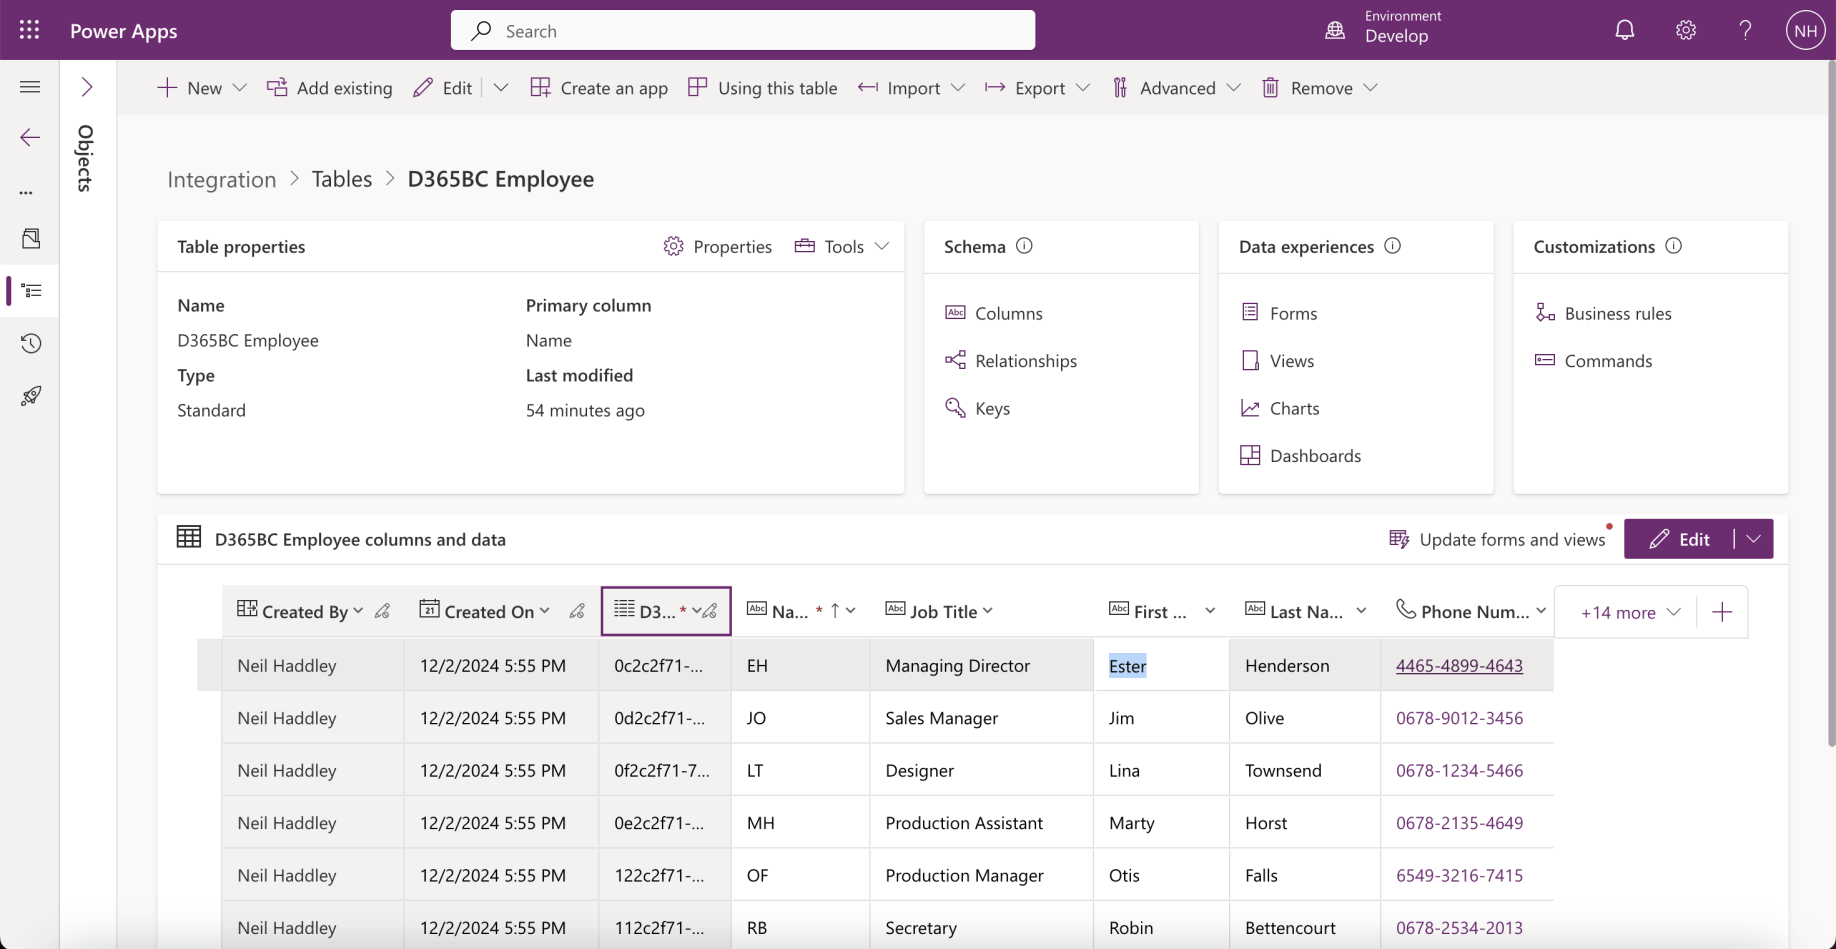
I reviewed the D365BC Employee table records
 Tap the image to open it full size
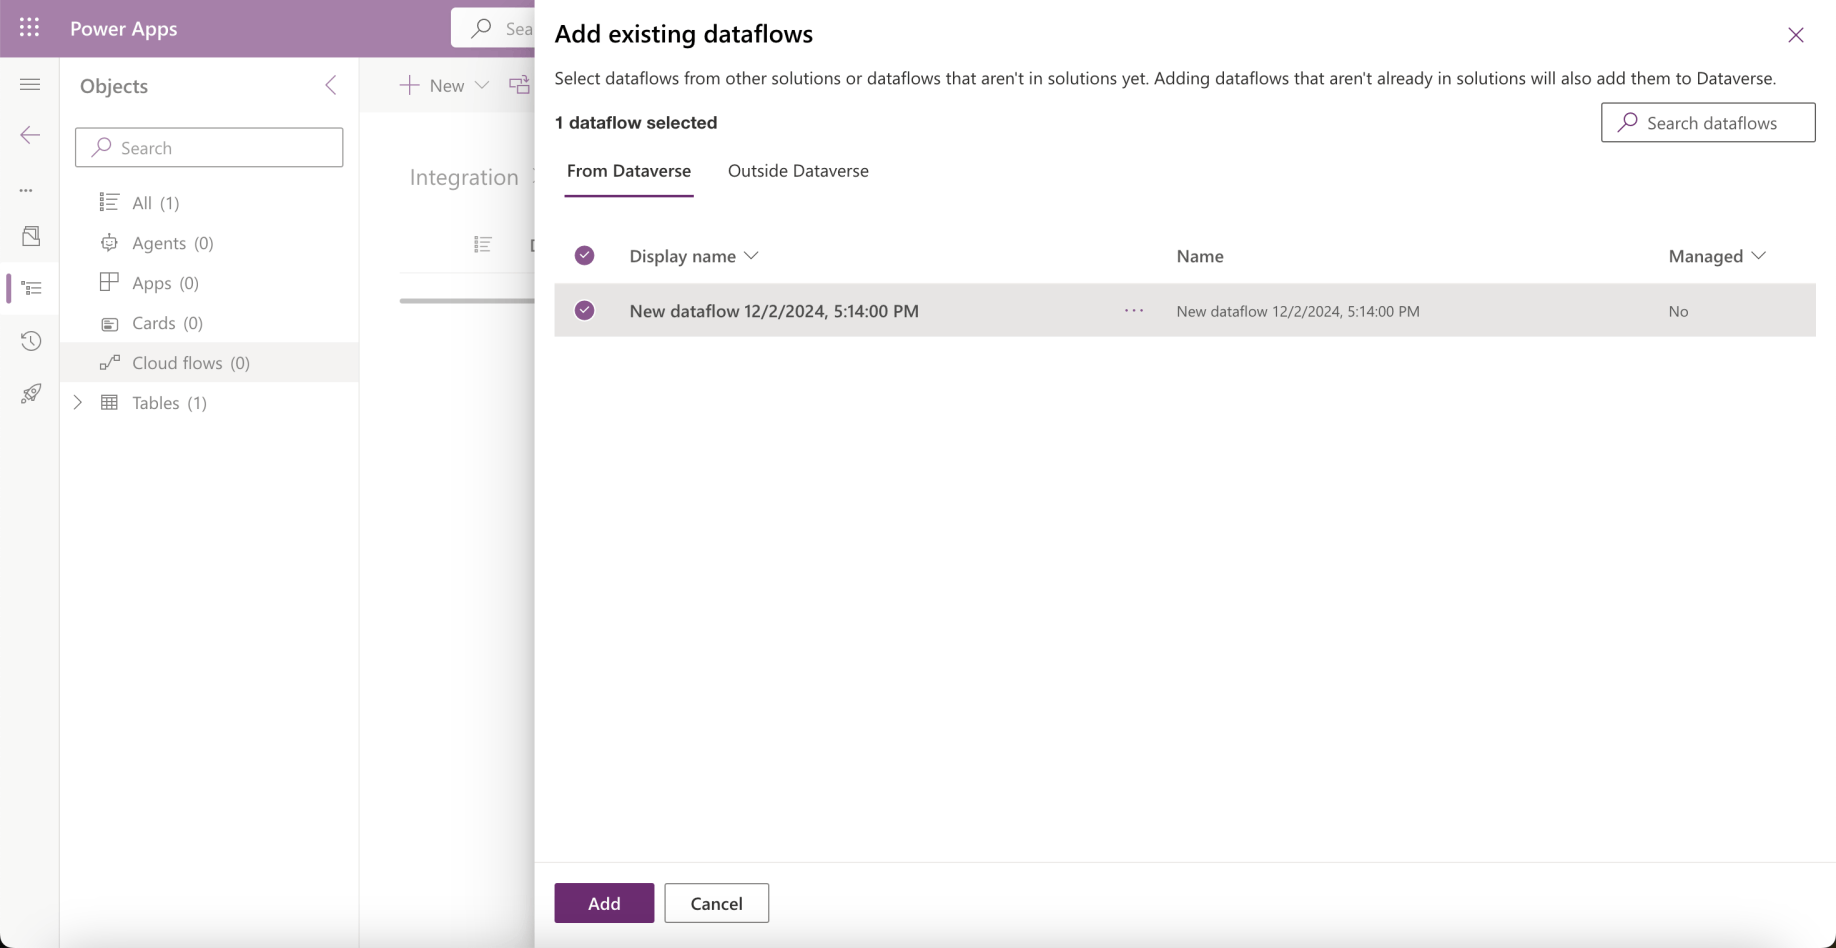
I added the Dataflow to the solution
 Tap the image to open it full size
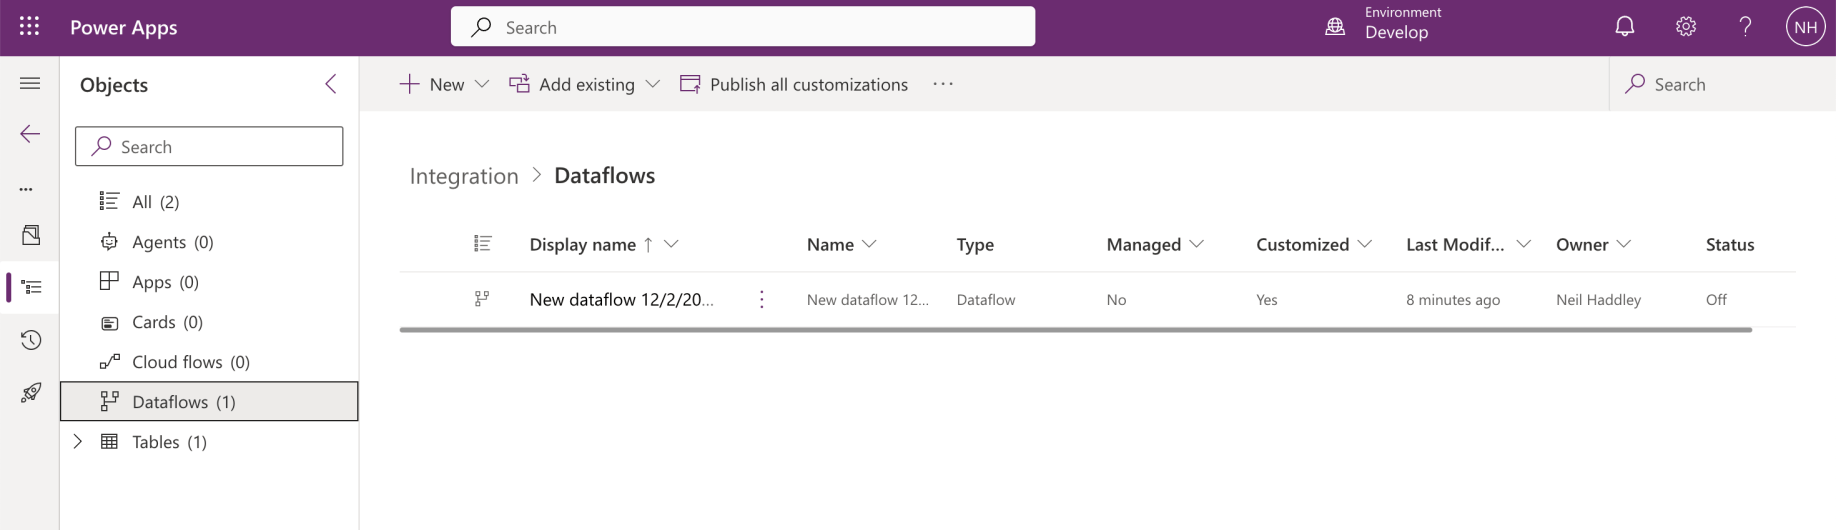
The Dataflow was added to the solution